Starting with a melted cake is nobody’s idea of a good time. Whether you’re baking for an outdoor summer wedding, a backyard birthday party, or simply live somewhere warm and humid, buttercream frosting can quickly transform from a beautiful creation into a sugary puddle if the temperature climbs above 75 degrees. The culprit? Traditional buttercream relies on butter as its primary fat, and butter has a relatively low melting point—it begins to break down around 82 degrees Fahrenheit, causing the entire frosting structure to collapse.
The good news is that you don’t have to choose between delicious frosting and one that actually holds its shape in summer heat. Over the years, professional bakers and dedicated home bakers have developed reliable techniques to create buttercream frostings that stay stable, smooth, and pipe-able even when conditions aren’t ideal. The secret lies in understanding which fats hold up to heat, how to add stabilizing ingredients, and what mixing techniques create the most resilient frosting possible.
This guide shares five proven buttercream frosting recipes designed specifically to resist melting and hold their integrity in warm conditions. Each recipe has been tested in real-world situations and relies on different stabilizing strategies—from using high-ratio shortening to adding meringue powder to incorporating specific ratios of ingredients that work together to create a frosting that laughs in the face of heat. You’ll learn exactly how to make each one, when to use it, and how to troubleshoot if the frosting isn’t behaving quite right.
Table of Contents
- 1. Classic Half-Butter, Half-Shortening Buttercream
- Why This Recipe Resists Heat
- Best Uses for This Frosting
- Storage and Make-Ahead
- 2. All-Shortening Buttercream with Bakery Emulsion
- The Bakery Emulsion Advantage
- Flavor Variations with Emulsions
- When to Use All-Shortening
- 3. Heat-Stable Buttercream with Meringue Powder
- Why Meringue Powder Works
- Real-World Performance
- Tinting Without Affecting Texture
- 4. Swiss Meringue Buttercream (Silky Heat-Stable Version)
- Why Swiss Meringue Is Naturally Heat-Stable
- Texture and Piping
- Temperature Sensitivity
- 5. Vegan Heat-Stable Buttercream (Shortening and Coconut Milk)
- Why Vegan Butter Plus Shortening Works
- Coconut Milk Flavor Considerations
- Coloring and Flavoring Options
- Pro Tips for Making Frosting That Actually Stays Stable in Heat
- Storage, Freezing, and Rewhipping Frosting
- Troubleshooting Frosting That Melts Too Quickly
- Choosing Which Frosting to Make
- Final Thoughts
1. Classic Half-Butter, Half-Shortening Buttercream
This is the workhorse frosting of professional bakeries in warm climates. By cutting the butter content in half and replacing it with high-ratio shortening, you dramatically increase the frosting’s heat resistance while maintaining an authentic buttercream flavor. High-ratio shortening contains emulsifiers that allow it to hold more sugar and liquid than regular vegetable shortening, creating a frosting with superior stability and a creamy mouthfeel.
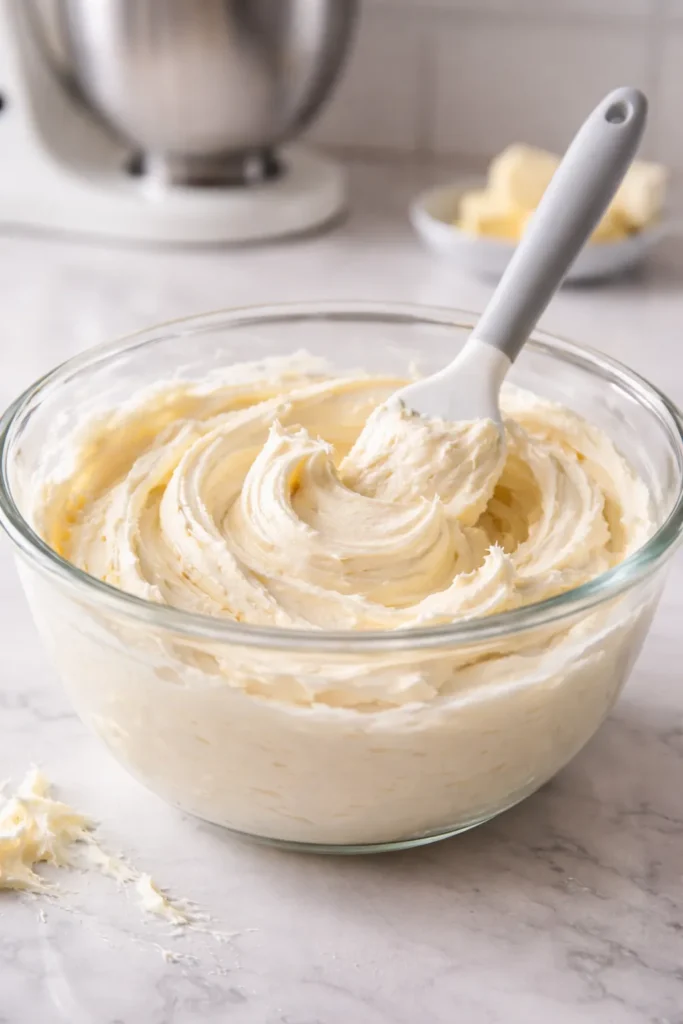
The technique here matters as much as the ingredients. You’re creaming the butter and shortening together until they reach a pale, almost white state—this incorporates air and creates a lighter frosting that’s less prone to looking greasy or oily, even under stress. The whipping process is what transforms a mixture of fats and sugar into something that pipes beautifully and holds decorative details.
Yield: 3 cups (enough for a double-layer 8-inch cake plus cupcakes, or 24-28 piped cupcakes)
Prep Time: 12 minutes
Cook Time: 0 minutes
Total Time: 12 minutes
Difficulty: Beginner — no special technique required, just a stand mixer and standard ingredients. If you’ve made frosting before, you’ll find this familiar and reliable.
For the Classic Half-Butter, Half-Shortening Buttercream:
- ½ cup (113g) unsalted butter, softened to room temperature
- ½ cup (100g) high-ratio shortening (such as Sweetex or Alpine brand), softened to room temperature
- 3½ cups (420g) powdered sugar, sifted
- 2-3 tablespoons whole milk or heavy cream, at room temperature
- 2 teaspoons pure vanilla extract
- ¼ teaspoon fine sea salt
Instructions:
Cream the Fats:
-
In the bowl of a stand mixer fitted with the paddle attachment, add the softened butter and high-ratio shortening together.
-
Beat on medium-high speed for 5-7 minutes, scraping down the sides of the bowl every couple of minutes. The mixture should become noticeably lighter in color, almost pale yellow or cream-colored, and increase slightly in volume. This aeration is what gives the final frosting its light, fluffy texture and helps it resist melting.
Add Dry Ingredients:
-
In a separate bowl, sift the powdered sugar to remove any lumps (this step prevents a grainy finished frosting). Add the salt to the powdered sugar and whisk to combine.
-
With the mixer on low speed, slowly add the powdered sugar mixture one cup at a time, mixing for about 30 seconds after each addition before adding the next cup. Scrape down the sides of the bowl between additions.
-
Once all the powdered sugar is incorporated, the mixture will look crumbly or sand-like. Stop the mixer and scrape down the bowl.
Lighten and Finish:
-
Switch to the whisk attachment. Add the vanilla extract and milk. Beat on medium speed for 2-3 minutes until the frosting transforms into a smooth, fluffy, spreadable consistency. The frosting should be pale and increase in volume noticeably.
-
Taste the frosting. If it needs more vanilla flavor, add another ½ teaspoon and beat briefly. If it’s too thick to pipe smoothly, add another teaspoon of milk and beat again.
Why This Recipe Resists Heat
High-ratio shortening has emulsifiers built into its structure that allow it to hold more air and liquid than butter alone. This creates a more stable emulsion that doesn’t separate as quickly when temperatures rise. The half-and-half ratio gives you the flavor benefits of real butter without sacrificing the heat resistance that pure shortening provides.
Best Uses for This Frosting
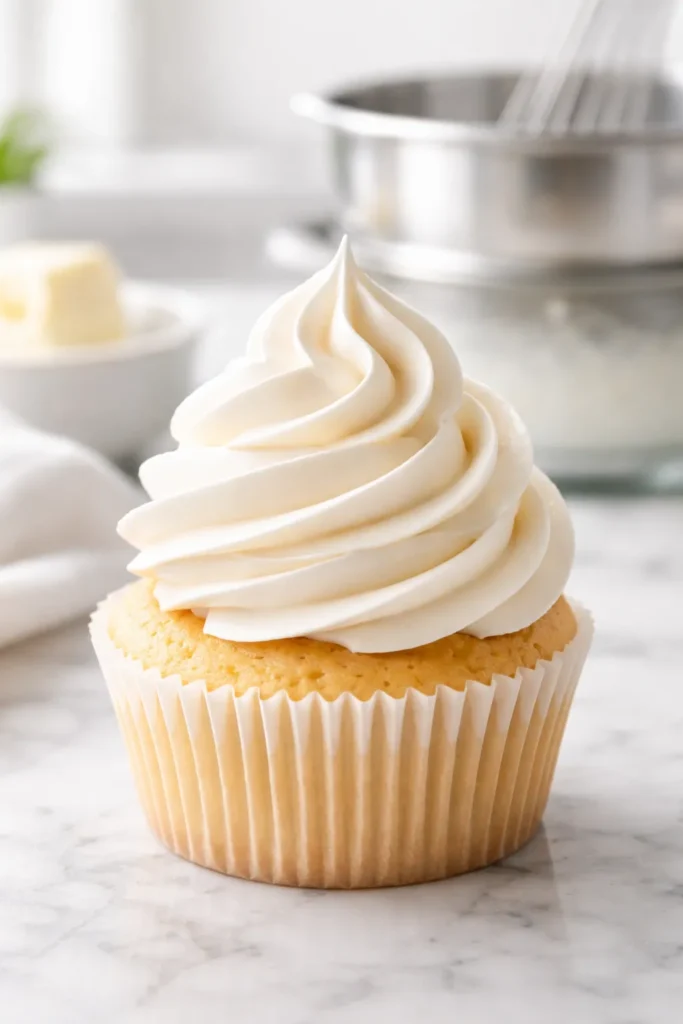
This frosting works beautifully for outdoor summer events, warm-weather weddings, farmers’ market displays, and any situation where your frosted creation might sit in temperatures above 75 degrees for extended periods. It pipes cleanly and holds decorative details—swirls, rosettes, and piped flowers all maintain their shape. It’s also ideal for tiered cakes and decorated celebration cakes that need to stay beautiful through a multi-hour event.
Storage and Make-Ahead
This frosting keeps at room temperature in a sealed container for up to 3 days, making it perfect for preparing ahead of time. You can also refrigerate it for up to two weeks or freeze it for three months. When you’re ready to use refrigerated or frozen frosting, bring it to room temperature and re-whip it with a hand mixer for 1-2 minutes to restore its fluffy texture.
2. All-Shortening Buttercream with Bakery Emulsion

If maximum heat resistance is your priority and you’re willing to work a bit harder on the flavor profile, an all-shortening buttercream is your answer. This frosting uses high-ratio shortening as its sole fat base and relies on bakery emulsion for flavor rather than vanilla extract. Bakery emulsion is a water-based flavoring (as opposed to alcohol-based extract), which makes it ideal for frostings because it doesn’t evaporate during mixing or cooking.
Many home bakers shy away from all-shortening frosting because they associate it with a greasy, unpleasant mouthfeel and a flat, artificial taste. But when you use high-ratio shortening specifically and enhance the flavor with quality bakery emulsions, the result is surprisingly good—smooth, creamy, and genuinely tasty rather than waxy or off-putting.
Yield: 2¾ cups (enough to frost 12-15 piped cupcakes or a thin double-layer cake)
Prep Time: 10 minutes
Cook Time: 0 minutes
Total Time: 10 minutes
Difficulty: Intermediate — you’ll need to source bakery emulsion, which isn’t typically found in regular grocery stores. It’s readily available online or at cake decorating supply shops, and a small bottle lasts a very long time.
For the All-Shortening Buttercream with Bakery Emulsion:
- 1 cup (200g) high-ratio shortening, softened to room temperature
- 3½ cups (420g) powdered sugar, sifted
- 2-3 tablespoons whole milk or heavy cream, at room temperature
- 1 tablespoon butter-flavored bakery emulsion or 1½ teaspoons clear vanilla bakery emulsion (not extract)
- ¼ teaspoon fine sea salt
- ⅛ teaspoon almond extract (optional but highly recommended—it adds complexity and prevents the frosting from tasting flat)
Instructions:
Whip the Shortening:
-
Add the softened high-ratio shortening to the bowl of a stand mixer fitted with the paddle attachment.
-
Beat on medium speed for 3-4 minutes, scraping down the sides of the bowl halfway through. The shortening will become noticeably lighter and fluffier, almost cream-colored. This step is crucial—properly whipped shortening creates a much lighter-textured frosting than if you skip this step.
Incorporate Sugar:
-
Sift the powdered sugar into a separate bowl and whisk in the salt.
-
With the mixer on low speed, add the powdered sugar mixture slowly, about ½ cup at a time. Mix for about 20 seconds after each addition, scraping down the sides as needed.
-
Once all the sugar is incorporated, increase the mixer speed to medium and beat for 1-2 minutes until the frosting is combined but still slightly crumbly in texture.
Add Flavor and Finish:
-
Add the bakery emulsion and the milk (start with 2 tablespoons). Mix on low for 30 seconds, then increase speed to medium and beat for 2-3 minutes until the frosting is smooth, fluffy, and spreadable.
-
Add the almond extract and beat for 30 seconds more. Taste the frosting. If you want more flavor intensity, add another ¼ teaspoon almond extract or another ½ teaspoon bakery emulsion and beat again.
-
If the frosting is too thick, add another tablespoon of milk. If it’s too thin, add ¼ cup more powdered sugar.
The Bakery Emulsion Advantage
Unlike vanilla extract, which contains alcohol that can evaporate during mixing or baking, bakery emulsion is suspended in water. This means the flavor stays true and doesn’t diminish through heat or time. Professional cake decorators rely on emulsions for this reason—the flavor remains consistent whether you’re using the frosting immediately or days later after refrigeration.
Flavor Variations with Emulsions
Once you have a bottle of bakery emulsion on hand, you can create endless flavor variations. Butter Vanilla is the most versatile option, but Princess Cake, Almond, Lemon, and Raspberry are all excellent choices. Start with just a drop or two more than called for in the recipe and taste as you go—emulsions are highly concentrated, and a little goes a long way.
When to Use All-Shortening
Choose this frosting when you’re dealing with truly extreme heat (outdoor events in climates above 85 degrees, direct sunlight for extended periods, or very humid conditions) or when your frosted items need to be displayed or transported in warm environments. The all-shortening base provides maximum structural integrity. It’s also excellent for cottage food bakers operating under regulations that restrict dairy ingredients.
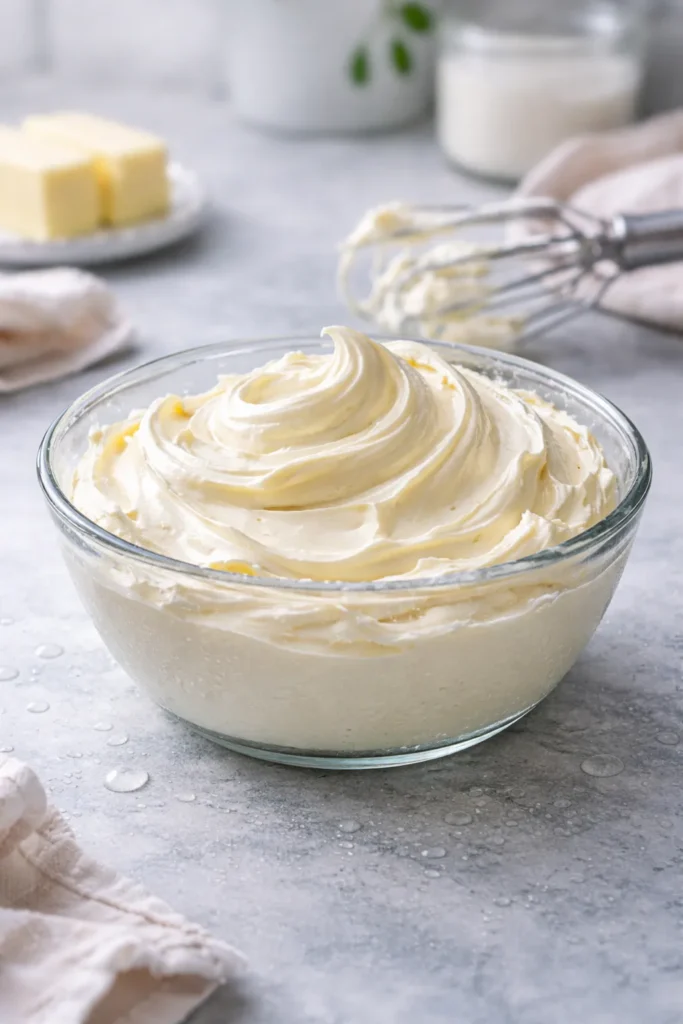
3. Heat-Stable Buttercream with Meringue Powder
Meringue powder is a secret weapon that many home bakers overlook. It’s essentially powdered egg whites combined with cornstarch, sugar, gum arabic, and cream of tartar. When beaten into buttercream, it acts as a stabilizer that helps the frosting hold its shape and resist melting. This recipe uses a traditional butter base (no shortening), which means you get authentic buttercream flavor without sacrificing heat stability—a genuine win for bakers who prefer the taste of real butter.
The meringue powder works by creating a more stable foam structure throughout the frosting. The proteins in the egg whites help emulsify and strengthen the fat-sugar mixture, while the gum arabic thickens the frosting and improves its hold. The result is a frosting that looks and tastes like traditional buttercream but performs like a professional heat-stable version.
Yield: 2½ cups (enough to frost 12-16 piped cupcakes or a double-layer 8-inch cake)
Prep Time: 10 minutes
Cook Time: 0 minutes
Total Time: 10 minutes
Difficulty: Beginner — meringue powder is increasingly available in regular grocery stores (check the baking aisle) and is inexpensive. No special technique required beyond standard frosting-making.
For the Heat-Stable Buttercream with Meringue Powder:
- 1 cup (226g) unsalted butter, softened to room temperature
- 1 tablespoon meringue powder (measure carefully—too much creates an unpleasant flavor)
- 3½-4 cups (420-480g) powdered sugar
- 2-3 tablespoons heavy cream or whole milk, at room temperature
- 2 teaspoons pure vanilla extract
- ⅛ teaspoon fine sea salt
Instructions:
Cream the Butter:
-
In the bowl of a stand mixer fitted with the paddle attachment, add the softened butter.
-
Beat on medium speed for 2-3 minutes until the butter is pale, creamy, and increased in volume. Scrape down the sides of the bowl.
Prepare the Sugar Mixture:
-
In a separate bowl, whisk together the meringue powder and powdered sugar thoroughly, breaking up any clumps of meringue powder with the back of a spoon. This step is important because meringue powder tends to clump, and you want it evenly distributed throughout the frosting for consistent stabilization.
-
Add the salt to the powdered sugar and meringue mixture and whisk again to combine.
Combine Ingredients:
-
With the mixer on low speed, add the powdered sugar and meringue powder mixture gradually—about ½ cup at a time. Mix for about 30 seconds after each addition before adding more. Scrape down the sides of the bowl between additions.
-
Once all the powdered sugar is incorporated, add the vanilla extract and the milk. Increase the mixer speed to medium and beat for 2-3 minutes until the frosting is light, fluffy, and pale in color. It should look noticeably fluffier than it did before the final beating.
-
Taste and adjust as needed. If the frosting is too thick, add another tablespoon of milk and beat again. If too thin, add ¼ cup more powdered sugar.
Why Meringue Powder Works
The stabilizing effect comes from the combination of proteins (from the egg whites) and gum arabic, which together create a more cohesive structure that resists breaking down under heat. Unlike shortening-based frostings, a meringue-stabilized buttercream still tastes like real butter—rich, creamy, and distinctly buttery—while performing impressively in warm conditions.
Real-World Performance
Testing shows that a meringue-stabilized buttercream holds up well in temperatures up to the low 80s, especially with the addition of 1-2 tablespoons of meringue powder per batch. It won’t perform as dramatically as a half-shortening or all-shortening frosting in extreme heat, but it provides a meaningful improvement over traditional buttercream for most outdoor summer scenarios.
Tinting Without Affecting Texture
This frosting takes gel food coloring beautifully. Add color a few drops at a time with the mixer on low speed, beating between additions. The meringue powder doesn’t affect the coloring process, so you can create vibrant, consistent colors without worrying about the frosting breaking or changing texture.
4. Swiss Meringue Buttercream (Silky Heat-Stable Version)
Swiss meringue buttercream is fundamentally different from American buttercream in both method and structure. Instead of creaming butter and sugar together, you whip egg whites and sugar over gentle heat to create a warm, stable foam, then gradually add butter to create an emulsion. The result is a silky, velvety frosting that’s naturally more stable than American buttercream because of how the emulsion forms.
This frosting does require more technique and attention than American buttercream, but it’s absolutely worth learning. It’s naturally heat-stable (the cooking process and emulsion structure make it inherently more resistant to melting), holds fine decorative detail beautifully, and has a sophistication that sets it apart. It also contains pasteurized eggs (heated to 160°F / 71°C), which addresses food safety concerns.
Yield: 3 cups (enough for a double-layer 8-inch cake or 18-20 piped cupcakes)
Prep Time: 15 minutes (mostly waiting for the meringue to cool)
Cook Time: 5 minutes
Total Time: 20 minutes
Difficulty: Intermediate — requires heating ingredients over a double boiler and understanding how to recognize when the frosting is properly emulsified. Not difficult, but more technique-heavy than American buttercream.
For the Swiss Meringue Buttercream:
- 4 large egg whites (about 120g), room temperature (Use pasteurized eggs if you have food safety concerns, or purchase pasteurized egg whites in a carton.)
- ¾ cup (150g) granulated sugar
- ½ teaspoon cream of tartar
- 1½ cups (340g) unsalted butter, cut into ½-inch cubes and softened to cool room temperature (not warm, not cold)
- 2 teaspoons pure vanilla extract
- Pinch of fine sea salt
Equipment needed: Double boiler or heatproof bowl set over a pot of simmering water, instant-read thermometer, stand mixer with whisk attachment, rubber spatula
Instructions:
Heat the Meringue:
-
Fill the bottom pot of a double boiler with water and bring it to a gentle simmer. In the top bowl, combine the egg whites, sugar, and cream of tartar.
-
Place the bowl over the simmering water (the bottom of the bowl should not touch the water). Whisk constantly with a handheld whisk for 5-8 minutes, until the mixture reaches 160°F (71°C) on an instant-read thermometer. The mixture should feel hot to the touch and look like thin, frothy egg white. The sugar should feel completely dissolved when you rub a tiny bit between your fingers—there should be no grit. This heating step pasteurizes the eggs and helps the meringue whip to a more stable foam.
-
Transfer the hot meringue to the bowl of a stand mixer fitted with the whisk attachment.
Whip the Meringue:
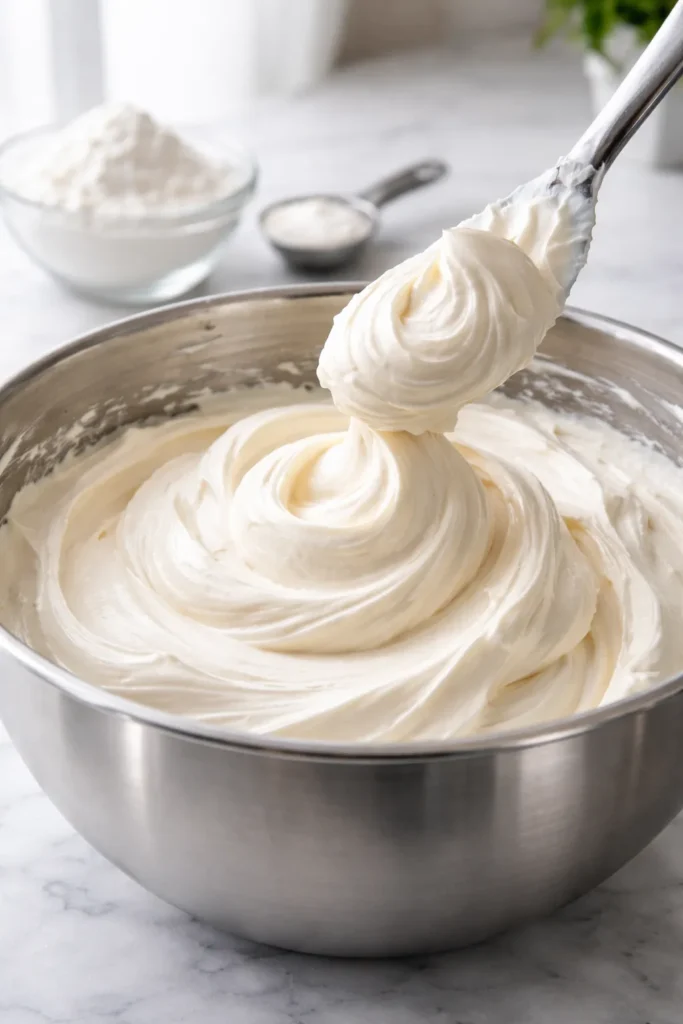
- Beat the meringue on medium-high speed for 7-10 minutes, until it transforms into stiff peaks that hold their shape when you lift the whisk. The bowl will cool down significantly during this time. The meringue will go from frothy and thin to glossy and thick—you should actually feel the bowl cooling under your hands. This is the proper stage to begin adding butter.
Add Butter Gradually:
-
With the mixer on medium-low speed, add the butter one cube at a time, allowing each piece to almost fully incorporate before adding the next. This process takes 3-5 minutes total. The frosting will look separated, broken, or curdled at some point—this is completely normal and will resolve as you continue beating.
-
Continue adding butter and beating until the frosting suddenly transforms into a smooth, silky, thick frosting. If it still looks broken after all the butter is added, increase the speed slightly and beat for another 1-2 minutes. The heat from the friction will help the emulsion come together.
-
Add the vanilla extract and salt and beat on low speed for 30 seconds.
Why Swiss Meringue Is Naturally Heat-Stable
The cooking process and the way the butter emulsion forms make Swiss meringue buttercream more heat-resistant than American buttercream by default. The egg white proteins create a stronger foam structure, and the precise way the butter is incorporated creates a more stable emulsion. This means you get excellent heat resistance without relying on shortening or unusual additives.
Texture and Piping
Swiss meringue has a silky, luxurious mouthfeel that many bakers prefer over American buttercream. It pipes beautifully and holds intricate details. It’s also less sweet than American buttercream (by weight, there’s actually less sugar), which many people find more sophisticated and more palatable.
Temperature Sensitivity
The butter temperature matters significantly in this recipe. If the butter is too warm (above 72°F / 22°C), the frosting may stay separated. If it’s too cold, it will be chunky. Ideally, the butter should be at “cool room temperature”—you should be able to press your thumb into it easily, but it shouldn’t feel warm or slippery. If your frosting isn’t coming together, let it sit at room temperature for 10 minutes and then whip it again.
5. Vegan Heat-Stable Buttercream (Shortening and Coconut Milk)
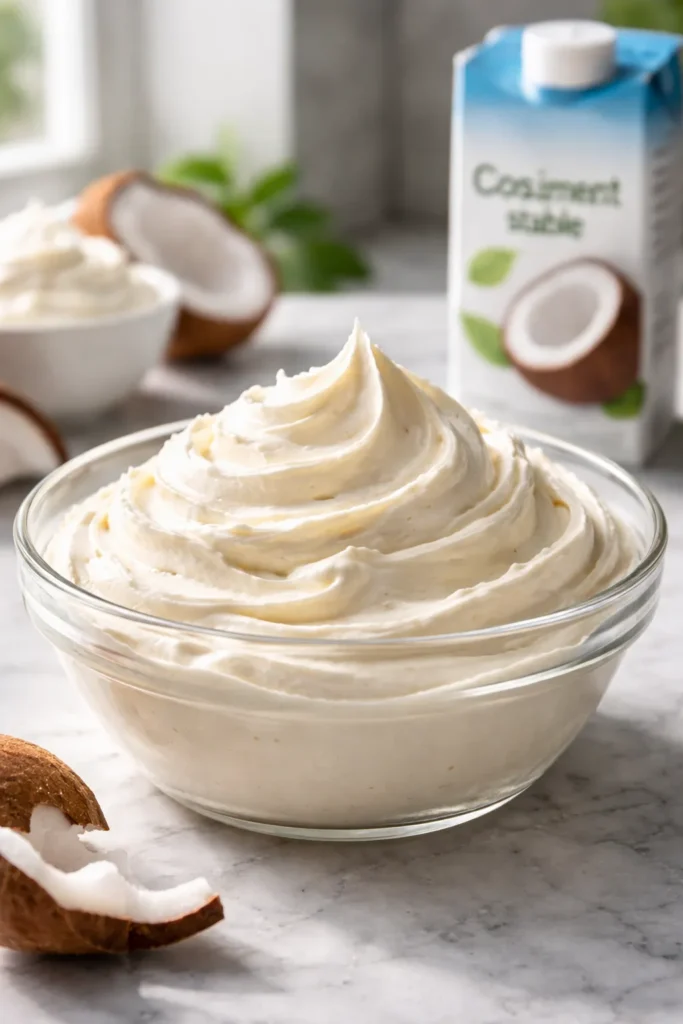
Vegan bakers and those with dairy allergies deserve heat-stable frosting too. This recipe uses vegan butter combined with high-ratio shortening and coconut milk (or oat milk) to create a frosting that’s completely plant-based, holds up beautifully in warm conditions, and tastes genuinely delicious. Many people are surprised to learn they can’t tell the difference between this and traditional buttercream—the combination of high-ratio shortening and the right ratio of ingredients masks any vegan-specific flavors.
The key to success here is using the best quality vegan butter you can find. Earth Balance sticks are widely available and perform consistently, though you can also try Miyoko’s or other dairy-free butter brands that have a high fat content.
Yield: 2¾ cups (enough to frost 12-15 piped cupcakes or fill and crumb coat a two-layer cake)
Prep Time: 10 minutes
Cook Time: 0 minutes
Total Time: 10 minutes
Difficulty: Intermediate — requires sourcing high-ratio shortening, which is less commonly available than regular shortening. The technique itself is straightforward if you’ve made buttercream before.
For the Vegan Heat-Stable Buttercream:
- ½ cup (113g) vegan butter (such as Earth Balance sticks), softened to room temperature
- ½ cup (100g) high-ratio shortening (such as Sweetex), softened to room temperature
- 3½ cups (420g) powdered sugar, sifted
- 3-4 tablespoons unsweetened coconut milk (or oat milk if you prefer a neutral flavor), at room temperature
- 1 tablespoon pure vanilla extract (or 1½ teaspoons clear vanilla bakery emulsion)
- ⅛ teaspoon fine sea salt
Instructions:
Cream the Fats:
-
In the bowl of a stand mixer fitted with the paddle attachment, combine the softened vegan butter and high-ratio shortening.
-
Beat on medium-high speed for 5-7 minutes, scraping down the sides of the bowl every couple of minutes. The mixture should become noticeably lighter in color and increase in volume. This extended creaming is crucial for a light, fluffy texture.
Incorporate Sugar:
-
Sift the powdered sugar into a separate bowl and whisk in the salt.
-
With the mixer on low speed, add the powdered sugar mixture gradually—about ½ cup at a time. Mix for about 30 seconds after each addition, then scrape down the sides of the bowl before adding more.
-
Once all the powdered sugar is incorporated, stop the mixer and scrape down the bowl thoroughly.
Lighten and Finish:
-
Switch to the whisk attachment. Add the vanilla extract and 3 tablespoons of the coconut milk. Beat on medium speed for 3-4 minutes until the frosting is light, fluffy, and pale in color. It should increase noticeably in volume.
-
Taste the frosting. If the coconut flavor is too pronounced, you can add a few more drops of vanilla. If the frosting is too thick, add the remaining 1 tablespoon of milk. If it’s too thin, add ¼ cup more powdered sugar, a couple tablespoons at a time.
Why Vegan Butter Plus Shortening Works
High-ratio shortening provides the structure and stability needed to prevent melting, while vegan butter contributes authentic buttery flavor and a better mouthfeel than shortening alone. The combination creates a frosting that’s more heat-stable than vegan-butter-only frosting while tasting better than shortening-only versions. Coconut milk adds just enough moisture and richness without adding dairy.
Coconut Milk Flavor Considerations
If you want to avoid any coconut flavor, use oat milk or another neutral plant-based milk instead. Coconut milk’s flavor is subtle in this recipe and complements vanilla beautifully, but some bakers prefer a completely neutral base. Either works perfectly.
Coloring and Flavoring Options
This frosting takes gel food coloring excellently. You can also experiment with bakery emulsions (such as Butter Vanilla or Almond) as you would with any vegan buttercream. Because the frosting already has a lot of flavor from the combination of vegan butter, vanilla, and the shortening, start with 1 teaspoon of additional emulsion and taste before adding more.
Pro Tips for Making Frosting That Actually Stays Stable in Heat

Understanding the mechanics of why frosting melts helps you troubleshoot and prevent problems. Butterfat is the culprit. Butter melts around 82°F, and once it begins liquefying, the entire frosting structure collapses because the fat was the thing holding everything together. The sugar and milk can’t maintain the foam structure on their own.
High-ratio shortening has a higher melting point than butter (around 110-115°F depending on the brand), which is why replacing some or all of the butter with shortening makes such a dramatic difference. The emulsifiers in high-ratio shortening also allow it to hold more air and liquid, creating a more stable structure overall.
Temperature of ingredients matters tremendously. If you’re making frosting in a warm kitchen, make sure your butter or shortening is only softened, not warm. Warm fats are already partially melted, which makes them less stable in the final frosting. Similarly, use milk or cream at room temperature—cold liquid can cause the emulsion to break, while warm liquid can cause the fats to melt.
Under-mixing creates weak frosting. Many home bakers worry about over-mixing and stop beating too early. With buttercream, the beating process is what creates the stable foam structure that gives the frosting its light texture and holding power. Beat for the full time specified in the recipe, especially during the final whipping stage when you switch to the whisk attachment.
Sift your powdered sugar. Lumps in the powdered sugar can create weak points in the frosting structure. Sift it before mixing for the smoothest, most uniform texture. This is especially important for frostings that will be piped in decorative details—lumps can clog piping tips.
Add food coloring strategically. If you’re tinting frosting, do it after the frosting is completely made and fluffy, rather than earlier in the process. Mixing gel food coloring into already-fluffy frosting requires minimal additional beating, which helps maintain the light texture you worked hard to create.
Storage, Freezing, and Rewhipping Frosting
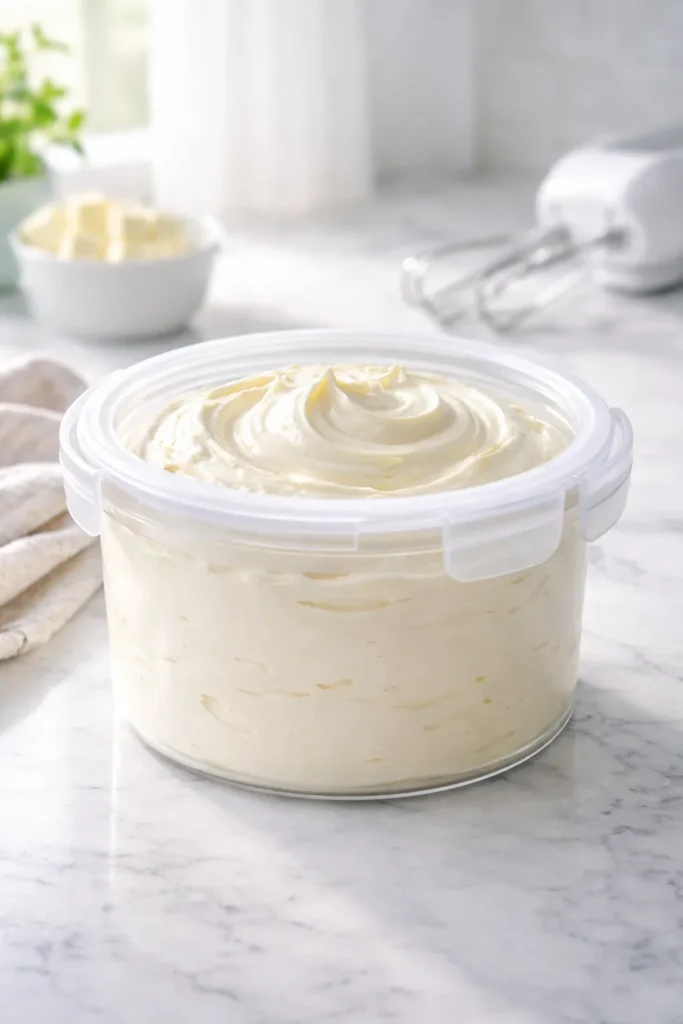
All five of these frostings store beautifully at room temperature for 1-2 days in an airtight container, though the Swiss meringue version is the most stable at room temperature and can safely sit out for several hours without significant change.
For longer storage, refrigerate any frosting in a sealed container for up to one week (two weeks for vegan versions, which actually improve slightly after a day of refrigeration as flavors meld). The frosting will firm up or become quite hard in the cold. When you’re ready to use it, bring it to room temperature for 30 minutes, then beat it with a hand mixer or stand mixer for 1-2 minutes to restore its fluffy, smooth texture. If it seems very stiff after this initial beating, add a small splash of milk (about 1 teaspoon) and beat again.
You can freeze any of these frostings for 2-3 months in an airtight container, or in individual cupcake-sized portions in ice cube trays (pop them out once frozen and store in a freezer bag). Thaw in the refrigerator overnight, then rewhip before using.
The Swiss meringue buttercream is the most stable straight from the fridge because of its emulsion structure—it often doesn’t need any rewhipping, just a few minutes at room temperature. The American-style buttercreams (recipes 1 and 3) benefit most from rewhipping to restore their light texture.
Troubleshooting Frosting That Melts Too Quickly
If you’ve followed a heat-stable frosting recipe but your frosting still melts faster than expected, here are the most common causes and fixes.
The frosting was too warm when applied. Frosting that’s freshly made or warmed up needs to be cooled to room temperature before spreading onto a cake. If the cake itself is warm, that warmth will transfer to the frosting and cause it to soften or melt. Always cool cakes completely before frosting—this is non-negotiable. If you’re in a warm climate, refrigerate the frosted cake for 30 minutes before transport or display.
The frosting wasn’t whipped enough. Under-whipped frosting has a dense, greasy texture and breaks down faster in heat. Make sure you’re beating the frosting for the full time specified in the recipe, especially the final whipping stage. The frosting should look noticeably lighter, fluffier, and paler than it was before the final beating.
You’re using regular shortening instead of high-ratio shortening. Regular shortening (like Crisco) contains trans fat alternatives but lacks the emulsifiers that make high-ratio shortening work so effectively. If you’ve been using the wrong type of shortening, switching to a high-ratio brand like Sweetex will make a dramatic difference.
The ambient temperature is simply too extreme. In temperatures above 90°F with high humidity, even the most stable frosting may begin to soften. In these cases, keep the frosted cake in a cooler environment until the last possible moment. Refrigerate or air-condition the space where the cake will be displayed, then bring it out just before serving.
Choosing Which Frosting to Make
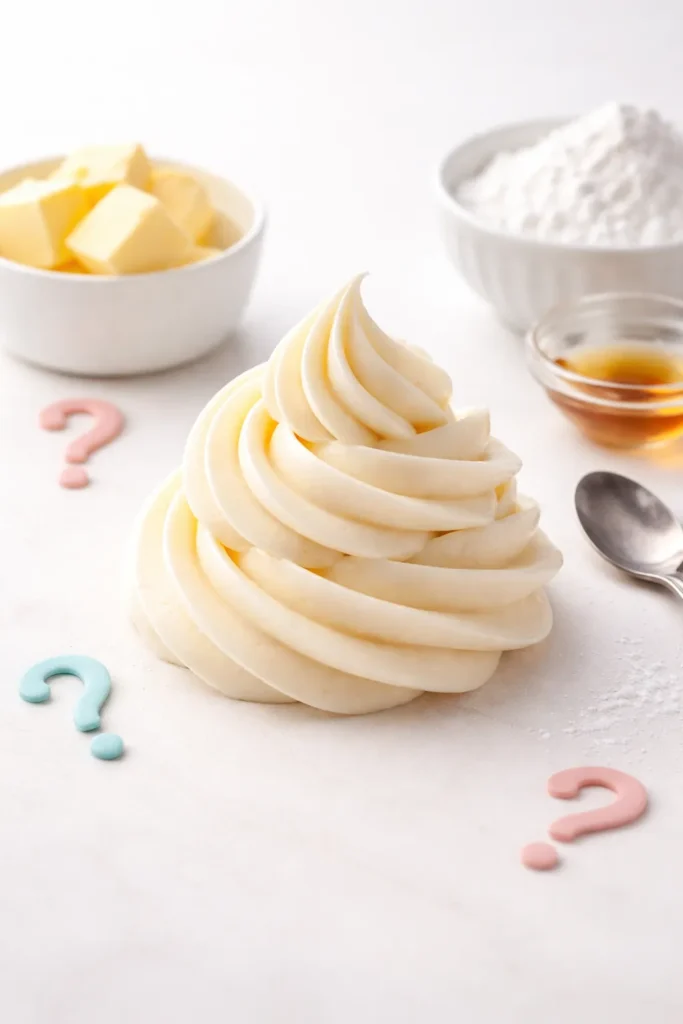
The best frosting choice depends on your priorities and the specific situation. Choose the Classic Half-Butter, Half-Shortening (Recipe 1) if you want great flavor, reliable stability, and a frosting that’s genuinely easy to make. This is the most versatile choice for most home bakers because it balances taste, performance, and accessibility.
Choose the All-Shortening with Bakery Emulsion (Recipe 2) if you’re dealing with extreme heat or humidity, or if you need a dairy-free option. The bakery emulsion flavor is actually better than many bakers expect—it creates a frosting that tastes professional and refined.
Choose the Heat-Stable Buttercream with Meringue Powder (Recipe 3) if you want to use real butter and you’re willing to source meringue powder. The flavor is indistinguishable from traditional buttercream, and the improvement in heat resistance is significant without being dramatic.
Choose Swiss Meringue Buttercream (Recipe 4) if you have the time and want a frosting with silky texture and less sweetness. It’s naturally heat-stable without relying on shortening, and it has a sophistication that sets it apart. This is the choice of professional cake decorators.
Choose the Vegan Heat-Stable Buttercream (Recipe 5) if you need to accommodate dairy allergies or vegan preferences. It performs as well as the traditional versions and tastes remarkably similar.
Final Thoughts
Making frosting that holds up to heat used to be a skill reserved for professional bakers, but now you have five accessible recipes and the knowledge to understand why each one works. The difference between a frosting that melts into an embarrassing puddle and one that stays picture-perfect comes down to choosing the right fats, whipping thoroughly, using quality ingredients, and understanding how temperature affects the emulsion.
The time you invest in making one of these frostings from scratch is time well spent—you’ll end up with something that tastes infinitely better than anything from a can, performs reliably in warm conditions, and gives you the confidence to bake for any event, regardless of the weather. Start with whichever frosting appeals to you most, taste it, see how it performs in your specific kitchen and climate, and then experiment with the others. You’ll quickly develop a favorite that becomes your go-to recipe for every warm-weather baking project.