When the temperature climbs and the thought of turning on your oven feels genuinely unbearable, no-bake cakes become your best friend. There’s something magical about pulling together a stunning, completely legitimate dessert without a single minute of baking time—just refrigeration, patience, and a few smart ingredient combinations. These cakes look impressive enough to serve at a dinner party, taste decadent enough to satisfy serious dessert cravings, and come together quickly enough that you can make them on a whim.
The beauty of no-bake cakes is that they’re equally suited to backyard barbecues, casual family meals, potlucks where you want to bring something special, or quiet weeknight treats when you need something cool and comforting. Best of all, most of them actually improve when made a day ahead—the flavors deepen, the layers meld together, and the texture becomes exactly what you want it to be. No rushed baking, no last-minute stress, and no heating up your kitchen during the months when you need a break from cooking most.
Table of Contents
- Why No-Bake Cakes Are Perfect for Summer
- 1. Chocolate Icebox Cake with Whipped Cream
- Why It’s Such a Winner
- What You’ll Need
- Pro Tip
- 2. Strawberry Cheesecake Icebox Cake
- What Makes This Cake Stand Out
- What You’ll Need
- How to Get the Most From It
- 3. Banana Cream Pudding Icebox Cake
- What Makes It Different
- What You’ll Need
- What to Watch For
- 4. Lemon Icebox Pie Cake
- Why It Stands Out
- What You’ll Need
- The Real-World Advantage
- 5. Mixed Berry Trifle Cake
- What Makes It Different
- What You’ll Need
- Pro Tip
- Tips for No-Bake Cake Success
- Storage and Make-Ahead Guidance
- Serving Suggestions and Pairings
- Final Thoughts
Why No-Bake Cakes Are Perfect for Summer
There’s a practical reason no-bake cakes have become a summer staple in kitchens everywhere. When outdoor temperatures soar, the idea of preheating an oven to 350°F feels like genuine self-sabotage. You’d be heating your entire kitchen during the hours when you’re trying hardest to stay cool—and who wants that? No-bake desserts free you from that dilemma entirely while delivering equally impressive results.
Beyond the comfort factor, these cakes have a natural lightness that suits warm-weather eating far better than traditional dense, heavy cakes. They tend to feature fresh fruit, cool whipped cream, chilled pudding, or mousse-like fillings—elements that feel refreshing rather than indulgent when you’re already warm. A slice with a cold glass of milk or iced coffee becomes the perfect way to end a summer meal without feeling overstuffed.
Making no-bake cakes ahead is a genuine advantage during busy season. Build your cake the day before, cover it, tuck it into the refrigerator, and you’ve got an elegant dessert ready whenever you need it. The graham cracker layers soften as they absorb moisture from the filling and fruit, the pudding sets perfectly, and flavors actually deepen overnight. You get better results by making ahead, not worse ones.
1. Chocolate Icebox Cake with Whipped Cream

This is the ultimate no-fuss chocolate cake—and it might be the easiest one on this entire list. The genius is almost absurdly simple: layer chocolate graham crackers with whipped cream and chocolate ganache, refrigerate until the crackers soften into a cake-like texture, and you’ve created something that tastes far more complicated than it actually is.
Why It’s Such a Winner
The magic happens as the crackers absorb moisture from the whipped cream and ganache. Within a few hours, what started as a stack of crispy, distinct crackers transforms into unified layers that slice beautifully and taste like actual cake. You’re essentially building a cake assembly that relies on time and cold temperature rather than oven heat to come together—and it works perfectly.
What You’ll Need
- 1 box chocolate graham crackers
- 16 ounces heavy cream, cold
- 3 tablespoons powdered sugar
- 1 teaspoon vanilla extract
- 6 ounces semi-sweet chocolate, chopped
- ½ cup heavy cream (for ganache)
- 2 tablespoons butter
Start by whipping the cold heavy cream with powdered sugar and vanilla until you reach stiff peaks—this takes about 3-4 minutes with a hand mixer or stand mixer. You want peaks that hold their shape, not soft, droopy cream. While that’s happening, melt your chocolate with the ½ cup cream and butter over low heat or in 30-second bursts in the microwave, stirring between bursts until completely smooth. Let the ganache cool for about 5 minutes—you want it warm enough to spread, but not so hot that it melts your whipped cream.
Spread a thin layer of whipped cream on the bottom of a 9×13-inch pan. Lay down a layer of chocolate graham crackers (you’ll break them to fit), then spread more whipped cream over them, then a thin drizzle of chocolate ganache. Repeat these layers—crackers, cream, ganache—until you reach the top of the pan, finishing with a ganache drizzle. Cover and refrigerate for at least 6 hours, ideally overnight. When you slice it, the formerly-crispy crackers will have softened into a tender cake texture that’s honestly remarkable.
Pro Tip
Make this cake the morning of the day you plan to serve it, and you’ll have the perfect texture—the crackers are soft enough to feel like cake, but not so saturated that they lose all structure. More than 24 hours and they become almost pudding-like, which isn’t bad, just different.
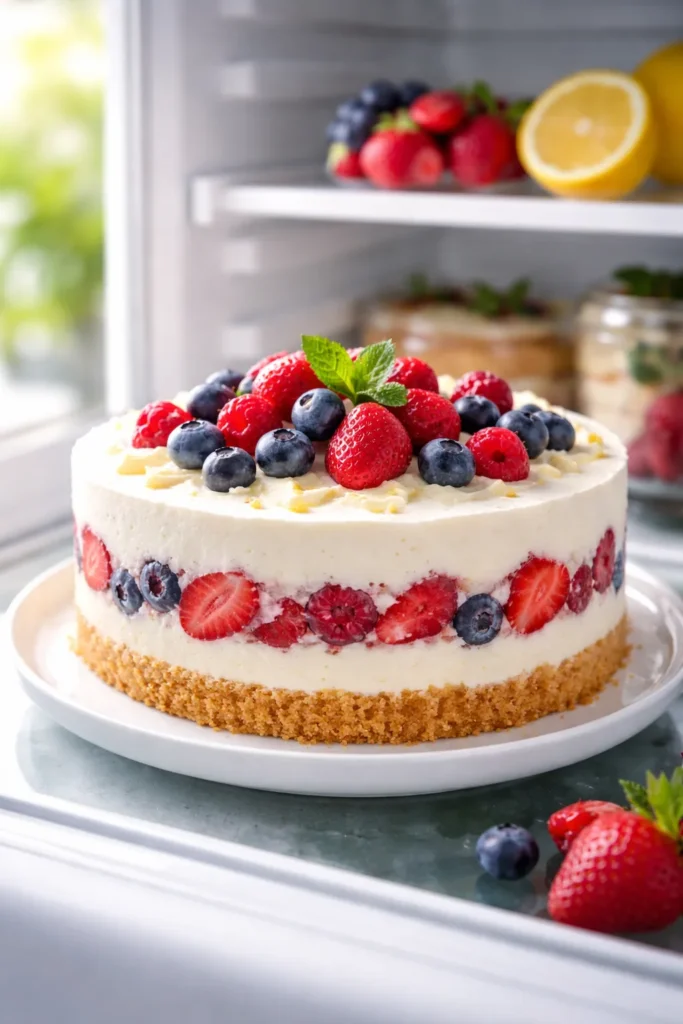
2. Strawberry Cheesecake Icebox Cake

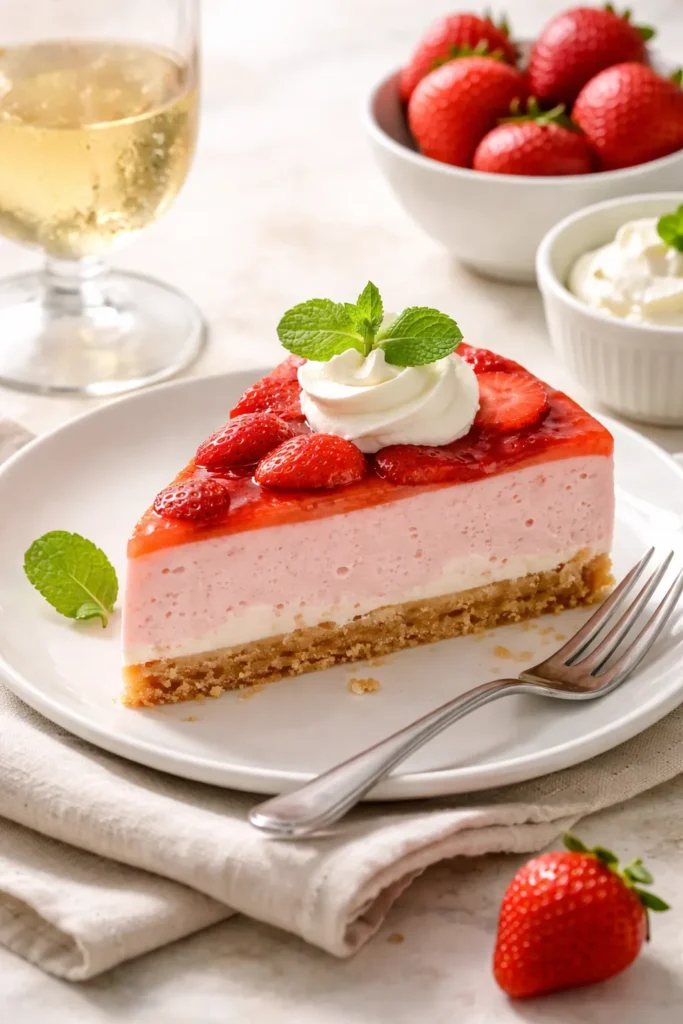
This cake plays on everyone’s favorite flavor combination—strawberries and cream cheese—but transforms it into a no-bake structure that’s lighter and more refreshing than a traditional cheesecake. Fresh berries aren’t just a topping here; they’re woven between layers, so every bite has fruit and cream in the same moment.
What Makes This Cake Stand Out
The pudding-based filling comes together in minutes and has a texture between thick mousse and traditional cheesecake—creamy enough to feel indulgent, light enough that you actually want to eat an entire slice without feeling overstuffed. The graham crackers absorb moisture from the berries and pudding, creating a unified texture that genuinely feels like cake.
What You’ll Need
- 19 ounces graham crackers (about 16-18 full crackers)
- 8 ounces cream cheese, softened
- 2 packages (3.4 ounces each) vanilla instant pudding
- 2½ cups cold milk
- 12 ounces whipped cream (or Cool Whip)
- 3 cups fresh strawberries, sliced
- 1½ cups fresh blueberries
- 2 ounces white chocolate chips (for drizzling, optional)
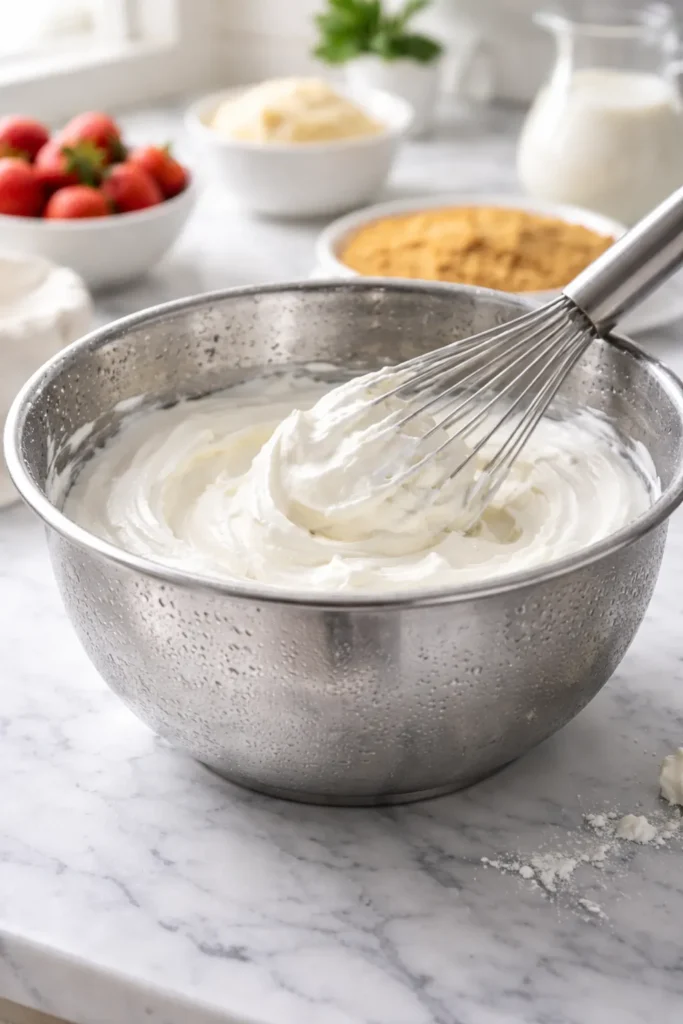
Beat the softened cream cheese with the dry pudding mix until completely blended—this takes about 2 minutes. Gradually add the cold milk, beating constantly until smooth. The mixture will look like thick pudding. Gently fold in your whipped cream with a rubber spatula, using broad strokes and being careful not to deflate the whipped cream. You want to preserve some of those air pockets because that’s what gives this cake its light texture.
Spread a thin layer of the pudding mixture on the bottom of a 9×13-inch pan. Layer graham crackers over it (breaking them to fit), then spread more pudding, then scatter strawberries and blueberries in an even layer. Repeat: crackers, pudding, berries. Do this three times total, ending with berries on top. Cover and refrigerate for at least 4 hours, though overnight is better. Just before serving, you can melt white chocolate and drizzle it decoratively over the top—it adds a touch of elegance without adding much effort.
How to Get the Most From It
Use berries that are ripe and flavorful; hard, underripe strawberries will taste disappointing. Fresh is always better than frozen for this particular cake because you want the berries to release their juice into the pudding layer, creating flavor bridges between the components. If you’re making this for a crowd, you can assemble it up to 24 hours ahead and store it covered in the refrigerator.
3. Banana Cream Pudding Icebox Cake
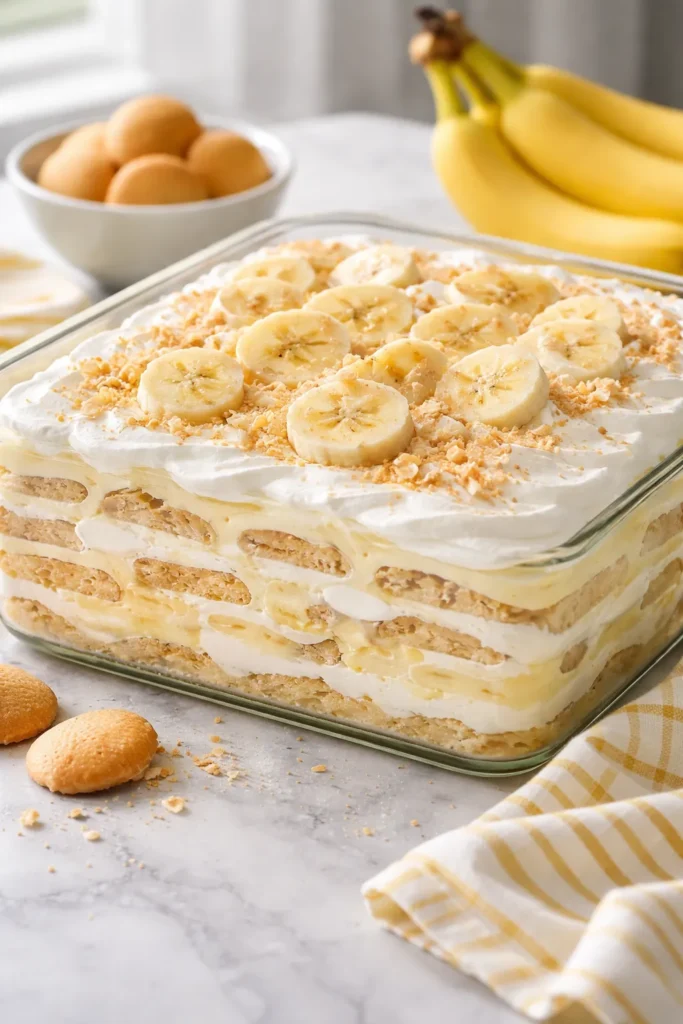
This cake captures the essence of banana pudding—one of the most beloved Southern desserts—and transforms it into slice-friendly form. Layers of vanilla wafers soften into tender cake texture, while a banana pudding filling keeps everything moist and richly flavored. It’s familiar enough to feel comforting, but elegant enough for company.
What Makes It Different
Where traditional banana pudding is served as a trifle-style dish with a spoon, this version is structured into neat, sliceable layers. The wafers play the same role that graham crackers do in other icebox cakes—they provide structure and texture that softens as they absorb the pudding. But banana pudding filling has a distinct character that makes this feel like an entirely different dessert.
What You’ll Need
- 12 ounces vanilla wafers
- 6 ounces cream cheese, softened
- 2 packages (3.4 ounces each) vanilla instant pudding
- 3 cups cold whole milk
- 8 ounces whipped cream
- 4-5 medium bananas
- 2 tablespoons fresh lemon juice
- ¼ cup powdered sugar
Beat cream cheese and dry pudding mix together until smooth and blended. Gradually add cold milk, stirring constantly until the mixture reaches pudding consistency. Fold in whipped cream with a rubber spatula, using gentle strokes to keep the mixture light and airy. Slice your bananas into ¼-inch thick rounds, toss them with lemon juice (this prevents browning and adds bright flavor), and fold them into the pudding mixture. The lemon juice is crucial—it keeps the bananas from turning dark and brown, which would make the whole dessert look less appetizing.
Spread a thin layer of pudding mixture on the bottom of a 9×13-inch pan. Layer vanilla wafers over it, then more pudding. Repeat these layers until you reach the top, finishing with pudding. Cover and refrigerate for at least 6 hours. The vanilla wafers will soften dramatically—what started as crispy cookies will have transformed into tender cake-like layers by the time you’re ready to serve.
What to Watch For
Don’t slice your bananas more than a few hours before assembling the cake, and make sure every slice gets tossed with lemon juice. This prevents oxidation that would turn them brown and unappetizing. If you’re concerned about the timing, you can slice and coat the bananas, cover them, and refrigerate until you’re ready to build the cake.
4. Lemon Icebox Pie Cake

Bright, tart, and refreshing, this cake hits a different note than chocolate or cream-heavy versions. It’s perfect when you want something that feels light and citrusy—a dessert that actually works as a palate cleanser after a rich meal rather than something that adds to the heaviness. Fresh lemon flavor shines throughout, balanced by sweetness that never becomes cloying.
Why It Stands Out
Most icebox cakes rely on chocolate or fruit for their flavor profile. This one makes lemon the star, and the result is surprisingly sophisticated. The tartness of the lemon juice combined with the richness of condensed milk and cream cheese creates a perfectly balanced filling that tastes neither too sweet nor too sour. Layer that over a gingersnap or graham cracker crust, and you’ve got something that feels restaurant-worthy.
What You’ll Need
- 18 ounces gingersnap or graham cracker crumbs
- 6 tablespoons melted butter
- 14 ounces sweetened condensed milk
- 8 ounces cream cheese, softened
- ¾ cup fresh lemon juice
- 2 tablespoons lemon zest
- 12 ounces heavy cream, whipped to stiff peaks
- Pinch of salt
Mix your crumbs with melted butter and a pinch of salt, then press firmly into a 9×13-inch pan to create an even crust. Refrigerate while you make the filling. Beat cream cheese until smooth, then add condensed milk and beat until completely combined. Stir in lemon juice, lemon zest, and salt—the filling will thicken slightly from the acid in the lemon juice, which is exactly what you want. Fold in the whipped cream gently, preserving the airy texture.
Pour the filling over your prepared crust and spread into an even layer. Cover and refrigerate for at least 6 hours, though overnight is ideal. The flavors deepen and mellow slightly as it chills, becoming even more balanced and delicious. Just before serving, you can top it with additional whipped cream or even candied lemon slices if you’re feeling fancy.
The Real-World Advantage
This cake actually benefits from being made a day ahead. The lemon flavor melds with the cream cheese and condensed milk, creating a more cohesive taste. If you serve it the same day you make it, the lemon tastes slightly sharper and more separate from the other components. After overnight refrigeration, it tastes like a unified dessert rather than flavors layered on top of each other.
5. Mixed Berry Trifle Cake
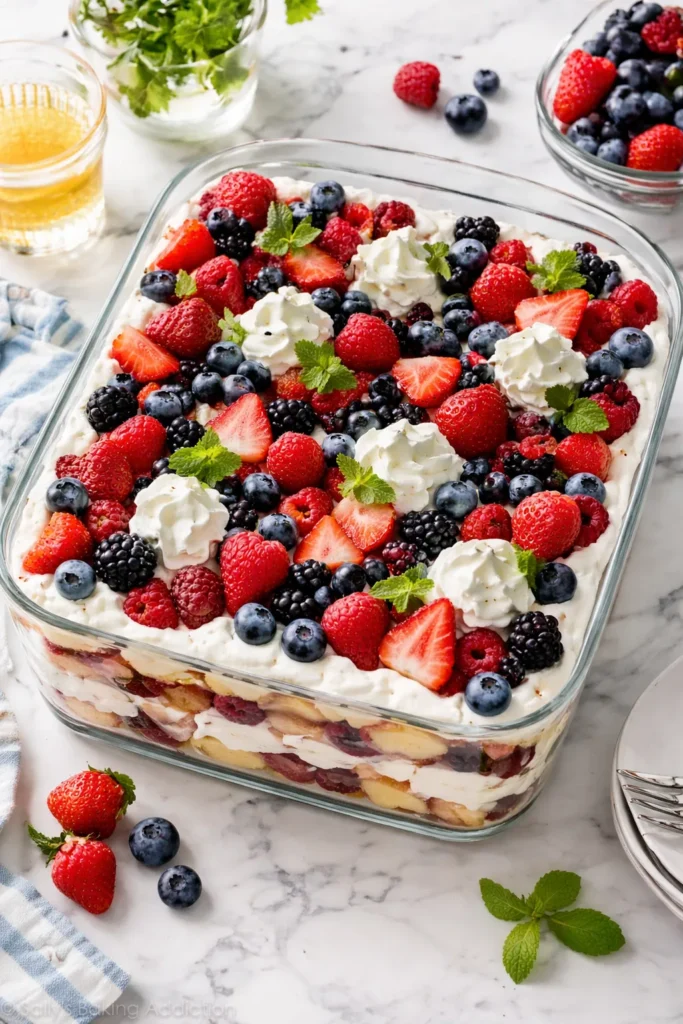
Sometimes the simplest approach yields the best results, and that’s absolutely true of berry trifle. Layer fluffy cake (store-bought is completely acceptable here), fresh berries, whipped cream, and a drizzle of chocolate, then refrigerate until everything melds together. It’s technically a trifle, but when you serve it in layers from a 9×13-inch pan, it slices like cake and feels like a complete, impressive dessert.
What Makes It Different
This one is the fastest to assemble and requires zero specialized techniques. You’re not making any custard, pudding, or ganache—just assembling quality components in the right way. What takes a bit of time is the chilling, which allows the flavors to marry and the cake to soften slightly from the moisture of the berries and cream. It’s the kind of dessert that looks effortlessly elegant but actually came together with minimal fuss.
What You’ll Need
- 1 store-bought pound cake or angel food cake (or 2 layers of store-bought sponge cake)
- 3 cups fresh strawberries, sliced
- 2 cups fresh blueberries
- 1 cup fresh raspberries
- ¼ cup sugar
- 24 ounces heavy cream
- 3 tablespoons powdered sugar
- 1 teaspoon vanilla extract
- 4 ounces dark chocolate, for shaving or grating
- 2 tablespoons cocoa powder (optional)
The morning of the day you plan to serve this, toss your berries with sugar and let them sit for 30 minutes at room temperature. This draws out their juices without making them mushy, creating a light syrup that flavors the whole dessert. Whip your heavy cream with powdered sugar and vanilla until stiff peaks form.
Cut your cake into roughly 1-inch cubes—don’t overthink the size, you’re going for rustic trifle texture, not precise geometry. In a 9×13-inch pan, start with a layer of cake cubes, then a layer of berries and their juice, then a generous layer of whipped cream. Repeat these layers until you reach the top of the pan. Finish with whipped cream on top, then grate chocolate over the entire surface. You can also dust with cocoa powder if you like.
Cover and refrigerate for at least 4 hours, ideally overnight. The cake will soften from the berry juice, the berries will meld with the cream, and the chocolate will add a subtle richness that brings all the components together. This is genuinely better the next day than it is if you eat it immediately.
Pro Tip
Use really good chocolate for the topping—you’ll taste it clearly, and it makes a noticeable difference. If fresh berries aren’t available or are prohibitively expensive, frozen berries work perfectly well. Thaw them first, drain off any excess liquid, and proceed as directed.
Tips for No-Bake Cake Success
Getting these cakes right isn’t difficult, but a few small details make the difference between good and genuinely outstanding.
Use cold ingredients for whipped cream. Your bowl, beaters, and heavy cream should all be cold before you start whipping. Cold cream whips faster and holds peaks more reliably than room-temperature cream. If you’re whipping by hand, this becomes even more important because you’ll be doing significantly more work. Many people keep a metal bowl in their freezer specifically for this purpose.
Don’t over-whip your cream. Once you reach stiff peaks that hold their shape, stop. Continue whipping past that point and you’re on a quick path to chunky, broken whipped cream that looks grainy and separated. If you accidentally over-whip, you can sometimes rescue it by adding a tablespoon of milk and folding very gently, but it’s easier to stop at exactly the right moment.
Make sure your pudding is actually cold. If you’re using instant pudding, let it set for the full time the package recommends (usually 5 minutes) before folding in the whipped cream. This gives it enough body to support the lighter whipped cream without sinking or breaking apart.
Press your crusts firmly. If you’re making a crust from crumbs and butter, compress it as much as possible before chilling. A loose, crumbly crust will fall apart when you try to serve slices. Your goal is an almost-solid base that stays intact.
Layer slightly thinner than you think necessary. It’s tempting to make generous, thick layers, but thinner layers actually work better for these cakes. The filling-to-cracker ratio stays balanced, and slices come out cleaner and prettier. A 9×13-inch pan can handle more layers than you’d initially assume.
Storage and Make-Ahead Guidance
One of the genuine advantages of no-bake cakes is how well they store and how far ahead you can prepare them.
Room temperature: These cakes should not sit out at room temperature longer than 2 hours, especially ones containing cream cheese or whipped cream. If you’re bringing one to a potluck or party, keep it in the cooler until you’re ready to serve it, then move it to the table no more than 2 hours before people will eat it.
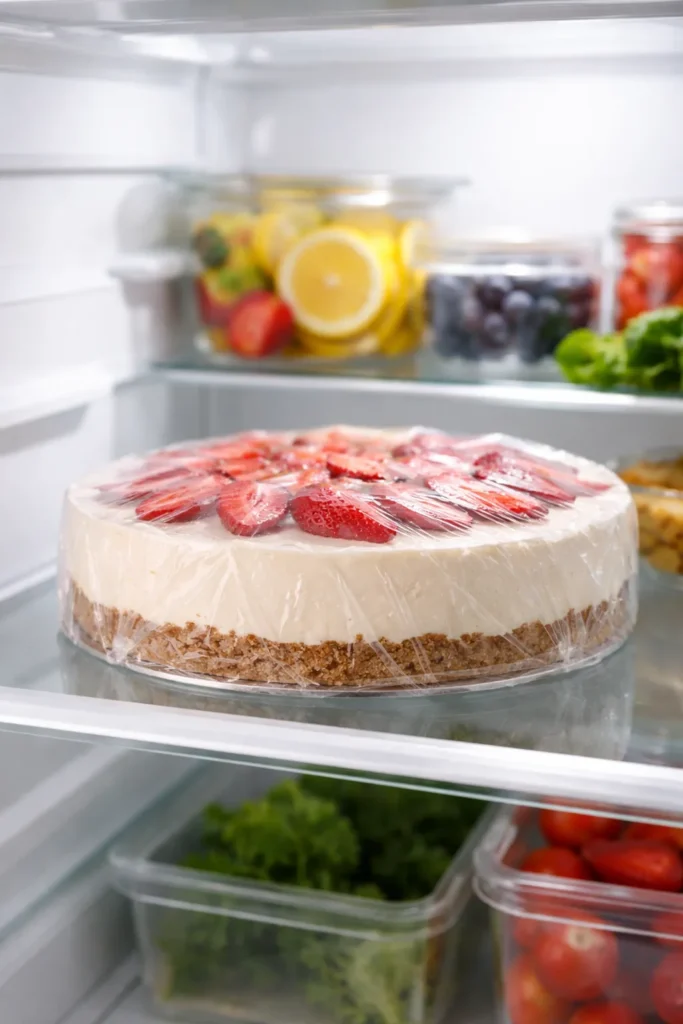
Refrigerator: Most no-bake cakes are best within 24 hours of assembly, though they’ll keep for up to 3-4 days covered in plastic wrap. The flavors are brightest and the texture is best the day you make them or the day after. Beyond that, they start to taste a bit flat and the texture can become mushy or separated.
Freezer: If you want to get ahead, you can freeze most of these cakes for up to 1 month. Assemble them completely, freeze uncovered for 6 hours until solid, then wrap tightly in plastic wrap and aluminum foil. Thaw in the refrigerator for about 6 hours before serving. Freezing doesn’t harm these cakes the way it would a baked cake—in fact, they often slice more cleanly when they’ve been frozen.
What freezes well: Chocolate icebox cake, banana cream pudding cake, and lemon cake all freeze and thaw beautifully. The whipped cream filling becomes slightly denser after freezing, which actually makes slicing easier.
What’s better fresh: The berry trifle and strawberry cheesecake cake are best served within 24 hours of assembly, when the berries are still vibrant and the flavors haven’t started to blur together.
Serving Suggestions and Pairings
These cakes are impressive enough to stand alone, but they’re even better with thoughtful serving.
Temperature matters. Serve these cakes straight from the refrigerator, not at room temperature. The cold temperature is part of their appeal and their texture—letting them warm up on the counter makes them soft, mushy, and less pleasant to eat. If you’ve cut slices ahead of time, keep them covered in the refrigerator until the moment you’re ready to serve.
Drinks that pair well. Iced coffee or cold milk are classics for a reason, but these cakes also pair beautifully with iced tea (especially for the lemon cake), sparkling water with fresh lemon, or even light white wine. A chilled glass of something refreshing alongside a slice of cold cake is genuinely perfect summer eating.
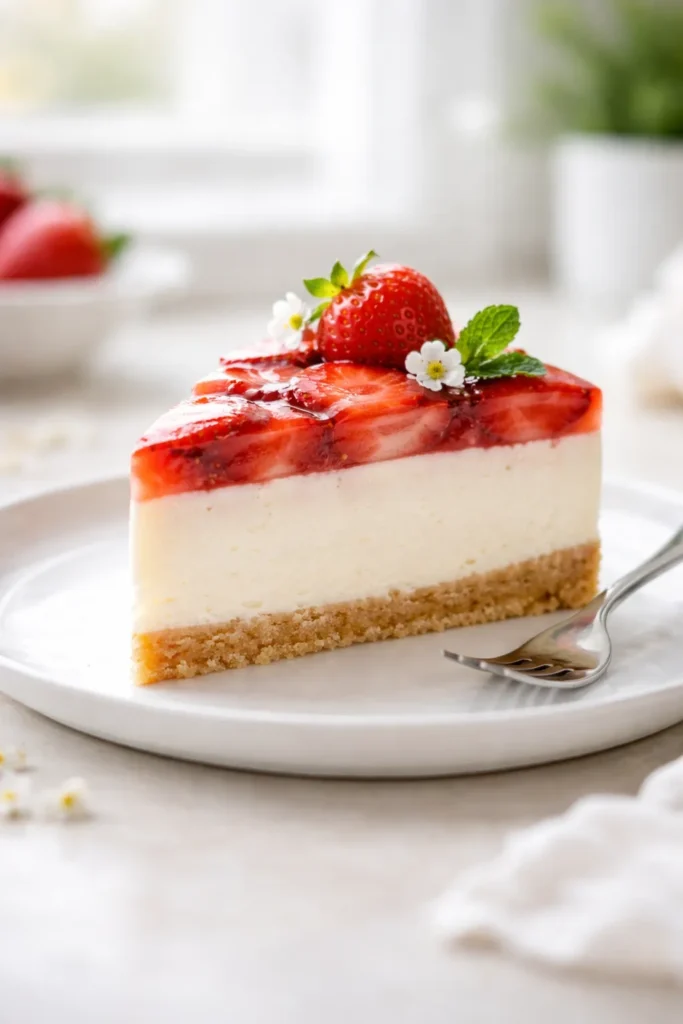
Garnishes that add polish. A small dollop of freshly whipped cream on the plate next to each slice looks elegant and adds richness. Fresh mint leaves, a light dusting of cocoa powder, or a few fresh berries scattered on the plate elevate presentation without requiring much effort. For the lemon cake, candied lemon slices or even just a thin lemon wheel add visual interest and flavor.
How much to serve. These cakes are rich enough that 1 to 1½-inch thick slices are satisfying portions. A 9×13-inch pan cut into 12 pieces (3 across, 4 down) is the right size for most situations. If you’re serving after a heavy meal, smaller slices are better. If it’s the main event, slightly larger slices work fine.
Final Thoughts
No-bake cakes aren’t a compromise or a substitute for “real” cakes—they’re genuinely excellent desserts that happen to require a refrigerator instead of an oven. They’re often lighter, fresher, and more aligned with how we actually want to eat during warm months. They’re flexible enough to customize based on what fruit is available or what flavors you’re craving. And they’re reliable enough that you can make them with complete confidence, knowing exactly how they’ll turn out.
The beautiful part is how forgiving these cakes are. You don’t have to worry about baking temperature, oven hot spots, or getting the timing exactly right. You just layer your components, let the refrigerator do the work, and end up with an elegant, delicious, completely impressive dessert. No stress, no oven heat, no second-guessing whether something is done. Just cold, refreshing cake that everyone will want to eat.