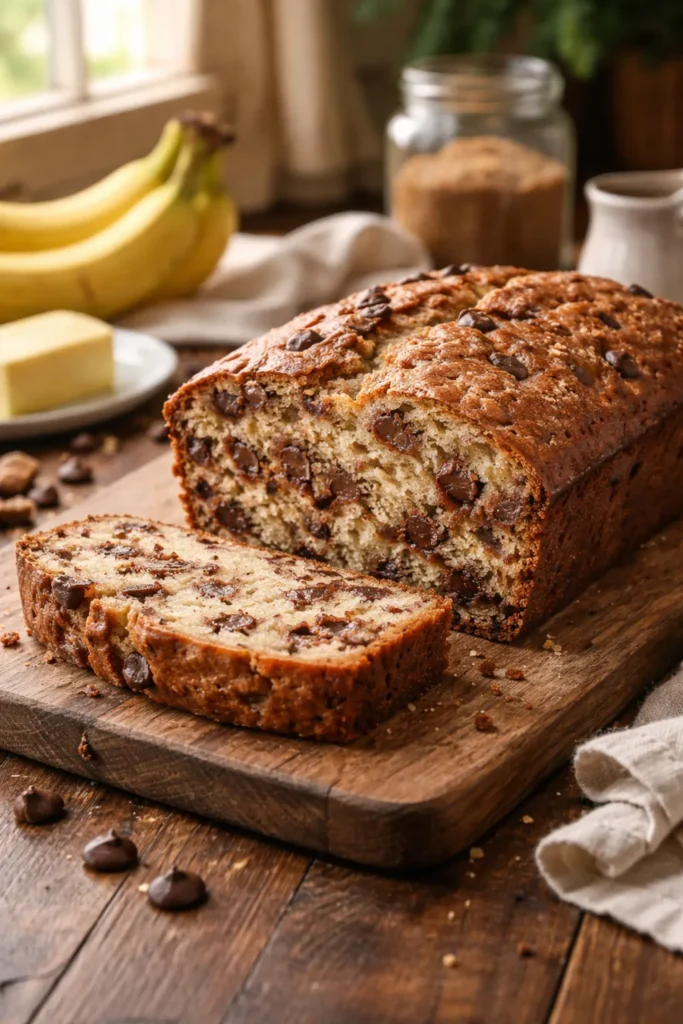
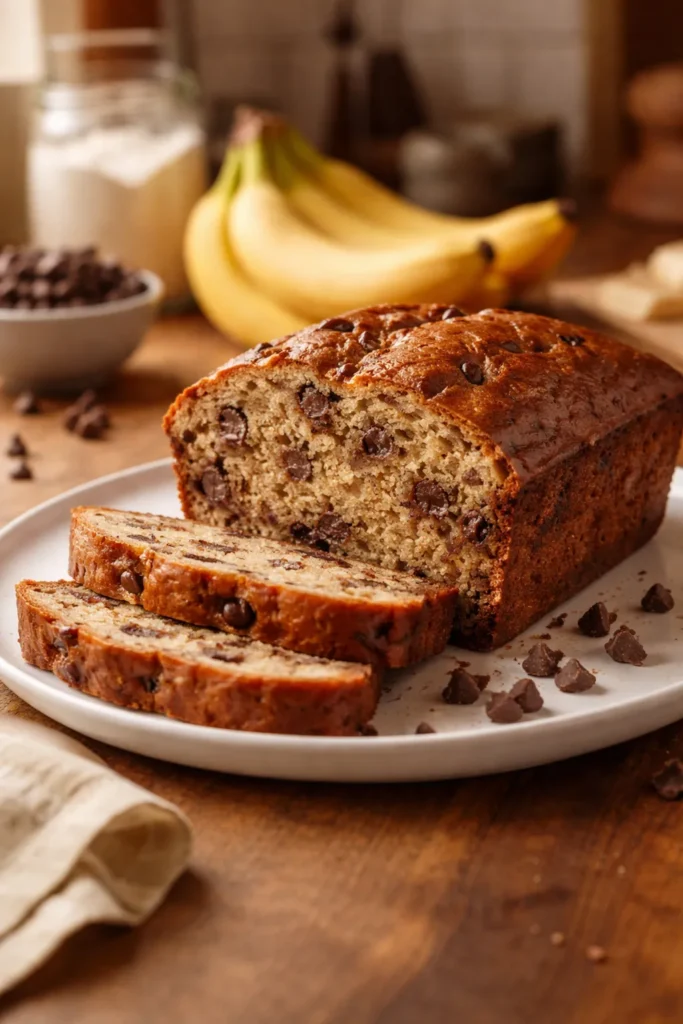
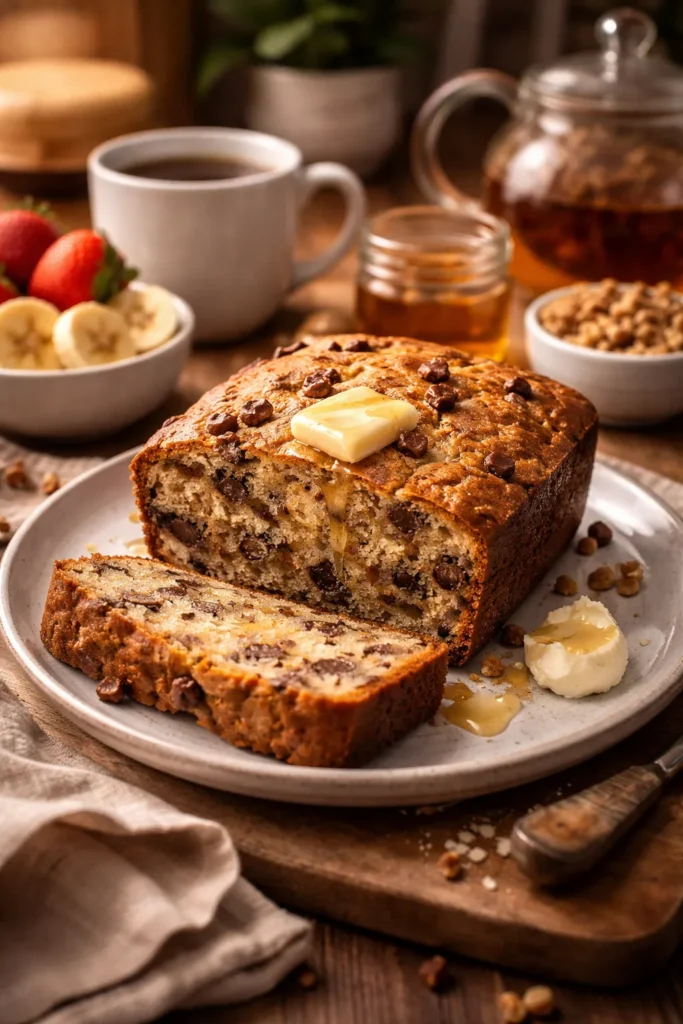
There’s a particular magic that happens when overripe bananas meet melted chocolate chips inside a warm loaf of banana bread. It’s the kind of magic that fills your entire home with an irresistible aroma—one that doesn’t just smell delicious, but somehow makes you feel cozy the moment you walk through the door. If you’ve ever stood in front of your fruit bowl watching bananas turn increasingly speckled with brown, wondering what to do before they’re completely black, this recipe is about to become your absolute best friend. This isn’t just another banana bread recipe tossed together with a handful of chocolate chips and called a day. This is a carefully crafted recipe that balances moisture, flavor, and texture in a way that genuinely earns the “irresistible” label.
The beauty of homemade chocolate chip banana bread lies in its incredible versatility and the sheer ease of making it. You don’t need fancy equipment, expensive ingredients, or culinary school training. What you do need are a few ripe bananas, some basic pantry staples, and about fifteen minutes of active prep time before your oven does all the heavy lifting. Whether you’re a complete beginner stepping into the baking world for the first time, or a seasoned baker looking for a reliable go-to recipe that never disappoints, this chocolate chip banana bread delivers every single time.
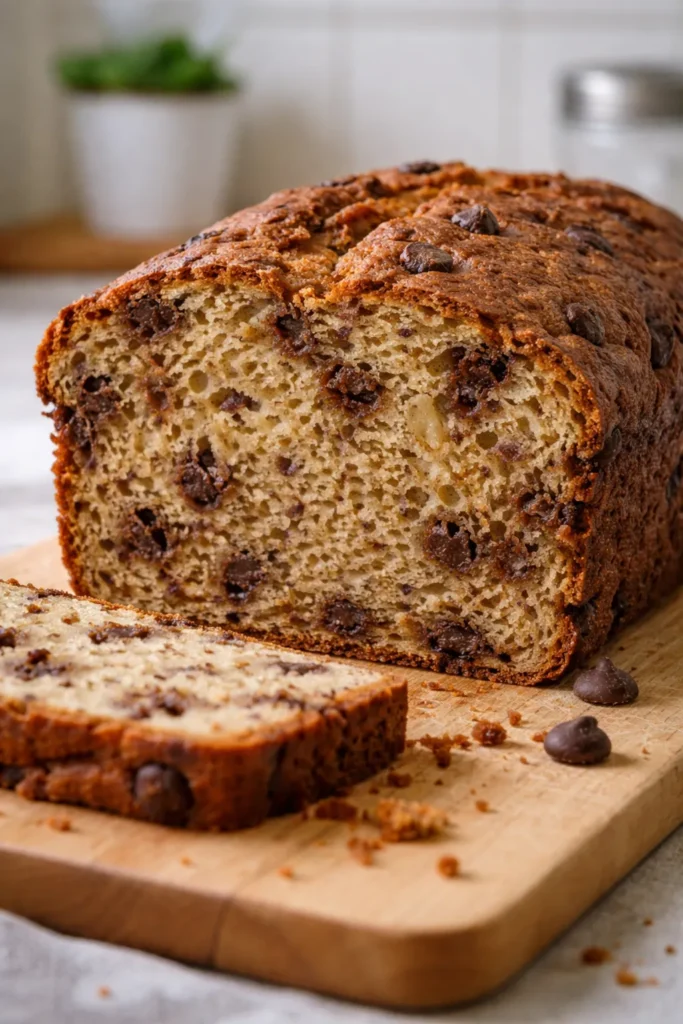
But here’s what truly sets this recipe apart from the dozens of banana bread recipes scattered across the internet: it stays genuinely moist for days, develops a golden-brown crust that’s almost as good as the tender crumb inside, and distributes chocolate chips throughout in a way that ensures every single slice has that melted, gooey chocolate goodness you’re craving. The bananas themselves become almost caramelized in the batter, creating natural sweetness that means you don’t need to add excessive sugar—the bread tastes rich and indulgent without being overwhelming. This is the recipe you’ll find yourself making repeatedly, the one your family will request specifically by name, and the one you’ll inevitably share with neighbors and friends who smell it baking.
Table of Contents
- Why This Recipe Works Better Than Most
- Selecting the Perfect Bananas and Other Key Ingredients
- Equipment You’ll Need
- Complete Ingredient List for Chocolate Chip Banana Bread
- Step-by-Step Instructions for Chocolate Chip Banana Bread
- Expert Tips for Bakery-Quality Results
- Common Mistakes to Avoid
- Creative Variations to Try
- Storage, Freezing, and Make-Ahead Guidance
- Serving Suggestions and Pairings
- Troubleshooting Your Banana Bread
- Final Thoughts
Why This Recipe Works Better Than Most
The secret to truly exceptional chocolate chip banana bread isn’t hidden in some obscure ingredient or complicated technique. Instead, it comes down to understanding how bananas work in baking and honoring that chemistry rather than fighting against it. Ripe bananas are naturally high in pectin and moisture, which means they act as both a binder and a moisture agent—eliminating the need for excessive oil or dairy. This particular recipe harnesses that natural capability by using mashed bananas as the primary source of wetness in the batter, creating a bread that’s naturally tender and moist without ever feeling gummy or underbaked.
The combination of butter and sugar creamed together at the beginning of the recipe creates a light, fluffy base that’s then enriched with those mashed bananas. This two-step approach—creaming first, adding bananas second—incorporates air into the batter in a way that flat, one-bowl methods simply can’t match. The result is a crumb structure that’s open and tender rather than dense and heavy. The chocolate chips themselves aren’t just scattered randomly; they’re folded in gently at the end, which prevents them from sinking to the bottom of the loaf or melting into oblivion during mixing.
Temperature control and ingredient temperatures also matter far more than most recipes acknowledge. When butter, eggs, and bananas are all at room temperature before mixing, they combine smoothly and evenly, creating an emulsion that traps moisture and creates a superior final texture. Cold ingredients fight each other, leading to a separated, greasy-looking batter and ultimately a denser loaf. This recipe specifically calls for room-temperature ingredients because that difference in the finished bread is genuinely noticeable.
Selecting the Perfect Bananas and Other Key Ingredients
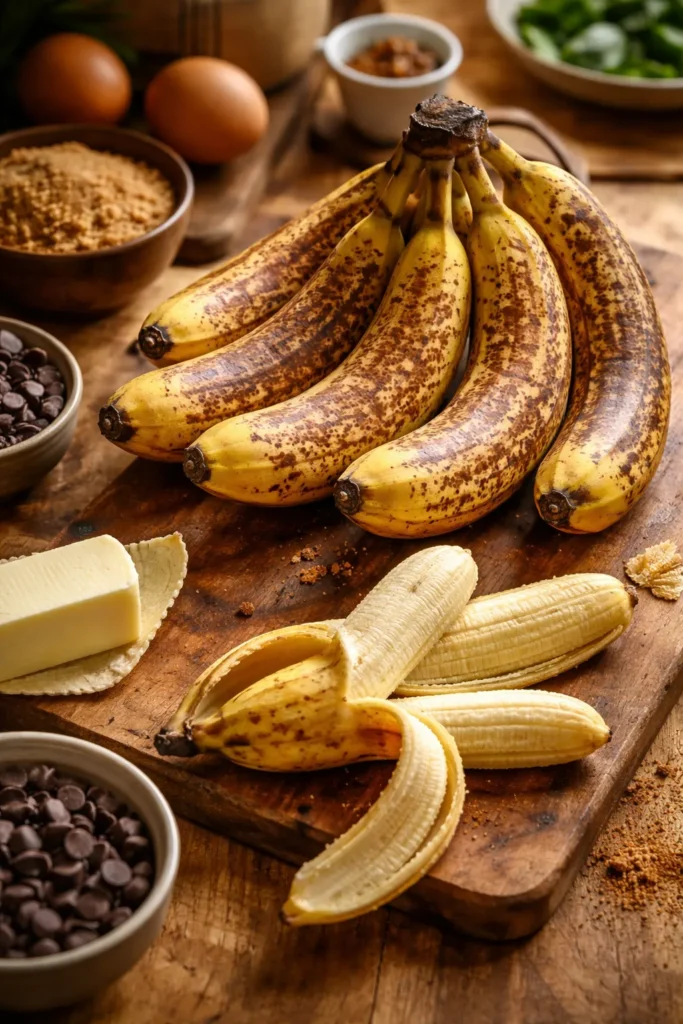
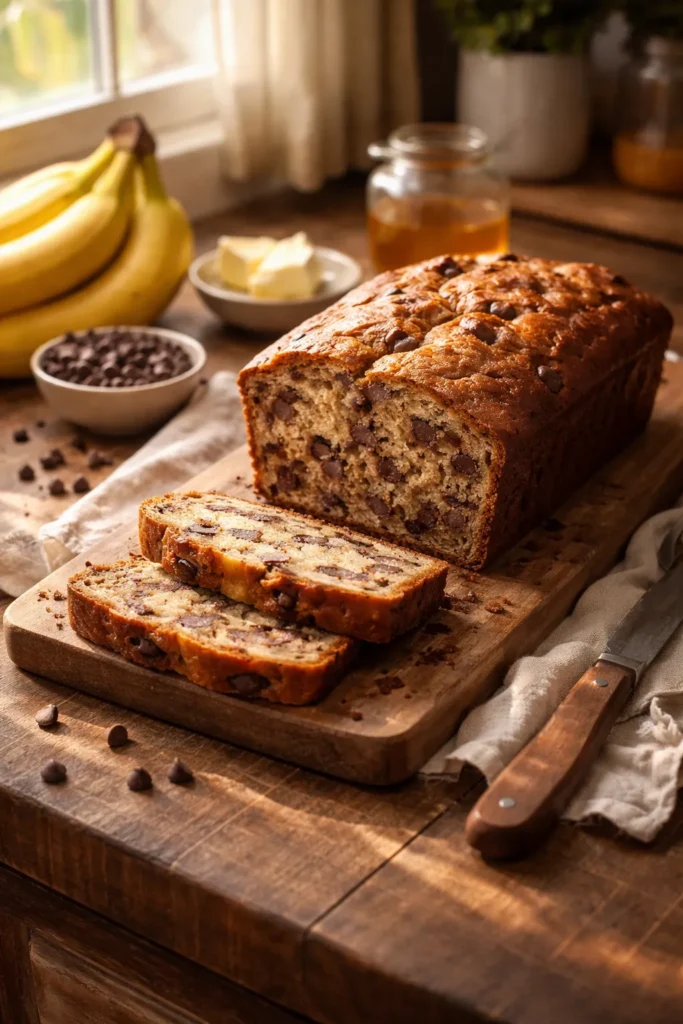
The foundation of any exceptional chocolate chip banana bread is, unsurprisingly, the bananas themselves. Here’s what actually matters: you want bananas that are well past their peak eating stage. The moment a banana is perfect for eating—creamy, yellow, just a few brown flecks—it’s actually under-ripe for baking purposes. What you’re looking for are bananas that would make most people grimace if offered as a fresh fruit: deeply speckled with brown, sometimes almost entirely brown, and soft enough that a gentle squeeze leaves an indentation. These bananas have developed maximum sweetness because their starches have converted to sugars, and their flesh is almost applesauce-like in consistency, which means they mash into an incredibly smooth base that integrates beautifully with the other ingredients.
If you find yourself in the situation where you have bananas that aren’t quite ripe enough but you want to bake today, you have options. The paper bag method works surprisingly well: place your bananas in a closed brown paper bag at room temperature, and they’ll ripen noticeably within twelve to twenty-four hours thanks to the concentration of ethylene gas they release. Alternatively, you can bake unpeeled bananas at 300°F for twenty to thirty minutes until their skins turn completely black and the inside feels very soft. You’ll need to cool them completely before peeling and mashing, but this method actually intensifies the banana flavor. Some bakers even keep a stash of frozen bananas on hand—simply peel and freeze ripe bananas in a zip-top bag, and thaw them at room temperature whenever banana bread inspiration strikes.
The flour you choose matters more than you might expect. All-purpose flour works beautifully for this recipe and creates the most classic texture. However, if you’re exploring whole wheat options for added nutrition and fiber, you can substitute up to half of the all-purpose flour with whole wheat flour without dramatically changing the bread’s character. Use whole wheat pastry flour rather than regular whole wheat flour—pastry flour has a lower protein content, which means it won’t make your bread overly dense. Never substitute all of your flour with whole wheat, as the resulting bread will be considerably denser and slightly bitter.
For the sugar component, while the recipe calls for white granulated sugar, many bakers swear by using a combination of white and brown sugar. Brown sugar adds moisture and a subtle molasses note that complements the banana and chocolate beautifully. If you want to experiment, try replacing half of the white sugar with packed brown sugar—you’ll get a slightly darker loaf with more complex flavor. Just remember that brown sugar packs down when measured, so use the spoon-and-level method to avoid accidentally adding too much.
Butter quality genuinely impacts the final flavor. Use real butter, not margarine or butter-like spreads, and make sure it’s truly unsalted so you can control the salt content of your recipe. Salted butter can vary wildly in how much salt it actually contains, making it harder to achieve consistent results. Softening butter properly means leaving it on the counter for about thirty to forty minutes until it’s soft enough to indent with your finger but still holds its shape—not melted or greasy-looking.
The chocolate chips deserve thought too. Semi-sweet chocolate chips are the classic choice and provide a pleasant balance of chocolate flavor with sweetness that complements the banana bread without overpowering it. However, if you prefer darker chocolate flavor, bittersweet chips work wonderfully (just know the bread will taste less sweet overall). Milk chocolate chips will make the bread noticeably sweeter, which might be exactly what you want. Some bakers prefer chopped chocolate bars over chips because the chunks are larger and create pockets of pure chocolate throughout—it’s a lovely indulgence if you’re willing to chop your own chocolate. The amount of chocolate chips is flexible too: I’ve made this bread successfully with anywhere from three-quarters cup to nearly two cups of chips, depending on how chocolate-forward I wanted it to be.
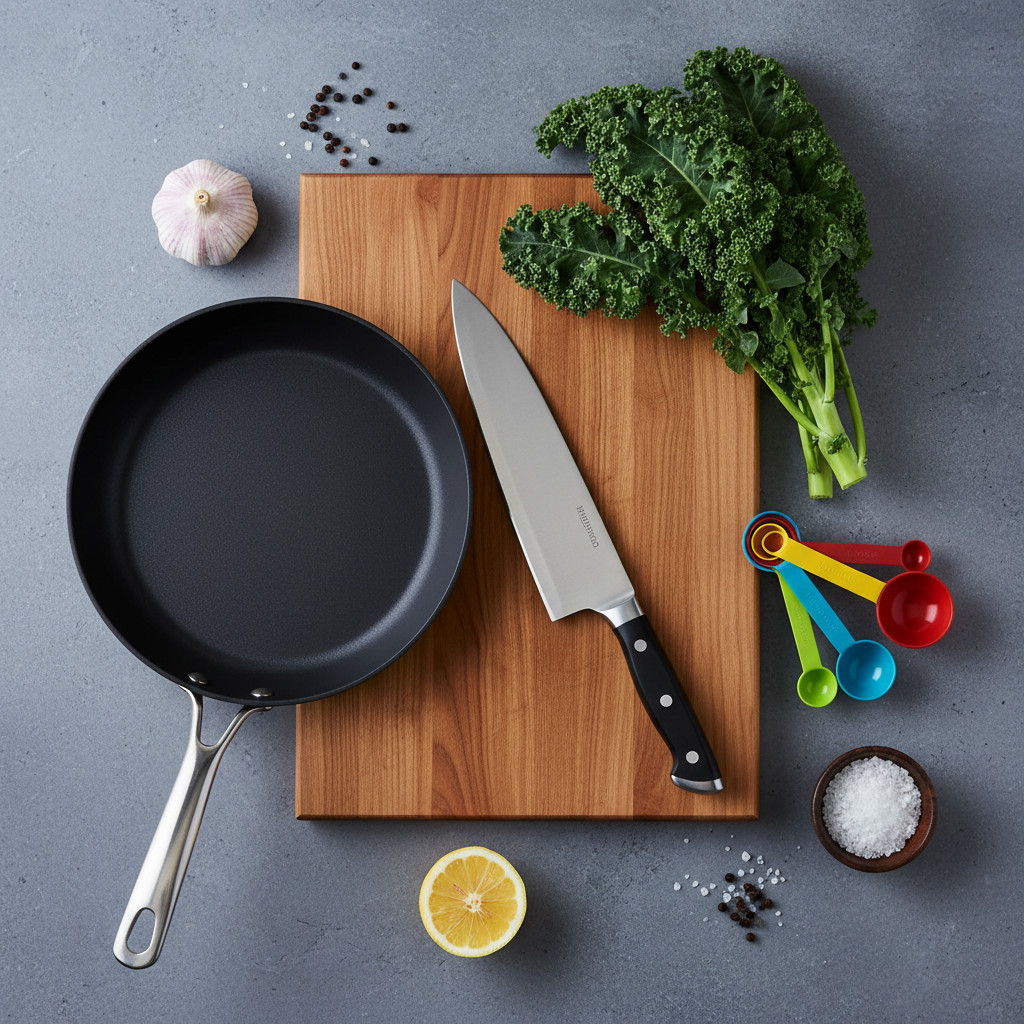
Equipment You’ll Need
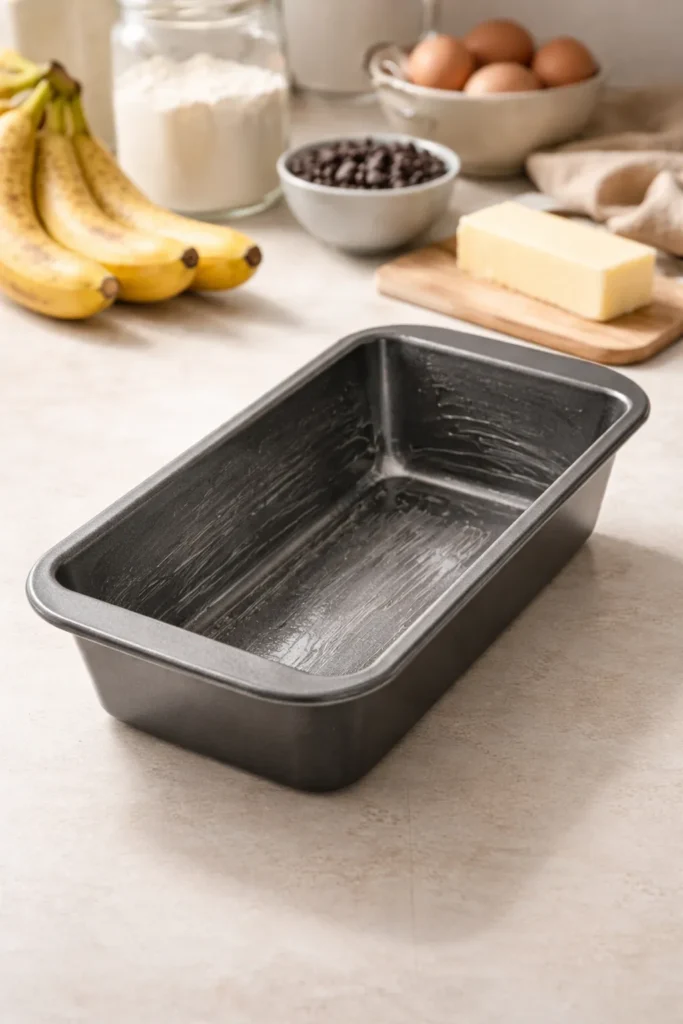
Here’s the genuinely good news: you don’t need specialized baking equipment to make exceptional chocolate chip banana bread. A standard nine-by-five-inch loaf pan is perfect—glass or metal both work fine, though some bakers find glass bakes slightly faster and creates a darker crust. If you prefer a lighter crust, use a light-colored metal pan. One 9×5 loaf pan makes a single loaf, which yields about ten to twelve slices depending on how you cut them.
For mixing, you have complete flexibility. An electric mixer with a paddle attachment makes the creaming of butter and sugar easy and ensures consistent incorporation of air, but you can absolutely use a hand mixer or even mix by hand with a wooden spoon—it just takes a bit more elbow grease and patience. The hand mixing method is actually quite meditative and gives you complete control over the process. No need to own a stand mixer to make this bread successfully.
You’ll need two mixing bowls: one for the dry ingredients and one for the wet ingredients. A fork works perfectly for mashing bananas, though a potato masher gives you more leverage if you’re working with a large batch. A rubber spatula is invaluable for gently folding ingredients together without overmixing. A toothpick or thin bamboo skewer becomes essential for testing doneness—long enough to reach the center of your loaf.
Yield: Makes 1 loaf, approximately 10-12 slices
Prep Time: 15 minutes of active preparation
Cook Time: 60-70 minutes of baking time
Total Time: 75-85 minutes from start to first slice
Difficulty: Beginner — No special equipment required, minimal mixing skills needed, and the steps are straightforward even for someone who’s never baked before. The recipe is very forgiving of small variations.
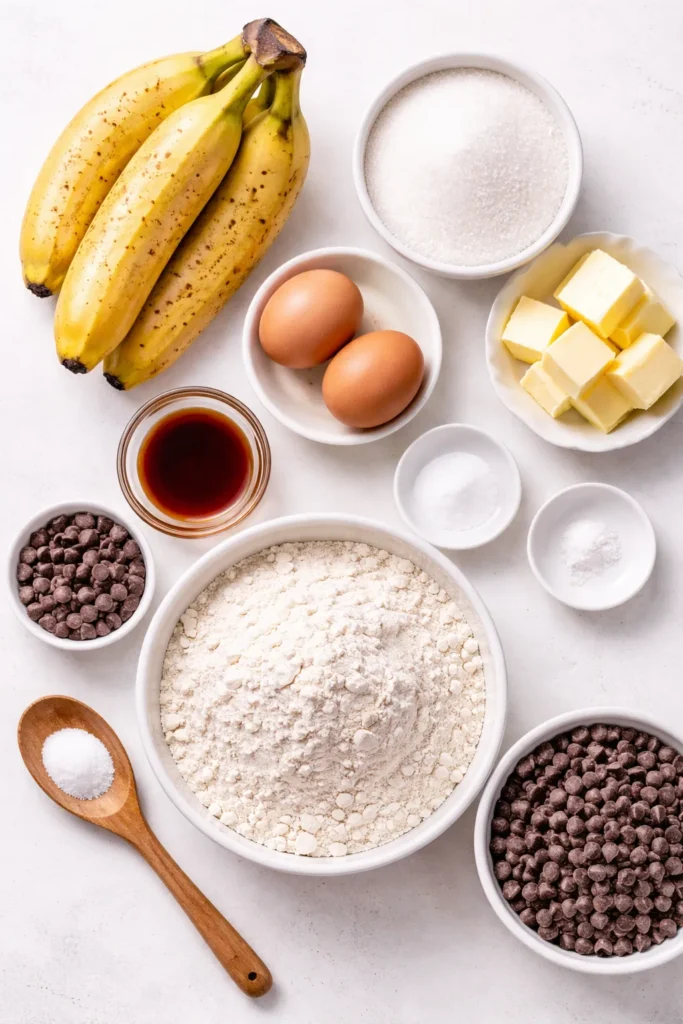
Complete Ingredient List for Chocolate Chip Banana Bread
For the Bread:
- 3 medium to large ripe bananas (roughly 1⅓ to 1½ cups mashed), heavily speckled with brown or almost entirely brown
- ½ cup (1 stick / 115g) unsalted butter, softened to room temperature
- ¾ cup (150g) granulated white sugar
- 2 large eggs, at room temperature
- 1 teaspoon pure vanilla extract
- 1¾ cups (220g) all-purpose flour, measured by spooning into the measuring cup and leveling (not scooped directly from the bag)
- 1 teaspoon baking soda
- ½ teaspoon fine sea salt or table salt
- 1 cup (170g) semi-sweet chocolate chips, divided into ¾ cup for folding into the batter and ¼ cup reserved for sprinkling on top
Optional Enhancements:
- ¼ teaspoon ground cinnamon, for warmth and depth (completely optional but lovely)
- ¼ teaspoon freshly grated nutmeg, for subtle spice
- 1 tablespoon of milk or even plain yogurt, if your banana mash seems too thick (this helps if your bananas are particularly dry)
Step-by-Step Instructions for Chocolate Chip Banana Bread
Prepare Your Pan and Preheat Oven:
-
Preheat your oven to 325°F (165°C) and position the rack in the center of the oven. If you have multiple racks, use the middle one for most even baking.
-
Generously grease a 9×5-inch loaf pan with softened butter or non-stick spray, paying special attention to the corners and the long sides where the bread is most likely to stick. Alternatively, line the pan with parchment paper, letting the paper hang over the long sides by about an inch—this creates easy handles for lifting the finished loaf out of the pan. If using parchment, you can lightly grease the pan before lining it, which helps the parchment stay in place.
Mix the Dry Ingredients:
- In a medium mixing bowl, whisk together the flour, baking soda, and salt until they’re evenly distributed. Do not skip the whisking step—this is what ensures the baking soda (which would otherwise create bitter pockets if it clumps) is evenly distributed throughout the flour, guaranteeing even rise and consistent flavor in every slice. If you’re using cinnamon or nutmeg, add them here. Set this bowl aside.
Cream Butter and Sugar:
-
In a large mixing bowl, combine the softened butter and granulated sugar. Using an electric mixer on medium speed (or a hand mixer, or simply a wooden spoon and elbow grease), beat them together for 2 to 3 minutes, until the mixture is noticeably lighter in color, fluffy in texture, and has roughly doubled in volume. You’re looking for a pale, sand-like consistency that’s broken up with tiny air bubbles. This step is crucial—the air you’re incorporating here is what creates the open crumb structure that makes banana bread feel tender rather than dense.
-
Add the eggs one at a time, beating well after each addition and scraping down the sides of the bowl with a rubber spatula between eggs. After adding both eggs, the mixture might look slightly separated or curdled—this is completely normal and will come together in the next step when you add the bananas. Beat for an additional 30 seconds after the second egg.
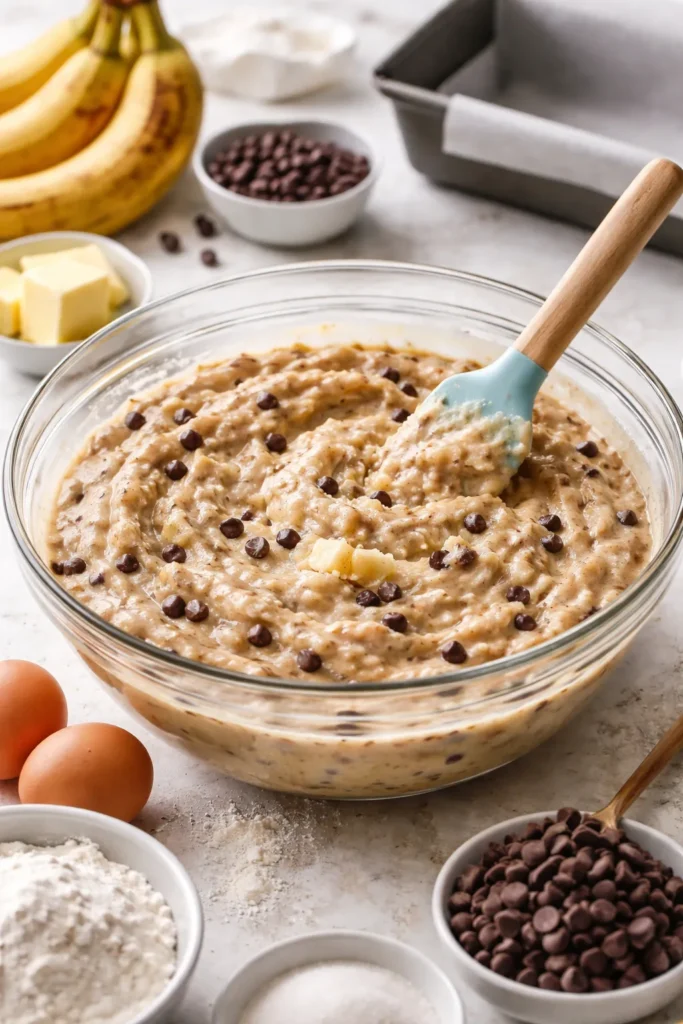
Incorporate the Bananas:
- Mash your ripe bananas with a fork in a separate bowl until they reach the consistency of chunky applesauce—some small banana pieces are actually ideal and add nice texture. You can also use a potato masher if you prefer a completely smooth mash; both methods work beautifully. Add the mashed bananas and vanilla extract to the butter-egg mixture and stir gently with a rubber spatula until everything is well combined. The batter should look thick, creamy, and almost uniform in color at this point.
Combine Wet and Dry Ingredients:
-
Reduce your mixer to low speed (or simply fold by hand if mixing manually). Add the flour mixture to the wet ingredients in two additions, mixing on low speed or folding gently with a rubber spatula until each addition just disappears. Do not overmix—this is absolutely critical to achieving a tender crumb. Overmixing develops the gluten in the flour, which creates a tough, chewy texture. You’re looking for a thick batter with no visible dry flour, but if there are still a few small lumps of flour visible, that’s actually perfect. Lumps will disappear during baking; overmixing won’t be reversible.
-
Using a spatula, gently fold in three-quarters of the chocolate chips (reserving the remaining quarter cup for the top). Fold just until the chips are evenly distributed throughout the batter.
Prepare for Baking:
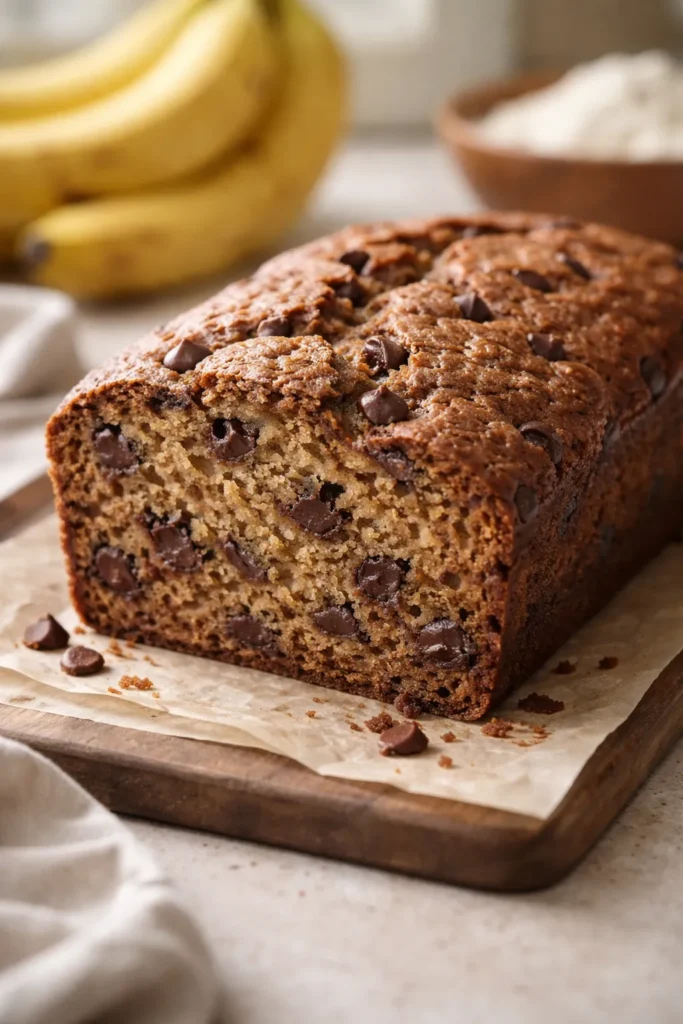
- Pour the batter into your prepared loaf pan, smoothing the top gently with an offset spatula or the back of a spoon so it bakes evenly. Scatter the reserved chocolate chips across the top of the batter—these will melt slightly during baking and create that gorgeous chocolate-studded surface that makes fresh banana bread so visually appealing.
Bake the Bread:
-
Place the loaf pan on a baking sheet (this isn’t strictly necessary, but it catches any drips and makes the pan easier to handle when removing from the oven) and slide it into your preheated oven. Bake for 60 to 70 minutes, rotating the pan halfway through the baking time (around the 30-minute mark) for even browning. If you notice the top browning too quickly or too darkly, loosely tent the top with aluminum foil to slow the browning while allowing the inside to continue cooking.
-
The bread is done when a toothpick or thin bamboo skewer inserted into the very center comes out clean or with just a few moist crumbs clinging to it. A few specks of melted chocolate on the toothpick are completely fine—you’re looking for the absence of wet batter, not absolute dryness. The top should be deep golden brown and the bread should feel firm when gently pressed, springing back almost immediately.
Cool and Rest:
-
Remove the baking sheet from the oven and let the banana bread cool in the pan for 10 minutes. This resting period is crucial—it allows the structure to set slightly, making the loaf much less likely to crumble when you remove it from the pan.
-
Run a thin knife around the edges of the loaf to loosen it from the pan, then carefully invert the bread onto a wire cooling rack. If you lined the pan with parchment paper, the bread should slide out easily. Let the bread cool completely on the rack for at least 1 hour before slicing. Slicing while still warm will result in a gummy, compressed texture rather than the tender, open crumb you’re aiming for.
Expert Tips for Bakery-Quality Results
The difference between good homemade banana bread and truly exceptional banana bread often comes down to small refinements that most recipes gloss over. Here’s what I’ve learned from making this recipe dozens of times:
Temperature matters enormously. Taking thirty seconds to ensure your butter, eggs, and bananas are all at room temperature before you begin might seem like a small thing, but it creates a measurably better crumb structure and texture. Cold ingredients don’t emulsify properly, leading to a separated, greasy-looking batter that bakes into a slightly coarse, less tender bread. Room-temperature ingredients combine smoothly and create a silky batter that bakes into something transcendent.
The spoon-and-level flour measuring method prevents overmixing of a different kind. When you dip a measuring cup directly into a flour bag, you compact the flour, which means you’re actually measuring more than you think. Using too much flour creates a denser bread because flour provides structure, and excess flour means excess structure. Spoon your flour into the measuring cup and level it with a knife instead. If you have a kitchen scale, weighing your flour (220 grams for this recipe) is even more reliable than any volume measurement.
Don’t skip the full creaming time with butter and sugar. That 2-to-3-minute beating creates tiny air bubbles throughout the butter, and these bubbles expand in the oven, creating the light, tender structure you want. Rushing this step and moving on as soon as the mixture looks combined results in a slightly denser bread. You’re not doing this for flavor—you’re doing this for texture.
The fold-in method for chocolate chips prevents them from being crushed or unevenly distributed. Folding means using a spatula to gently combine ingredients with a down-and-over motion rather than the rotational stirring motion you’d use elsewhere. It takes about fifteen extra seconds but preserves more of the chocolate chips’ integrity and distributes them more evenly.
Dark-colored pans bake slightly faster and create a darker crust. If you prefer a lighter, less thick crust, use a lighter-colored metal pan. If you love that dark golden exterior, a darker pan is your friend. Either choice is delicious; it’s just about personal preference.
Rotating the pan halfway through baking ensures more even browning. Ovens have hot spots, and rotating your pan at the halfway point helps compensate for this. It only takes a few seconds but results in more even coloring.
The toothpick test is your best friend for doneness. Visual appearance can be deceiving because banana bread continues to bake slightly after it’s removed from the oven. The toothpick test—inserting it into the very center and checking what comes out—is far more reliable than judging by color alone.
Common Mistakes to Avoid
Even with a well-written recipe, a few common pitfalls can trip up bakers. Here’s what to watch for and how to prevent it:
Using bananas that aren’t ripe enough is probably the most common mistake. If your bananas are still mostly yellow without significant browning, they’re under-ripe for baking. They won’t provide enough sweetness or moisture, and the resulting bread will taste somewhat bland and potentially dry. Patience is worth it—wait for the brown spots, or use one of the ripening methods I mentioned earlier.
Overmixing the batter creates a tough, dense loaf instead of a tender, moist one. Once you’ve added the flour mixture, stop as soon as you can’t see dry flour. A few lumps are actually fine and will disappear during baking. This is the hardest habit to break if you’re used to baking cookies or cakes that require thorough mixing—banana bread is different and demands a lighter touch.
Adding wet ingredients when they’re still cold. If you add a cold egg to the butter-sugar mixture, it won’t combine properly, and you’ll get a curdled-looking batter. Always let eggs, butter, and bananas sit on the counter for thirty minutes or more before using them. If you’re in a hurry, set cold eggs in a bowl of warm water for five minutes—they’ll warm up quickly without cooking.
Measuring flour by scooping the measuring cup directly into the flour bag. This compacts the flour, giving you more than the recipe actually calls for, which creates a denser bread. Spoon the flour into the measuring cup instead and level it with a knife.
Baking at too high a temperature. The recipe specifies 325°F for a reason—this lower temperature allows the bread to bake through evenly without burning on the outside before the inside is done. If your oven tends to bake hot (many ovens do), you might even want to reduce the temperature by 10 or 15 degrees.
Removing the bread from the pan too quickly. That ten-minute cooling period in the pan isn’t optional—it allows the structure to set enough that the loaf won’t crumble when you turn it out. Trying to remove it earlier often results in a broken loaf that loses its attractive shape.
Slicing while the bread is still warm. This creates a gummy, compressed texture rather than beautiful slices with open crumb. Always wait until the bread is completely cool, preferably wrapping it and letting it sit for several hours or overnight if possible. The bread actually continues to firm up as it cools, and it slices far more cleanly after it’s been wrapped and rested.
Creative Variations to Try
Once you’ve mastered the basic chocolate chip banana bread recipe, you have countless directions you can take it. The beauty of this recipe is its flexibility—it welcomes additions and substitutions without losing its essential character.
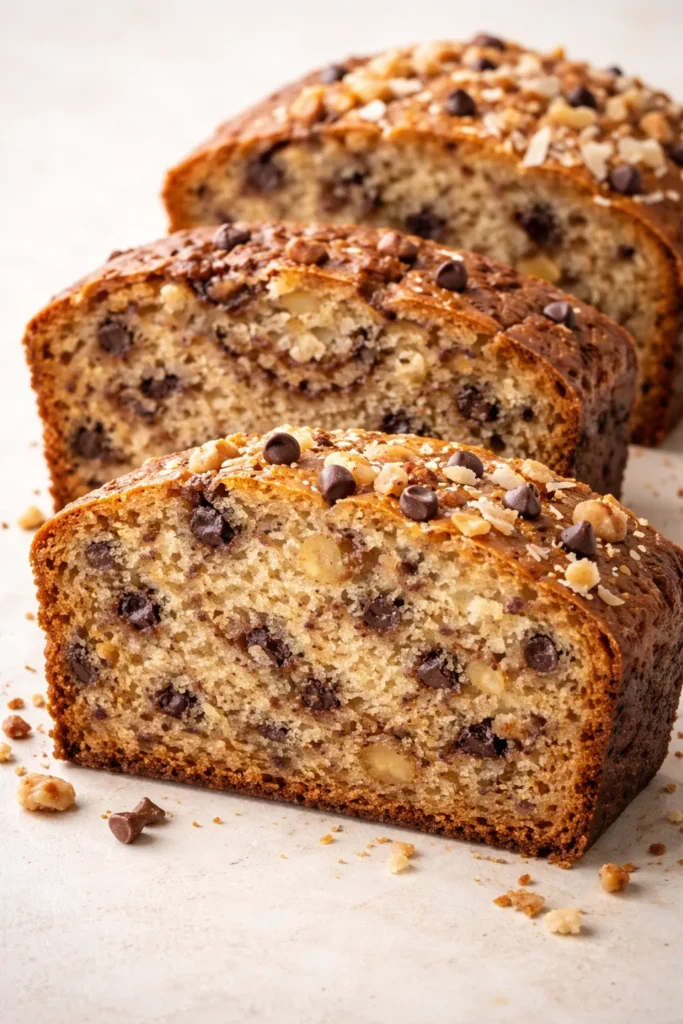
Nutty Banana Bread: Add three-quarters to one cup of chopped walnuts, pecans, or macadamia nuts to the batter along with the chocolate chips. The nuts add a satisfying crunch and make the bread feel more substantial. Toast the nuts lightly before chopping them if you want even more pronounced flavor. This variation is particularly lovely paired with coffee.
Spiced Banana Bread: Increase the cinnamon to one-half teaspoon and add a quarter teaspoon of nutmeg. Some bakers add an eighth teaspoon of ground ginger or cloves. These warm spices complement the banana and chocolate beautifully, creating a more complex flavor profile that feels almost autumnal.
Coconut Chocolate Chip Banana Bread: Replace half of the flour with sweetened shredded coconut (reduce it to three-quarters cup all-purpose flour plus three-quarters cup shredded coconut). This creates a lighter, more tender crumb with a subtle tropical flavor. Some bakers replace the vanilla with coconut extract for even more pronounced coconut flavor.
Brown Butter Banana Bread: Brown your butter before using it in the recipe. To do this, melt the butter in a saucepan over medium heat and continue cooking, swirling occasionally, until it turns golden brown and smells nutty (about five to eight minutes). Let it cool to room temperature before using. Brown butter adds incredible depth and nutty complexity to the bread.
Healthier Whole Wheat Version: Replace half of the all-purpose flour with whole wheat pastry flour (use one-quarter cup baking soda as it helps balance the denser whole wheat flour). The resulting bread will be slightly denser but more nutritious, with a subtle nuttiness from the whole grain.
Double Chocolate Banana Bread: Use dark chocolate chips instead of semi-sweet, and add two tablespoons of unsweetened cocoa powder to the flour mixture. This creates a more decadent, chocolatey loaf that’s still balanced by the banana flavor.
Yogurt Banana Bread: Replace two tablespoons of the flour with plain yogurt (Greek yogurt or regular both work). The yogurt adds moisture and subtle tang that balances the sweetness beautifully. It also keeps the bread moist for several days longer.
Banana Bread with Streusel Topping: Instead of sprinkling chocolate chips on top, make a simple streusel topping by combining three-quarters cup rolled oats, one-quarter cup brown sugar, one-quarter cup melted butter, and one-half teaspoon cinnamon. Sprinkle this mixture on top of the batter before baking for a bakery-style finish.
Vegan Chocolate Chip Banana Bread: Replace the eggs with flax eggs (mix two tablespoons ground flaxseed with five tablespoons water, let sit five minutes, then use as one egg—you’ll need two of these). Replace the butter with coconut oil or vegan butter, and make sure your chocolate chips are dairy-free. The texture and flavor remain virtually identical.
Chocolate Chunk Banana Bread: Instead of chips, chop up your favorite chocolate bar into chunky pieces (about the size of chocolate chips or slightly larger). Use anywhere from one to one-and-a-half cups of chunks. The larger pieces create pockets of pure chocolate throughout, making every bite feel indulgent.
Storage, Freezing, and Make-Ahead Guidance
Proper storage is what separates banana bread that goes stale in two days from banana bread that tastes freshly baked for nearly a week. Here’s exactly how to maximize your loaf’s lifespan:
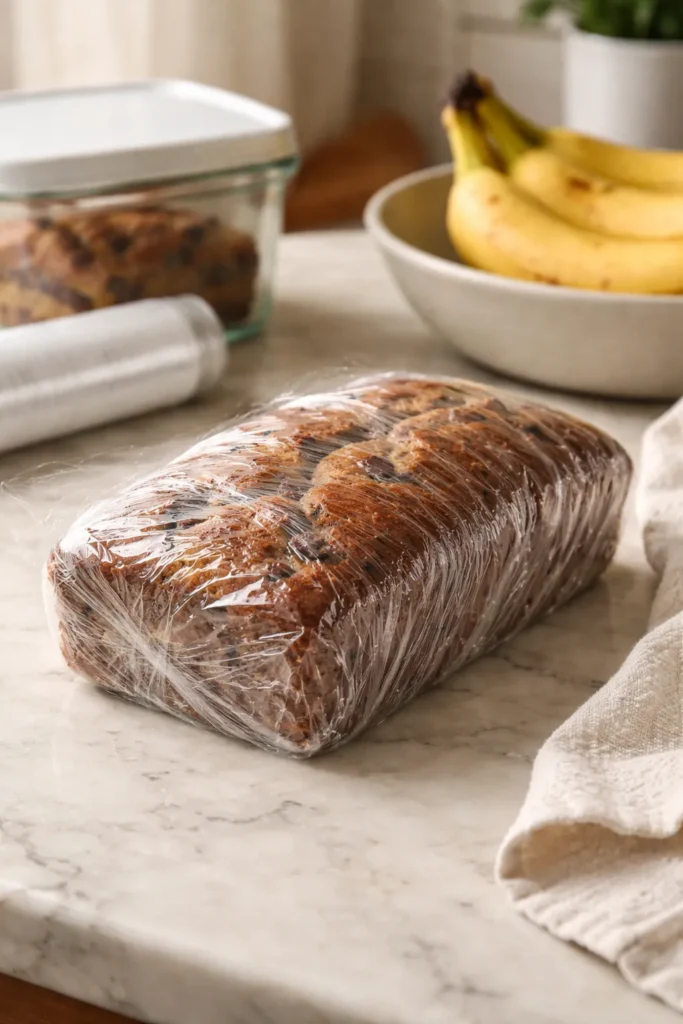
Room Temperature Storage (1-2 days): Once completely cooled, wrap your banana bread tightly in plastic wrap or aluminum foil, or place it in an airtight container. Do not slice the bread until you’re actually ready to serve it—keeping it whole preserves moisture far better than sliced bread does. An unsliced loaf kept tightly wrapped on your counter will taste fresh for about two days, though it remains safe to eat beyond that point.
Refrigerator Storage (up to 5-7 days): Wrap the cooled loaf tightly in plastic wrap, then place it in a zip-top freezer bag or airtight container. Banana bread actually keeps surprisingly well in the refrigerator—the cool temperature slows staling, and the bread often improves slightly after sitting for a day as the flavors continue to develop. I actually prefer refrigerated banana bread over room-temperature banana bread after the first day.
Freezing (up to 3 months): This is where you can really extend the life of your banana bread. Wrap the completely cooled loaf first in plastic wrap (one layer), then in aluminum foil (another layer). Place this double-wrapped loaf in a labeled zip-top freezer bag. This two-layer wrapping method prevents freezer burn. You can also slice the loaf, wrap individual slices in plastic wrap, and store them in a freezer bag—this allows you to thaw exactly what you need without thawing the entire loaf.
Thawing: Remove the frozen loaf from the freezer and let it thaw, still wrapped, at room temperature for three to four hours. If you’ve frozen individual slices, you can unwrap them and enjoy them straight from the freezer with no thawing required. Thawing while wrapped allows the bread to re-absorb some moisture that was lost during freezing.
Reheating: If you want to serve your bread warm, wrap it loosely in aluminum foil and warm it in a 300°F oven for about ten minutes. This gently warms the bread without drying it out further. You can also microwave individual slices for 15-20 seconds, though the oven method produces better results.
Make-Ahead Option: You can prepare the batter up to four hours in advance, cover it tightly with plastic wrap, and refrigerate it. The leavening agents will work more slowly when cold, so the batter might rise slightly in the refrigerator—this is fine and actually doesn’t negatively impact the final loaf. Just pour the cold batter into your prepared pan and bake, adding a few extra minutes to the baking time since the batter starts cold.
Serving Suggestions and Pairings
The best part about homemade chocolate chip banana bread isn’t just eating it—it’s sharing it and deciding how to serve it. Here are my favorite ways to transform a simple loaf into something special:
Classic Breakfast Treatment: Slice the bread when it’s still slightly warm (but not hot), and serve it with a pat of butter that melts into the warm crumb. Pair it with a hot cup of coffee or a tall glass of cold milk. This is breakfast heaven.
Dessert Plating: Toast a slice lightly and serve it warm with a small scoop of vanilla ice cream. The warm bread and cold ice cream create an instantly luxurious dessert that looks far more complicated than it actually is.
Afternoon Tea Pairing: Slice the bread thinly, arrange slices on a small plate with lemon curd, jam, or even Greek yogurt on the side. Pair with hot tea for an elegant afternoon treat.
Banana Bread French Toast: Cut the loaf into thick slices and use it to make French toast. The chocolate chips melt in the pan, creating a decadent breakfast that feels like a special occasion.
With Spreads and Toppings: Room temperature slices pair beautifully with almond butter, peanut butter, cream cheese, or even a thin layer of Nutella. The chocolate chips mean the bread is already sweet, so savory or tangy spreads create a nice balance.
Mini Sandwiches: Slice the bread thinly and create open-faced sandwiches with whipped cream cheese and fresh berries on top. These are beautiful for brunch gatherings and taste sophisticated while being completely approachable.
As a Gift: Wrap a completely cooled loaf in parchment paper and tie it with twine, or place it in a pretty tin. Banana bread is one of the most appreciated homemade gifts because it’s impressive-looking but actually quite easy to make. Include a note mentioning how the recipient should store it to keep it fresh longest.
Crumbled as Toppings: Crumble leftover bread and use it as a topping for yogurt parfaits, ice cream, or even smoothie bowls. It adds a delightful texture contrast and the chocolate chips provide additional indulgence.
Troubleshooting Your Banana Bread
Even with careful attention to the recipe and technique, sometimes banana bread doesn’t turn out quite right. Here’s how to diagnose and prevent common issues:
Dense, Heavy Texture: This usually means either overmixing after adding flour, using too much flour (measured by scooping rather than spooning), or using under-ripe bananas. The solution is attention to the mixing step (stop when flour just disappears) and weight measurement of flour if possible. Use fully brown, soft bananas next time.
Bread Sank in the Middle: This indicates underbaking, which means the structure didn’t fully set before you removed the bread from the oven. The toothpick might have come out clean because you hit a chocolate chip hole, not because the center was actually done. Always insert the toothpick in multiple places if you’re unsure, or look for other signs of doneness like firm texture and a certain amount of shrinkage from the pan sides.
Dry, Crumbly Texture: This could mean your bananas weren’t ripe enough (not enough natural moisture), you overbaked the bread (continue baking past the point where it was actually done), or you used too much flour. Overripe bananas, careful toothpick testing for doneness, and proper flour measurement will all help.
Bread Sticking to the Pan: Despite proper greasing or parchment lining, some loaves still stick. This usually indicates the bread came out of the oven too early and is still too soft to handle. Let it cool a full ten minutes in the pan before attempting removal. If it still sticks, run a thin knife around the edges again, or wrap the pan in a warm, damp towel for a minute to slightly soften the edges.
Flat, Didn’t Rise Properly: This could mean your baking soda lost potency (it should be replaced if older than six months) or your oven temperature was incorrect (ovens can be off by 25 degrees or more). Test your oven temperature with an oven thermometer, and make sure you’re measuring baking soda by spooning and leveling rather than scooping directly from the container.
Chocolate Chips All Sank to the Bottom: While this doesn’t affect flavor, it’s visually less appealing. This usually means the batter was too thick and heavy for the chips to suspend. Make sure you’re using properly ripened bananas (which provide more moisture) and not overmixing the flour, which makes the batter stiffer than it should be. Folding the chips in gently rather than stirring also helps them distribute throughout rather than sinking.
Over-Browning on Top: Your oven might be running hot, or your pan might be promoting faster browning (dark-colored pans brown faster than light ones). Reduce your oven temperature by 10-15 degrees, use a light-colored pan, or loosely tent the top with foil if browning too quickly—and all of these are reversible solutions.
Final Thoughts
Making homemade chocolate chip banana bread isn’t really about following a recipe perfectly or achieving some restaurant-quality result. It’s about the simple pleasure of transforming a handful of ordinary ingredients into something that smells incredible, tastes delicious, and brings genuine joy to everyone who tastes it. It’s about having a reliable go-to recipe that you can make with confidence whether you’re a complete beginner or someone who bakes regularly.
This chocolate chip banana bread has the superpower of working beautifully whether you’re following every step precisely or making intuitive adjustments based on what you have on hand. Used whole wheat flour instead of all-purpose? The bread will still be delicious. Added nuts you had on hand? Even better. Made it yesterday and forgot to slice it until now? It’s actually better today than it was fresh from the oven.
The recipe works because it honors the science of how bananas work in baking while remaining flexible enough for creative variation. It respects your time and kitchen space by requiring minimal equipment and a straightforward process. And it delivers results that are genuinely impressive enough to share with others, even though making it required no special skill or complicated steps.
So grab those overripe bananas sitting on your counter, preheat your oven, and give yourself permission to make something wonderful today. The chocolate chip banana bread will do the rest.