Baking intimidates people. Whether you’re standing in a kitchen for the first time wanting to make a simple batch of cookies or you’ve watched countless recipe videos and still feel uncertain about where to begin, that nervousness is completely normal. The good news? Baking isn’t mysterious magic—it’s just chemistry and technique, and both can be learned by anyone willing to practice. The difference between a collapsed cake and a perfectly risen one, between brittle cookies and chewy ones, between dry brownies and fudgy ones often comes down to understanding a handful of fundamental principles that most beginners either overlook or don’t realize matter as much as they actually do.
I’ve compiled the most important baking tips that will set you up for genuine success, based on advice from experienced bakers and pastry professionals. These aren’t vague platitudes like “follow your instincts” or generic tips that don’t actually help you troubleshoot when something goes wrong. Instead, these are concrete, actionable strategies that address the specific mistakes beginners make most often—and more importantly, they explain why these steps matter. Once you understand the science behind the technique, you’ll stop following recipes blindly and start baking with real confidence.
The path from frustration to success isn’t complicated, but it does require paying attention to details that might seem small. A missing step, a skipped ingredient, a temperature difference of just 10 degrees—these things add up in baking in ways they wouldn’t in cooking. Let’s walk through the fundamental tips that will transform you from someone who’s nervous about baking into someone who approaches it with genuine assurance.
Table of Contents
- 1. Read the Entire Recipe Before Starting
- What You’ll Discover by Reading Ahead
- Pro Tips for Reading Recipes
- 2. Measure Your Ingredients Accurately
- The Correct Way to Measure Dry Ingredients
- Using Liquid Measuring Cups and Scales
- 3. Use Room Temperature Ingredients
- How to Bring Ingredients to Room Temperature
- When Cold Temperature Is Actually Desired
- 4. Invest in Essential Baking Equipment
- The Game-Changing Tools Worth Prioritizing
- 5. Preheat Your Oven and Know Its Quirks
- How to Identify and Work With Hot Spots
- The Middle Rack Is Usually Best
- 6. Avoid Overmixing Your Batter
- The Creaming Stage Requires More Mixing
- How to Know When You’ve Mixed Enough
- 7. Prepare and Grease Your Pans Properly
- How to Flour a Greased Pan
- Why Parchment Paper Is Worth It
- 8. Learn When Your Baked Goods Are Done
- The Toothpick Test for Cakes
- Start Checking Early
- 9. Cool Your Creations Correctly
- Why Wire Racks Matter
- Complete Cooling Before Frosting or Serving
- 10. Practice, Keep Records, and Don’t Fear Mistakes
- Keep a Baking Notebook
- Master the Basics Before Experimenting
- Final Thoughts
1. Read the Entire Recipe Before Starting
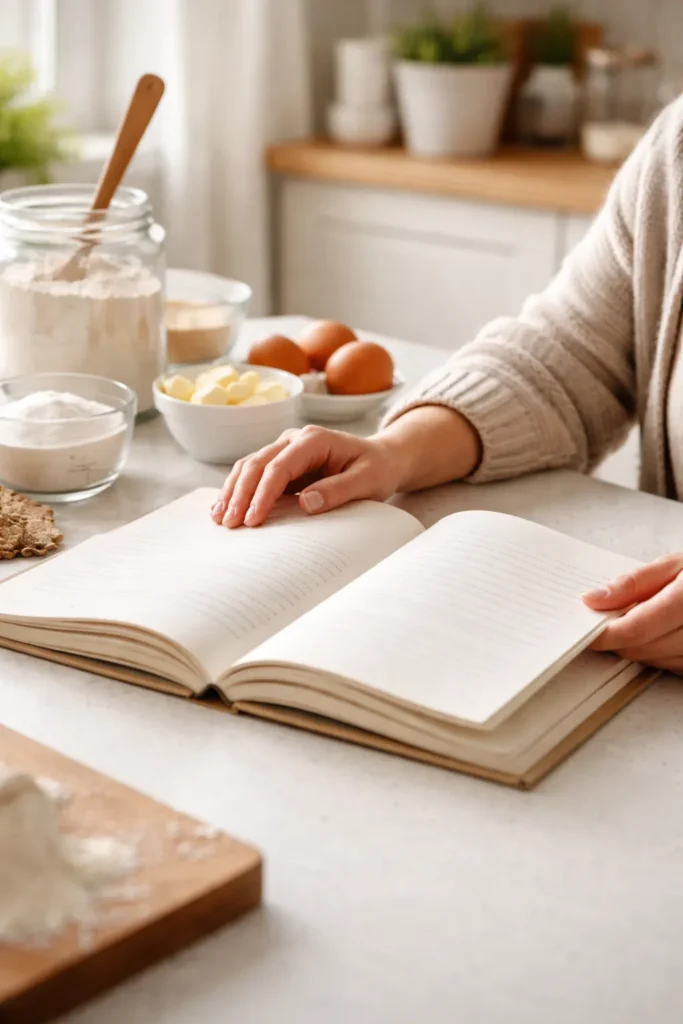
One of the quickest ways to guarantee a baking disaster is to jump straight into measuring and mixing without understanding what you’re about to do. Reading the entire recipe ahead of time prevents you from being caught off guard halfway through and discovers whether you actually have all the ingredients on hand.
When you read through the full recipe first, you get a complete picture of the process. You’ll notice if the dough needs to chill overnight, if certain ingredients should be brought to room temperature hours before you start, or if you need specialized equipment you don’t own. This single habit prevents wasted ingredients and frustration more effectively than almost any other tip.
What You’ll Discover by Reading Ahead
Understanding the full scope of a recipe helps you plan your time properly. If a recipe requires the dough to rest for 24 hours before baking, you need to know that before you’ve already started mixing. You’ll also spot any ingredients that need prep work in advance—softening butter, bringing eggs to room temperature, or even hunting down an ingredient you might not have in your pantry.
Pro Tips for Reading Recipes
Pay special attention to any notes the recipe author includes, especially on baking blogs where experienced bakers often add valuable troubleshooting tips in the blog post itself, not just in the recipe. These personal insights—the things that went wrong for them and how they fixed it—are pure gold when you’re learning. Skim the comments section too if you’re using a recipe from a website. Other home bakers often ask clarifying questions and share their own experiences, which can help you anticipate problems.
2. Measure Your Ingredients Accurately
This is, without exaggeration, the single most important tip for baking success. Unlike cooking, where you can taste as you go and make adjustments, baking is chemistry. Too much flour and your cake becomes dry and dense. Not enough baking soda and your cookies won’t rise. A tiny difference in liquid can transform your dough from perfect to unusable.
The most common measuring mistake is scooping flour directly from the bag into a measuring cup and pressing it down. This packs the flour and can give you 25 to 50% more flour than the recipe actually calls for. A cup isn’t always a cup—it depends on how the ingredient is packed, the humidity in your kitchen, and the brand of flour you’re using.
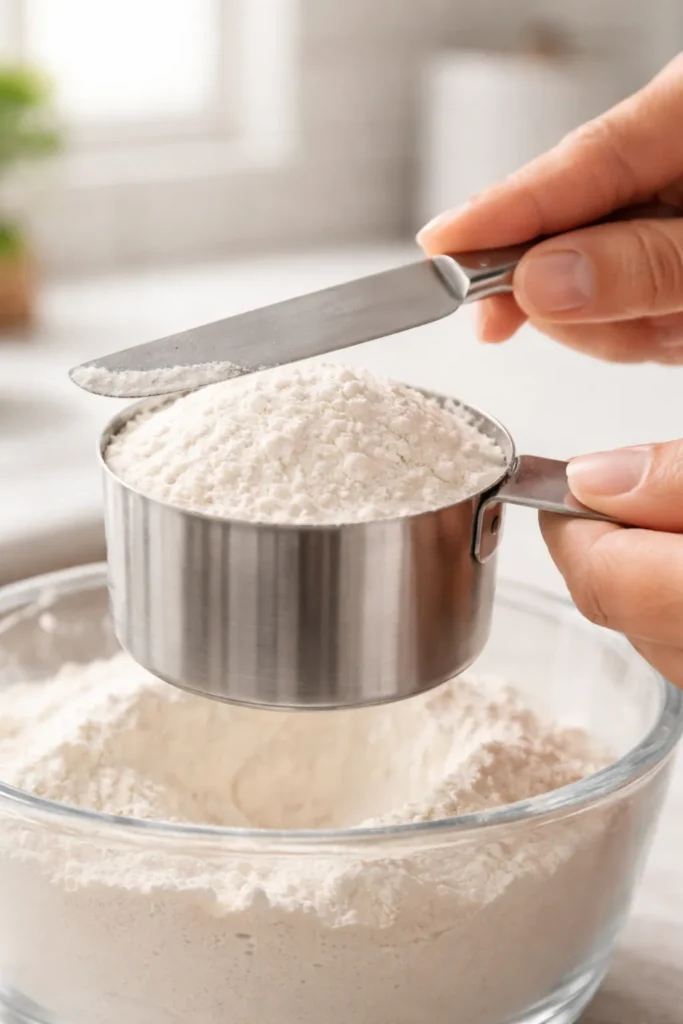
The Correct Way to Measure Dry Ingredients
Use the spoon-and-level method: take a spoon, fill the measuring cup by spooning the flour (or sugar, or whatever dry ingredient) into it, then use a flat edge—the back of a butter knife works perfectly—to level it off flush with the top of the cup. This gives you a consistent, reliable measurement every time. The only exception is brown sugar, which should be firmly packed into the measuring cup so it holds its shape when removed.
Using Liquid Measuring Cups and Scales
Liquid ingredients require clear liquid measuring cups with volume markings on the side. Pour the liquid and check the measurement at eye level—don’t measure from above or below, as it will give you an inaccurate reading. Even better than volume measuring is using a kitchen scale if you have access to one. Weight is always precise—a gram is a gram regardless of packing, humidity, or technique—whereas a cup can vary by 20 or 30 grams depending on how the ingredient settles.
3. Use Room Temperature Ingredients
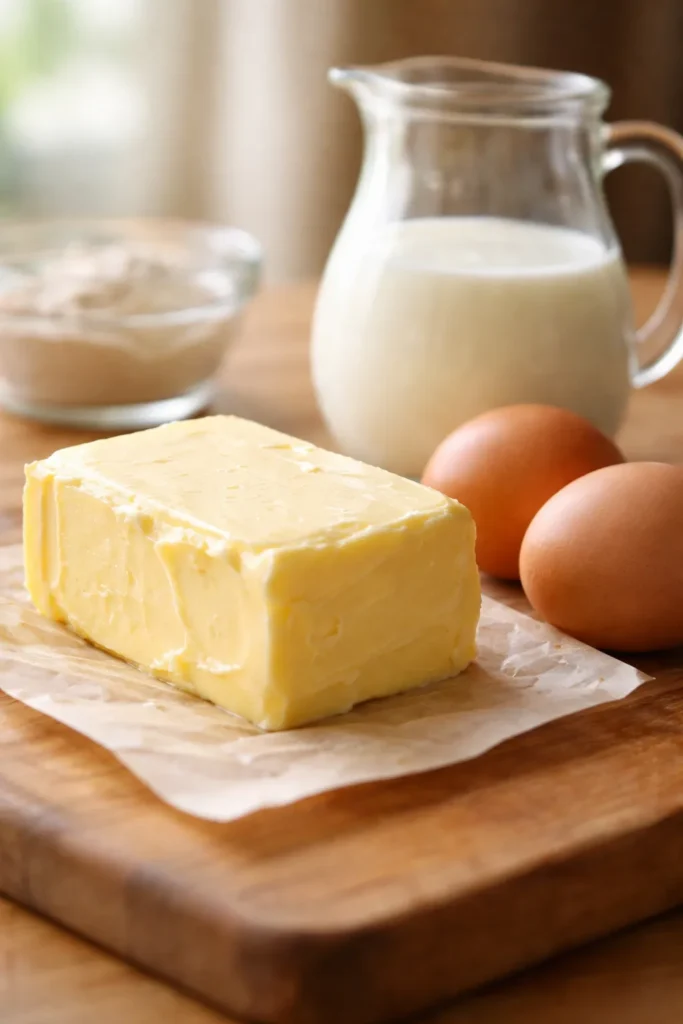
When recipes call for room temperature butter, eggs, milk, or dairy, that requirement isn’t arbitrary. There’s actual science behind why temperature matters so much in baking, and ignoring it frequently leads to texture problems that confuse beginners.
Cold butter cannot be creamed properly—you simply can’t whip it into the fluffy, light mixture that traps air bubbles and creates a tender crumb in cakes and cookies. Cold eggs won’t incorporate smoothly into batter; instead, they cause the mixture to become grainy and curdled-looking. Cold liquid ingredients can cause the batter to seize up and separate. All of these problems happen because ingredients at different temperatures don’t emulsify (combine smoothly) the way they should.
How to Bring Ingredients to Room Temperature
Plan ahead and leave ingredients on the counter for 1 to 2 hours before you start baking. If you forget, there are faster methods. For eggs, place them in a bowl and run them under warm (not hot) tap water for a few minutes. For butter, cut it into 1-inch pieces and microwave it at 50% power in 10-second intervals until it’s soft but not melting—watch carefully, as it goes from soft to puddle fast. For milk or cream, let it sit on the counter for 15 to 30 minutes, or gently warm it in a microwave for 10-second bursts.
When Cold Temperature Is Actually Desired
Some ingredients should stay cold. Heavy cream used for whipping, butter for pie crusts and biscuits, and sometimes even cookie dough need to stay chilled to produce the right texture. Read your recipe carefully—if it specifies chilled ingredients, honor that requirement. Cold butter creates steam pockets in pie dough and biscuits, which produces those desirable flaky layers.
4. Invest in Essential Baking Equipment
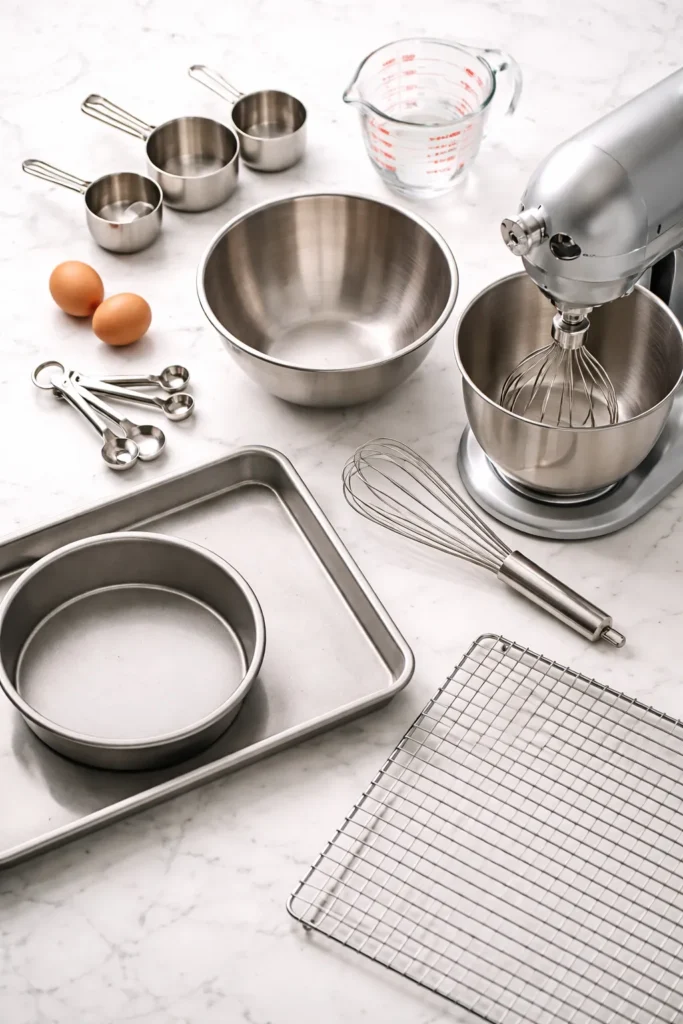
You don’t need every gadget marketed to bakers, but a few core tools make the difference between struggling and succeeding. The good news is you don’t need to spend a fortune—basic, quality tools are inexpensive and last for decades.
Essential equipment includes: a set of dry measuring cups, a liquid measuring cup, measuring spoons, a sturdy mixing bowl or two, a whisk, a rubber spatula, a stand mixer or hand mixer, a 9-inch round or square cake pan, a baking sheet, and a wire cooling rack. If you can add one luxury item, buy a kitchen scale—it’s the most-used tool in any serious baker’s kitchen.
The Game-Changing Tools Worth Prioritizing
An oven thermometer deserves its own mention because it’s genuinely life-changing. Most home ovens are off by at least 10 to 25 degrees, and some are off by much more. If your oven says 350°F but is actually running at 325°F or 375°F, your baked goods won’t cook properly no matter how well you follow the recipe. An oven thermometer costs under $10 and immediately solves this mystery. Hang it in the center of your oven and check it every time you bake—it’s worth its weight in gold.
A kitchen scale is also transformative. While measuring by volume (cups and spoons) absolutely works when you use proper technique, weight is more forgiving and more precise. Professional bakers and cookbook authors use weight because it removes variables—a gram is always a gram. If you want to level up your consistency and confidence dramatically, a digital scale is the single best investment.
5. Preheat Your Oven and Know Its Quirks
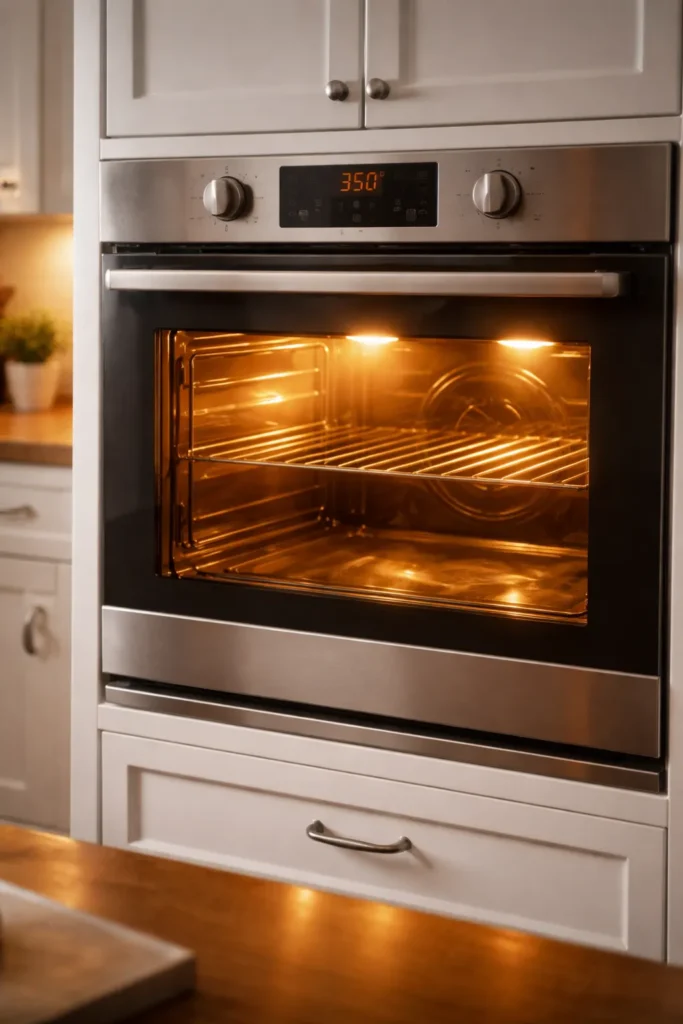
Preheating your oven matters more than most beginners realize. A cold oven affects how your baked goods rise and brown, sometimes creating cakes that don’t rise properly or cookies that spread unevenly. Allow 10 to 15 minutes for your oven to fully preheat before placing anything inside.
Beyond preheating, understanding your oven’s personality prevents many beginner failures. Most ovens have hot spots—areas that bake faster and brown more quickly than others. You might notice that cookies on one side of the baking sheet brown much faster than those on the other side, or that the back of your cake browns darker than the front.
How to Identify and Work With Hot Spots
Find your oven’s hot spots by baking a batch of plain bread slices on a single rack. Notice which ones brown fastest and where they’re positioned on the rack. Once you know where the hot spots are, you can rotate your pans during baking for more even results. Many recipes include instructions to rotate pans halfway through baking—this is why. Rotation matters most when you’re baking multiple trays at once or using multiple racks.
The Middle Rack Is Usually Best
Unless a recipe specifies a different rack position, use the middle rack. It provides the most even heat circulation. If baking two trays at once, position them so they don’t completely block airflow, or rotate them halfway through. For a convection oven, reduce the temperature by 25°F and check for doneness a few minutes earlier than the recipe suggests—convection ovens bake faster and more evenly.
6. Avoid Overmixing Your Batter
There’s a genuine tension in baking between mixing enough (so ingredients are properly combined) and mixing too much (which develops gluten and creates a tough, dense texture). This confusion causes many beginner baking failures, but understanding the principle behind it makes it simple.
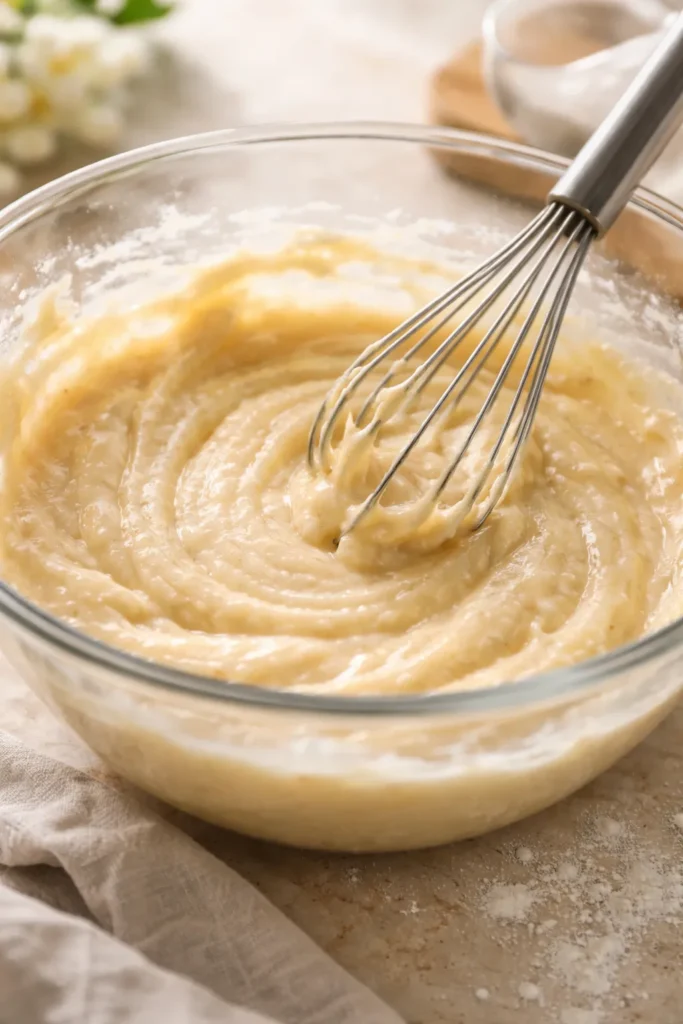
When you add flour to a wet batter, gluten proteins start to form and link together. Gluten is desirable in bread because it creates structure and chew. It’s undesirable in cakes, cupcakes, and tender cookies because it makes them tough and rubbery. Once you’ve added flour to your wet ingredients, mix only until the dry ingredients disappear into the batter and you don’t see any white streaks of flour—then stop immediately.
The Creaming Stage Requires More Mixing
This tip has an important exception: when creaming butter and sugar together at the beginning of a recipe, you should mix for several minutes. This stage should beat air into the mixture, making it pale and fluffy. Proper creaming creates the texture foundation for tender cakes and cookies. Spend 2 to 3 minutes beating butter and sugar with an electric mixer until the mixture is noticeably lighter in color and increased in volume. This is the one time when more mixing is exactly what you want.
How to Know When You’ve Mixed Enough
After adding flour, fold gently with a spatula rather than stirring vigorously. When you can’t see any white streaks of dry flour anymore, the batter is ready. A few small lumps are fine—they’ll disappear in the oven. What you want to avoid is the smooth, completely homogeneous appearance that comes from overmixing, as that indicates over-developed gluten.
7. Prepare and Grease Your Pans Properly

A beautifully risen cake that won’t release from the pan is heartbreaking. Worse, you might damage it trying to remove it, or decide it’s not salvageable. Preparing your pans correctly takes just 30 seconds and prevents this entire disaster.
Grease your pan generously, getting into the corners and all the way up the sides. You can use butter, oil, or nonstick cooking spray. If you’re baking a cake, also line the bottom with parchment paper—cut a piece to fit the bottom of your pan, grease the pan first, then press the parchment into place. This ensures your cake releases cleanly.
How to Flour a Greased Pan
Some recipes call for flouring the greased pan. Pour a small amount of flour over the greased surface and tilt the pan in all directions, coating the bottom and sides completely. Tap out any excess flour over a sink or trash can. For chocolate cakes, use cocoa powder instead of flour to avoid white streaks on the surface. This extra step prevents cakes from sticking and makes them release beautifully.
Why Parchment Paper Is Worth It
Parchment paper is inexpensive, reusable for dozens of bakings, and prevents sticking better than any other method. It’s particularly valuable for cookies, where you want the bottom to be evenly golden rather than scorched. Line your baking sheets with parchment and your cookies will have consistent, beautiful browning.
8. Learn When Your Baked Goods Are Done
Oven times in recipes are estimates—they vary based on your oven’s accuracy, your pan’s color (dark pans bake faster), and the altitude where you live. Relying solely on bake time leads to underbaked or overbaked results. Learning to recognize doneness by sight and touch is a crucial skill.
Different baked goods signal doneness differently. Cakes are done when you gently touch the top and the surface springs back immediately. Cupcakes work the same way—they shouldn’t feel squishy or leave an indent. Cookies are ready when the edges are set and just barely golden, but the center still looks slightly underdone—they continue to bake on the hot pan for several minutes after you remove them from the oven.
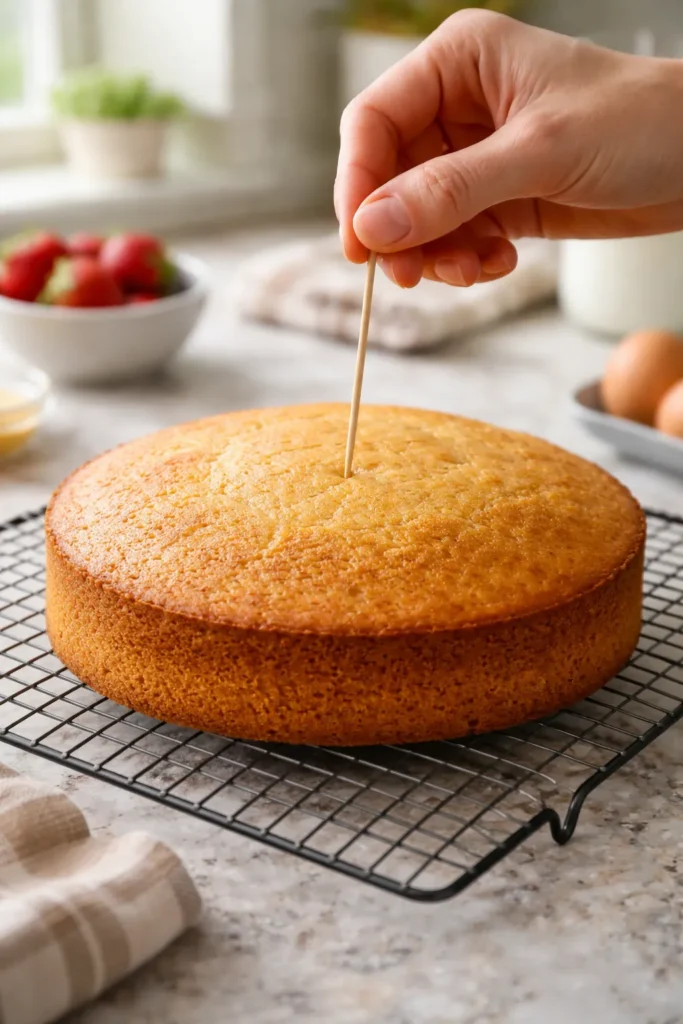
The Toothpick Test for Cakes
Insert a toothpick or cake tester into the center of the cake. If it comes out clean or with just a few moist crumbs clinging to it, the cake is done. If wet batter coats the toothpick, it needs more time. This test is reliable for most cakes, but note that some batter-cake hybrids (like brownies or molten lava cakes) are supposed to have moist centers, so the recipe will specify what you’re looking for.
Start Checking Early
Begin checking for doneness 2 to 3 minutes before the recipe’s minimum time. Since all ovens differ, you might be done sooner than expected. It’s much easier to bake something a few more minutes if it’s not ready than it is to salvage something that’s overbaked.
9. Cool Your Creations Correctly
The cooling process is part of the baking process, not an afterthought. How you cool your baked goods affects their final texture, structure, and appearance. Rushing the cooling stage ruins many otherwise perfect bakes.
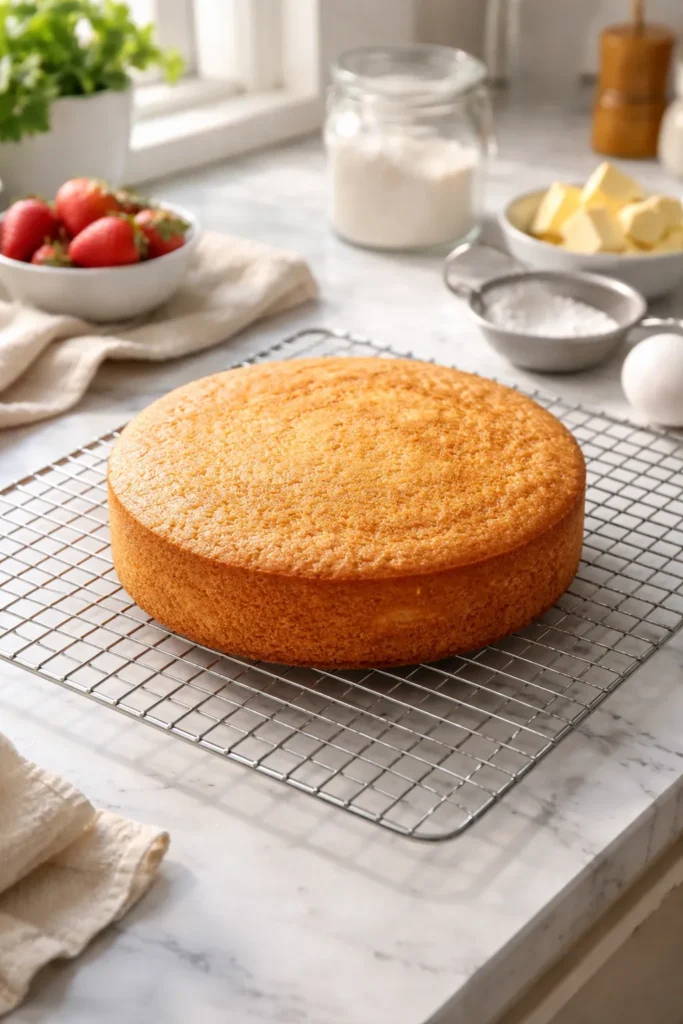
Let your cake cool in the pan for the time specified in the recipe—usually 10 to 15 minutes. During this time, the cake continues to set and becomes firm enough to handle. Then turn it out onto a wire cooling rack to cool completely. Never frost a warm cake—the frosting will melt off and the cake crumb will tear when you try to spread it.
Why Wire Racks Matter
A wire rack allows air to circulate under the baked good, preventing the bottom from becoming soggy from steam. If you cool cakes directly on the counter or still in the pan, moisture accumulates underneath and you get a dense, gummy bottom. A simple wire rack costs almost nothing and prevents this problem entirely.
Complete Cooling Before Frosting or Serving
A completely cooled cake takes at least 1 to 2 hours, sometimes longer depending on size. This isn’t wasted time—it’s essential for the cake to reach maximum stability. Once a cake is completely cool, not just cool to the touch, it’s sturdy enough to frost without damage.
10. Practice, Keep Records, and Don’t Fear Mistakes
The truth that separates successful bakers from those who give up is this: everyone’s baked goods fail sometimes, even professional bakers. The difference is that experienced bakers have failed hundreds of times and learned something from each failure.
Your first attempts won’t be perfect. Your cookies might spread too much, your cake might dip in the center, your brownies might be cakey instead of fudgy. These aren’t signs that you can’t bake—they’re data points. Each failure teaches you something about how your oven behaves, how your ingredients respond, and what adjustments might help next time.
Keep a Baking Notebook
Write down what you baked, when you baked it, how it turned out, and what you’d do differently next time. This habit seems obsessive but it’s genuinely powerful. You might notice that your cakes always dome in the center (suggesting your oven runs hot) or that your cookies always spread (suggesting you need to chill the dough longer). These patterns emerge only when you keep records.
Master the Basics Before Experimenting
Choose foundational recipes like chocolate chip cookies, vanilla cake, brownies, and cupcakes. Make these recipes multiple times until you understand how they work. Once you’ve made a simple vanilla cake three times and understand how it behaves in your kitchen, you’re ready to understand why making substitutions might change the outcome—and which substitutions are safe to try. Practice builds intuition, and intuition is what separates confident bakers from anxious ones.
Final Thoughts
Baking becomes less intimidating and more enjoyable once you understand that the fundamentals are learnable. You don’t need special talent, just patience, attention to detail, and a willingness to learn from mistakes. Start with reliable recipes designed for beginners, follow the tips outlined here, and bake multiple times. Each batch teaches you something.
The techniques that separate excellent bakers from frustrated ones aren’t secrets—they’re just principles like measuring accurately, understanding why temperature matters, and knowing your equipment. Master these foundations and you’ll stop following recipes blindly and start baking with genuine confidence. That’s when baking transforms from stressful to genuinely enjoyable.