There’s something magical about the combination of sweet honey and savory garlic. When you pair these two ingredients with tender chicken, you get a meal that feels like a hug on a plate. The sticky, glossy sauce clings to every piece of chicken, creating that perfect balance of flavors that makes everyone ask for seconds.
If you’ve been stuck in a dinner rut, honey garlic chicken might just be your new best friend. It’s versatile enough to work with whatever cooking method you prefer, whether that’s a quick skillet dinner or a hands-off slow cooker approach. The best part? You probably have most of the ingredients sitting in your pantry right this very moment.
Let’s dive into twelve different ways to make honey garlic chicken work for your schedule, your cooking style, and your family’s taste buds.
Table of Contents
- 1. Classic Skillet Honey Garlic Chicken
- Why This Method Stands Out
- Quick Tips for Success
- 2. Sheet Pan Honey Garlic Chicken with Vegetables
- What Makes It Special
- Serving Suggestions
- 3. Slow Cooker Honey Garlic Chicken
- How It Works
- Making It Even Better
- 4. Air Fryer Honey Garlic Chicken
- Why Choose Air Fryer
- Assembly Tips
- 5. Honey Garlic Chicken Tenders
- The Tender Difference
- Serving Ideas
- 6. Crispy Honey Garlic Chicken Thighs
- What Sets Thighs Apart
- Cooking Strategy
- 7. Honey Garlic Chicken with Pineapple
- Flavor Balance
- Best Uses
- 8. Honey Garlic Chicken Stir Fry
- Stir Fry Technique
- Making It Your Own
- 9. Baked Honey Garlic Chicken Breasts
- The Baking Process
- Serving Suggestions
- 10. Honey Garlic Chicken Wings
- Wing-Specific Tips
- Flavor Variations
- 11. Honey Garlic Chicken Meatballs
- Meatball Magic
- Creative Uses
- 12. Instant Pot Honey Garlic Chicken
- Pressure Cooker Benefits
- Time-Saving Tips
- Final Thoughts
1. Classic Skillet Honey Garlic Chicken
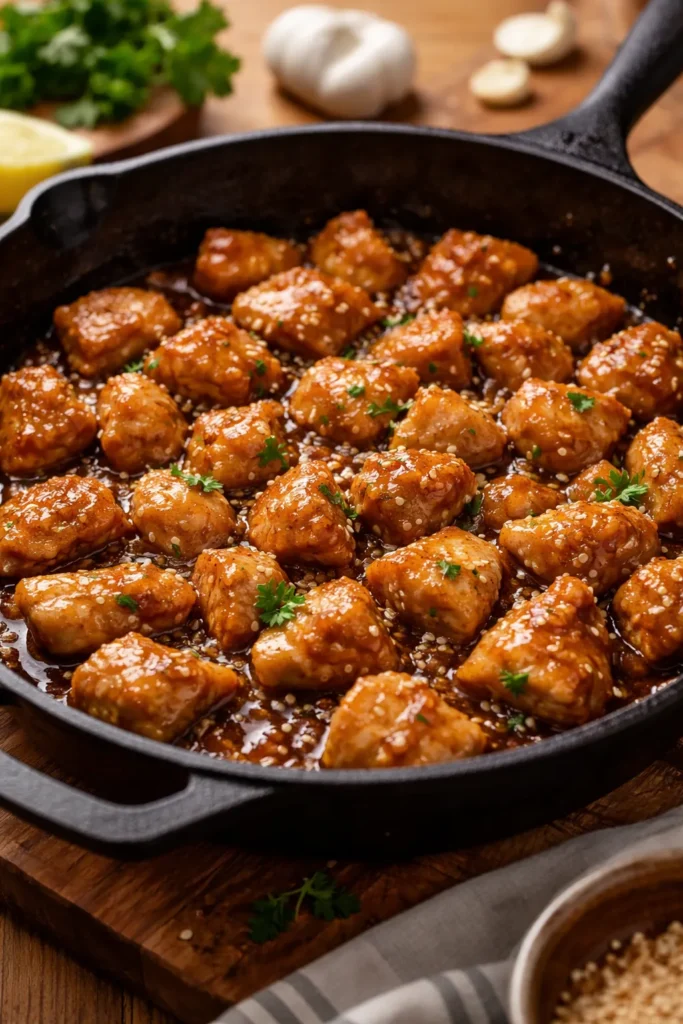
This is where most people start their honey garlic chicken journey, and for good reason. The skillet method gives you control over every step, letting you watch as the chicken develops that gorgeous golden crust before getting coated in sauce.
Start by cutting boneless, skinless chicken breasts into bite-sized cubes. Toss them in a light coating of flour seasoned with salt, pepper, and garlic powder. This flour coating isn’t just for show—it helps create a slight crust that the sauce can really grab onto.
Why This Method Stands Out
The beauty of the skillet method is how quickly everything comes together. You’ll brown the chicken in olive oil over medium-high heat, working in batches so you don’t crowd the pan. Once the chicken is cooked through, you lower the heat and add your sauce mixture.
The sauce itself is ridiculously simple: honey, soy sauce, minced garlic, a splash of rice vinegar, and maybe a touch of sriracha if you like a little kick. As it simmers, the sauce thickens into that signature sticky glaze that makes this dish so irresistible.
Quick Tips for Success
- Don’t skip the flour coating. It makes a real difference in texture.
- Use fresh minced garlic instead of garlic powder for the sauce. The flavor is so much brighter.
- If your sauce gets too thick, just add a tablespoon of water and stir.
Pro tip: Let the chicken rest at room temperature for about 20 minutes before cooking. It’ll cook more evenly that way.
2. Sheet Pan Honey Garlic Chicken with Vegetables

When you want a complete meal with minimal cleanup, the sheet pan method is your answer. Everything cooks together on one pan, which means less time washing dishes and more time enjoying your dinner.
Toss your cubed chicken with a bit of flour, garlic powder, and your favorite seasonings. Arrange it on one side of a parchment-lined baking sheet. On the other side, add broccoli florets or chopped asparagus drizzled with olive oil.
What Makes It Special
The oven does most of the heavy lifting here. At 450°F, the chicken pieces cook through in about 10-15 minutes, getting slightly crispy on the edges. Meanwhile, your vegetables roast alongside, picking up some of that delicious flavor.
After the chicken is cooked, you’ll pour your honey garlic sauce right over the chicken pieces and pop everything back in the oven for another 5 minutes. The sauce bakes onto the chicken, creating an almost caramelized coating that’s absolutely divine.
Serving Suggestions
- Pair this with rice or quinoa to catch all that extra sauce
- Try it with different vegetables like bell peppers, snap peas, or green beans
- Double the sauce recipe if you want extra for drizzling
Fun fact: This method works beautifully for meal prep. Just portion everything into containers and reheat throughout the week.
3. Slow Cooker Honey Garlic Chicken

There’s something deeply satisfying about coming home to dinner that’s already made. The slow cooker version of honey garlic chicken is perfect for those days when you need a meal to practically cook itself.
This one’s truly a dump-and-go situation. Toss boneless, skinless chicken thighs into your slow cooker. Add soy sauce, honey, minced garlic, and a bit of ketchup (trust me on this one—it adds depth without tasting like ketchup).
How It Works
The low, slow heat breaks down the chicken until it’s fall-apart tender. Chicken thighs work particularly well here because they have more fat and won’t dry out during the longer cooking time. After about 3-4 hours on low, you’ll have incredibly tender meat swimming in sauce.
Here’s where it gets good: you can shred the chicken right in the slow cooker and let it soak up even more of that honey garlic goodness. Or keep the pieces whole if you prefer.
Making It Even Better
- If the sauce seems thin, mix cornstarch with cold water and stir it in during the last 30 minutes
- Add a splash of sesame oil right before serving for extra depth
- Sprinkle with sliced green onions and sesame seeds when you plate it up
4. Air Fryer Honey Garlic Chicken
The air fryer creates the crispiest honey garlic chicken you’ve ever tasted. The hot circulating air gives each piece a gorgeous crunchy exterior while keeping the inside juicy and tender.
Cut your chicken into uniform pieces and coat them with cornstarch instead of flour. The cornstarch creates an extra-crispy coating that stays crunchy even after you add the sauce. Spray the pieces with oil before air frying at 380°F for about 10-12 minutes.
Why Choose Air Fryer
The texture you get from air frying is unmatched. Each piece develops this amazing golden-brown crust that provides the perfect contrast to the sticky sauce. Plus, you’re using way less oil than traditional frying methods.
Make your honey garlic sauce separately in a small saucepan. Cook the garlic in a touch of oil first, then add honey, soy sauce, and any other seasonings you like. Thicken it with a cornstarch slurry if needed.
Assembly Tips
- Cook the sauce while the chicken air fries to save time
- Toss the crispy chicken in the sauce right before serving to maintain crunch
- Don’t overcrowd the air fryer basket—work in batches for best results
5. Honey Garlic Chicken Tenders
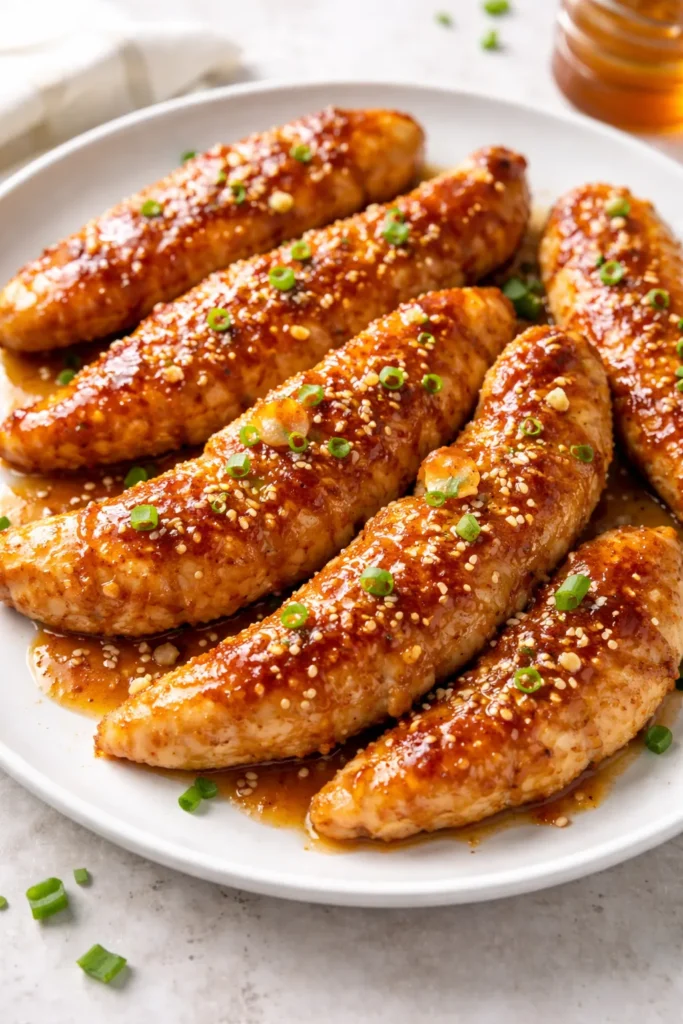
Sometimes you want that classic tender shape instead of bite-sized pieces. This version takes chicken tenderloins or thick strips cut from chicken breasts and transforms them into a family-friendly meal.
Season your tenders with salt, pepper, and garlic powder before coating them in flour. The coating will be lighter than traditional breaded tenders, but it still creates that nice exterior texture you’re looking for.
The Tender Difference
Tenders cook a bit differently than cubed chicken because of their shape. You’ll need to give them about 4-5 minutes per side in the skillet to cook through completely. The larger surface area means more room for that gorgeous honey garlic glaze to cling.
Kids absolutely love this version. There’s something about the tender shape that makes it more approachable for little ones, and the sweet sauce usually wins over even picky eaters.
Serving Ideas
- Make these for a fun weeknight dinner alongside sweet potato fries
- Cut them into pieces for a honey garlic chicken stir fry
- Pack them in lunch boxes with rice and steamed veggies
Pro tip: Use a meat thermometer to check that the thickest part reaches 165°F. Nobody wants undercooked chicken.
6. Crispy Honey Garlic Chicken Thighs
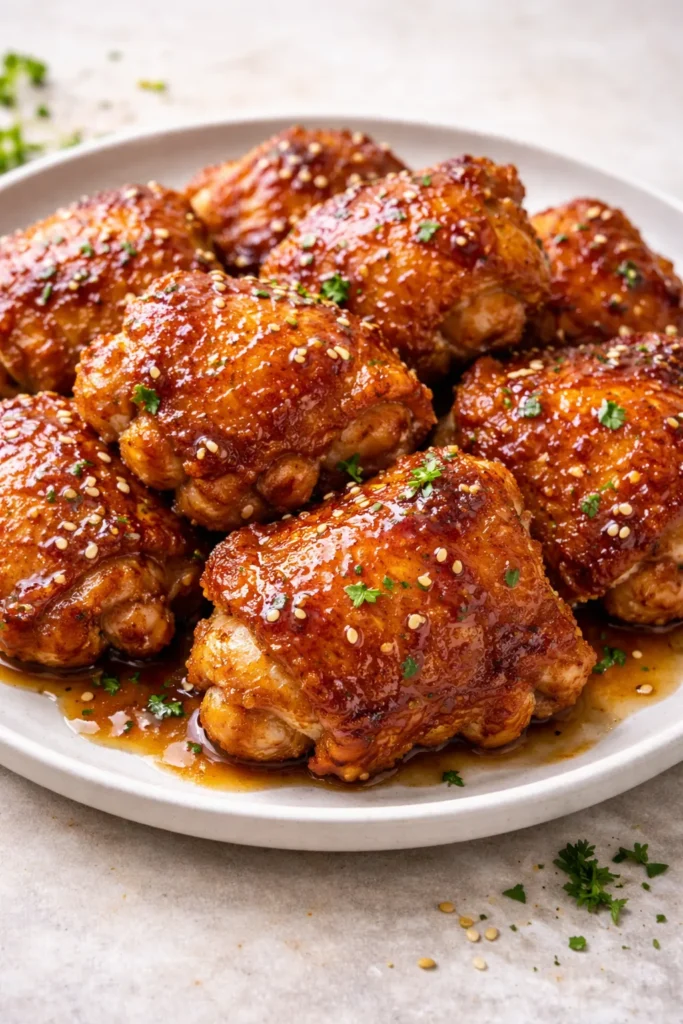
When you want dark meat instead of white meat, chicken thighs are where it’s at. They’re more forgiving than breasts, staying juicy even if you accidentally cook them a minute or two longer than intended.
Use boneless, skinless thighs cut into bite-sized pieces. The coating process is key here: cornstarch creates a crispier crust than flour, so don’t skimp on this step. Season generously before tossing in the cornstarch.
What Sets Thighs Apart
Dark meat has more fat running through it, which translates to more flavor and a more tender texture. When you pan-fry these pieces over medium-high heat, they develop this incredible golden-brown exterior that’s slightly crispy.
The sauce for this version can be a bit bolder. Try adding fresh ginger, extra garlic, and a generous splash of sweet chili sauce along with the honey and soy sauce. The rich meat can handle these bigger flavors.
Cooking Strategy
- Work in batches so each piece gets proper contact with the hot pan
- Save that last tablespoon of butter for adding with the garlic—it enriches the whole sauce
- Let the sauce simmer down until it’s thick and sticky before removing from heat
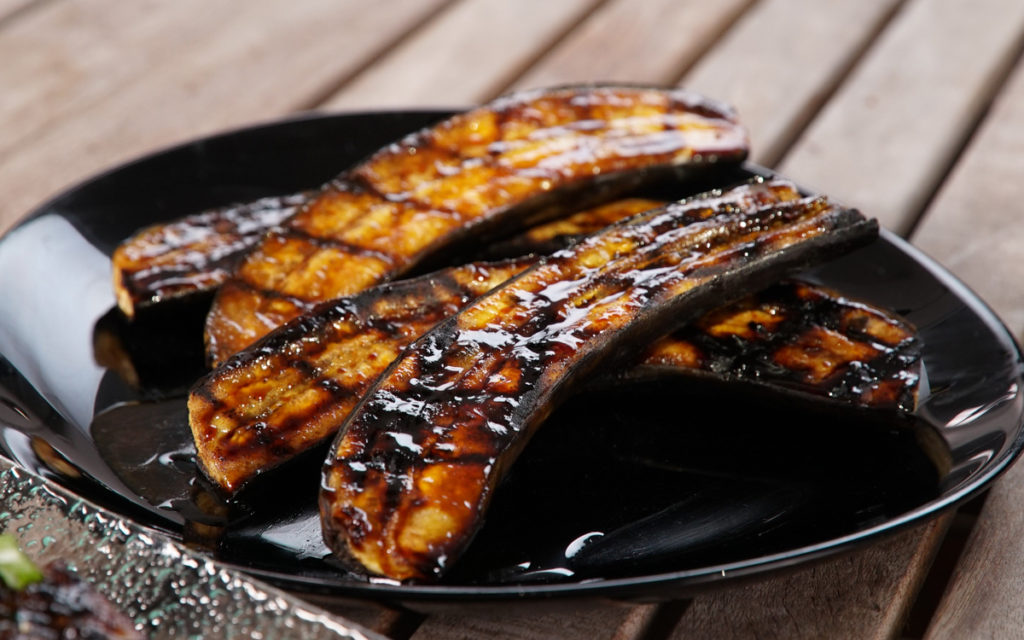
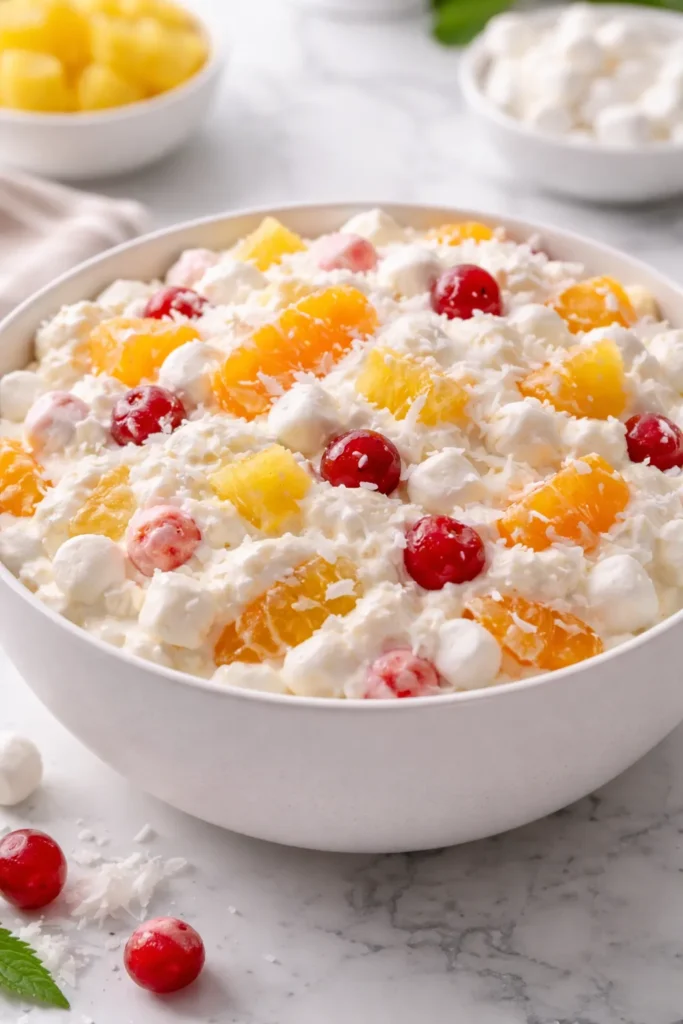
7. Honey Garlic Chicken with Pineapple
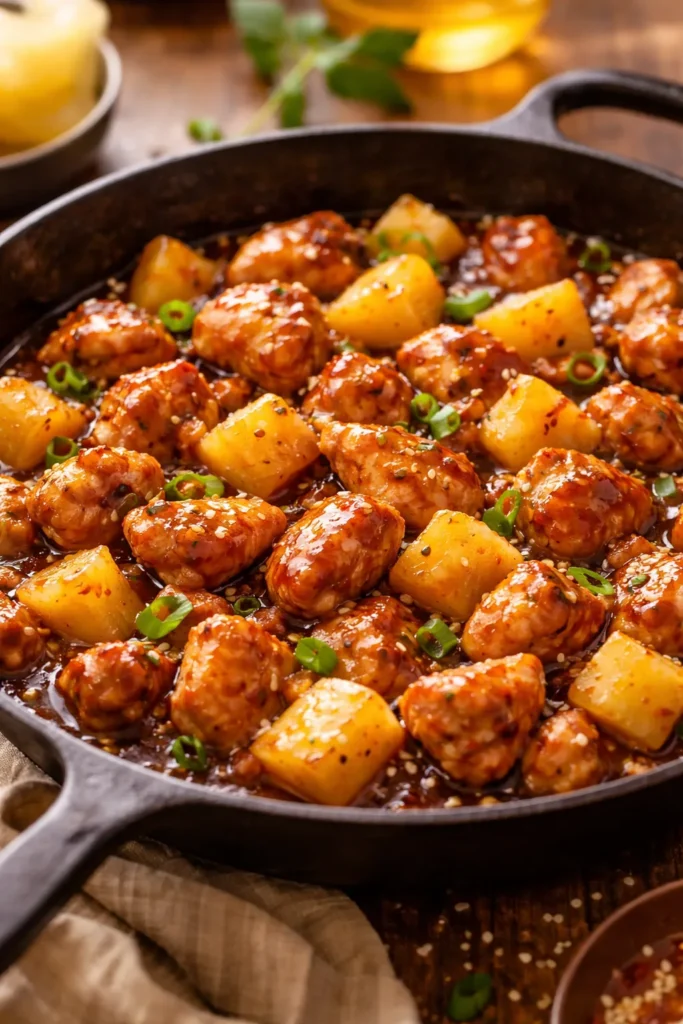
Adding pineapple chunks takes your honey garlic chicken in a slightly tropical direction. The fruit’s natural sweetness complements the honey while adding little bursts of juicy flavor throughout the dish.
Use either fresh pineapple chunks or well-drained canned pineapple. If you’re using canned, make sure to really drain it well so you’re not adding too much extra liquid to your sauce.
Flavor Balance
The pineapple adds another layer of sweetness, so you might want to dial back the honey just a touch—maybe use 1/3 cup instead of 1/2 cup. A splash of rice vinegar or lime juice helps balance everything out with a hit of acidity.
Toss the pineapple chunks right into the pan when you add your sauce. They’ll warm through and soak up some of that delicious honey garlic flavor while releasing their own sweet juices into the mix.
Best Uses
- Serve this version over coconut rice for a Hawaiian-inspired meal
- Add bell peppers for extra color and crunch
- Top with toasted coconut flakes for a fun textural element
8. Honey Garlic Chicken Stir Fry
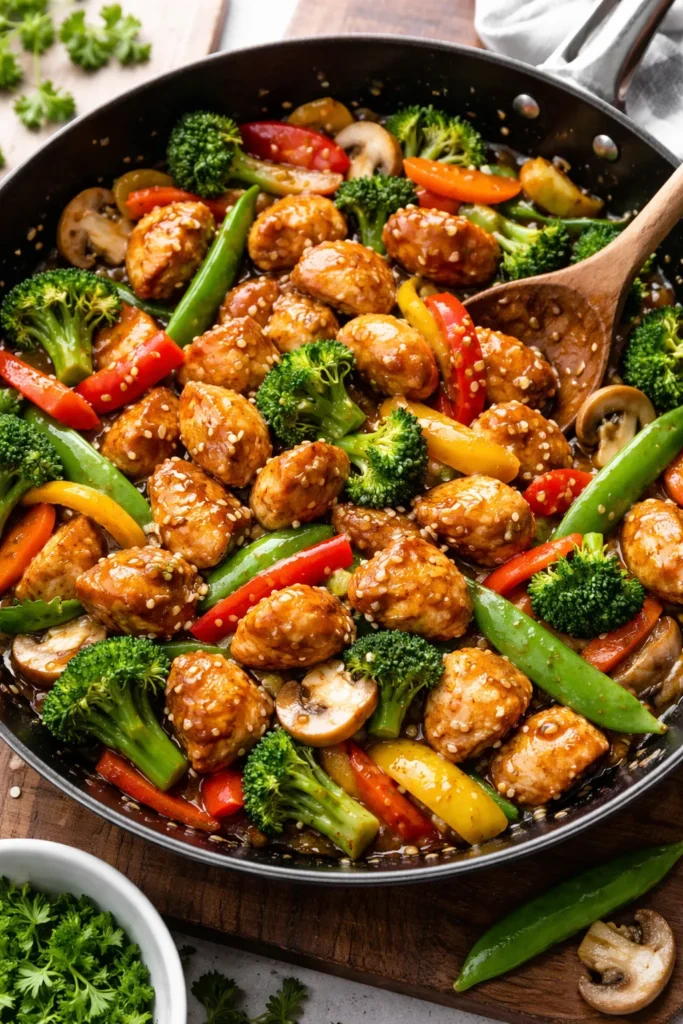
Transform your honey garlic chicken into a full stir fry by loading it up with vegetables. This version gives you a complete meal in one pan, packed with color, texture, and nutrition.
After cooking your chicken pieces, set them aside and use the same pan to quickly stir-fry your vegetables. Broccoli, bell peppers, snap peas, carrots, and mushrooms all work beautifully. Keep them crisp-tender by cooking over high heat.
Stir Fry Technique
The key to a good stir fry is having everything prepped before you start cooking. Cut your vegetables into similar-sized pieces so they cook evenly. Your honey garlic sauce should be mixed and ready to go.
Add the chicken back to the pan with the vegetables, pour in your sauce, and toss everything together over high heat. The sauce will thicken quickly, coating both the chicken and vegetables in that signature sticky glaze.
Making It Your Own
- Swap in whatever vegetables you have on hand
- Add cashews or peanuts for extra crunch
- Serve over noodles instead of rice for variety
9. Baked Honey Garlic Chicken Breasts
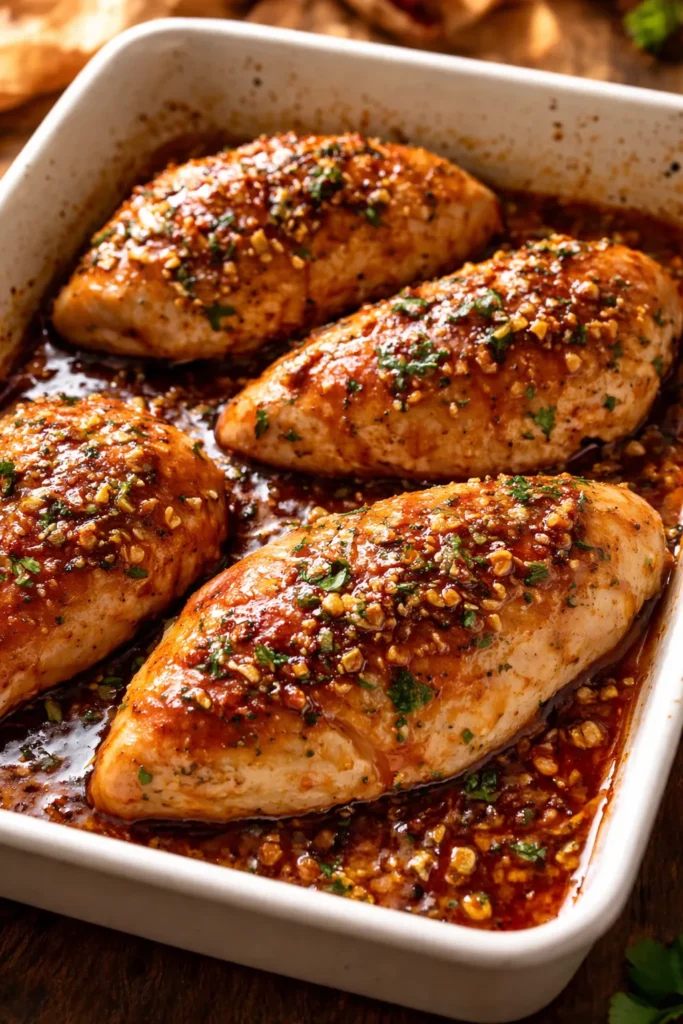
Sometimes you want to keep the chicken breasts whole instead of cutting them into pieces. This baked version gives you those classic chicken breast servings with all the honey garlic flavor you crave.
Pound your chicken breasts to an even thickness—this is crucial for even cooking. Season them well and give them a light coating of flour before placing them in a baking dish.
The Baking Process
Pour your honey garlic sauce over the chicken breasts and bake at 375°F. The chicken will take about 25-30 minutes to cook through, depending on thickness. Baste the chicken with the sauce halfway through for extra flavor.
This method gives you a more elegant presentation if you’re serving guests. Each person gets their own chicken breast, beautifully glazed and ready to slice into.
Serving Suggestions
- Slice the cooked chicken and fan it out on the plate for a restaurant-style look
- Use the extra sauce in the pan for drizzling over sides
- Pair with mashed potatoes or roasted vegetables
Pro tip: Let the chicken rest for 5 minutes after baking before slicing. This keeps all those juices inside.
10. Honey Garlic Chicken Wings
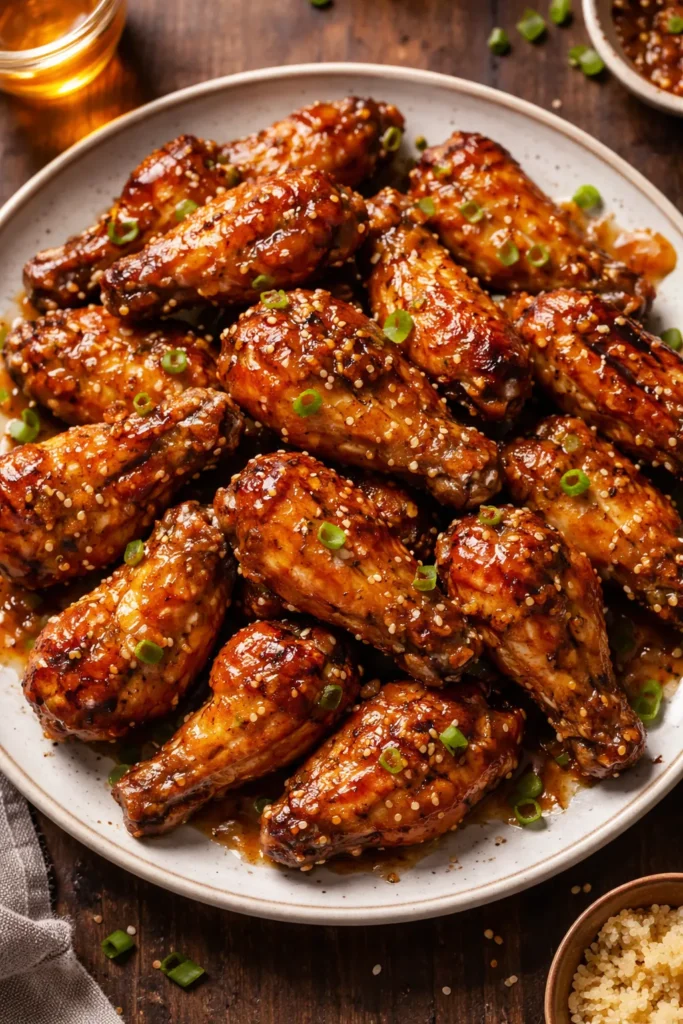
Wings aren’t just for game day anymore. Honey garlic wings make an awesome main dish when you serve them over rice with plenty of napkins on the side.
You can bake or fry your wings—both methods work great. For baked wings, arrange them on a wire rack over a baking sheet and bake at 400°F until crispy, about 40-45 minutes, flipping halfway through.
Wing-Specific Tips
Wings have more skin and fat than other cuts, which means they can handle a really sticky, thick sauce. Don’t hold back on the honey here. You want that sauce to be almost candy-like in consistency.
Toss the cooked wings in your honey garlic sauce right before serving. If you add the sauce too early, you’ll lose that crispy skin texture that makes wings so appealing.
Flavor Variations
- Add a tablespoon of gochujang for Korean-inspired spicy wings
- Mix in some orange zest for a citrusy twist
- Sprinkle with toasted sesame seeds and chopped scallions
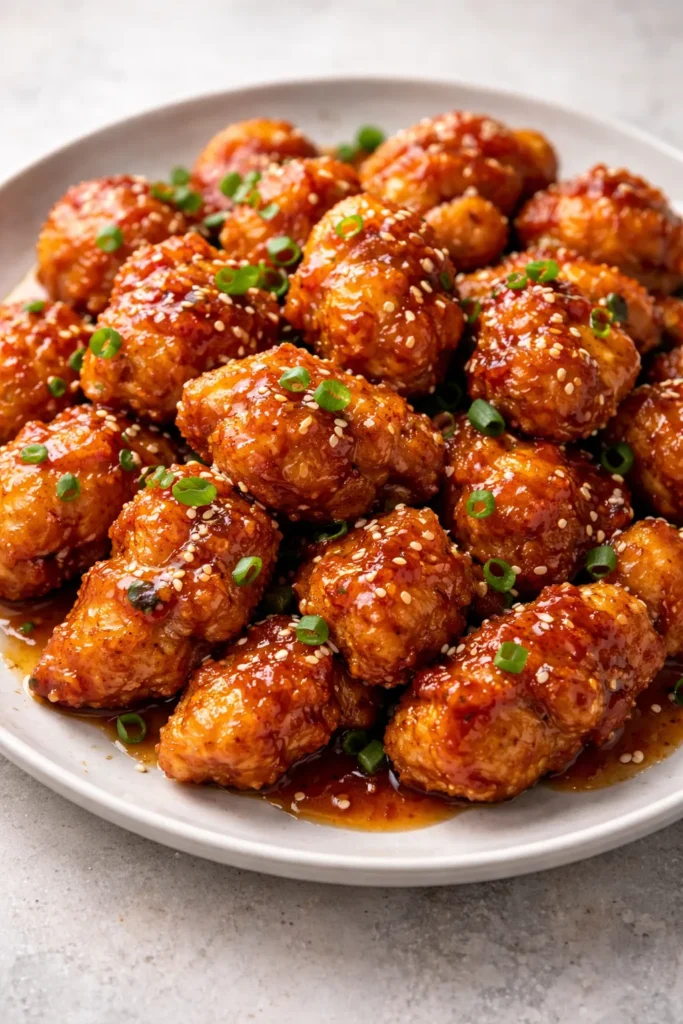
11. Honey Garlic Chicken Meatballs
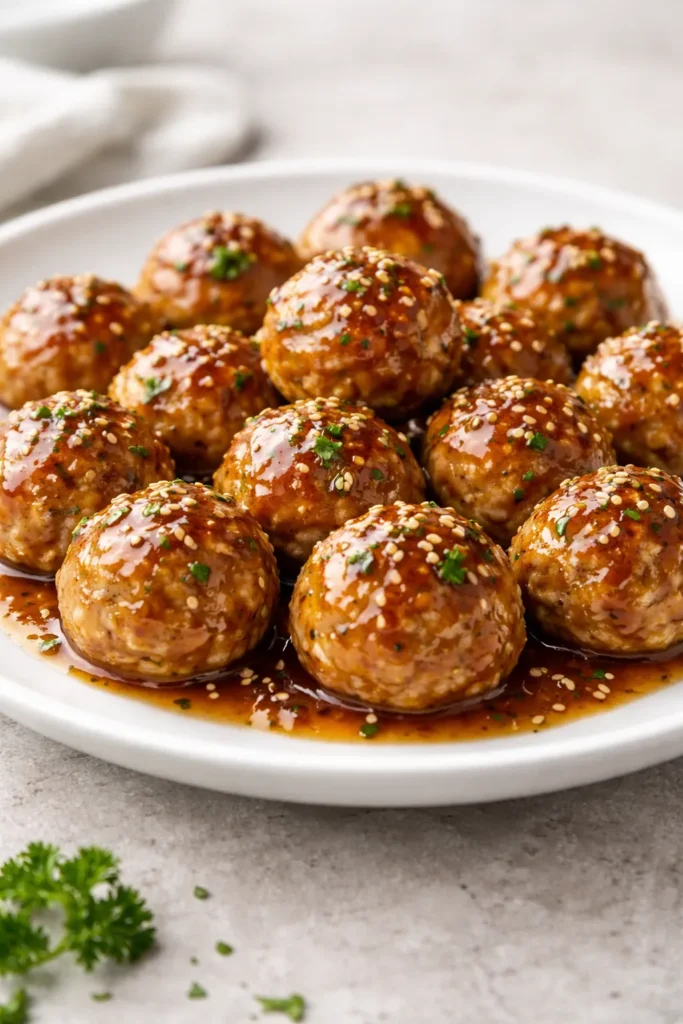
When you want to switch up the form factor completely, meatballs are your answer. Ground chicken gets mixed with breadcrumbs, egg, and seasonings before being rolled into balls and coated in honey garlic sauce.
Mix ground chicken with panko breadcrumbs, a beaten egg, minced garlic, salt, and pepper. Form into meatballs about 1.5 inches in diameter. You can bake them, pan-fry them, or even cook them in your air fryer.
Meatball Magic
These are fantastic as an appetizer for parties, but they also make a killer main dish over rice or noodles. The meatballs soak up the sauce like little sponges, getting more flavorful with every bite.
Simmer your cooked meatballs in the honey garlic sauce for a few minutes so they really absorb all those flavors. The sauce will reduce and thicken, creating an almost syrupy coating.
Creative Uses
- Thread them on skewers with pineapple chunks for kebabs
- Stuff them into sub rolls for honey garlic chicken meatball sandwiches
- Serve as an appetizer with toothpicks for easy finger food
12. Instant Pot Honey Garlic Chicken
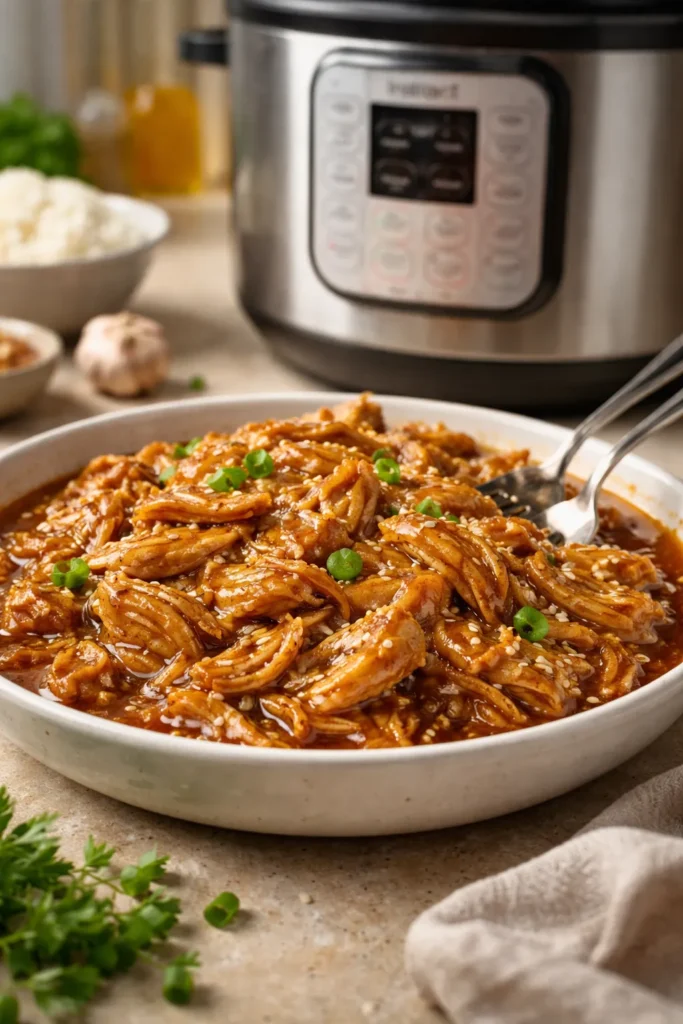
The pressure cooker gives you fall-apart tender chicken in a fraction of the time it takes in a slow cooker. This method is perfect when you forgot to start dinner early but still want that slow-cooked texture.
Add chicken thighs to your Instant Pot along with honey, soy sauce, garlic, and a splash of water. Cook on high pressure for 10 minutes, then let it naturally release for 5 minutes before quick releasing any remaining pressure.
Pressure Cooker Benefits
The pressurized environment forces flavor into the chicken while breaking down the proteins to create that melt-in-your-mouth texture. What would take hours in a slow cooker happens in under 30 minutes total.
After cooking, you can thicken the sauce by turning on the sauté function and simmering it with a cornstarch slurry. Or just serve it as-is if you don’t mind a thinner sauce.
Time-Saving Tips
- Use frozen chicken if you’re really in a pinch—just add 2-3 minutes to the cook time
- Make a double batch and freeze half for later
- Shred the chicken right in the pot using two forks
Final Thoughts
Honey garlic chicken proves that simple ingredients can create extraordinary meals. Whether you’re reaching for your skillet, slow cooker, air fryer, or sheet pan, this flavor combination delivers comfort food that feels special without requiring complicated techniques or hard-to-find ingredients.
The beauty of these twelve variations is that they all stem from the same basic concept: tender chicken meets sweet honey and savory garlic. Once you master the basic sauce, you can adapt it to whatever cooking method fits your schedule and whatever chicken cut you have in the fridge. That’s the kind of recipe flexibility that makes weeknight cooking so much easier.
Next time you’re staring into your refrigerator wondering what to make for dinner, remember that chicken, honey, and garlic are always ready to save the day. Pick whichever method sounds good, and get cooking!