The magic of a truly exceptional apple pie starts with one critical decision: the filling. While a flaky crust provides the structure and charm, the filling is what transforms a pie from ordinary to unforgettable—and everything hinges on getting it right from the very first slice of apple. Honeycrisp apples have quietly become the gold standard for pie filling among serious bakers, and once you understand why, you’ll understand why making your filling from scratch is the only way to achieve that perfect balance of texture, sweetness, and that subtle tartness that makes people ask for seconds.
The difference between store-bought pie filling and homemade lies in control. When you make your filling from scratch, you’re not just assembling ingredients—you’re orchestrating a careful balance of fruit, sugar, spice, and thickener to achieve that ideal consistency where the apples remain tender yet distinct, the filling is glossy and clinging to every slice, and there’s enough sauce to coat your fork without the whole pie collapsing when you cut into it. This isn’t complicated chemistry, but it does require understanding what each ingredient does and when to use it.
Table of Contents
- Why Honeycrisp Apples Deserve a Starring Role
- Understanding the Science of Apple Pie Filling
- The Importance of Thin, Uniform Slicing
- Creating a Balanced, Complex Flavor Profile
- Honeycrisp Apple Pie Filling From Scratch
- Step-by-Step Filling Instructions
- The Critical Spice Selection Decision
- Preventing a Soggy Bottom Crust
- Working With Honeycrisp Apples at Peak Season
- Variations That Honor the Basic Recipe
- Storage and Make-Ahead Strategies
- Serving Suggestions and Pairings
- Troubleshooting Common Issues
- Final Thoughts
Why Honeycrisp Apples Deserve a Starring Role
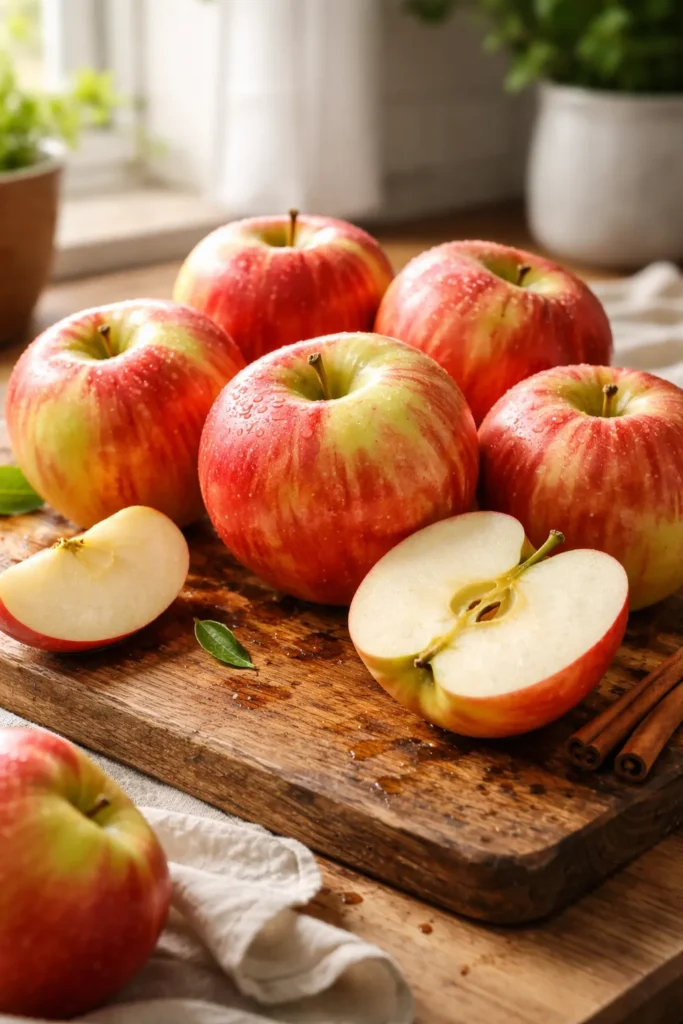
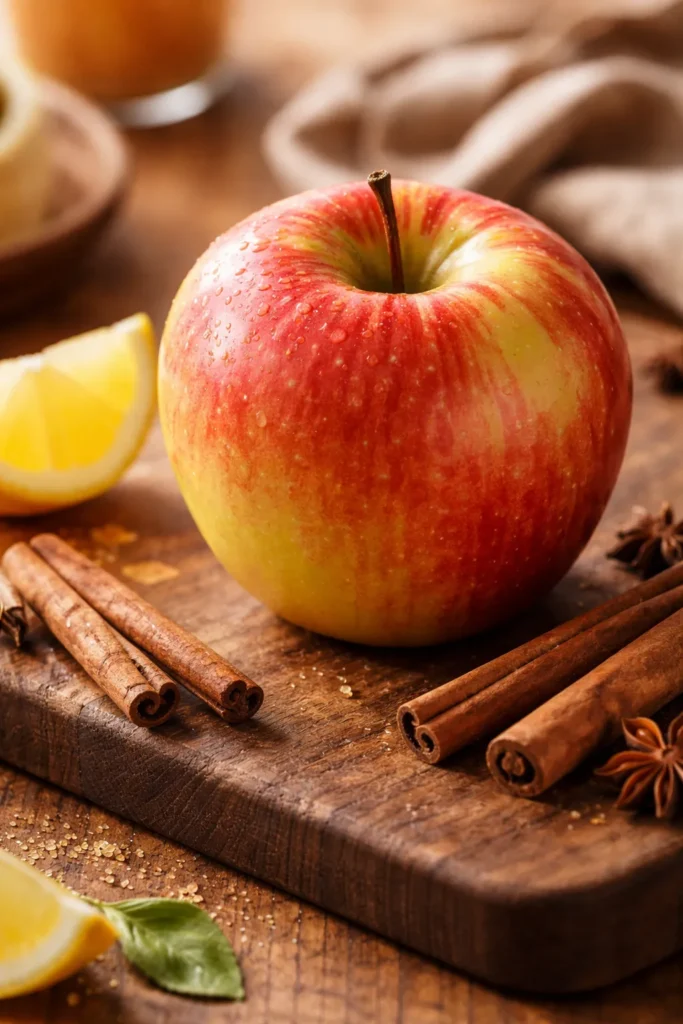
Honeycrisp apples aren’t just popular—they’re scientifically suited to pie baking in ways that other varieties simply aren’t. These apples are a cross between Macoun and Honeygold varieties, which gives them a distinctive combination of traits that makes them exceptional for this particular purpose.
The flesh of a Honeycrisp apple is incredibly crisp and juicy, with a flavor profile that balances sweetness and tartness in a way that feels almost designed for desserts. When you bite into a raw Honeycrisp, you get that satisfying crunch and a flavor that’s simultaneously sweet, slightly tart, and complex enough to be interesting. That same character translates beautifully into pie—the apples don’t cook down to mush, they maintain their integrity through the baking process, and they contribute genuine apple flavor rather than just serving as a vehicle for sugar and spice.
Unlike softer varieties such as McIntosh, which practically disintegrate during baking, Honeycrisps hold their shape. This matters more than you might think. A pie with firm, discernible apple slices feels luxurious and well-made; a pie with a homogeneous apple sauce feels rushed and careless. Honeycrisps achieve a sweet spot—they soften enough to become tender and fork-friendly, but they remain distinct enough that you can see and taste the individual apples in each bite.
The juice content is another critical factor. Honeycrisps are juicy apples, which is wonderful when you’re eating them fresh but requires careful handling in pie making. If you don’t account for that juice with adequate thickening agent, you’ll end up with a soggy crust and filling that runs across your plate. This is precisely why most experienced pie bakers add extra flour or cornstarch when using Honeycrisps—not because the apple is flawed, but because the baker respects the apple’s characteristics and adjusts accordingly.
Understanding the Science of Apple Pie Filling

Before you start peeling apples, it helps to understand what’s actually happening in the filling as it bakes. This knowledge transforms you from someone who’s following instructions to someone who understands the why behind each step, which means you’ll know how to troubleshoot if something isn’t working.
When you combine sliced apples with sugar, the sugar draws moisture out of the apple cells through a process called osmosis. This is why recipes often recommend letting the apple mixture sit for 15 to 30 minutes before baking—that resting period allows the apples to release their juice, creating a liquid that will eventually thicken and become the glossy filling you’re after. If you skip this step, your filling will be thin and watery.
The thickening agent—whether flour, cornstarch, or tapioca starch—serves a specific purpose: it absorbs and thickens the liquid released by the apples so it sets into a filling rather than a pool of syrup. Flour is the most traditional choice for apple pie and creates a clean, smooth filling without any hint of graininess. Cornstarch is more powerful and creates a glossier, more translucent filling, but it can sometimes feel slightly gelatinous if you use too much. For Honeycrisp apples specifically, which are particularly juicy, you want enough thickening agent to handle that juice—typically 3 to 4 tablespoons of flour for 6 to 8 cups of sliced apples.
Acid—in the form of fresh lemon juice—serves two critical functions. First, it prevents the apple slices from oxidizing and browning before they even go into the pie. Second, it adds brightness and tartness that balances the sweetness of the sugar, preventing the filling from tasting cloying or one-dimensional. Even a small amount makes a noticeable difference.
The Importance of Thin, Uniform Slicing
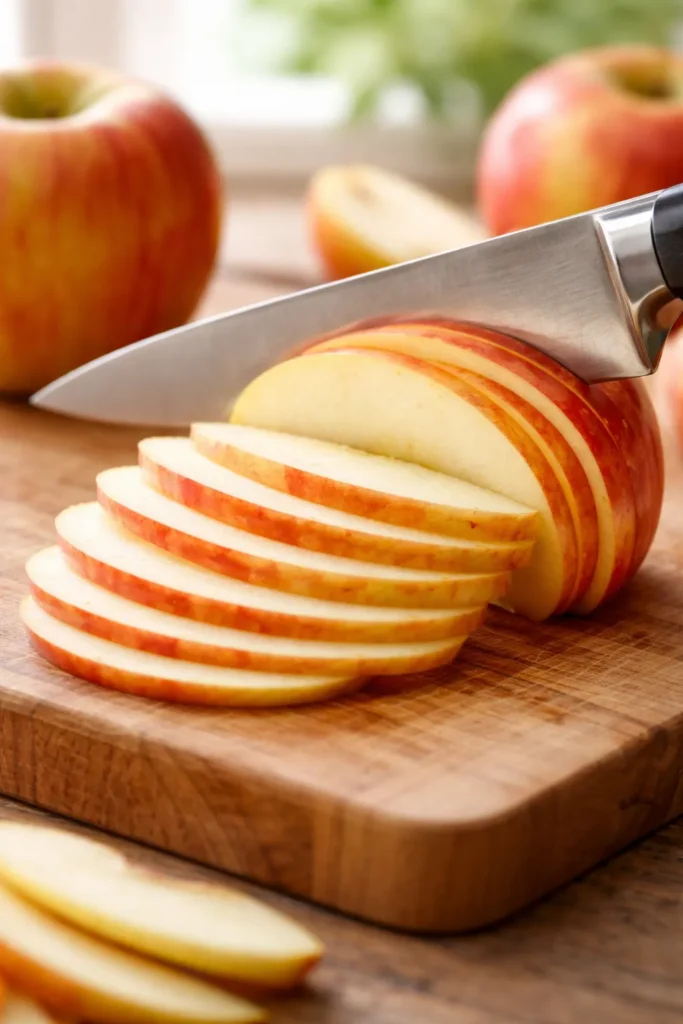
This might seem like a small detail, but it’s genuinely one of the most important factors in whether your pie is exceptional or just okay. Thin, uniform slices ensure that all the apples cook at the same rate, creating a consistent texture throughout the filling rather than a mix of some pieces that are still crisp and others that have nearly dissolved.
When slicing apples for pie filling, aim for approximately ¼-inch thick slices. This thickness is thin enough to cook through during the baking time, yet thick enough that the slices remain visually distinct in the finished pie. A mandoline slicer can be incredibly helpful here, as it produces perfectly uniform slices without much effort. If you’re slicing by hand with a chef’s knife, take your time and try to make each slice roughly the same thickness—the consistency matters more than achieving absolute perfection.
Start at the stem end and work your way around the apple, discarding the core. Pro tip: After peeling an apple, rub the cut surfaces immediately with the cut side of a lemon half. This prevents browning and distributes the acid that will end up in your filling anyway. If you’re working with multiple apples, you can assemble the apple mixture as you go rather than letting peeled apples sit in the air, which accelerates browning.
Creating a Balanced, Complex Flavor Profile
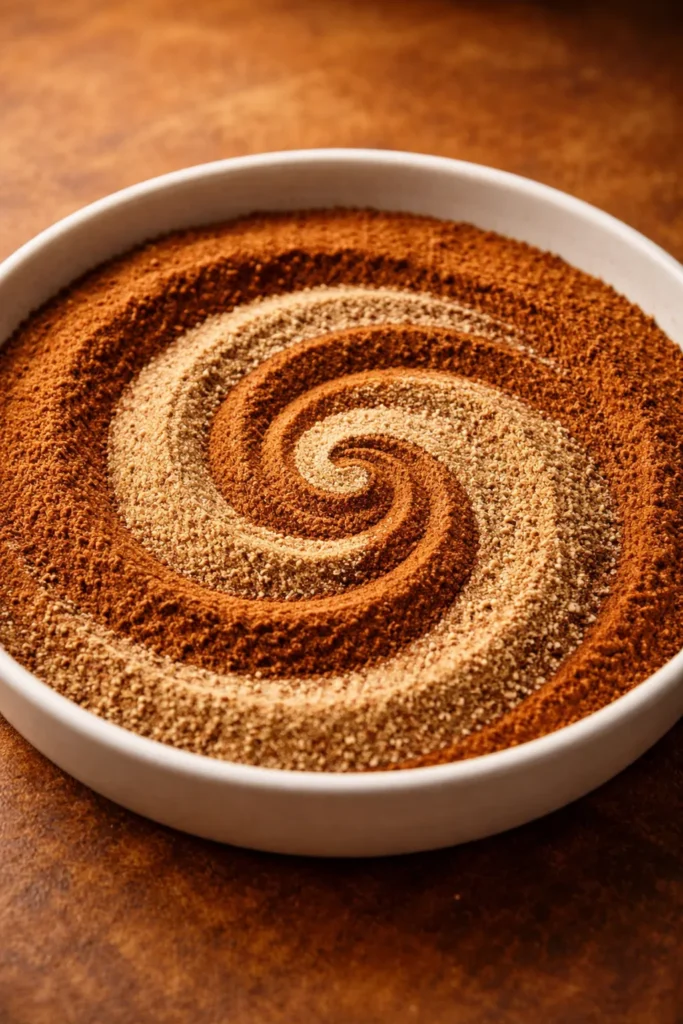
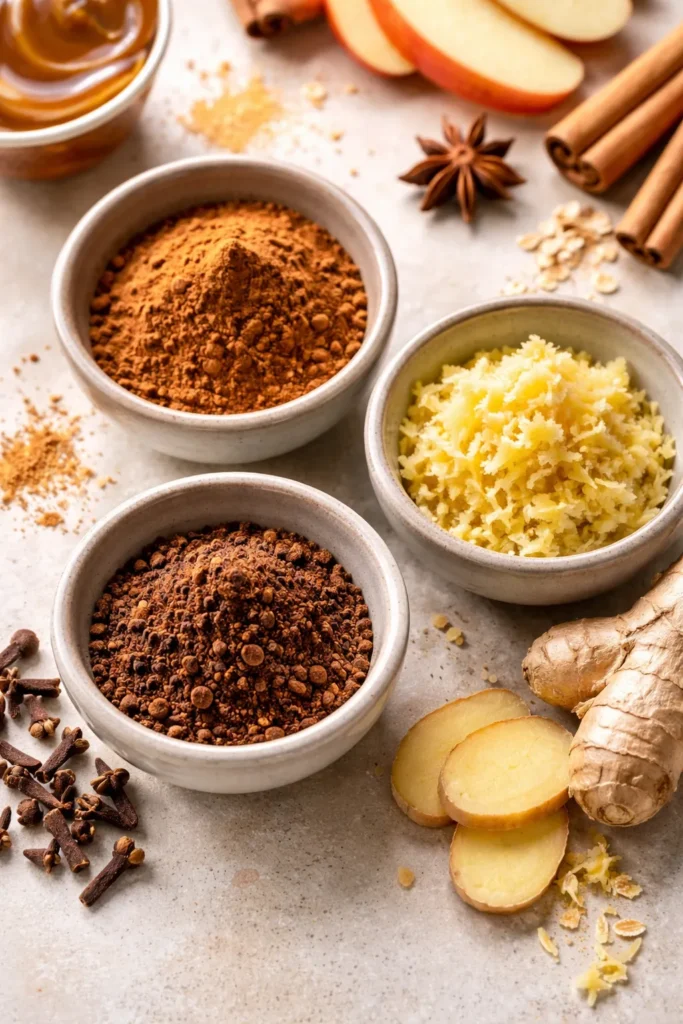
The filling needs more than just apples and sugar to be memorable. The right combination of spices creates warmth and depth that makes people crave another slice without being able to quite identify what they’re tasting. This is where cinnamon becomes essential, but it’s also where careful measurement matters.
Cinnamon is the primary spice because its warmth complements apples so naturally that it feels inevitable rather than added. However, a common mistake is using too much cinnamon, which can overwhelm the apple flavor and create a filling that tastes more like cinnamon than apple. The ratio I recommend is approximately 1 to 1½ teaspoons of ground cinnamon for 6 to 8 cups of apples. This amount provides noticeable warmth without dominating.
Nutmeg plays a supporting role—a small amount (⅛ to ¼ teaspoon) adds a subtle complexity that makes the flavor feel more sophisticated. Some bakers skip nutmeg altogether, and that’s fine, but I recommend including just a small pinch. The difference is subtle but real; people often can’t identify what makes the filling taste slightly better, they just know it does.
Brown sugar adds depth that white sugar alone cannot achieve. The molasses in brown sugar contributes subtle caramel notes that layer beautifully under the cinnamon and apple flavors. I typically use a combination of about ¾ cup white granulated sugar and ¼ to ½ cup packed brown sugar for 6 to 8 cups of apples. You can adjust this ratio based on the natural sweetness of your apples and your personal preference—sweeter apples can handle a lower sugar amount, while tarter apples benefit from the full amount.
Yield: Enough filling for one 9-inch double-crust pie (serves 8)
Prep Time: 25 minutes
Cook Time: None (filling goes directly into the pie unbaked, though some variations involve precooking)
Total Time: 25 minutes active + pie baking time
Difficulty: Beginner — no special techniques required, and the steps are straightforward even for first-time pie makers
Honeycrisp Apple Pie Filling From Scratch
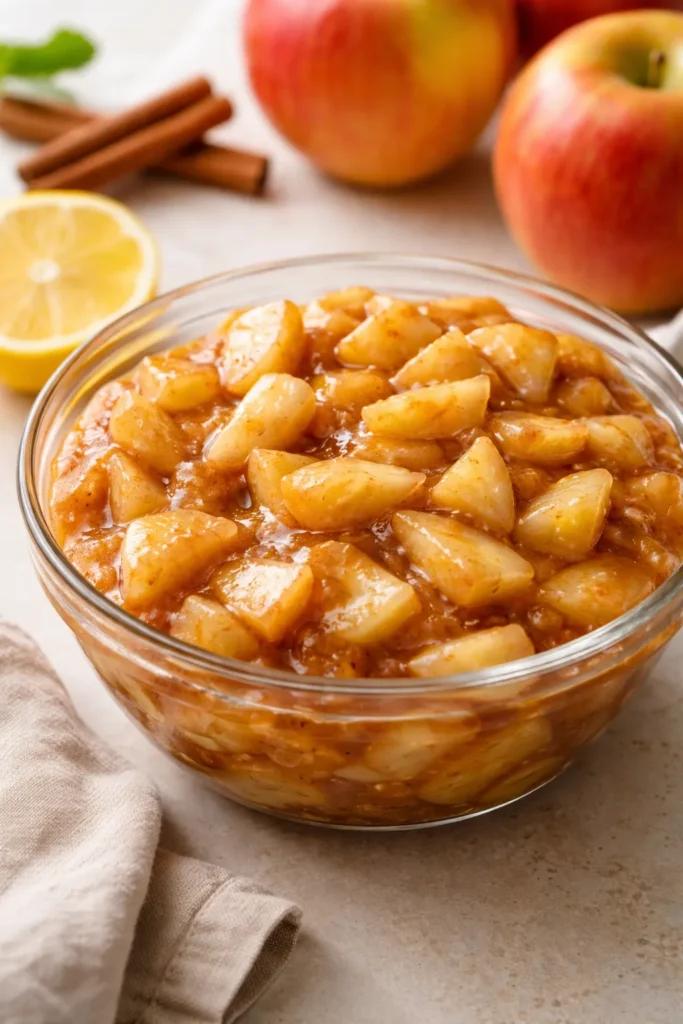
For the Filling:
- 6 to 7 large Honeycrisp apples (about 2½ to 3 pounds), peeled, cored, and sliced into ¼-inch thick slices
- 2½ tablespoons fresh lemon juice (about one medium lemon)
- ¾ cup granulated white sugar
- ¼ cup packed light brown sugar
- 3 tablespoons all-purpose flour
- ⅛ teaspoon fine sea salt
- 1 teaspoon ground cinnamon
- ¼ teaspoon ground nutmeg (optional but recommended)
- 2 tablespoons unsalted butter, cut into small pads (for dotting the filling before adding the top crust)
Optional flavor additions:
- 1 teaspoon vanilla extract (adds subtle depth)
- 2 tablespoons crème fraîche or sour cream (creates a silky texture when stirred in)
- 1 tablespoon bourbon or maple syrup (for a sophisticated twist)
Step-by-Step Filling Instructions
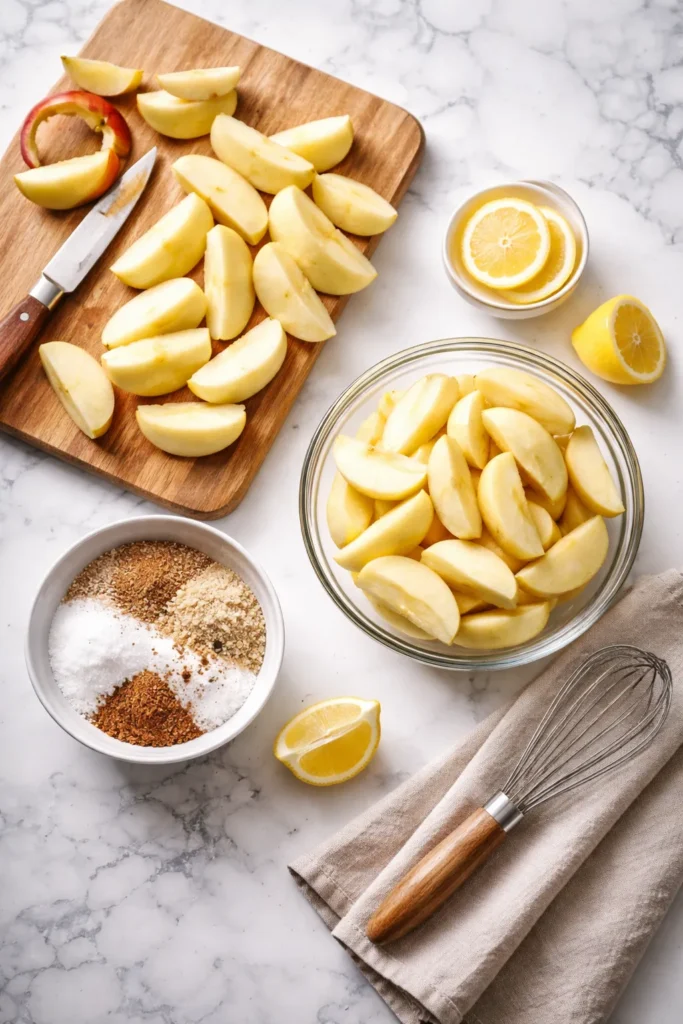
Prepare the Apples:
-
Peel each apple using a vegetable peeler or apple peeler, working from the stem end and rotating the apple as you go. Remove the peel in thin strips, being careful not to waste any flesh.
-
Cut each peeled apple in half from stem end to blossom end. Set the halves flat side down on your cutting board and cut them in half again to create quarters.
-
Using a small paring knife, carefully remove the core from each apple quarter. The core runs through the center of the apple—carve it out in a small notch shape, removing all the seeds and the pale core tissue.
-
Place each cored quarter flat side down on your cutting board and slice thinly into approximately ¼-inch thick slices. As you slice, work methodically to ensure each slice is roughly the same thickness, as this ensures even cooking.
-
Immediately as you create each apple slice, place it in a large bowl and squeeze a small amount of fresh lemon juice directly onto the cut surfaces. This takes only a few seconds per apple and prevents browning while you work.
Combine the Dry Ingredients:
- In a separate small bowl, whisk together the flour, granulated sugar, brown sugar, cinnamon, nutmeg, and salt. Use a whisk or fork to break up any clumps of brown sugar and ensure the cinnamon and nutmeg are evenly distributed throughout the mixture. This step prevents spice clumps from appearing in isolated pockets of the filling—you want every bite to taste consistent.
Build the Filling:
-
Pour the dry ingredient mixture over the apple slices in the large bowl. Using a wooden spoon or a sturdy silicone spatula, gently fold the mixture together, turning the apples over and over until every apple slice is coated with the sugar-spice mixture. This folding motion is gentler than stirring and helps protect the apples from bruising.
-
If you’re using vanilla extract, crème fraîche, or any other optional flavoring additions, add them now and fold gently until evenly distributed.
-
Let the mixture rest at room temperature for 15 to 30 minutes. During this time, the apples will begin to release their juice, which combines with the sugar to create a light syrup that will thicken during baking. You’ll notice liquid accumulating at the bottom of the bowl—this is exactly what should happen.
-
After resting, give the filling a gentle stir. At this point, it’s ready to be transferred into your pie crust. If you’ve made your filling ahead and refrigerated it, remove it from the fridge about 15 minutes before using so it reaches room temperature, making it easier to work with.
The Critical Spice Selection Decision
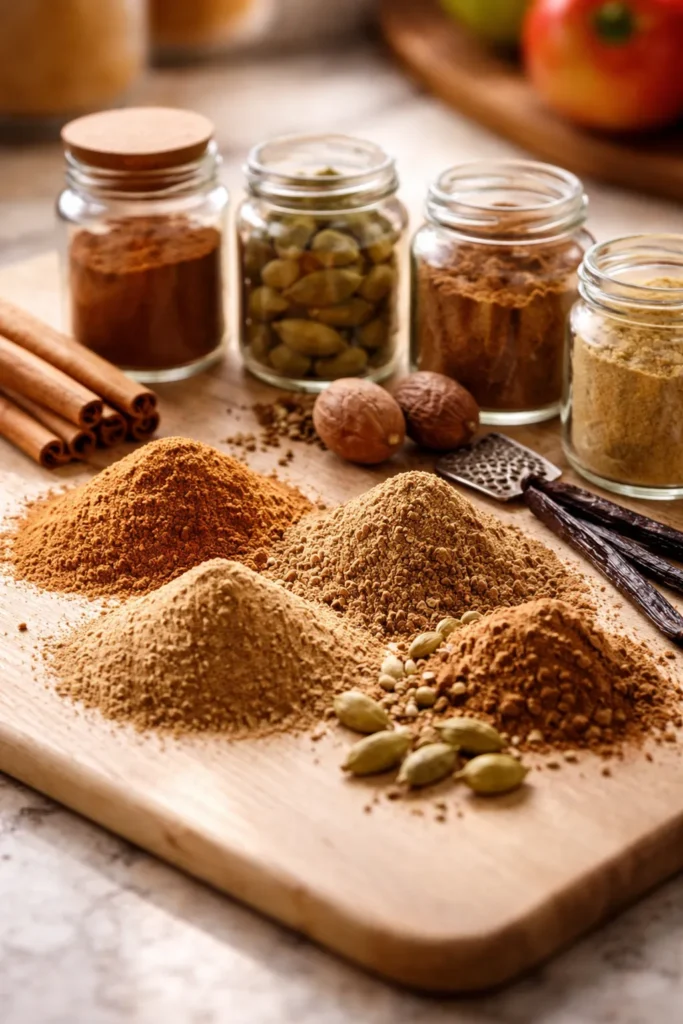
Spices are where homemade filling truly diverges from the canned versions. Canned pie filling relies on spice extracts and flavorings that create a uniform, slightly artificial taste. When you make filling from scratch, you’re choosing the actual spices that will infuse your pie.
Ground cinnamon should be fresh—ideally purchased within the last six months. Cinnamon loses potency over time, so if your cinnamon has been sitting in your spice cabinet for two years, it will be significantly less flavorful than fresh cinnamon. If you’re uncertain about your cinnamon’s age, buy a new tin. The difference is noticeable and worth the small investment.
The same applies to nutmeg, though ground nutmeg stays fresher longer than cinnamon. Some bakers prefer to grate whole nutmeg for maximum freshness, and while that’s more work, the flavor is notably superior. If you go this route, use a microplane grater and aim for about ¼ teaspoon of freshly grated nutmeg per filling.
A few innovative bakers have experimented with adding a pinch of ground cardamom or a small splash of vanilla extract to their filling. Cardamom is extremely potent—use no more than ⅛ teaspoon to avoid overpowering the filling. Vanilla extract, at about ½ to 1 teaspoon, adds a subtle depth that’s noticeable primarily in how it makes people say “this tastes amazing” without being able to identify the source of that amazingness.
Preventing a Soggy Bottom Crust
This is the question every apple pie baker dreads: How do I prevent the bottom crust from getting soggy? The answer involves several strategies working together, and while none of them is foolproof, combining them dramatically improves your odds.
First, discard excess liquid from your filling mixture before transferring it to the pie crust. After the apples have rested and released their juice, use a large slotted spoon to transfer the apples into the crust, leaving behind about half to two-thirds of the accumulated liquid in the bowl. This step alone makes an enormous difference. The remaining apples still have enough liquid to create a beautiful filling once it thickens during baking, but you’re not overloading your crust with juice.
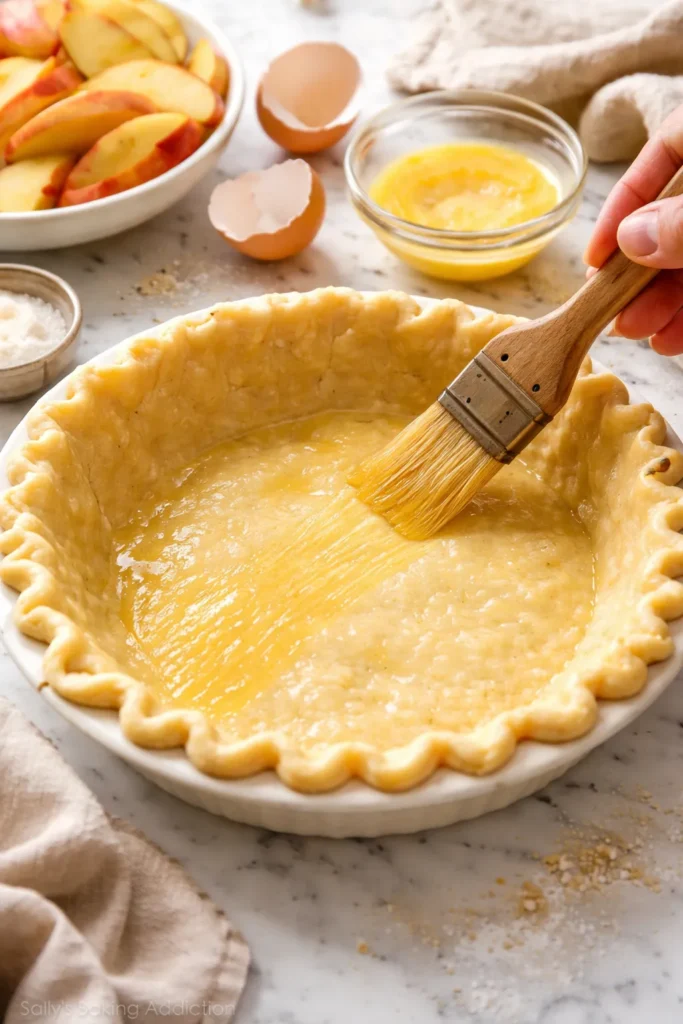
Second, apply an egg wash or a thin layer of something protective to the inside of the bottom crust before adding the filling. Many bakers brush the raw crust with an egg wash (one egg whisked with a tablespoon of water), which creates a subtle barrier that helps resist sogginess. Others spread a very thin layer of melted chocolate, or dust the crust with ground nuts, or brush it with a tiny bit of melted butter. All of these approaches help by reducing direct contact between the filling’s liquid and the dough.
Third, use flour as your thickening agent rather than cornstarch. While cornstarch creates a more dramatic thickening effect and a glossier filling, flour is slightly more effective at absorbing and holding liquid in the apples themselves rather than allowing it to pool at the bottom of the pie. For Honeycrisp apples specifically, the extra water content means flour is your ally.
Fourth, bake at the correct temperature with a preheated baking sheet on the lower oven rack. The initial high temperature (usually 425°F / 220°C) sets the crust quickly, creating structure before the filling has a chance to weep. Placing a rimmed baking sheet on the lower rack catches any drips and prevents them from smoking or burning on your oven floor, which suggests you’ve already lost the battle—a reminder that even bakers who’ve made hundreds of pies occasionally deal with overflow.
Working With Honeycrisp Apples at Peak Season
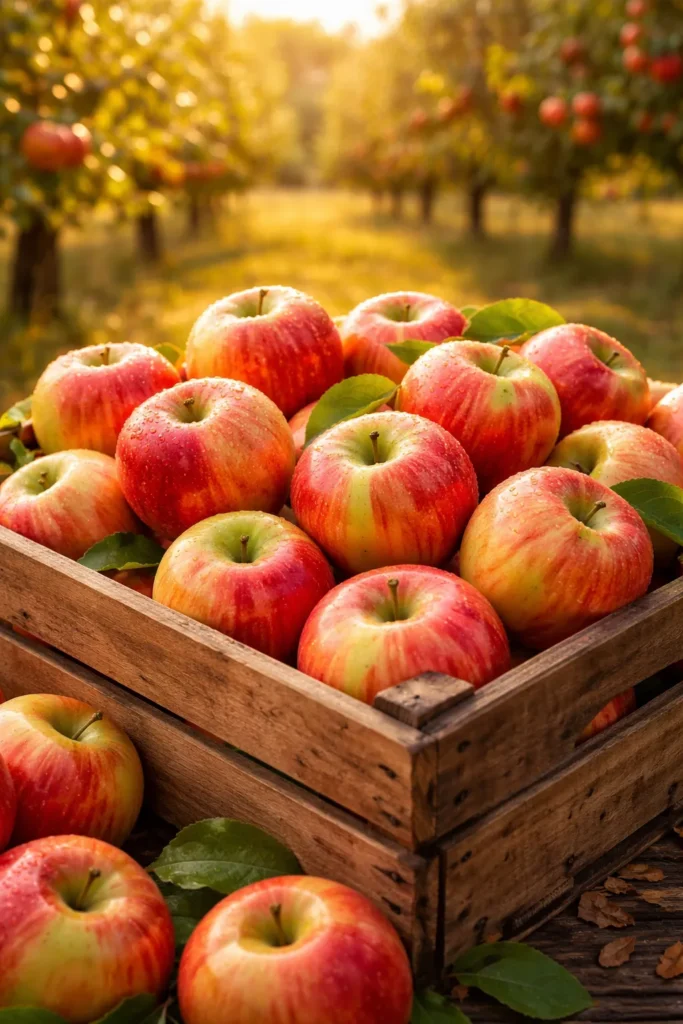
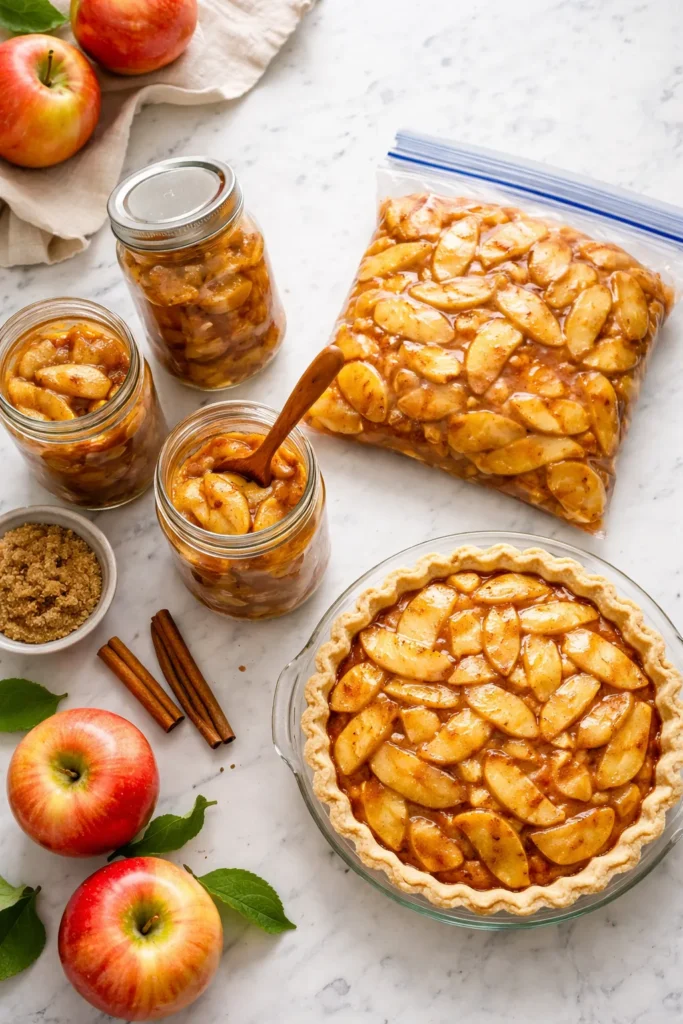
When apple season arrives and Honeycrisps are abundant, you have a wonderful opportunity to make multiple pies and freeze them, which means you’ll have exceptional pie filling available year-round. Understanding how to do this successfully takes a bit of planning but pays dividends for months.
The traditional approach is to assemble the entire pie, then freeze it unbaked. Place the completed pie (with top crust but before baking) on a baking sheet in the freezer until the crust is completely firm, then wrap it tightly in plastic wrap followed by aluminum foil, and store it in a freezer bag. This method works beautifully because the filling doesn’t fully thaw before baking, which reduces some of the juice release that happens during the sitting period.
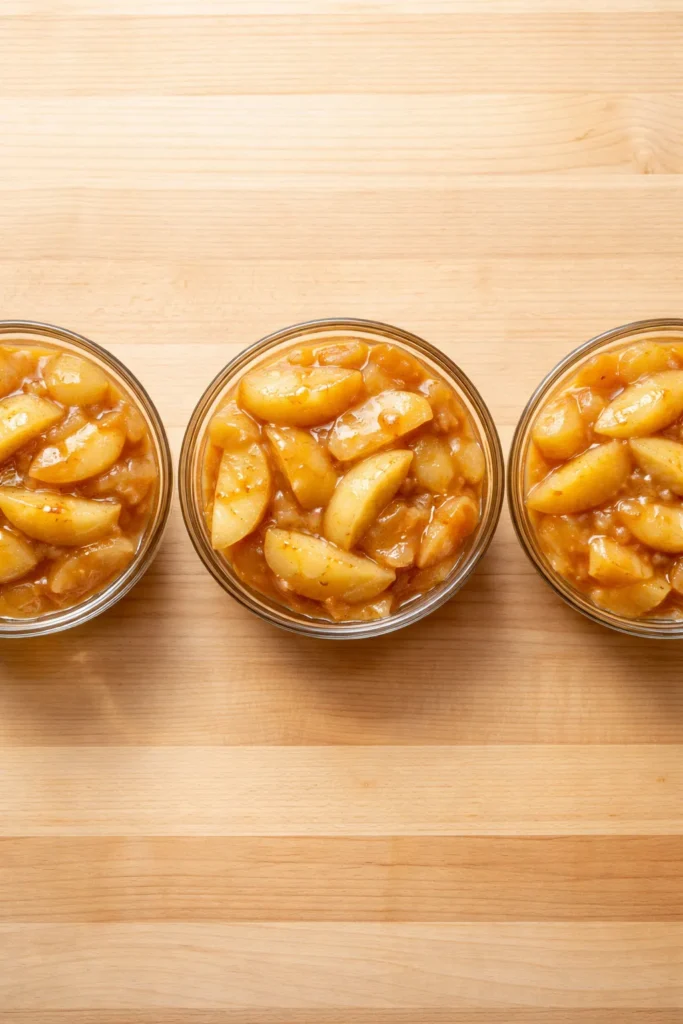
An alternative approach is to make just the filling, let it cool completely, then transfer it to an airtight container and freeze it separately. When you’re ready to bake a pie, thaw the filling in the refrigerator (never at room temperature, as this encourages bacterial growth), then transfer it to your pie crust. This method is slightly less convenient but gives you flexibility in terms of when and how you’d like to use the filling.
If you’re freezing filling, the general shelf life is three months. Beyond that, the apples begin to darken and lose some of their vibrant flavor, though the pie will still be quite good. Label your containers with the date so you can keep track of what needs to be used first.
Variations That Honor the Basic Recipe
The foundation of this filling—Honeycrisp apples with brown sugar, cinnamon, and lemon—is so solid that it invites creativity rather than demanding strict adherence. You can modify it in several directions while maintaining that essential character.
For a spiced variation: Increase the cinnamon to 1½ teaspoons and add ⅛ teaspoon of ground cloves and ⅛ teaspoon of ground ginger. This creates a more complex spice profile reminiscent of mulled apple cider. Be cautious with cloves—they’re potent and can quickly become the dominant flavor if you overdo it.
For a caramel variation: Reduce the white sugar to ½ cup and add 3 tablespoons of caramel sauce (store-bought is fine) or maple syrup to the filling mixture. This deepens the filling’s richness and creates a more decadent pie. Some bakers also drizzle additional caramel sauce over the top of the baked pie before serving, which transforms it into something special-occasion worthy.
For a fruit combination: Use 5 cups of Honeycrisp apples and add 1 cup of fresh cranberries, fresh raspberries, or diced rhubarb. Reduce the sugar slightly (to about ½ cup white and ¼ cup brown) because the additional fruit changes the overall sweetness balance. Cranberries and rhubarb are particularly tart, so they pair beautifully with the sweetness and spice of the traditional filling.
For a nut-based variation: Toast ½ cup of chopped pecans or walnuts and add them to the filling mixture, or sprinkle them over the bottom crust before adding the filling. The toasted nuts add textural contrast and subtle richness. Some bakers also brush the bottom crust with a small amount of nut butter (almond or pecan) before adding the filling, which creates a protective layer while contributing additional flavor.
For a boozy version: Add 2 to 3 tablespoons of bourbon, brandy, or rum to the filling. The alcohol burns off during baking, leaving behind a subtle warmth and complexity that most people can’t quite identify but recognize as “sophisticated.” This approach is particularly lovely when paired with vanilla ice cream or whipped cream.
Storage and Make-Ahead Strategies
If you’re planning a special dinner or holiday gathering and want to reduce day-of stress, you can prepare this filling well in advance. The flexibility of this recipe is one of its greatest advantages.
Making the filling up to one day ahead: Prepare the filling following the instructions above, then transfer it to an airtight container and refrigerate it. Before using, let it come to room temperature for about 20 minutes so it’s easier to transfer into the pie crust. The filling will actually taste slightly better after a day in the fridge, as the flavors meld and deepen.
Freezing the filling for later use: Once the filling is complete and cooled, transfer it to a freezer bag (removing as much air as possible) or an airtight freezer container. Label it with the date. It will keep for up to three months. Thaw it slowly in the refrigerator overnight before using—never leave it on the counter at room temperature, as this creates conditions favorable to bacterial growth.
Assembling and freezing the entire pie: This is my preferred approach when I have the freezer space. Assemble the pie completely—bottom crust in place with the filling spooned in, top crust in place, edges crimped, vents cut—then place the entire pie on a baking sheet in the freezer. Once the crust is fully frozen (usually 3 to 4 hours), wrap it carefully in plastic wrap, then aluminum foil, then place it in a large freezer bag. It will keep for up to three months. When you’re ready to bake, remove the pie from the freezer, brush the top crust with egg wash, and bake at 425°F for 25 to 30 minutes, then reduce the heat to 350°F and bake for an additional 40 to 45 minutes, until the crust is deep golden brown and the filling is visibly bubbling at the vents.
Storing the baked pie: Once your pie is fully baked and cooled, cover it loosely with plastic wrap or a kitchen towel and store it at room temperature for up to two days, or in the refrigerator for up to five days. Many bakers prefer room temperature storage because refrigeration can make the crust slightly less crispy, but either approach works. Don’t store apple pie in an airtight container, as this can make the crust soggy.
Serving Suggestions and Pairings
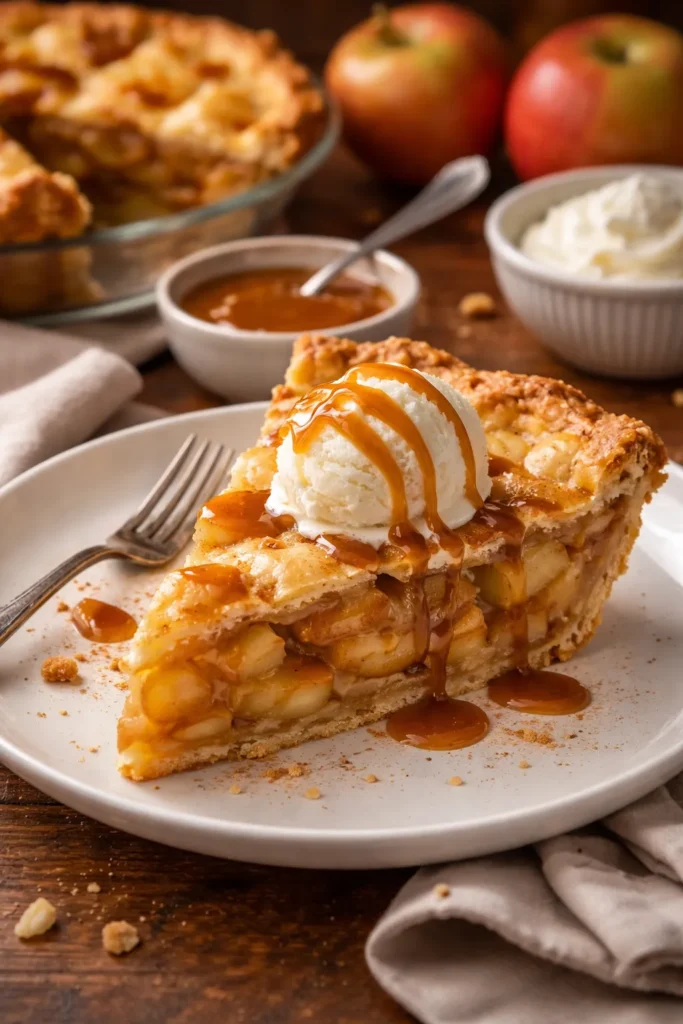
The filling is only as good as the experience it creates, which means thinking carefully about how you serve it. Timing is crucial—allow the pie to cool for at least two to three hours after baking before cutting into it. This cooling period allows the filling to set properly, transforming from a somewhat loose liquid into a beautiful, sliceable consistency. I understand the temptation to dive in while it’s still warm, and you can certainly do that, but the pie will be considerably messier and less impressive. Patience is rewarded here.
Vanilla ice cream is the classic pairing, and for good reason—the coldness and vanilla’s subtle sweetness provide perfect counterbalance to the warm, spiced filling. Choose a high-quality vanilla, as generic ice cream’s aggressive vanilla flavoring can overpower the pie. Allow the ice cream to soften slightly so it melds with the warm pie rather than sitting as a cold lump on top.
Whipped cream is another exceptional choice, particularly if you make it yourself and keep it unsweetened or very lightly sweetened. The freshness and subtle dairy richness of whipped cream complement the apple filling without competing for attention. Some bakers prefer this pairing to ice cream because it feels lighter and doesn’t melt into the plate.
Caramel sauce drizzled over a slice of pie with vanilla ice cream creates something genuinely luxurious. The caramel picks up the brown sugar notes already present in the filling and creates a dessert that’s almost too decadent to be real.
A small dollop of crème fraîche or sour cream served alongside the pie is a more sophisticated touch that appeals to those who don’t always want something sweet. The slight tang and richness of crème fraîche provides balance and allows the apple and spice flavors to shine through.
Troubleshooting Common Issues
The filling tastes too sweet: This is usually a sign that the apples themselves were particularly sweet. In the future, combine your Honeycrisps with a more tart variety like Granny Smith (use 4 cups Honeycrisp and 3 cups Granny Smith). If you’re already in the middle of baking, there’s not much you can do, but adding more lemon zest next time will help. Some bakers also reduce the amount of brown sugar, using only 2 tablespoons instead of 4, which makes a noticeable difference.
The filling is too thin and runny: This suggests either that you didn’t use enough flour (increase to 3½ to 4 tablespoons next time), or that you transferred the apples including all their liquid to the crust. Use a slotted spoon to transfer apples in the future, leaving behind about half the accumulated liquid. You can also pre-cook the apples in a wide, shallow pan over medium heat for 10 to 15 minutes, stirring occasionally, to allow some evaporation before adding them to the crust.
The filling is too thick and pasty: This happens when you’ve used too much thickening agent or when the apples are particularly dry. Use 2½ tablespoons of flour next time instead of 3, and ensure you’re using juicy Honeycrisps. You can also add a tablespoon of the reserved apple liquid back into the filling if it seems too stiff.
Some apples are mushy while others are firm: This indicates uneven slicing—some pieces were thicker and thus took longer to cook, while thinner pieces turned to mush. Invest in a mandoline slicer or take more time slicing by hand to ensure uniform thickness.
Final Thoughts
Creating exceptional apple pie filling from scratch is less about special technique and more about respecting your ingredients and understanding why each step matters. You’re not trying to hide inferior apples under a mountain of sugar and spice—you’re highlighting the crisp sweetness of Honeycrisp apples while adding warmth and depth through careful spice selection and the brightness of fresh lemon juice.
The beauty of this filling is that it’s simultaneously forgiving and rewarding. Slight variations in how much sugar you use, whether you include the optional nutmeg, or how long you let the apples rest won’t ruin your pie. But paying attention to details—using fresh spices, slicing consistently, discarding excess liquid, and allowing proper cooling time—transforms a good pie into something genuinely memorable that will have people asking for the recipe. That’s the difference between rushing through the process and approaching it with the care it deserves.