Table of Contents
- How to Bake a Rich Cheesecake Without Cracking
- Why Cheesecake Cracks (and How to Fix It)
- The Importance of Room Temperature Ingredients
- Mastering the Perfect Batter Mixing Technique
- Water Bath vs. Alternative Methods for Even Baking
- Choosing Your Oven Placement and Temperature Control
- The Critical Cooling Process to Prevent Splitting
- Why Your Springform Pan Matters More Than You Think
- The Ultimate Rich Cheesecake Recipe
- Common Mistakes That Lead to Cracks
- Fixing a Cracked Cheesecake (Rescue Techniques)
- Variations and Flavor Twists
- Storage and Make-Ahead Strategies
- Key Takeaways
How to Bake a Rich Cheesecake Without Cracking
Cheesecake has a reputation for being temperamental. You’ve seen it happen—that beautiful dessert comes out of the oven with a jagged crack running across the top, or worse, a web of fissures that completely derails your presentation. It’s one of baking’s most frustrating moments, especially when you’ve invested time and quality ingredients into something that’s supposed to be flawless.
The truth is, a cracked cheesecake still tastes incredible. But there’s no reason to accept those cracks when they’re completely preventable. The difference between a cracked cheesecake and a silky-smooth one isn’t luck or talent—it’s understanding why cracks form and using specific, proven techniques to stop them from happening in the first place.
I’ve baked dozens of cheesecakes, and I’ve learned exactly what separates the perfect ones from the disappointing ones. It comes down to ingredient temperature, mixing discipline, baking method, cooling technique, and a handful of other factors that work together to create that dense, creamy, crack-free result everyone dreams about. This guide walks you through every single one of those factors, plus a foolproof recipe and rescue techniques if you ever end up with a crack anyway.
Why Cheesecake Cracks (and How to Fix It)
Understanding why cracks form is your first defense against them. There are two primary culprits: drastic temperature changes and overbaking. These two factors account for the vast majority of cheesecake failures.
When a cheesecake bakes, it expands slightly as heat penetrates the filling. When it cools, it contracts. If any part of the cake is stuck to the side of the springform pan as it cools and shrinks, it can’t move freely—the center pulls away from the edge, creating tension that splits the surface. This is why slow, gradual cooling is non-negotiable.
Overbaking compounds the problem because it dries out the filling. A dry cheesecake simply doesn’t have the moisture and flexibility needed to contract smoothly. It becomes brittle and prone to splitting. The key is baking until the edges are just set but the center still has noticeable jiggle—what bakers call the “wobble test.”
Temperature shock during the baking process itself also causes problems. If your oven temperature fluctuates wildly, or if you open the door too early and let heat escape, the top of the cheesecake can set too quickly while the center is still raw. This uneven cooking creates internal stress that releases itself in the form of cracks as the cake cools.
The good news: every single one of these issues is under your control. Small adjustments to your approach eliminate the vast majority of cracks before they ever happen.
The Importance of Room Temperature Ingredients
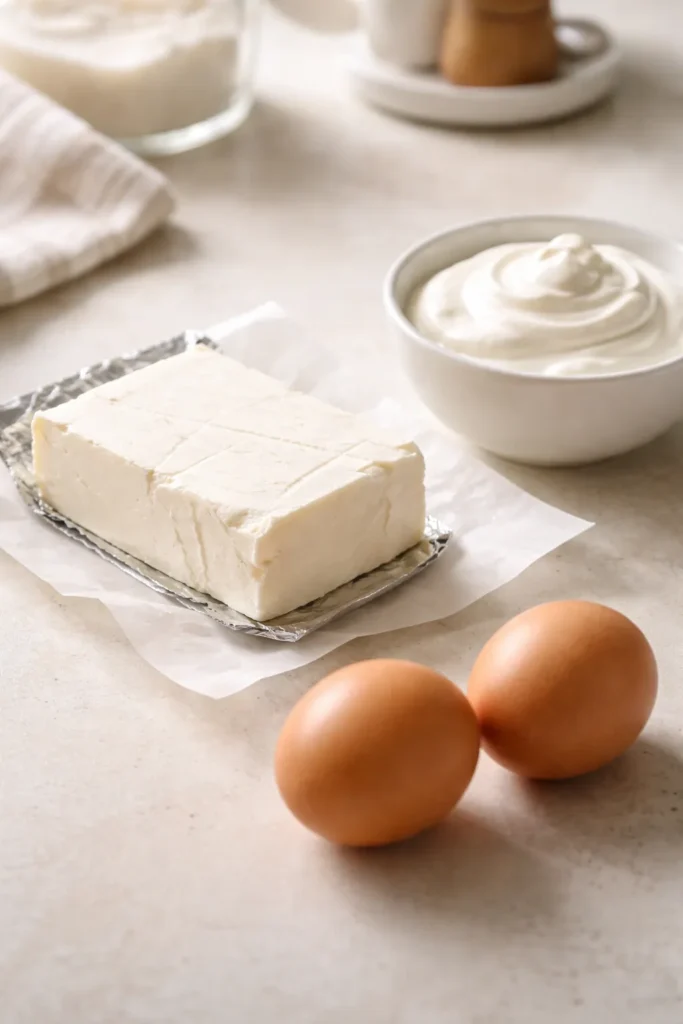
This is the first step, and it’s non-negotiable. Every ingredient—cream cheese, eggs, and sour cream—must reach room temperature before you begin mixing.
Cold cream cheese is stiff and difficult to blend smoothly. When you try to beat cold cream cheese with sugar, you get lumps. Those lumps don’t fully incorporate into the batter, which means you’ll have little pockets of unmixed cream cheese throughout your cheesecake. The result is an uneven, grainy texture instead of that silky, homogeneous filling you’re after.
Cold eggs compound the problem. When you add cold eggs to your batter, they actually shock the warm cream cheese, causing it to firm up again. This reintroduces lumps even if you’ve already beaten the cream cheese smooth. It’s a frustrating step backward in texture.
Sour cream behaves similarly. Cold sour cream doesn’t incorporate evenly into a warm batter; it creates streaks and pockets instead of blending seamlessly.
Pull your cream cheese, eggs, and sour cream out of the refrigerator at least 90 minutes to 2 hours before you start baking. The exact time depends on how warm your kitchen is, but give yourself plenty of buffer time. You want the cream cheese soft enough to dent easily with your finger, the eggs at a neutral temperature, and the sour cream spreadable but not warm.
One trick: set your cream cheese on a plate and gently warm it under a warm bowl for 5-10 minutes to speed things along if you’re short on time. Just don’t use direct heat like the oven or microwave—you’re warming, not softening until it’s partially melted.
Mastering the Perfect Batter Mixing Technique
How you mix your cheesecake batter directly impacts both texture and cracking. Most home bakers make one critical mistake: they overmix.
Begin by beating the cream cheese with sugar until smooth and creamy. This step takes about 3 to 4 minutes on medium-low speed. You’re aiming for a mixture that’s pale, fluffy, and completely lump-free. Stop multiple times to scrape down the sides and bottom of the bowl with a spatula—cream cheese loves to cling to the sides and hide unmixed pockets.
Next, add your sour cream, lemon juice, and vanilla. Beat on low speed until everything is just combined and there are no visible streaks. This doesn’t need to take long—15-20 seconds of mixing is usually enough.
Here’s where most bakers go wrong: the eggs. Add the eggs one at a time on low speed, and beat only until the yellow yolk has just disappeared into the batter. Stop immediately. This is the hardest part because it feels like you’re not mixing enough. You’re not—and that’s the point.
Overbeating eggs incorporates excess air into the batter. More air means the cheesecake puffs up dramatically in the oven, then collapses and cracks as it cools. By beating eggs minimally, you’re keeping air incorporation to a minimum.
Some experienced bakers even lightly whisk their eggs in a separate bowl before adding them, so they’re already broken up and don’t require much beating once they go into the batter. This is a smart technique if you’re nervous about overmixing.
After all the eggs are added, do one final scrape of the bowl and beat on low for just 5-10 seconds to ensure everything is fully combined. That’s it. Don’t be tempted to beat longer. At this point, you can even use a spatula to gently fold the batter for 10-15 seconds, pressing downward to release any air bubbles trapped at the bottom of the bowl.
Water Bath vs. Alternative Methods for Even Baking
The water bath, or bain-marie, has long been the gold standard for baking cheesecake. Here’s what it does: by surrounding your cake pan with hot water, the water acts as a thermal buffer. Water doesn’t exceed 212°F (100°C) no matter how hot your oven gets, so it moderates the heat reaching your cheesecake from the sides and bottom. This prevents the edges from baking too quickly and drying out while the center is still raw.
The water bath also creates humidity in the oven, which keeps the top of the cheesecake from drying out and developing a crust prone to cracking. All of this combines to produce the most even, gentle baking environment possible.
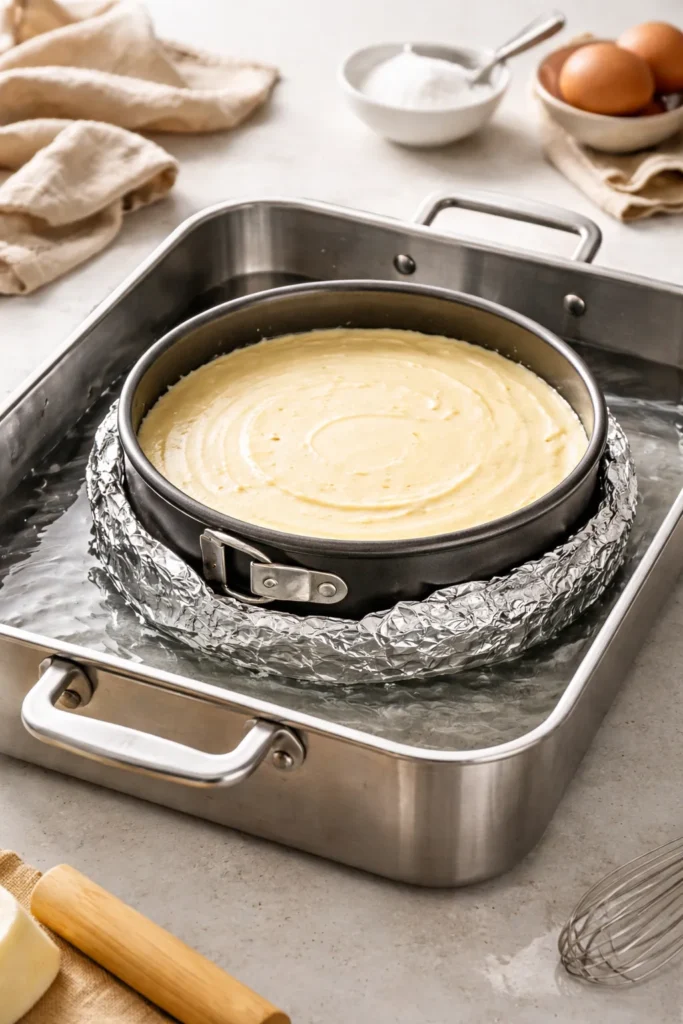
To use a water bath: Wrap your springform pan in two layers of heavy-duty foil, making sure there are no seams on the bottom or sides (seams are where water sneaks in). Place the wrapped pan in a larger roasting pan, then set that roasting pan on the oven rack. Pour boiling water into the roasting pan until it reaches about 1 inch up the sides of the springform pan. Bake as normal.
That said, water baths intimidate a lot of home bakers. Springform pans leak. Water sometimes seeps in despite careful wrapping. There’s the risk of a soggy crust if something goes wrong. Some bakers skip them entirely.
If you want to avoid a traditional water bath, there are effective alternatives. One method is to place a baking sheet or roasting pan filled with hot water on the bottom rack of your oven, with your cheesecake baking on a rack above it. This creates the humid environment without the direct contact with water. The downside is less even heat distribution—the bottom of your cake won’t benefit from the thermal buffering of the water bath—but the humidity helps prevent the top from drying out.
Another approach is an insulated cake strip: wet paper towels wrapped in aluminum foil and secured around the outside of your springform pan. This DIY insulation slows heat transfer to the sides of the pan, preventing the edges from setting too quickly. Combined with low, slow baking (325°F or lower) and careful attention to the wobble test, this method produces excellent results without a water bath.
A third option is to accept that you’ll skip the water bath but compensate with extremely low temperatures and slow cooling. Some bakers bake at 325°F for a longer period, turning the oven off and cracking the door slightly to let the cheesecake cool gradually in the residual heat. This works, but it demands discipline and attention to detail.
My recommendation: If you have the equipment and patience, use a water bath. It’s genuinely the most reliable method. If it makes you anxious, use the insulated cake strip method combined with a pan of water on the bottom rack. This hybrid approach gives you most of the water bath’s benefits without the direct contact that causes leaks.
Choosing Your Oven Placement and Temperature Control
Where you place your cheesecake in the oven matters more than most bakers realize. The middle rack is the standard recommendation for most baking, but for cheesecake, move it down one or two notches.
The reason is simple: if your cheesecake is too close to the top heating element, the top surface bakes too quickly. The edges puff, brown, and overcook before the center is set. This uneven cooking creates internal stress and dramatically increases the likelihood of cracking.
By moving your cheesecake to a slightly lower rack, you give the top more gentle, indirect heat. The cake bakes more evenly from edge to center. If you’re using a water bath, the lower placement also ensures the pan is fully submerged in the water, maximizing the thermal buffering effect.
Your oven temperature should be 325°F (165°C). Some recipes bake higher initially (like 375°F for the first 15 minutes) to set the crust, then drop to 325°F. This works, but the lower, slower approach throughout is more forgiving and produces more consistent results.
Avoid opening the oven door during baking, even if you’re dying to peek. Every time you open the door, hot air escapes and cooler air rushes in. This temperature drop slows the baking process and can cause uneven cooking. If you absolutely need to check doneness, do it after the recipe says the cake should be nearly done, and work quickly.
Most importantly: use an oven thermometer. Home ovens are notoriously inaccurate. If your oven runs hot by even 25°F, your cheesecake will overbake. An oven thermometer costs just a few dollars and instantly tells you the true temperature inside your oven. Place it on the same rack where your cheesecake will bake, preheat the oven, and verify the temperature before you put anything in.
The Critical Cooling Process to Prevent Splitting
How you cool your cheesecake is just as important as how you bake it. Rapid cooling causes the filling to contract quickly, pulling away from the sides of the pan and cracking.
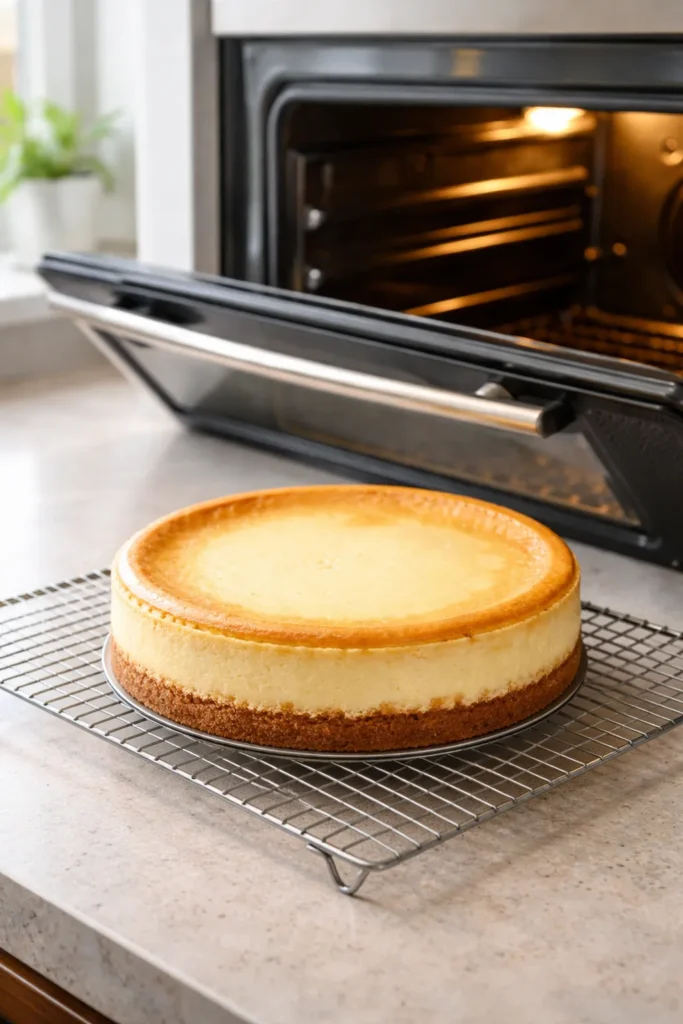
The moment your cheesecake is done baking (when the edges are set but the center wobbles), turn off the oven and crack the door open by just 1-2 inches. Don’t remove the cheesecake. Leave it in the oven with the door slightly ajar for at least 1 hour, up to 2 hours. This allows the residual heat to dissipate slowly while the cheesecake cools gradually.
After this initial cooling period, remove the cheesecake and place it on a wire rack at room temperature. Let it cool for another hour or two, until it’s completely cooled to room temperature.
Only then should you move it to the refrigerator. This two-stage cooling process—first in the oven, then at room temperature—prevents the thermal shock that causes cracking. You’re essentially mimicking the gentle cooling environment that a water bath provides during baking.
Don’t be tempted to speed this up by putting the hot cheesecake directly in the refrigerator. That drastic temperature change almost guarantees cracking.
One additional tip: run a thin-bladed knife around the inside edge of the springform pan after the cheesecake has cooled slightly but is still warm (about 10 minutes out of the oven). This simple step prevents the cheesecake from sticking to the sides as it cools. As the filling contracts, it pulls away from the edge gradually and evenly instead of sticking in one spot and tearing.
Why Your Springform Pan Matters More Than You Think
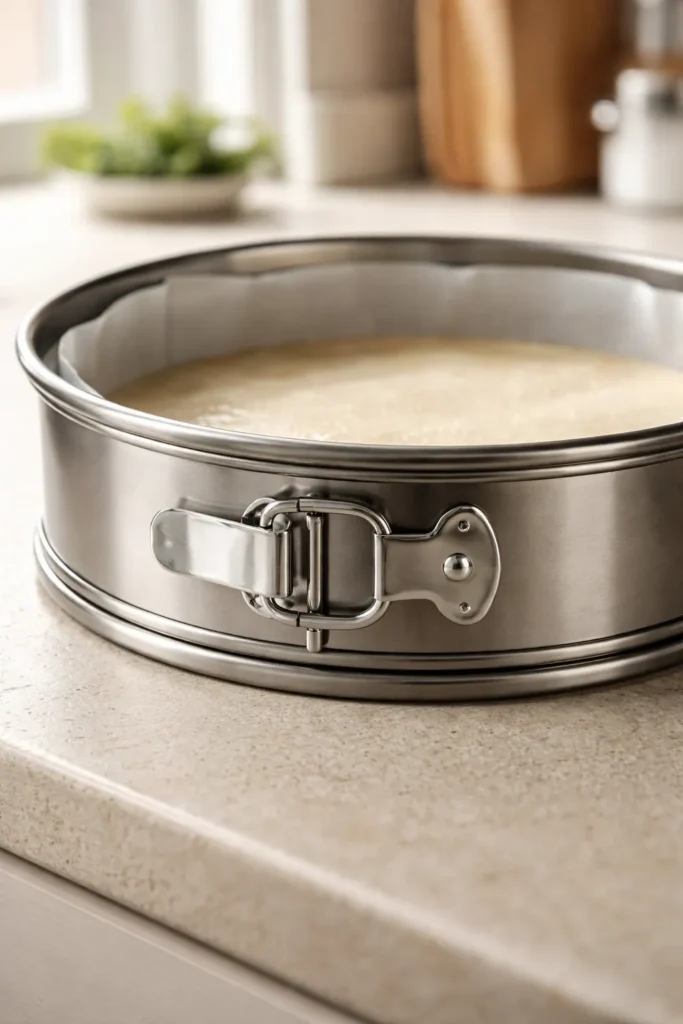
You can’t bake cheesecake without a springform pan, and the quality of that pan directly affects your results.
A cheap, flimsy springform pan with a weak latch allows water to seep in during a water bath, creating a soggy crust. The sides don’t sit firmly against the base, so the cheesecake doesn’t bake evenly. Worse, a loose pan makes it impossible to remove the sides cleanly—you might crack the cheesecake or damage the edge trying to get it out.
Invest in a heavier-duty springform pan with a secure latch and smooth seals. Stainless steel pans are excellent. Nonstick surfaces are helpful but not essential. What matters is structural integrity: the pan should feel sturdy, the latch should feel solid when it closes, and the sides should seal tightly against the base.
Before baking, lightly spray the inside of the pan with nonstick cooking spray or brush it with a tiny amount of oil, even if it’s labeled nonstick. This extra layer of insurance prevents the cheesecake from sticking to the edges, which could cause cracking as the cake cools and contracts.
Some bakers line the bottom of their springform pan with parchment paper. This makes it easier to transfer the cheesecake to a serving platter afterward. Just brush a bit of oil on the bottom of the pan, press the parchment circle down, and you’re ready to go. When the cheesecake is fully chilled, you can slide a thin spatula between the pan base and the parchment, then use two large spatulas to carefully transfer the whole thing to a serving plate.
The Ultimate Rich Cheesecake Recipe
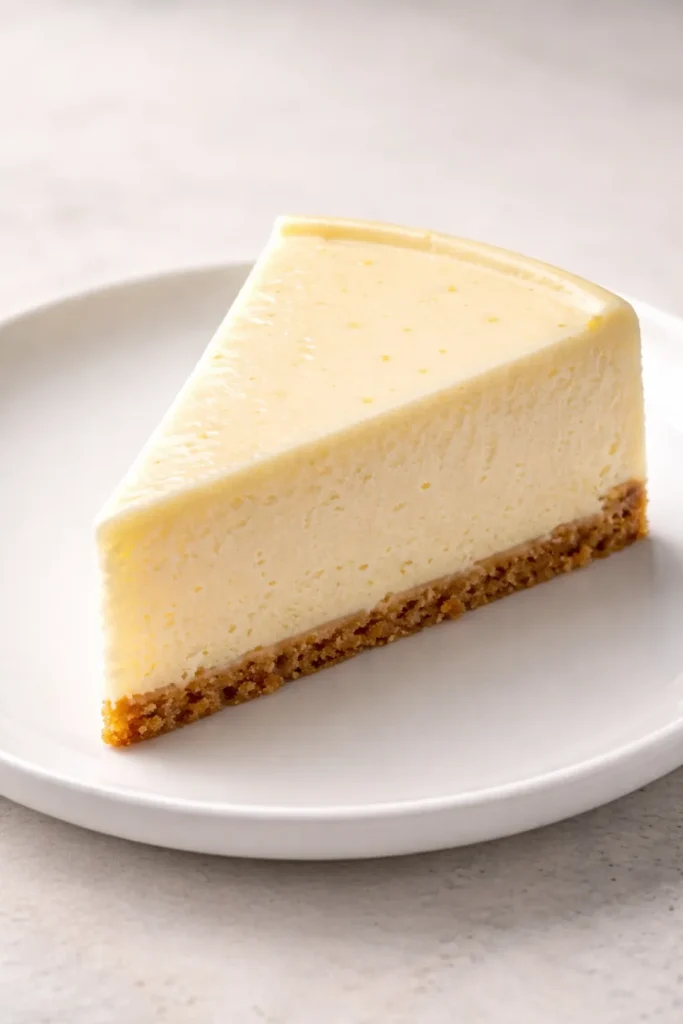
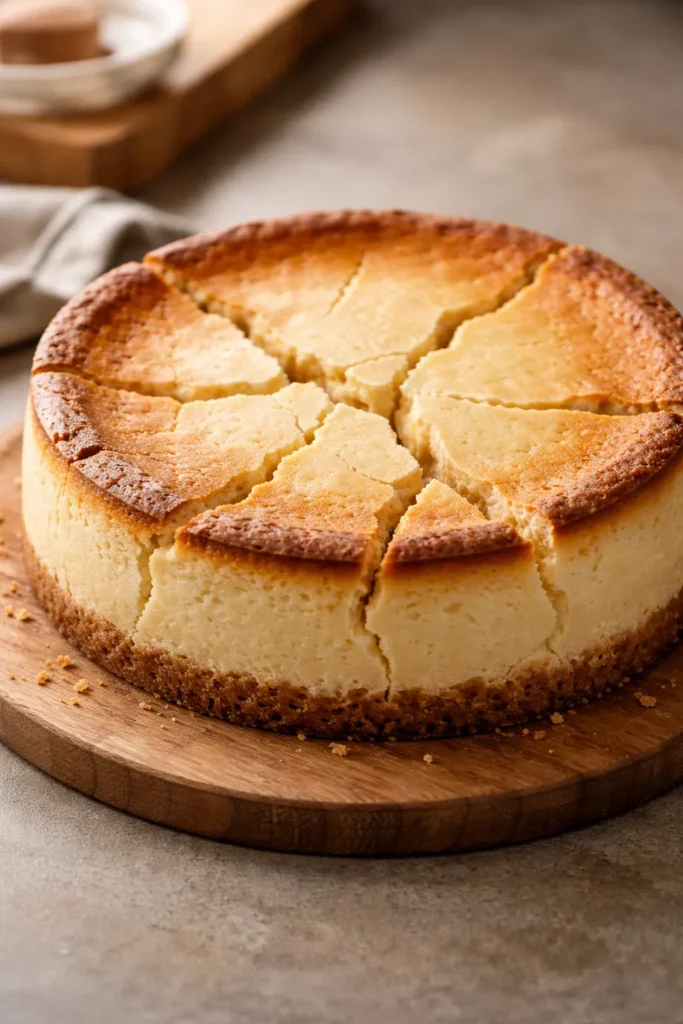
This recipe is foolproof because it uses the exact ratio of ingredients, baking temperature, and technique that consistently produces a dense, creamy, crack-free cheesecake. It tastes like pure luxury—not overly sweet, with just enough tang from the lemon and sour cream to cut through the richness.
Yield: Serves 10 to 12
Prep Time: 20 minutes
Cook Time: 1 hour 45 minutes
Total Time: 2 hours 5 minutes active, plus at least 8 hours chilling
Difficulty: Beginner — The steps are straightforward, but success hinges on following the cooling instructions precisely and not opening the oven door. No special skills required, just attention to detail.
For the Graham Cracker Crust:
- 1½ cups graham cracker crumbs (about 12 whole crackers), finely ground
- 5 tablespoons unsalted butter, melted
- 3 tablespoons granulated sugar
- ⅛ teaspoon fine sea salt
For the Cheesecake Filling:
- 32 ounces (four 8-ounce blocks) full-fat cream cheese, at room temperature
- 1¾ cups granulated sugar
- 3 tablespoons all-purpose flour
- 1 teaspoon vanilla extract (or ½ teaspoon vanilla bean paste for superior flavor)
- 1 teaspoon lemon zest, finely grated from 1 fresh lemon
- 2 teaspoons fresh lemon juice, squeezed from approximately ½ lemon
- ¼ teaspoon fine sea salt
- 6 large eggs, at room temperature
- ¾ cup sour cream, at room temperature
For Serving:
- Fresh berries or berry sauce (optional)
- Whipped cream (optional)
Prepare the Pan and Preheat:
-
Preheat your oven to 375°F (190°C) and position the top rack in the lower-middle area of the oven (not the very center, but one or two notches down).
-
Position your bottom oven rack just below the top rack, leaving enough room for a roasting pan to fit underneath if you’re using a water bath.
-
Lightly brush the inside of a 9-inch springform pan with softened butter, or spray with nonstick cooking spray. Press a circle of parchment paper into the bottom of the pan, then line the sides with a strip of parchment paper as well—this makes transferring the finished cheesecake to a serving dish much easier. Set aside.
-
Wrap the outside of the springform pan with two layers of heavy-duty aluminum foil, covering the bottom and extending all the way up the sides. Make absolutely sure there are no seams on the bottom or sides of the pan—water will find any exposed seam during the water bath. If you’re not using a water bath and are instead trying the insulated cake strip method, you can wrap the pan with aluminum foil now, or wait until after the crust is baked.
-
Set a kettle of water to boil. You’ll need this water hot and ready when you’re finished mixing the filling.
Make the Graham Cracker Crust:
-
In a medium-sized bowl, combine the graham cracker crumbs, melted butter, sugar, and salt. Stir with a fork until the mixture feels like wet sand—every crumb should be lightly coated with butter, but it should not be clumpy or compacted.
-
Pour the crumb mixture into the prepared springform pan and press it firmly into an even layer across the bottom using the bottom of a measuring cup or your fingers. Make sure the crust is tightly packed and level—a uniform crust bakes more evenly and creates a better foundation for the filling.
-
Place the pan on a baking sheet and bake the crust for 10 minutes at 375°F until it’s set and very lightly golden. Remove from the oven and set aside while you make the filling. Reduce the oven temperature to 325°F (165°C).
Make the Cheesecake Filling:
-
In the bowl of an electric mixer fitted with the paddle attachment (or in a large bowl using a hand mixer), add the room-temperature cream cheese and beat on medium-low speed until it’s smooth and creamy, about 1 to 2 minutes. Stop and scrape down the sides and bottom of the bowl with a spatula multiple times—cream cheese hides unmixed pockets, so you need to scrape thoroughly.
-
Add the sugar, flour, vanilla, lemon zest, lemon juice, and salt. Beat on low speed until the mixture is completely smooth and well combined, about 1 minute. Again, stop and scrape down the bowl multiple times. Make sure there are no visible lumps of cream cheese anywhere in the mixture.
-
Lightly whisk the eggs together in a separate small bowl—just enough to break the yolks and combine them with the whites. Do not overbeat the eggs; they should not be airy.
-
With the mixer on the lowest setting, add the first egg to the cream cheese mixture and beat only until the yellow yolk has completely disappeared into the batter. This should take just 15-20 seconds of mixing. Stop the mixer immediately.
-
Pause and scrape down the bowl and the paddle attachment thoroughly. Add the second egg and repeat—beat on low until just combined, about 15-20 seconds, then scrape.
-
Add the third egg and repeat the process. Add the fourth egg and repeat again.
-
Add the fifth egg and repeat. Add the sixth egg and repeat. Each egg addition should take minimal mixing time. You’re not trying to make the batter light and airy; you’re trying to keep it as dense as possible while incorporating everything evenly.
-
Add the sour cream and beat on low speed for just 10-15 seconds until you see no visible streaks of white sour cream. Stop immediately.
-
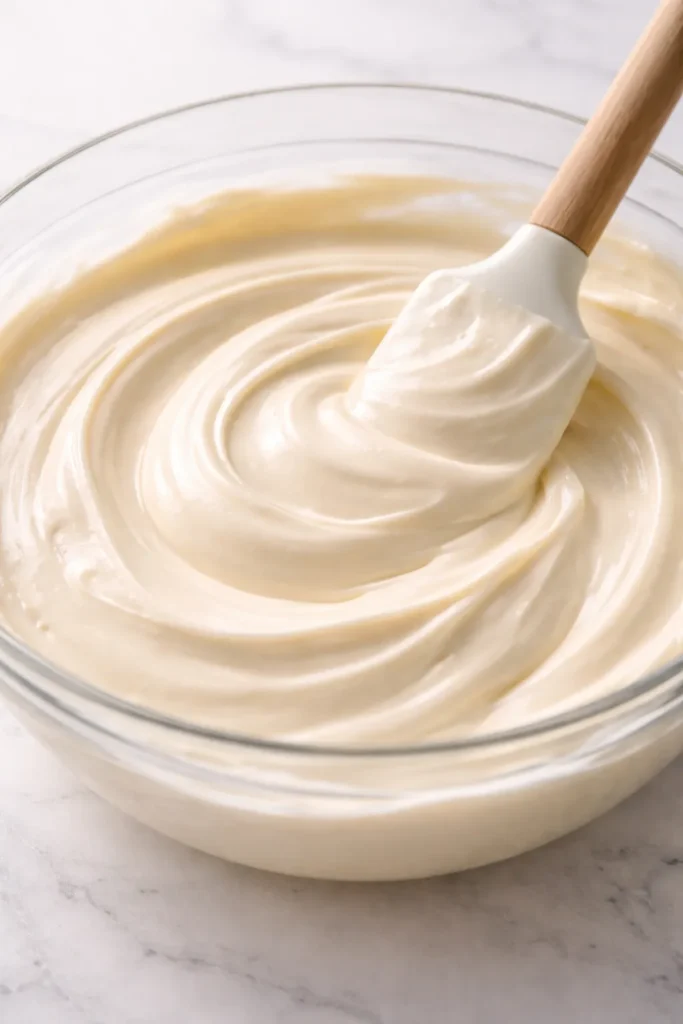
Using a spatula, gently fold the batter for 10-15 seconds, using downward pressing motions to release any air bubbles trapped at the bottom of the bowl. Do not fold vigorously or create more air—the goal is to gently release existing air, not incorporate new air.
Set Up the Water Bath:
- Place a large roasting pan on the bottom oven rack (or on a rack below where your cheesecake will bake). Carefully pour boiling water into the roasting pan until it’s about 1½ inches deep. Close the oven door and let it come back up to 325°F. You’ll add your cheesecake to this water bath in the next step.
Bake the Cheesecake:
-
Pour the cheesecake batter into the cooled crust, starting from the center and working outward. Do not scrape the mixing bowl to get every last bit of batter—the sides of the bowl sometimes have thick, poorly mixed batter that could create lumps in your finished cheesecake.
-
Gently tap the cheesecake pan on the counter two or three times to release any large air bubbles trapped in the batter. You want to pop obvious bubbles, but don’t be aggressive—the goal is not to deflate the batter, just to release large air pockets.
-
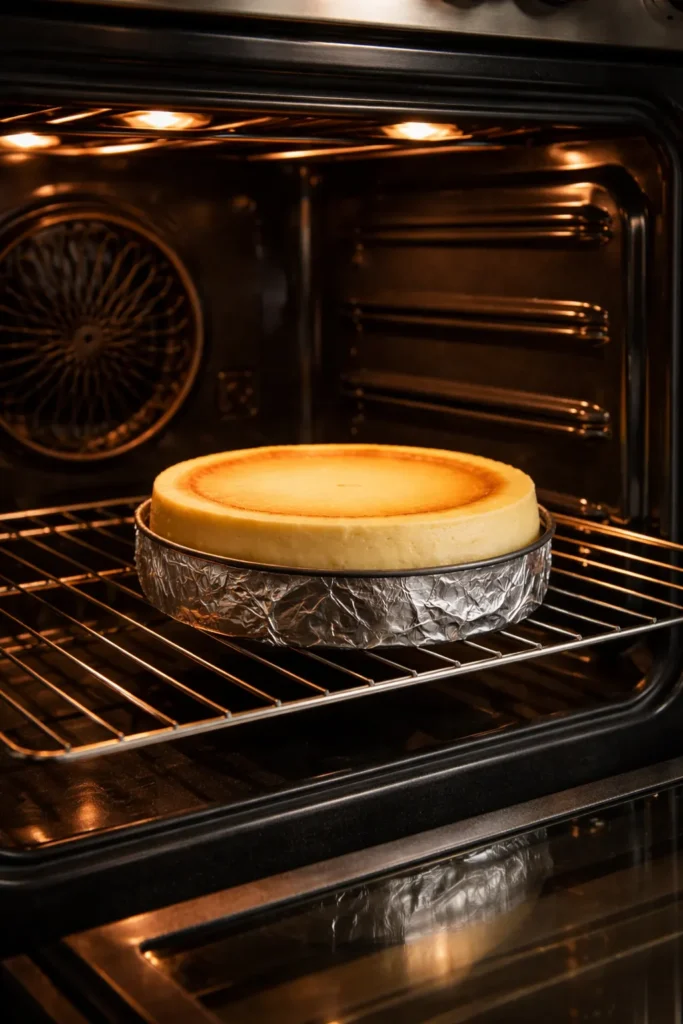
Place the cheesecake pan on the top oven rack, above the water bath. Bake for 1 hour and 30 minutes to 1 hour and 45 minutes. Do NOT open the oven door during this time. Avoid any temptation to peek.
-
The cheesecake is done when the outer 1 to 2 inches of the filling are set and firm, but the center 3 to 4 inches still wobble and jiggle like gelatin when you gently shake the oven rack (you can open the oven to perform this shake test after about 1 hour 20 minutes, but be quick about it). The top may have a slight golden color, but it should not look brown. If the top is browning too quickly, loosely tent it with foil.
-
Once the cheesecake reaches the right wobble (set edges, jiggly center), turn off the oven immediately. Do not remove the cheesecake.
Cool the Cheesecake:
-
Crack the oven door open by just 1 to 2 inches. Leave the cheesecake inside the cooling oven for 1 to 2 hours. During this time, the residual oven heat gradually dissipates, and the cheesecake cools slowly and gently. This gradual cooling is what prevents cracking.
-
After the oven has cooled completely and is just slightly warmer than room temperature, carefully remove the cheesecake from the oven and roasting pan. Set it on a wire cooling rack.
-
Run a thin-bladed knife around the inside perimeter of the springform pan, pressing the blade gently against the pan to loosen the cheesecake from the sides. This prevents the cheesecake from sticking to the sides as it continues to cool and contract.
-
Let the cheesecake cool at room temperature for another 1 to 2 hours, until it’s completely cool.
-
Cover the cheesecake loosely with plastic wrap and place it in the refrigerator to chill for at least 8 hours, or preferably overnight. The cheesecake needs this extended chilling time to fully set and firm up. During chilling, it will continue to set slightly, which is perfectly normal.
Remove and Serve:
-
When you’re ready to serve, carefully remove the cheesecake from the refrigerator. If it’s in the springform pan, run a thin knife around the edges once more (even after chilling, a second loosening helps), then gently release and remove the springform sides.
-
If you lined the pan with parchment paper, you can leave the parchment on the bottom or slide a long thin spatula between the parchment and the pan base, then use two large spatulas to carefully transfer the cheesecake to a serving platter. The parchment lifts away once the cheesecake is on the platter.
-
Slice with a sharp, warm knife, wiping the blade clean between each slice. To warm your knife, run it under hot water for a few seconds, then dry it completely before slicing. This prevents the blade from sticking to the cold cheesecake and tearing the crumb.
-
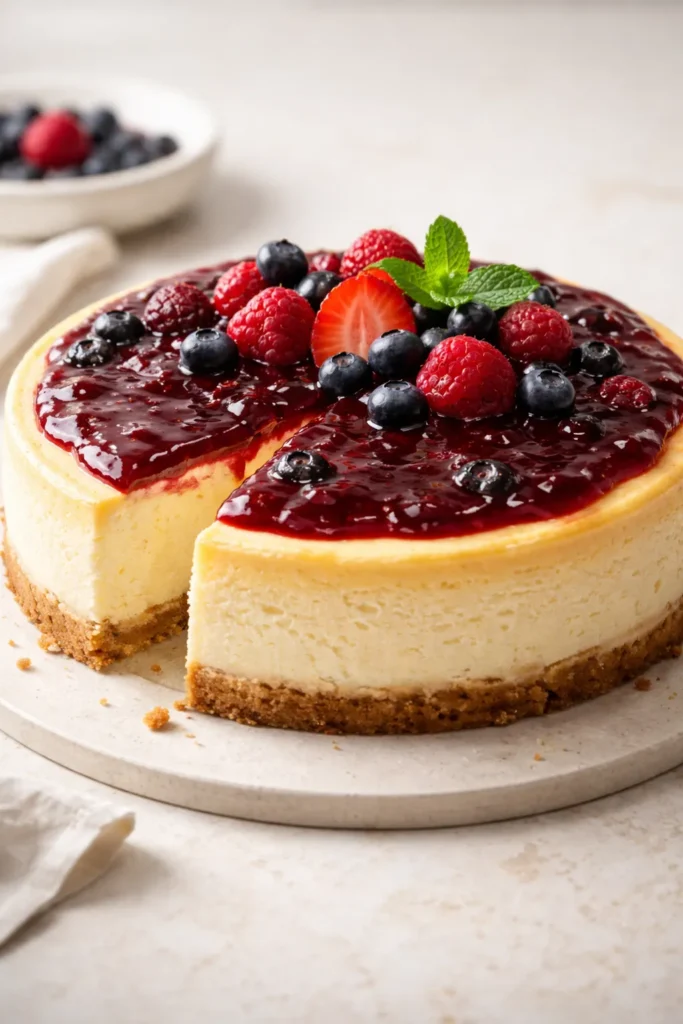
Serve plain, with fresh berries, berry sauce, whipped cream, or any topping you prefer. This cheesecake is rich and satisfying on its own, but fresh fruit brightens the heavy richness beautifully.
Pro Tips for Success:
-
The flour is essential. It might seem odd to put flour in a cheesecake, but a small amount of all-purpose flour adds just enough starch to stabilize the filling and create a slightly lighter, fluffier texture. It’s also one of the secrets to preventing cracks—it helps the cheesecake stay cohesive as it cools.
-
Lemon is non-negotiable. The lemon zest and lemon juice aren’t meant to make this taste like a lemon cheesecake. Instead, they brighten the heavy richness of the cream cheese and cut through the sweetness. The result is a more balanced, elegant flavor. Don’t skip this.
-
Room temperature is everything. I cannot overstate this. Pull your ingredients out hours before you start. This single step eliminates more problems than any other single thing you can do.
-
Use Philadelphia cream cheese or equivalent quality. The flavor and moisture content of the cream cheese directly affects your cheesecake. Lower-quality or store-brand cream cheese sometimes contains more water, which can affect both flavor and texture. Philadelphia is consistent and reliable.
-
The wobble test is your best friend. Don’t trust the clock—trust the wobble. Every oven is different, so bake times vary. At about 1 hour and 20 minutes, gently shake the oven rack and observe. The edges should be firm, the center jiggly. If it’s all liquid, give it more time. If it’s completely firm throughout, you’ve overbaked it. Aim for the wobble in between.
Common Mistakes That Lead to Cracks
Understanding what causes cracking helps you avoid it. Here are the mistakes I see bakers make most often.
Opening the oven door too early or too often. Every time you open the door, hot air escapes and the temperature drops. Your cheesecake doesn’t bake evenly, the top can set too quickly, and you’re introducing temperature fluctuations that cause stress in the filling. Be patient and resist the urge to peek.
Overmixing the batter, especially the eggs. If you beat the eggs longer than necessary, you’re incorporating excess air. That air puffs up in the oven and then collapses as the cake cools, creating cracks. Minimal mixing is the goal.
Using cold ingredients. Cold cream cheese, eggs, and sour cream don’t blend smoothly. You’ll have lumps that affect texture, and cold eggs actually re-firm the cream cheese you’ve already beaten smooth. Give yourself plenty of time to bring everything to room temperature.
Skipping the water bath without compensating. A water bath or a solid alternative (insulated pan, hot water on the bottom rack, extremely low and slow baking) is crucial for even, gentle heat. If you skip it entirely without using a substitute method, you’re almost guaranteed an unevenly baked cheesecake prone to cracking.
Moving the cheesecake straight from oven to refrigerator. This temperature shock is one of the biggest culprits. The filling contracts rapidly while the edges stick to the pan, creating internal stress that releases as cracks. Two-stage cooling (oven, then room temperature, then refrigerator) is non-negotiable.
Overbaking. A dry cheesecake is a cracked cheesecake. The wobble test exists for a reason—the center should still jiggle when the cake is done. It will continue to cook as it cools.
Not loosening the sides of the cake. If the cheesecake sticks to the edges of the springform pan, it can’t contract freely as it cools. The center pulls away, and cracks form. Running a knife around the edges while the cake is still warm prevents this.
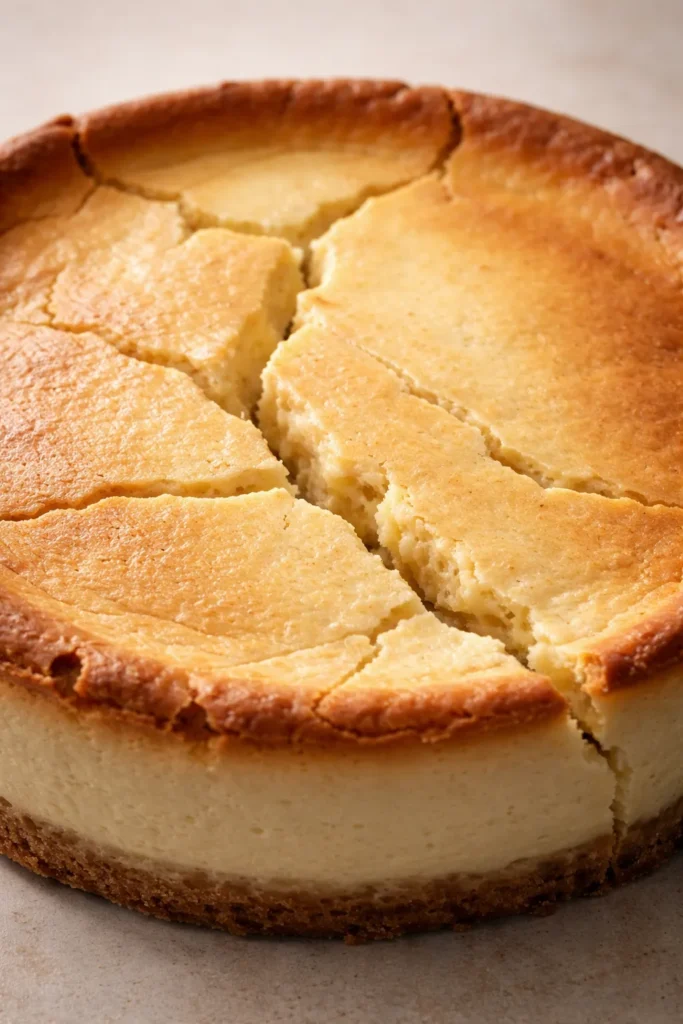
Fixing a Cracked Cheesecake (Rescue Techniques)
If you end up with cracks despite your best efforts, don’t despair. There are several ways to minimize or hide them.
If the cheesecake is still slightly warm, place it in the refrigerator uncovered. Condensation that forms on the surface sometimes fills in small surface cracks as it drips and re-freezes. This isn’t guaranteed, but it sometimes helps.
Cover the top with a topping. A layer of berry sauce, chocolate ganache, caramel sauce, or fresh whipped cream completely hides any cracks on the surface. Sour cream mixed with a tiny bit of honey, spread in a thin layer across the top, works beautifully too.
Dust with powdered sugar or cocoa powder. A light dusting of powdered sugar or unsweetened cocoa powder disguises small cracks while adding visual appeal.
Slice generous portions. Cut thick, generous slices. A crack that looks obvious on a whole cheesecake becomes almost invisible on a slice when you plate it nicely and add a topping or garnish.
Lean into it. Honestly, a cracked cheesecake still tastes incredible. It’s only the presentation that suffers. If you’re serving family or close friends rather than impressing a crowd, embrace it and move forward. A homemade cheesecake with a crack is still miles ahead of a store-bought one.
The most important thing to remember: a cracked cheesecake is 99% as good as a flawless one. The flavor, texture, and experience of eating it don’t change. Sometimes perfect is the enemy of done, and a homemade cheesecake—crack and all—is always worth making.
Variations and Flavor Twists
Once you’ve mastered the basic recipe, there are endless ways to adapt it.
New York Cheesecake with Graham Cracker Crust is the classic, but you can swap the crust entirely. Replace the graham crackers with crushed digestive biscuits, vanilla wafers, Biscoff cookies, or even finely ground Oreos for a different flavor. Use the same ratio of crumbs to butter and sugar, and the crust bakes the same way.
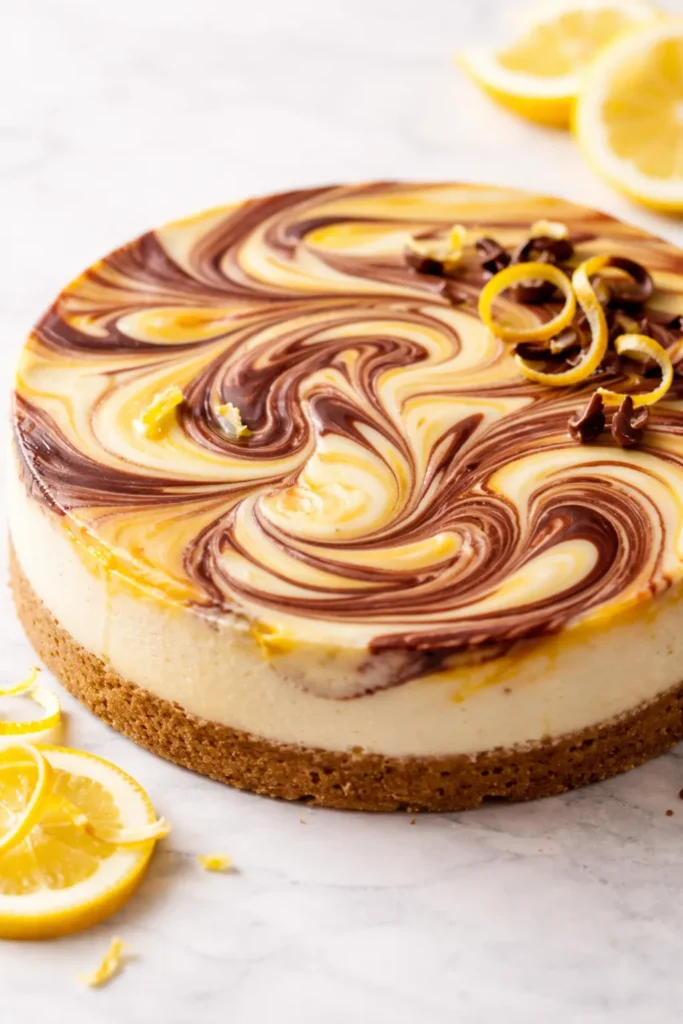
Chocolate Cheesecake works beautifully by melting 4 ounces of high-quality dark chocolate (chopped fine) and whisking it into the batter after you’ve added the sour cream. The chocolate adds richness without drying out the cake. Some bakers make a chocolate crust instead of graham cracker, using crushed chocolate cookies in place of the graham crackers.
Lemon or Citrus Cheesecake doubles the lemon zest and lemon juice in the filling for a brighter, tangier profile. You can also use lime zest and juice, or add orange zest for a different citrus angle.
Cheesecake with Berry Compote keeps the filling plain but adds a layer of homemade berry sauce on top once the cheesecake is fully chilled. Strawberry, raspberry, blackberry, or a mixed berry compote all work beautifully. Spread it across the top or dollop it on individual slices.
Caramel Swirl Cheesecake starts with the basic recipe but drizzles homemade or store-bought caramel sauce in a spiral pattern over the batter before it bakes. Use a knife to gently swirl the caramel into the batter, creating marble-like patterns.
Pumpkin Cheesecake uses 1 cup of pumpkin puree mixed into the filling, along with ½ teaspoon of cinnamon, ¼ teaspoon of nutmeg, and a pinch of clove. The rest of the recipe stays the same. Reduce the sour cream to ½ cup to account for the added moisture from the pumpkin.
No-Sugar or Sugar-Alternative Versions can be made by replacing some or all of the granulated sugar with monk fruit sweetener, stevia, or erythritol. Not all sweeteners work equally well—some are sweeter and require less quantity, others leave an aftertaste. If you’re adapting the recipe with a sweetener, start conservatively and taste a small bite of the raw batter to check sweetness before baking.
Storage and Make-Ahead Strategies
One of the best things about cheesecake is how well it stores and how far in advance you can make it.
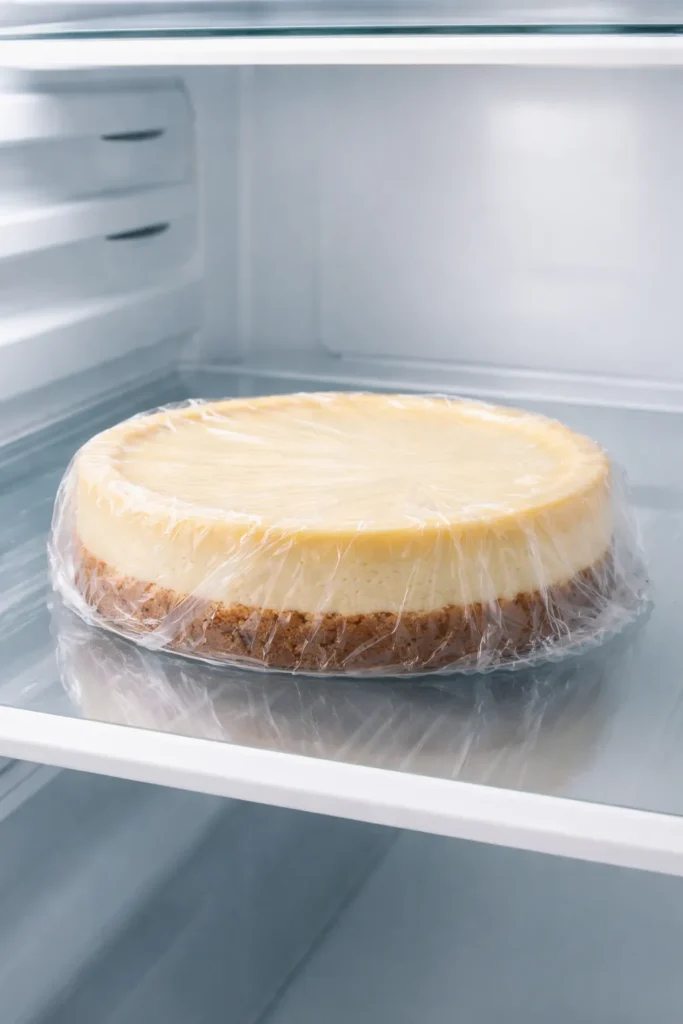
In the Refrigerator: A fully chilled cheesecake, covered with plastic wrap or foil, keeps in the refrigerator for up to 4 days. The texture remains creamy and excellent throughout this window. I actually prefer to make cheesecake 1-2 days in advance—it gives the flavors time to settle and meld.
In the Freezer: Cheesecake freezes beautifully for up to 3 months. To freeze the whole cake, let it chill completely, then wrap it tightly first in plastic wrap, then in aluminum foil. You can leave it in the springform pan or remove it first—either works. Thaw overnight in the refrigerator before serving. The texture remains perfectly creamy after freezing.
Alternatively, you can freeze individual slices. Once the cheesecake is fully chilled, cut it into slices, wrap each slice individually in plastic wrap, then place the wrapped slices in a freezer bag or airtight container. Frozen slices thaw in the refrigerator in 3-4 hours or at room temperature in about 1 hour. This method is helpful if you want to portion out the cheesecake before freezing.
Make-Ahead Plan: For a party or holiday, make the cheesecake 2-3 days in advance. Store it covered in the refrigerator, and add any fresh toppings (berries, whipped cream, sauce) just before serving. The cheesecake can sit on the counter for up to 4 hours before serving—longer in cool weather, less in hot or humid conditions. For serving at a specific time, pull it from the refrigerator about 15-20 minutes before plating and serving; a slightly cool cheesecake slices beautifully and tastes better than one that’s ice-cold.
Crust and Filling Separately: Some bakers make the crust up to 2 days ahead and store it covered in the springform pan. The filling can be made and poured the same day, or you can refrigerate the mixed (unbaked) filling for up to 4 hours before baking. This flexibility makes cheesecake perfect for managing your schedule.
Key Takeaways
Baking a rich, crack-free cheesecake comes down to understanding the why behind each step, then executing with discipline. Room temperature ingredients allow smooth mixing. Minimal egg mixing prevents excess air. A water bath or alternative method provides even, gentle heat. Low, slow baking prevents overbaking. Two-stage cooling avoids thermal shock. Running a knife around the edges prevents sticking.
None of these steps is difficult on its own. Together, they create an environment where a perfect cheesecake is almost inevitable. The first time you pull a golden, jiggly, completely crack-free cheesecake out of the oven, you’ll understand why people are so proud of their cheesecake recipes—and you’ll be equipped to make this dessert again and again, with confidence that you’ll get it right.