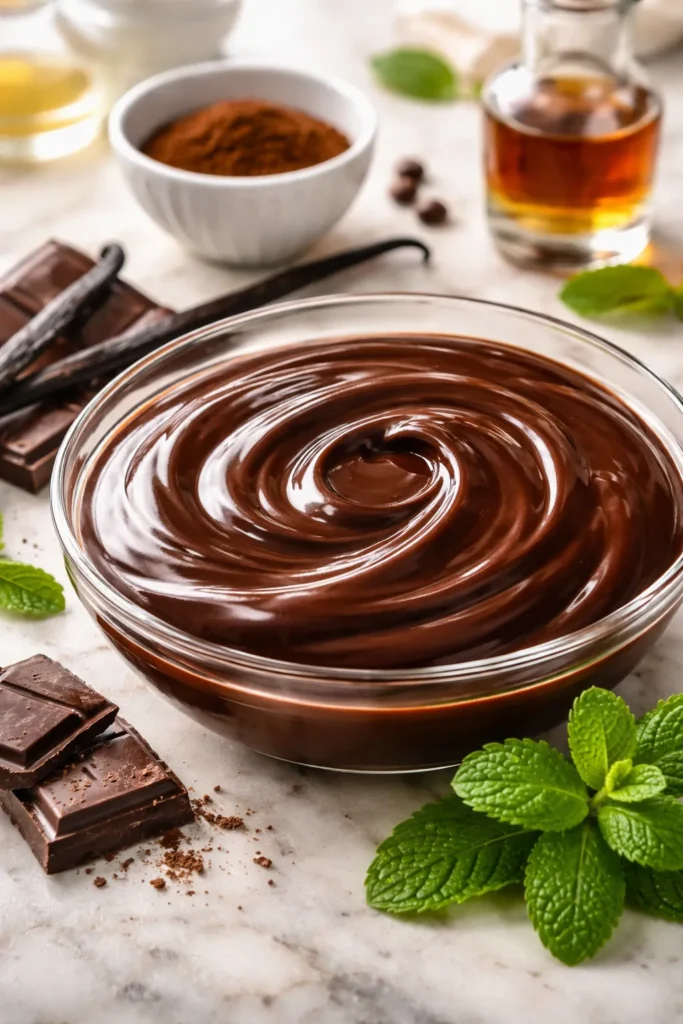
Chocolate ganache might just be the most elegant dessert topping you can create with literally two ingredients and ten minutes. There’s something almost magical about how simple this is—heating cream, pouring it over chopped chocolate, waiting for a few minutes, and suddenly you have a silky, professional-looking glaze that transforms an ordinary cake into something that looks like it came straight from a bakery. But here’s what separates an amateur ganache from one that actually impresses: that glossy, mirror-like shine that stays beautiful even after refrigeration.
Most people don’t realize that ganache is a finicky emulsion. Get the ratios right, use quality chocolate, and handle it with care, and you’ll end up with something that’s genuinely luxurious. But skip a step or use the wrong technique, and you might end up with something dull, grainy, or worse—separated into greasy puddles. The good news? Once you understand what’s happening chemically, you can create ganache that looks so professional people will ask what bakery made your cake.
This isn’t just another ganache recipe. This is the version that stays shiny. The kind that catches the light and makes people stop mid-conversation to admire your dessert. And yes, you can genuinely make it in ten minutes from start to finish.
Table of Contents
- What Exactly Is Chocolate Ganache
- Why Glossy Ganache Is the Gold Standard
- Choosing the Right Chocolate for Perfect Results
- The Heavy Cream Makes All the Difference
- The Secret Ingredient: Why Corn Syrup Makes Ganache Shine
- Getting the Chocolate-to-Cream Ratio Right
- Ingredients for Shiny Chocolate Ganache
- How to Make Shiny Chocolate Ganache in 10 Minutes
- Why This Method Works Better Than Shortcuts
- Troubleshooting: Fixing Ganache Gone Wrong
- Taking Ganache Beyond the Basics: Flavor Variations
- Storage: Keeping Ganache Fresh and Glossy
- Using Ganache: Creative Applications Beyond Cake Glazing
- Why Ten Minutes Isn’t Really the Time—It’s the Attitude
- Final Thoughts
What Exactly Is Chocolate Ganache
Ganache is an emulsion—a beautiful marriage of two things that technically shouldn’t mix at all: chocolate and cream. When you heat cream and pour it over finely chopped chocolate, the heat melts the cocoa butter within the chocolate. This releases cocoa solids and sugar that then become suspended in the fat from both the chocolate and the cream, creating that silky, smooth texture that makes ganache so irresistible.
The magic happens because cream contains water and fat, while chocolate is essentially cocoa solids, cocoa butter, and sugar. When they’re combined at the right temperature, these components don’t separate—they bond together into a stable emulsion. It’s the same science that makes mayonnaise work, except dramatically more delicious.
Understanding this helps explain why ganache can be finicky. If your cream is too hot, it can actually scorch the chocolate and break the emulsion, leaving you with separated, greasy ganache. If you stir too vigorously, you incorporate air bubbles that make it grainy. If you use low-quality chocolate with wax instead of cocoa butter, the emulsion struggles to form. But when everything comes together correctly, you get something that’s creamy, pourable when warm, and fudgy when cool.
Why Glossy Ganache Is the Gold Standard
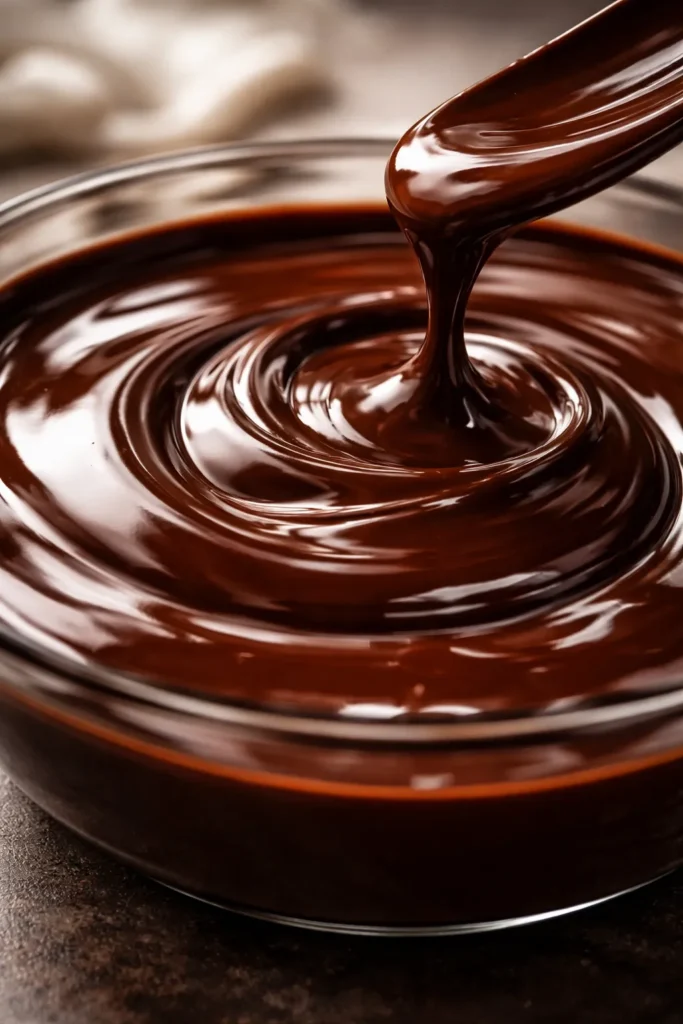
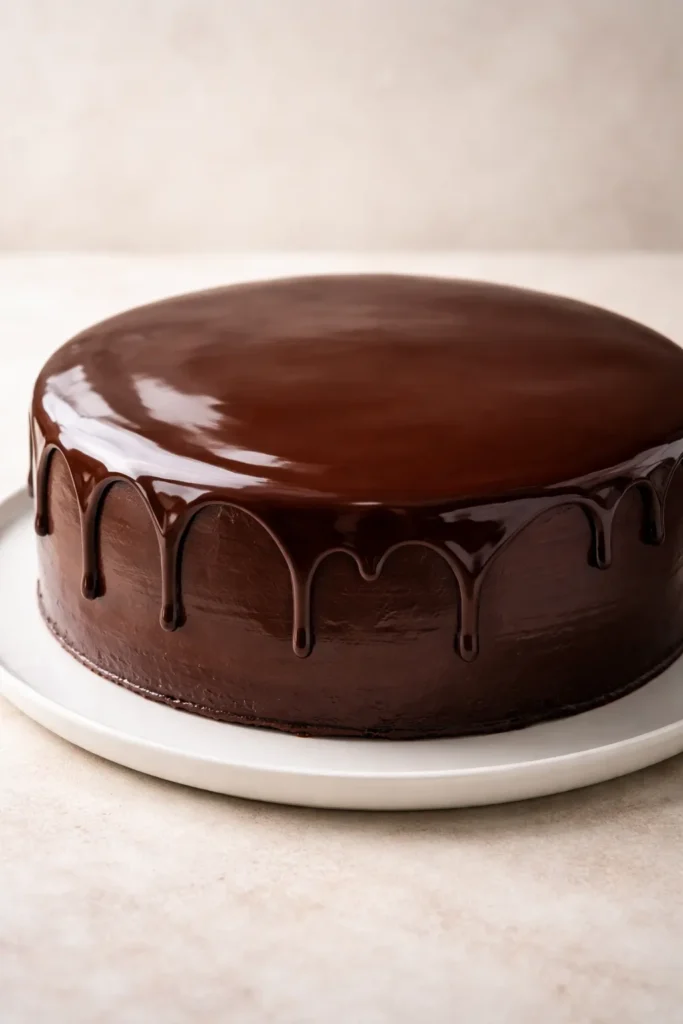
A shiny, glossy ganache looks professional. There’s just no way around that simple truth. Dull ganache looks tired, flat, and amateur. Glossy ganache looks like you spent hours perfecting your craft. The shine catches light and draws the eye directly to your cake, making even a simple vanilla cake look intentional and elegant.
The problem most home bakers encounter is that glossy ganache made the traditional way—just chocolate and cream—can turn dull and matte after it cools or sits in the refrigerator. That’s because the cocoa butter begins to crystallize as the ganache sets, and those tiny crystals scatter light instead of reflecting it smoothly.
The solution is surprisingly simple: add a small amount of corn syrup or glucose syrup. This ingredient doesn’t change the flavor noticeably, but it does something crucial to the structure. It prevents those cocoa butter crystals from forming in a way that creates dullness. Instead, the ganache maintains that gorgeous, professional shine whether it’s warm or chilled. It’s the difference between ganache that looks homemade and ganache that looks like it belongs in a display case.
Choosing the Right Chocolate for Perfect Results
Chocolate quality matters more for ganache than for almost any other baking application. When you’re making a chocolate cake, you can hide mediocre chocolate under frosting and mix-ins. With ganache, the chocolate is the star. Every flaw becomes visible.
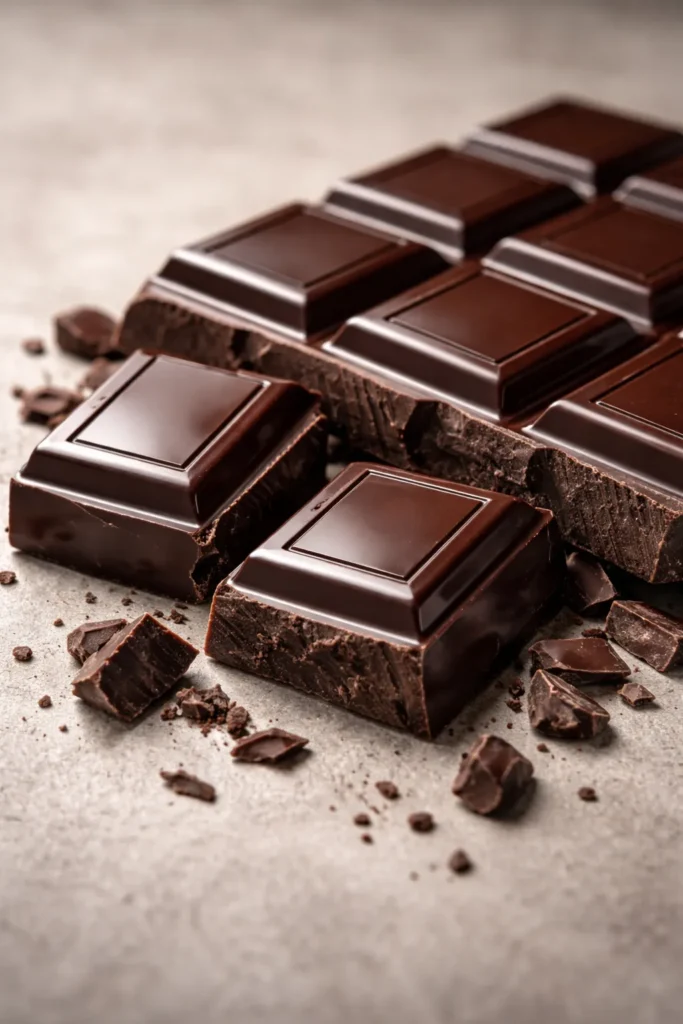
Start with high-quality chocolate bars, not chocolate chips. Chocolate chips contain additives that help them hold their shape during baking—things like wax and emulsifiers that prevent them from melting completely. When you’re making ganache, you want pure chocolate that will melt into a completely smooth consistency. If you can only find chocolate chips, choose premium brands like Ghirardelli or Guittard that contain real cocoa butter rather than hydrogenated oils.
Look for chocolate that lists cocoa butter in the ingredients, not “palm oil” or “vegetable oil.” Cocoa butter is what gives chocolate its silky texture and ability to create a proper emulsion with cream. The cocoa percentage matters too—aim for something between 60% and 70% cocoa for the best balance of richness and stability. Chocolate with less than 45% cocoa tends to be too soft and won’t set properly. Chocolate with more than 75% cocoa is very bitter and requires less cream to set, throwing off the ratios.
Semisweet chocolate is the most forgiving choice for a general-purpose ganache. It has enough cocoa content to set properly but enough sugar and cocoa butter to create a silky emulsion that feels luxurious on the tongue. Dark chocolate works beautifully if you want a deeper chocolate flavor. Milk chocolate is sweeter and more delicate—it requires a higher chocolate-to-cream ratio because the milk solids make it softer.
Whatever chocolate you choose, chop it into small, uniform pieces. This isn’t just about speeding up the melting process. Uniform pieces melt evenly, which means you don’t end up with some parts of the ganache fully melted while other chunks remain solid. Use a large serrated knife—the grooves help chip away at the hard chocolate without just shattering it into tiny crumbs.
The Heavy Cream Makes All the Difference
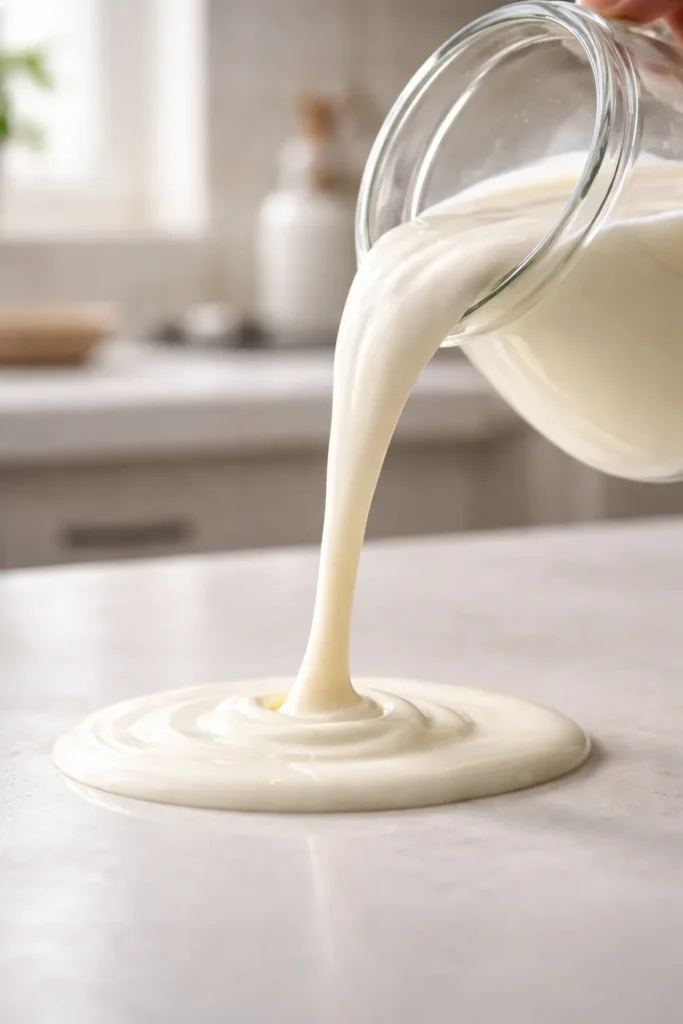
Heavy cream (also called heavy whipping cream) is the only dairy option that will create proper ganache. It has a fat content of 36-40%, which is essential for creating a stable emulsion. Regular milk, half-and-half, or even light cream won’t work because they don’t have enough fat. The ganache will either refuse to set or will be unstable and greasy.
Heat your cream gently and carefully. Pour it into a small saucepan and warm it over medium heat just until you see steam rising and small bubbles forming at the edges. This is the perfect temperature—hot enough to fully melt the chocolate, but not so hot that it scorches or boils. If cream boils vigorously, it can separate and won’t create a proper emulsion with the chocolate.
Don’t use a microwave to heat cream for ganache unless you’re absolutely certain you can watch it constantly. Microwaves heat unevenly, and cream can go from perfect to overheated in seconds. The stovetop method gives you more control and prevents overheating.
One detail that many ganache recipes gloss over: the temperature of the emulsion as you stir matters tremendously. Ganache emulsifies best when the mixture is somewhere between 90-110°F (32-43°C). This is why letting the mixture sit for a few minutes before stirring actually helps. Those few minutes allow the temperature to drop slightly and become more optimal for emulsification. If you whisk immediately after pouring hot cream over chocolate, you’re working against the chemistry.
The Secret Ingredient: Why Corn Syrup Makes Ganache Shine

Here’s where the magic happens. A single tablespoon of corn syrup per half-cup of ganache transforms it from nice to absolutely stunning. This isn’t about flavor—corn syrup is nearly flavorless, so it won’t change the taste of your chocolate. It’s about the physical structure at a microscopic level.
When chocolate cools, the cocoa butter crystallizes. Normally, these crystals form in random, jagged patterns that scatter light in all directions, creating a dull, matte appearance. Corn syrup interferes with this crystallization process. It doesn’t prevent it entirely—you still want the ganache to set and firm up—but it guides the crystal formation into a smoother, more uniform structure. This creates a surface that reflects light evenly, giving you that gorgeous, high-gloss shine.
Glucose syrup (also called glucose or liquid glucose) works even better than corn syrup for this purpose, but it’s harder to find in regular grocery stores. If you can locate it at a baking supply store or online, it’s worth using. The effect is essentially the same, but glucose syrup produces an even more stunning finish.
Light corn syrup is the easiest option to find and works perfectly. Dark corn syrup will change the color of your ganache slightly, making it darker, so stick with light unless that’s intentional. The amount matters—one tablespoon per half-cup of chocolate plus cream is the sweet spot. More than that and the ganache becomes too soft and won’t set properly. Less than that and the shine isn’t as pronounced.
Getting the Chocolate-to-Cream Ratio Right
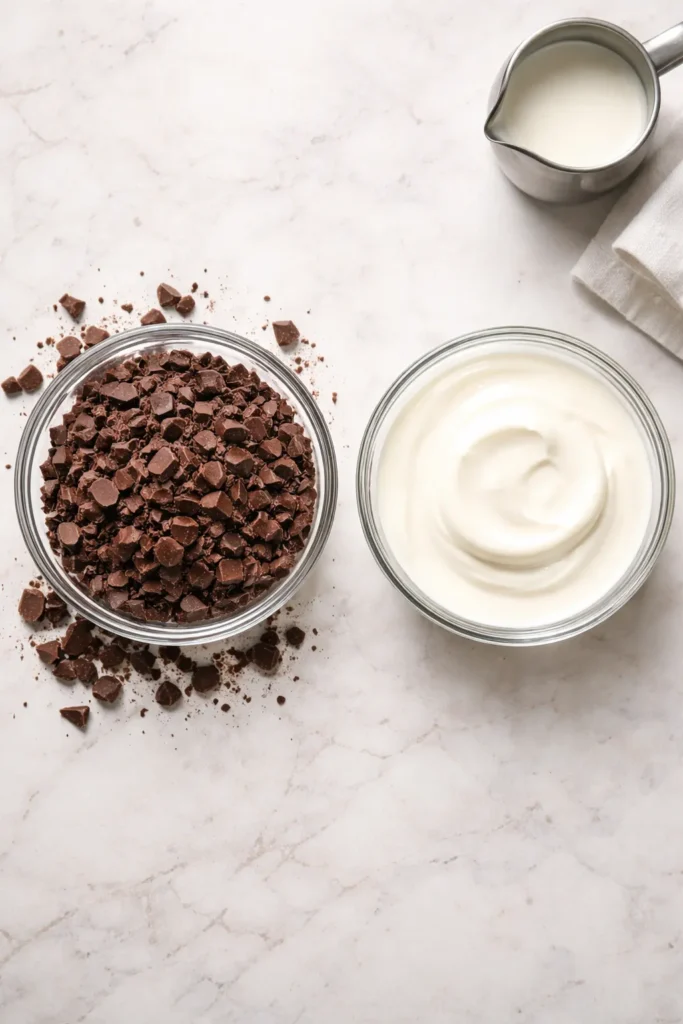
The ratio of chocolate to cream determines whether your ganache is pourable, spreadable, or truffle-thick. For a standard ganache that works for glazing cakes and cupcakes, use equal parts by weight—8 ounces of chocolate with 8 ounces (1 cup) of heavy cream. This creates something that’s pourable when warm and spreadable when cooled to room temperature.
If you’re using a kitchen scale (which I highly recommend for ganache), this is straightforward: 227 grams of chocolate to 240 grams of heavy cream. The weights don’t need to be exactly equal—chocolate and cream have slightly different densities, but the difference is negligible for home baking.
By-weight measurements are genuinely superior for ganache compared to volume measurements. A cup of chopped chocolate can be packed tightly or loosely, dramatically changing the actual amount. A scale eliminates this variable. If you don’t have a scale, finely chop your chocolate and measure it in a measuring cup, gently pouring it in without pressing down, then leveling with a knife.
If you want a thicker ganache that’s less pourable and more suitable for piping or as a cake filling, use a 2:1 ratio—twice as much chocolate as cream. This creates a ganache that’s firmer when cooled and has a fudgier consistency. For a thinner ganache that’s perfect for dipping fruit or pouring over ice cream, use a 1:2 ratio—half as much chocolate as cream.
The quality of chocolate affects how these ratios work. Some premium chocolates have very high cocoa butter content and will set firmer than commercial chocolates. If you try a recipe and your ganache is too thin or too thick, you can adjust by adding more chocolate or more cream in small increments. This is where keeping notes helps—write down what brand of chocolate you used and whether you adjusted the ratio, so you can replicate success next time.
Yield: Makes 1½ cups ganache (enough for one 8 or 9-inch cake or about 12 cupcakes)
Prep Time: 5 minutes
Cook Time: 5 minutes
Total Time: 10 minutes
Difficulty: Beginner — This recipe has only two main ingredients plus optional additions, and the steps are straightforward. The main challenge is not overthinking it; ganache is more forgiving than most people believe.
Ingredients for Shiny Chocolate Ganache
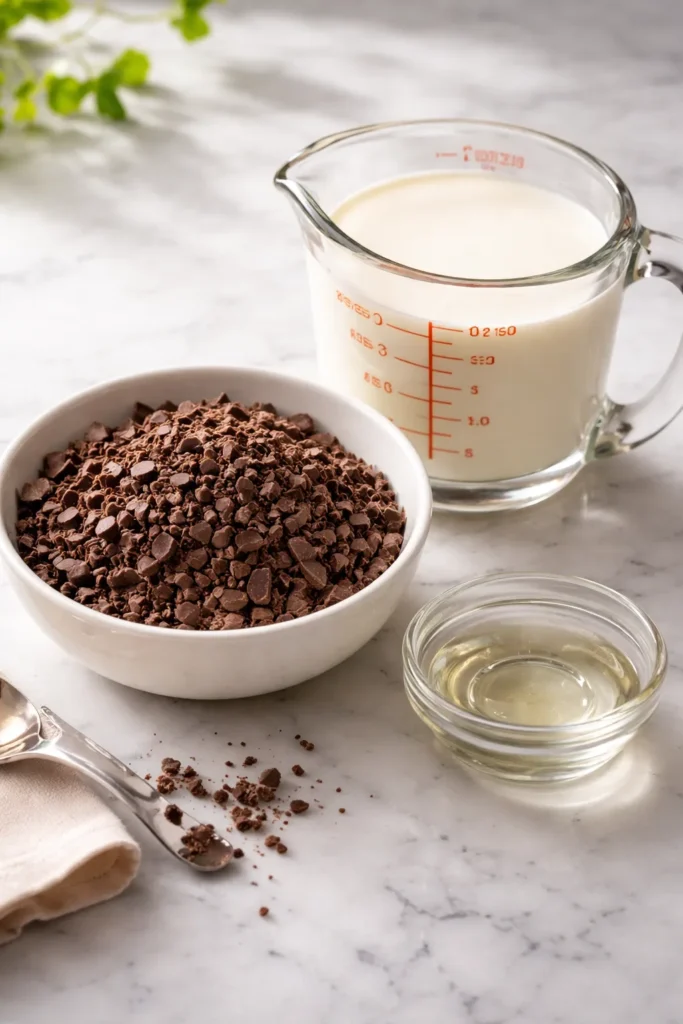
For the Ganache:
- 8 ounces (227g) high-quality semisweet or dark chocolate, finely chopped
- 1 cup (240ml) heavy whipping cream
- 1 tablespoon light corn syrup (for extra shine)
Optional Flavor Additions:
- ¼ teaspoon fine sea salt (enhances chocolate flavor)
- ½ teaspoon pure vanilla extract
- 2 tablespoons unsalted butter (for added richness and smoothness, added at the end)
Equipment Needed:
- Small saucepan
- Medium heatproof bowl (glass or metal, not plastic)
- Whisk or wooden spoon
- Knife for chopping chocolate
- Instant-read thermometer (optional but helpful)
How to Make Shiny Chocolate Ganache in 10 Minutes
Prepare Your Ingredients:
-
Finely chop your chocolate into small, uniform pieces using a large serrated knife. Aim for pieces roughly the size of chocolate chips or smaller. Place the chopped chocolate in a medium heatproof bowl and set it aside. The smaller your pieces, the faster and more evenly they’ll melt.
-
Measure out the heavy cream into a small saucepan. If you’re adding salt or vanilla, you can add it to the cream now. Have the corn syrup nearby and ready to add.
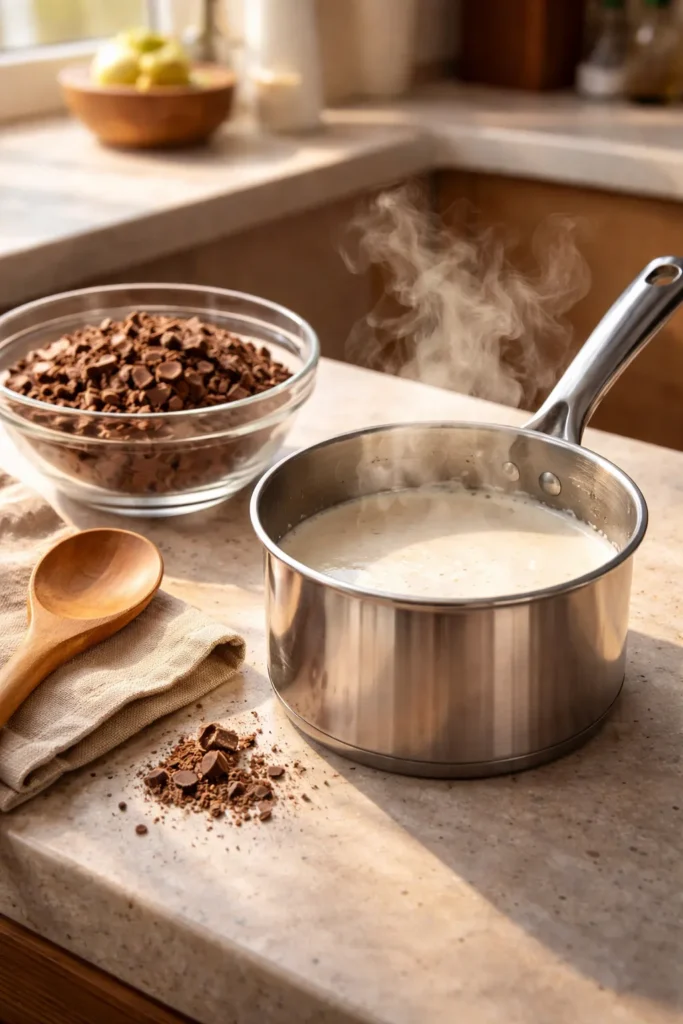
Heat the Cream to Perfect Temperature:
-
Place the saucepan over medium heat. Watch the cream carefully—this is important. You’re looking for steam to begin rising from the surface and small bubbles to form around the edges of the pan. This happens at roughly 180°F (82°C), which is hot enough to melt the chocolate but not so hot that it damages it.
-
Do not walk away while the cream is heating. Cream can go from perfect to boiling in seconds, and boiling cream can cause the emulsion to fail. Whisk occasionally to help heat distribute evenly and to prevent a skin from forming on the surface.
-
Once you see steam and small bubbles, immediately remove the pan from heat. Do not let it come to a rolling boil. The cream should be very steamy and just about to bubble, but not bubbling yet.
Combine Chocolate and Cream:
-
Pour the hot cream directly over the chopped chocolate in your bowl. Do not stir yet. This is crucial. Just pour it over and then press the chocolate down gently with the back of a spoon so it’s all submerged under the cream. The residual heat will begin melting the chocolate immediately.
-
Add the corn syrup now. Stir it into the cream and chocolate mixture just once or twice to distribute it somewhat evenly. Then cover the bowl with a plate, plastic wrap, or a kitchen towel and let it sit for exactly 5 minutes. Do not skip this step. This resting period allows the temperature to drop to the optimal emulsification temperature (around 90-110°F) and allows the chocolate to soften completely.
Create the Emulsion:
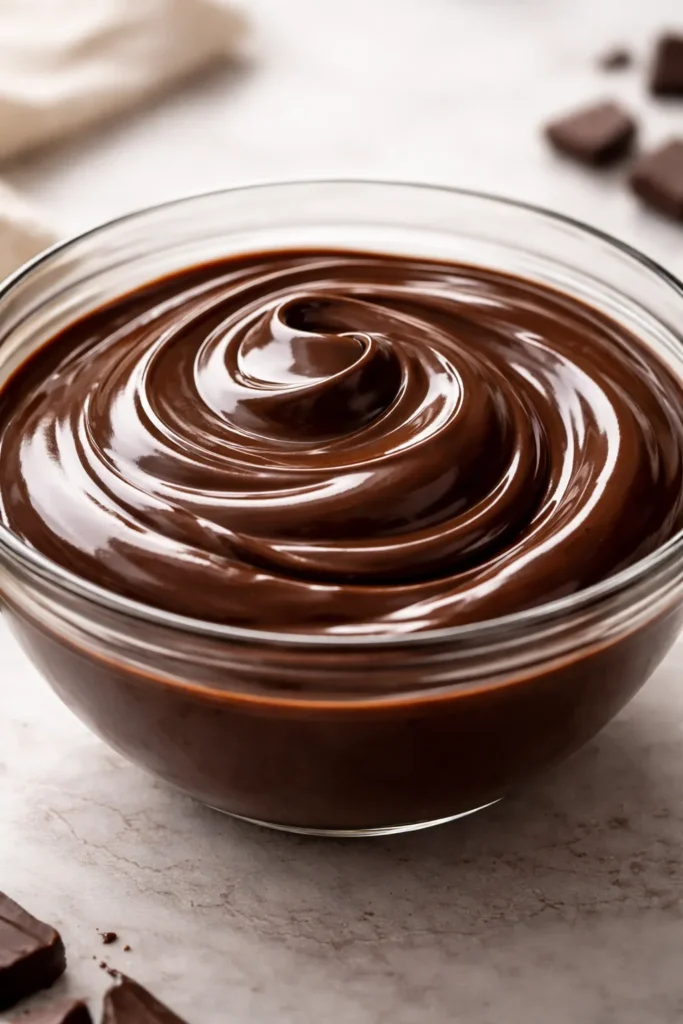
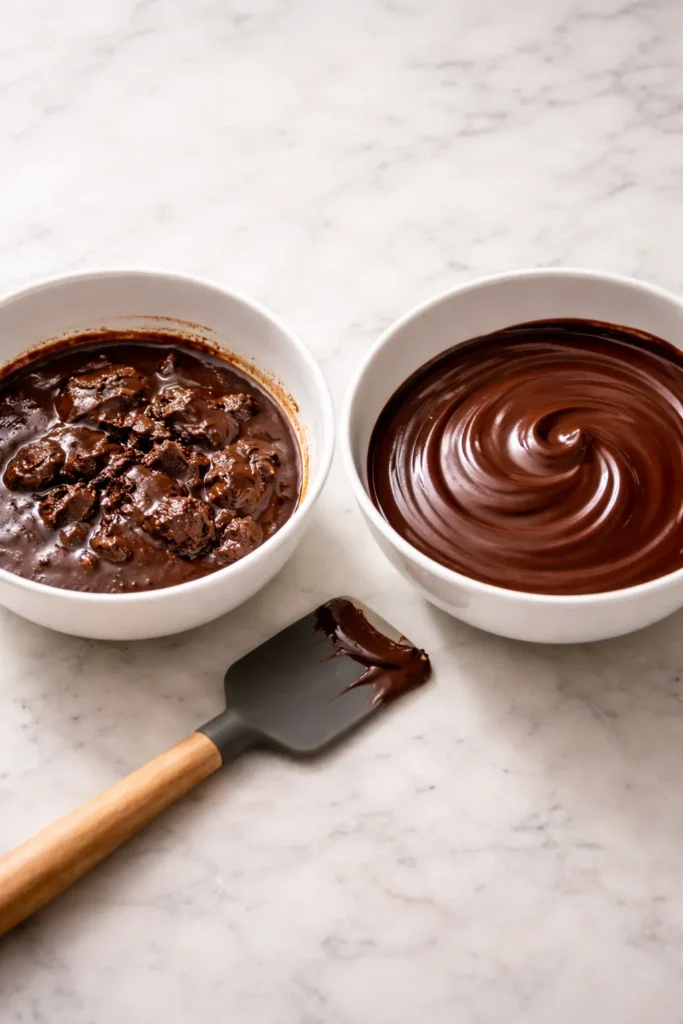
-
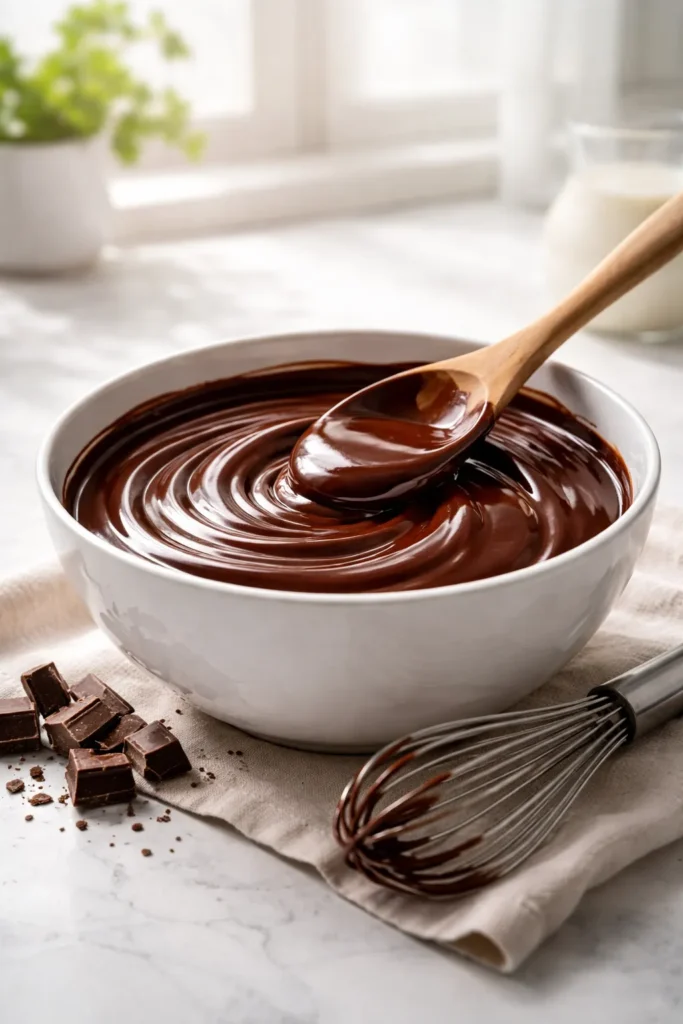
After 5 minutes, remove the cover. Starting from the center of the bowl, begin whisking very slowly and gently in small circles. Don’t whisk vigorously—that incorporates air and creates graininess. The mixture might look separated or lumpy at first. This is completely normal. Keep whisking slowly and steadily, maintaining those small circles in the center, gradually expanding outward.
-
Within 1-2 minutes of gentle whisking, the ganache will suddenly transform. The lumpy, separated appearance will give way to something silky, smooth, and shiny. The color will deepen slightly, and the texture will become glossy and luxurious. You’ll know it’s done when the mixture is completely homogeneous with no visible streaks or lumps.
-
If you want to add vanilla extract or use the optional butter for extra richness, add it now and stir briefly until combined. The butter makes the ganache even silkier and adds a subtle richness without making it taste buttery.
Cool and Use:
-
Your ganache is now ready to use immediately in its warm, pourable state. If you want to pour it over a chilled cake for that perfect drip effect, let the ganache cool for about 2-3 minutes so it’s not too runny, then pour it slowly from the center of the cake outward.
-
If you want to use ganache as a frosting or filling, let it sit at room temperature uncovered for about 1-2 hours. Stir it occasionally as it cools so it sets evenly. Once it reaches the consistency of peanut butter—thick but still spreadable—it’s ready to frost a cake or pipe onto cupcakes.
-
For truffles, cover the bowl and let the ganache cool at room temperature for 4-6 hours, or refrigerate it for 1-2 hours until it’s firm enough to scoop but still soft enough to shape. Use a melon baller or small spoon to scoop it into balls, then place them on a parchment-lined baking sheet.
Why This Method Works Better Than Shortcuts
Some recipes tell you to heat cream in the microwave or to use boiling cream. Some suggest whisking immediately. Some skip the resting period. Here’s why the method above is genuinely superior: it’s based on the actual chemistry of ganache emulsification, not shortcuts.
Microwaving cream is risky because the heat is uneven. Boiling cream breaks the emulsion before you even combine it with chocolate. Whisking immediately and vigorously introduces air bubbles that interfere with the smooth emulsion. Skipping the rest period means you’re whisking at a temperature that’s too hot, which makes the cocoa butter separate and creates a grainy texture.
This method takes the full ten minutes, but that’s because each step has a purpose. The corn syrup doesn’t just make it shiny—it also helps stabilize the emulsion so you get consistent results. The gentle whisking with a spatula or wooden spoon creates a smoother texture than vigorous whisking with a whisk would.
The most common ganache failures happen because people rush. They use boiling cream, they whisk too hard, they add chocolate to cream instead of cream to chocolate (which burns the chocolate), or they use chocolate that isn’t finely chopped. This method prevents all of those mistakes.
Troubleshooting: Fixing Ganache Gone Wrong
Sometimes things go sideways. Your cream might have boiled. Your chocolate might not have been chopped fine enough. The good news is that ganache is surprisingly forgivable if you know how to fix it.
If your ganache looks separated or greasy: This is the most common problem and happens when the emulsion breaks. The fat separates from the solids, leaving you with a lumpy, oily mess. To fix it, start over with a small amount of fresh heavy cream—just a tablespoon or two. Heat it gently and whisk it vigorously into the broken ganache a little bit at a time. The fresh cream and vigorous whisking can sometimes rebuild the emulsion. If that doesn’t work, try the same process with hot water instead of cream. Water is actually more effective for fixing a broken ganache because adding more fat can sometimes make things worse.
If your ganache is grainy: This usually means it was whisked too vigorously or the cream was too hot. If this happens, place the bowl over a pot of gently simmering water (a double boiler) and stir constantly until the ganache becomes smooth again. This gentle reheating allows the cocoa butter to melt fully and the emulsion to reform. Once smooth, remove it from the heat and let it cool slightly before using.
If your ganache won’t set after a few hours: You probably didn’t use enough chocolate or used chocolate with very low cocoa content. Remelt the ganache over a double boiler and stir in additional finely chopped chocolate—start with an ounce and see if that helps. The additional cocoa butter will help it set properly.
If your ganache is too thin: Let it cool longer at room temperature, or gently reheat it and add more finely chopped chocolate. If it’s already cooled, you can gently reheat and add chocolate, stirring until smooth.
If your ganache is too thick: If it’s still warm, add a tiny bit more heavy cream and whisk gently. If it’s already cooled, reheat it gently and add a small amount of warm cream.
If ganache looks dull even with corn syrup: Make sure you used enough corn syrup—it should be roughly one tablespoon per half-cup of chocolate. If you did, the dullness might be from humidity. Ganache can absorb moisture from humid air, which dulls the shine. Store it in an airtight container and keep it in a cool place. You can also try adding a tiny amount of additional corn syrup if you reheat it.
Taking Ganache Beyond the Basics: Flavor Variations
Once you master the basic recipe, you can create endless flavor variations. The beauty is that you don’t need to change the technique at all—just the ingredients.
Salted chocolate ganache: Add ¼ to ½ teaspoon of fine sea salt to the hot cream before pouring it over chocolate. The salt doesn’t make it taste salty; instead, it amplifies the chocolate flavor and adds sophistication. This works beautifully on dark chocolate ganache.
Vanilla-infused ganache: Stir in ½ teaspoon pure vanilla extract after the ganache is smooth. This adds a subtle depth and elegance without making it taste like vanilla cake.
Espresso-spiked ganache: Add 1-2 teaspoons of instant espresso powder dissolved in a tiny amount of hot water to the cream before heating. This deepens the chocolate flavor and adds complexity.
Liqueur-infused ganache: Replace 1-2 tablespoons of the cream with your favorite liqueur—Grand Marnier, Bailey’s, Chambord, or rum all work beautifully. Add it after the ganache is smooth. This creates sophisticated flavor layering.
Mint chocolate ganache: Heat the cream with 4-5 fresh mint leaves or ½ teaspoon peppermint extract. If using fresh mint, strain it out before pouring the cream over chocolate. The mint flavor should be subtle, not overwhelming.
Spiced ganache: Add a pinch of cinnamon, cayenne, or cardamom to the cream before heating. Start with just a tiny pinch—these spices are potent. You can always add more.
Coffee-infused ganache: Stir 1 teaspoon of instant coffee or espresso powder into the hot cream before pouring it over chocolate.
Honey or maple ganache: Stir in 1-2 tablespoons of honey or maple syrup after the ganache is smooth. The sweetness will increase slightly, so you might want to use a chocolate with higher cocoa percentage to balance it.
Storage: Keeping Ganache Fresh and Glossy
One of the best things about ganache is that it stores beautifully and can be made several days ahead of your event.
At room temperature: Ganache stays fresh at a cool room temperature (around 68°F/20°C) for up to 48 hours. Cover it loosely with plastic wrap or a kitchen towel so it’s protected from dust but not airtight (airtight can cause condensation that dulls the shine). Don’t refrigerate it if you’re planning to use it within two days—room temperature storage actually helps it maintain its glossy appearance.
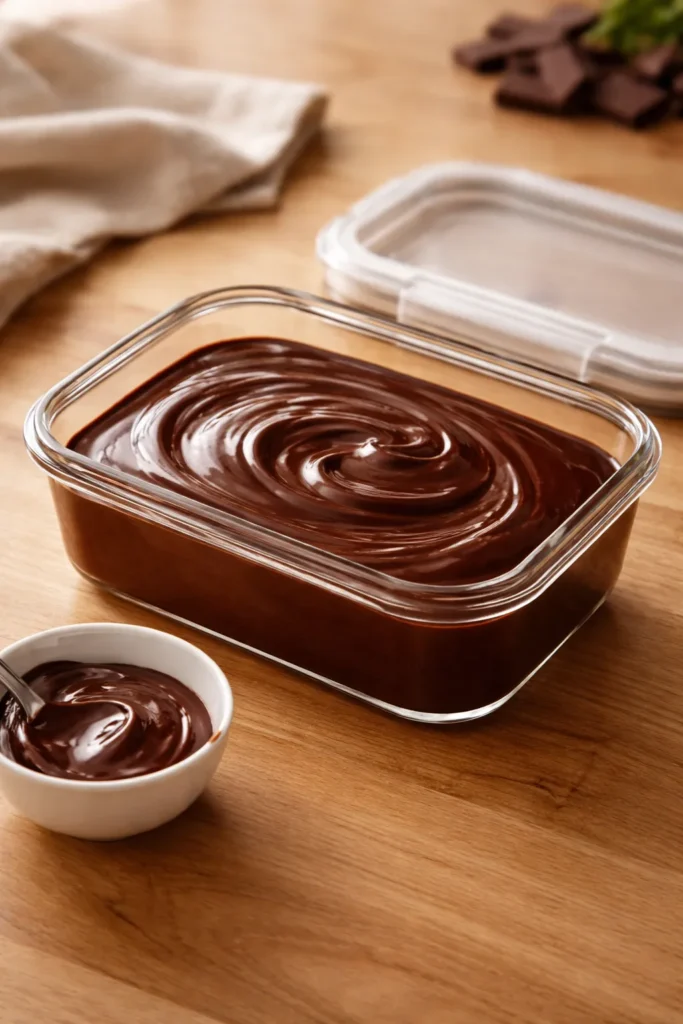
In the refrigerator: Transfer the ganache to an airtight container and refrigerate for up to 10 days. Press plastic wrap directly against the surface of the ganache to prevent a skin from forming. The corn syrup helps keep it shiny even when refrigerated, but it might lose some of its glossiness over time.
In the freezer: Ganache freezes beautifully for up to three months. Transfer it to a freezer-safe container, press plastic wrap against the surface, and seal tightly. Thaw it in the refrigerator overnight, then let it come to room temperature before reheating if needed.
Reheating ganache: If your ganache has been refrigerated or frozen and you need to use it as a drizzle, place the container in a warm water bath or heat it gently over a double boiler, stirring occasionally. You want it warm enough to be pourable but not so hot that you damage the emulsion. If you’re reheating for frosting, let it warm just enough to become spreadable.
Make-ahead strategy: Ganache is ideal for make-ahead baking. Make it up to five days in advance, store it in the fridge, and reheat it gently before using. This is one fewer thing to worry about on the day of your event.
Using Ganache: Creative Applications Beyond Cake Glazing
While ganache is absolutely stunning poured over a cake as a glossy glaze, that’s just the beginning of what you can do with it.
As a frosting: Let ganache cool to room temperature, stirring occasionally, until it reaches the consistency of peanut butter. Spread it on cakes, cupcakes, brownies, or cookies with an offset spatula. It’s not quite as spreadable as buttercream, but it’s absolutely delicious and looks more sophisticated.
As a whipped frosting: Let ganache cool completely, then beat it with an electric mixer on medium speed for 3-5 minutes. It’ll lighten in color and texture, becoming fluffy and mousse-like. This makes an incredible frosting that’s less sweet than buttercream but just as elegant.
For drip cakes: Slightly cool the ganache (about 2-3 minutes) so it’s warm but not piping hot. Transfer it to a piping bag or squeeze bottle and pipe it around the top edge of a chilled cake, letting it drip dramatically down the sides. This is where the glossy finish really shines—literally.
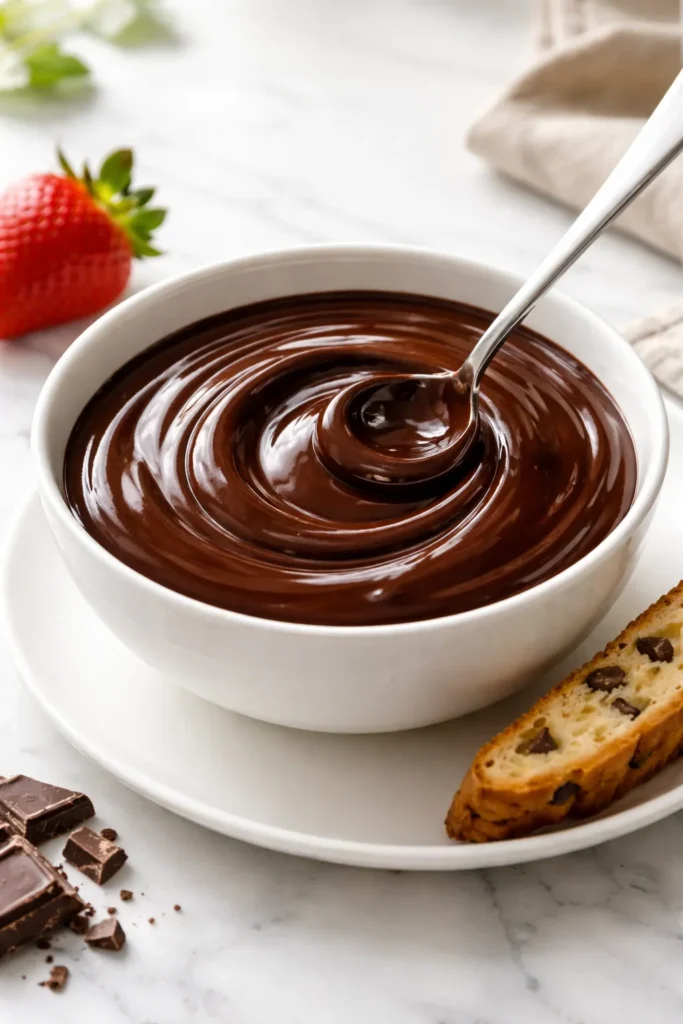
For dipping: Use warm ganache for dipping strawberries, macarons, biscotti, or pretzel rods. The glossy finish looks gorgeous, and it sets up quickly.
For filling: Let ganache cool to the peanut butter-consistency stage and use it to fill layer cakes, between cookies, or inside pastries.
For truffles: Let ganache cool until firm, then scoop it into balls using a melon baller or small spoon. Roll them in cocoa powder, chopped nuts, sprinkles, or temperedchocolate for elegant homemade truffles.
For chocolate sauce: Use warm ganache straight from the bowl poured over ice cream, cheesecake, or warm desserts. It hardens slightly as it cools on ice cream but stays sauce-like on warm desserts.
For layering: Spread a thin layer of cooled ganache between cake layers for a professional-looking, decadent interior.
Why Ten Minutes Isn’t Really the Time—It’s the Attitude
When this recipe says “ten minutes,” it’s not about rushing. It’s about the realization that ganache doesn’t require hours of work, multiple steps, or special equipment. You can create something genuinely impressive and professional with nothing but chocolate, cream, and a bowl.
The ten minutes includes prep time—chopping the chocolate and measuring ingredients. The actual hands-on time is probably five minutes: heating cream, combining it with chocolate, and whisking. The remaining time is waiting, which you do absolutely nothing for except let chemistry work on your behalf.
This is why so many professional bakers rely on ganache. It’s reliable, it looks beautiful, it tastes incredible, and it doesn’t require the fussiness of buttercream or the tempering skills of chocolate coating. It’s elegance through simplicity.
The corn syrup makes the difference between ganache that looks homemade and ganache that looks professional. That glossy, mirror-like shine isn’t luck—it’s chemistry you can control.
Final Thoughts
Chocolate ganache is the secret weapon of bakers who want to create impressive desserts without spending hours in the kitchen. Master this recipe, understand why each step matters, and you’ll have a technique you can use for the rest of your baking life.
Start with high-quality chocolate, don’t rush the heating or resting stages, and don’t skip the corn syrup—that’s the real secret to ganache that stays shiny. Once you’ve made it a few times, you’ll develop a feel for it. You’ll know from the look and sound of the whisking when the emulsion has formed. You’ll be able to judge when it’s the right consistency for whatever you’re making.
The best part? Ganache is genuinely forgiving. If something goes slightly wrong, you can fix it. If you want to experiment with flavors, the technique stays exactly the same. This is a recipe that rewards both precision and creativity, which is exactly why it’s been a baker’s staple for generations.
Your next cake deserves that glossy, professional finish. Now you know exactly how to create it.