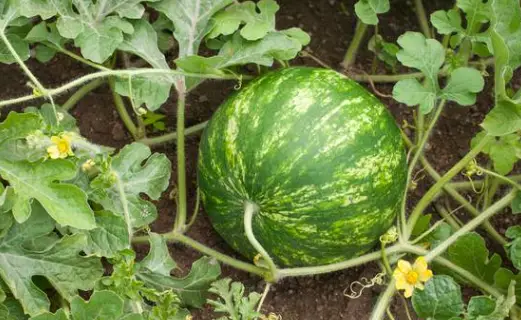
Do you enjoy growing pumpkins and want to plant your own seeds? This post is just what you need!
Planting pumpkin seeds is a rewarding hobby. To help your seeds grow well, you need to prepare them correctly. In this article, we’ll show you how to get your pumpkin seeds ready for planting. From taking the seeds out of a pumpkin to cleaning, drying, and storing them – we’ve got you covered. Soon, you’ll have a thriving pumpkin garden.
Table of Contents
How to Pick the Best Pumpkin Seeds
First, you need to choose the right seeds for planting.
Consider the following tips:
1. Kinds of Pumpkin Seeds
Think about what kind of pumpkins you want. Different kinds of pumpkin seeds will grow into different sizes, colors, and flavors. How much space you have, how long your growing season is, and what you like will all play a part in your choice. You could choose from carving pumpkins, pie pumpkins, and unique heirloom varieties.
2. Checking Seed Quality
It’s important to use good-quality seeds. They should look full and firm without any cracks or damage. If you have a packet of seeds, make sure they’re not too old by checking the date on the package.
3. Organic and Safe Seeds
If you’re concerned about the environment or health, use organic and non-GMO seeds. These seeds haven’t been treated with chemicals and are grown in a way that’s better for the Earth.
Getting Pumpkin Seeds Ready for the Garden
With the right pumpkin seeds chosen, follow these steps to prepare them for the garden:
1. Taking Seeds Out of a Pumpkin
Here’s how you get seeds from a pumpkin:
- Use a sharp knife to cut the pumpkin open.
- Take out all the insides with a spoon or your hands. This will be the seeds and the stringy stuff, which is the pulp.
- Wash the seeds in cold water until they are free from pulp.
- Make sure no pieces of pumpkin are left on the seeds.
2. How to Clean and Dry Seeds
Cleaning and drying your seeds well is very important.
Do the following:
- Put the wet seeds into a strainer or colander.
- Wash them again to remove any extra bits.
- Lay out the seeds on a towel or some paper towels to dry.
- Leave the seeds out to dry completely, which might take a few days.
3. Treating Seeds and Preventing Bugs
Some extra steps can help your seeds sprout better and keep them safe from bugs and diseases.
You can try:
- Soaking: Leave the seeds in warm water overnight. It can make the shell softer and help them grow.
- Saltwater Soak: Mix salt and water (a cup of salt for every two cups of water) and soak the seeds for a day. It’s good for stopping some diseases.
- Drying: After soaking, dry the seeds completely before planting them.
- Once they are completely dry, put your seeds in a container that doesn’t let air in.
- Keep the container somewhere cool and dry, and not in the sunlight.
- Check on your seeds now and then. Throw away any that are moldy or wet.
4. Storing Seeds
If you’re not going to plant your seeds right away, you have to store them properly to keep them good.
Do this to store your seeds:
Finishing Thoughts
Pick the right type of seeds, be sure they’re fresh and healthy, and go through the steps of removing, cleaning, drying, and treating them. If you store your seeds the right way, they’ll be ready when you are to start your pumpkin patch. Taking these steps with care and attention will help you grow wonderful pumpunks in your garden.
Wishing you luck with your planting!
