Want to learn about making new peace lily plants? You’ve come to the right place! This guide will walk you through simple steps to fill your home with this lovely plant.
Peace lilies are favorite indoor plants because they’re tough, pretty, and clean the air. If you dream of having more of them around, propagation is a good path to take.
We’re going to tell you all you need to know to split a single peace lily into new plants. We’ll talk about the right tools, the soil mix, and the best way to cut and plant. We’ll even give you tips and clear steps to help your peace lily start growing.
Table of Contents
- Tools & Materials You Need for Propagation
- Steps to Propagate Your Peace Lily
- Step 1 – Take the Plant Out of Its Pot or Ground Carefully
- Step 2 – Clear the Soil to See the Roots Better
- Step 3 – Cut the Root Ball into Sections
- Step 4 – Plant Each Piece in Its Own Pot
- Step 5 – Water Your Newly Potted Plants
- Step 6 – Keep the Soil Moist and Wait for Growth
- Step 7 – Move your new peace lily into a bigger pot with soil that drains well once its roots have grown strong.
- Step 8 – Give the new plant water and place it somewhere with soft, indirect light
- Step 9 – Keep an eye on your new peace lily and take care of it as needed
- How to Make Sure Your Peace Lily Grows Well
- Can you propagate a peace lily from a cutting?
- How do peace lilies reproduce?
- Do peace lilies grow better in water or soil?
- Conclusion
Tools & Materials You Need for Propagation
Before you begin, you’ll need:
- A clean knife or scissors that are sharp
- A small shovel or trowel
- Pots with holes at the bottom for drainage
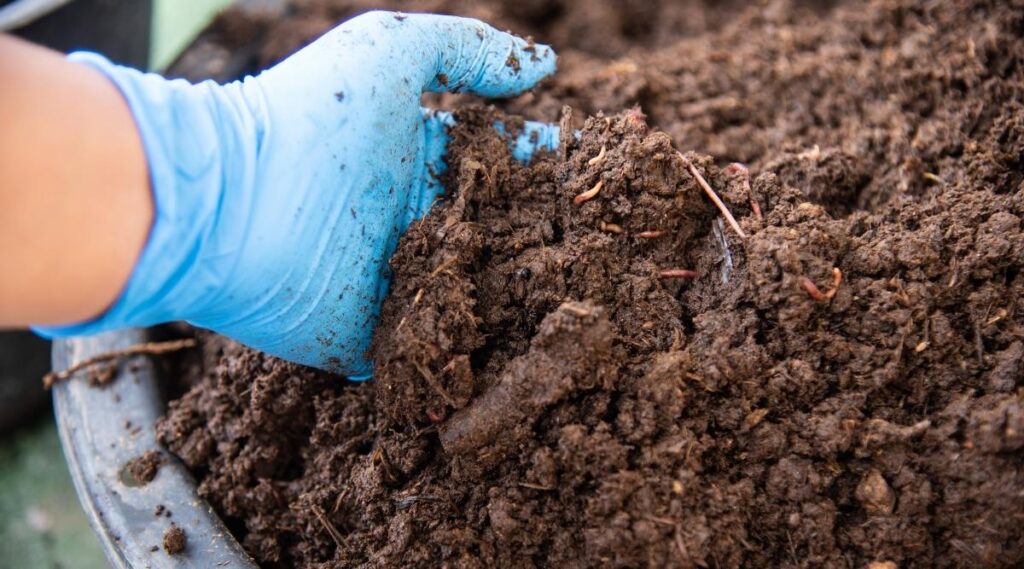
- A mix of potting soil, peat moss, and perlite
- Some water
Use a clean cutting tool to avoid plant diseases. Pick soil that drains well to keep roots healthy. The pots need holes at the bottom to let any extra water escape. You’ll use the trowel to get the plant out and move your new plants into their pots.
Now, let’s get to the actual steps of making new peace lily plants.
Steps to Propagate Your Peace Lily
Step 1 – Take the Plant Out of Its Pot or Ground Carefully
Begin with lifting the peace lily gently. Try not to harm the roots as you do this. If it’s potted, simply tip the pot and let the plant slide out. Shake off leftover soil to check the roots. Make sure the roots look healthy and notice the natural splits; this will make your next steps easier.
Step 2 – Clear the Soil to See the Roots Better
Hold the plant’s base firmly and shake away extra dirt. This helps you see the condition of the roots. Check for signs of pests or rot, and spot those natural places where the roots divide. Be gentle to not hurt the delicate roots while cleaning.
Step 3 – Cut the Root Ball into Sections
Now, cut the root ball into two or more pieces. Each one should have a couple of green shoots and lots of roots. A sharp, sterile knife or scissors will make clean cuts and protect your new plants from disease.
Step 4 – Plant Each Piece in Its Own Pot
Put each part of the peace lily into different pots with the special soil mix. Plant them as deep as they were before. Press the soil around them well so they stand up straight.
Step 5 – Water Your Newly Potted Plants
After potting, give them water but don’t soak them. The soil should be damp but not wet. Find a bright spot for them, but make sure it’s not in direct sunlight, which they don’t like.
Step 6 – Keep the Soil Moist and Wait for Growth
Keep the soil moist but not too wet, to avoid rotting. It may take time for the new plants to grow strong, so be patient. When they’re big and healthy, you can move them to bigger pots or your garden.
Step 7 – Move your new peace lily into a bigger pot with soil that drains well once its roots have grown strong.
When your peace lily’s roots are ready and it starts to grow, it’s time to put it into a bigger pot filled with soil that lets water through easily. This way, the plant has more room for its roots to grow and stays healthy. For the best results, use a potting mix made just for soils that drain well. A good mix might have things like peat moss and perlite.
Putting your peace lily in a bigger pot also stops its roots from getting too crowded, which could slow its growth. With the right space and soil, your peace lily will keep growing well for a long time.
Step 8 – Give the new plant water and place it somewhere with soft, indirect light
After you’ve moved the new peace lily to its new pot, water it well. You want to make the soil damp but not soaking wet. Too much water is not good and can make the roots rot, hurting the plant.
Put the peace lily in a spot where it will get plenty of light, but not direct sunlight. It prefers gentle light.
Step 9 – Keep an eye on your new peace lily and take care of it as needed
It’s important to watch your new peace lily closely and take care of it based on what it needs.
Check how wet the soil is often and water the plant when you need to. Keep it in a spot with bright but indirect light.
Look out for any bugs or sickness on the peace lily and deal with them fast if you see any.
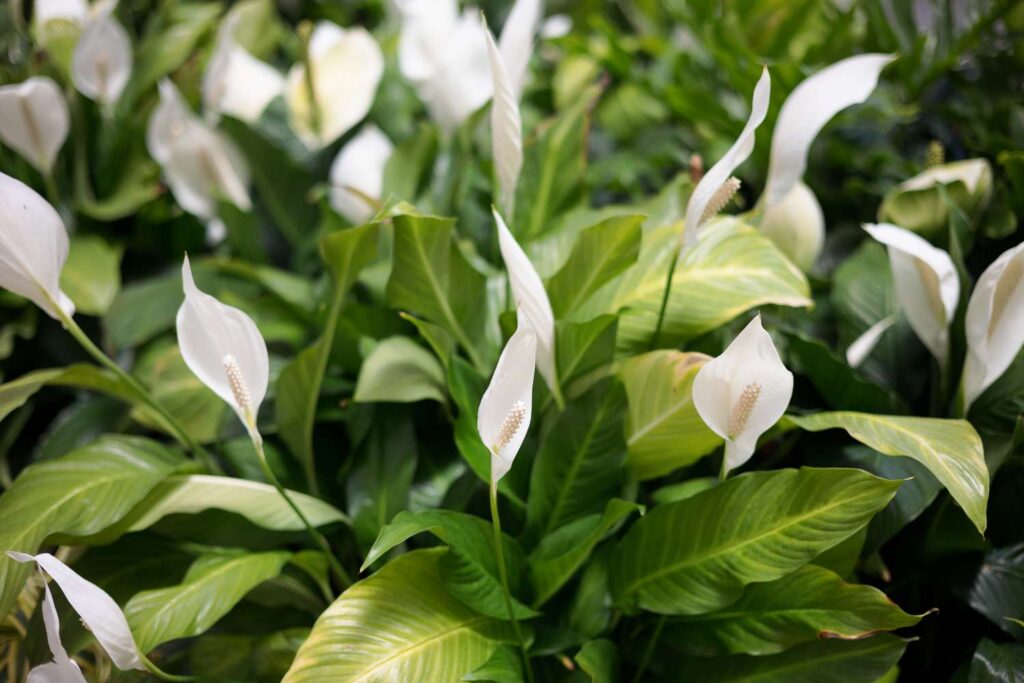
If you look after it well, your peace lily should grow bigger and eventually have lovely white flowers.
How to Make Sure Your Peace Lily Grows Well
Want to grow a peace lily successfully? Here are some helpful hints:
- Start with a strong plant: Choose a peace lily that’s healthy and grown-up. It should not have any bugs or sickness, and it should have strong roots.
- The best time to do it: The growth season, which is during spring and summer, is perfect for making more peace lilies.
- Watering: The soil should be kept damp, but don’t let it get too wet. Peace lilies don’t like too much water.
- Light: The young plants need soft, indirect light. Remember, they can’t handle the bright sun.
- Warmth: Peace lilies grow best at 60-75°F (15-24°C).
- Be patient: It can take some time for the young plants to get going, so don’t rush them.
- Watch them: Keep an eye out for bugs or any health issues and take care of them quickly.
- Moving: When the new plants start to grow, it’ll be time to put them in bigger pots or plant them out in your garden.
How to Deal with Common Peace Lily Growing Problems
Here are some solutions for usual issues you might have while growing peace lilies:
- Not growing or growing slowly: If your plants aren’t growing or are barely growing, the soil or light might be the problem. Make sure they are in soil that drains well and a place with plenty of light, but not too bright.
- Leaves going limp or turning yellow: This could be because you’re watering too much, not enough, or the light isn’t right. Remember to keep the soil just right and make sure the plants get a good amount of dim light.
- Roots are rotting: If you see the roots turning brown and soft, it could be root rot from too much water or bad soil. Fix this by cutting away the bad roots and using better-draining soil.
- Pests: Bugs like spider mites, mealybugs, or thrips might bother your peace lilies. To keep pests away, make sure your plants are clean and healthy, and deal with any bugs as soon as possible.
- Sickness: Things like leaf spot or powdery mildew can make peace lilies sick. To stop diseases, keep your plants clean and deal with any problems quickly.
- Wrong temperature: If peace lilies are too cold or too hot, they might stop growing, or their leaves might droop or yellow. They like to be in a warm place at about 60-75°F (15-24°C).
Can you propagate a peace lily from a cutting?
You cannot make new peace lily plants from cuttings. The best way to create more peace lilies is by division. To do this, gently lift the whole plant out of the pot and separate the roots into two or more parts with your hands or a knife. Each part should have at least one clump of leaves. Then, you can plant each piece in a new pot filled with a soil mix that drains well, like a mix of peat and perlite.
How do peace lilies reproduce?
Peace lilies mainly reproduce by vegetative reproduction, which means they create new plants from parts of the existing plant rather than from seeds. For example, you can take a peace lily with a large root system and split it into smaller pieces. Each piece should have a few roots and a shoot (which is a young plant’s stem). Plant these pieces into their own pots with soil that drains well, and they’ll become new peace lilies that look like the main plant.u003cbru003eu003cbru003eAnother method for creating more peace lilies is by using bulbils. Bulbils are tiny bulbs that develop on the peace lily’s stem. You can take them off and plant them in the soil, and they will grow into new plants.
Do peace lilies grow better in water or soil?
Peace lilies usually grow in soil. A mix of peat moss and perlite makes a good soil for peace lilies because it holds moisture but drains well, so the roots don’t sit in water. If the roots stay too wet, the plant can get a disease called root rot.u003cbru003eu003cbru003eYou can also grow peace lilies in water, but this is only for a short time. Water-grown peace lilies don’t get enough nutrients to grow well and can get sick more easily than those in soil. If you want your peace lily to be healthy and strong, it’s better to grow it in soil.
Conclusion
Peace lilies are a beautiful and easy-to-care-for plant perfect for homes and offices. When you want to make more plants, the division is the way to go. Take the plant from its pot and carefully split the roots into several sections, each with some leaves. Plant these sections in a good potting mix with proper drainage to avoid water problems.
While you can grow peace lilies in water for a short while, they thrive and stay healthier in soil. By following simple care tips, your peace lilies can flourish and bring greenery to your space for a long time.
