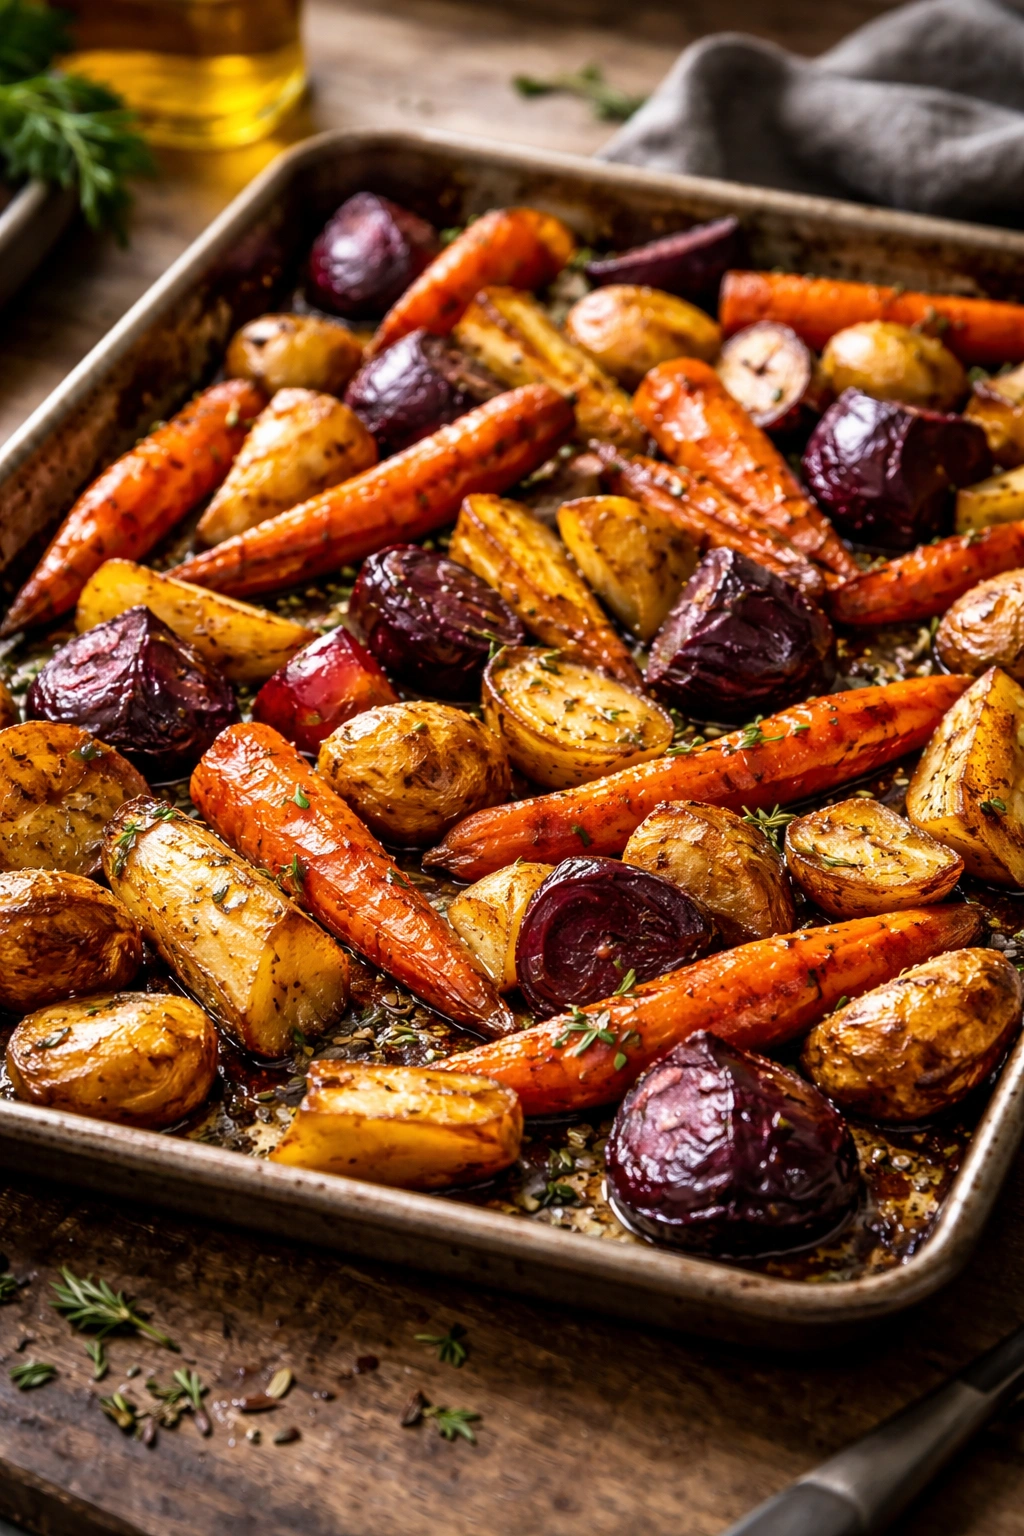
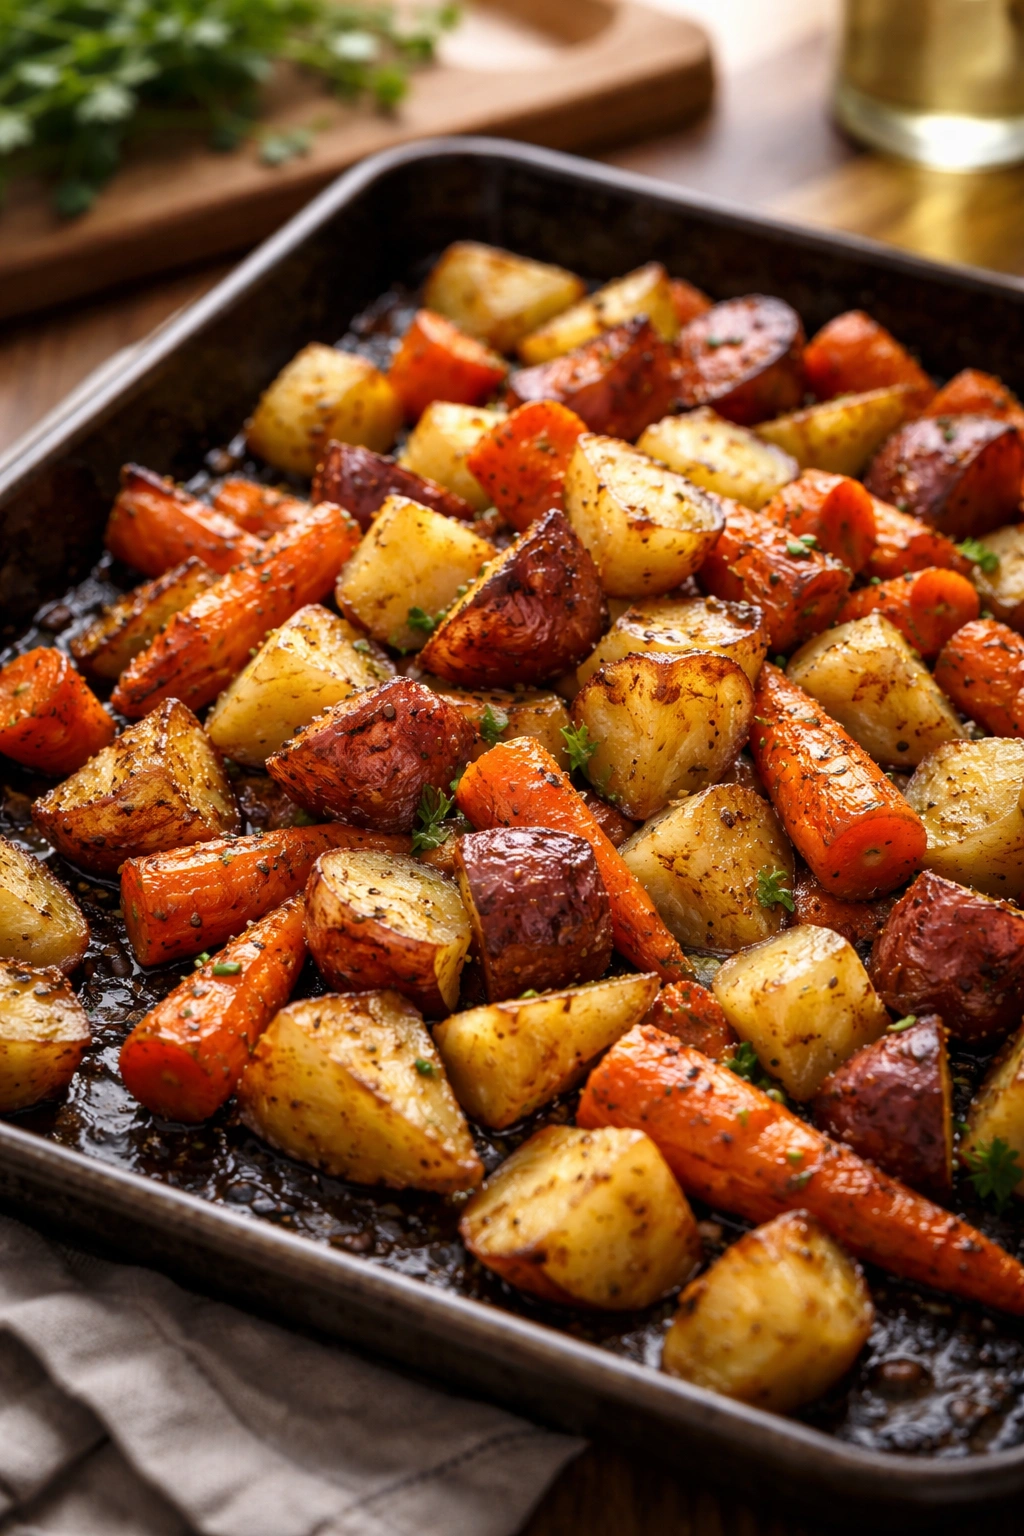
Roasted root vegetables are the secret weapon for weeknight dinners that actually taste like you spent real time in the kitchen—except they barely require any effort at all. You toss vegetables on a pan, shove it in the oven, and 30 minutes later you’ve got caramelized, deeply flavorful sides that work with virtually everything from roasted chicken to grain bowls to simple pasta. The magic happens when the oven’s dry heat concentrates the natural sugars in the vegetables, transforming them from ordinary into something genuinely crave-worthy with crispy edges and creamy centers.
What makes this method so reliable is that it’s nearly impossible to mess up. Unlike roasting that requires constant attention, perfectly timed flipping, or adjusting heat partway through, roasted root vegetables actually improve when you leave them alone. The longer you let them sit undisturbed on the pan, the better the caramelization becomes. This means you can prep everything in about 10 minutes, get it cooking, and actually spend time with your family or catching up on your day instead of hovering over the stove.
The beauty of this approach is its flexibility. You’re not locked into following a single recipe—instead, you’re learning a technique that works with whatever root vegetables you have on hand or whatever flavors appeal to you that night. Whether you’re building a cozy fall dinner with roasted beets and parsnips or a bright spring meal with roasted radishes, you’re working with the same foundational method. Once you understand how it works, you’ll find yourself making roasted root vegetables multiple times a week because they’re so dependable and genuinely delicious.
Why Roasted Root Vegetables Work for Weeknight Cooking
Roasted root vegetables have become a weeknight staple for good reason—they solve multiple dinner problems at once without requiring any advanced cooking skills. The high heat of the oven creates a chemical reaction called the Maillard reaction, where proteins and sugars interact to create hundreds of new flavor compounds. This is what gives roasted vegetables that deep, complex taste you’d normally associate with much longer cooking times or labor-intensive preparation methods.
The hands-on time is almost shockingly minimal. You’re talking about 5 to 10 minutes of actual active work—washing, chopping, and tossing with oil and seasonings. After that, the oven does everything, and you’re completely free until the timer goes off. This makes roasted root vegetables genuinely practical for busy weeknights when you want real food but don’t have real time.
Unlike many vegetable dishes that rely on perfectly fresh, just-harvested specimens to taste good, root vegetables actually improve with storage. They develop a slightly higher sugar content as they sit, which translates to better caramelization when roasted. This means you can buy them when they go on sale or grab whatever looks decent at the grocery store without worrying that they’re not “fresh enough.”
The Nutrition Angle
Root vegetables bring serious nutritional value to the table without tasting like health food. Carrots deliver beta-carotene and fiber, beets provide betalains and folate, parsnips offer vitamin C and potassium, and Brussels sprouts pack in glucosinolates—compounds with anti-inflammatory properties. When you roast them, none of these nutrients disappear; in fact, cooking actually makes some nutrients more bioavailable, meaning your body can absorb them more easily.
The fiber content in roasted root vegetables helps keep you full longer, which matters on nights when you need dinner to actually satisfy hunger rather than just checking a box on your to-do list. A generous portion of roasted roots alongside protein creates a balanced, genuinely nourishing meal that doesn’t require complicated side dishes or fussy presentations.
Why Weeknights Specifically
Weeknight cooking exists in a different universe than weekend cooking. You don’t have time to roast vegetables for 45 minutes while you’re managing after-school activities, work emails, and the general chaos of daily life. The roasting method here clocks in at exactly 30 minutes in the oven, and most of that time you’re not babysitting the pan. You chop your vegetables, spread them on a sheet, adjust the oven temperature based on what else you’re cooking (which we’ll get into), and move on with your evening.
This is also why the recipe works so well with other simple proteins. You can throw chicken breasts in one oven while the vegetables roast in another, or cook a simple piece of fish while the vegetables do their thing. Everything comes together at roughly the same moment, which means your entire dinner—protein, vegetables, maybe a grain—finishes simultaneously.
Choosing Your Root Vegetables
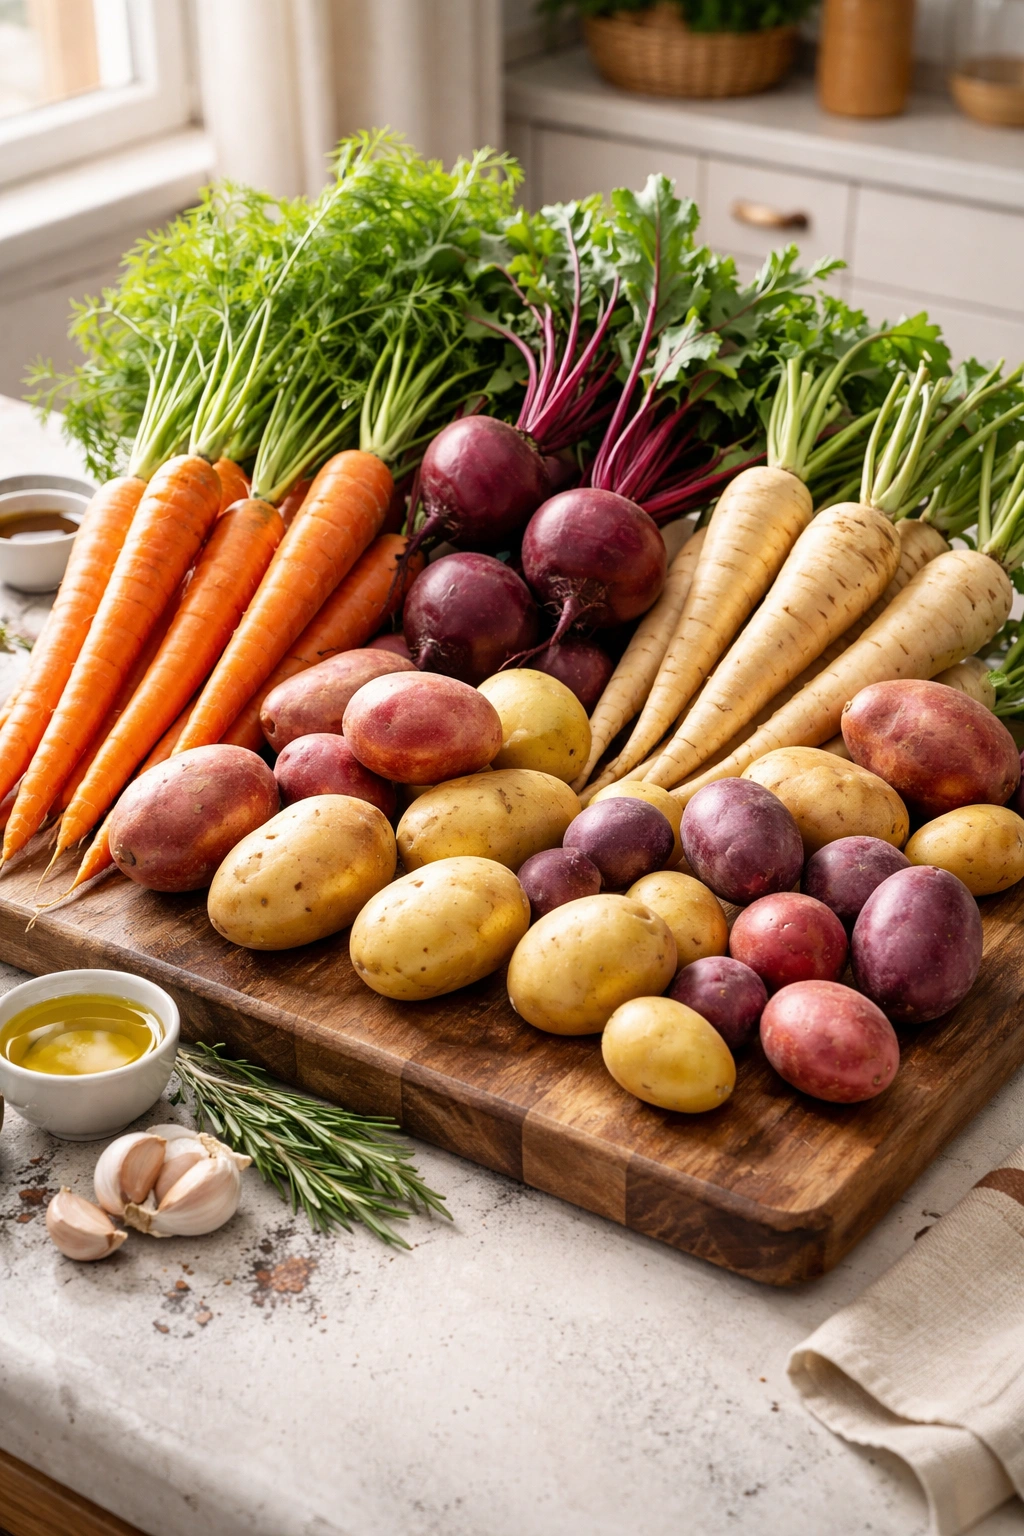
The root vegetable category is far broader than most people realize, and understanding what each one brings to the table helps you make intentional choices about flavor combinations. The classic roots—carrots, beets, parsnips, potatoes—are the foundation, but there’s real value in branching out and experimenting with less common options.
Carrots are the reliable workhorse. They’re sweet enough that they caramelize beautifully, sturdy enough that they hold their shape during roasting, and flavorful enough on their own that they don’t need much. Cut them into 3-inch pieces on a slight bias, and they’ll develop crispy edges while staying tender inside. The natural sweetness intensifies under roasting, which is why carrots sometimes feel almost dessert-like when properly caramelized.
Beets bring an earthy sweetness and stunning color to any roasted vegetable situation. They take slightly longer than other vegetables to soften, so if you’re roasting beets alongside faster-cooking roots, either cut beets smaller or start them in the oven a few minutes before adding everything else. The skins slip off easily after roasting—just run them under cold water and rub gently with your thumbs. Golden and candy-striped beets are milder than the standard deep red variety, which matters if you’re worried about their flavor overwhelming other vegetables.
Parsnips are the secret best vegetable that nobody talks about until they try roasted parsnips. They’re sweeter than carrots and have a starchy, almost potato-like texture that creates incredible creaminess inside while developing a caramelized exterior. They deserve to be roasted on their own sometimes just so you can taste them properly without competing flavors.
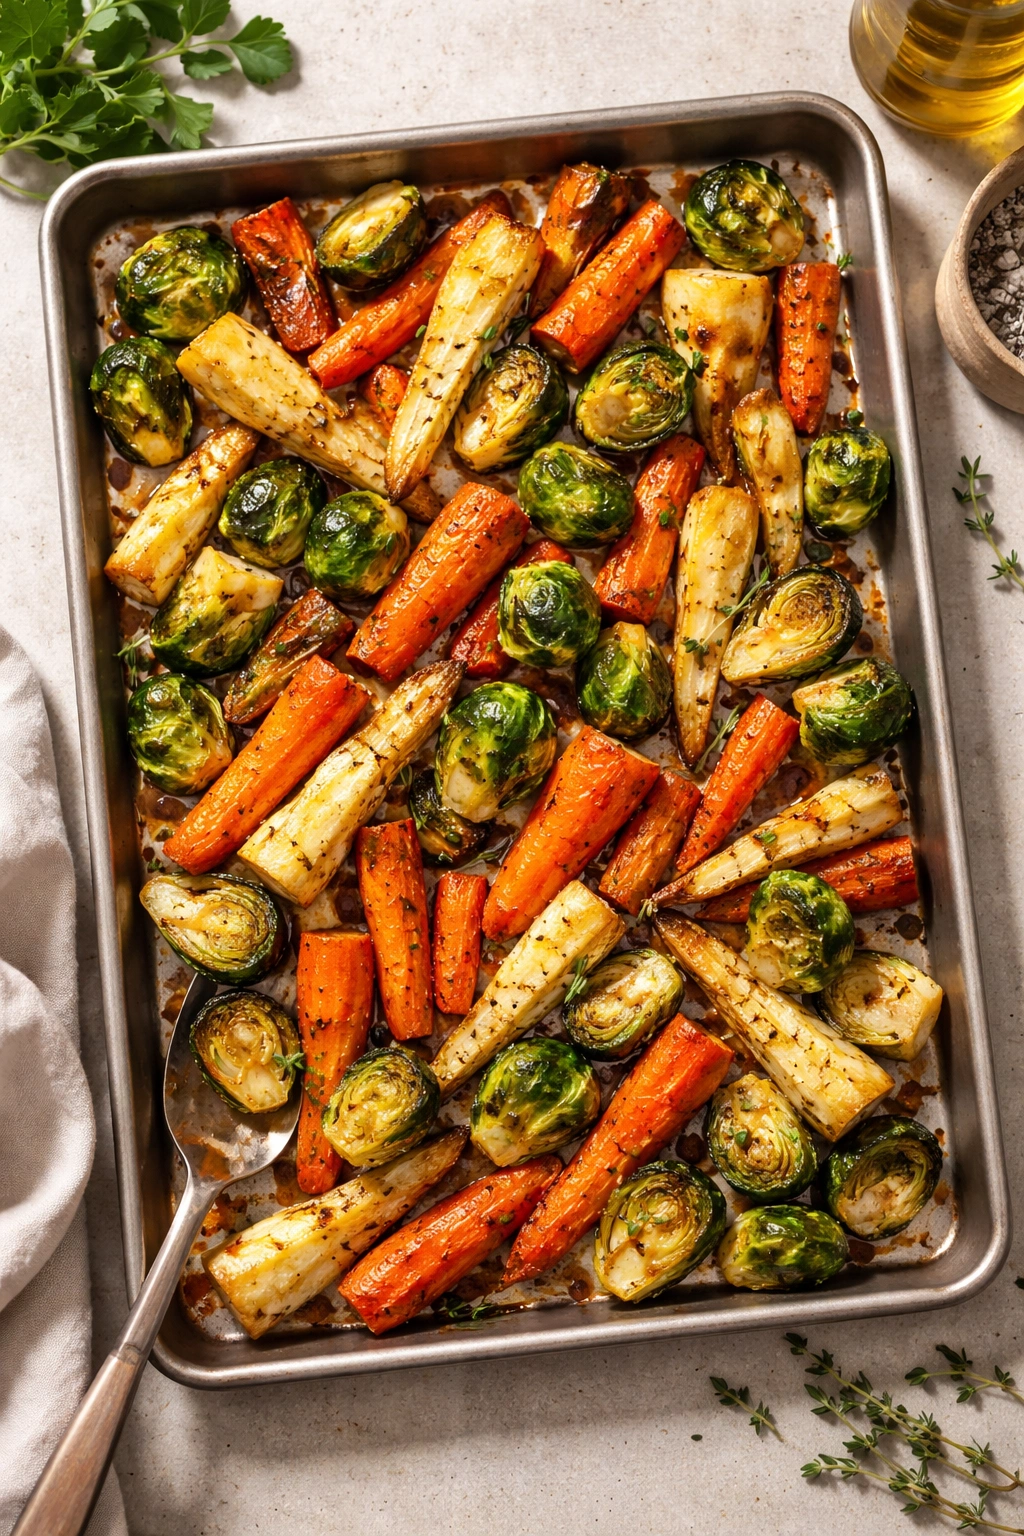
Brussels sprouts technically aren’t roots (they grow above ground), but they roast beautifully using the same method and deserve inclusion in any roasted vegetable rotation. Trim the stem end, halve them lengthwise, and spread them cut-side-down on the pan. They’ll crisp up gorgeously on the flat side while steaming themselves tender on the other side. The outer leaves get almost chip-like and addictively crunchy.
Turnips are mild and slightly peppery, with a texture that’s somewhere between potato and cabbage. They’re underrated as roasted vegetables and deserve more attention—they’re especially good mixed with sweeter vegetables like carrots and beets to add complexity.
Celeriac (celery root) has a delicate celery flavor without the stringiness of regular celery, paired with a creamy texture when roasted. It’s more commonly found in fall and winter, and it’s wonderful paired with herbs like thyme and rosemary.
Radishes might seem like an odd choice for roasting, but they transform completely when heat is applied. Their peppery edge mellows, and they become almost sweet and creamy inside. They’re excellent for spring roasting when you can pair them with fresh herbs like dill and tarragon.
The Basic Roasting Method
The fundamental technique here is almost embarrassingly simple, which is exactly why it works so reliably. You’re creating an environment where vegetables can cook through and caramelize at the same time—which requires decent heat, proper spacing on the pan, and minimal interference from you.
The most important step is cutting your vegetables to roughly uniform size. This doesn’t need to be perfect—you’re not plating for a fancy restaurant—but if some pieces are twice the size of others, the small ones will burn before the large ones finish cooking. Aim for pieces somewhere in the 1.5-inch range, which gives you enough surface area for good caramelization while leaving enough interior space for the vegetable to cook through completely.
Dry your vegetables after washing them. This matters more than most recipes acknowledge. Water on the surface of the vegetables will steam them initially, which delays caramelization. Pat them thoroughly with a clean kitchen towel or let them air-dry while you’re getting the other ingredients ready.
Toss everything with good olive oil—enough that each piece is coated but not so much that vegetables are sitting in a pool of oil. This usually works out to about 2 tablespoons per pound of vegetables. The oil allows direct contact between the vegetable surface and the hot pan, which is where the caramelization magic happens. It also conducts heat more effectively than water alone, helping vegetables cook more evenly throughout.
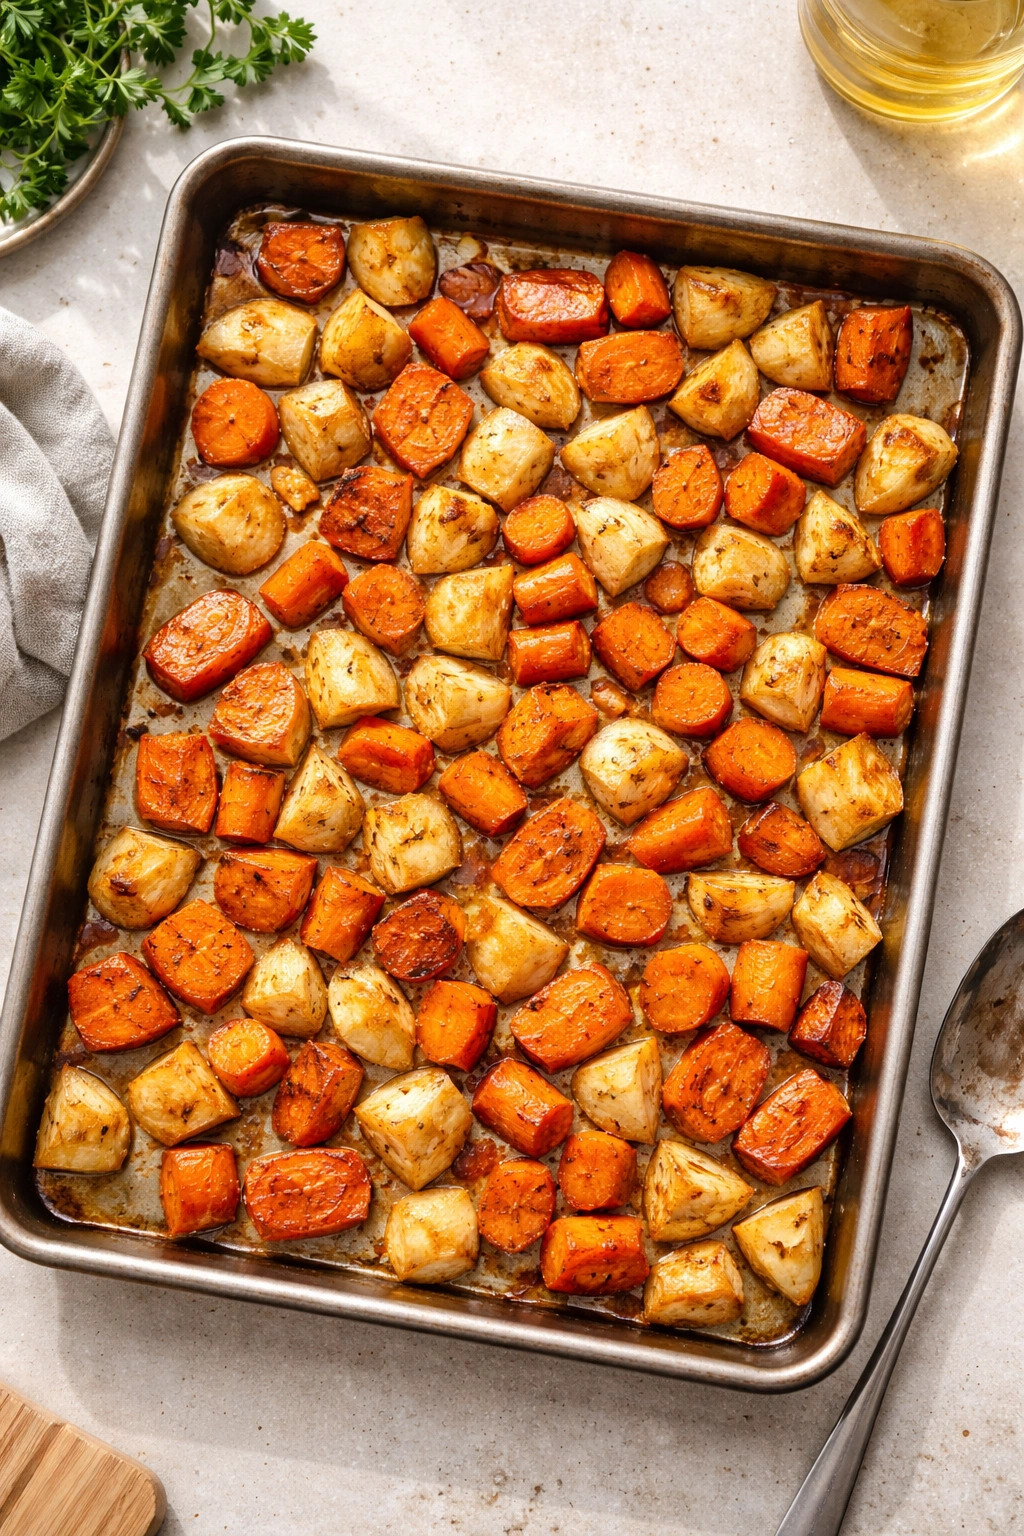
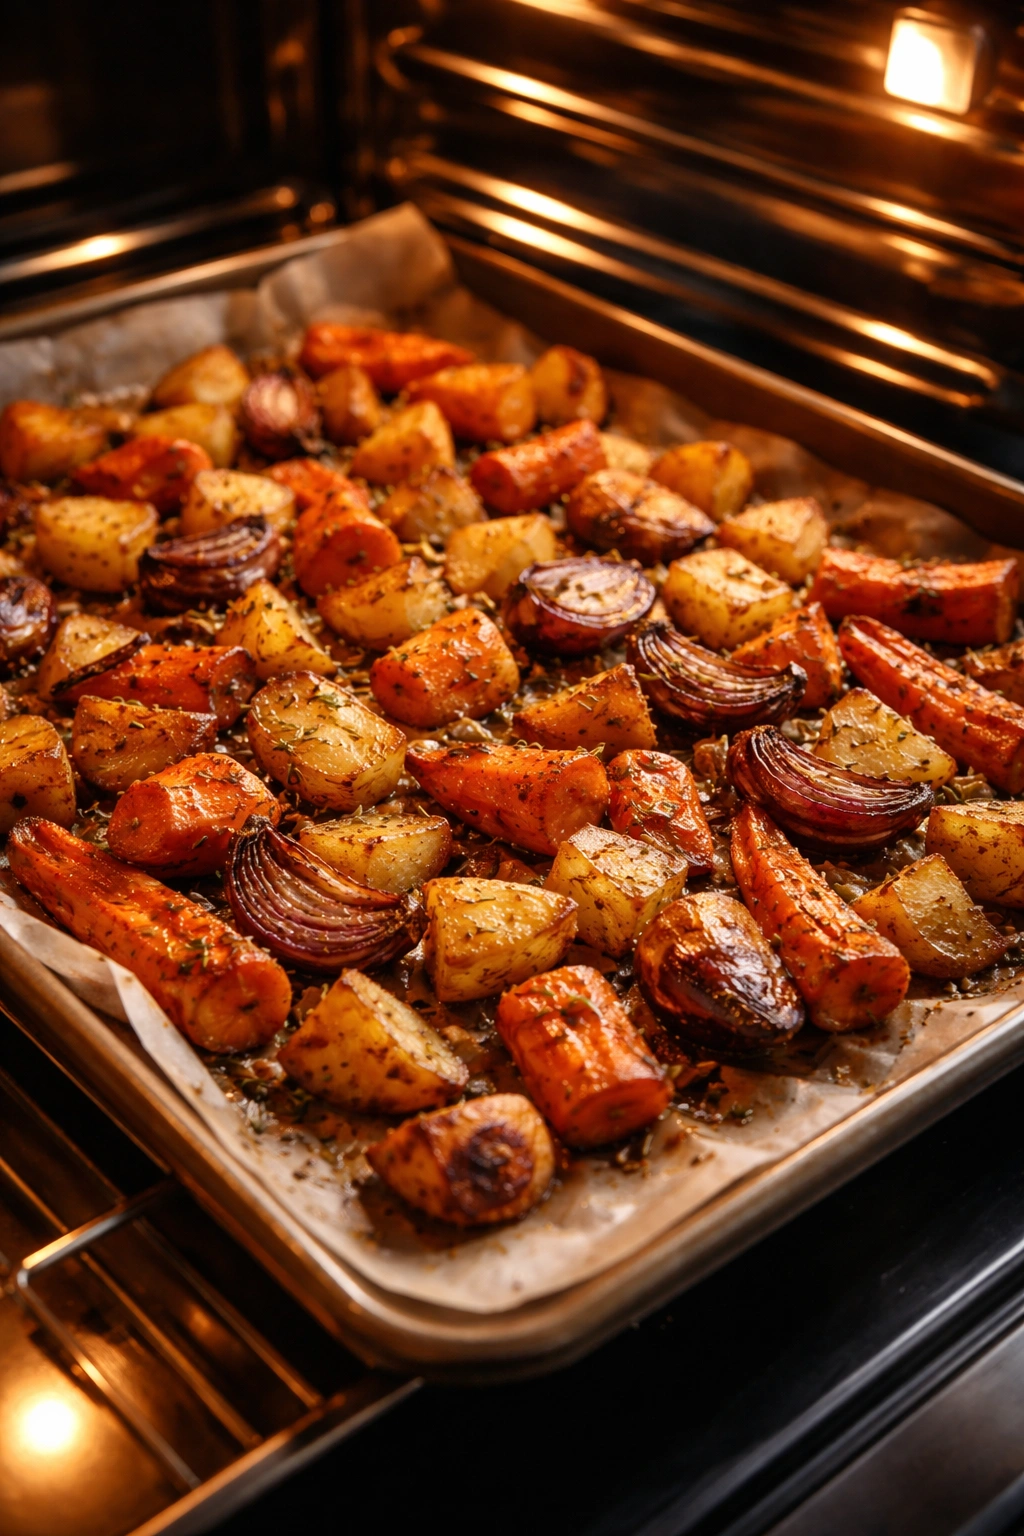
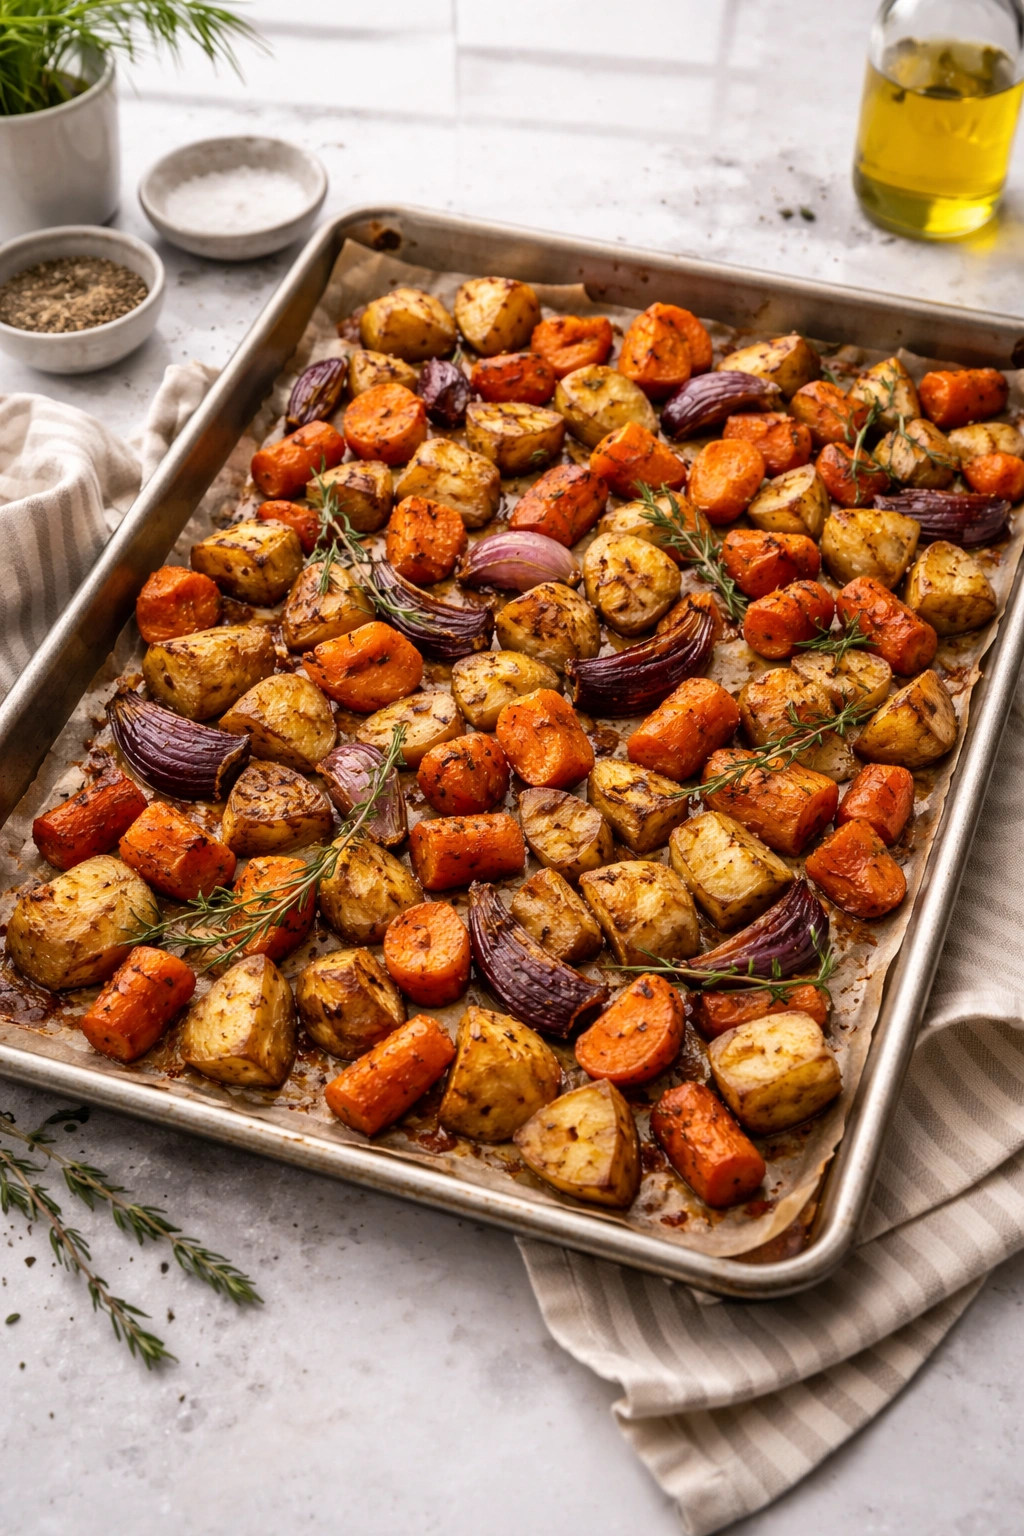
Spread the vegetables in a single layer on a sheet pan, and here’s the critical part: don’t stir them. Let them sit undisturbed for about 15 minutes. This extended contact with the hot pan creates that beautiful caramelized crust. At the 15-minute mark, shake the pan or use a spatula to toss everything, and give it another 12 to 15 minutes. This two-phase roasting creates vegetables with crispy edges and perfectly cooked interiors.
Serving and Timing Information
Yield: Serves 4 to 6 as a side dish | Makes approximately 6 cups roasted vegetables
Prep Time: 10 minutes
Cook Time: 30 minutes
Total Time: 40 minutes
Difficulty: Beginner — this requires only basic knife skills and the vegetables basically cook themselves with minimal supervision. Even someone cooking for the very first time will succeed with this recipe.
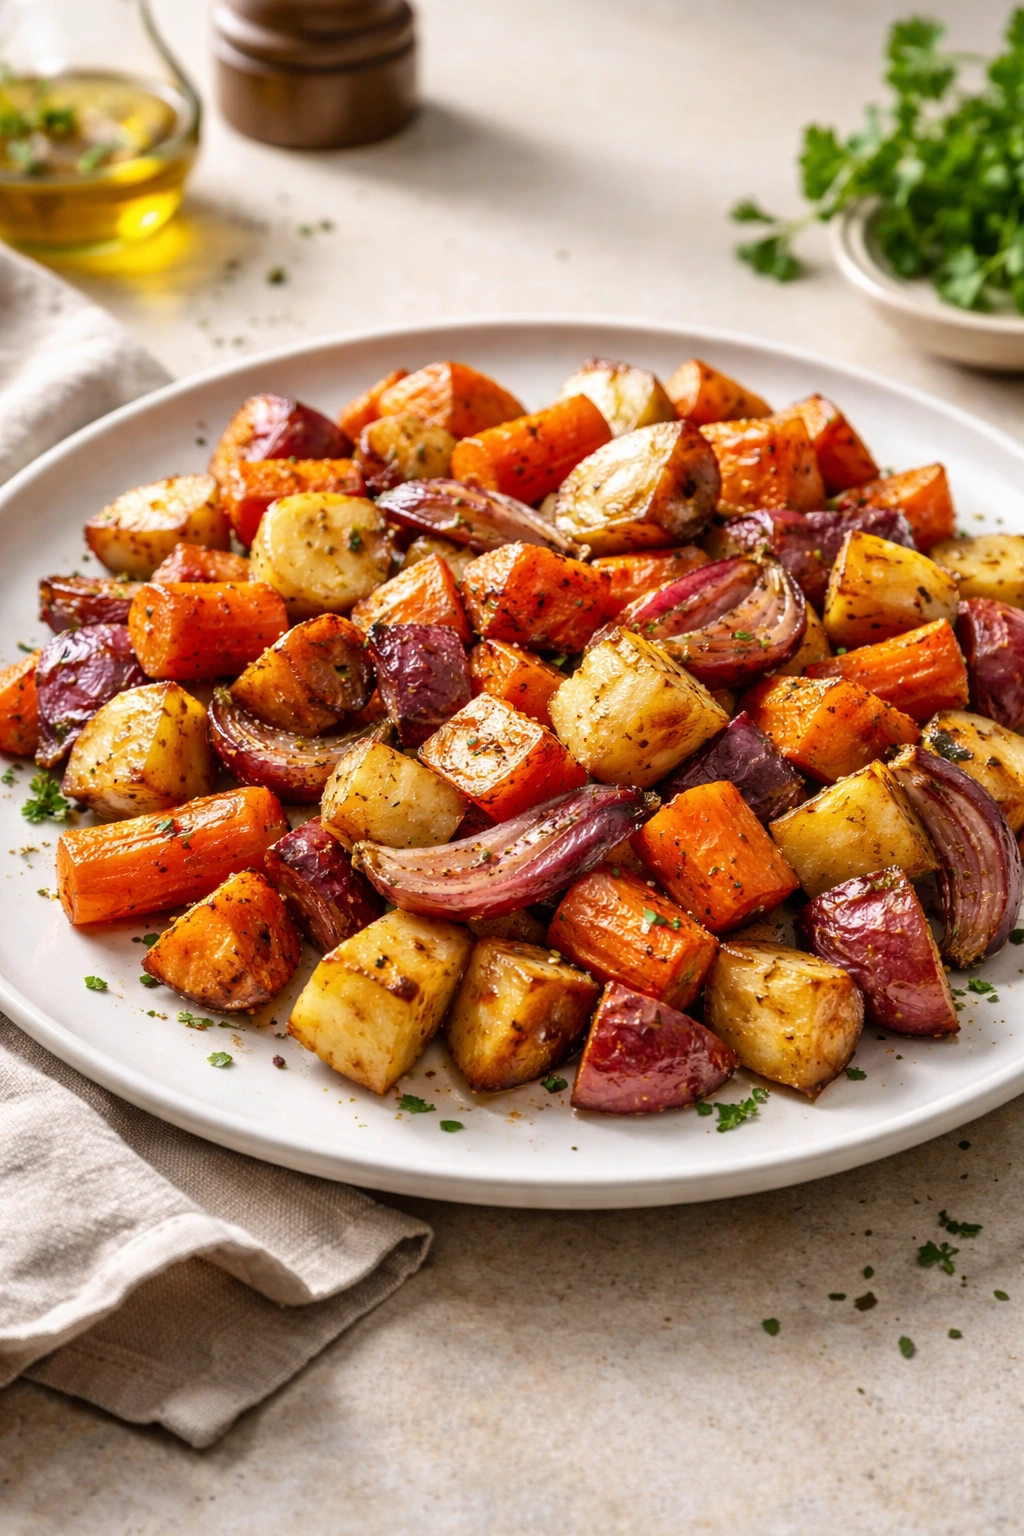
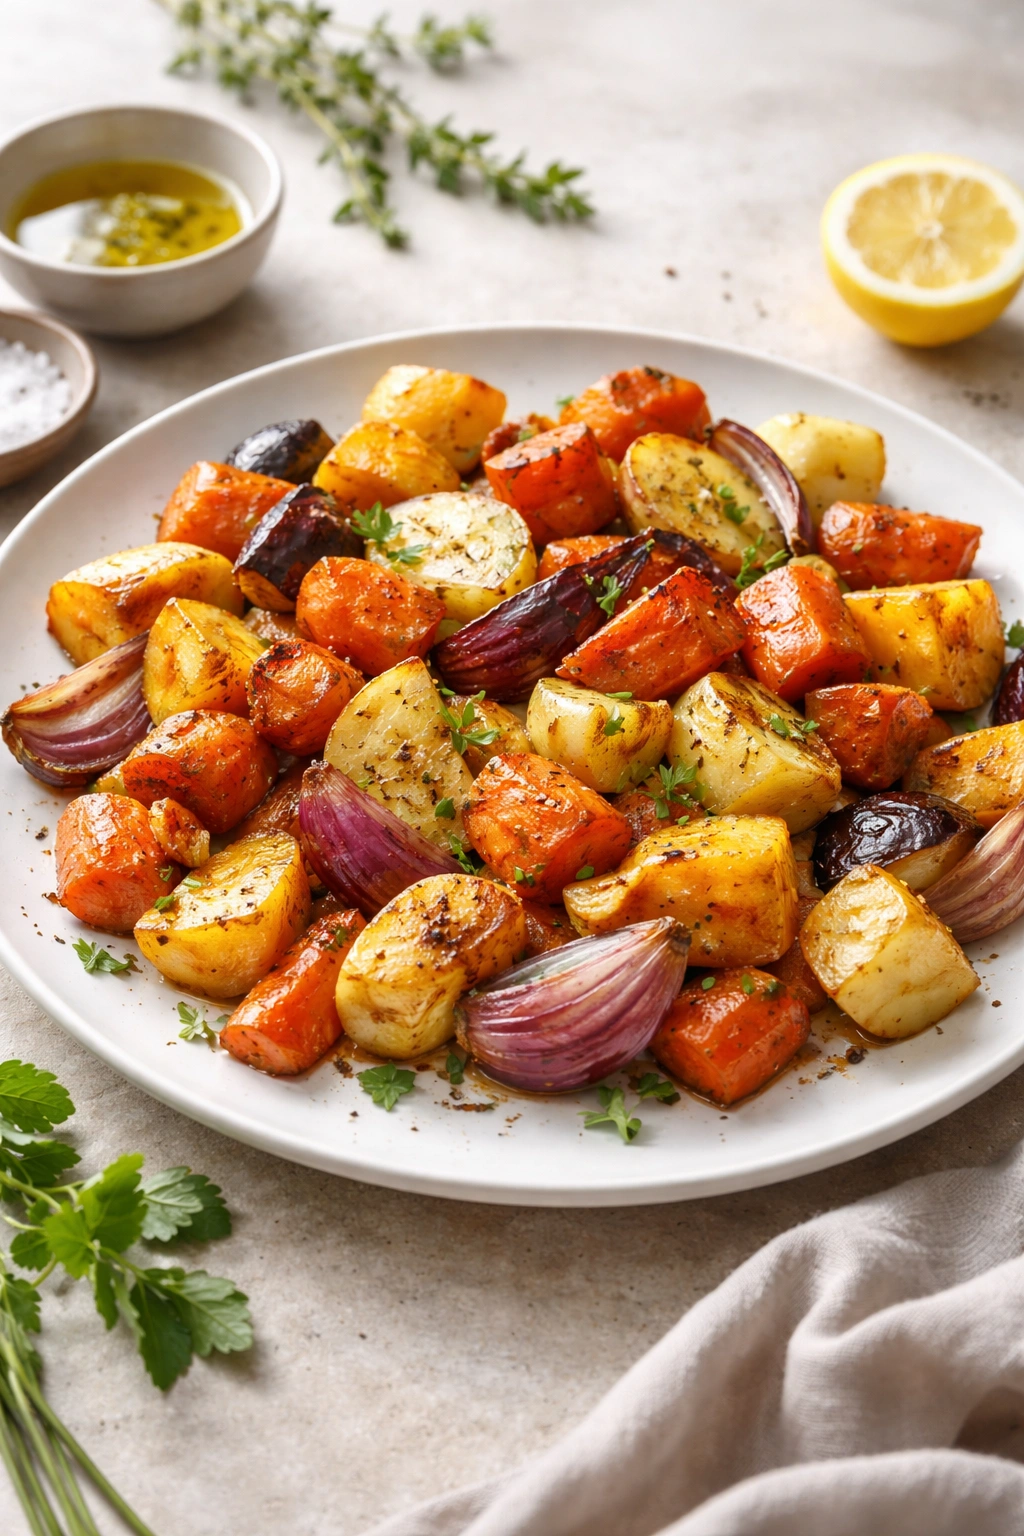
Best Served: Immediately while warm with crispy edges still intact, though roasted vegetables also taste great at room temperature or reheated gently the next day.
Simple Roasted Root Vegetables
For the Vegetables:
- 1 pound carrots, peeled and cut into 3-inch pieces on a bias
- 1 pound parsnips, peeled and cut into 3-inch pieces on a bias
- 12 ounces Brussels sprouts, trimmed and halved lengthwise
- 2 tablespoons extra-virgin olive oil
- 1 teaspoon fine sea salt
- ½ teaspoon freshly ground black pepper
- 2 cloves garlic, minced very finely (optional but recommended)
- 1 teaspoon fresh thyme leaves or ½ teaspoon dried thyme
For Serving (optional finishing touches):
- Fleur de sel or finishing salt for sprinkling
- Fresh parsley or chives for garnish
- A small drizzle of balsamic vinegar or aged sherry vinegar
- Toasted nuts such as hazelnuts or pecans, roughly chopped
Cooking Instructions

Prepare the Oven and Vegetables:
-
Preheat the oven to 425°F (220°C) and position the rack in the upper-middle section of the oven. The higher heat will create better caramelization on the vegetable surfaces.
-
Wash all vegetables thoroughly under cool running water and pat them completely dry with a clean kitchen towel. Moisture on the surface will create steam and prevent proper browning, so this step genuinely matters.
-
Peel the carrots with a vegetable peeler or knife, then cut them on a slight bias (at an angle) into 3-inch pieces. This bias cut exposes more surface area for caramelization and creates a more elegant presentation.
-
Peel the parsnips the same way and cut them into 3-inch pieces on the bias, matching the size of the carrots so everything cooks at roughly the same rate.
-
Trim the stem end of each Brussels sprout and remove any yellowed or damaged outer leaves. Rinse them and pat very dry — Brussels sprouts especially need to be completely dry or they won’t crisp properly. Cut each one in half lengthwise, keeping the root end intact so the leaves stay together as the vegetable roasts.
Toss and Season:
-
In a large bowl, combine the cut carrots, parsnips, and Brussels sprouts. Drizzle with the olive oil and sprinkle with the salt, black pepper, and thyme (use fresh thyme if you have it — the flavor is noticeably brighter than dried, though dried works perfectly well).
-
If using garlic, mince it very finely and add it now, tossing everything to distribute evenly. The garlic will cook down and add a subtle savory depth. Don’t skip this step — it transforms these vegetables from simple to genuinely complex.
Advertisements -
Toss the vegetables with your hands, making sure every piece is lightly coated with oil and seasonings. You want a light, even coating, not vegetables swimming in oil.
Roast the Vegetables:
-
Spread the vegetables in a single layer on a large sheet pan, preferably one without sides or with low sides so heat can circulate freely. Line the pan with parchment paper first if you want easier cleanup, though it’s not necessary.
-
Place the pan in the preheated oven on the upper-middle rack and let the vegetables roast undisturbed for 15 minutes. This extended contact between the vegetable surfaces and the hot pan creates the caramelized crust you’re after.
-
After 15 minutes, remove the pan from the oven and shake it vigorously or use a large spoon or spatula to toss all the vegetables. Some pieces should have visible golden-brown and dark spots on the surface — this is exactly what you want. Don’t worry if some edges look almost blackened — these crispy bits are the most flavorful parts.
-
Return the pan to the oven and roast for another 12 to 15 minutes, until all the vegetables are tender when pierced with a fork and most surfaces have some browning. The exact timing depends on the size of your vegetable pieces and your oven — if you cut pieces larger than 3 inches, they might need closer to 18 minutes in the second phase.
-
Remove the pan from the oven and taste a piece of each vegetable. The carrots and parsnips should be completely tender throughout with no hard center. The Brussels sprouts should be fork-tender and the cut surface should be deeply browned.
Optional Finishing:
-
Transfer the roasted vegetables to a serving dish. If desired, drizzle lightly with aged balsamic vinegar or aged sherry vinegar, which adds brightness and complexity without overpowering the roasted flavors. Sprinkle with fleur de sel or high-quality finishing salt if you want to enhance the flavors.
-
Garnish with fresh chopped parsley, chives, or any herbs you have on hand. Toasted hazelnuts or pecans add textural contrast if you want something more special than plain roasted vegetables.
Advertisements
Timing and Temperature Precision
The oven temperature of 425°F is the sweet spot for roasted root vegetables on a weeknight timeline. It’s hot enough to create serious caramelization without being so hot that vegetables burn on the outside before cooking through on the inside. If your oven runs hot or cold (many do), adjust by 25 degrees either direction and taste as you go—you’ll quickly learn your specific oven’s behavior.
The two-phase roasting approach—15 minutes undisturbed, then 12-15 minutes after tossing—is deliberate. The first phase without stirring creates maximum contact between vegetables and hot pan, which is when the real caramelization happens. By the time you toss them, the most important browning work is already done, so the second phase is just finishing cooking the interiors and catching any sides that need more time.
The exact timing within that second 12-15-minute window depends on several variables. Piece size matters most—if you cut vegetables smaller than 1.5 inches, you might only need 12 minutes; if they’re closer to 2 inches, give them the full 15. The water content of your specific vegetables also plays a role; summer-grown vegetables with higher water content might need a minute or two longer than drier, storage-harvested ones.
Temperature matters too. If you’re roasting at 400°F instead of 425°F (maybe because you’re also roasting chicken at 400°F), add about 5 minutes to each phase. If you’re using 450°F, subtract about 2 minutes from the second phase. The key indicator is when everything is tender when pierced with a fork and the majority of surfaces have visible browning—not just pale tan, but actual caramelization.
Flavor Variations and Seasoning Approaches
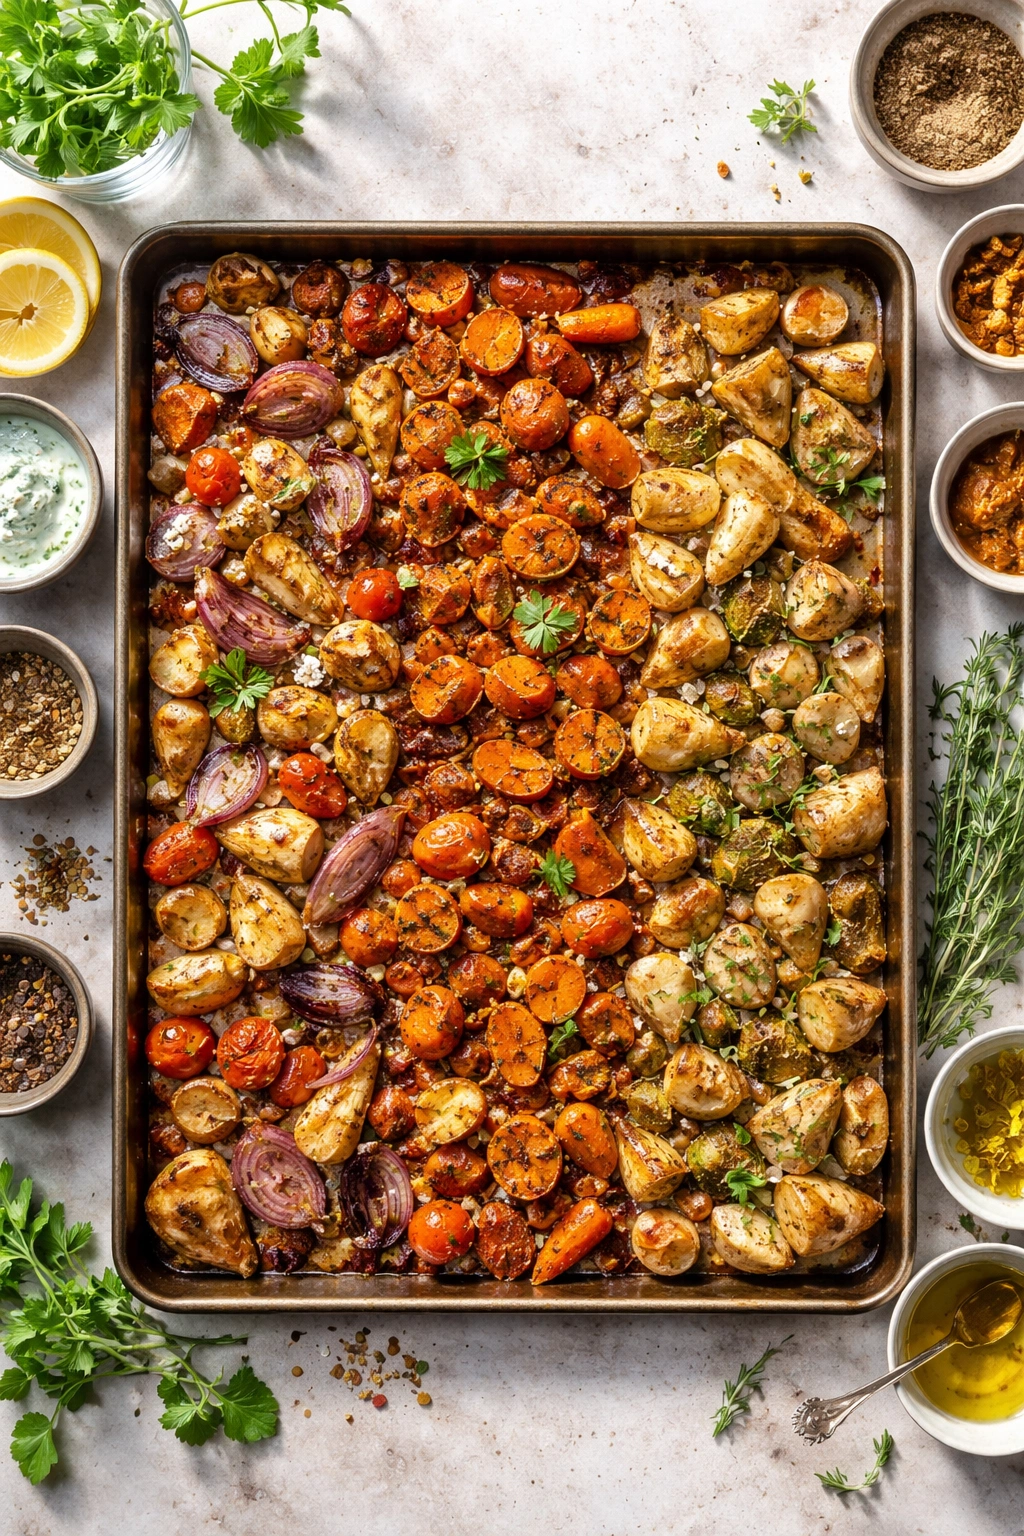
The basic salt-and-thyme combination is just the starting point. The beauty of roasted root vegetables is that they pair beautifully with dozens of different flavor profiles, so you can match the seasonings to what else you’re serving or whatever flavors you’re craving that night.
Mediterranean Roasted Roots: Replace the thyme with 1 teaspoon dried oregano and ½ teaspoon dried marjoram. Add the garlic as called for in the base recipe, then toss with fresh lemon zest before serving. Finish with a sprinkle of fresh parsley and maybe some feta cheese for serving.
Warm Spice Roasted Roots: Add ½ teaspoon ground cumin, ¼ teaspoon smoked paprika, and a pinch of cayenne pepper to the oil-salt mixture. This creates roasted vegetables with warm, almost smoky depth that pair beautifully with roasted chicken or grain bowls. Finish with a sprinkle of pomegranate seeds and fresh cilantro for brightness.
Herb Garden Roasted Roots: Use fresh rosemary instead of thyme—just one small 2-inch sprig, minced, provides enough piney flavor without overwhelming the vegetables. Add the minced garlic and finish with fresh mint and parsley to create layers of herbal complexity.
Soy and Ginger Roasted Roots: Before roasting, toss the vegetables with 1 tablespoon soy sauce instead of salt (reduce additional salt to just ¼ teaspoon), ½ teaspoon minced fresh ginger, and a tiny pinch of red pepper flakes. Finish with sesame oil drizzled over top and a sprinkle of sesame seeds. This transforms roasted vegetables into something that feels distinctly Asian.
Maple and Thyme Roasted Roots: Use the basic recipe but add 1 tablespoon pure maple syrup mixed in with the olive oil before tossing. The maple caramelizes at the surface of the vegetables, creating deep mahogany browning and a subtle sweetness. Finish with fleur de sel and fresh thyme leaves.
Balsamic Roasted Roots: Toss vegetables with 1 tablespoon aged balsamic vinegar along with the olive oil before roasting. The acidity helps create better browning, and the balsamic flavor becomes concentrated as it cooks. Finish with a small additional drizzle of aged balsamic after roasting.
Making It Work for Your Dietary Needs
One of the best things about roasted root vegetables is that they’re already aligned with almost every dietary approach and preference. There’s no hidden animal products, processed ingredients, or allergens lurking in the recipe—it’s literally just vegetables and oil.
Vegan and Plant-Based: These vegetables are already vegan as written. Serve them with hummus, tahini-based dressing, or a simple vinaigrette alongside grain bowls or plant-based proteins.
Whole30 and Paleo: Roasted root vegetables are a centerpiece protein-free vegetable on these diets. Use ghee instead of olive oil if you prefer, and stick to the herb seasonings without any processed spice blends. These vegetables pair perfectly with roasted meats.
Keto and Low-Carb: Root vegetables are higher in carbs than leafy greens, so they’re not typically part of strict keto approaches. However, if you’re doing a more moderate low-carb diet, roasted root vegetables in reasonable portions (about ¾ cup cooked) fit fine, especially when paired with substantial protein.
Paleo Whole30 and Nightshade-Free: All root vegetables are nightshade-free, so if someone in your household needs to avoid peppers and tomatoes, roasted roots are a reliable vegetable choice. Skip any paprika or chili powder in the spice blend and stick to garlic, herbs, and salt.
Gluten-Free: These vegetables are naturally gluten-free, as is olive oil and salt. Just be careful if using commercial spice blends—some contain anti-caking agents with gluten. Use individual dried herbs or fresh herbs instead.
Storage and Make-Ahead Options
Roasted root vegetables are genuinely better when made fresh, but they store beautifully and reheat without losing their essential character—which matters for meal prep and busy weeks.
Refrigerator Storage: Cooled roasted vegetables keep in an airtight container in the fridge for 4 to 5 days. Don’t store them while still warm—the steam will make them soggy. Let them cool completely first, then transfer to a container with a tight-fitting lid.
Freezing: You can freeze roasted vegetables in a freezer bag or airtight container for up to 3 months, though they’re best used within 2 months while they still taste bright. They freeze and thaw beautifully because they’re already cooked. Just spread them on a sheet pan and freeze until solid before transferring to a bag—this prevents them from clumping together into one massive block.
Reheating: The best way to reheat roasted vegetables and restore some of that crispy exterior is to spread them on a sheet pan and warm them in a 375°F oven for about 8 to 10 minutes, just until they’re heated through and the edges crisp up slightly. Microwaving works in a pinch if you’re in a rush, but the texture becomes softer without the oven’s radiant heat.
Make-Ahead Strategy: You can prep the vegetables the night before—wash, peel, and cut everything, then store in the fridge in an airtight container. The next evening, toss with oil and seasonings and roast as usual. The only difference is that cold vegetables might take an extra minute or two in the oven since they start from a cooler temperature.
Turning Leftovers Into Lunch: Leftover roasted vegetables are honestly better than many salads. Toss them with fresh greens, a grain like farro or barley, some cheese or nuts, and a vinaigrette for an instant lunch that’s more interesting than most restaurant salads. They’re also excellent stirred into grain bowls, added to soups, mixed into omelets, or tucked into sandwiches.
Serving Suggestions and Pairings
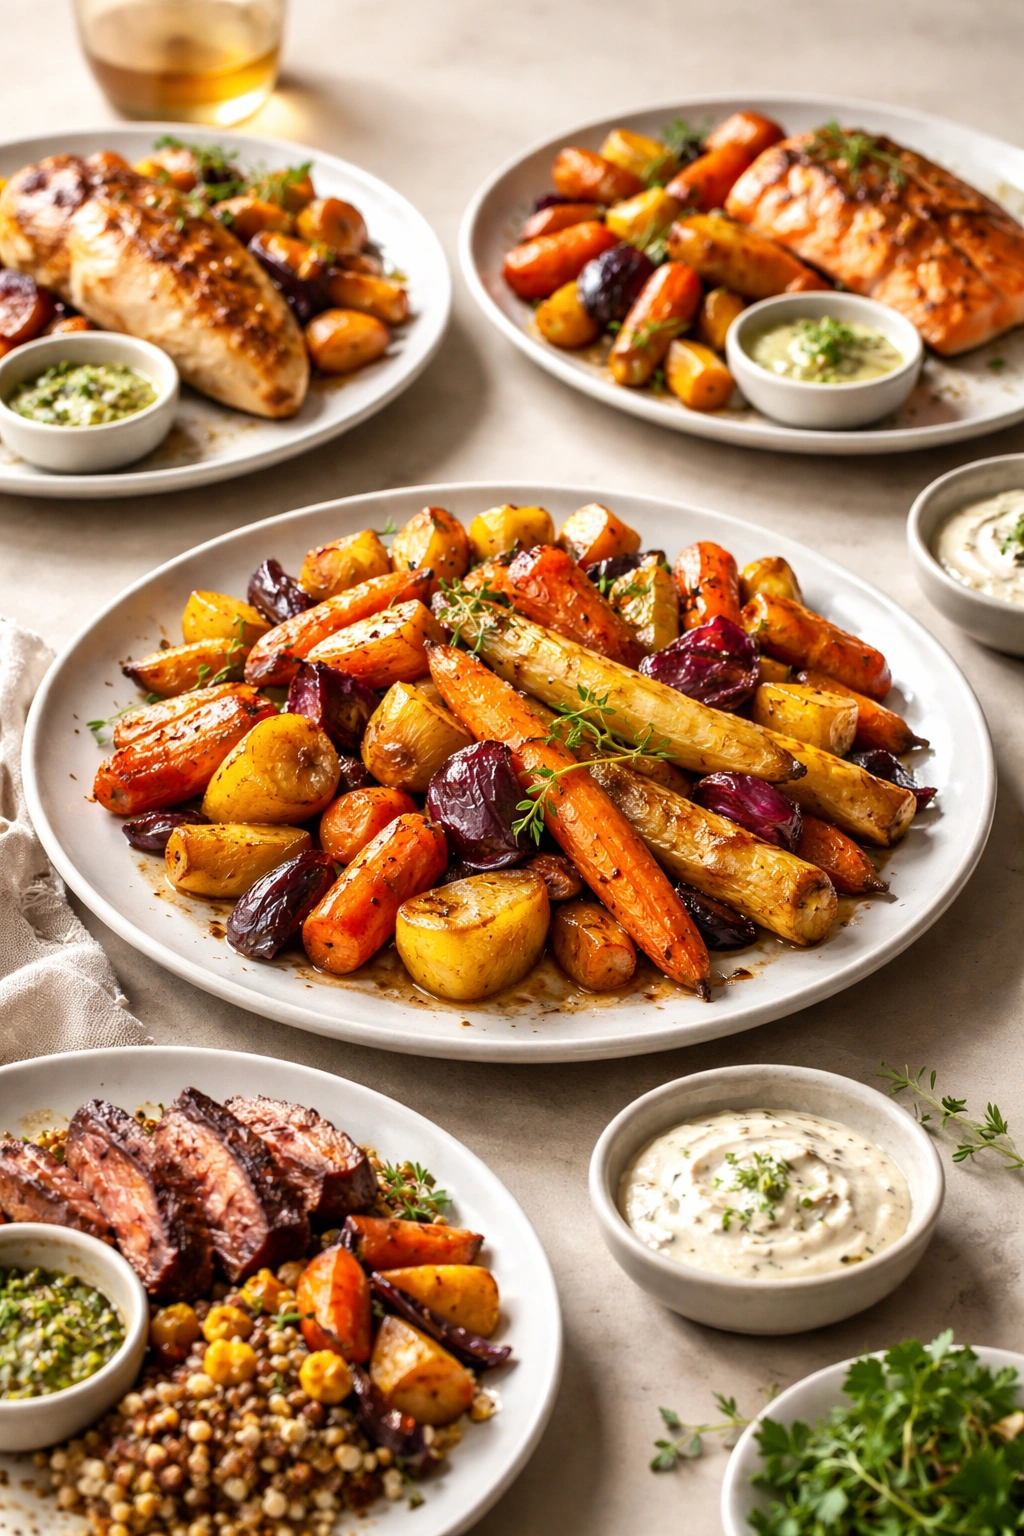
Roasted root vegetables are genuinely flexible sides that work with an enormous range of main dishes, which is what makes them such a reliable weeknight tool. They’re meaty and substantial enough to anchor a vegetarian plate, but they’re equally at home alongside beef, chicken, or fish.
With Roasted Chicken or Turkey: The herbal flavors in roasted vegetables complement poultry beautifully. Serve alongside a simple roasted bird with maybe a grain on the side, and you’ve got a complete, elegant dinner that looks like you spent way more time than you actually did.
With Fish: Particularly with white fish like halibut, cod, or flounder, roasted roots provide earthiness and sweetness that balances the delicate, flaky texture of the fish. A squeeze of fresh lemon over everything ties it together.
With Red Meat: Roasted root vegetables are especially good with beef or lamb. The caramelized surfaces and slightly sweet interiors complement the savory richness of red meat perfectly. Add a red wine reduction or compound butter for something restaurant-quality.
With Vegetarian Proteins: Pair with roasted tofu, tempeh, legume-based salads, or grain and legume combinations. The vegetables provide enough substance and flavor that you don’t need anything complex.
With Grains: Serve roasted vegetables alongside farro, barley, quinoa, brown rice, or farro to create a complete vegetarian meal. Toss everything together with a vinaigrette for a grain bowl that actually tastes like you cared about it.
Soup Base: Roughly chop leftover roasted vegetables and add them to vegetable broth with some diced tomatoes and herbs for an instant, intensely flavorful vegetable soup.
Salad Component: Toss cooled roasted vegetables with fresh greens, cheese, nuts, and vinaigrette for a salad that’s genuinely substantial enough for lunch or a light dinner.
Appetizer or Snack: Honestly, these are so good that people will happily eat them plain as an appetizer while you’re finishing other parts of dinner. Put them in a bowl with a fork and watch them disappear.
Common Mistakes and How to Avoid Them
Understanding what actually goes wrong helps prevent the mistakes that turn an easy recipe into disappointing vegetables.
Crowding the Pan: This is the most common problem. When vegetables are packed too tightly on the sheet pan, they steam rather than roast. They cook through, yes, but they don’t brown, which means you’ve lost the whole point of the roasting method. Spread them in a single layer with small gaps between pieces so hot air can circulate. If your vegetables won’t fit on one pan without crowding, use two pans.
Not Drying the Vegetables Thoroughly: Moisture on the surface prevents browning. This is especially true for Brussels sprouts, which have waxy skins that trap water. Pat them completely dry before tossing with oil.
Stirring Too Early: The temptation to stir vegetables right at the 10-minute mark is real, but resist it. Those first 15 undisturbed minutes are when the best caramelization happens. Give it the full 15 minutes, and the browning will be noticeably deeper than if you’d stirred earlier.
Inconsistent Piece Sizes: If some vegetables are cut twice the size of others, the small ones will brown and possibly burn while the large ones are still cooking through. Aim for consistency—not perfect restaurant precision, but in the same ballpark so everything finishes around the same time.
Using Too Little Oil: You need enough oil for the vegetables to conduct heat properly and for caramelization to happen. Too little oil and they’ll brown unevenly and possibly stick to the pan. Two tablespoons per pound of vegetables is the right proportion.
Oven Temperature Inaccuracy: If your oven runs significantly hot or cold, adjust the temperature and timing accordingly. Most home ovens are at least 25 degrees off, so if you consistently find your roasted vegetables are burning on the outside before cooking through, lower the temperature slightly and add a minute or two to the cooking time.
Forgetting the Finishing Touches: Salt and fresh herbs after roasting brighten the finished vegetables. Even just a sprinkle of fleur de sel makes a noticeable difference in how delicious they taste. The contrast between the creamy roasted interiors and the crispy caramelized edges, topped with bright herbs, is what elevates these from “cooked vegetables” to “food worth craving.”
Final Thoughts
Roasted root vegetables prove that the best weeknight dinners aren’t complicated—they’re just deliberate. Choosing good vegetables, tossing them with oil and salt, and then giving them space to caramelize in a hot oven creates something genuinely delicious with almost zero effort on your part.
The technique transfers directly to whatever vegetables you have on hand, whatever flavors you’re in the mood for, and whatever else is happening in your dinner plans. That flexibility means you’ll actually make these regularly instead of once and then forgetting about them. They’re the kind of side dish that people ask for by name at your table, not because you’ve done anything complicated, but because you understand how to coax maximum flavor out of simple ingredients.
Next time you’re facing a busy weeknight and wondering what to serve alongside protein, remember that roasted root vegetables can be ready in the same 40 minutes it takes to cook a chicken breast or piece of fish. Wash, chop, toss, roast. That’s genuinely all it takes to get vegetables on the table that taste like you really know what you’re doing in the kitchen.