There’s a real moment of panic when you realize you’re out of yeast and you’ve already told people you’d make pizza. Or maybe you want a pizza night without the wait—no overnight proofing, no rising time, no babysitting dough in a warm spot for hours. The good news? You don’t need commercial yeast to make genuinely delicious homemade pizza dough. Baking powder, baking soda, and a few smart ingredient choices create a pizza that’s ready in minutes, with a tender crumb and satisfying chew that’ll make people ask what bakery you got it from.
This isn’t the flat, dense disappointment some people expect when yeast gets swapped out. A properly made no-yeast pizza dough uses chemistry to achieve real lift and structure. The dough comes together quickly, it actually tastes good, and it gives you complete control over what goes into your pizza from the very first step. Whether you’re in a time crunch, avoiding commercial yeast for a particular reason, or just curious about a different approach, this method works—and works well.
The best part? Once you understand how this dough behaves, you can customize it endlessly. Different hydration levels, olive oil ratios, and leavening combinations all shift how your pizza turns out. A crispy, thin crust. A thicker, bread-like base. Something in between. All of it is possible with the same basic foundation.
Why This Pizza Dough Recipe Works Without Yeast
The assumption most home cooks carry is that yeast creates rise and flavor, and nothing else can substitute. That’s partially true—yeast does contribute fermentation flavor that takes days to develop. But yeast’s primary job in dough is creating carbon dioxide bubbles, which makes bread rise and creates structure. Baking powder and baking soda do exactly that through acid-base chemical reactions, not fermentation.
When baking powder hits moisture and heat, it releases CO₂ immediately. Your dough rises during mixing (from the baking powder activation in liquid) and continues rising in the oven as heat accelerates the reaction. This is why no-yeast pizza dough comes together so fast—you’re not waiting for slow fermentation. You’re using immediate chemical leavening that works the moment it’s activated.
The tradeoff is real: you won’t get the complex, tangy notes that come from wild yeast or starter fermentation. What you will get is straightforward, honest pizza with a light crumb and a tender bite. Add enough salt, good olive oil, and the right ratio of baking powder to flour, and you create enough perceived depth that most people won’t miss the traditional yeast flavor at all.
Temperature matters differently here too. Yeast-based dough benefits from warmth because yeast is a living organism that ferments faster when warm. No-yeast dough doesn’t have that biological component—it just needs enough moisture to activate the baking powder and enough heat in the oven to set the structure. You can work with room-temperature dough without any waiting. That’s the real magic: efficiency without sacrificing quality.
The Science of Leavening Without Commercial Yeast
Understanding the chemistry helps you troubleshoot when things don’t go perfectly. Baking powder contains an acid (usually cream of tartar), a base (baking soda), and a starch that keeps them dry and separate until moisture arrives. When you mix baking powder into dough and add water, the acid and base react immediately, releasing carbon dioxide gas. Those bubbles get trapped in the dough structure, creating lift.
Baking soda alone is just sodium bicarbonate—it needs an acidic ingredient to activate. This is why some no-yeast dough recipes call for buttermilk, yogurt, lemon juice, or vinegar alongside baking soda. The acid in those ingredients triggers the CO₂ release. If you use baking soda alone with neutral ingredients like water and milk, it won’t do much.
The timing of the reaction is crucial. If you mix baking powder into your dough and then let it sit for 30 minutes before baking, you’ll lose most of the gas and end up with dense pizza. The ideal approach is mixing everything together and getting it into the oven as quickly as possible—ideally within 5 to 10 minutes. That’s when the leavening power is at its peak.
Salt affects how quickly the baking powder reacts. Salt actually slows down the reaction slightly, which is a small advantage here—it gives you a slightly wider window between mixing and baking before gas loss becomes significant. It also prevents the baking powder from activating too rapidly during mixing, which would make your dough stiff and difficult to work with.
Gluten development matters less in no-yeast dough than it does in traditional yeast dough. You’re not building structure through long fermentation and gluten relaxation. You’re relying on the protein network in flour plus the starch to hold those gas bubbles. This actually makes the process more forgiving for beginners—you can’t overwork the dough into toughness the way you might with yeast dough, because overworking isn’t the main concern here.
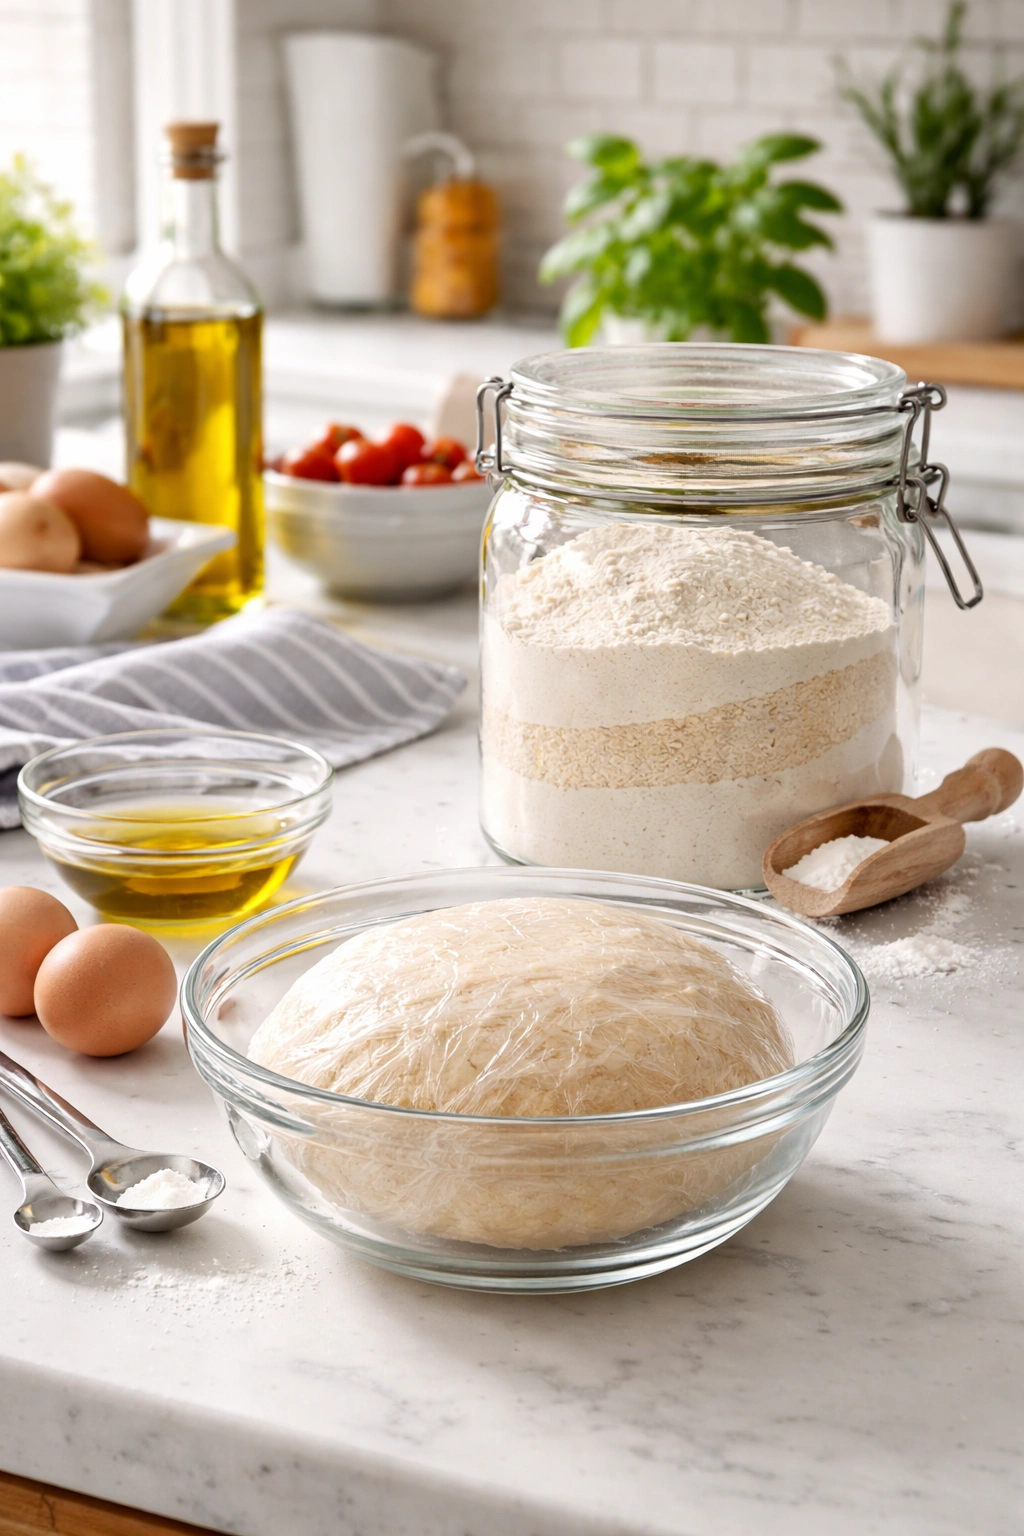
Essential Ingredients for No-Yeast Pizza Dough
The flour you choose shapes the texture directly. All-purpose flour (10-12% protein) creates a tender, almost cake-like crumb—perfect if you want a softer bite. Bread flour (12-14% protein) gives you more structure and chew, closer to traditional pizza. Whole wheat flour adds nutty flavor but also density; use it for no more than 25-30% of the total flour or your pizza becomes heavy. For your first attempt, stick with all-purpose or bread flour alone.
Water hydration is your biggest control lever. The same dough can be a thin, crispy crust or a thicker, airier one depending on how much water you use. A drier dough (around 60% hydration) creates a crispier result. A wetter dough (65-70% hydration) produces a lighter, more bread-like texture with bigger holes. Most recipes fall somewhere in the middle, around 65% hydration, and that’s a safe starting point.
Olive oil doesn’t just taste good—it tenderizes the dough and improves browning. Two to three tablespoons per batch (for a two-person pizza) creates a dough that’s easy to handle and doesn’t stick aggressively. It also contributes to flavor depth and helps the crust brown beautifully in the oven.
Salt is non-negotiable. It enhances flavor, strengthens gluten, and affects leavening timing (as mentioned above). One and a half teaspoons per batch is standard for most recipes. Some people use slightly more for boldness, but avoid going above two teaspoons or the salt flavor becomes obvious and unpleasant.
Baking powder is your main leavening agent. Use double-acting baking powder if possible—it releases gas at mixing and again when heat hits it, giving you better rise in the oven. Aluminum-free baking powder prevents any metallic aftertaste. Three teaspoons per batch is typical for a pizza that should be light without being cake-like.
Optional baking soda adds extra lift if you want a really airy result, but it also requires an acidic ingredient in your dough to work properly. If you’re adding yogurt or buttermilk instead of plain milk, add a quarter teaspoon of baking soda to amplify the lift. Without the acid, baking soda alone will do nothing.
Milk (whole, 2%, or even nondairy alternatives) replaces water as your liquid. It adds slight richness and helps browning slightly better than plain water. Some people use a mix of milk and water. The key is that the total liquid amount should match your hydration target, whether that’s milk, water, or a combination.
Yield: Makes two 10-inch pizzas or one 12-inch pizza | Serves 2 to 4
Prep Time: 10 minutes (hands-on active time only)
Cook Time: 12 to 18 minutes (depending on oven temperature and pizza thickness)
Total Time: 22 to 28 minutes active (no rising time required)
Difficulty: Beginner — the dough comes together in minutes, requires no special equipment, and the steps are straightforward even if you’ve never made pizza before.
Best Served: Immediately after baking while the crust is still warm and the cheese is melted.
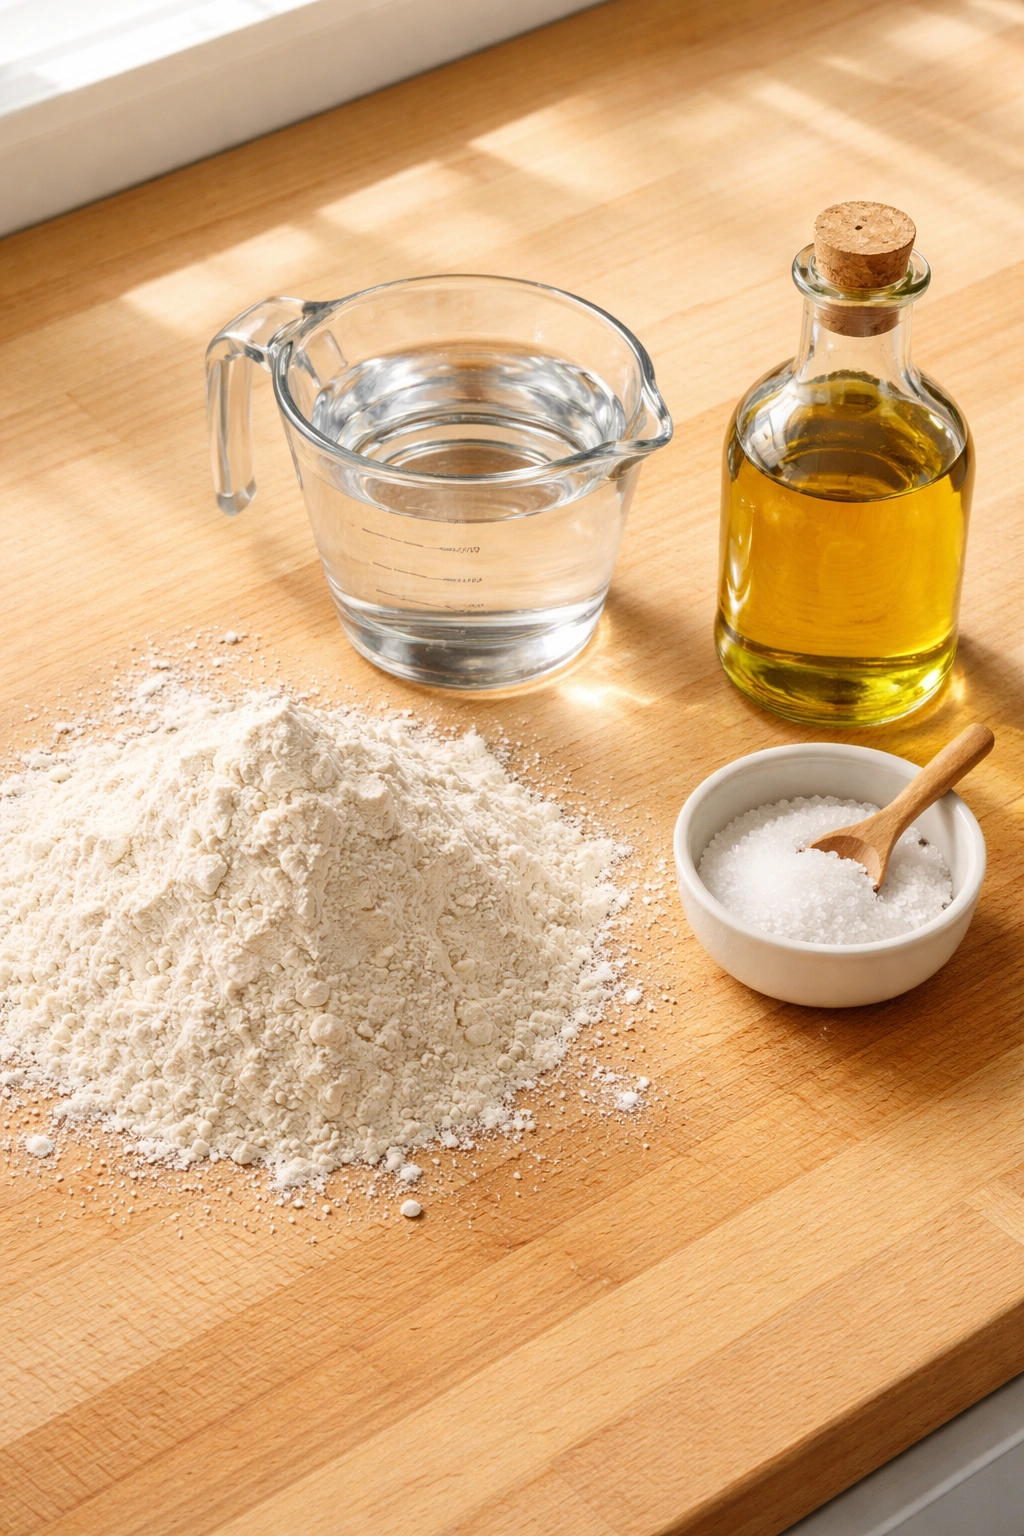
For the Pizza Dough:
- 2 cups all-purpose flour or bread flour (if using bread flour, the dough will be slightly chewier)
- 2½ teaspoons double-acting baking powder
- 1½ teaspoons fine sea salt
- 2 tablespoons extra-virgin olive oil, plus more for the pan and stretching the dough
- ¾ cup whole milk or 2% milk (you can substitute ½ cup milk + ¼ cup warm water if preferred)
Prepare the Workspace and Pan:
-
Preheat your oven to 425°F (220°C). Position the rack in the lower-middle section of the oven — this helps the bottom crust bake and crisp before the top browns.
-
Lightly oil your pizza pan, baking sheet, or cast iron skillet with olive oil, coating the entire bottom and sides. This prevents sticking and creates a shallow fried edge on the crust that’s genuinely delicious. If you’re making a thinner, crispier pizza, use a perforated pizza pan so air can circulate underneath.
-
Have all your toppings prepped and within arm’s reach — diced tomatoes, grated cheese, fresh basil, sliced vegetables. Once the dough is ready, you’ll move quickly, so having everything ready prevents scrambling later.
Advertisements
Mix the Dough:
-
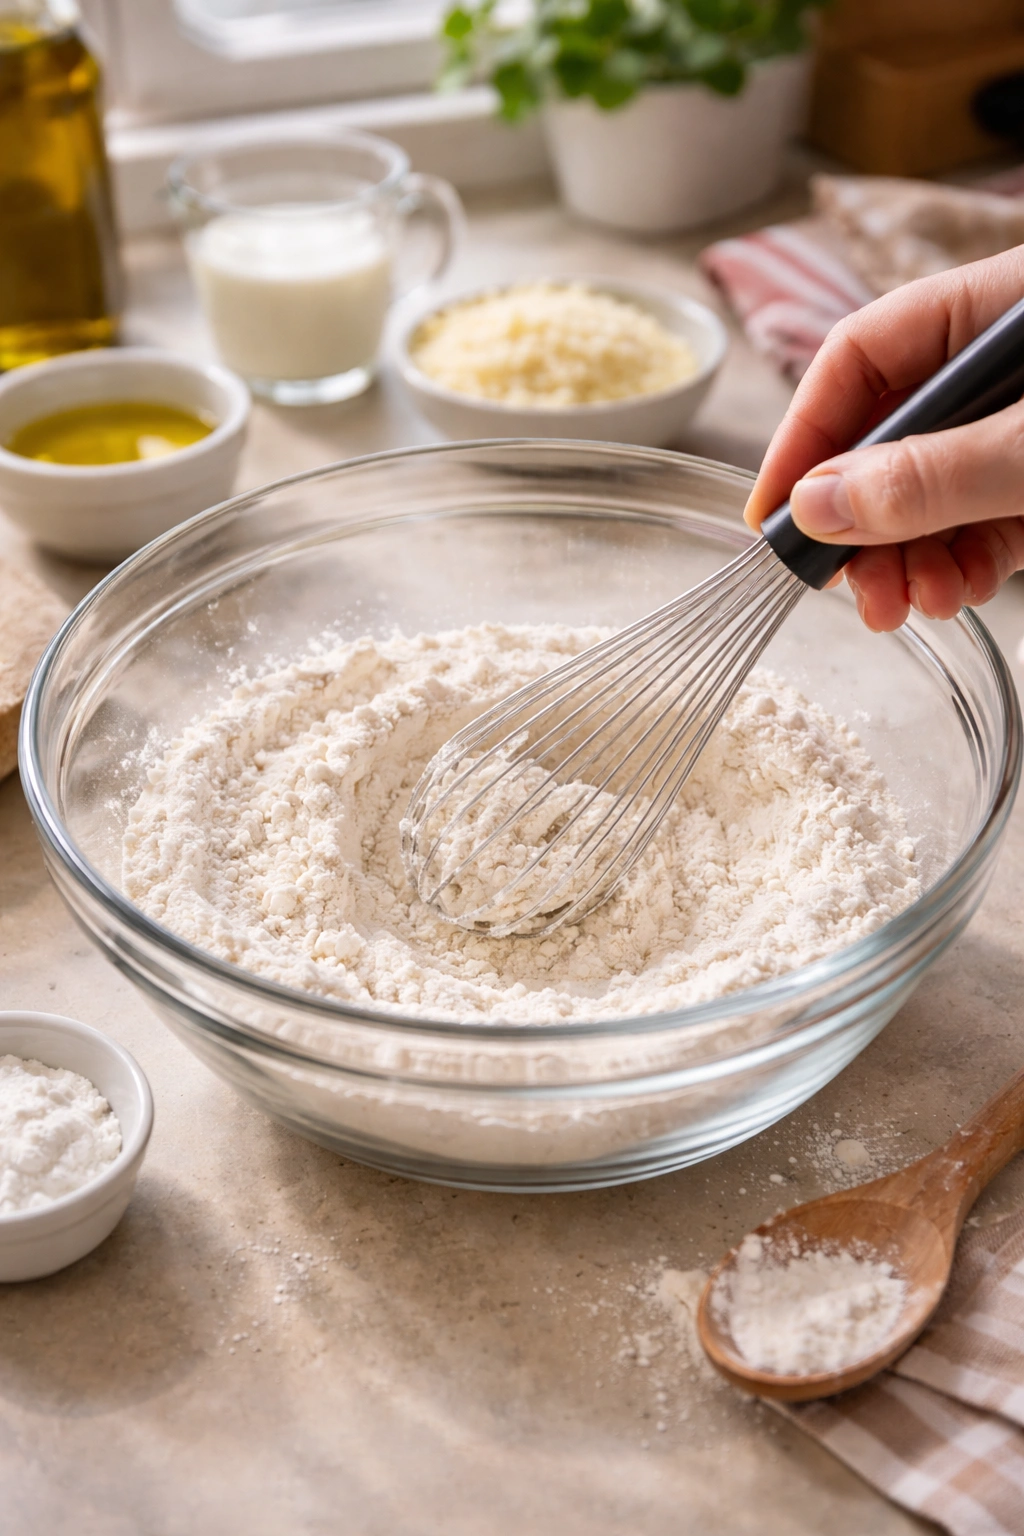
In a large mixing bowl, whisk together the flour, baking powder, and salt until completely combined and no streaks of baking powder remain. The whisking distributes the leavening evenly, which ensures your pizza rises uniformly. This step takes about 30 seconds but makes a meaningful difference in the final result.
-
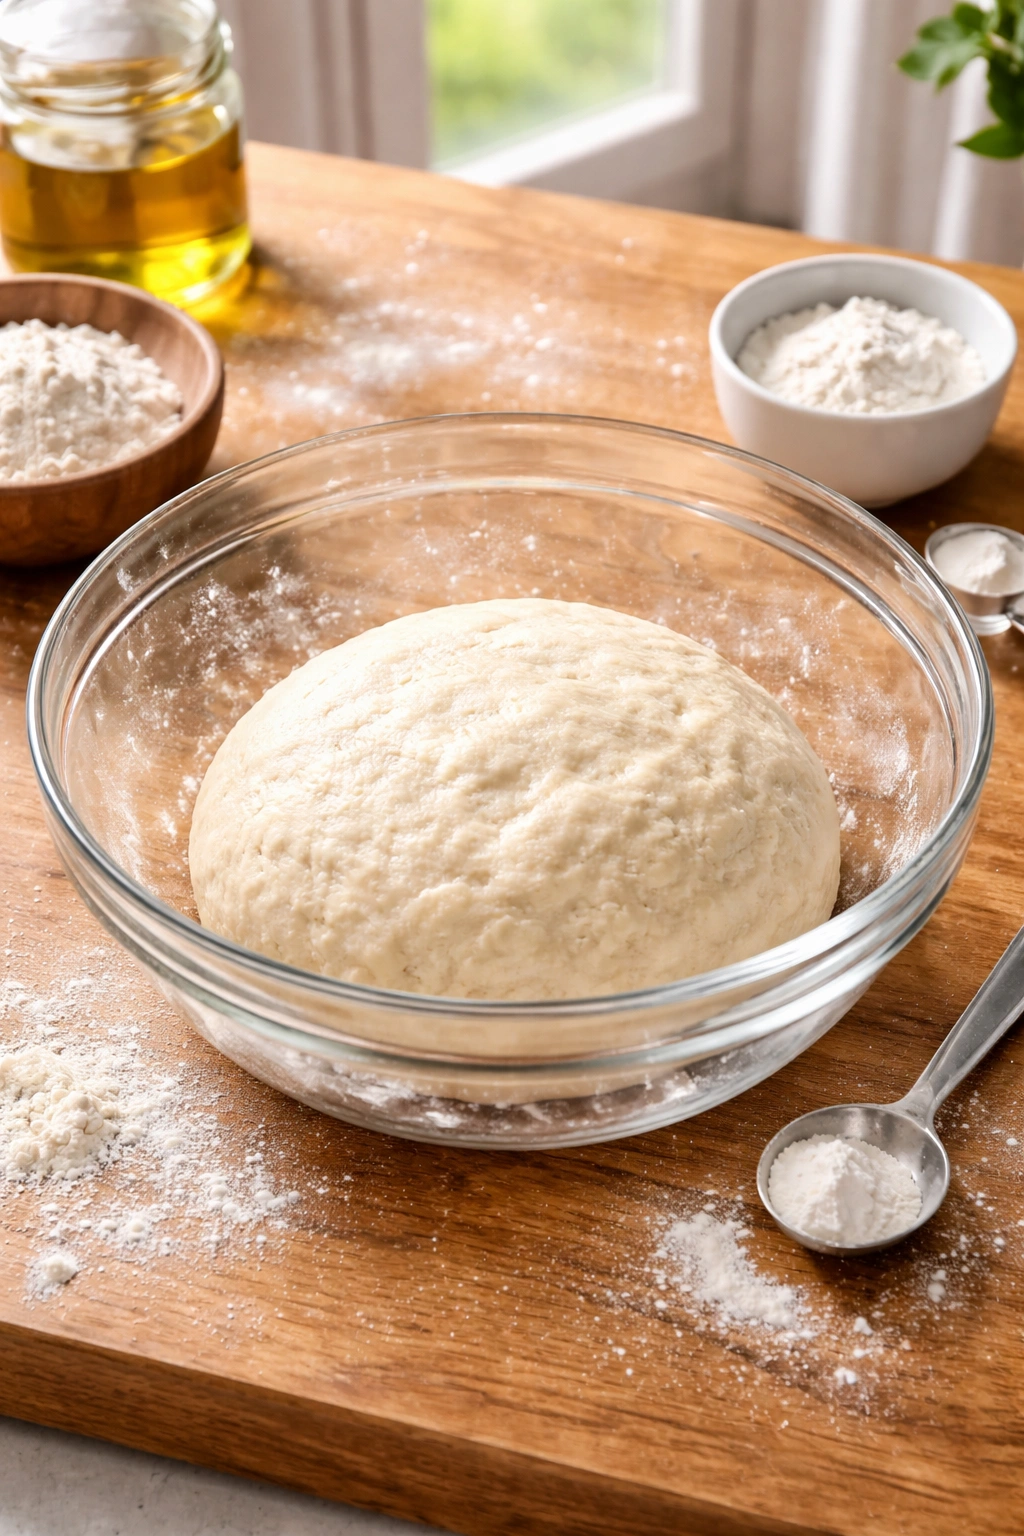
Create a well in the center of the flour mixture and pour in the milk and olive oil. Using a wooden spoon or sturdy spatula, stir from the center outward, gradually incorporating the dry ingredients into the wet mixture. Stir for 1 to 2 minutes, until a shaggy, slightly sticky dough forms and no dry flour remains at the bottom of the bowl.
-
Do not overmix the dough at this stage — unlike yeast-based dough, overworking doesn’t develop beneficial gluten, and you’ve already activated the baking powder by adding the liquid, so time is of the essence. The dough should look somewhat loose and slightly wet, not smooth and polished. This is normal and correct.
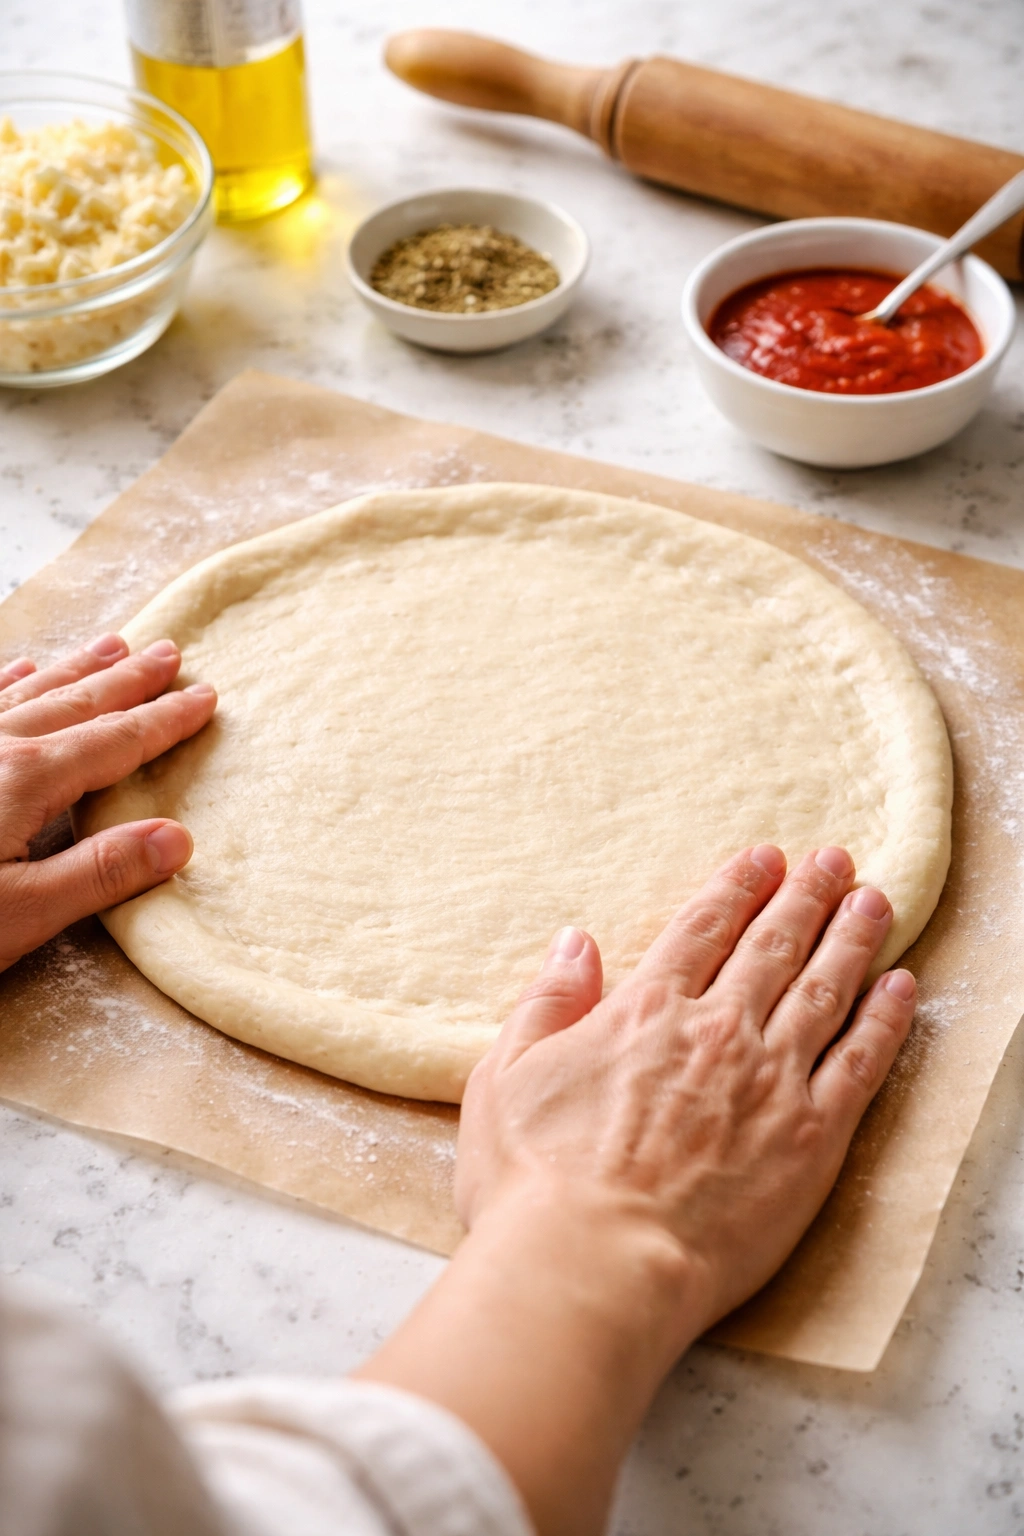
Shape and Pan:
-
Transfer the dough to your oiled pan. If the dough is sticky, wet your hands with a little water or olive oil rather than adding more flour — adding flour changes the hydration and can make the crust dense.
-
Gently press and stretch the dough from the center outward, working it into the edges and corners of the pan. If it springs back and resists, let it rest for 1 minute, then continue stretching. Work gently — aggressive handling can deflate those precious gas bubbles the baking powder created. Aim for an even thickness throughout, though a slightly thicker rim that will become a puffy crust edge is desirable.
-
If you prefer a thinner, crispier crust, stretch the dough thinner and let it spread nearly to the edges of your pan. For a thicker, breadier crust, leave it slightly thicker (closer to half an inch) and don’t stretch it quite as far.
-
Once the dough is spread to your preferred thickness, dimple the surface lightly with your fingertips, creating small indentations across the top. This prevents large air bubbles from puffing up unevenly and also gives the surface more texture for sauce and cheese to cling to.
Top and Bake:
-
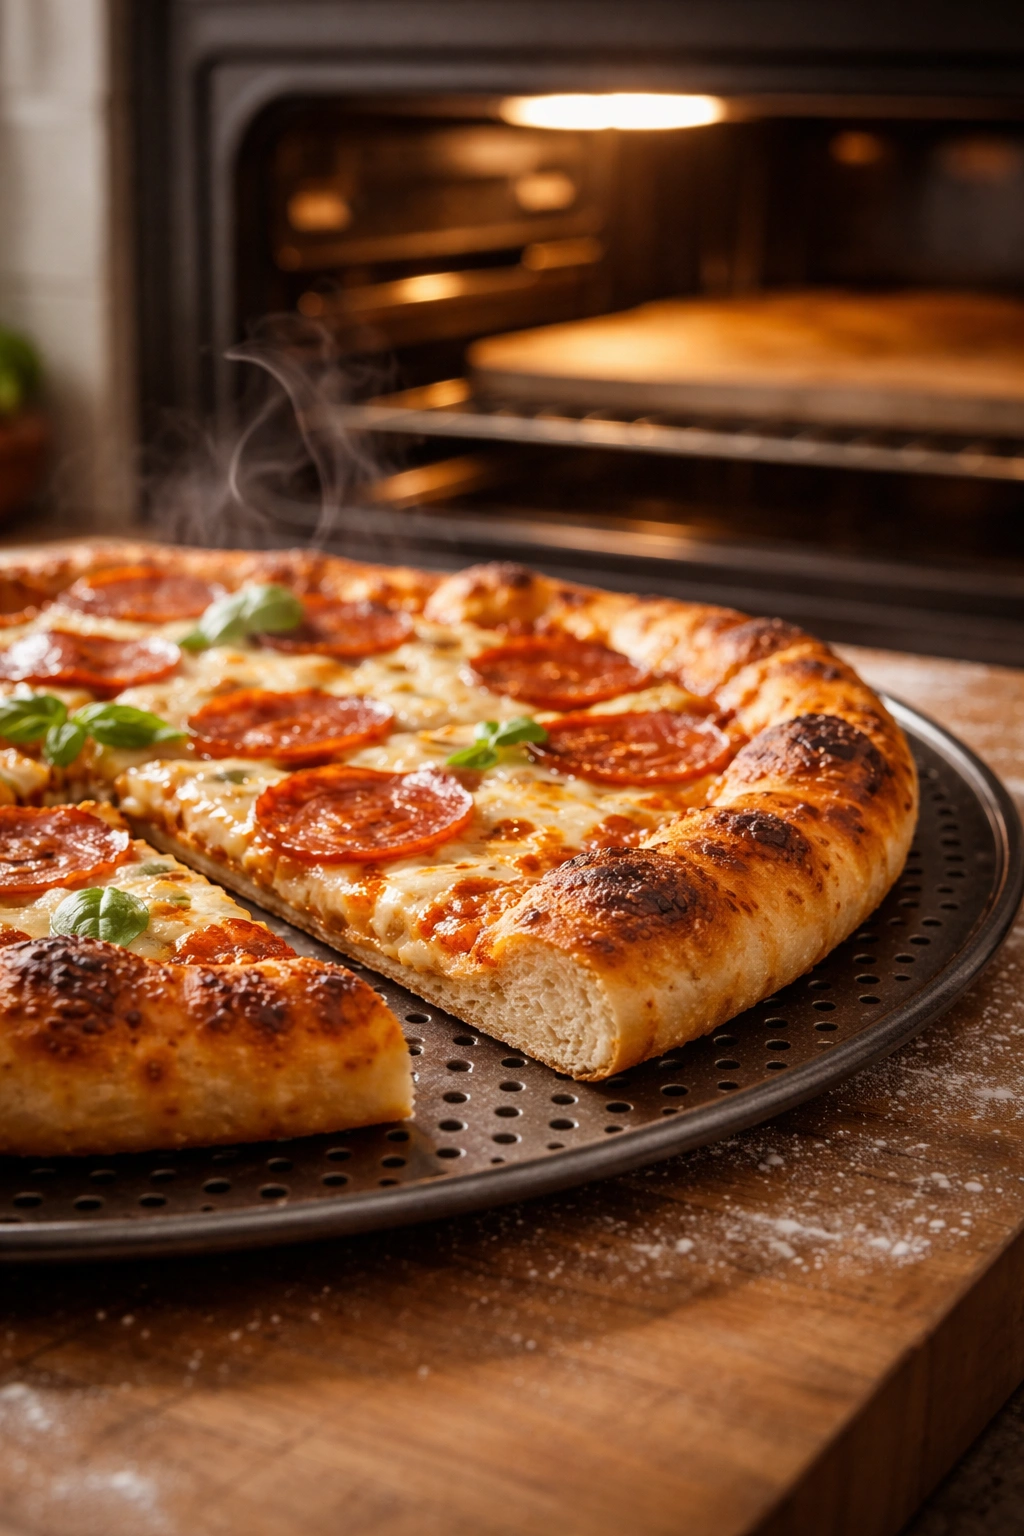
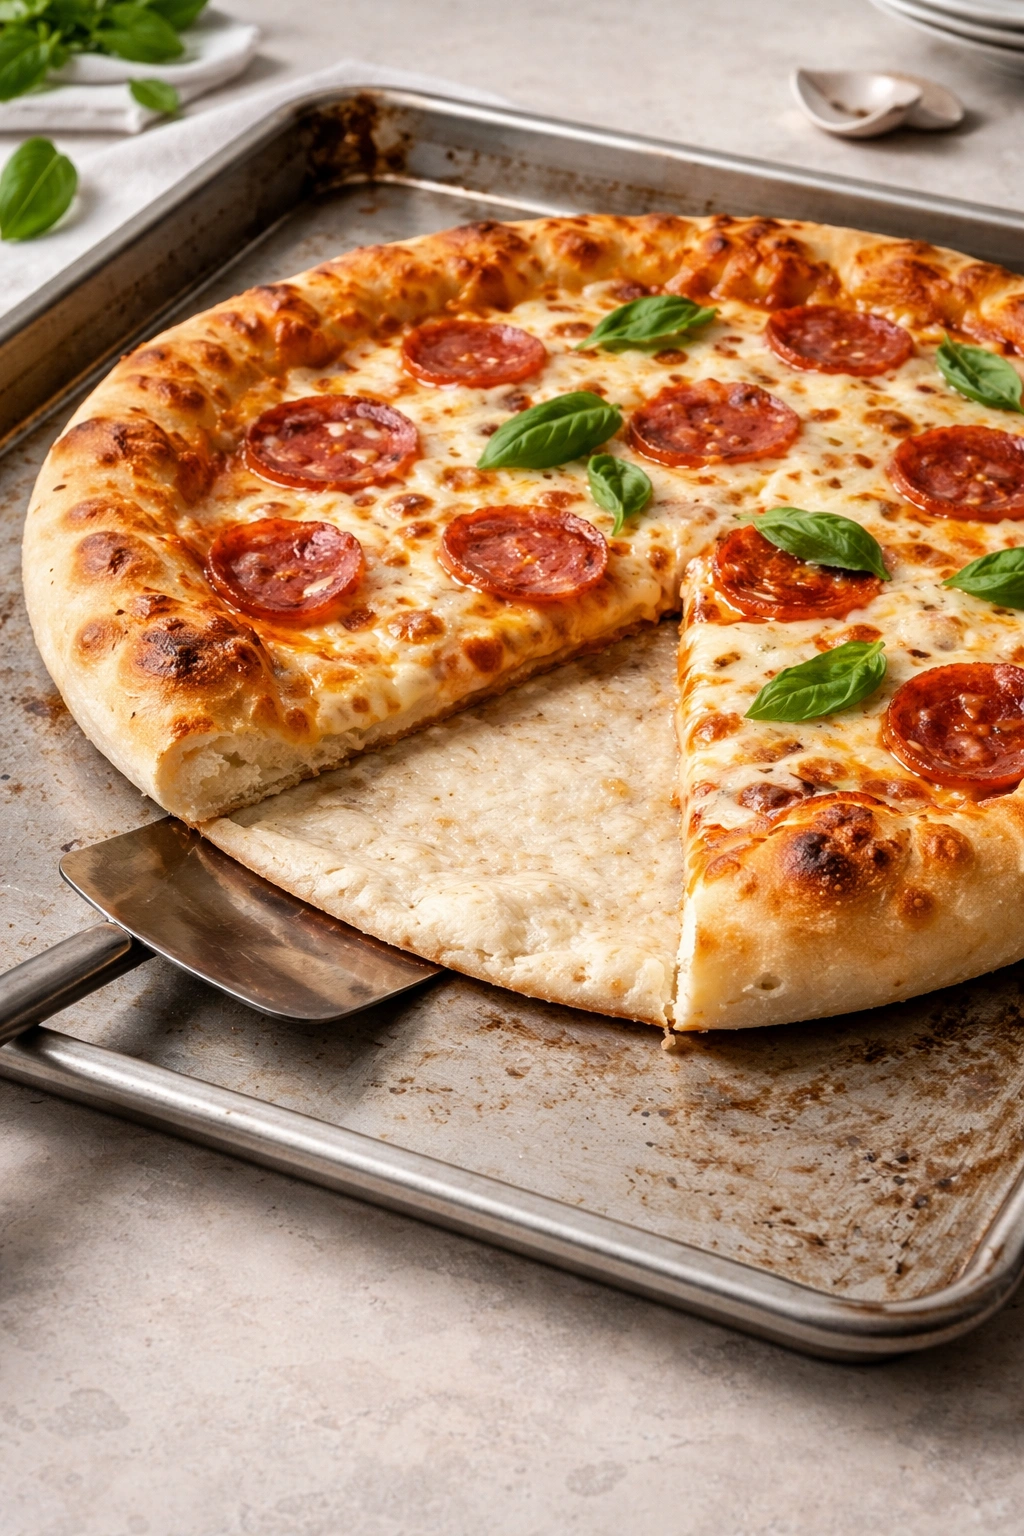
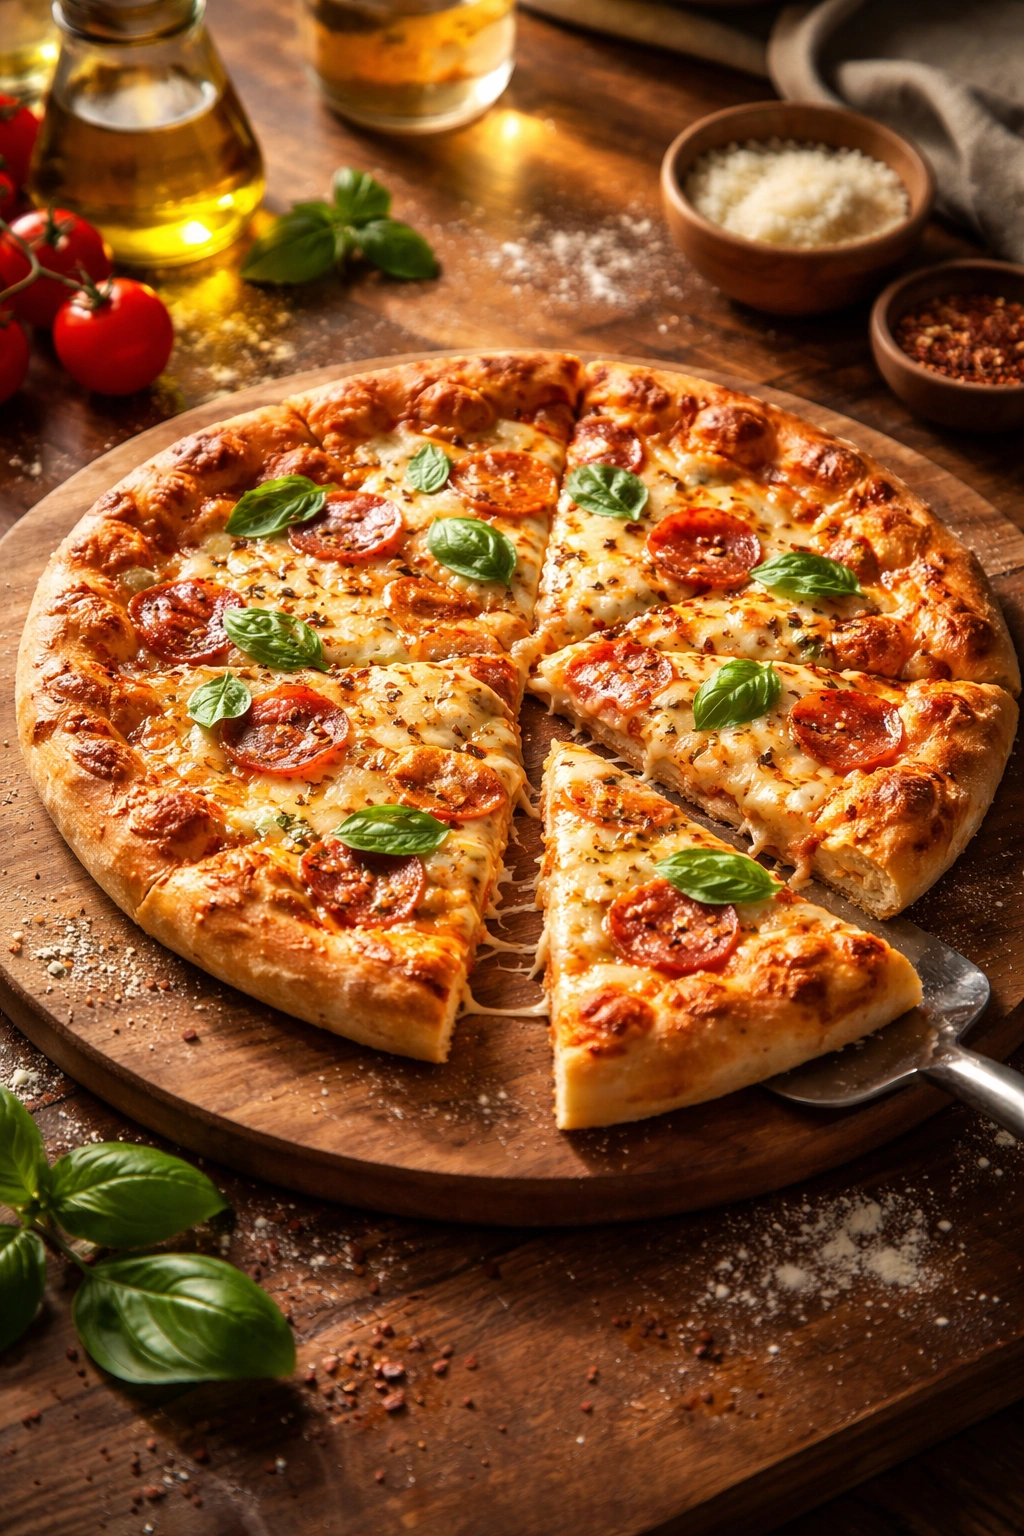
Add your sauce, cheese, and toppings of choice. Do not overload the pizza — too many toppings weigh down the crust and prevent proper browning. A thin layer of sauce (about 3 to 4 tablespoons for a 10-inch pizza), a generous but not excessive layer of cheese, and a moderate amount of any additional toppings is the sweet spot.
-
Bake for 12 to 18 minutes, depending on your oven and the thickness of your pizza. Thin crust pizzas may be done in 12 to 14 minutes. Thicker, breadier pizzas may need 16 to 18 minutes. The pizza is ready when the crust is golden brown on top and the bottom is lightly golden and sounds crisp when you tap it. The cheese should be melted and bubbling at the edges.
-
Remove the pizza from the oven using a pizza peel or large spatula. Let it cool for 1 to 2 minutes on the pan (this helps it set) before sliding it onto a cutting board. Do not skip this rest period — the crust will firm up and be easier to cut cleanly without tearing.
-
Slice, serve immediately, and enjoy while the crust is warm and the cheese is still melted.
Tips and Common Mistakes to Avoid
The biggest mistake is waiting after mixing. Baking powder begins working the moment it hits moisture. If you mix your dough and then let it sit for 15 minutes while you prep toppings, you’ll lose significant rise and end up with a denser crust. Mix everything last, right before you shape and pan it. This is the opposite workflow from yeast dough, so it requires a mindset shift.
Using cold milk instead of room-temperature milk slows the chemical reactions slightly. This isn’t catastrophic, but room-temperature milk (straight from the counter, not refrigerated) activates the baking powder more efficiently and gives you a more consistent rise. Warm milk isn’t necessary—in fact, very hot liquid can create a dough that’s harder to handle—but room temperature is ideal.
Don’t skip the whisking step for the dry ingredients. Baking powder doesn’t distribute evenly on its own. If you just dump everything into the bowl at once and start mixing, you’ll get uneven leavening—some spots will rise beautifully while others stay dense. A 30-second whisk takes no real time and dramatically improves consistency.
Humidity in your kitchen affects how much water the flour actually absorbs. On a very dry day, your dough might need slightly more milk. On a humid day, slightly less. Start with the ¾ cup milk called for, but if the dough looks extremely dry and won’t come together, add milk one tablespoon at a time until it reaches the consistency described. If it’s very sticky and wet, you can add a tablespoon of flour. The goal is a dough that’s soft and slightly sticky but still manageable.
Don’t be afraid to use your hands at the stretching stage. Once the dough is in the pan, your hands are the best tools for shaping. The warmth of your hands helps relax the dough and makes it more pliable. Wet your hands slightly if it sticks, rather than flouring your hands—flour changes the dough composition.
Salt distribution matters more than most people think. If you add salt directly to the wet mixture without whisking it into the dry ingredients first, you risk salt granules sitting on the surface of the dough. This creates overly salty spots. Whisking it into the flour ensures even dispersal and balanced flavor.
One more important note: if you live at high altitude, your baking powder might create too much lift in the dough, causing excessive rise and browning too quickly before the inside sets. At high altitude (above 3,000 feet), reduce the baking powder slightly to 2 teaspoons and watch your first pizza carefully. If it browns too fast, tent it loosely with foil and reduce the oven temperature by 25°F.
Adjusting the Recipe for Different Results

For a crispier, thinner-crust pizza: Use 2 cups of flour (same amount) but reduce the milk to ⅔ cup. This creates a drier dough that spreads thinner and crisps better in the oven. Stretch it as thin as you can without tearing. Bake on a perforated pan at 450°F for 12 to 14 minutes. The increased heat and perforated pan both help crisping.
For a thicker, bread-like crust: Increase the milk to ¾ cup plus 2 tablespoons, and optionally add ¼ teaspoon of baking soda (which requires an acidic ingredient like buttermilk instead of regular milk). This extra moisture and slightly increased leavening creates a fluffier, more substantial crust. Stretch it to about ½-inch thickness and bake at 425°F for 16 to 18 minutes.
For a pan pizza with a fried, golden edge: Use extra olive oil in a cast iron skillet (about ¼ cup) and heat the skillet on the stovetop over medium heat for 1 minute before adding the dough. Spread your dough carefully into the hot skillet (it will sizzle slightly—that’s correct), then top and bake as usual. The hot oil creates a shallow-fried outer edge that’s impossibly good.
For a gluten-free pizza: Substitute a commercial gluten-free flour blend for the all-purpose flour (King Arthur or Bob’s Red Mill work well). Most gluten-free blends require slightly more liquid—add 2 to 3 additional tablespoons of milk. The dough will be wetter and stickier than traditional pizza dough, which is normal. Work with wet hands and expect a slightly different texture, but the result is still delicious.
For whole wheat flavor: Replace up to 25% of the all-purpose flour with whole wheat flour (so about ½ cup whole wheat and 1½ cups all-purpose). Whole wheat absorbs more water, so add an extra 1 to 2 tablespoons of milk. The resulting pizza has a nuttier flavor and a slightly denser crumb, which some people prefer.
For an herb and garlic version: Add 1 teaspoon of dried Italian seasoning or dried oregano to the dry ingredients during whisking. Add ½ teaspoon of garlic powder at the same time. Mix in 1 tablespoon of minced fresh basil (or additional dried herbs) after the dough comes together, just before panning. Fresh herbs add brightness that works beautifully with no-yeast dough.
Storage, Make-Ahead, and Keeping Your Dough Fresh
The advantage of no-yeast dough is that it doesn’t require advance planning, but there are strategic ways to handle it if your timing doesn’t align perfectly.
Storing unmixed dry ingredients: Mix your flour, baking powder, and salt the night before if you want to streamline the process. Store this mixture in an airtight container at room temperature. When you’re ready to make pizza, just add the milk and olive oil. This saves about 2 minutes and is genuinely convenient for weeknight meals.
Storing mixed but unbaked dough: This is tricky because baking powder begins working immediately. Ideally, you should use the dough within 10 minutes of mixing. However, if you absolutely must wait, cover the pan tightly with plastic wrap and refrigerate it for up to 2 hours. The cold slows the chemical reaction, giving you a longer window. Remove it from the fridge 5 minutes before baking to let it come back to room temperature slightly. It won’t rise quite as much if it’s been refrigerated, so expect a slightly less puffy crust.
Freezing baked pizza: Baked pizza freezes beautifully. Slice it, wrap individual slices tightly in plastic wrap, then place them in an airtight container or freezer bag. They’ll keep for up to 2 months. Reheat in a 350°F oven for 8 to 10 minutes (wrapped loosely in foil to prevent over-browning) until warmed through. The crust won’t be quite as crisp as freshly baked, but it’s entirely acceptable.
Not recommended: freezing unbaked dough. Because the leavening has already been activated, frozen unbaked dough loses its rise and won’t give you good results. Make and bake fresh instead.
Leftover pizza storage: If you have baked pizza left over, store it in an airtight container in the refrigerator for up to 3 days. Reheat it in a 350°F oven for 5 to 8 minutes, tented loosely with foil. Don’t use a microwave—it makes the crust tough and chewy.
How to Shape and Top Your No-Yeast Pizza
Shaping this dough is more forgiving than yeast-based dough because you’re not trying to preserve extensive fermentation and gas structure. You just want an even thickness that bakes uniformly.
For hand-shaped pizzas: If you don’t have a pan, you can shape the dough directly on parchment paper, then slide it onto a baking sheet or pizza stone. Mix the dough, then transfer it directly to parchment paper placed on your work surface. Wet your hands lightly and stretch the dough outward from the center, working it into a circle (or rough rectangle, depending on your preference). The dough should be about ¼ inch thick for a standard pizza, or up to ½ inch for a thicker, breadier result.
For perfectly even thickness: Place the dough on your pan and use a slight rocking motion with your hands—gently pressing down with the heel of your hand while moving outward. This creates more even thickness than aggressively stretching, which can create thin spots that brown too fast. Work from the center outward, and pay attention to the edges and corners, which tend to be thicker if you don’t intentionally press them out.
Creating a rim or cornicione: If you want that beautiful puffy crust edge that’s characteristic of traditional pizza, don’t stretch the dough quite all the way to the edges of the pan. Leave about a ½-inch border unstretched. During baking, this border will puff up because the baking powder creates lift underneath it while the edges of the pan contain it upward. It’s genuinely easy and creates an impressive result.
Topping strategy: Less is more. A thin layer of sauce—about 3 to 4 tablespoons for a 10-inch pizza—is plenty. Go lighter on the cheese than you think you should, because cheese shrinks as it bakes and excess cheese makes the pizza greasy. A moderate amount of any additional toppings (vegetables, olives, meats) prevents the pizza from becoming heavy and allows the crust to bake through properly. Focus on quality ingredients in moderate amounts rather than loading every square inch.
Sauce choice: You can use store-bought pizza sauce, marinara, or make a quick fresh sauce by combining canned crushed tomatoes with olive oil, salt, minced garlic, and dried oregano (simmer for 5 minutes). No-yeast dough works with any sauce, so don’t worry about finding something special.
The Best Baking Methods for Crispy or Chewy Crust
For maximum crispiness: Use a perforated pizza pan (holes allow air circulation underneath) or a pizza stone. A stone must be preheated in the oven for at least 15 minutes before baking. Bake at 450°F to 475°F. Place the pizza on the lower-middle rack to ensure the bottom crisps before the top over-browns. Bake for 12 to 14 minutes. The higher heat and increased air circulation both contribute to crispness. Remove any foil or covering immediately after baking so steam escapes.
For a chewier, bread-like crust: Use a regular baking sheet (not perforated) or a cast iron skillet. Bake at 425°F on the lower-middle rack for 16 to 18 minutes. The enclosed environment of a standard sheet pan traps slightly more steam, which creates a softer, less crispy texture. This is particularly true if you leave the pizza in the pan for a full 2 minutes after removing it from the oven—that steam continues to work.
For a pan pizza with fried edges (cast iron method): Heat the oiled cast iron skillet on the stovetop over medium heat for 1 minute. Carefully add your shaped dough (it will sizzle slightly), then add toppings immediately. Bake at 425°F for 14 to 16 minutes. The bottom develops a golden, shallow-fried exterior that’s textured and crispy, while the top remains soft and cheesy. This is genuinely special.
For a stone-baked result: Preheat a pizza stone on the lowest rack of your oven at 475°F for at least 15 minutes. Shape your dough on a piece of parchment paper, top it as desired, then carefully slide the parchment and pizza directly onto the hot stone (the parchment will brown but won’t burn). Bake for 12 to 14 minutes. The direct heat from the stone creates an exceptionally crispy bottom. After removing the pizza, let the stone cool completely before cleaning it.
Rotation trick: If your oven has hot and cool spots (most do), rotate the pizza halfway through baking. Turn it 180 degrees or move it from one rack to another. This prevents burnt spots and ensures even browning.
Flavor Variations and Add-Ins
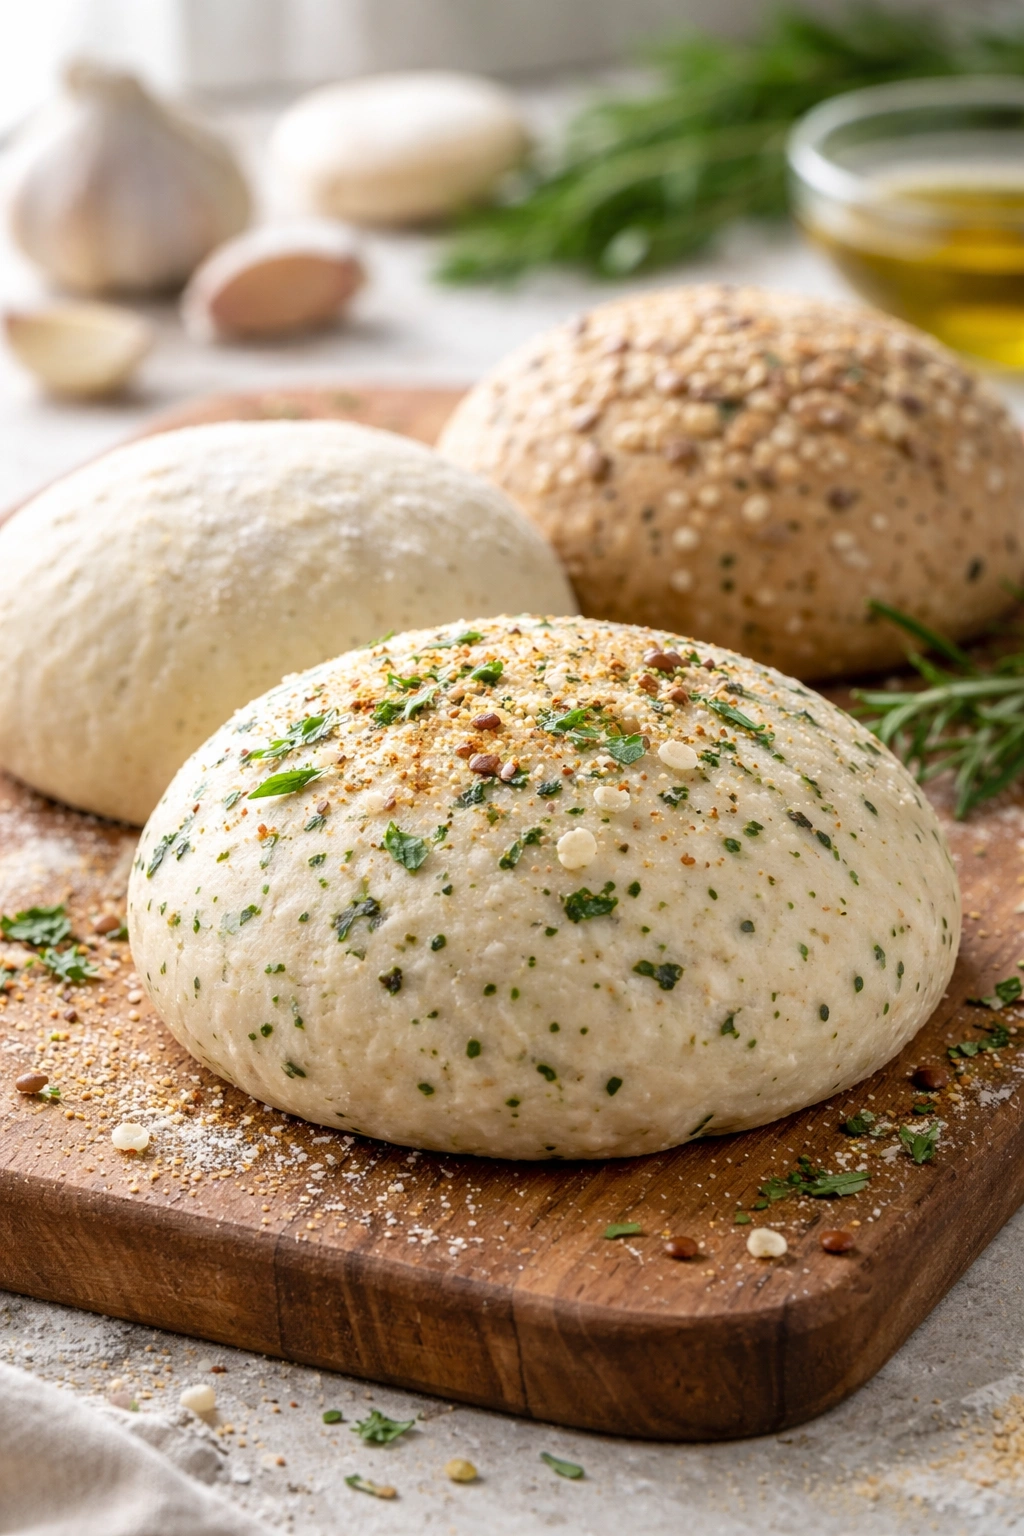
Garlic herb dough: Add 1 teaspoon of dried Italian seasoning and ½ teaspoon of garlic powder to the dry ingredients. Optionally stir in 2 tablespoons of minced fresh basil after the dough comes together. This transforms the crust into something closer to focaccia.
Whole wheat and seeds: Replace half the all-purpose flour with whole wheat flour, and add 2 tablespoons of mixed seeds (sesame, sunflower, poppy) to the dry ingredients. This creates a nuttier, more substantial crust with visual texture.
White pizza dough: Reduce the salt to 1 teaspoon and add 1 teaspoon of sugar to the dry ingredients. Top with ricotta, mozzarella, and fresh herbs instead of traditional red sauce. This creates a delicate, slightly sweet crust that pairs beautifully with lighter toppings.
Cornmeal addition: Replace ¼ cup of the flour with cornmeal. This creates a slightly grainier texture and a more robust, corn-forward flavor. The cornmeal also adds visual interest and subtle crunch.
Honey and olive oil finish: Brush the crust lightly with a mixture of olive oil and honey (or drizzle after baking) before serving. This adds sweetness that complements savory toppings and creates a beautiful sheen.
Red pepper flakes mixed in: Add ½ to 1 teaspoon of red pepper flakes to the dry ingredients if you like heat. This distributes the spice throughout the crust evenly, rather than only on top.
Troubleshooting Common No-Yeast Pizza Problems
Pizza turned out dense and heavy. The most common cause is mixing the dough and then letting it sit for too long before baking. Baking powder works immediately, and waiting causes gas loss. Another cause is using old or expired baking powder—check the expiration date. Finally, if you added more flour than called for during shaping (a natural instinct when the dough is sticky), you reduced the leavening power. Next time, use wet hands instead of flour.
Crust is tough and chewy rather than light. You likely overworked the dough during mixing or shaping. Stir just until the dry ingredients are incorporated, then stop. Handle the dough gently during shaping. Also check that you’re not using bread flour when all-purpose would be better—bread flour has more protein and creates chewiness naturally.
Pizza is browning on top before the bottom is cooked. Move the pizza to a lower rack in the oven, or reduce the oven temperature by 25°F. Your oven’s hot spot might be concentrated in the upper third. Also ensure you’re not overloading the pizza with toppings, which insulates the crust.
Bottom of the pizza is pale and not crispy. Use a preheated pizza stone or perforated pan, and place it on the lowest rack. If your oven has a broiler element on the bottom, make sure it’s not on (some ovens default to a heating element in the bottom, which actually isn’t ideal for pizza). If using a regular sheet pan, use a darker (not shiny) pan, which absorbs more heat.
Dough is too sticky to work with. Your kitchen is probably quite humid, or you used slightly more milk than required. Wet your hands instead of adding flour—this works far better. If the dough is still stubborn, let it rest in the pan for 2 to 3 minutes, then continue stretching.
Pizza rose too much and looks more like focaccia. You either used too much baking powder or waited too long between mixing and baking (the baking powder continued releasing gas). Next time, reduce baking powder to 2 teaspoons, or mix and bake immediately without any pause.
Baking powder taste is noticeable (slightly metallic or soapy flavor). This is often because the pizza didn’t bake long enough for the baking powder to fully cook out. Bake for the full recommended time, or slightly longer. It can also indicate that you’re sensitive to aluminum compounds, in which case switching to aluminum-free baking powder entirely solves the issue.
Final Thoughts
No-yeast pizza dough delivers results that genuinely rival traditional yeast-based pizza in texture and satisfaction. You get a crust that’s tender, flavorful, and absolutely ready to eat in under 30 minutes from start to finish. Once you’ve made it a few times, the process becomes automatic, and you’ll find yourself choosing this method even when you have yeast on hand, simply for the convenience.
The real flexibility comes from understanding how the variables shift the outcome. A bit more hydration, a different baking temperature, a different flour type—each adjustment teaches you something about how dough works. You’re not just following steps; you’re building intuition that applies to every kind of baking.
Keep your baking powder fresh, use room-temperature milk, mix quickly, and get the pizza into the oven without delay. These few details are the difference between a mediocre result and one that makes people genuinely impressed. The dough itself is simple—so simple that investing attention in technique and ingredient quality becomes the whole focus, which is exactly where it should be.