Most people think they hate broccoli. What they really hate is the way they’ve always made it — boiled into submission until it’s mushy and bitter, or steamed until it tastes like wet grass. Roasting broccoli is completely different. It transforms those florets into something genuinely crave-worthy: crispy around the edges, tender inside, with a deep caramelized sweetness that tastes nothing like the sad vegetable side dish most people grew up with. The difference between mediocre roasted broccoli and actually delicious roasted broccoli comes down to technique, not luck.
The secret isn’t some fancy ingredient or a special oven setting. It’s understanding a few specific principles about moisture, heat, space, and timing — the same principles that make the difference between restaurant-quality roasted vegetables and the kind that steam themselves into submission on your baking sheet. Once you know these principles, roasted broccoli becomes one of the easiest, most reliable side dishes you can make. It’s hard to mess up once you know what you’re doing, and it stays delicious whether you eat it warm, at room temperature, or cold the next day.
Let me walk you through exactly how to roast broccoli so it actually tastes good — the specific techniques, the exact temperatures, the common pitfalls to avoid, and the variations that make it taste even better. This isn’t complicated, but it does require being intentional about a few key steps.
Why Roasting Transforms Broccoli
Roasting works its magic through two critical chemical processes: caramelization and the Maillard reaction. When broccoli florets hit high heat with exposed surfaces touching the hot pan, those exposed areas develop a deeply browned, complex crust while the inside stays tender. This browning creates hundreds of new flavor compounds that don’t exist in raw or boiled broccoli.
The key is that this only happens when there’s real, direct contact between the vegetable and the hot surface. Crowded pans where florets steam each other prevent browning. Wet broccoli steams instead of roasts. Low temperatures encourage softening without browning. Understanding this is what separates mediocre roasted broccoli from the kind people actually ask for seconds of.
Boiling broccoli, by contrast, leaches vitamins into the water and allows the sulfur compounds to volatilize — that’s why boiled broccoli smells and tastes aggressively “broccoli-y” in the worst way. Roasting, because it’s dry heat and happens quickly, preserves nutrients better and actually mellows out the stronger sulfur notes while developing pleasant sweetness instead. The vegetable becomes naturally sweeter as the water content reduces and the starches caramelize.
Choosing the Right Broccoli

Start with broccoli that’s actually fresh, which sounds obvious but matters more than you’d think. Look for deep, vibrant green color throughout the florets and stem — if the color is dull or yellowing, the broccoli is past its prime and won’t develop the same sweet caramelization when roasted. The florets should feel firm to the touch, not soft or wilting.
The size and shape of the broccoli head affects how you’ll cut it, so that matters too. Tightly packed heads with compact florets are ideal because they hold together better when roasted and brown more evenly. Larger, looser heads sometimes have stems that are hollow or fibrous, which won’t roast as well. If you’re shopping and have a choice, reach for the tighter head.
Don’t bother with pre-cut broccoli florets from the grocery store. They’ve already lost surface moisture and develop a slightly papery texture when roasted. Fresh broccoli that you cut yourself stays fresher, roasts better, and tastes noticeably better. The effort is minimal — it takes about two minutes to cut a whole head into florets.
Drying Your Broccoli Completely
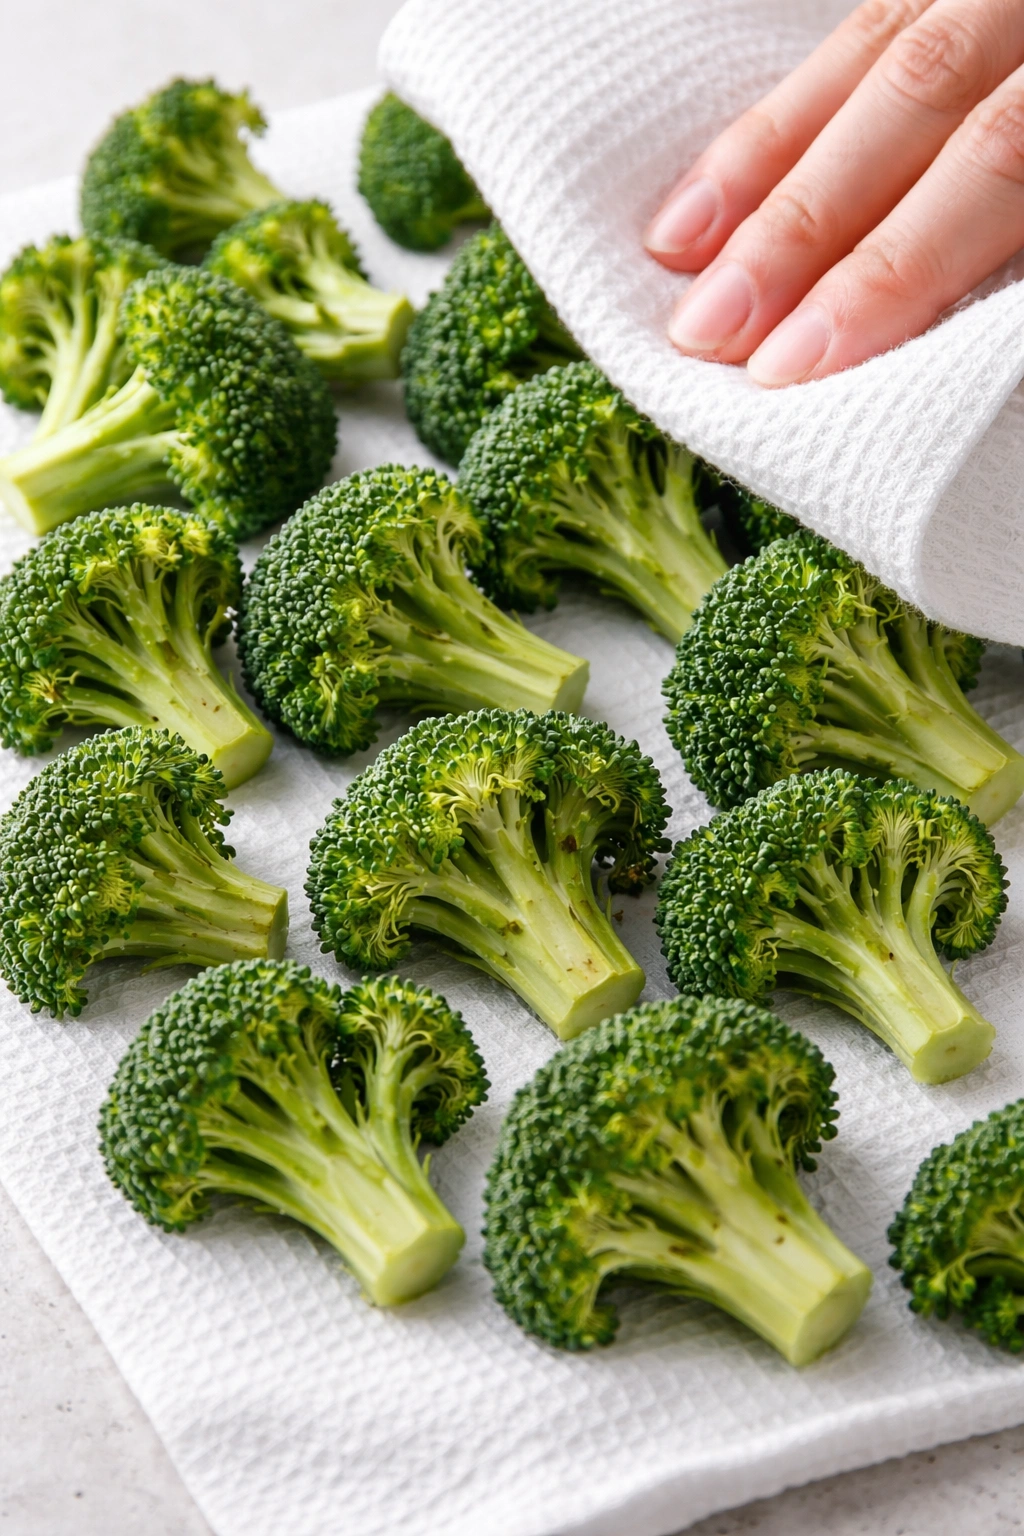
This is the step most people skip, and it’s the reason their roasted broccoli turns out mediocre. Broccoli is about 90% water, and any surface moisture absolutely prevents browning and encourages steaming instead. If your broccoli is wet when it hits the pan, you’re steaming it, not roasting it. That’s why you end up with pale, soft broccoli instead of crispy, caramelized broccoli.
Wash your broccoli thoroughly under cool running water, rubbing gently with your fingers to get between the florets where dirt hides. Then — and this is critical — dry it thoroughly. A salad spinner is your best tool here. One good spin isn’t enough; you want to run it multiple times, removing as much water as possible. The florets should look almost completely dry, with no visible water clinging to them.
If you don’t have a salad spinner, pat the broccoli dry with paper towels or a clean kitchen towel, then lay the florets on paper towels and let them sit for 5 to 10 minutes before roasting. This passive drying time lets moisture that’s trapped in the crevices between the florets evaporate before they hit the pan. Some people even place the dried florets in the oven for 2-3 minutes before adding oil and seasoning, just to drive off the last traces of moisture. It sounds fussy, but it genuinely makes the difference between broccoli with a thin crispy layer and broccoli with a thick, satisfying crust.
Cutting Florets for Even Roasting
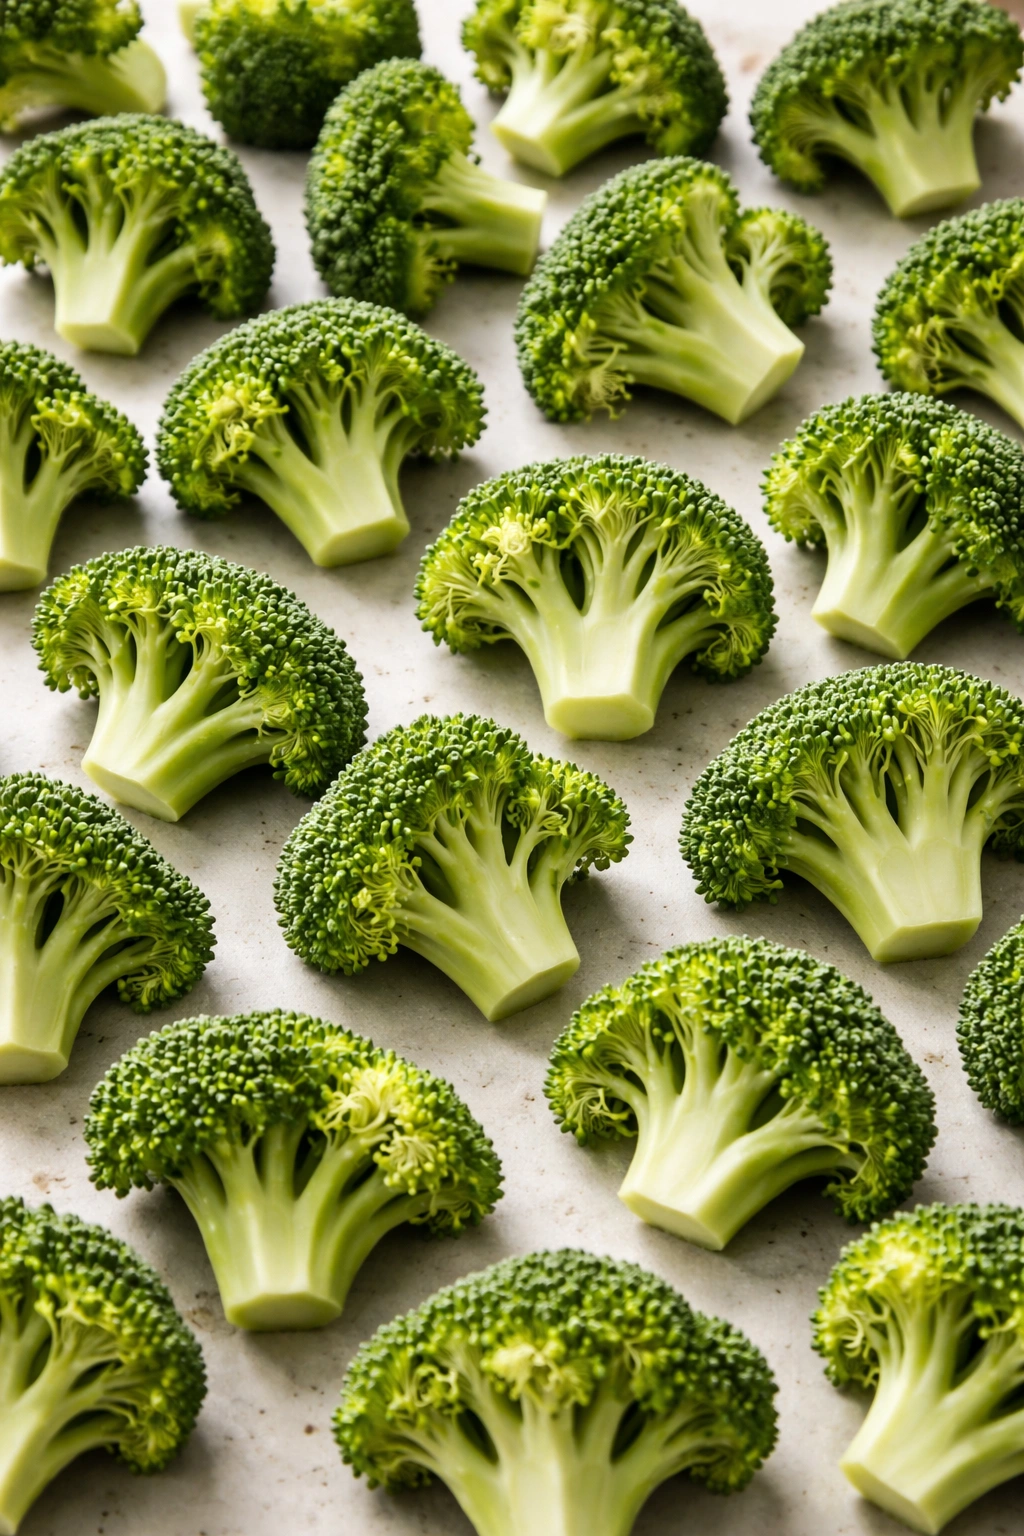
How you cut the broccoli directly affects how evenly it roasts. You want florets that are roughly uniform in size so they all finish cooking at the same time. If some pieces are twice the size of others, you’ll have overcooked pieces turning bitter while the small pieces are still pale.
Aim for florets about 1 to 1.5 inches across at the widest point. Some people prefer them slightly smaller or slightly larger depending on how much crust versus tender interior they want, but this size range hits the sweet spot for most home cooks. Cut the head lengthwise first, from the crown down through the stem. Then use the knife to cut the smaller florets off the sides. For the central stem, peel away the tough exterior with a knife or peeler, then cut the tender inside into finger-sized pieces — these roast beautifully and shouldn’t be wasted.
Consistency matters as much as size. Try to cut each floret so it has one flat side (where you made the cut) and one textured, rounded side (the natural crown of the floret). The flat side will make direct contact with the hot baking sheet and develop the deepest browning. The rounded side stays up and gets heat from above. This orientation naturally creates better browning all around.
Don’t cut the florets too small. Really tiny pieces tend to over-dry and turn hard or bitter. Really large pieces don’t develop enough crust-to-interior ratio, so you don’t get that satisfying contrast in texture. The 1 to 1.5-inch sweet spot gives you plenty of crust development while keeping the inside tender.
The Oil: It’s More Important Than You Think
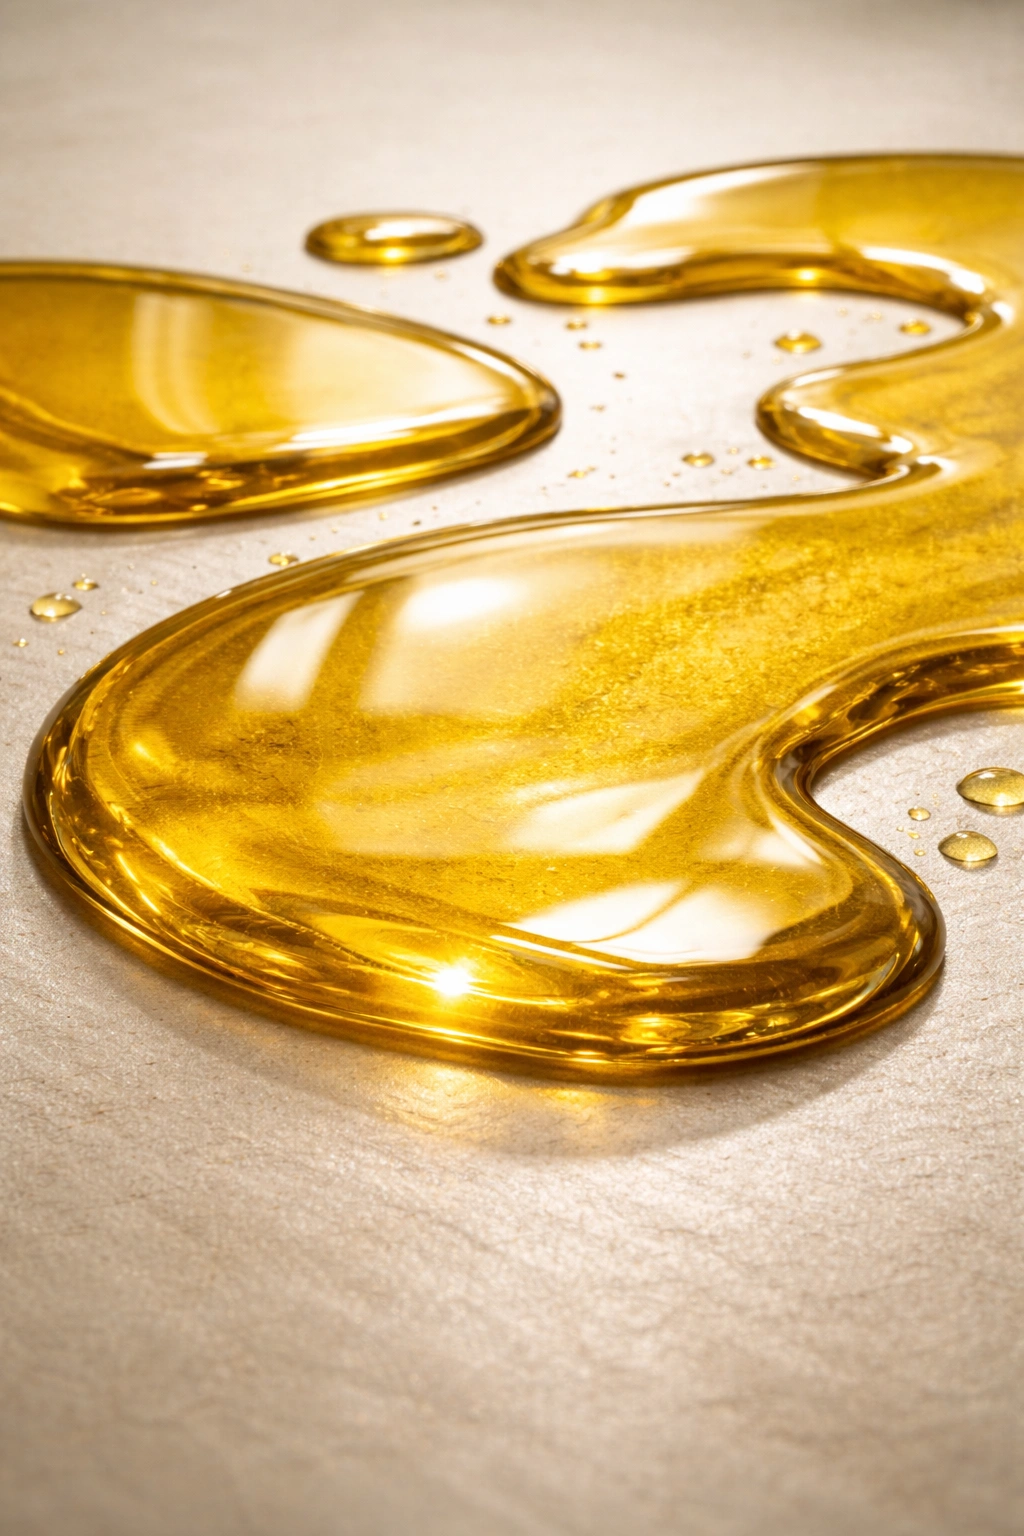
Oil does three critical jobs in roasted broccoli: it conducts heat to the vegetable more efficiently than air alone, it helps the outer surface brown evenly, and it carries flavor. You absolutely need enough oil. Not drowning-in-oil quantities, but enough that every piece is lightly coated.
Use about 2 to 3 tablespoons of oil per pound of broccoli — that’s roughly 3 to 4 cups of cut florets. You want the florets glistening but not slick. A generous coating, not a heavy one. Toss the broccoli and oil together in a bowl so every single piece gets coated evenly before it goes on the pan. Many people put the broccoli on the pan first and then drizzle oil on top, which leads to uneven coverage and uneven browning.
What kind of oil matters less than you’d think, as long as it has a reasonably high smoke point for the roasting temperature you’re using. Olive oil works fine — regular olive oil, not expensive extra virgin (save that for finishing), because the high heat will destroy the delicate flavors anyway. Avocado oil, vegetable oil, and canola oil all work equally well. Pick what you have. The oil isn’t supposed to be the star flavor; it’s just the vehicle that makes everything else work.
Never use cold oil straight from the bottle. If the oil is cool, the broccoli cools it down further when you toss them together, which delays browning. Warm the oil slightly first by either letting it sit at room temperature for a while or — if you’re in a hurry — warming it very briefly in a small pan. This small step shaves a few minutes off the total roasting time and helps browning happen faster and more evenly.
Seasoning: Beyond Just Salt

Salt is essential, obviously, but the moment you season is just as important as what seasoning you use. Add salt after tossing with oil, not before. Salt draws out moisture from the vegetable, and if you salt too early, you’re undoing all the work you did getting the broccoli dry. Season just before the broccoli goes into the oven, then season again lightly at the end if needed.
Plain sea salt or kosher salt is the baseline. But this is where you can get creative. Many people stop at salt and miss an opportunity to build flavor. Black pepper is obvious, but consider adding a small pinch of garlic powder, onion powder, or smoked paprika while the broccoli is still oiled and warm — the flavors bloom differently when they’re on warm oil than they would if you seasoned raw broccoli.
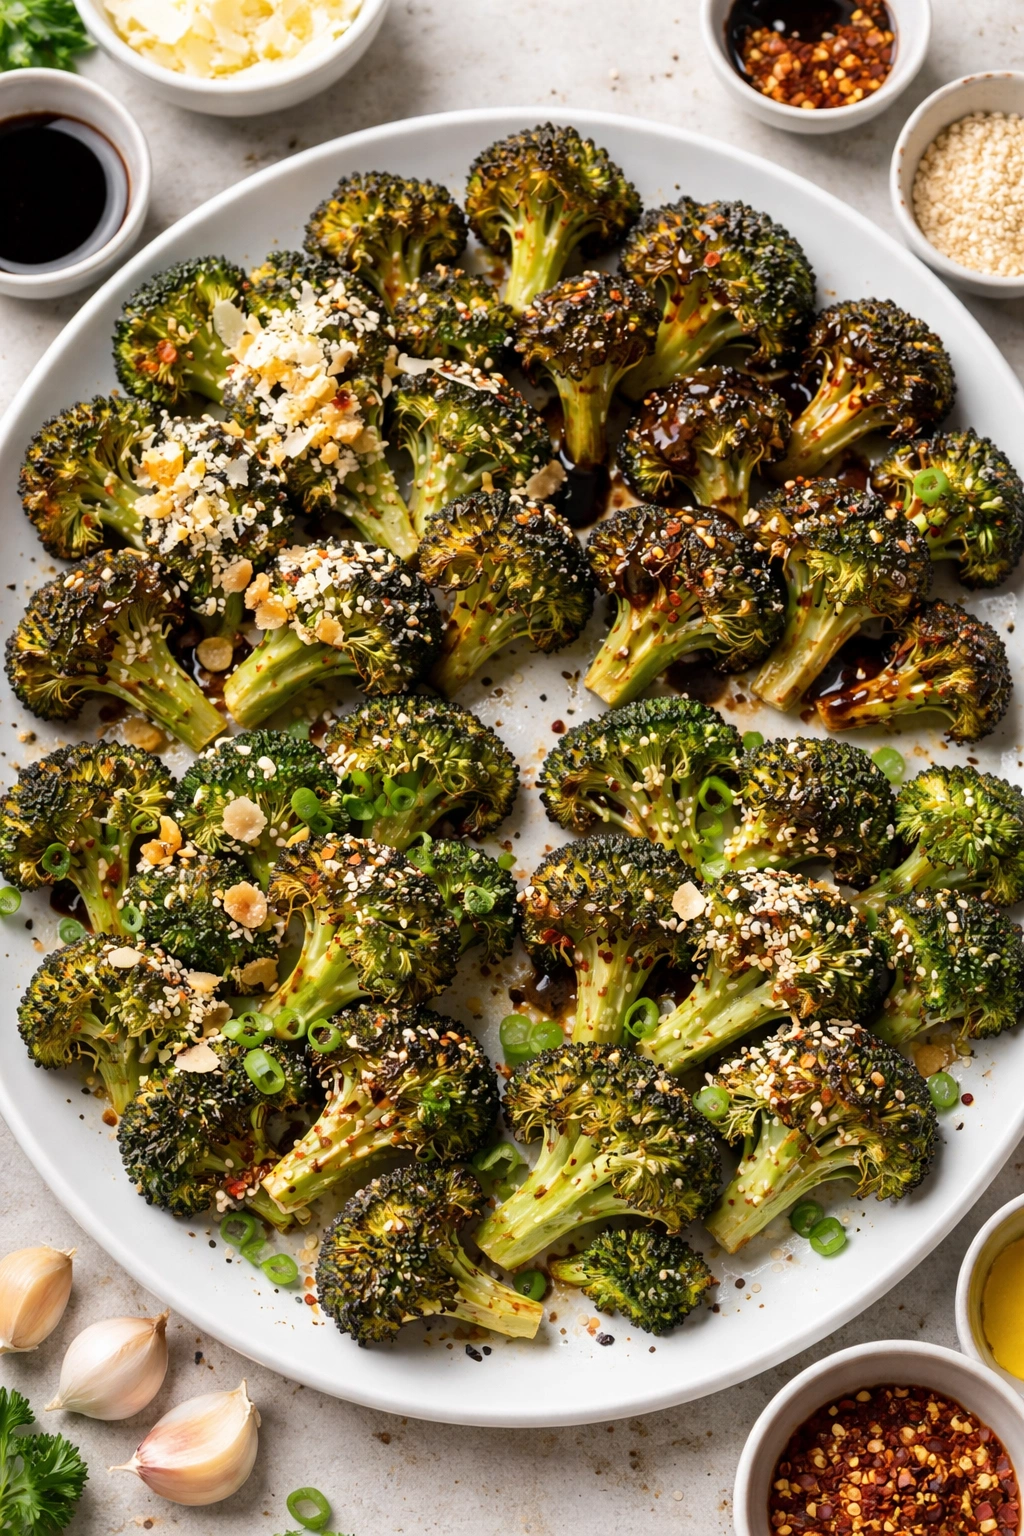
Red pepper flakes add a subtle heat that plays beautifully with the sweetness of caramelized broccoli. Parmesan cheese, grated finely and tossed on immediately after roasting while the broccoli is still hot, melts slightly and adds savory depth. Lemon zest — not juice, which adds moisture — scattered on at the very end brings brightness without dampness. Fresh herbs like thyme or oregano sprinkled on while roasting add subtle herbal notes.
The key is balance. You’re not trying to make broccoli taste like something else. You’re enhancing the natural sweetness and nuttiness that roasting already creates. Overseasoning masks that delicate flavor development, which is the whole point of roasting rather than boiling or steaming. Start with less seasoning than you think you need; you can always add more at the table.
Temperature and Timing: The Non-Negotiables
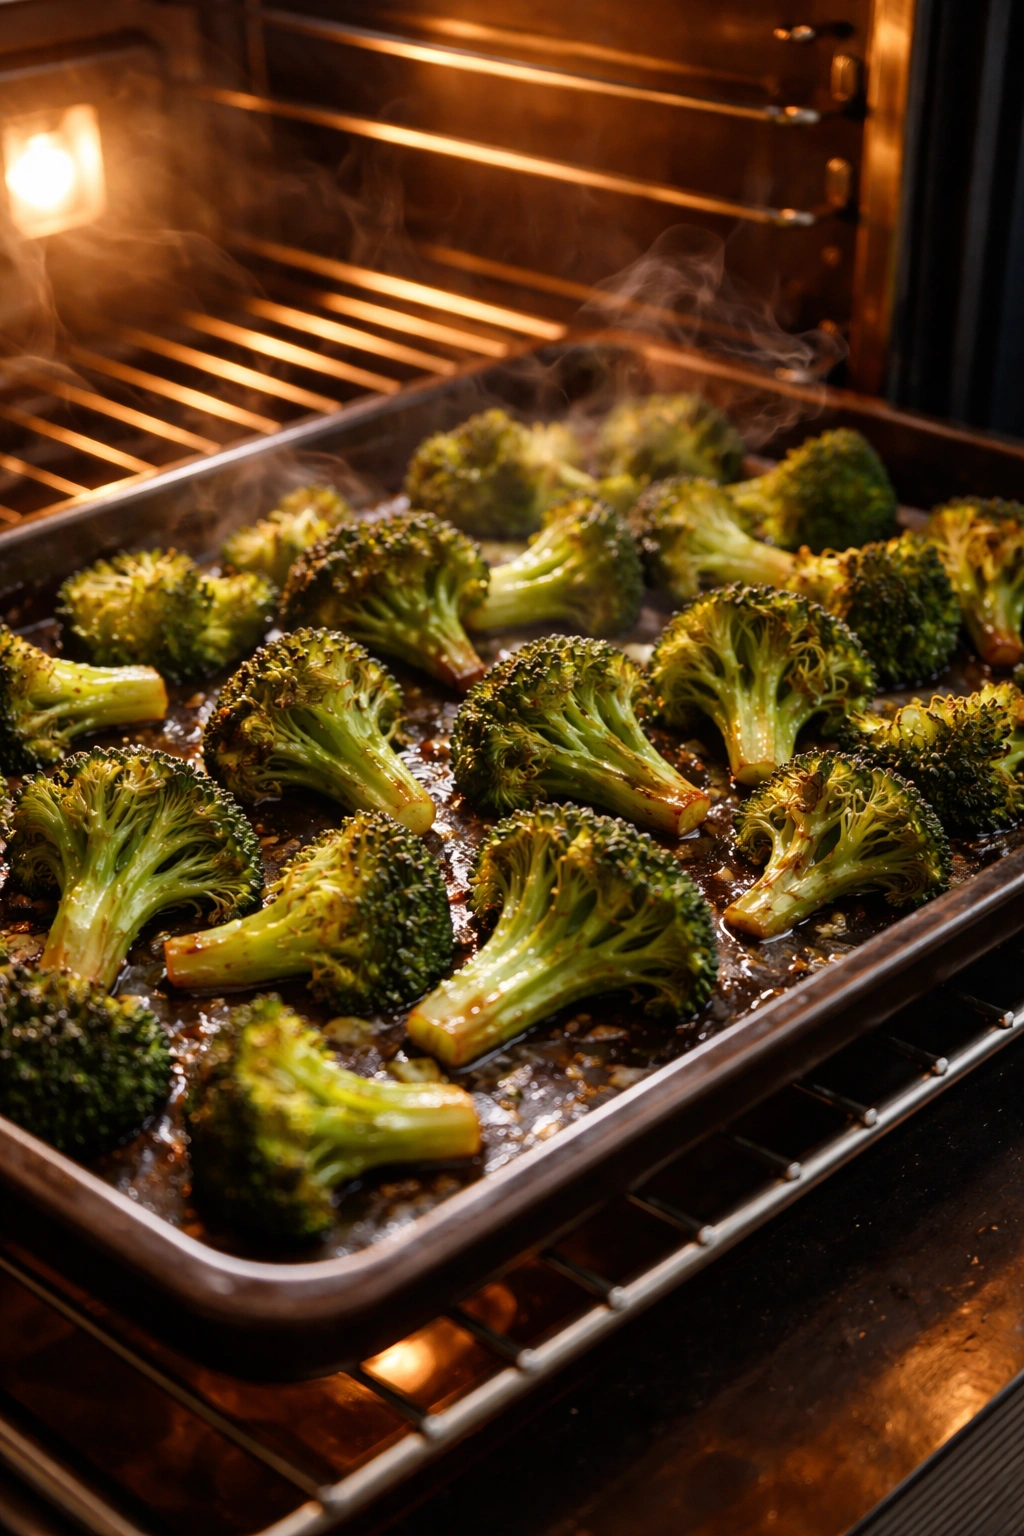
Temperature is where many home cooks compromise, and it’s why their broccoli doesn’t brown properly. The oven absolutely must be at 425°F (220°C) or higher. Some recipes call for 375°F or 400°F, and those temperatures will roast broccoli, but they won’t brown it in the way that creates that crave-worthy crust.
Preheat the oven fully — do not skip this step or try to save time by putting broccoli in a cold oven. You need that immediate, intense heat to jump-start browning. The broccoli should sizzle and start smoking slightly when it hits the hot pan. That’s the sound of caramelization happening. If you put it in a cold oven and let it preheat with the broccoli already on the pan, the broccoli steams itself while the oven comes up to temperature, and you lose that critical browning window.
At 425°F (220°C), roasting takes roughly 20 to 25 minutes for 1-inch florets. At 450°F (230°C), you’re looking at 15 to 20 minutes. At 500°F (260°C) or broiler-level heat, you can roast it in 10 to 15 minutes, but you need to watch it closely because it can go from perfectly caramelized to burnt in seconds. Most home ovens will give you the best results at 425°F to 450°F with a total roasting time of 20 to 25 minutes. The exact time depends on your oven, the size of your florets, and how much broccoli you’re roasting.
Plan to shake the pan or stir the broccoli halfway through. This ensures even browning on all sides. Some florets will naturally expose different surfaces to the pan as they cook, but giving everything a gentle shake at the 12-minute mark helps considerably. Don’t stir constantly or you’ll break the forming crust. Just one good shake or stir, halfway through.
Achieving That Perfect Caramelized Crust
The crust is everything. It’s where the flavor lives, where the texture contrast happens, and what separates restaurant-quality broccoli from mediocre broccoli. The crust forms when the exterior of the floret reaches a temperature high enough to brown without overcooking the interior. This is why spacing and heat distribution matter so much.
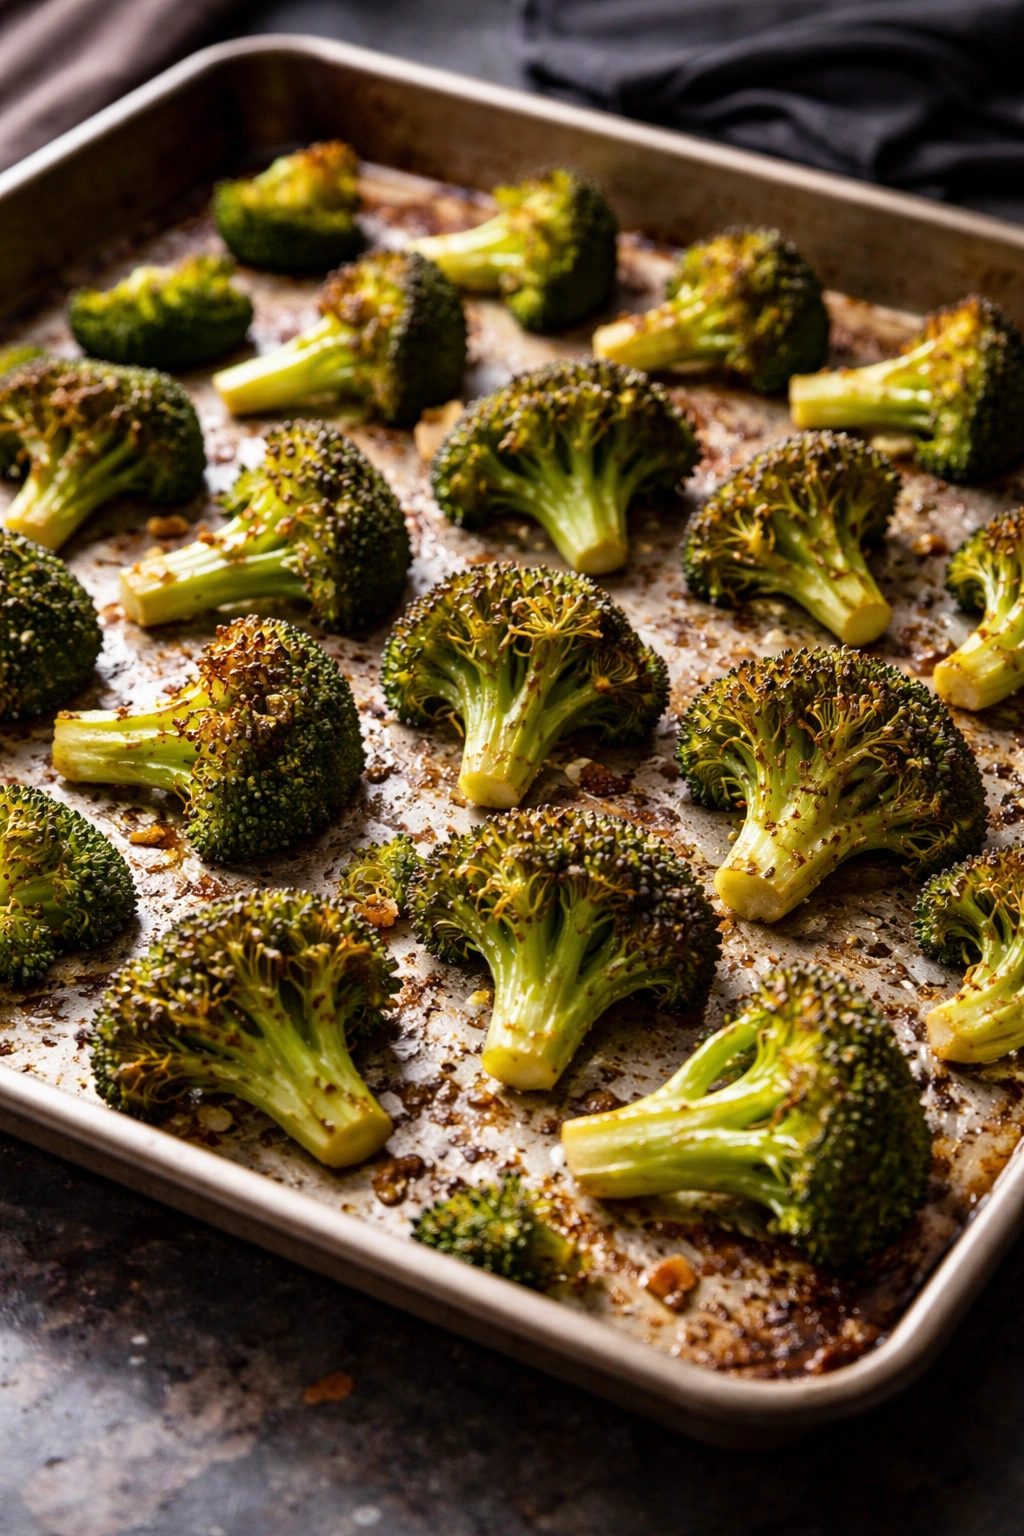
Spread the broccoli in a single layer on your baking sheet with at least some space between pieces. Crowding the pan is the enemy of browning because the florets shield each other from direct heat and moisture released by one piece steams the piece next to it. If you’re roasting a lot of broccoli, use two pans instead of packing one. A large baking sheet (usually 18 by 13 inches) can comfortably hold about 4 to 5 cups of florets in a single layer with good spacing.
Use a heavy baking sheet or cast-iron pan. Lightweight aluminum pans heat unevenly and cool down when you add the cold broccoli, which delays browning. A thick, heavy pan holds heat better and browns more consistently. If you use a cast-iron skillet, it retains heat so effectively that browning happens almost instantly — you might need to reduce the temperature by 25°F or shorten the time by 2 to 3 minutes to avoid burning.
The flat side of the floret — the side you cut — should be the one making contact with the hot pan. This is where the deepest, darkest browning happens. Some florets will brown beautifully with their crowns facing up. Others will brown unevenly if they’re tilted. This is fine and normal; it’s another reason for the halfway shake. You’re not trying to brown them evenly like a steak. You’re trying to brown them well, with good color all over and some darker spots where caramelization is most intense.
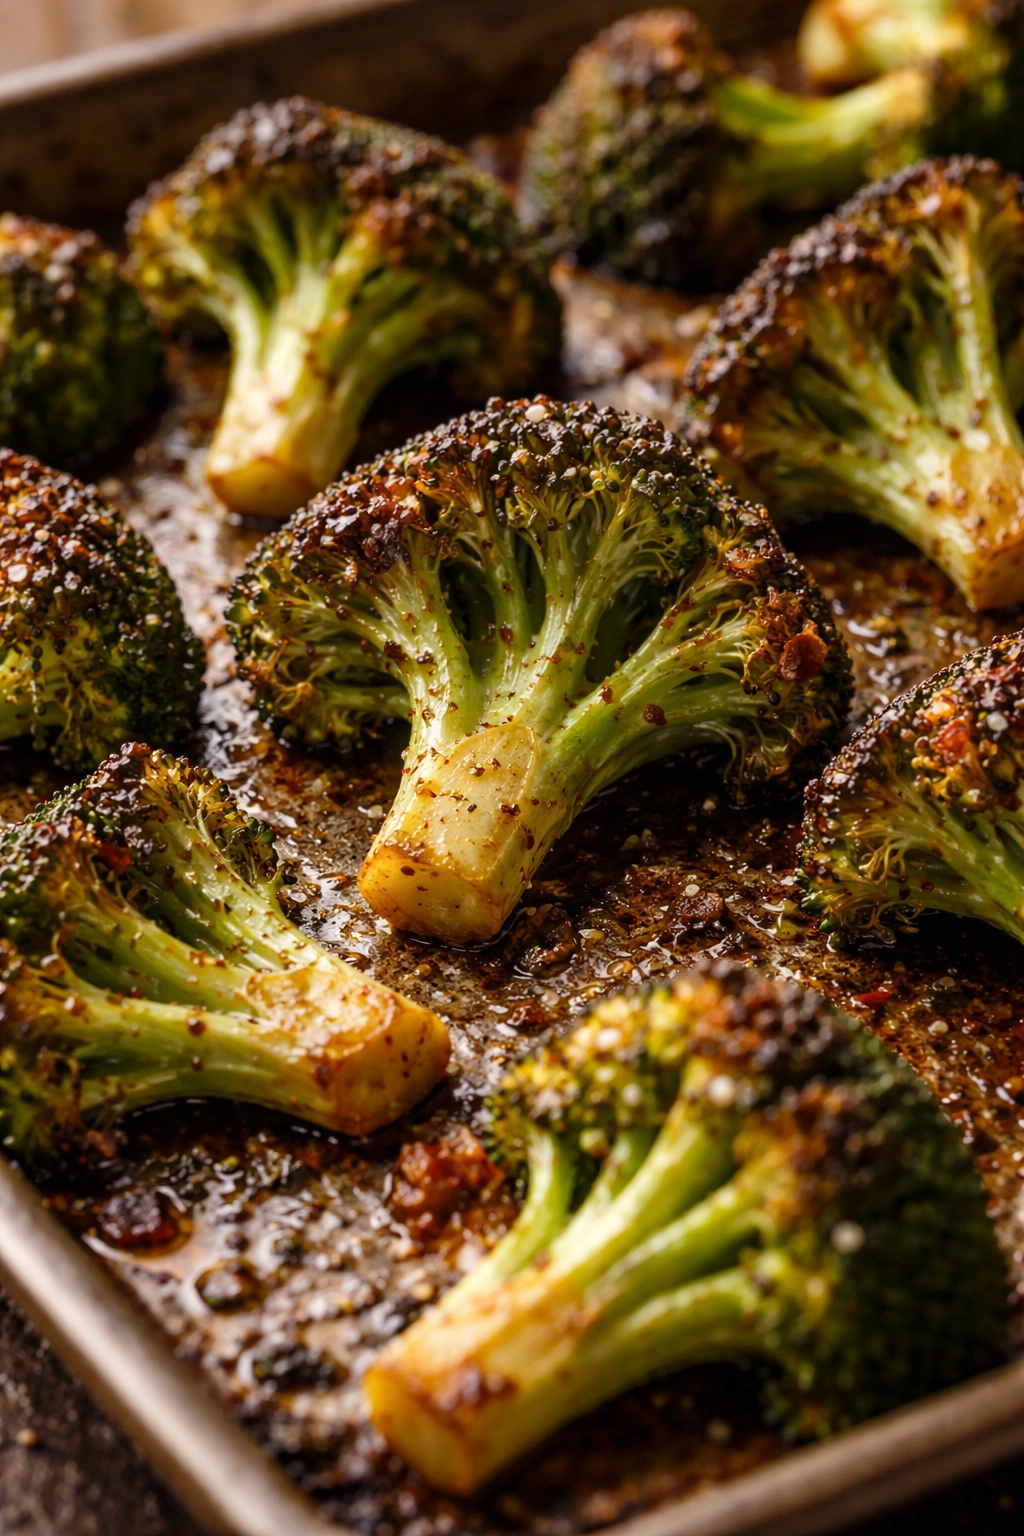
Knowing When It’s Actually Done
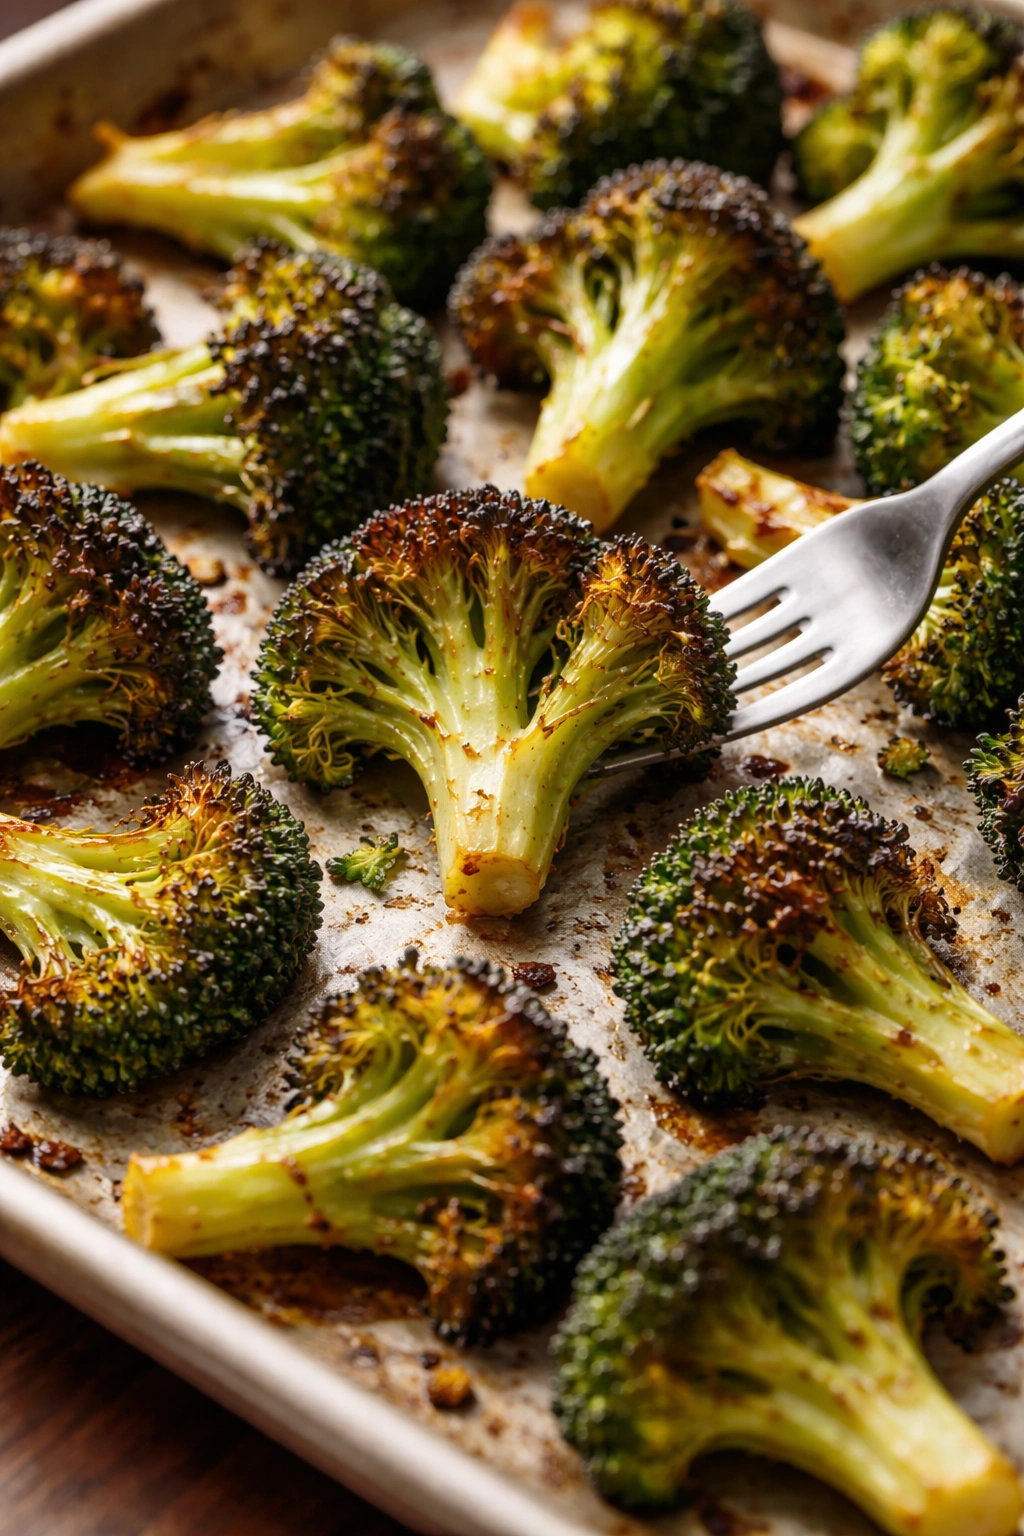
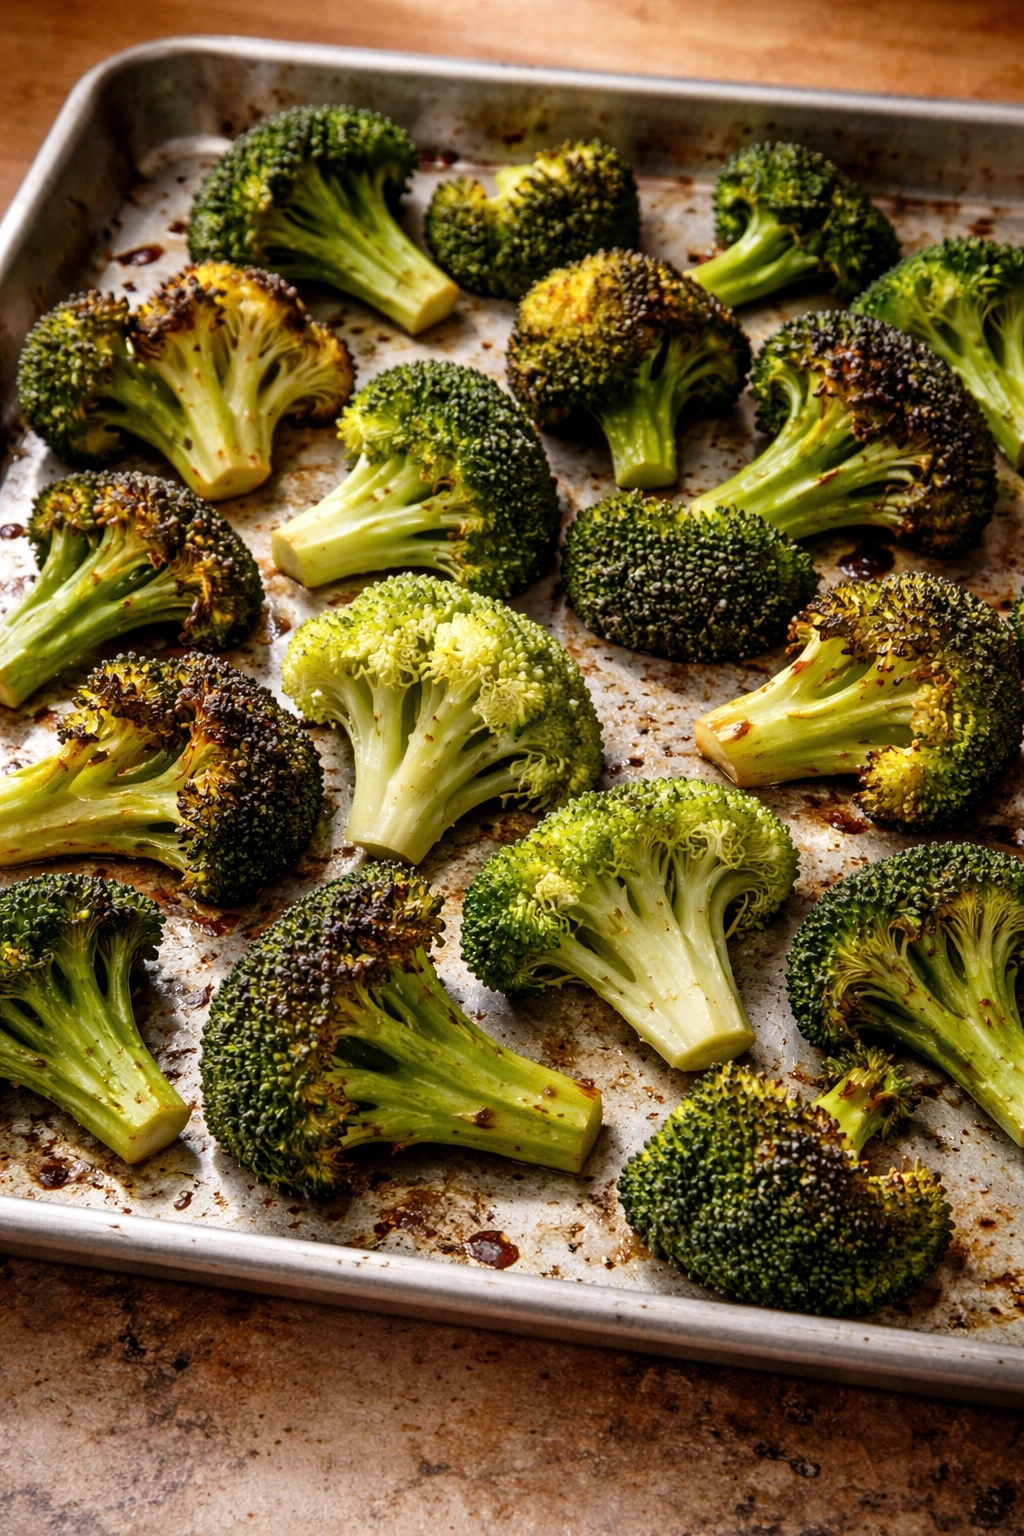
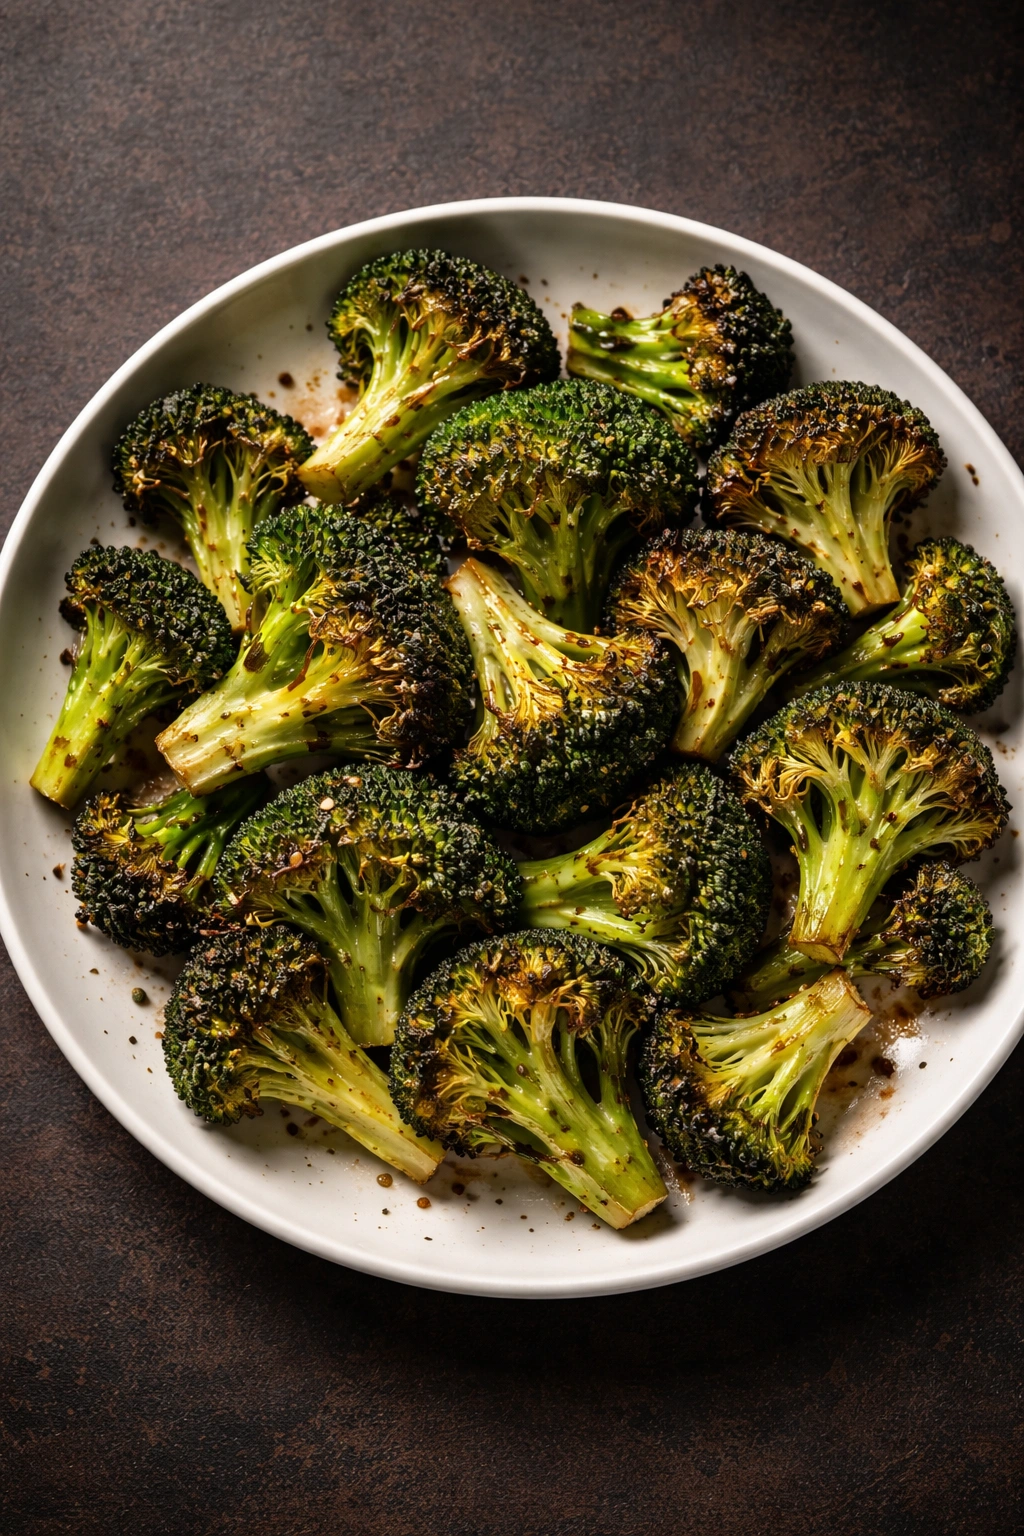
The hardest part of roasting broccoli is knowing when to stop. There’s a narrow but real window between perfectly roasted and overcooked. You’re aiming for broccoli that’s dark golden brown on the edges and crowns, with a tender (not mushy) interior. The edges and the tips of the florets should be slightly crispy, almost fragile if you were to bite down on them. The florets should be fork-tender all the way through.
Visually, you’re looking for browning that covers maybe 40 to 50 percent of the surface area. It doesn’t need to be evenly brown — some pieces will be darker, some lighter, and that’s actually ideal for flavor variation. If you see any blackening — not dark brown, but actually black and charred — you’ve gone too far. The broccoli will taste bitter. If the florets still look pale green with no browning at all, they’re not done yet. Return them to the oven for another 2 to 3 minutes.
The real test is a fork. Pierce the thickest part of a floret (often a larger piece from the stem). If it pierces easily with no resistance, you’ve got the right doneness. If it’s still hard, give it another few minutes. If it crushes too easily into mush, you’ve overcooked it. Trust this test over appearance — some ovens brown things faster than they cook them through, and some do the opposite.
Common Mistakes That Ruin Roasted Broccoli
The number-one mistake is not drying the broccoli before roasting. Wet broccoli steams, period. You get mushy, pale broccoli with no crust. Dry it completely, no matter how much extra effort that feels like.
The number-two mistake is overcrowding the pan. Broccoli pieces touching each other creates steam pockets instead of browning. If you have a lot of broccoli, use two pans. Spread them out. Give them space.
Number three is using oil that’s too cold. Cold oil keeps the broccoli from browning properly and extends the cooking time. Warm it slightly before tossing with the broccoli.
Number four is not seasoning until the end. If you salt the raw, wet broccoli, it draws out moisture and prevents browning. Wait until after drying and oiling, or season after roasting.
Number five is a temperature that’s too low. You might think 375°F or 400°F is hot enough, but it’s not — not for the kind of browning that makes roasted broccoli taste good. Go 425°F minimum. Your broccoli will thank you.
Number six is not preheating the oven all the way. A partially preheated oven steams instead of roasts. Preheat completely, every time.
Number seven is walking away and forgetting about it. Roasting broccoli is fast. 20 to 25 minutes is enough time to get distracted and end up with burnt broccoli. Set a timer and plan to be near the kitchen. Shake the pan at the halfway mark.
Flavor Variations and Toppings
Plain roasted broccoli with just salt and pepper is genuinely delicious, but once you nail the basic technique, variations are fun and easy. The key is adding flavor elements after roasting, while the broccoli is still warm and can absorb them.
Garlic and Parmesan: Toss the hot roasted broccoli with minced raw garlic (a clove or two, depending on how much broccoli), finely grated Parmesan cheese, a squeeze of fresh lemon juice, and a pinch more salt. The residual heat slightly softens the raw garlic while keeping it fresh and pungent.
Balsamic glaze: Drizzle finished roasted broccoli with a balsamic reduction — you can make this by simmering balsamic vinegar in a small pan for a few minutes until it’s thick and syrupy, or buy it ready-made. The acidity and sweetness play beautifully against the caramelized broccoli.
Spicy Asian-inspired: Toss with a mixture of soy sauce, a dab of sriracha or other hot sauce, a bit of sesame oil, and sesame seeds. The soy adds saltiness and umami, the heat adds depth, the sesame oil adds nuttiness.
Everything bagel seasoning: This trendy mix of sesame seeds, poppy seeds, dried garlic, dried onion, and salt is basically made for roasted broccoli. Sprinkle it on after roasting. It adds texture and complex flavor without needing you to balance multiple ingredients.
Crispy breadcrumbs: Panko breadcrumbs toasted in a skillet with olive oil and garlic, then scattered over the hot broccoli, add pleasant crunch. Some people finish with a grating of Parmesan on top of the breadcrumbs.
Tahini drizzle: Whisk tahini with lemon juice, water, and minced garlic to make a loose sauce, then drizzle over warm roasted broccoli. The nutty, creamy tahini balances the crispy broccoli beautifully.
The versatility is part of what makes roasted broccoli so useful. You can dress it a dozen different ways depending on what it’s accompanying for dinner.
Pairing Roasted Broccoli With Other Foods
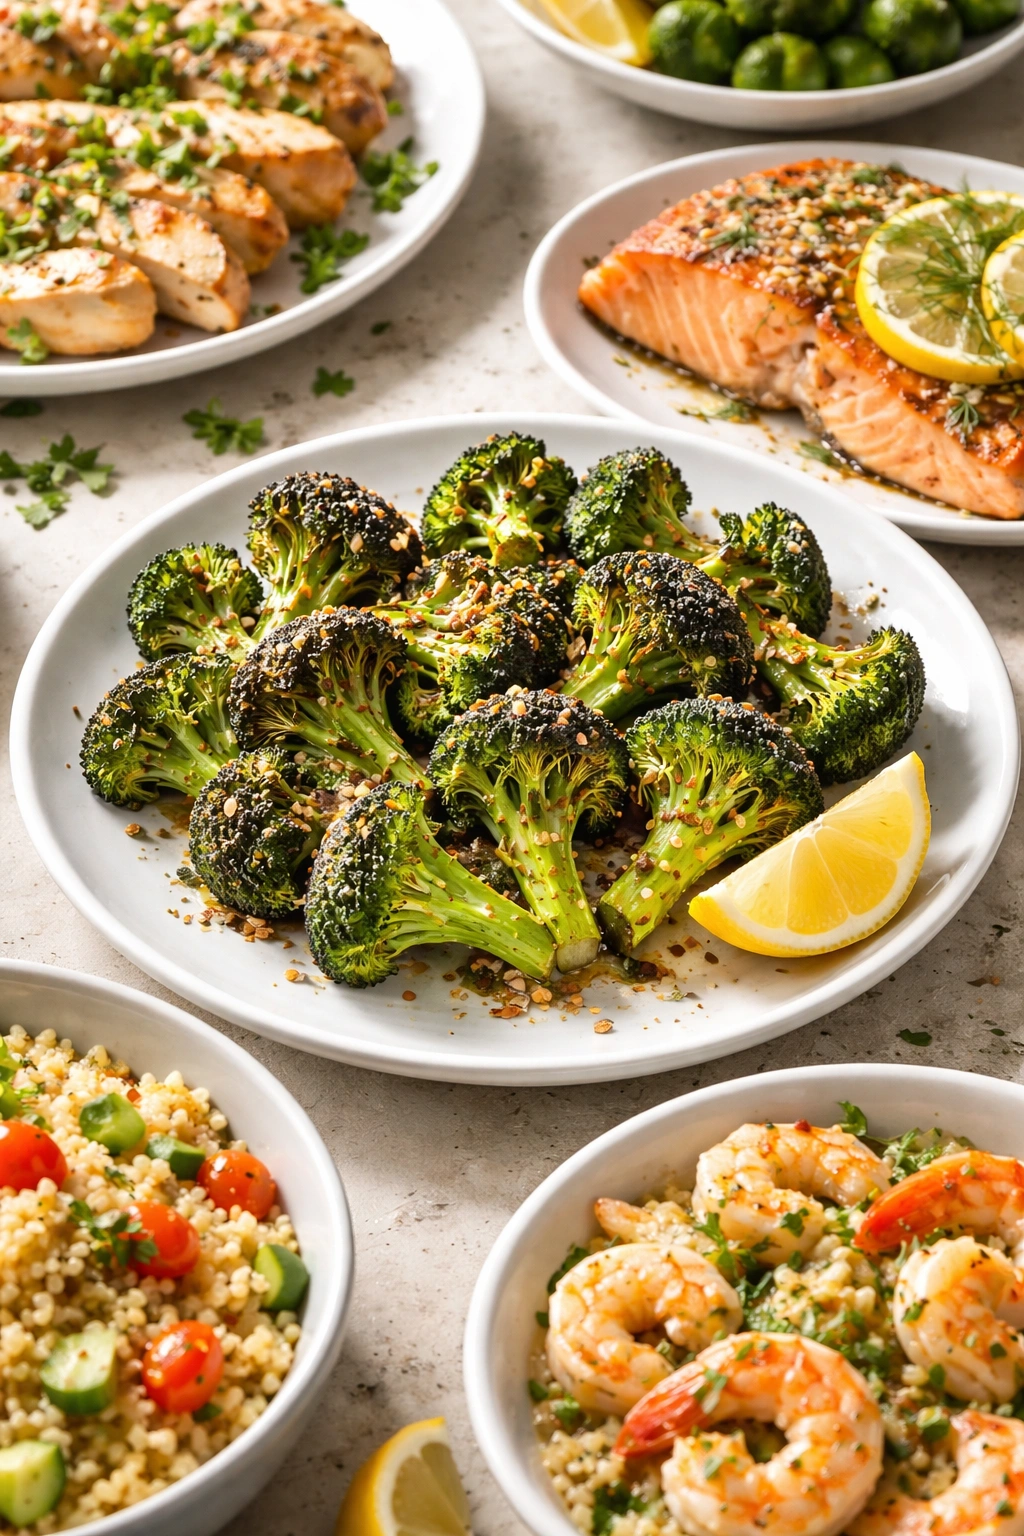
Roasted broccoli is a genuinely versatile side dish that plays well with nearly everything. Its caramelized sweetness, crispy texture, and earthy flavor make it work with proteins from grilled chicken to pan-seared fish to roasted tofu.
With simple roasted chicken or turkey, roasted broccoli works because both have similar roasting methods — you get that natural pairing of caramelization and crispiness that feels intentional and cohesive. A squeeze of lemon over both ties them together.
With beef, especially richer cuts like short ribs or prime rib, the broccoli’s slight bitterness (from the leafy parts) and sweetness (from caramelization) provide balance against the meat’s richness. A garlicky roasted broccoli is particularly good here.
With fish, lighter preparations work best. Roasted salmon with roasted broccoli and a simple lemon-olive oil sauce feels elegant without being fussy. The broccoli’s earthiness complements the fish’s delicate flavor without competing.
With grains like rice or quinoa, roasted broccoli provides textural contrast and substance. Top a grain bowl with roasted broccoli, add a protein, and finish with a sauce — you’ve got a complete meal that’s satisfying and nutritious.
With pasta, roasted broccoli tossed with hot pasta, olive oil, garlic, and Parmesan becomes a simple but deeply satisfying pasta dish. The broccoli’s crust texture contrasts beautifully with the soft pasta.
Storage and Reheating Guidelines
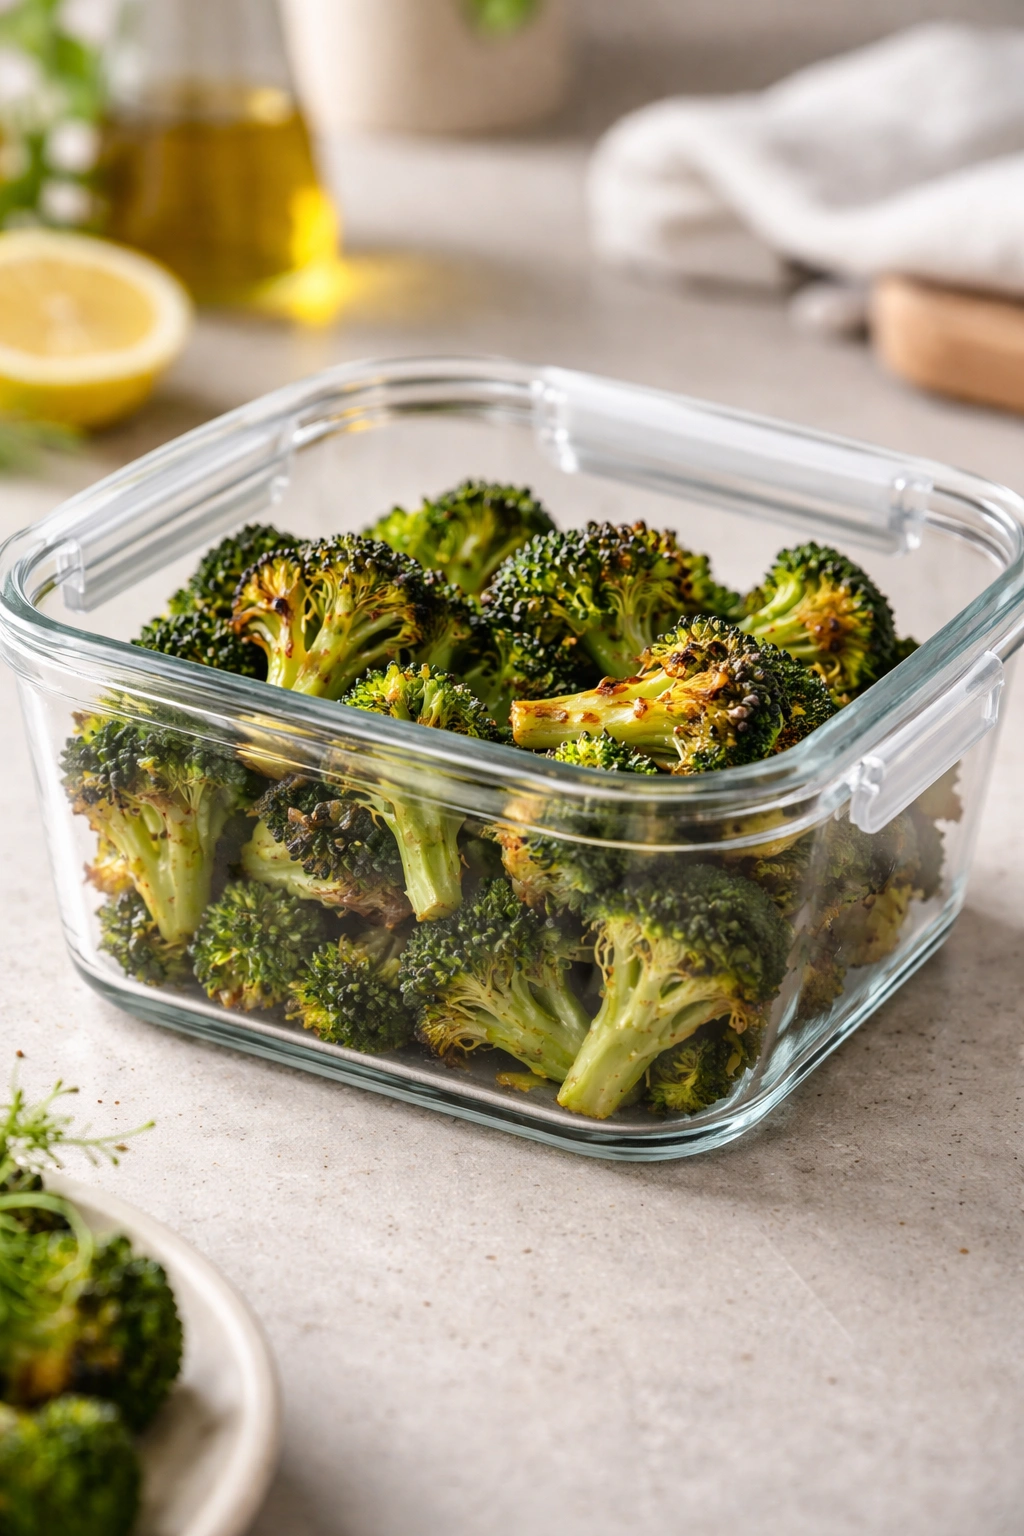
Roasted broccoli keeps surprisingly well for several days. Let any leftover cool to room temperature, then store it in an airtight container in the refrigerator for up to four days. The broccoli will soften a bit and lose some of its crispness, but the flavor remains excellent, and it’s still completely edible and tasty.
You can eat leftover roasted broccoli cold right out of the fridge — it actually makes a great snack or addition to lunch bowls and salads. Some people prefer it this way; the texture becomes firmer and more crunchy as it cools.
If you want to reheat it to make it warm again, the method matters. Don’t microwave roasted broccoli; the microwaves soften the texture and make it mushy. Instead, spread the leftover on a baking sheet and reheat in a 375°F (190°C) oven for about 5 to 8 minutes, just until warmed through. This restores some of the texture and crispness without further drying it out or burning it. You can also reheat it in a skillet over medium heat for 3 to 4 minutes, which also works well and is faster than the oven.
Freezing is possible but not ideal. Roasted broccoli that’s frozen becomes somewhat mushy when thawed because the ice crystals rupture the cell structure. If you do freeze it, defrost it in the refrigerator overnight, then reheat in the oven as described above. It won’t be quite as good as fresh roasted broccoli, but it’ll still be edible.
Final Thoughts
Roasting broccoli is one of those simple cooking techniques that seems like it should be obvious but somehow isn’t common knowledge. The difference between following these steps carefully and winging it is the difference between broccoli that people actually enjoy eating and broccoli that people tolerate because they think vegetables are good for them.
The core principle is straightforward: dry broccoli, coat it well with oil, season thoughtfully, roast it hot, and stop when it’s properly browned but still tender inside. Every other variable — specific oven temperature, exact timing, flavor variations — flows out of understanding this basic principle. Once it clicks, you’ll be roasting broccoli all the time. It’s fast, it’s flexible, it scales easily from a small side dish for one person to a large batch for a crowd, and it genuinely tastes good. Most importantly, it’s one of those rare vegetables that tastes better roasted than in its raw state, which makes it easy to get people excited about eating their greens.