The difference between mushy rice and perfectly fluffy grains is often measured in just a few minutes and a slight adjustment to temperature or water levels. Yet most home cooks treat rice like an afterthought, dumping whatever seems reasonable into a pot and hoping for the best. The result? Rice that clumps together, sticks to the bottom, or turns into porridge-like mush. The good news is that fluffy rice isn’t luck—it’s a repeatable technique that anyone can master with the right approach.
Cooking rice successfully requires understanding what happens at the molecular level when grain meets heat and water. The starch in rice absorbs water and swells, but if you cook it too long or use too much liquid, you’ll break down the starch structure and get mush. Cook it too briefly or with too little water, and you’ll end up with hard, crunchy grains. The sweet spot is where all the water absorbs evenly, the grain becomes tender, and each piece stays distinct and separate. This article covers everything you need to know to reach that sweet spot every single time.
Real fluffy rice starts before you even turn on the heat. The variety of rice you choose, how you prepare it, and what equipment you use all influence whether your final dish will be restaurant-quality or disappointing. The good news is that once you understand the fundamentals, you’ll develop an intuition for what your rice needs, and you’ll stop worrying about whether this batch will turn out.
What Makes Rice Fluffy vs. Mushy
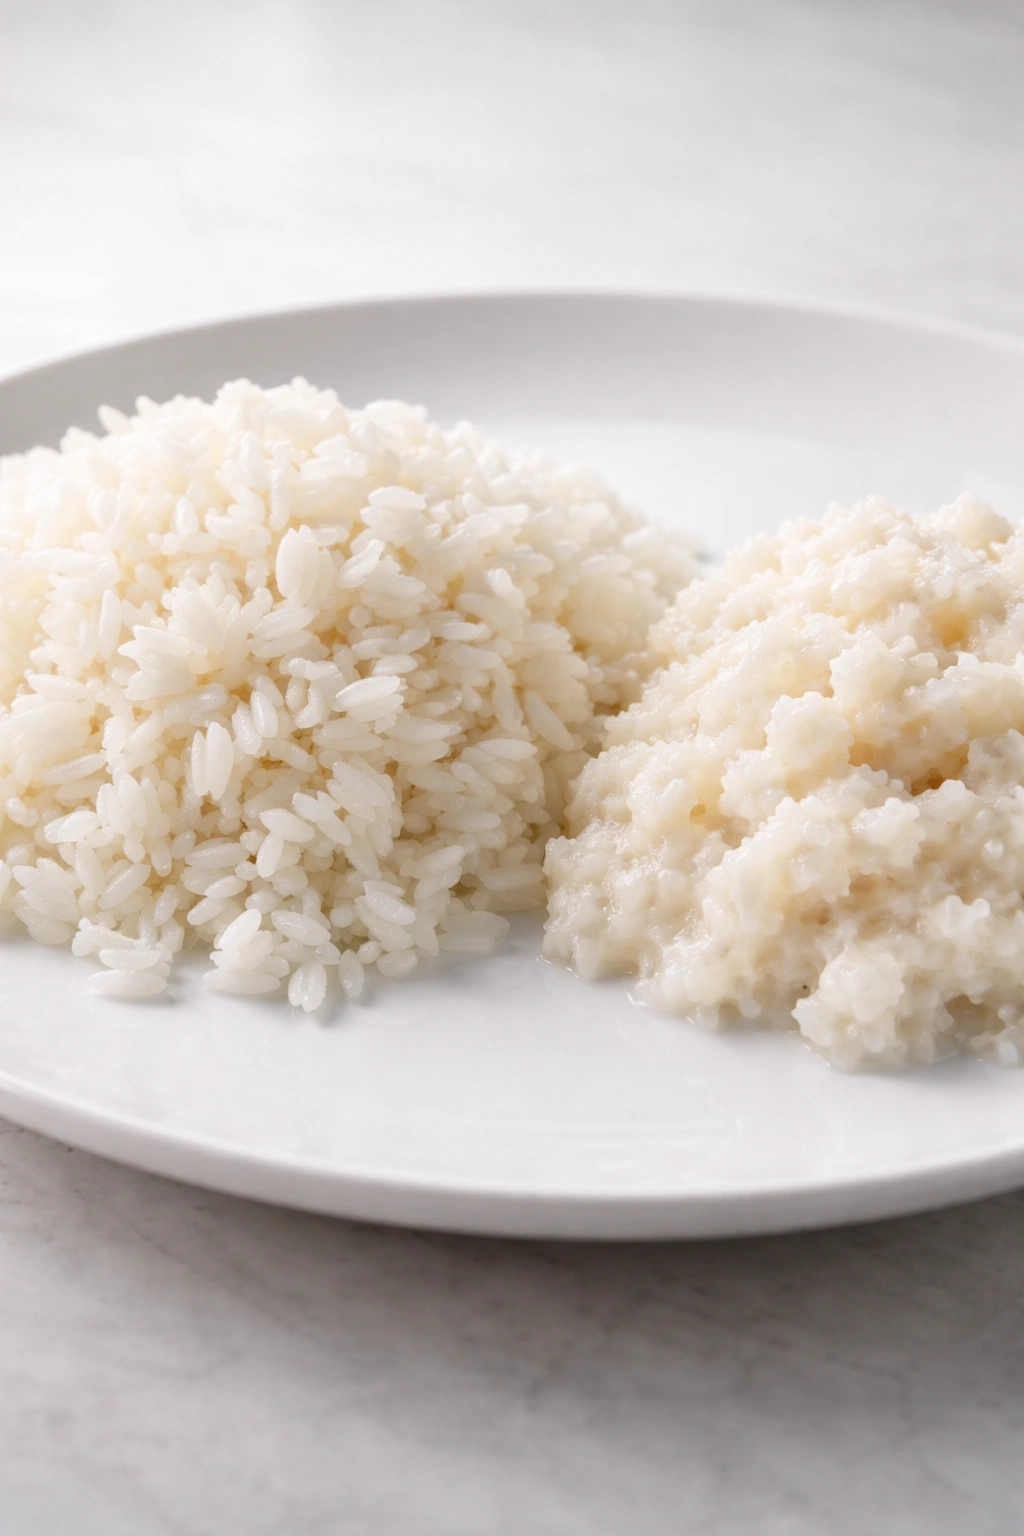
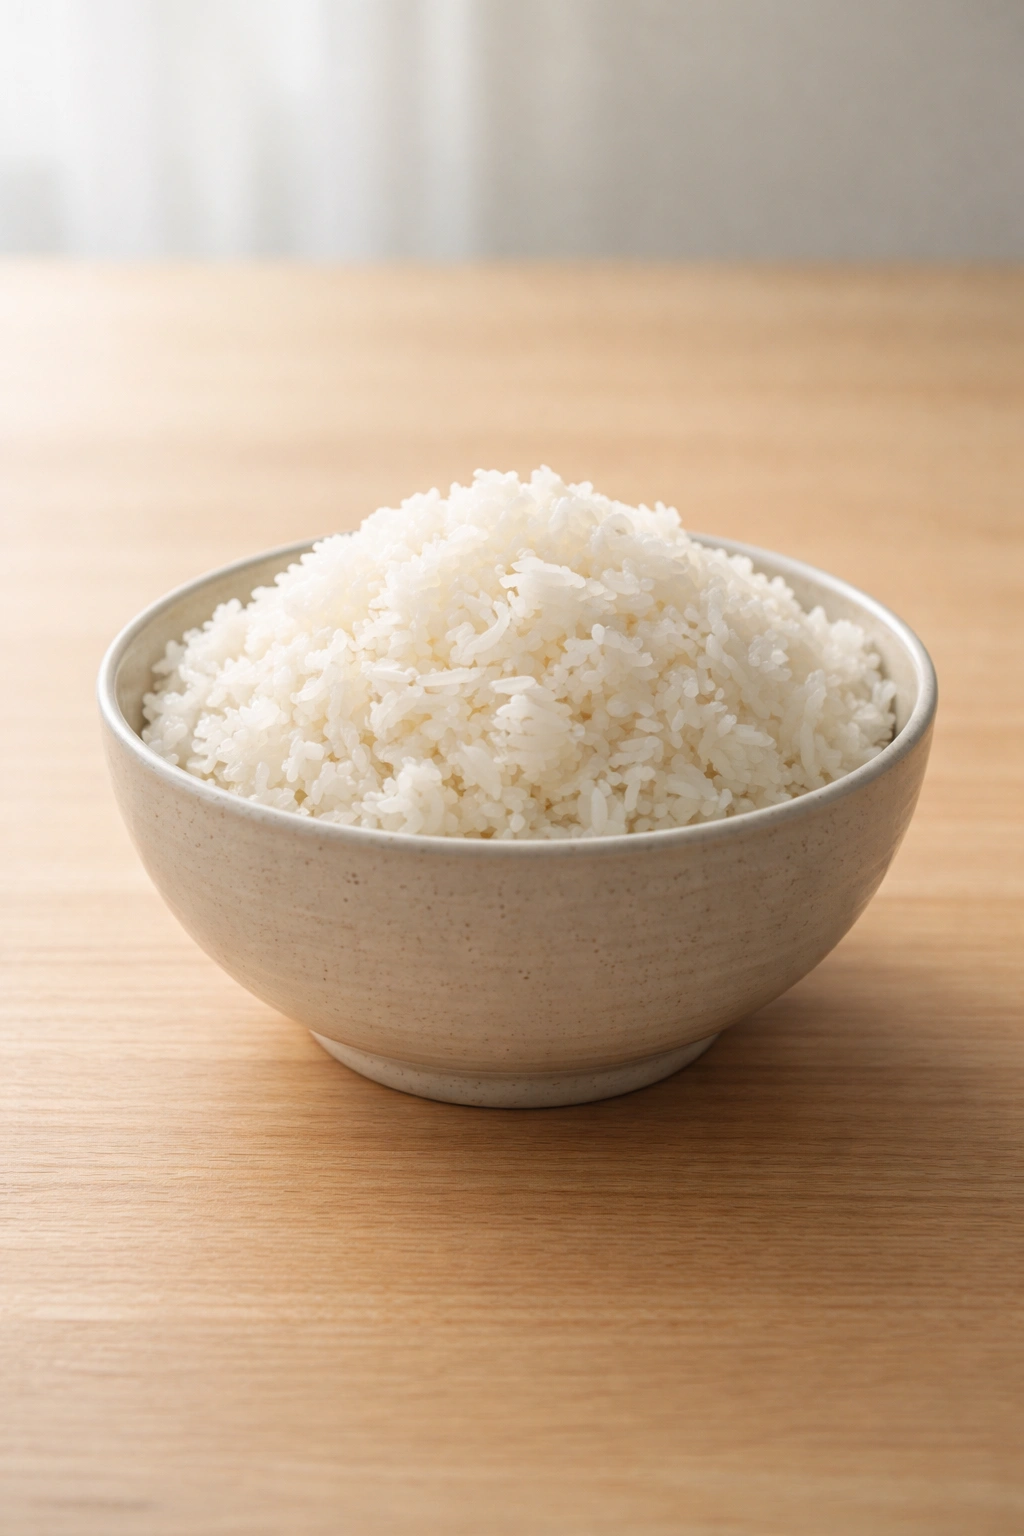
Fluffiness in rice comes down to structure. Each grain should be separate, tender on the inside, and firm enough to hold its shape without being hard. When rice is fluffy, you can see individual grains; when it’s mushy, they’ve bonded together into a soft, homogeneous mass.
This happens because rice is mostly starch. When starch granules absorb water and heat, they swell and gelatinize—they become translucent and soft. This is exactly what you want. But if you continue heating after the water has been absorbed, or if you don’t drain excess water, the starch breaks down further, and grains start to stick together and lose their structure.
The line between fluffy and mushy rice is surprisingly thin. It often comes down to timing, temperature, and how much water you’re using. Too much water means the rice keeps cooking even after you remove it from heat, because there’s still moisture trapped between the grains. Too little water, and the outside edges of the grains cook before the inside fully hydrates, leaving you with crunchy, uneven texture.
Humidity in your kitchen, the age of your rice, and the size of your pot all affect how your rice cooks. This is why experienced cooks develop a feel for it—they adjust intuitively based on how the rice looks and smells as it cooks. The techniques in this article will help you develop that same confidence.
Choosing the Right Rice Type for Fluffiness
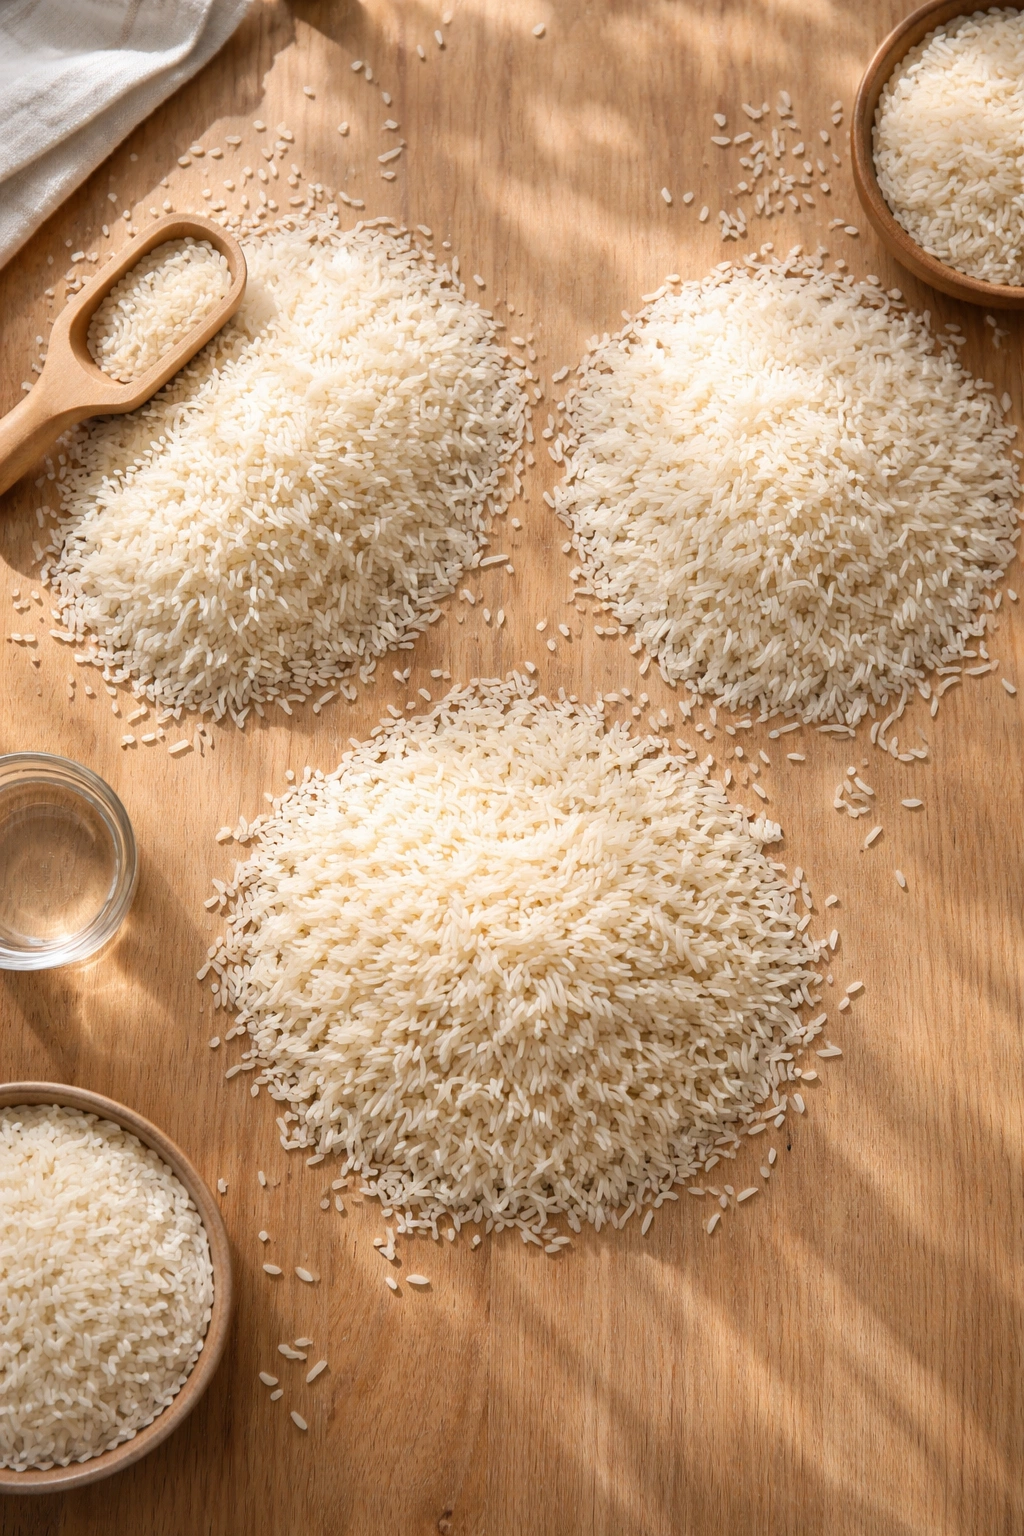
Not all rice varieties cook the same way, and some are naturally better suited to fluffy, separated grains than others. Long-grain white rice is the classic choice for fluffiness because the grains are longer and thinner, making them less likely to stick together. When you cook long-grain rice properly, the grains stay distinct and separate, which is exactly what fluffy rice should look like.
Jasmine and basmati rice are aromatic long-grain varieties that cook up beautifully fluffy when you use the right water ratio. Jasmine rice has a delicate, slightly sweet flavor and is widely used in Southeast Asian cooking. Basmati rice is popular in Indian and Middle Eastern cuisines and has a more pronounced aroma. Both varieties naturally separate when cooked correctly, which makes them ideal if you’re aiming for fluffy, individual grains.
Short-grain rice and medium-grain rice have different starch compositions and tend to be stickier by nature. Arborio rice and other risotto varieties are specifically bred to release starch during cooking, creating a creamy, cohesive dish—the opposite of fluffy. Brown rice and wild rice have tougher bran layers that require more water and longer cooking times, and they naturally have a chewier, less fluffy texture. They’re delicious, but they’re playing by different rules than white rice.
For the fluffiest possible rice, stick with long-grain white rice varieties like jasmine, basmati, or standard long-grain white rice. These have the starch structure and grain length that works best for separation and fluffiness. If you prefer brown rice or another variety, adjust your expectations about texture—they’ll be nutritious and delicious, but they won’t have the light, fluffy quality of long-grain white rice.
The Correct Water-to-Rice Ratio
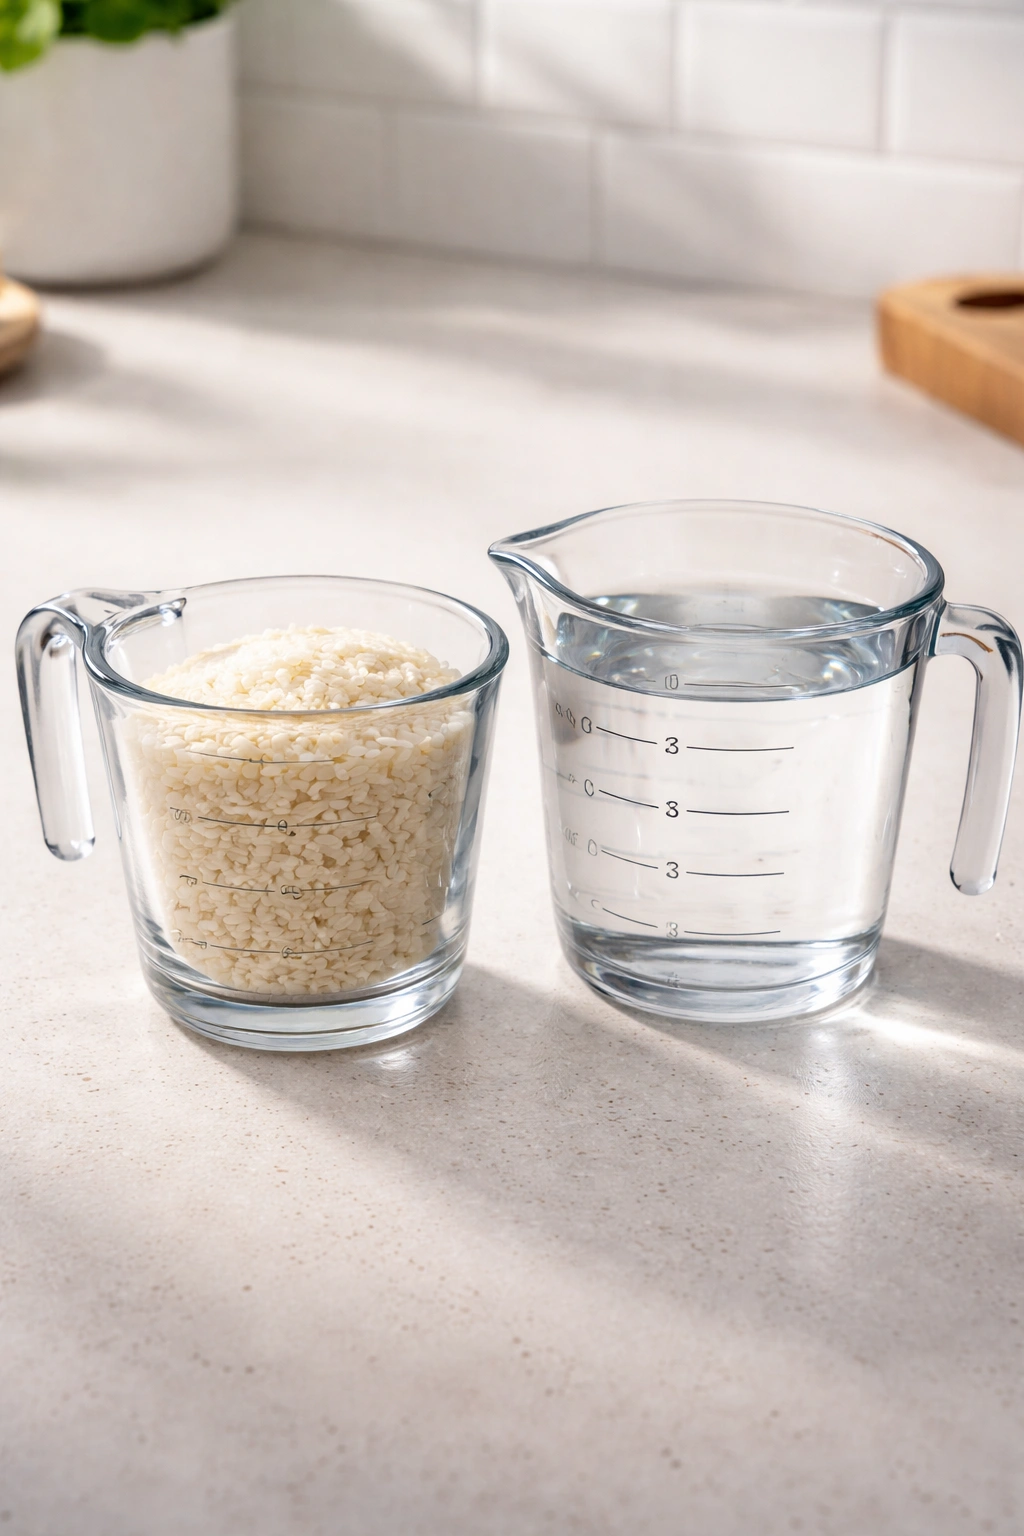
The ratio of water to rice is the single most important variable for achieving fluffy results. This is where precision matters. Too much water and your rice becomes mushy; too little and it becomes hard and crunchy. The standard ratio for long-grain white rice is 1 cup of rice to 1.5 cups of water (or 1 to 1.5).
This ratio works for both the absorption method (cooking in a covered pot) and for rice cookers. However, if you’re cooking rice in a wider, shallower pan, water can evaporate faster, so you might need slightly more. If you’re at high altitude, water boils at a lower temperature and evaporates faster, so you’ll need to add more water or increase cooking time. These are small adjustments you’ll learn through experience.
Some cooks prefer a slightly different ratio depending on their preferences. If you like your rice on the softer, stickier side, use 1 cup rice to 1.75 cups water. If you prefer it firmer and more separated, try 1 cup rice to 1.3 cups water. Start with the standard 1 to 1.5 ratio and adjust from there based on how your first batch turns out.
The most common mistake is guessing at the water amount instead of measuring. Rice is forgiving when you’re precise, but it punishes guessing. Invest two minutes in measuring correctly, and you’ll set yourself up for success. Use the same measuring cup for both rice and water—the exact size doesn’t matter as long as you’re consistent. This way, the ratio stays perfect every single time.
Rinsing Your Rice: Why It Matters
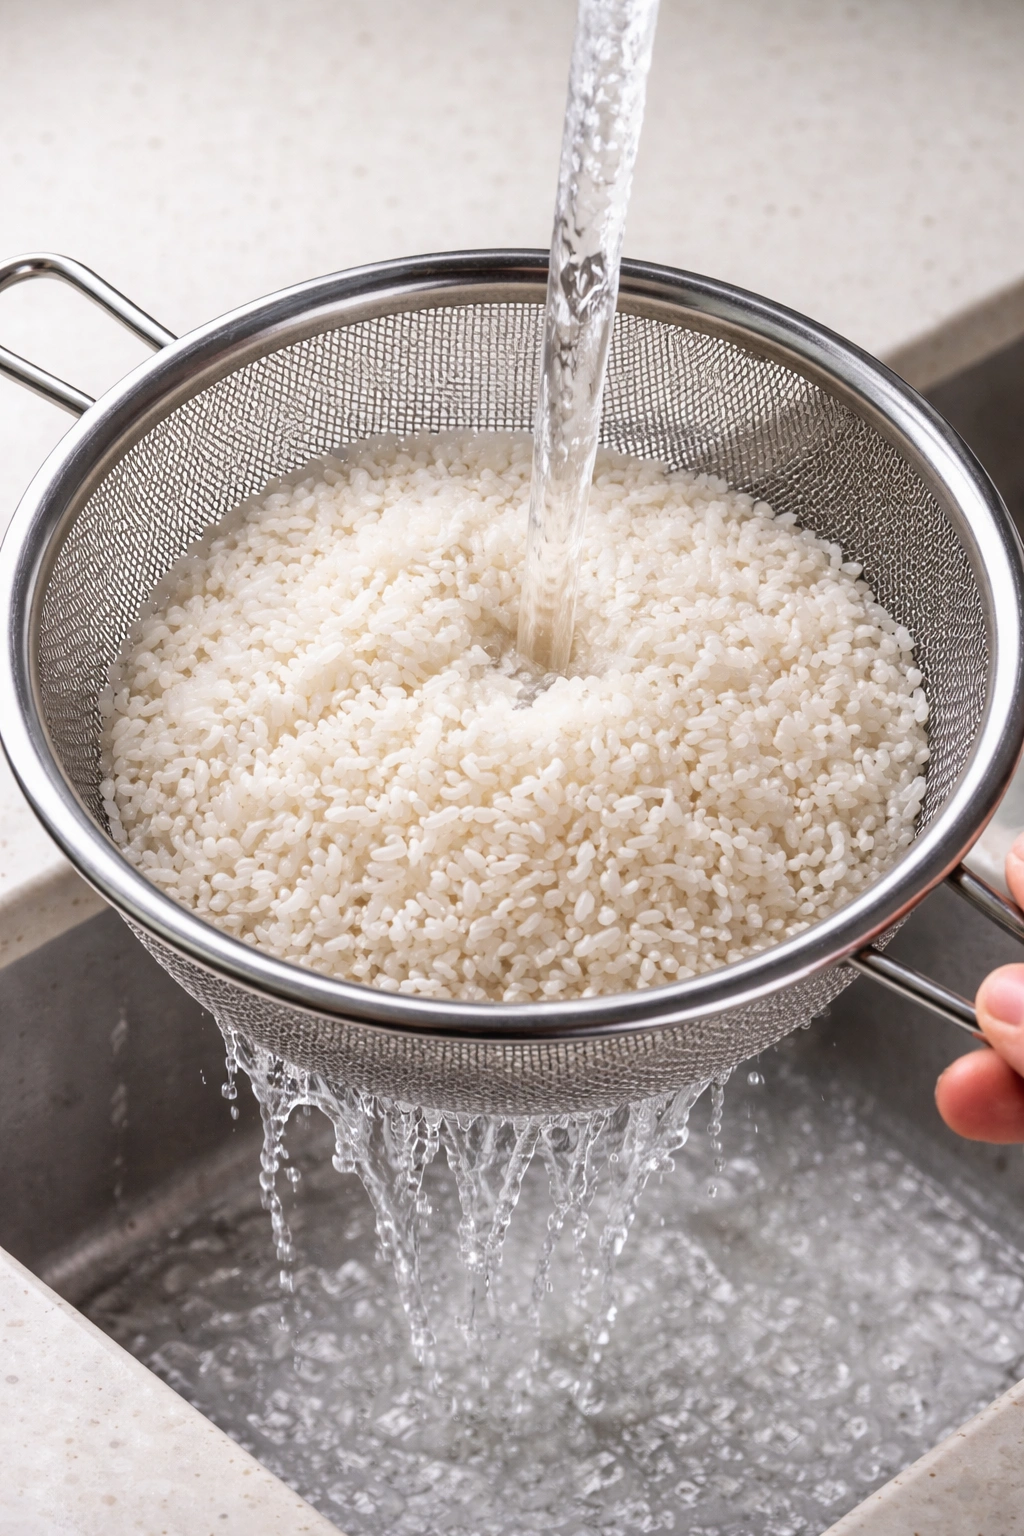
Rinsing rice before cooking removes excess starch from the outside of the grains, which is one of the most important steps for achieving fluffy, separated rice. This starch would otherwise create a gluey coating that makes grains stick together during cooking. By rinsing, you’re preventing that problem before it starts.
Here’s how to rinse rice properly: Place your measured rice in a fine-mesh strainer and hold it under cold running water. Stir the rice gently with your fingers as the water runs through, moving for about 30 seconds. You’ll see the water running off turn cloudy and white—that’s the excess starch washing away. Continue rinsing until the water running through the strainer is almost clear. This typically takes 2 to 3 minutes of continuous rinsing.
Some traditional cooking methods, particularly in Asian cuisines, skip rinsing. If you’re making risotto or congee, where you actually want that starchy texture, you wouldn’t rinse. But for fluffy, separated rice, rinsing is non-negotiable. The difference is noticeable—rinsed rice cooks up noticeably lighter and fluffier than unrinsed rice.
After rinsing, drain the rice well before adding it to your pot or rice cooker. Shake the strainer gently to remove excess water clinging to the grains. This prevents you from accidentally adding extra water to your cooking liquid, which would throw off your water-to-rice ratio and potentially result in mushy rice.
The Absorption Method: Best for Stovetop
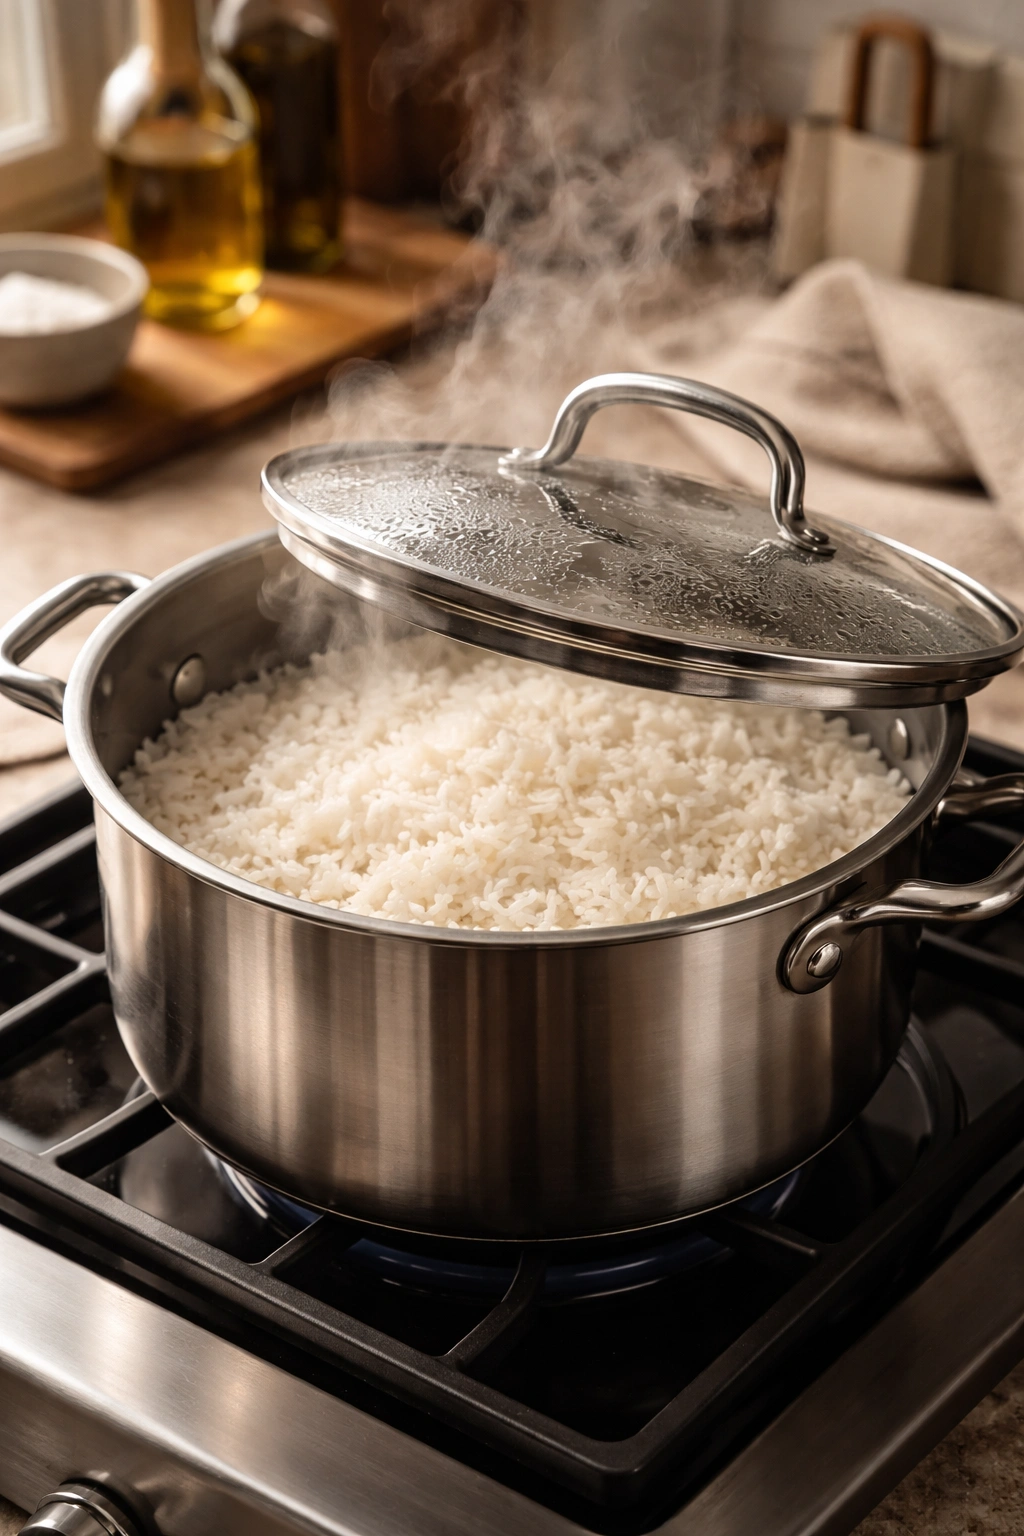
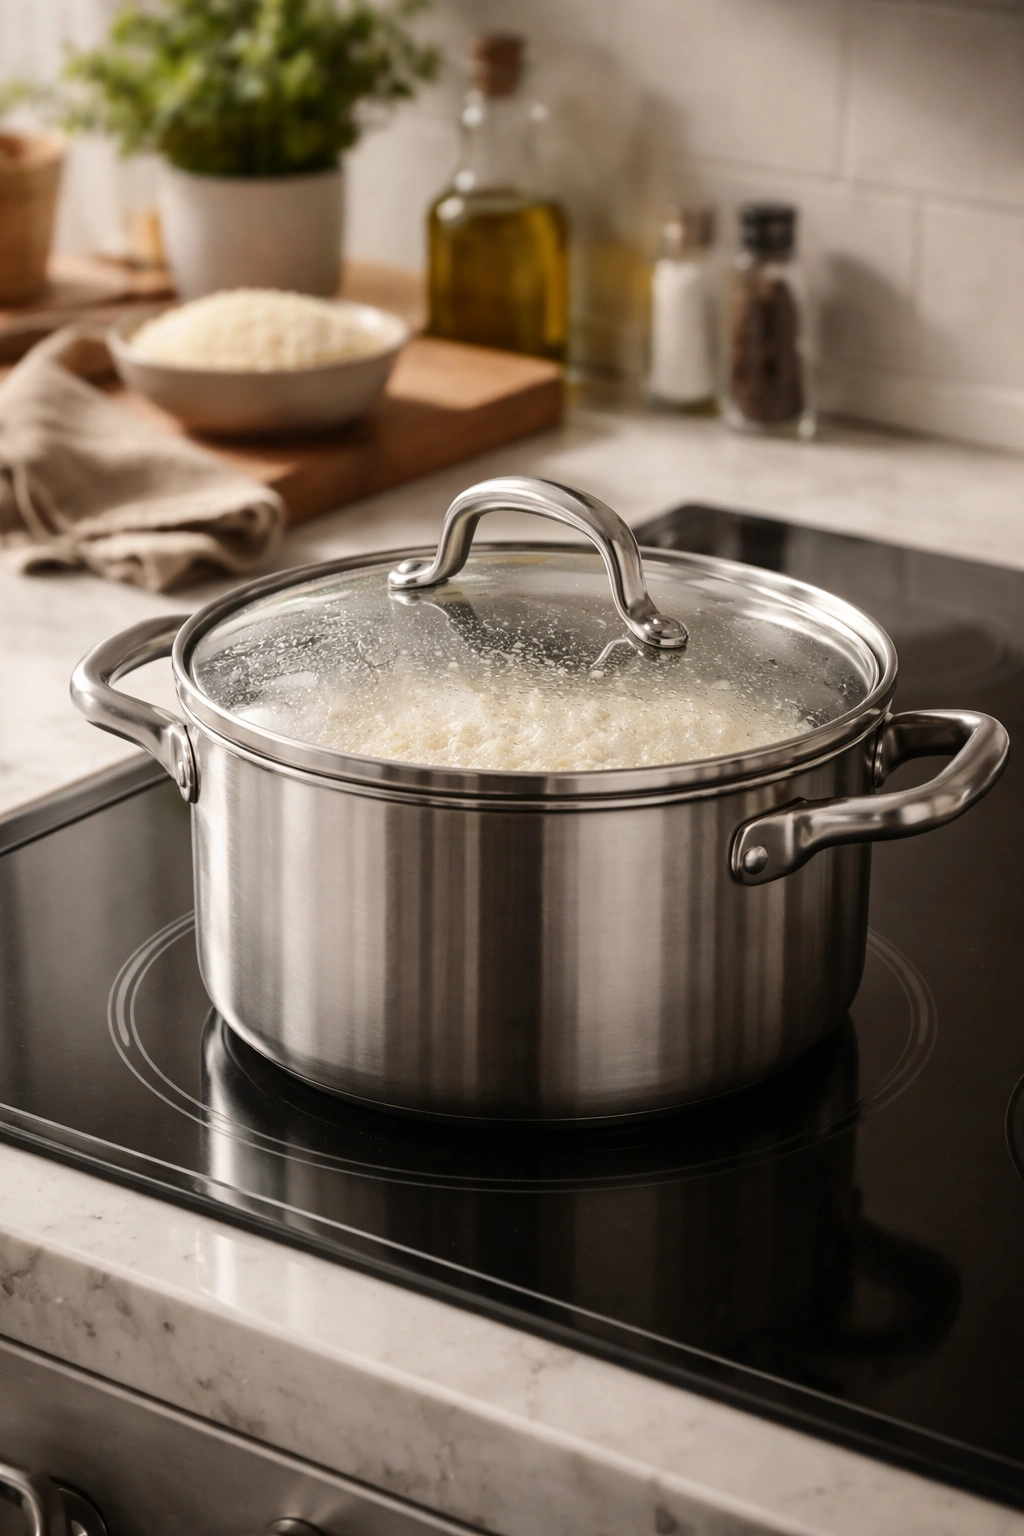
The absorption method is the most reliable way to cook fluffy rice on a stovetop. You measure out your rice and water in a precise ratio, bring it to a boil, then reduce the heat to low and cover the pot. The rice simmers gently, absorbing all the water, until it’s perfectly cooked. The beauty of this method is that it’s nearly impossible to mess up once you understand the basic steps.
Start by placing your rinsed rice in a heavy-bottomed pot or saucepan with a tight-fitting lid. A heavy bottom distributes heat evenly and prevents hot spots that would cause the rice on the bottom to burn. The lid is essential because it traps steam, which is what actually cooks the rice. Add your measured water (1.5 cups per 1 cup of rice) along with a pinch of salt, which enhances flavor.
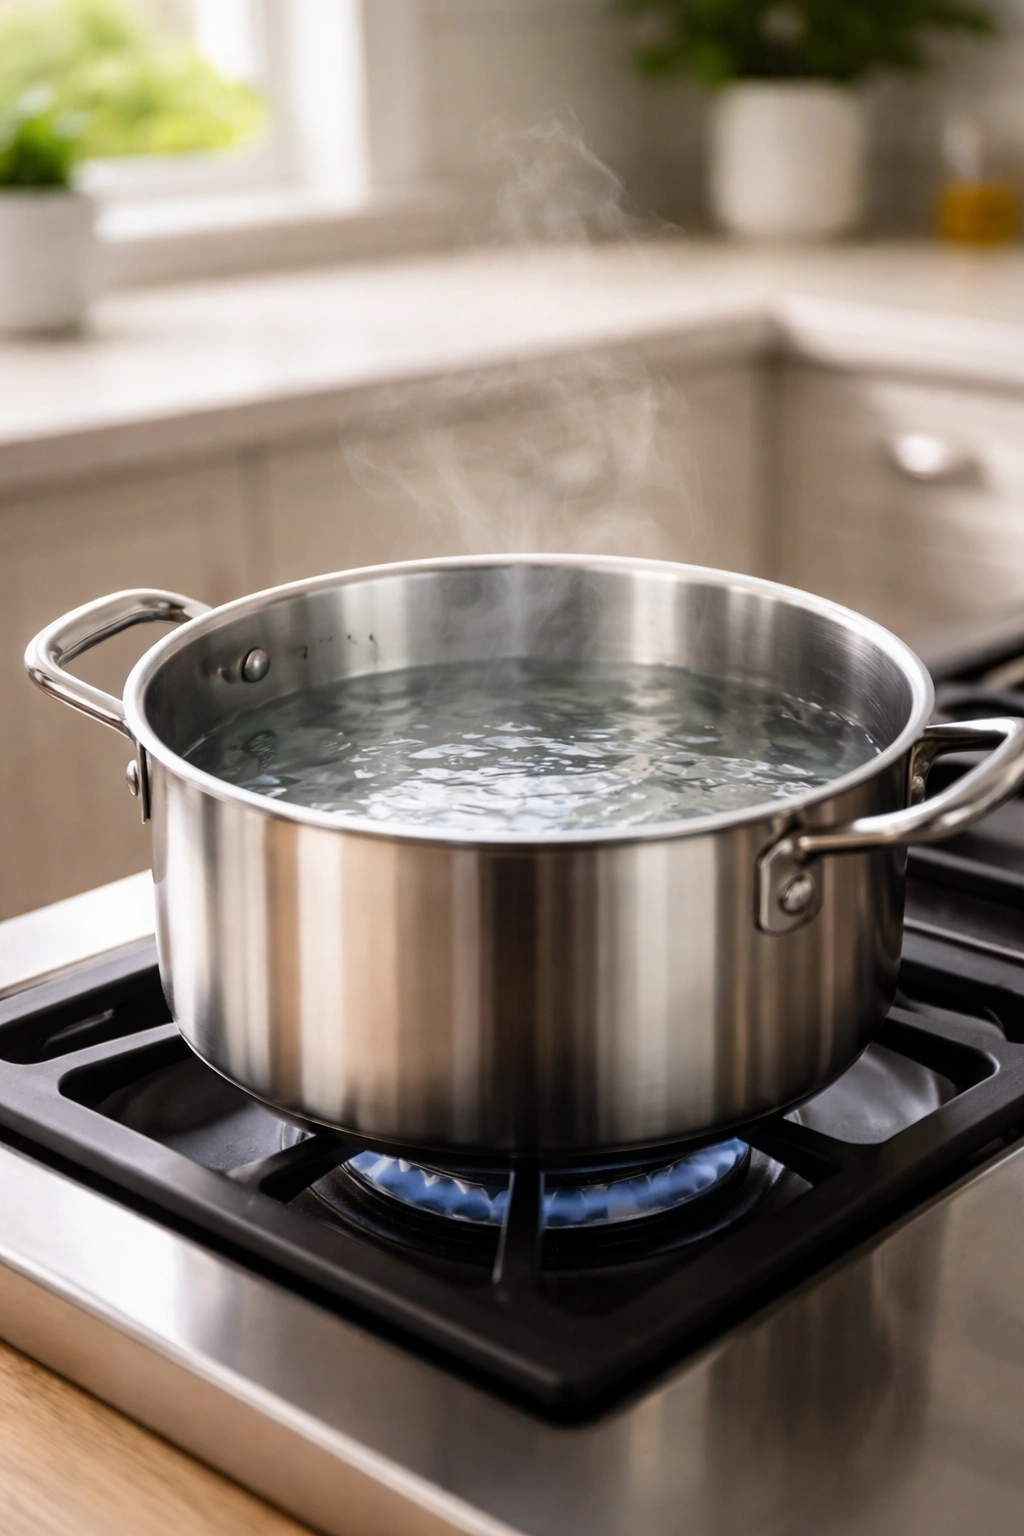
Bring the water and rice to a boil over medium-high heat without a lid. This takes about 5 minutes, depending on how much rice you’re cooking. You’ll see the water start bubbling and the rice grains floating around. Once it reaches a full boil, immediately reduce the heat to the lowest setting and cover the pot tightly with the lid.
The rice should simmer gently on low heat for exactly 18 minutes. This is where patience matters—don’t lift the lid to peek, don’t stir the rice, and don’t adjust the heat. Every time you lift the lid, steam escapes, which disrupts the cooking process and can result in uneven cooking or mushy rice. After 18 minutes, remove the pot from the heat and let it sit, covered and undisturbed, for 5 more minutes. This resting period is crucial—it allows the grains to firm up slightly and makes them less likely to stick together.
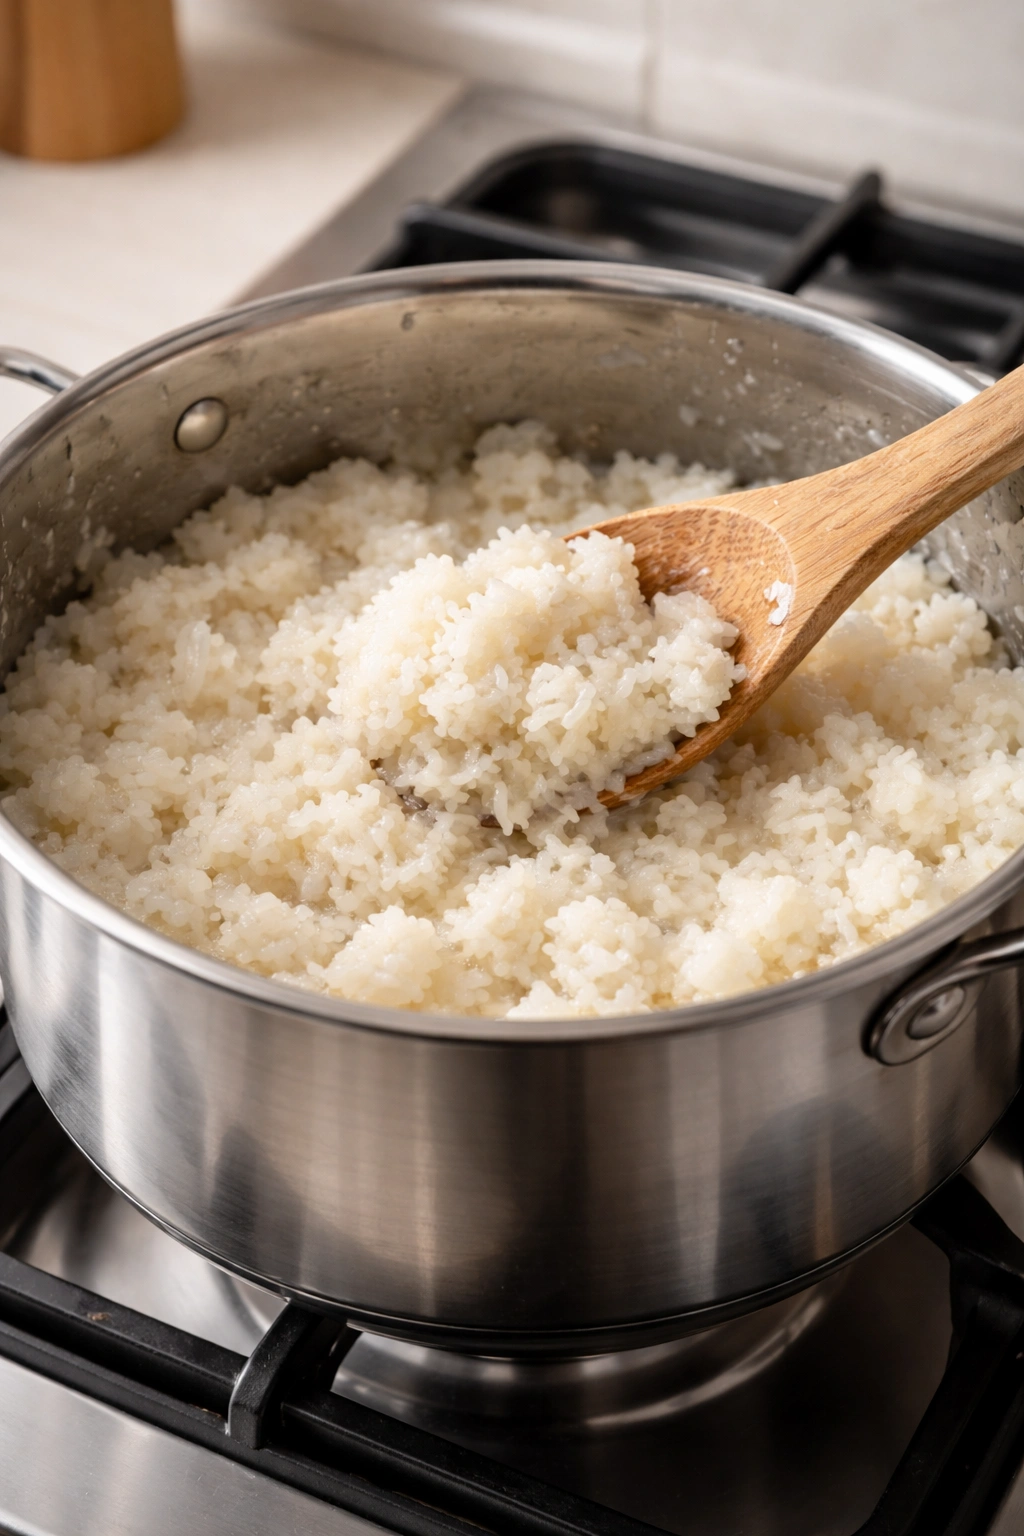
Only after the resting period should you remove the lid and fluff the rice gently with a fork. You’ll notice the grains have absorbed all the water and are light and separated. The rice is now perfectly cooked and will stay fluffy for 15 to 20 minutes before it starts to cool and firm up.
Using a Rice Cooker for Perfect Results
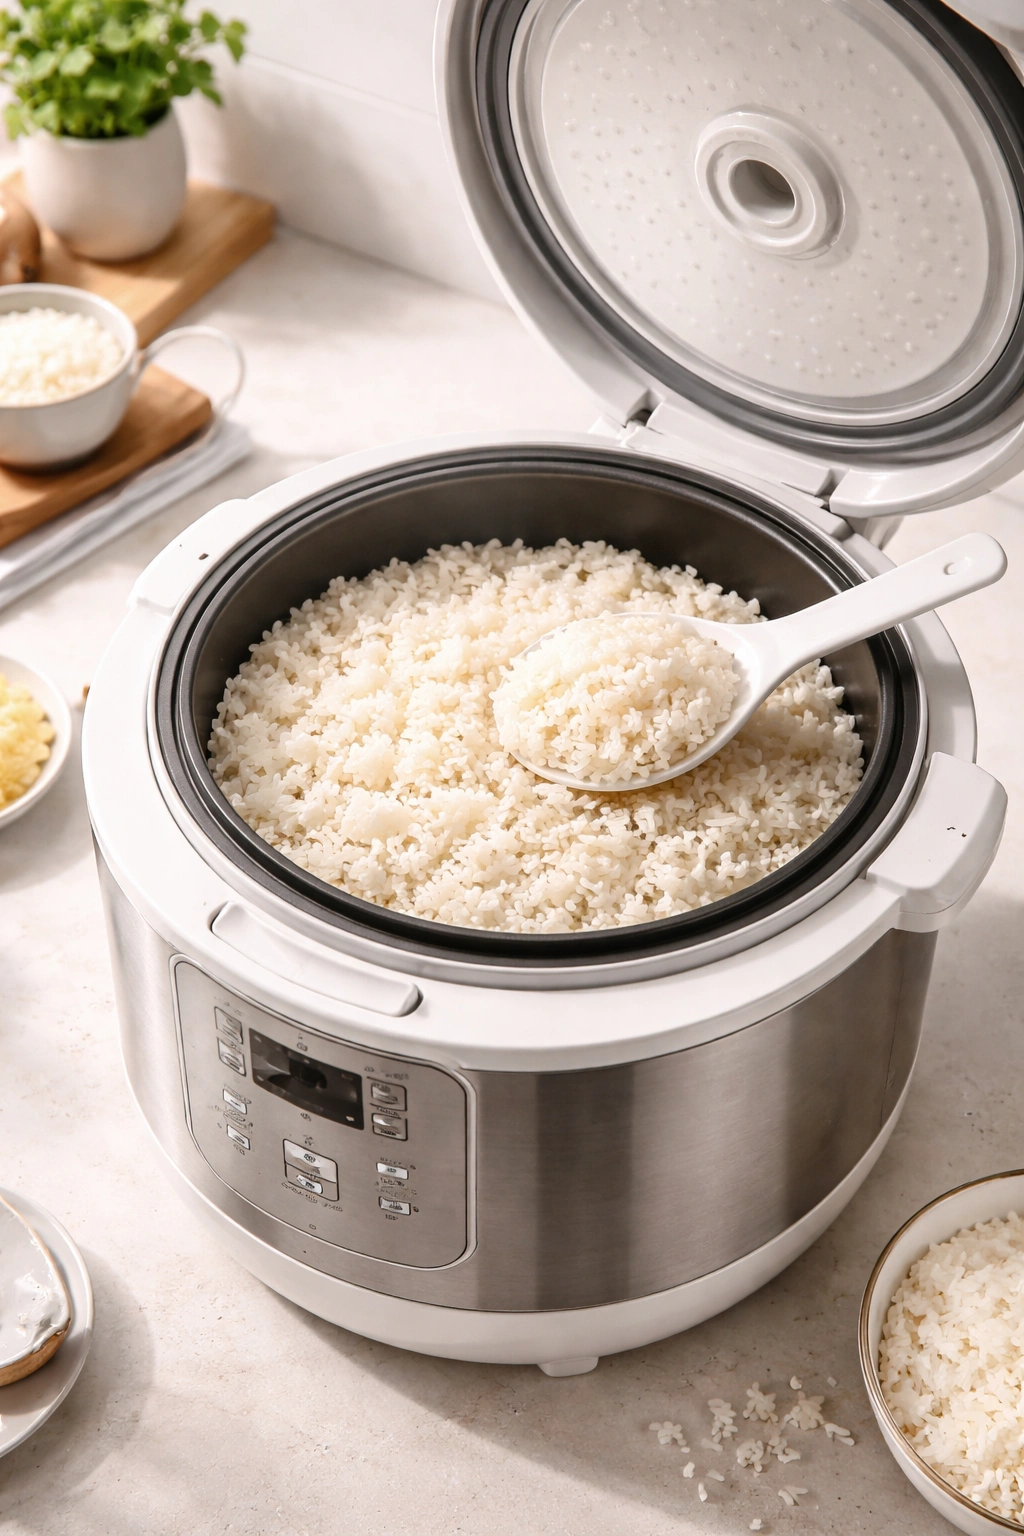
A rice cooker takes the guesswork out of stovetop cooking. You add your rinsed rice and water in the correct ratio, press the button, and walk away. The cooker automatically switches from cooking mode to a gentle warming mode once all the water has been absorbed, keeping your rice warm without overcooking it.
The water-to-rice ratio remains the same: 1 cup rice to 1.5 cups water. Some rice cooker models have markings inside the bowl for different amounts of rice—follow those markings if your cooker has them, but verify they match the 1 to 1.5 ratio. Rice cookers vary in size and heating power, so slightly adjusting the water ratio might be necessary if you find your first batch isn’t quite right.
Rice cookers are particularly useful if you’re cooking for a group or want rice that stays warm throughout a meal. Once the water is absorbed, the cooker switches to a warming setting that maintains the temperature without continuing to cook the rice. This means your rice will stay fluffy and hot for an hour or more, without drying out or overcooking.
The main advantage of a rice cooker is consistency and convenience. Every batch cooks the same way with zero monitoring from you. This is especially helpful if you’re new to cooking rice or if you’re making rice for the first time in a particular cooker. The learning curve is essentially zero—add rice and water, press the button, and you’ll get fluffy results.
The Pasta Method for Fluffier Rice
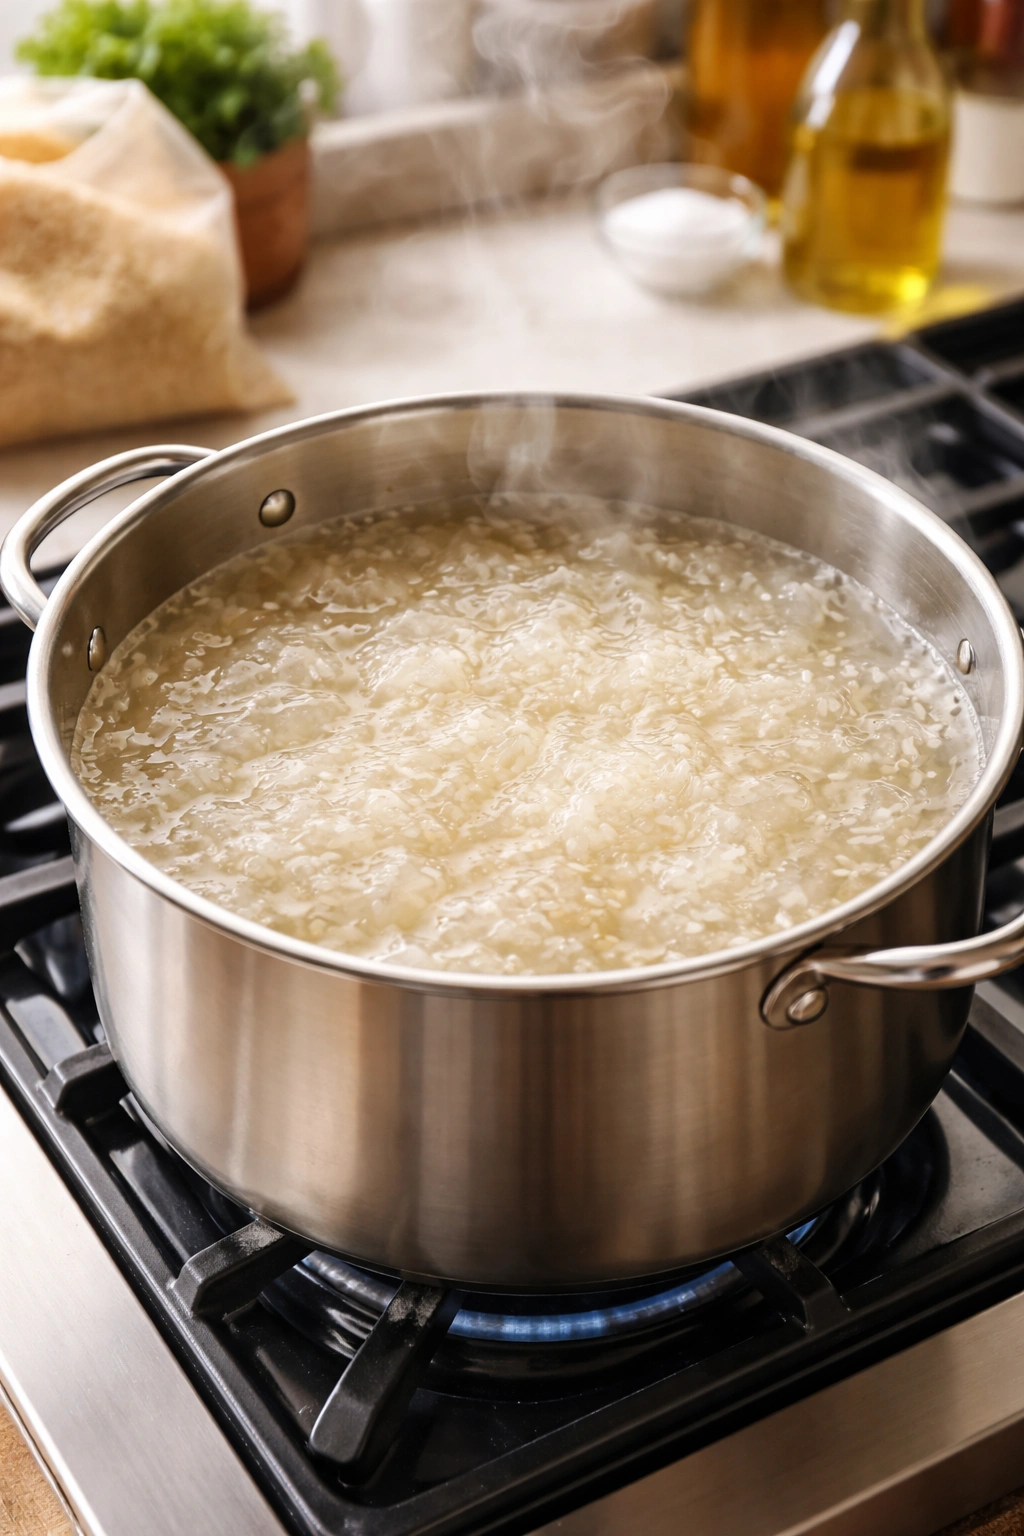
The pasta method is less common but produces exceptionally fluffy, separated grains. It works by cooking rice in an abundance of water—similar to how you’d cook pasta—then draining the excess. This prevents the rice from absorbing too much water and becoming mushy, while guaranteeing that every grain is fully hydrated.
To use the pasta method, bring a large pot of salted water to a boil—use about 4 to 6 cups of water for every 1 cup of rice. Once the water is boiling, add your rinsed rice and stir occasionally to prevent sticking. Cook for about 12 to 15 minutes, until a grain of rice is soft when you bite it but still has a tiny bit of resistance. Taste a few grains to check for doneness rather than relying on a timer, because different stove types cook at different speeds.
Once the rice is cooked to your liking, drain it immediately in a fine-mesh strainer. The key here is to drain completely—shake the strainer gently to remove excess water and prevent the rice from continuing to cook from residual heat. Immediately return the drained rice to the pot, cover it, and let it rest for 5 minutes.
This method produces reliably fluffy, separated rice because you’re controlling the water absorption directly. You can’t overcook it with water, because excess water is drained away. The main drawback is that you need more water and a larger pot, and it requires slightly more active monitoring than the absorption method. But if you struggle with the absorption method, this is worth trying—it’s nearly foolproof.
Temperature Control and Heat Management
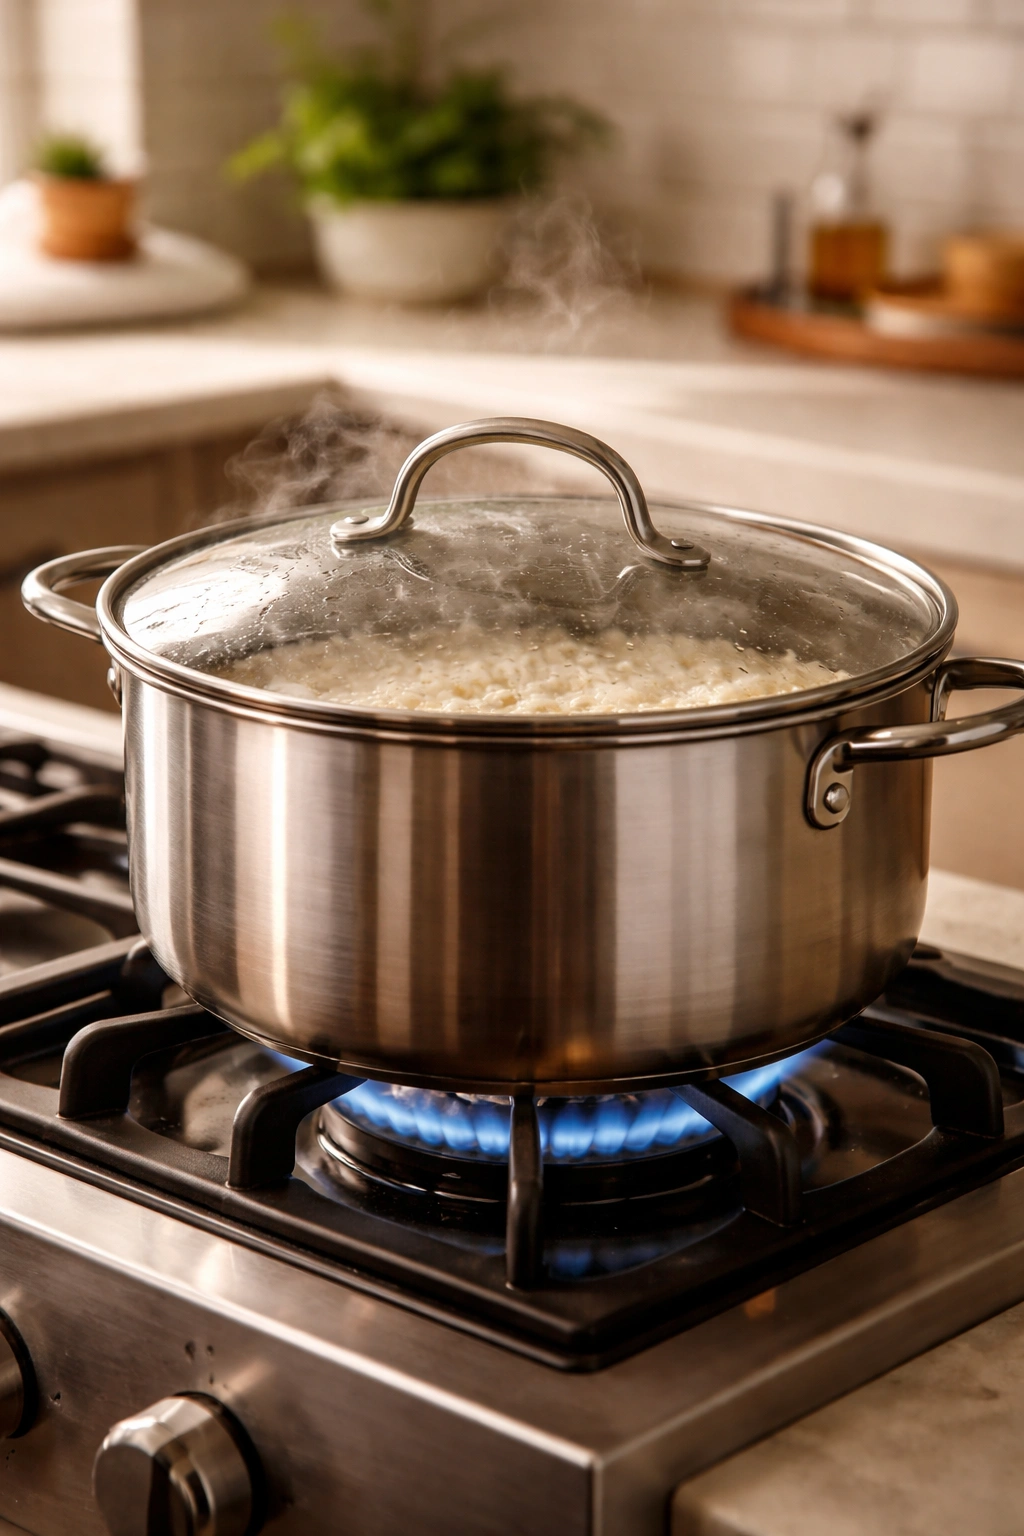
Temperature is where most home cooks go wrong. Using too much heat causes water to evaporate too quickly, leaving the rice partially cooked. Too little heat causes the cooking process to stretch out too long, creating mushy rice. The sweet spot is a gentle, consistent simmer that allows the rice to absorb water evenly.
When you first bring the rice and water to a boil, using medium-high heat is fine—you want it to boil quickly so you can get past that stage. But the moment the water reaches a full boil and you cover the pot, reduce the heat immediately to the lowest setting. The rice doesn’t need to boil; it needs to simmer gently. Many home cooks keep the heat too high even after covering the pot, which causes water to evaporate too fast and rice to cook unevenly.
You should barely hear the pot simmering—just the smallest hiss or gentle bubbling sound. If you hear vigorous bubbling or see steam escaping around the edges of the lid, your heat is too high. Reduce it further. Once the rice is cooked and you’ve removed the pot from heat, resist the urge to turn the heat back up for any reason.
Different stove types have different temperature characteristics. Electric coils take longer to heat up and cool down, so you might need to remove the pot from the burner entirely or move it to a burner that’s already off to reduce the temperature. Gas stoves respond immediately to heat adjustment, so you have more precise control. Glass-top electric stoves heat quickly and distribute heat evenly. Get to know how your specific stove behaves and adjust your technique accordingly.
Why Resting the Rice After Cooking Is Non-Negotiable
Resting the rice after cooking is just as important as cooking it correctly. When you remove the pot from heat and leave the lid on for 5 to 10 minutes, the residual heat continues to gently cook the rice, and the steam continues to penetrate every grain. During this resting period, the grains firm up slightly and become less likely to stick together.
If you fluff the rice immediately after turning off the heat, while it’s still very hot and steamy, you’ll release moisture that should stay trapped in the grains. The rice will seem fluffy at first, but as it cools, it will dry out and become brittle. By waiting 5 minutes with the lid on, you allow the temperature to stabilize and the moisture to distribute evenly, creating grains that are fluffy when hot and still tender when they cool down.
This rest period also makes fluffing the rice much easier. Hot, freshly cooked rice is fragile and falls apart easily when you try to stir it. After a few minutes of resting, the grains are slightly firmer and can withstand gentle fluffing with a fork without breaking apart. Use a fork rather than a spoon—a spoon mashes the rice, while a fork gently separates the grains.
The worst thing you can do is serve the rice immediately and then drain off excess moisture. If you cooked it correctly, there shouldn’t be excess moisture to drain. If there is, it means you either used too much water or your heat was too high. The next time you cook rice, adjust your water ratio down slightly, and you’ll have better results.
Common Mistakes That Ruin Your Rice
Even small mistakes compound into ruined rice. One of the most common errors is lifting the lid too many times to peek at the rice. Every time you lift the lid, you release steam and interrupt the cooking process. The rice on top, which has been cooking from the steam, suddenly cools slightly. This can result in uneven cooking where some grains are mushy and others are still crunchy.
Another frequent mistake is stirring the rice while it cooks. Stirring breaks up the grains and releases starch that would otherwise stay trapped in the cooked rice. The freed starch coats all the grains and makes them stick together. The absorption method requires you to trust the process and leave the rice completely undisturbed.
Using the wrong water ratio is probably the most common culprit behind poor results. If you estimate water “about right” instead of measuring precisely, you’ll get inconsistent results. One batch will be mushy, the next will be crunchy, and you’ll never figure out what went wrong. Measure. Every. Single. Time.
Heat that’s too high causes water to evaporate before the rice fully absorbs it, leaving you with crunchy, partially cooked grains. Some of the rice at the bottom of the pot might burn slightly and taste bitter. Use the lowest heat setting that maintains a gentle simmer. If you’re not sure, it’s better to go too low than too high—low heat just takes a minute or two longer, while too much heat ruins the rice.
Overcooking is what happens when you leave the rice on the heat longer than needed. Once the water is absorbed, continuing to heat the rice breaks down the starch structure. The grains lose their firmness and become mushy. This is why timing matters and why you should use a timer rather than relying on your memory.
Finally, not rinsing the rice means excess starch cooks into the grains, creating a gluey texture where everything sticks together. Rinsing takes 3 minutes and makes an enormous difference. It’s one of the easiest and most effective ways to guarantee fluffy results.
Pro Tips From Experienced Rice Cooks
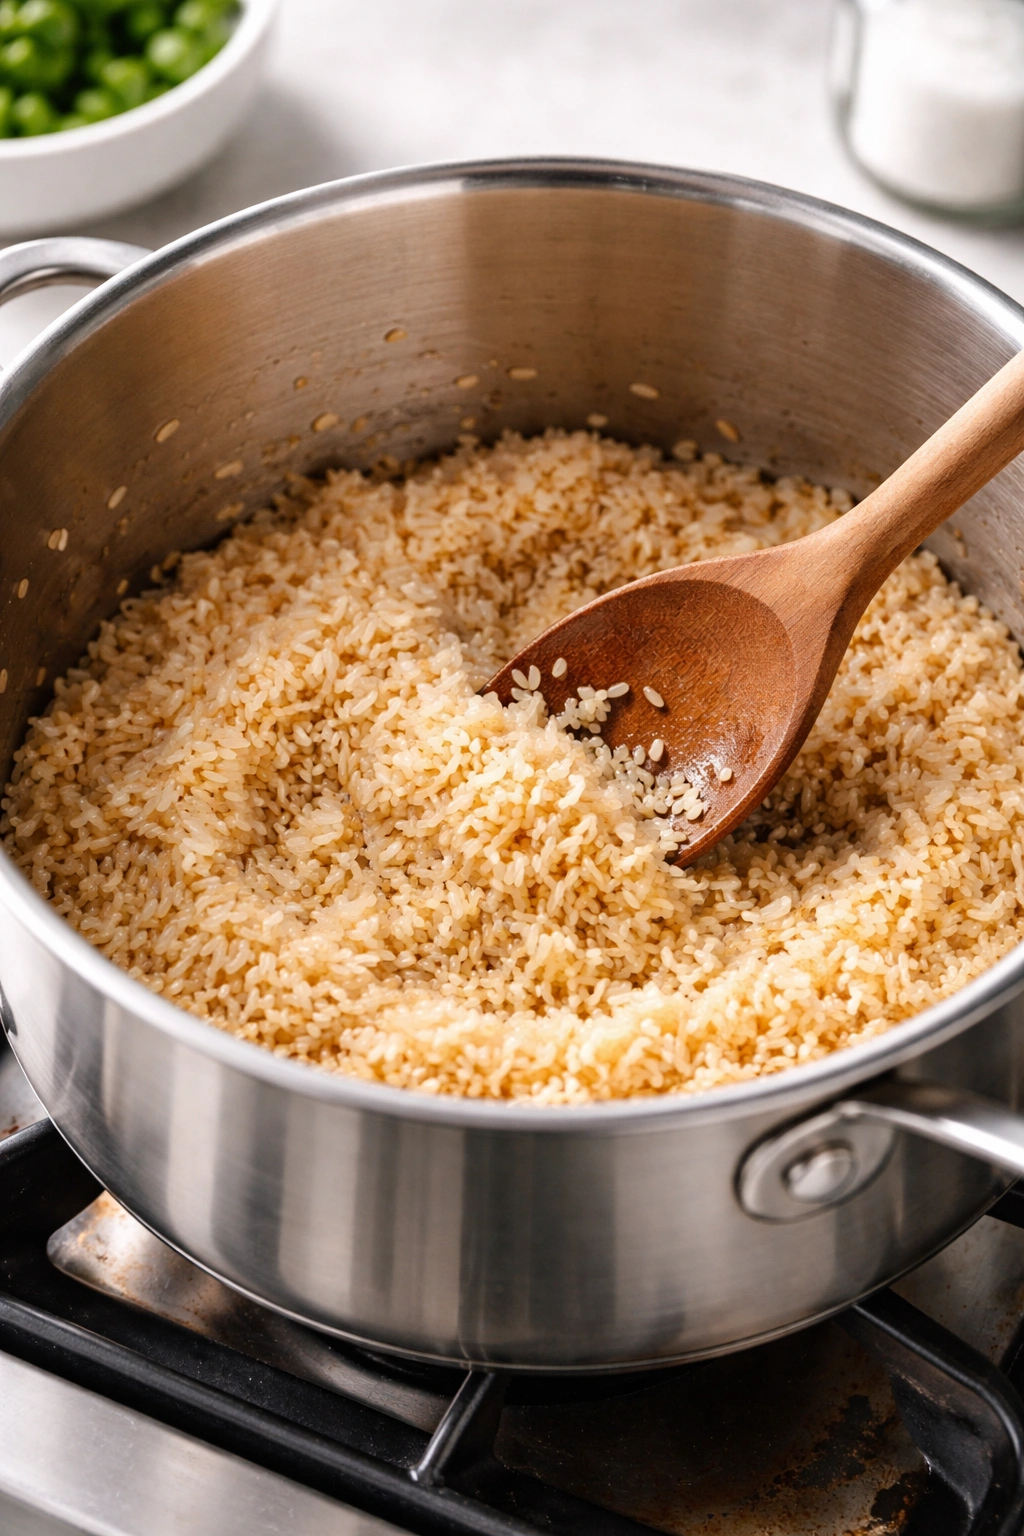
Once you’ve mastered the basics, a few advanced techniques will elevate your rice even further. One approach is to toast the rice dry in the pot before adding water. Heat your pot or cooker on medium heat for 2 to 3 minutes, add your rinsed rice, and stir gently until you hear it make a faint crackling sound and smell a subtle nutty aroma. This takes just 2 to 3 minutes. Then add your water and continue with the normal cooking method.
Toasting the rice opens up the flavors and creates a slightly more complex, toasted taste. The grains also stay marginally firmer because the heat begins opening up the grain structure before water hits them. Experienced cooks who make rice several times a week almost always toast their rice first. It’s a small step that creates noticeably better results.
Another technique is to add a small amount of fat to the rice. Melt a tablespoon of butter in the pot before adding your rinsed rice, or toast the rice in a bit of oil before adding water. The fat coats the grains and prevents them from sticking together even more effectively than rinsing alone. This is traditional in many cuisines and produces extraordinarily fluffy results. Use unsalted butter so you can control the salt level with the salt you add to the cooking water.
Letting your rice rest at room temperature before cooking can also help. If rice is very cold (from the refrigerator), it can take longer to hydrate evenly when it hits hot water. Leaving rice at room temperature for 30 minutes before cooking ensures that hydration happens more evenly. This is a subtle adjustment, but it matters when you’re pushing for absolute consistency.
Investing in a heavy-bottomed pot or a good rice cooker pays dividends. Lightweight pots develop hot spots that cause uneven cooking. Heavy-bottomed stainless steel pots distribute heat evenly and prevent burning. If you cook rice regularly, a quality rice cooker removes all variables and guarantees perfect results every single time, regardless of your stove or technique.
Why Water Quality and Temperature Matter
The temperature of your water when you start cooking affects how quickly the rice hydrates. Using hot water instead of cold water can shorten the cooking time by a minute or two, but it also increases the risk of uneven cooking where the outside of the pot heats before the inside does. For the most reliable results, use room-temperature or cold water and stick to the standard 18-minute cooking time.
Water quality also plays a subtle role. Hard water (water with high mineral content) can affect how rice absorbs and cooks. If you have very hard water, you might notice your rice takes slightly longer to fully hydrate or turns out slightly firmer. Soft water cooks rice slightly faster. This isn’t a major issue, but if you move to a new place with different water and your rice suddenly isn’t turning out right, water quality might be part of the problem.
For the best results, use filtered water if your tap water tastes heavily chlorinated. The chlorine doesn’t ruin the rice, but it can affect the flavor slightly. If you’re already using filtered water or you like your tap water, there’s no need to change—this is a very minor adjustment that only matters if you’re obsessing over perfection.
Storing and Reheating Cooked Rice
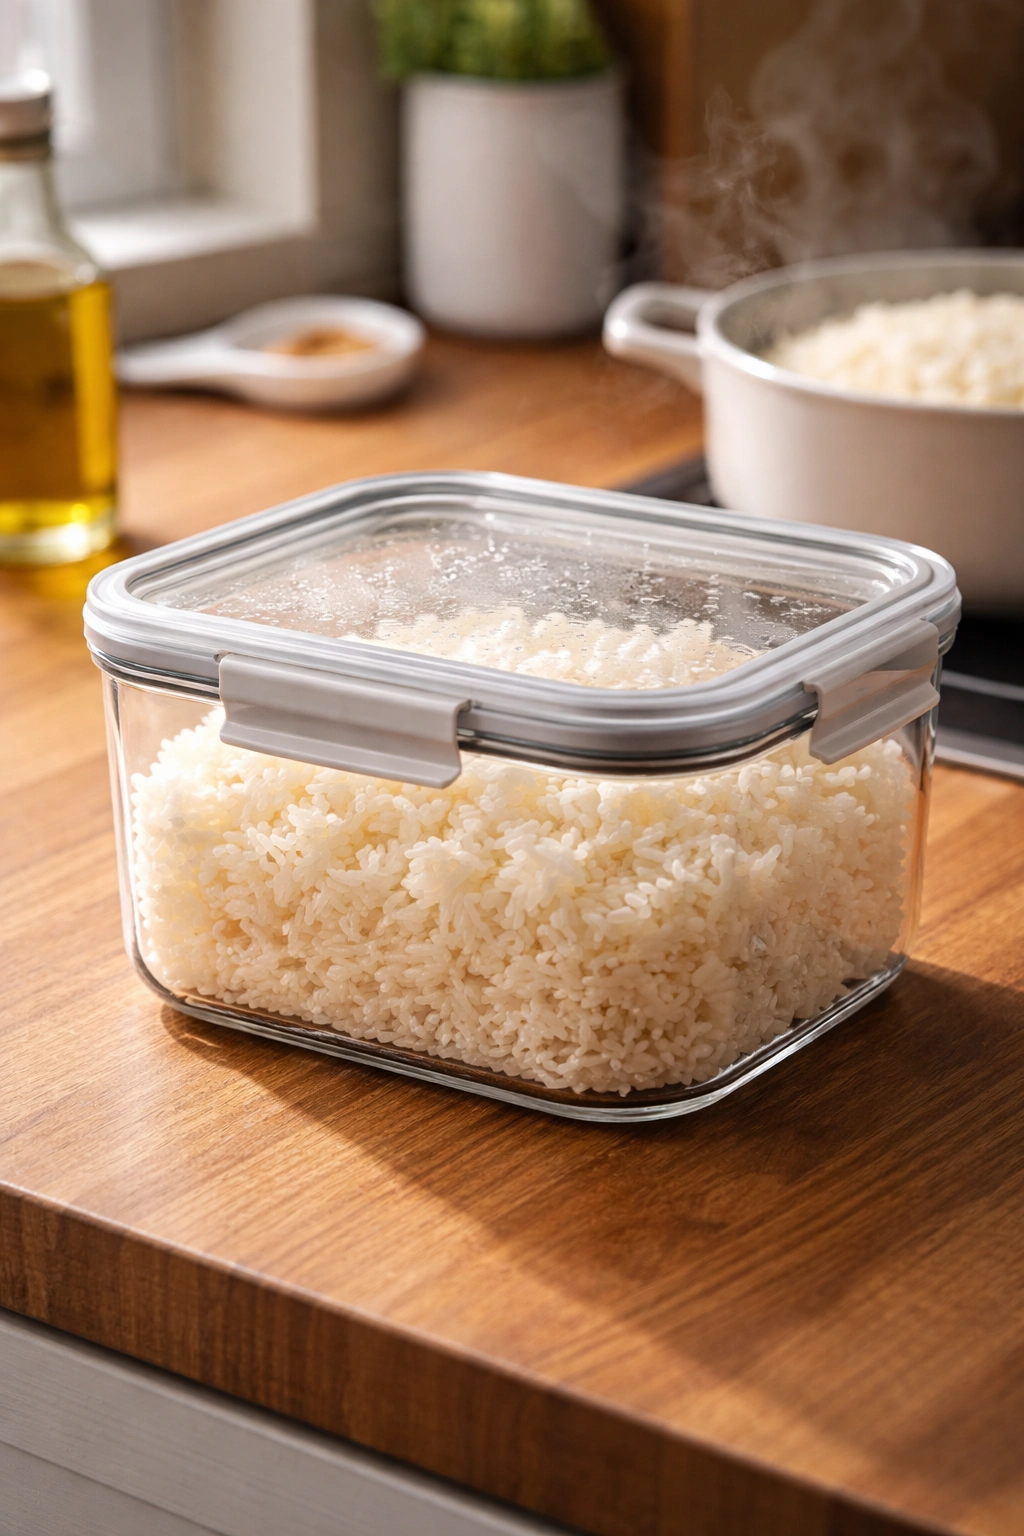
Properly stored rice stays fluffy when you reheat it, while poorly stored rice becomes hard or mushy. Once your rice has cooled to room temperature, transfer it to an airtight container or cover it tightly with plastic wrap. Stored this way, cooked rice lasts up to 4 days in the refrigerator.
To reheat rice while keeping it fluffy, sprinkle it with a tiny bit of water—just a tablespoon or two per cup of rice—then heat it gently in a microwave in a covered container or in a covered pot on the stovetop over low heat. The small amount of water creates steam as it heats, which rehydrates the rice grains without overcooking them. Stir gently once or twice during reheating to ensure even heat distribution.
Never reheat rice in a microwave without adding a bit of water, or you’ll end up with hard, dried-out grains. A covered pot on the stovetop over low heat is actually the best method for reheating rice—it’s slower and gives you more control. Heat for 3 to 5 minutes, just until the rice is warm throughout, then remove it from heat immediately.
You can also freeze cooked rice for up to 3 months. Spread cooled rice on a baking sheet, freeze it until solid (about 2 hours), then transfer the frozen rice to a freezer bag. When you’re ready to use it, there’s no need to thaw—just add a splash of water and reheat in a covered pot or microwave. Frozen rice actually reheats beautifully because the freezing process breaks down some of the starch, making it less likely to clump together.
Final Thoughts
Fluffy rice is absolutely achievable once you understand that it’s not about luck—it’s about precision and patience. A correct water-to-rice ratio, rinsing before cooking, gentle heat, and respect for resting time will set you up for success almost every single time. The techniques in this article aren’t complicated or difficult; they’re just consistent habits that create consistent results.
The breakthrough moment comes when you stop guessing and start measuring, when you trust the process instead of peeking at the rice every few minutes, and when you realize that the simplest, most straightforward cooking method almost always produces the best rice. Once fluffy rice becomes your standard, you’ll notice immediately when it’s less than perfect, and you’ll intuitively know what to adjust the next time.
Start with long-grain white rice, a reliable ratio of 1 to 1.5 water to rice, a 18-minute simmer on low heat, and a 5-minute rest with the lid on. Master these basics until you can execute them without thinking, and you’ll never have mushy rice again.