Fresh herbs transform a meal from ordinary to extraordinary, but their appeal comes with a cost — they wilt, blacken, and turn to mush faster than almost any other produce in your kitchen. You bring basil home from the market on Monday morning with grand plans for Wednesday’s pasta, only to find it’s already browning and slimy by Tuesday afternoon. This frustration leads most home cooks to either buy dried herbs (which lose so much nuance and brightness) or waste money constantly replacing herbs that never get used before they spoil.
The real problem isn’t that fresh herbs are fragile — it’s that most storage methods fight against their nature rather than working with it. Herbs are living plants with specific moisture, temperature, and air circulation needs, and once you understand what those needs actually are, storing them for weeks becomes straightforward. The difference between herbs that look sad and droopy after three days and herbs that stay vibrant for two to three weeks comes down to which storage method you choose for each type of herb and how carefully you execute it.
This isn’t about fancy equipment or complicated procedures. You have probably already seen the most effective storage methods used in professional kitchens and restaurant prep stations — they’re just applying one or two basic principles consistently. Once you know which herbs behave differently from each other, what container actually matters, and the single mistake that ruins more herbs than anything else, you’ll stop wasting money and start having fresh herbs available whenever you need them.
Why Fresh Herbs Spoil So Quickly
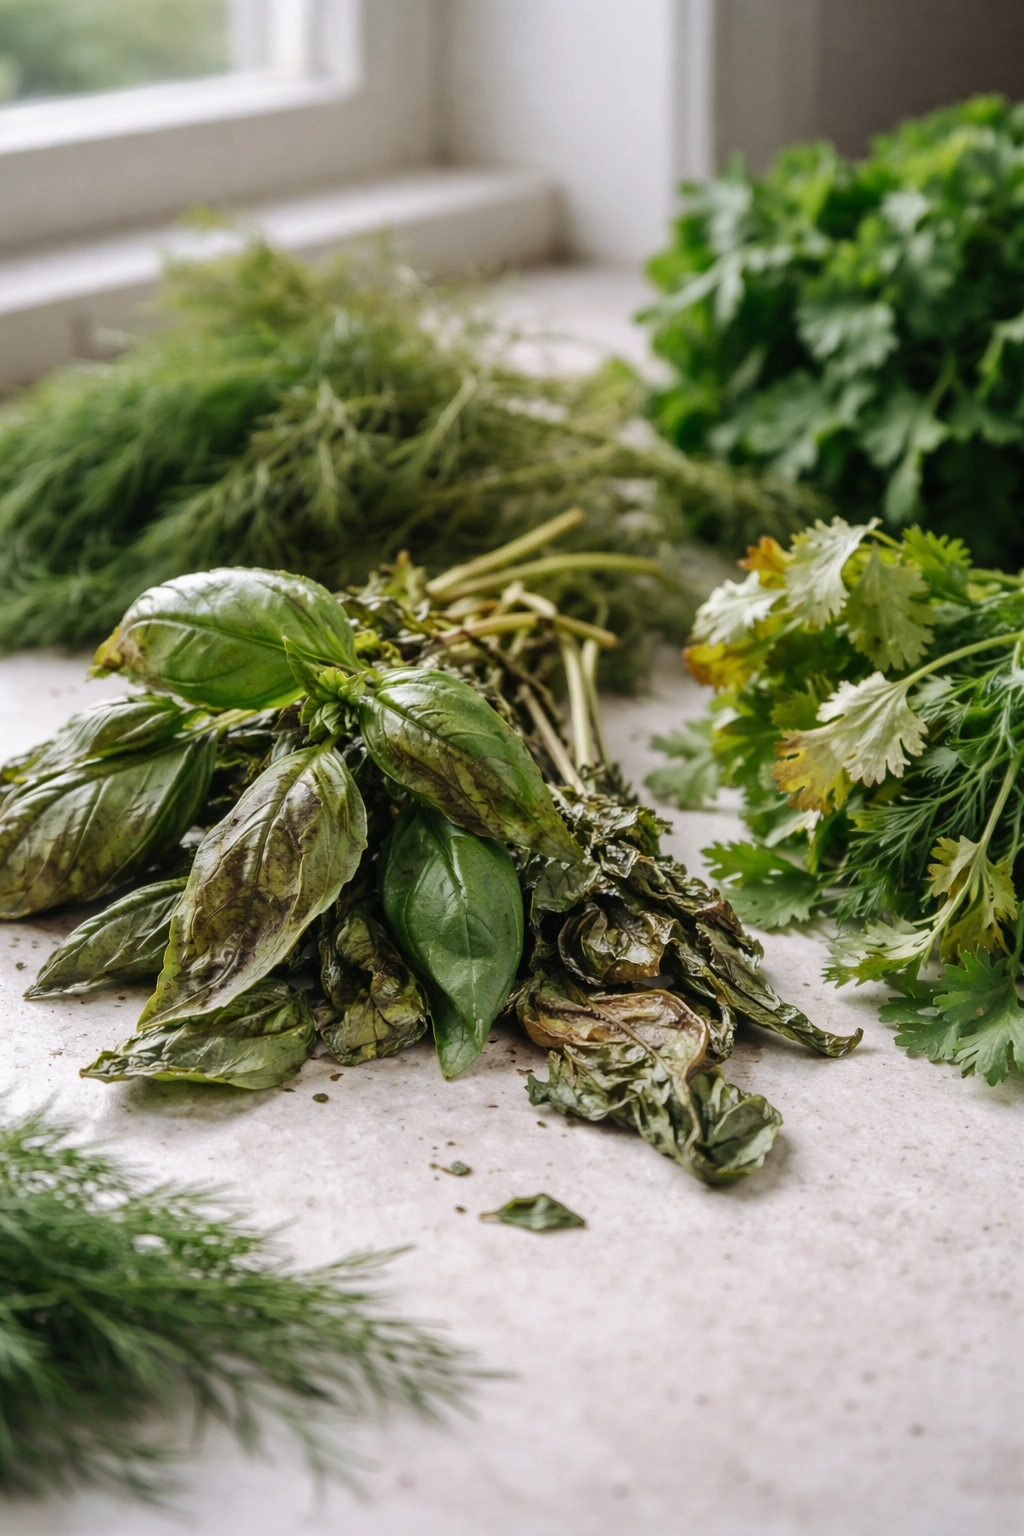
Fresh herbs deteriorate through a combination of moisture loss, oxidation, and the natural ethylene gas ripening process. When you cut a stem, you’ve broken the plant’s protective barrier, and water starts evaporating immediately from the leaf surfaces. Simultaneously, the cut exposes cells inside the stem that will begin to brown and age if exposed to oxygen, and exposure to ethylene gas (released by ripening fruits and other plants nearby) accelerates the whole degradation process. Unlike hardy vegetables that evolved thick skins and waxy coatings, herbs like basil, cilantro, parsley, and dill have thin, delicate leaves designed to maximize their surface area for photosynthesis, not for extended survival after being cut.
Temperature compounds every one of these problems. Warmth speeds up water evaporation, accelerates oxidation, and increases ethylene sensitivity — which is why herbs stored at room temperature collapse in days. Cold slows all these processes dramatically, but it introduces a new risk for sensitive herbs like basil and cilantro: cold damage. Store these at 40°F and below, and they’ll develop dark spots, bruised patches, and mushy leaves from ice crystal formation in the leaf cells. You need to find the exact temperature balance for each herb type, and that’s why a one-size-fits-all storage method doesn’t exist.
Humidity matters enormously too. Herbs need enough moisture to prevent wilting and leaf shriveling, but too much humidity creates a wet microclimate where mold, mildew, and bacterial rot take hold — you’ve probably seen dark slimy patches inside a sealed container of herbs. The goal is maintaining steady humidity without creating that wet environment. This is where method choice becomes critical.
The Water Method for Tender Herbs
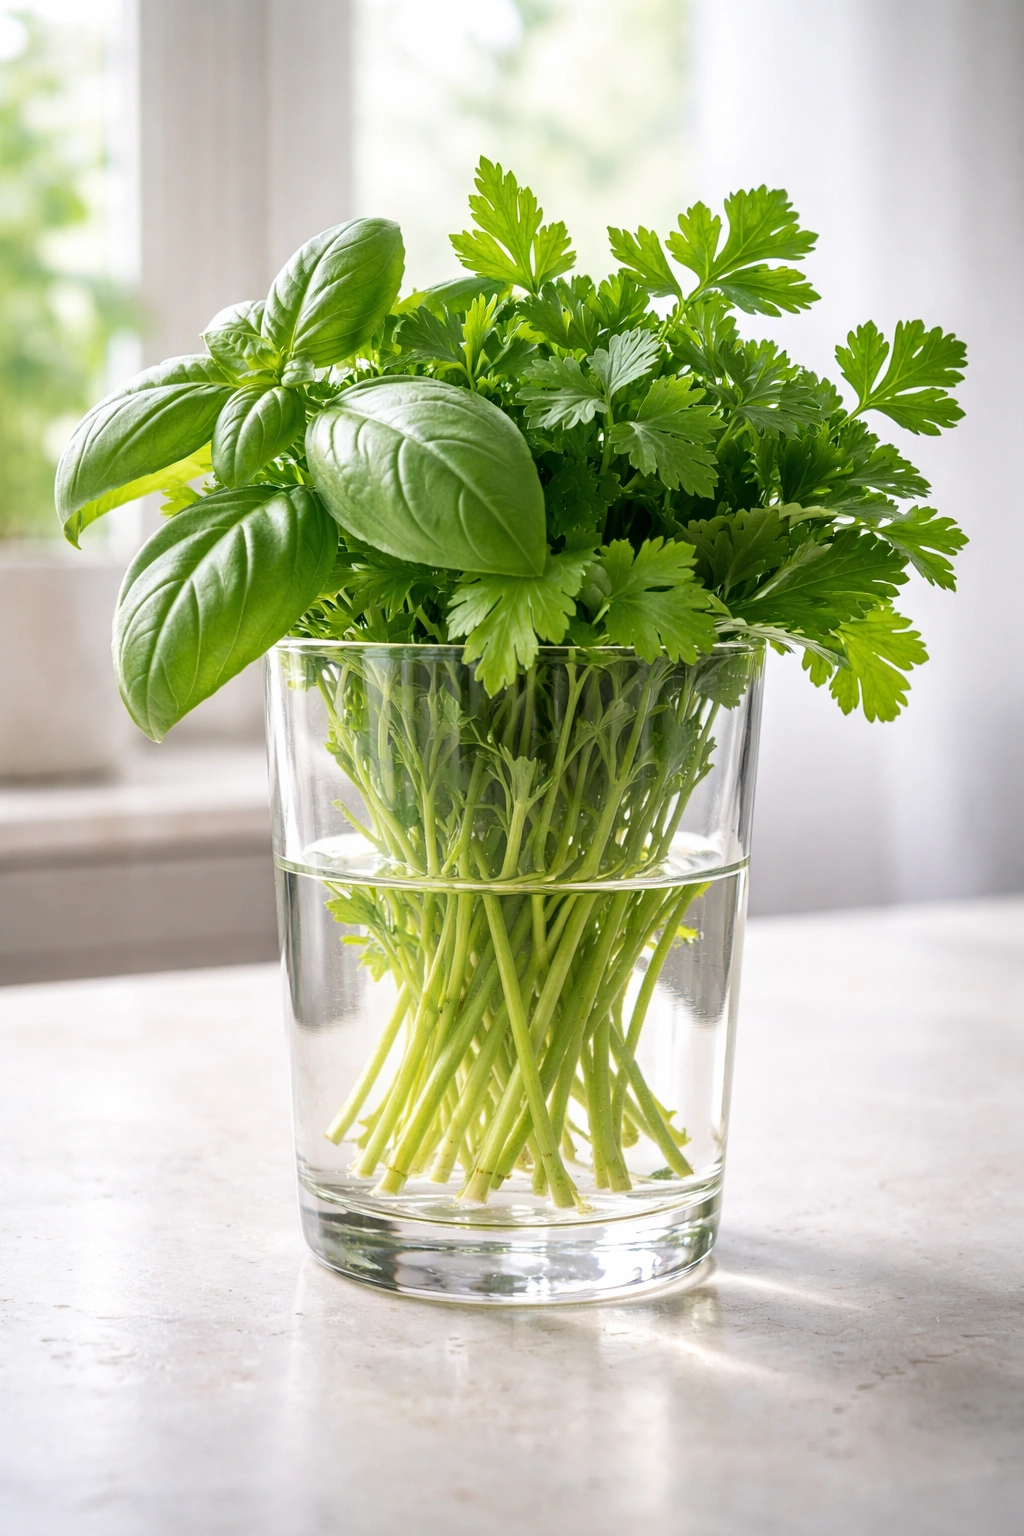
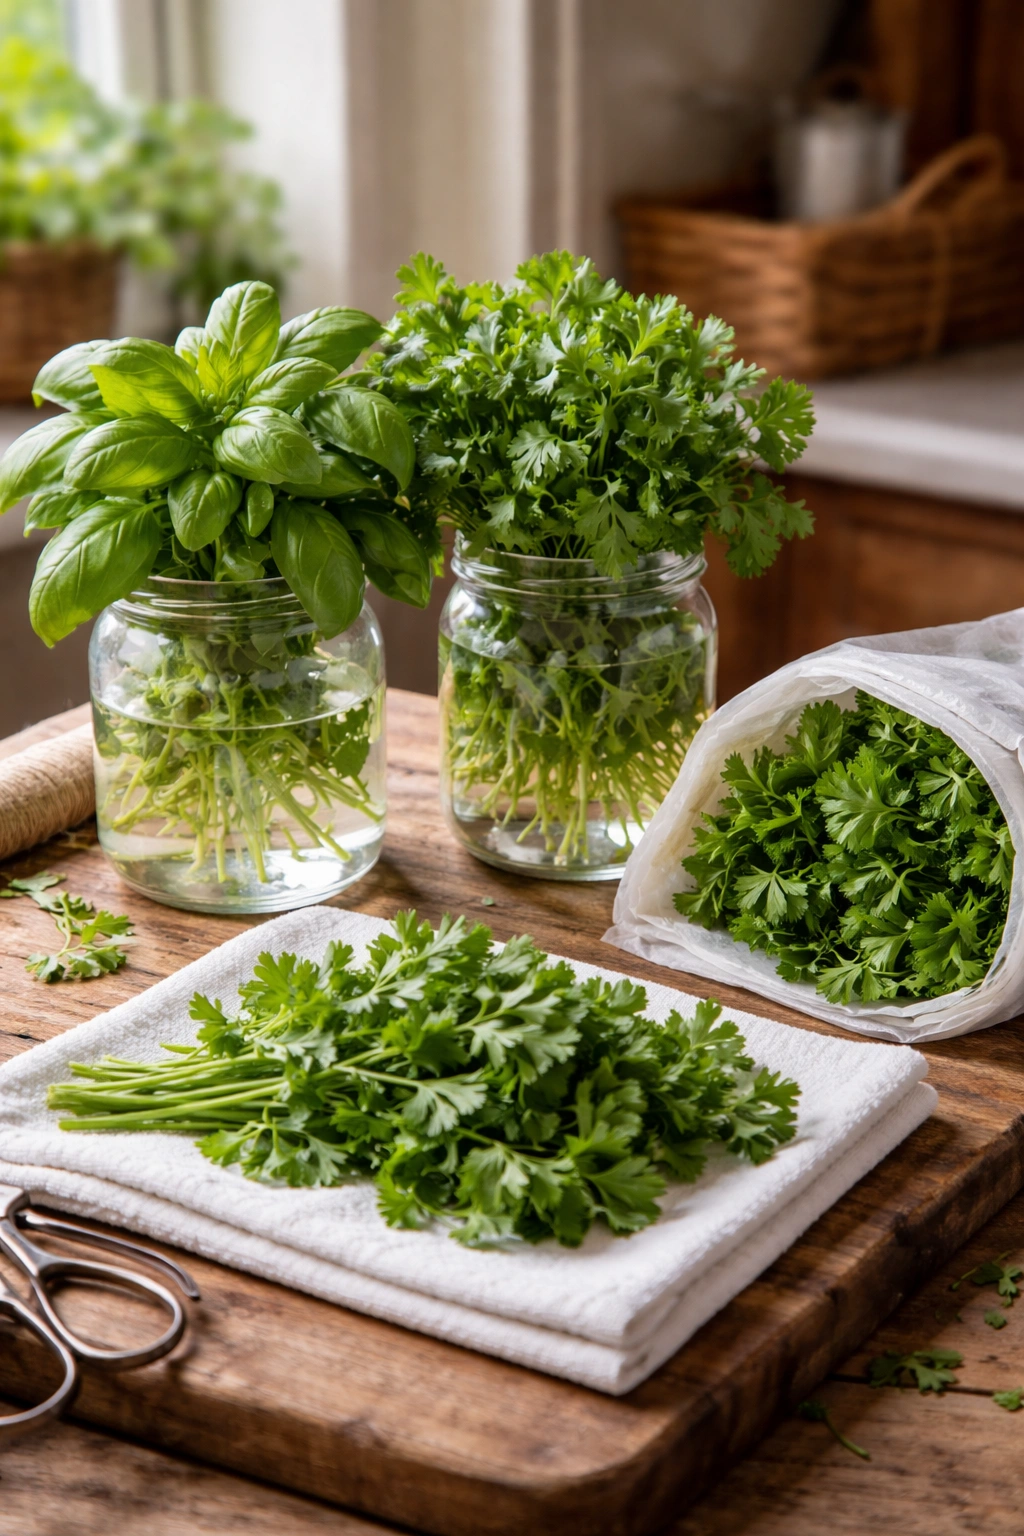
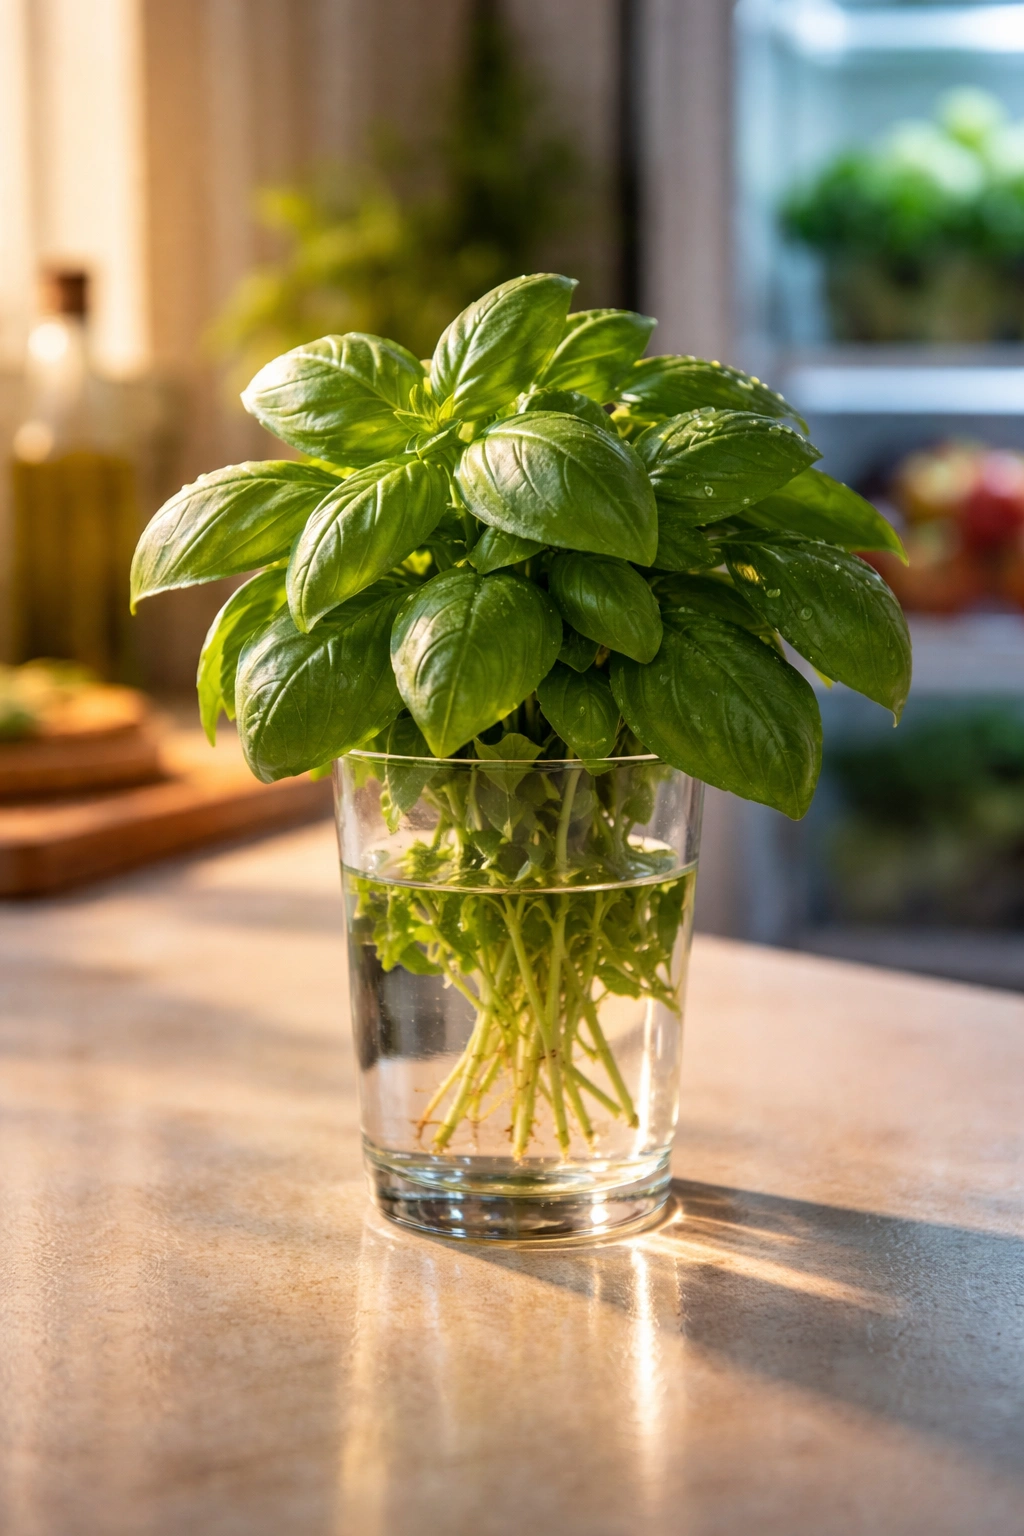
The water method is the gold standard for soft, tender-stemmed herbs like basil, cilantro, parsley, dill, and tarragon. It works because these herbs naturally absorb water through their cut stems, staying hydrated without any effort on your part, and the water acts as a protective barrier against oxidation at the cut site. Think of it as keeping the herbs in a low-intensity version of how they’d grow in a garden — their feet are wet, their leaves stay perky, and they’re not drying out.
Fill a small glass or jar with about 2 inches of room-temperature water. Remove the lower leaves from the herb stems — any foliage that would sit below the waterline will rot quickly, and rotting leaves will foul the water and send bacteria up into the whole bunch. Strip the bottom inch or two of leaves, then place the stem bundle into the water-filled glass just like you would a bouquet of flowers. The visual effect is nearly identical, which is partly why this method works so well — chefs use it for the same reason florists do.
Cover the herbs loosely with a plastic bag (or slide the entire jar into a produce bag) but don’t seal it. This traps some humidity around the foliage while still allowing a tiny bit of air circulation to prevent fungal growth. The loose drape is key — a tight seal will create condensation and rotting. Leave the whole arrangement on the counter, away from direct sunlight and heat sources, or move it to a cool, stable spot if your kitchen is warm. Change the water every 2-3 days, or immediately if it starts looking cloudy or smelly.
Basil thrives in this method at room temperature (around 65-72°F), which is actually warmer than the fridge. Cilantro, parsley, and dill will last longer with the water method at room temperature than they will refrigerated, though some people prefer the fridge version of this method (described in the next section) for slightly longer storage. The water method typically keeps tender herbs vibrant for 1 to 2 weeks, sometimes longer if you’re diligent about changing the water and removing any yellowing or slimy leaves immediately.
The main reason this method fails is neglect — if you let the water get cloudy and full of decaying leaf bits, the whole bunch will follow suit. You need to commit to checking on your herbs every other day and refreshing the water if it looks anything but crystal clear. Also watch the bottom leaves carefully. The second you see any sliminess or dark spots on the leaves that are in the water, trim those leaves off and refresh the water immediately.
Refrigerator Water Method for Extended Storage
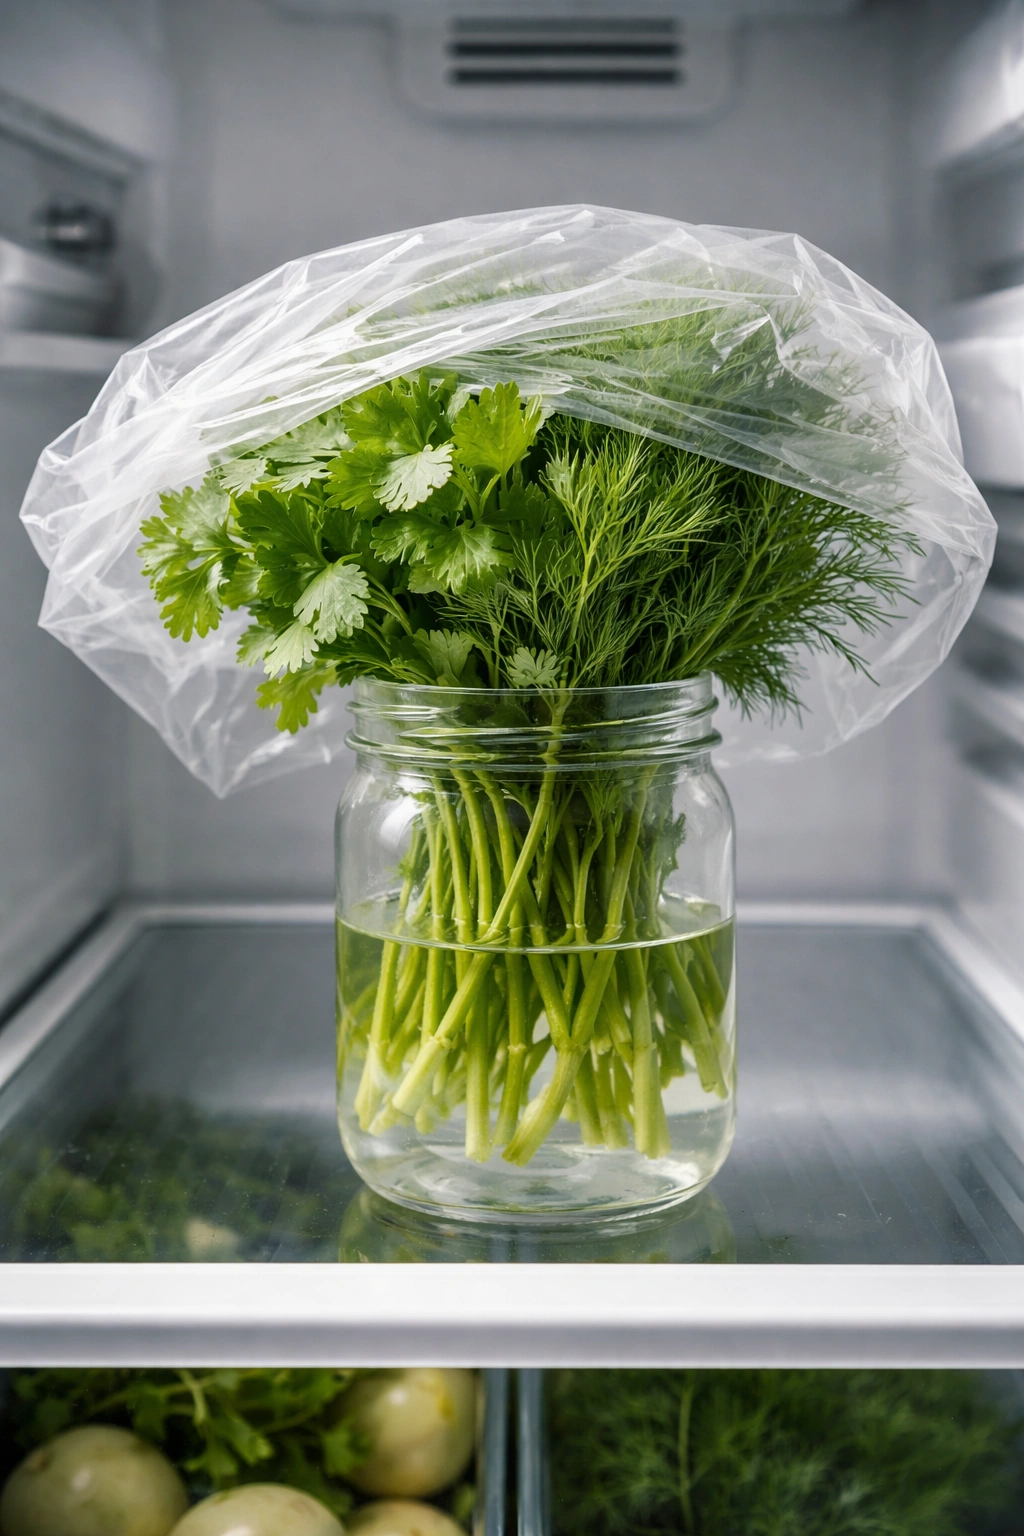
If you want maximum longevity from tender herbs and don’t mind them at refrigerator temperature, the water method works equally well in the fridge. Use the exact same setup — clean glass, 2 inches of water, lower leaves removed, loose plastic bag covering — but place the entire jar in the refrigerator. The cold dramatically slows all the deterioration processes, so herbs stored this way can easily last 3 to 4 weeks instead of 1 to 2 weeks.
Most people find the fridge water method is the most reliable long-term storage for cilantro, parsley, and dill. Basil is a trickier proposition at cold temperatures — it can handle 50°F for extended periods without developing the dark patches that appear below 45°F, but most home refrigerators sit closer to 40°F, so basil will eventually show damage. If your fridge tends to run warmer than average, the cold water method works for basil too. If it’s a standard cold fridge, stick with room-temperature water method for basil.
The water still needs changing every 3-4 days, and you still need to watch for decaying lower leaves. The cold makes everything progress more slowly, so you have more grace period, but the principle remains the same. One advantage of the fridge version: you see your herbs right there every time you open the door, making it harder to forget about them until they’ve gone bad.
Paper Towel Wrapping for Delicate Herbs
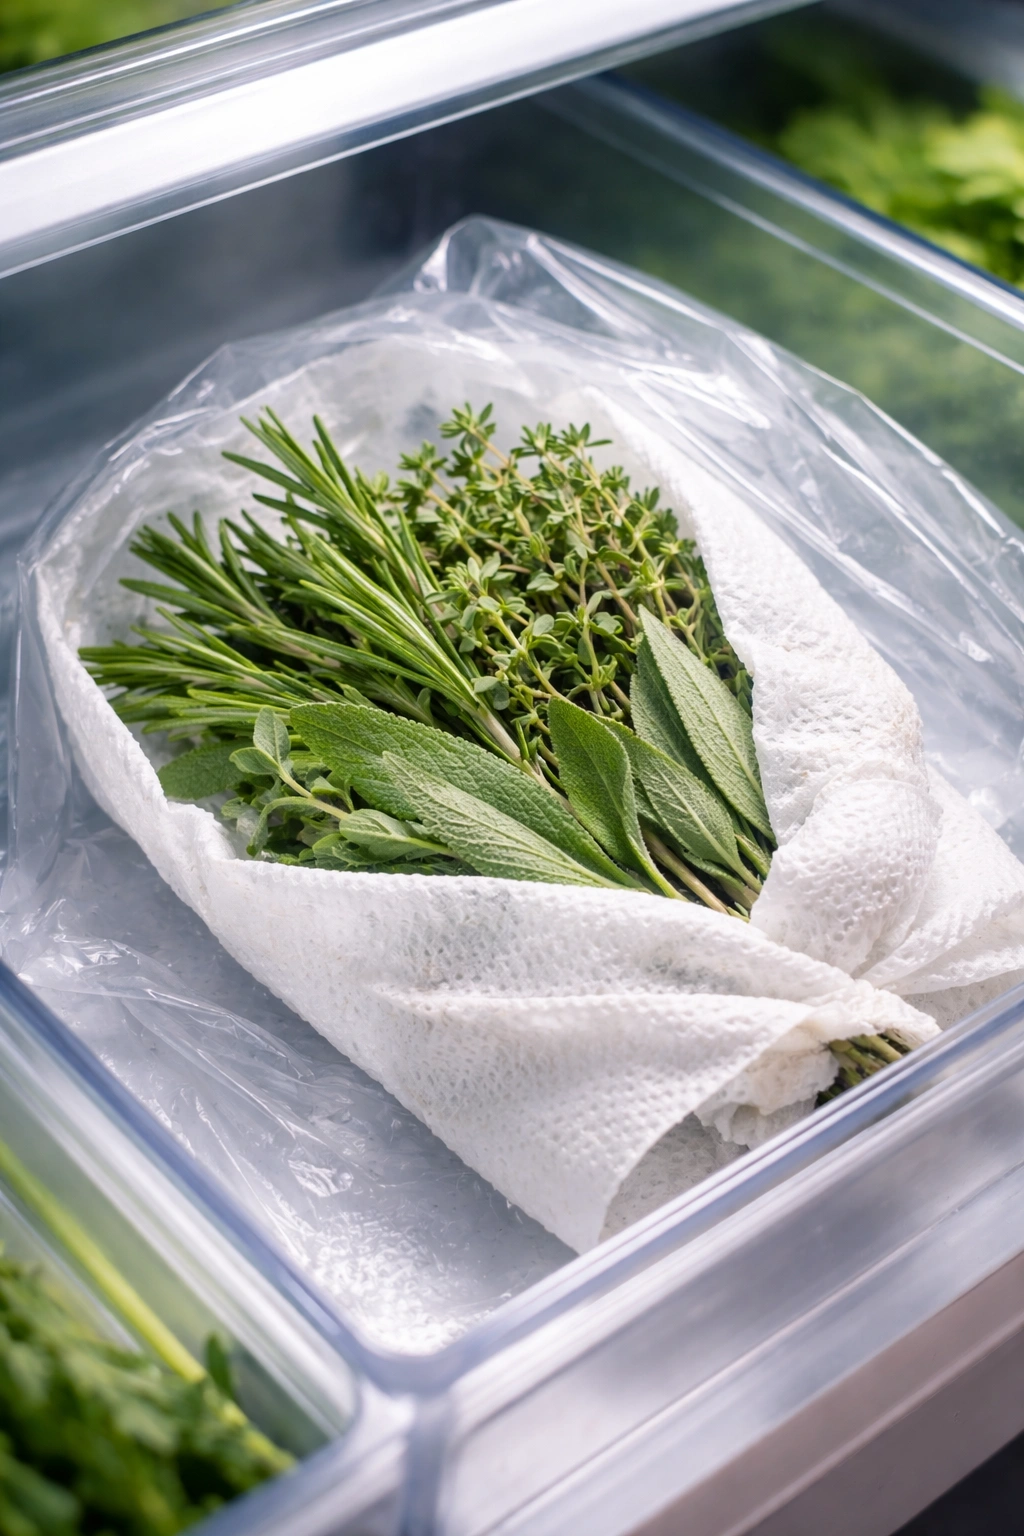
Hardy herbs like rosemary, thyme, oregano, and sage respond better to a dry storage method than the water method. These herbs have tougher, more waxy leaves and woody stems that don’t need constant hydration the way cilantro and basil do. Wrapping them in damp (not wet) paper towels and refrigerating creates the ideal microclimate — enough moisture to prevent shriveling, but dry enough to prevent rot.
Gently rinse and fully dry your herbs using a salad spinner or careful paper-towel patting. Any excess water left on the leaves will accelerate mold growth. Once they’re dry, lay the herb bundle on a damp (not dripping) paper towel, then roll the towel loosely around the herbs. Place the wrapped bundle into a plastic bag, seal it loosely (leaving just a tiny gap for air), and store it in the crisper drawer of your refrigerator.
The paper towel provides the perfect humidity balance — it holds just enough moisture to keep the herbs from drying out completely, but the individual leaf exposure prevents the soggy microclimate where mold thrives. This method keeps hardy herbs fresh for 3 to 4 weeks easily, sometimes longer. Check on them every week — if the paper towel is sopping wet, replace it with a fresher damp one. If it’s completely dry, spritz it lightly with water. The goal is a consistent slightly-damp state, not wet and not dry.
Sealed Container Method for Maximum Control
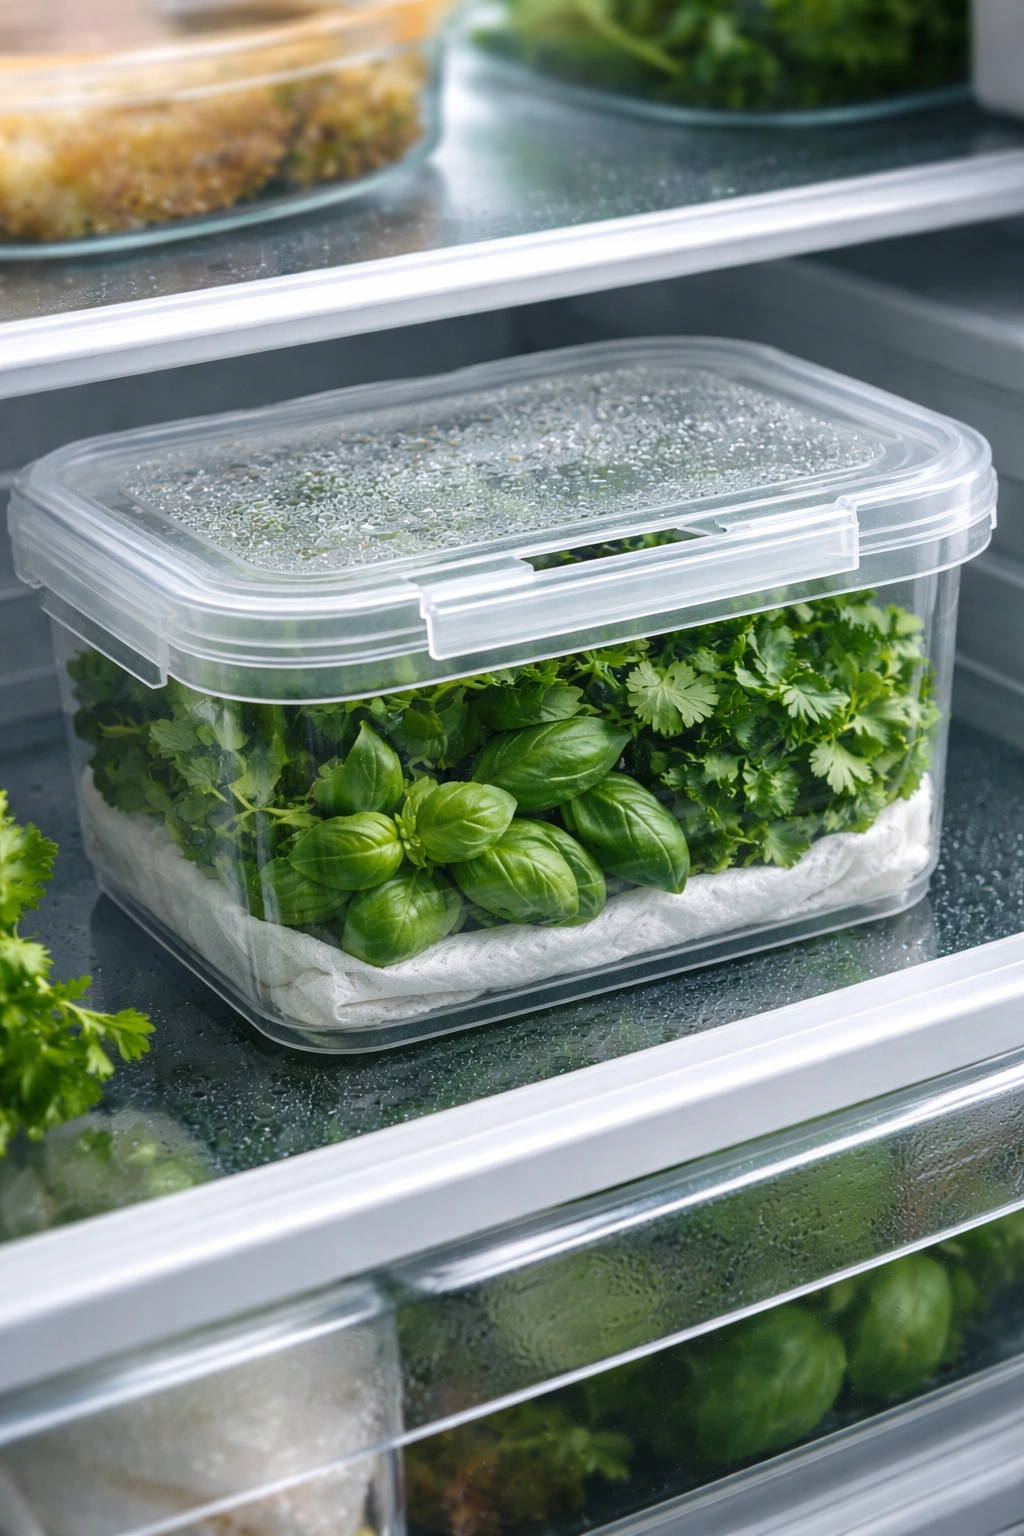
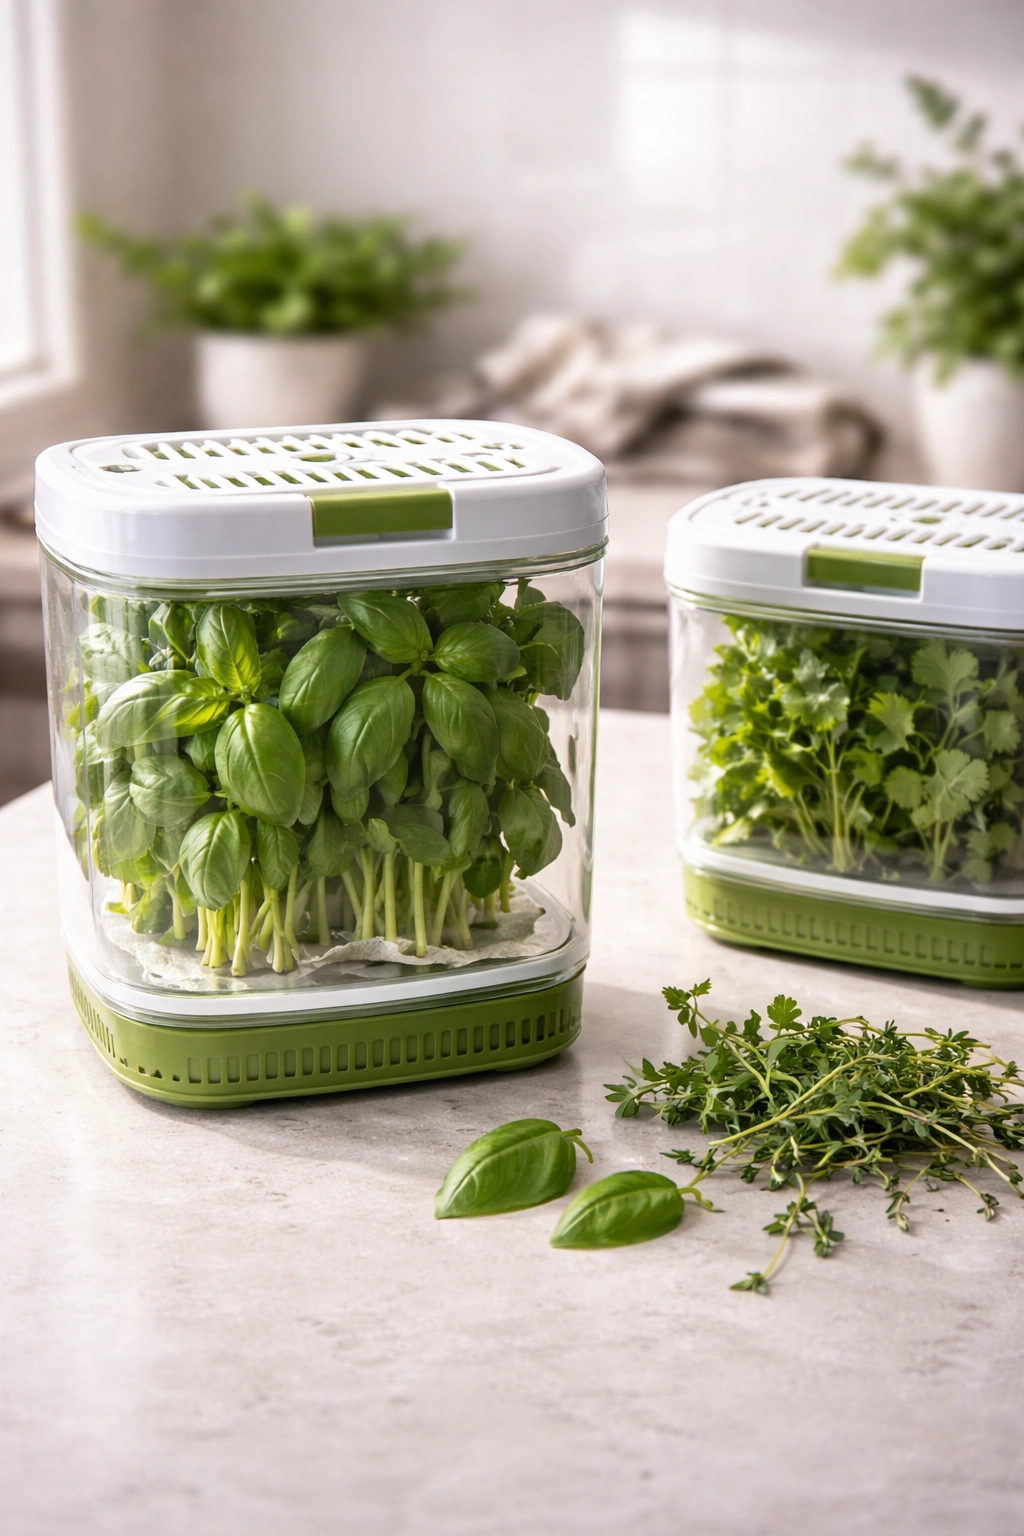
High-quality sealed containers with good airflow control (like Rubbermaid Brilliance or OXO containers with vents) work exceptionally well for most herbs if you nail the humidity level inside the container. The principle is simple: you’re creating a miniature controlled environment where you manage the exact humidity and air circulation, rather than hoping the fridge’s general conditions are right.
Thoroughly dry your herbs first — wet foliage in a sealed container is a recipe for mold disaster. Layer the bottom with a damp paper towel, then layer your dried herbs on top of that paper towel. If you have herbs that need more protection (like delicate basil leaves), you can place them on another damp paper towel as a second layer. Close the container and store it in the crisper.
The humid-but-not-wet paper towel maintains steady humidity inside the sealed container, and the container’s design prevents that moisture from condensing on the lid and dripping back down onto the herbs. Check every 3-4 days — if you see water droplets on the inside of the lid, the container is too humid, so leave the lid cracked for an hour to let some moisture escape. If the paper towels are completely dry, lightly spritz them. The sealed container method works well for most herbs and can stretch storage to 3-4 weeks or longer.
Freezing Fresh Herbs for Cooking
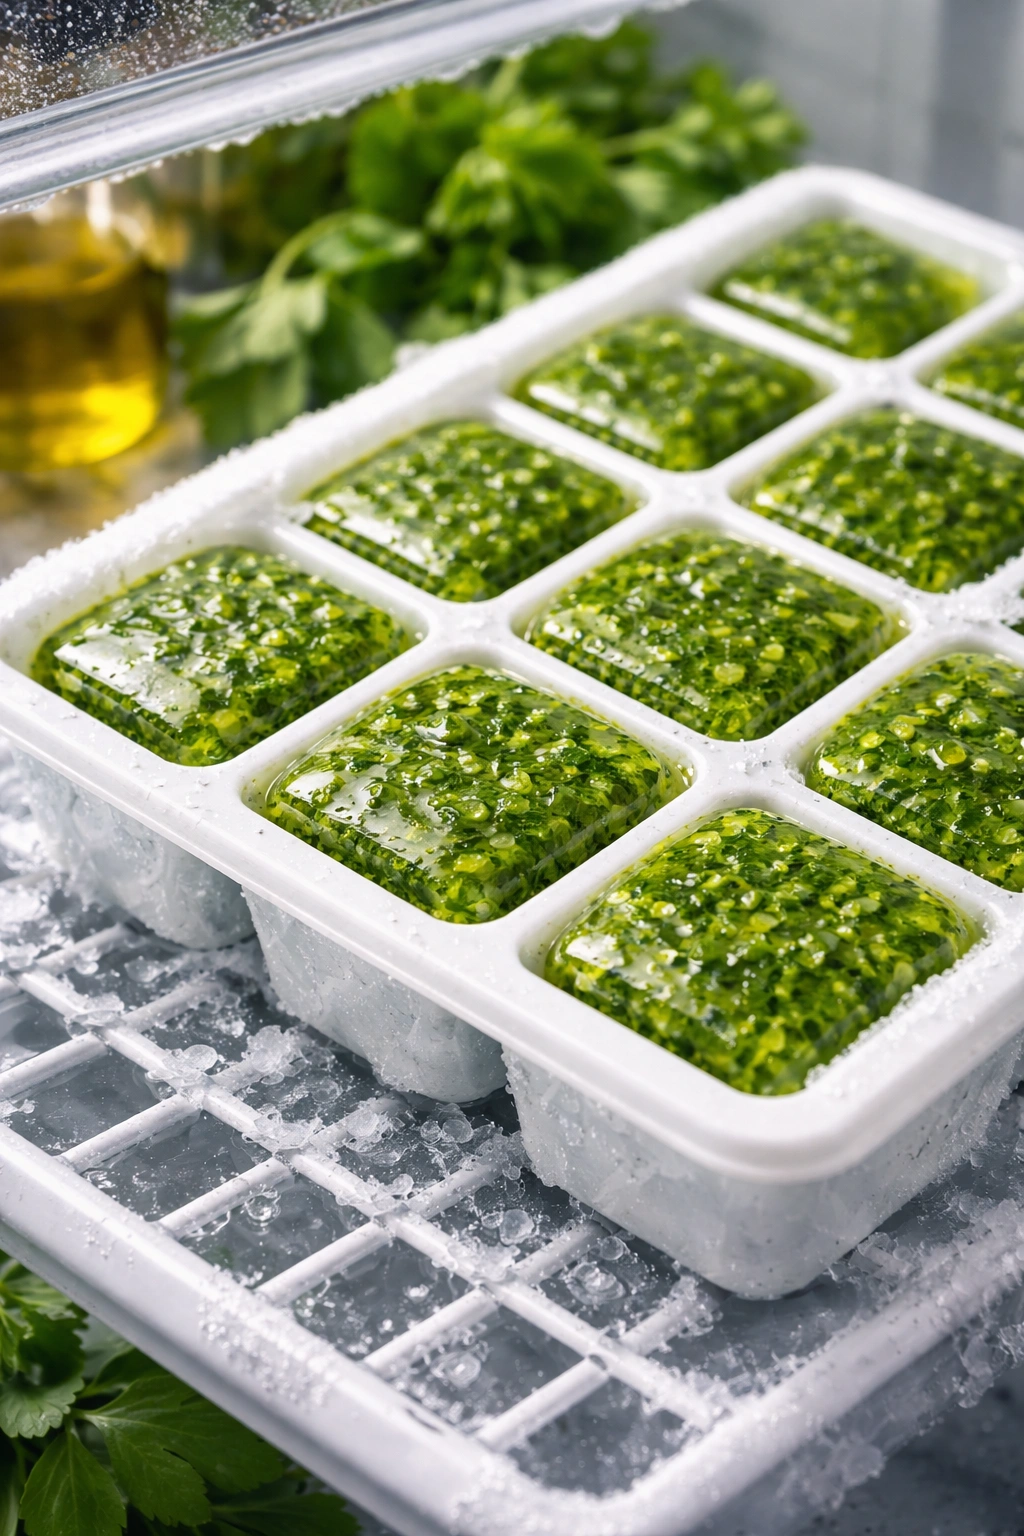
If you have a surplus of herbs and know you won’t use them fresh before they spoil, freezing is a perfect solution — though frozen herbs are best for cooking rather than garnishing, since they lose their texture and won’t spring back to crispness like fresh ones. Different herbs respond differently to freezing, so method matters here.
For tender herbs like basil, cilantro, and parsley: Make a puree by roughly chopping the herbs and pulsing them in a food processor with just enough neutral oil (olive oil, grapeseed oil, or coconut oil) to create a chunky paste. Spoon the puree into ice cube trays and freeze until solid, then pop the cubes into a freezer bag. One cube delivers about 1 tablespoon of fresh herb puree, perfect for adding to soups, stews, sauces, and pestos. The oil coating protects the herbs from freezer burn and oxidation.
For hardy herbs like rosemary, thyme, and oregano: You can freeze them whole on a baking sheet, then transfer to a freezer bag once frozen. The leaves will stay on the stem and be ready to strip directly into your cooking. Alternatively, strip the leaves, chop them roughly, and freeze in ice cube trays with oil, just like tender herbs. Frozen hardy herbs work beautifully in long-cooked dishes where the texture matters less.
Flash-freezing method: Lay whole herb sprigs on a baking sheet and freeze until rock solid (1-2 hours), then transfer to a labeled freezer bag. This method preserves the shape and allows you to grab just what you need without defrosting the whole batch. It works best for hardy herbs.
Frozen herbs stay good for 4-6 months in a standard freezer. They’ll lose some of their fresh intensity, so don’t expect them to perform exactly like fresh herbs in raw applications like salads or fresh garnishes, but they’re perfect for cooking. Pro tip: Label your frozen herb cubes with the herb type and the date — it’s easy to forget what’s in an unmarked bag of green puree after a few weeks.
Storing Different Herbs: A Specific Guide
Not all herbs want to be stored the same way, and understanding each herb’s preferences will improve your success rate dramatically. The most common fresh herbs have distinct needs based on their cellular structure, water content, and sensitivity to temperature and ethylene.
Basil is the most heat-loving herb and genuinely prefers room temperature with the water method. It will develop dark bruised spots if refrigerated below 50°F. Use the room-temperature water method and change the water frequently. Basil also has a relatively short shelf life even under perfect conditions — 1 to 2 weeks is realistic. One trick: store basil separately from other herbs because it releases more ethylene gas than most herbs and will accelerate ripening of herbs nearby.
Cilantro is prone to bolting and deteriorating quickly, but the refrigerated water method or paper towel method extends its life significantly. Cilantro likes cold and humidity, so the fridge is its friend. Expect 2-4 weeks with proper refrigeration. Keep it away from fruits, which release ethylene and speed deterioration.
Parsley (both flat and curly) stores beautifully with the water method either at room temperature or refrigerated. It’s more resilient than basil or cilantro and tolerates cold well. Paper towel method also works. Expect 3-4 weeks under good conditions.
Dill is delicate and quickly turns slimy if exposed to excess moisture, so the paper towel method or sealed container with light humidity works better than full water immersion. Water method works too, but dill seems to prefer the slightly drier approach. 2-3 weeks is typical.
Mint wants the water method and actually prefers cooler room temperature or light refrigeration. It’s quite hardy and tolerant of different conditions. Mint will last 2-3 weeks easily. Mint also spreads its aroma strongly, so store it away from herbs that absorb flavors easily (like basil).
Oregano, thyme, rosemary, and sage are hardy, woody-stemmed herbs that prefer the paper towel method. They can tolerate some dryness and prefer cool temperatures to prevent wilting. These herbs will last 4+ weeks with proper storage, making them the lowest-maintenance herbs to keep on hand.
Tarragon and chives fall somewhere in between — they respond well to the water method or paper towel method, preferring cool conditions. 2-3 weeks is typical.
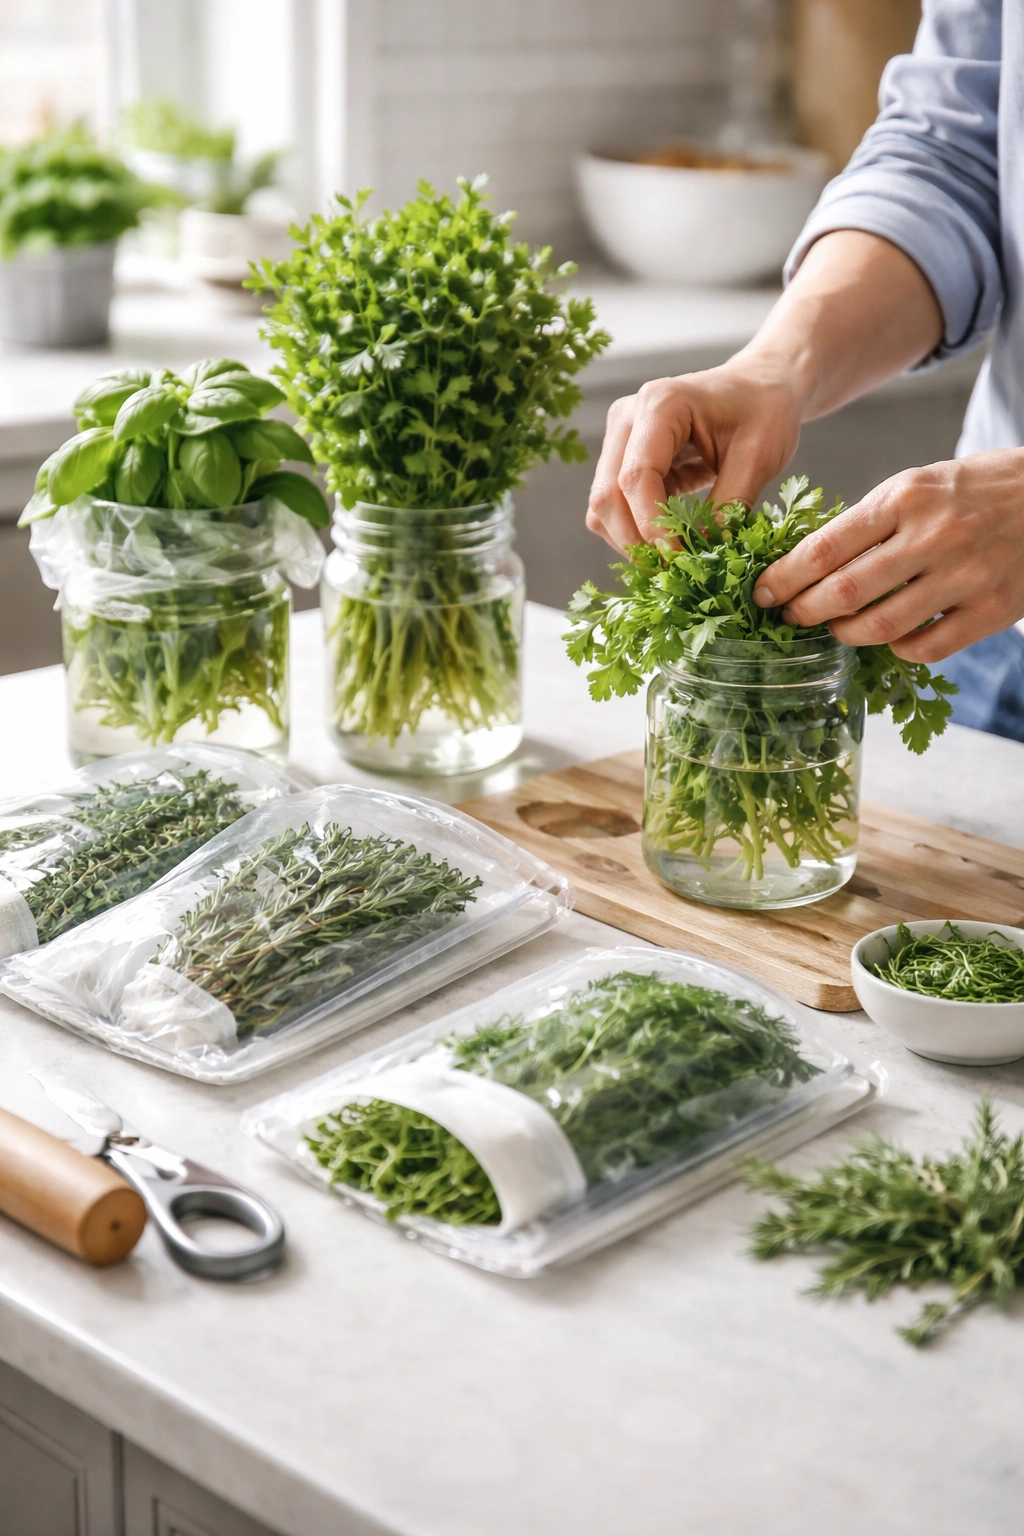
The Critical Prep Step That Everyone Skips
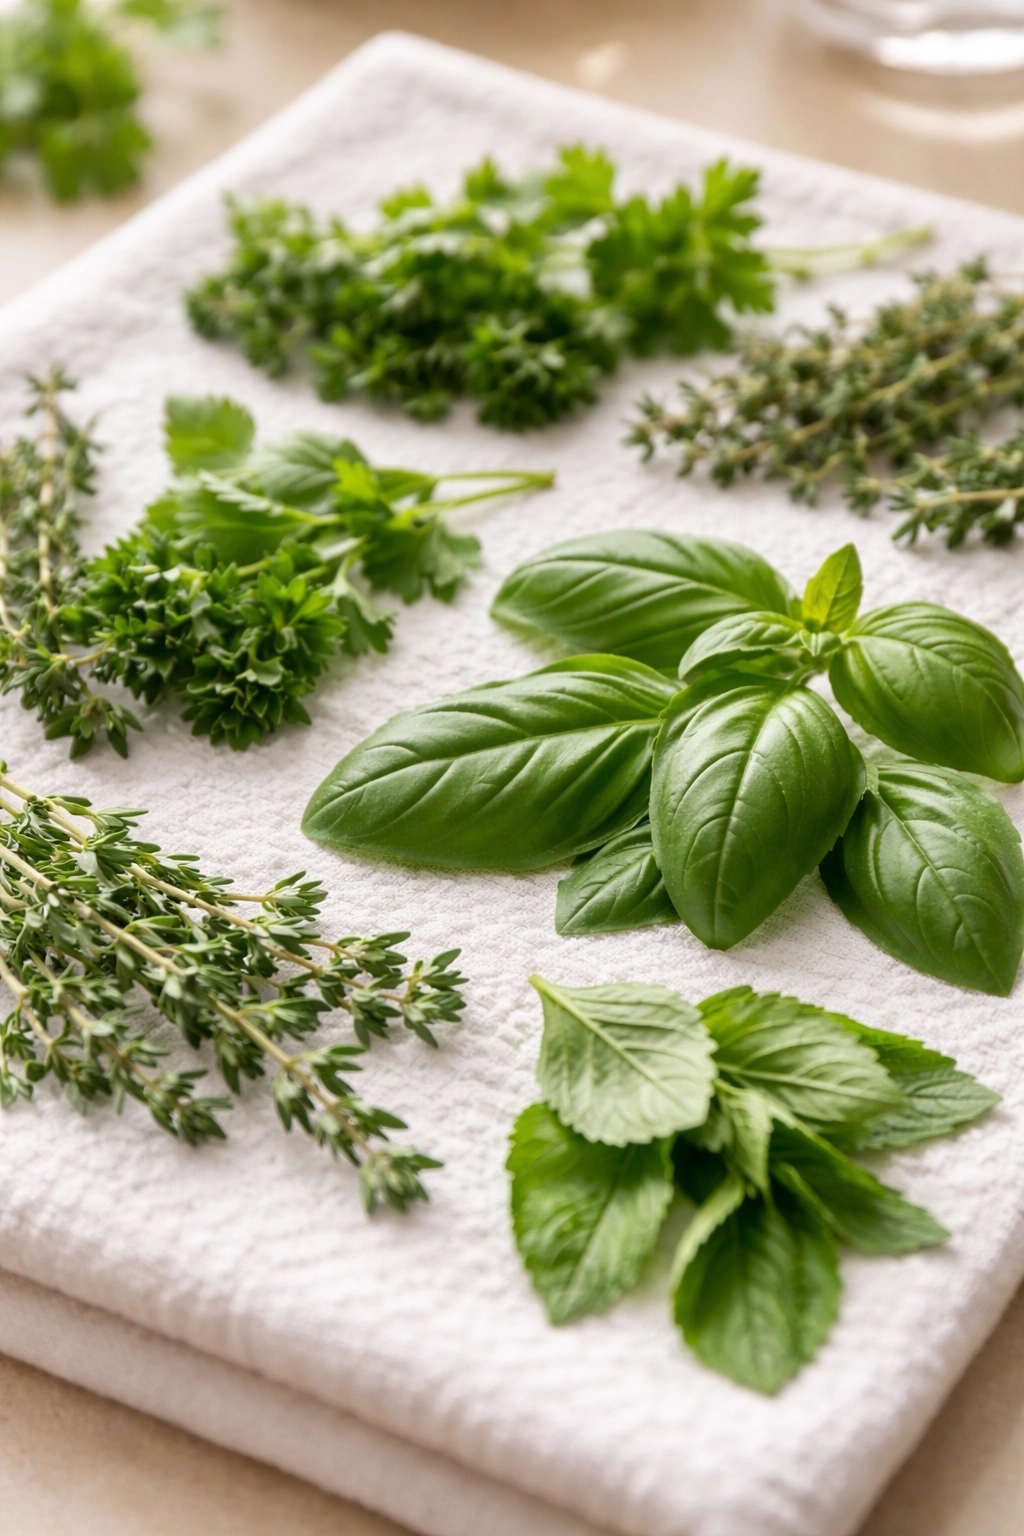
Before you store any herb, you must make sure the foliage is completely dry if you’re using a dry method (paper towel, sealed container, freezing) or that you’ve removed all the lower foliage if you’re using a water method. This one step prevents 80% of herb storage failures.
If your herbs are wet from rinsing, use a salad spinner to remove excess water, then lay them on a clean dry kitchen towel for 10-15 minutes to air-dry completely. Any water clinging to the leaves will create a microclimate for mold and bacteria. Wetness plus enclosed space equals rot — it’s that simple and that reliable.
For the water method, stripping the lower 1 to 2 inches of leaves is non-negotiable. Those lower leaves that would sit in water will start rotting within 24 hours, and rotting plant material fouls the water, releases bacteria and ethylene into your herb bundle, and kills the whole bunch. Spend 30 seconds removing those leaves every single time, and you’ll eliminate the single most common cause of rapid herb deterioration.
Understanding Temperature: Why Room vs. Fridge Actually Matters
The refrigerator isn’t automatically the best choice for every herb despite what most storage guides suggest. The temperature difference between a 72°F kitchen counter and a 40°F refrigerator isn’t just a matter of “colder is better” — it’s a fundamental change in how the herb responds to storage conditions.
Cold temperatures slow the water loss and oxidation that kills herbs, but they also dramatically change how the herb’s cells behave. Tender herbs like basil respond to cold by undergoing chill damage — ice crystals form in the cells, rupturing them, which creates those dark bruised spots. Basil’s ideal temperature is actually 50-70°F, which is why professional chefs keep their basil at room temperature in water. Cilantro, parsley, and dill tolerate cold better (their cells are more resilient), so they thrive in refrigerator storage.
This is why one-size-fits-all storage advice fails so often. You can’t take the same container and storage method and assume it works for basil, cilantro, and rosemary equally well. The herbs have different biology and respond to temperature, humidity, and storage methods distinctly. Spend five minutes understanding what each herb in your kitchen needs, and your storage success rate will jump from 40% to 90%.
Signs Your Herbs Have Spoiled

Knowing when an herb has crossed the line from “still usable” to “trash this immediately” prevents accidental contamination and off-flavors in your cooking. Fresh herbs degrade through predictable stages, and catching them early prevents waste.
Yellow or brown leaves at the outer edges of the bunch are normal and fine — just strip those off and use the rest. These damaged leaves are drying out or experiencing normal senescence (aging). Dark brown or black spots especially on the leaves themselves or at the stem base signal bacterial or fungal infection. The herb is still safe to use if you remove only the spotted portions, but if spots are extensive, it’s time to discard.
Slimy or mushy texture on the leaves or stems means the tissue has broken down and bacteria have colonized the area. This herb should go straight to compost — you can’t salvage it. Mold or visible fuzz of any color means discard immediately; mold spores spread fast and the herb isn’t safe to eat. Foul or sour smell instead of the herb’s normal aroma indicates fermentation or bacterial activity inside the stem — discard the whole bunch.
Brown or blackened stems at the cut end is normal as the cut oxidizes over days. You can still use the herb. Wilted, drooping leaves means the herb is desperately thirsty — if it’s in water, check that the water level is still adequate. If it’s wilted from dehydration, cut a fresh ½-inch off the base and place in water for 30 minutes, and it will often revive. Pale or faded color develops over time as chlorophyll breaks down — the herb is still usable, just less vibrant.
Preventing Common Storage Disasters
Several predictable mistakes cause more herb spoilage than any other factor. Knowing and avoiding them will improve your storage success exponentially.
Storing different herbs together, especially basil with others. Basil releases higher levels of ethylene gas and will accelerate ripening and deterioration of nearby herbs. Similarly, if you have ripening fruit in your fridge, keep herbs far away. This ethylene sensitivity matters more than most gardeners realize.
Using tap water without allowing it to sit out. Chlorine in fresh tap water can irritate delicate herb tissues. If you’re using the water method, use filtered or bottled water, or let tap water sit in an open container for several hours (which allows chlorine to evaporate). This is a subtle issue but affects longevity.
Storing herbs in hermetically sealed containers with high humidity. Airtight is different from breathable-sealed. A truly airtight container with wet paper towels creates a petri dish. Use containers with slight ventilation or that aren’t 100% airtight, or leave them very slightly cracked. Sealed container designs that include some airflow control (like OXO containers) are ideal.
Cutting all the foliage from the plant at once instead of harvesting gradually. If you cut your cilantro bunch down to 1-inch nubs trying to maximize what you bring home, the plant is in full trauma and will deteriorate faster. Take what you need, leave at least 1-2 inches of stem with leaves attached, and the remaining plant stays in better condition. For storage, store herbs with full stems and leaves intact rather than pre-chopped.
Storing herbs immediately after purchase without inspection. Produce section herbs sometimes have hidden damage or early rotting you can’t see immediately. When you get home, unfasten the rubber band or packaging, inspect every stem and leaf, remove any damaged pieces, and store loose bunches. This 2-minute inspection catches problems before they spread.
Getting Maximum Life Through Harvest Techniques

How you harvest herbs for use affects how quickly the remaining stored herbs deteriorate. Gentle handling and precise cutting preserve the plant’s longevity.
Always cut from the top of the plant downward, removing tender new growth rather than hacking indiscriminately at the sides. This encourages bushier regrowth and minimizes damage to remaining stems. Use clean, sharp scissors or a knife — tearing or crushing the stems causes tissue damage that speeds deterioration and invites bacterial infection. Never pull herbs out of water suddenly — gently ease them out to avoid snapping stems or damaging the bundle structure.
When you store herbs with the water method and need to use some, remove only what you need for that meal rather than pre-prepping a week’s worth. Each time you cut a stem, you expose new cellular material to oxidation, so the fewer cuts you make and the longer between cuts, the better. This is why pre-chopped herbs from the store spoil so rapidly — they’ve been cut into pieces with massive surface area exposure.
Extending Shelf Life with Oxygen Absorption
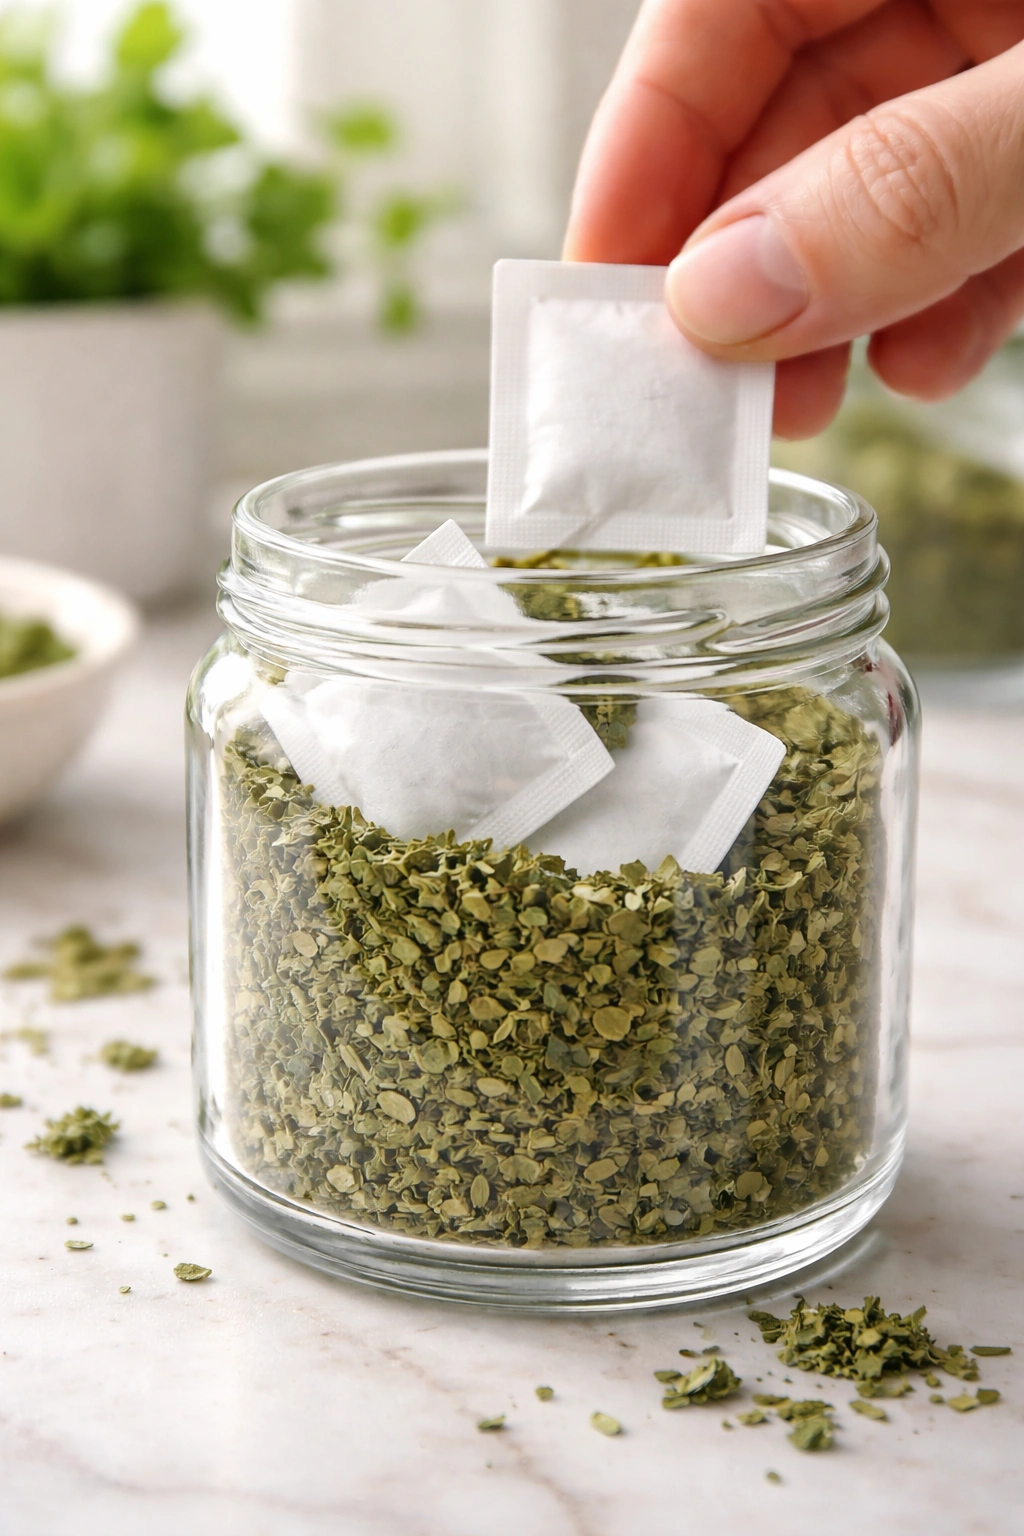
For serious storage enthusiasts, adding food-grade oxygen absorbers to sealed herb containers removes the oxygen that drives oxidation and color fading. Small food-grade oxygen absorbers are inexpensive and available online. Place one in your sealed container with your dried herbs, seal it up, and the absorber will remove oxygen from the enclosed space over 24 hours, creating a nearly anaerobic microclimate where herbs stay vibrant for weeks longer than normal.
This technique works best for hardy herbs you’re planning to use for cooking rather than as fresh garnishes, since some color loss still occurs in anaerobic storage (oxidation is the primary driver, but not the only one). The oxygen absorbers cost pennies and are worth using if you routinely buy large quantities of herbs. Label your containers clearly so no one accidentally eats a container with an oxygen absorber inside — they’re food-safe if consumed, but unnecessary.
Final Thoughts
The difference between herbs that shrivel up in your fridge after three days and herbs that stay vivid for weeks comes down to three concrete things: understanding what each specific herb needs based on its biology, choosing the storage method that matches those needs, and actually committing to the small maintenance steps — changing water, checking for rot, removing damaged leaves — that keep everything functioning properly.
Start with the water method for your tender herbs like basil and cilantro since that’s where most people succeed immediately, and try the paper towel method for your hardy herbs like rosemary and thyme. Buy smaller quantities more frequently while you’re refining what works in your specific kitchen with your specific refrigerator rather than overbuying and watching herbs rot. Most importantly, rotate what you use — fresh herbs deserve to be used and enjoyed while they’re at peak flavor and texture, which is the whole reason you bought them in the first place.
Once you have one or two successful storage methods locked in, expand your herb usage knowing they’ll actually stay fresh long enough to use them. You’ll spend less money replacing spoiled herbs and have fresh flavor on hand whenever you want to cook with it.