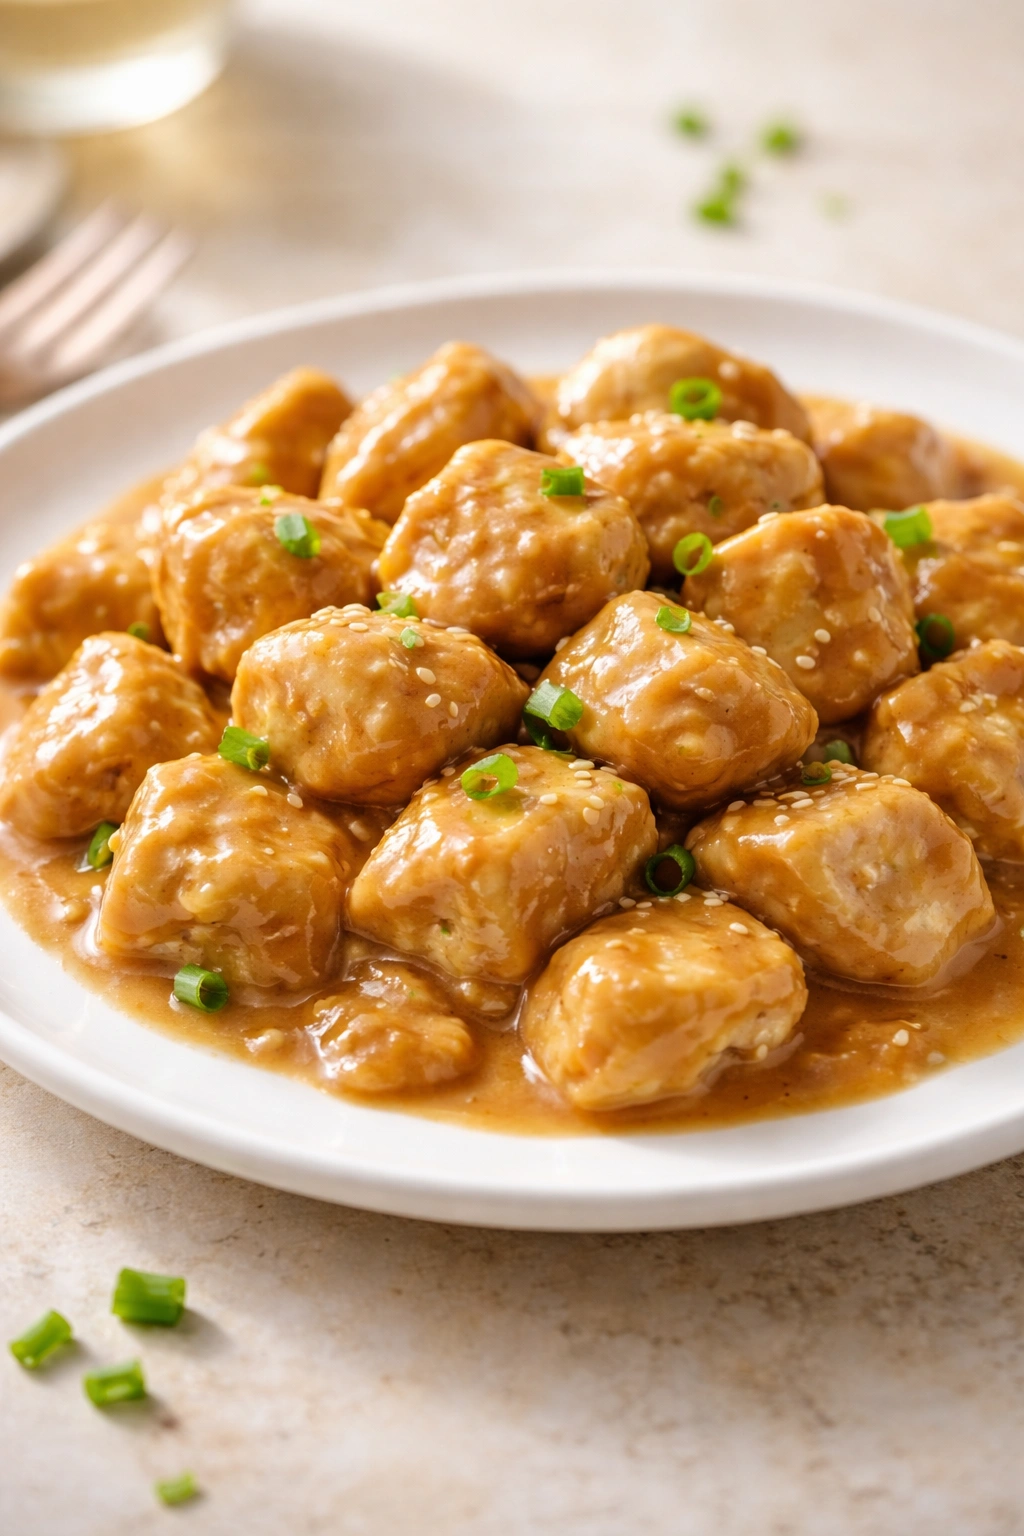
Peanut butter chicken is one of those magic dishes that somehow convinces even the most resistant eaters to clean their plates. It hits that sweet spot between familiar comfort food and adventurous flavors—the creamy peanut sauce is rich enough to feel indulgent, yet gentle enough that it doesn’t overwhelm young palates. The chicken stays incredibly tender when prepared correctly, and there’s something about the slightly sweet, slightly savory sauce that makes kids actually ask for seconds, which, let’s be honest, feels like winning the parenting lottery.
What makes this recipe special isn’t just the flavor—it’s the texture and presentation. When you cut chicken into bite-sized pieces instead of serving a whole breast, picky eaters instantly feel more confident about what they’re eating. They can see exactly what they’re getting, there’s no guessing about doneness, and the pieces cook quickly and evenly. The sauce clings beautifully to each morsel, and the whole dish comes together in under 30 minutes, making it perfect for those hectic weeknight dinners when you need something that tastes like you spent hours in the kitchen but actually didn’t.
The beauty of peanut butter chicken is that it works for literally everyone in your family. Adults love the umami complexity and aromatic ginger and garlic. Kids love the fun, slightly sweet sauce and the satisfying crunch of toppings. It’s naturally high in protein, works with brown rice or regular rice, and adapts beautifully to whatever vegetables you have on hand. Plus, it meal preps like a dream and tastes just as good reheated as it does fresh, making it an absolute game-changer for busy families.
Why Picky Eaters Actually Crave This Dish
Understanding why peanut butter chicken works so well for selective eaters starts with recognizing how picky eaters evaluate food. They don’t just taste with their mouths—they assess texture, appearance, size, and familiarity in those first few seconds before anything touches their lips. This dish checks multiple boxes that appeal directly to how picky eaters think about food.
First, the texture is predictable and manageable. Chicken breast cut into small, bite-sized pieces is naturally tender, especially when cooked with the method described in this recipe. There’s no mystery meat—no stringy bits that require aggressive chewing, no bones to navigate around, no surprise texture changes. Every piece is approximately the same size and doneness, which means your child gets the exact same experience with each bite. That consistency builds confidence.
Second, the peanut sauce is familiar yet adventurous enough to feel special. Most kids already know peanut butter from sandwiches, smoothies, or snacks, so there’s an immediate comfort level. But when peanut butter is combined with honey, garlic, ginger, and a hint of soy sauce, it transforms into something that feels more grown-up and exciting without being intimidating. The sweetness from the honey rounds out the salty and umami notes, making the overall flavor profile balanced and crave-able.
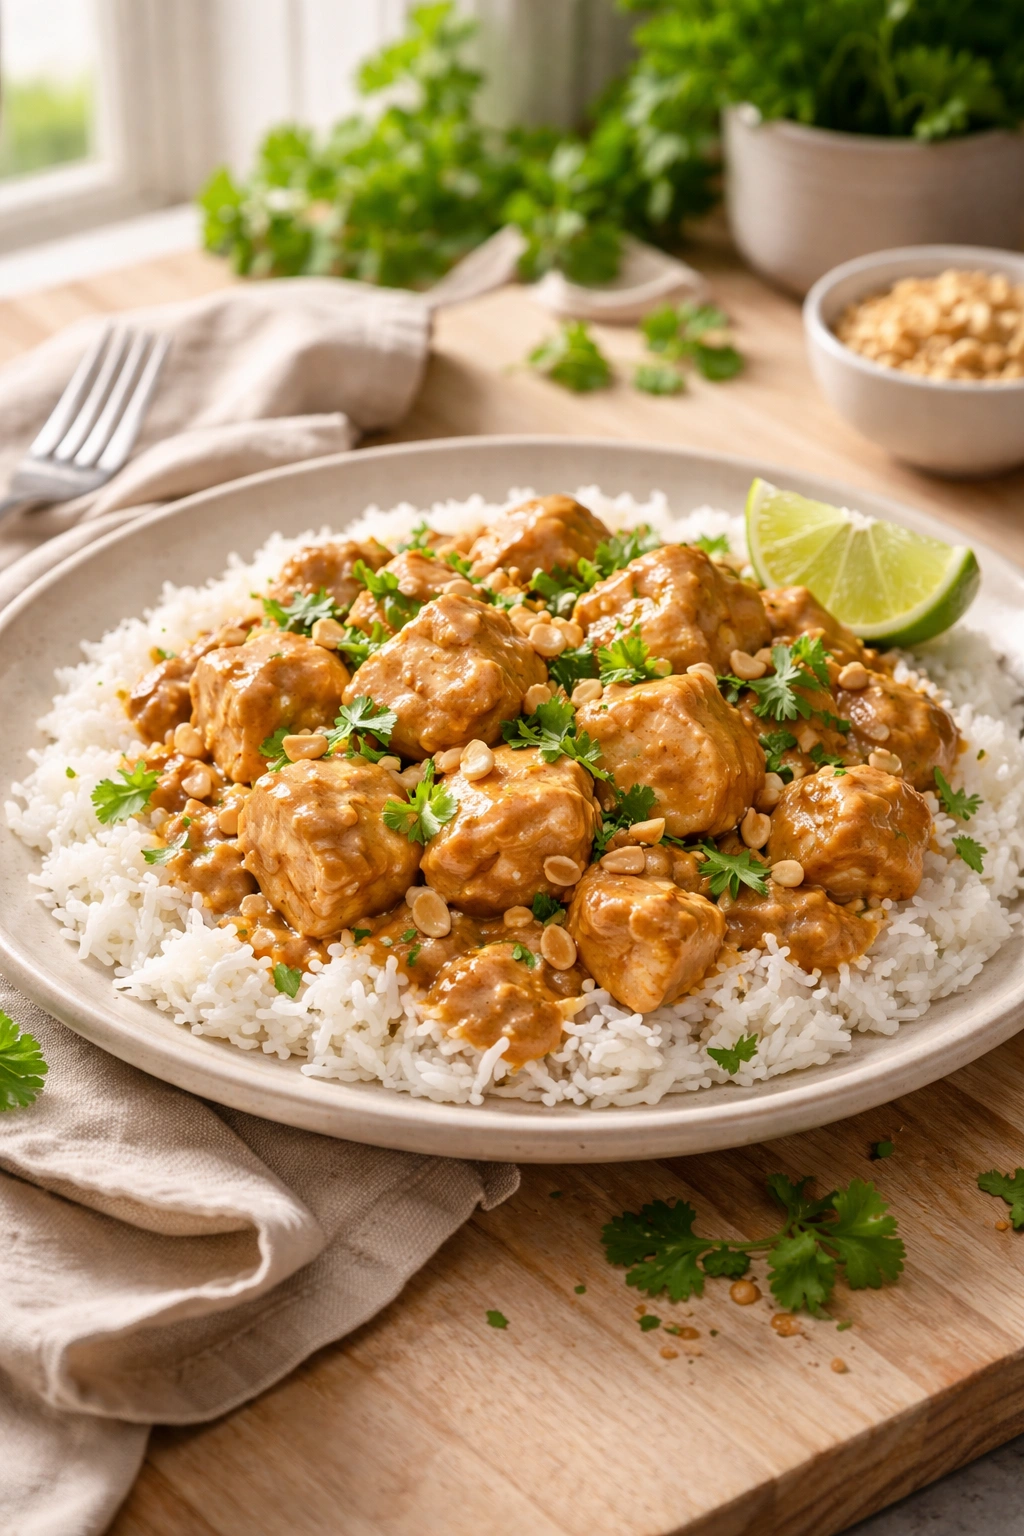
Third, the visual presentation matters more than you might think. When you plate this correctly—chicken pieces glistening with sauce, a generous sprinkle of crushed peanuts for crunch, fresh cilantro adding color, all served alongside fluffy white or brown rice—it looks appealing and restaurant-quality. Picky eaters are more willing to try food that looks appetizing. It signals that this is something special, not a “kid’s meal” that’s been dumbed down.
The Secret to Chicken That Stays Juicy Every Single Time
The most common complaint about cooking chicken for picky eaters is that it turns out dry and difficult to chew. This is the enemy of getting selective eaters to actually eat meat. Fortunately, there’s a technique that changes everything—and it’s so simple you’ll wonder why you haven’t been doing it all along.
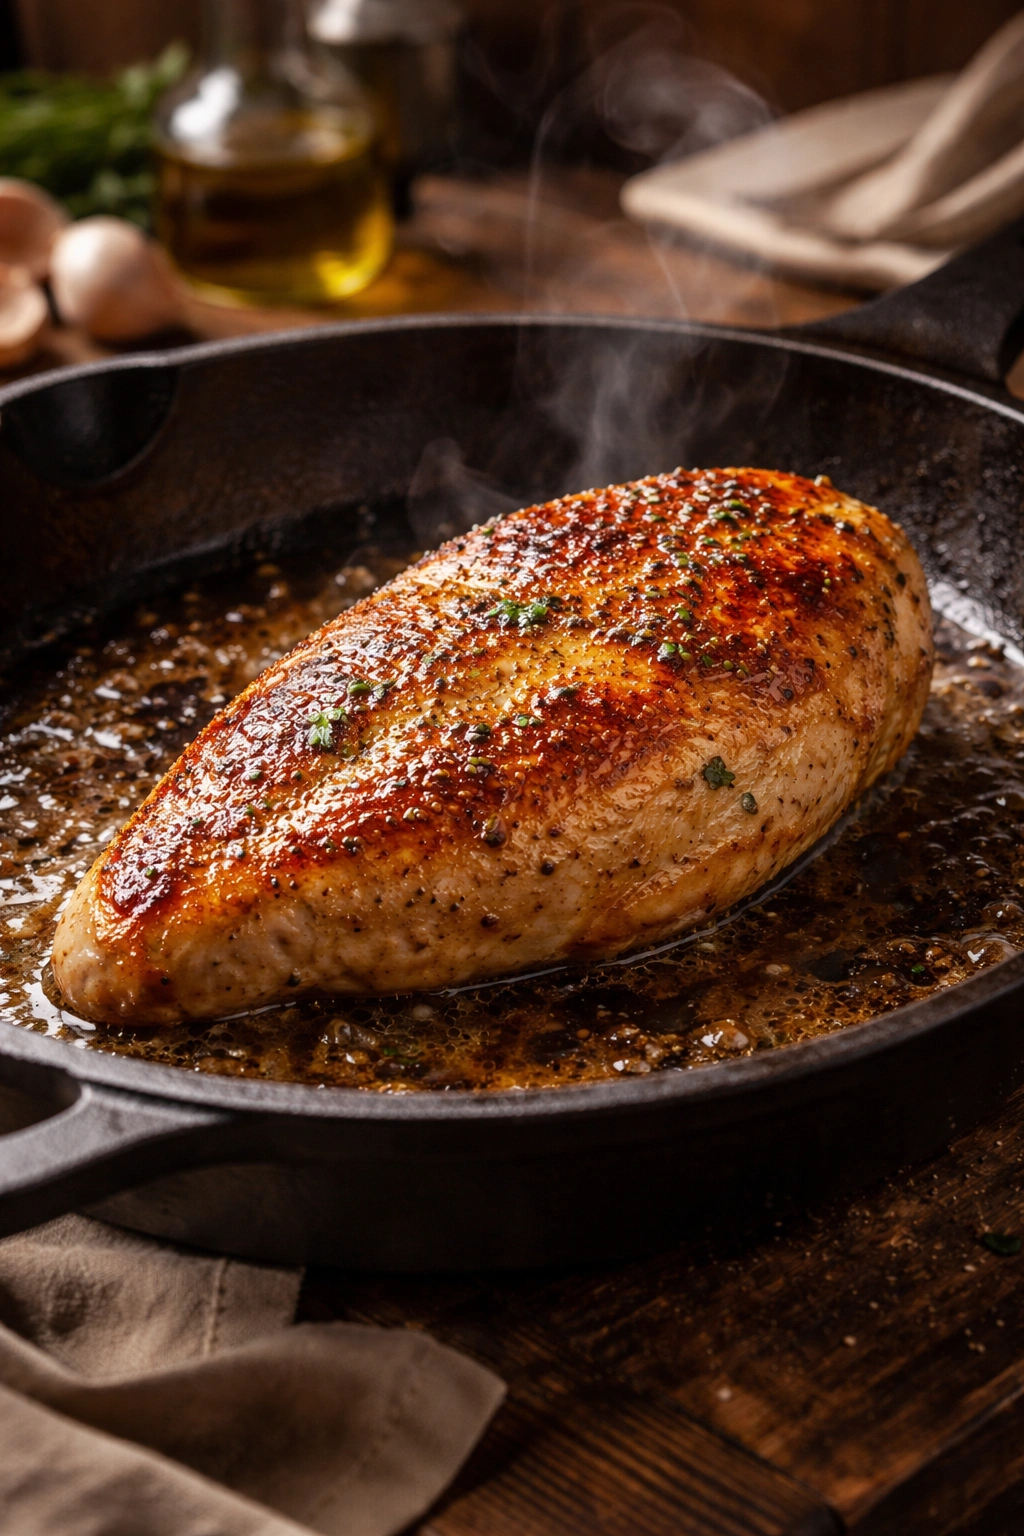
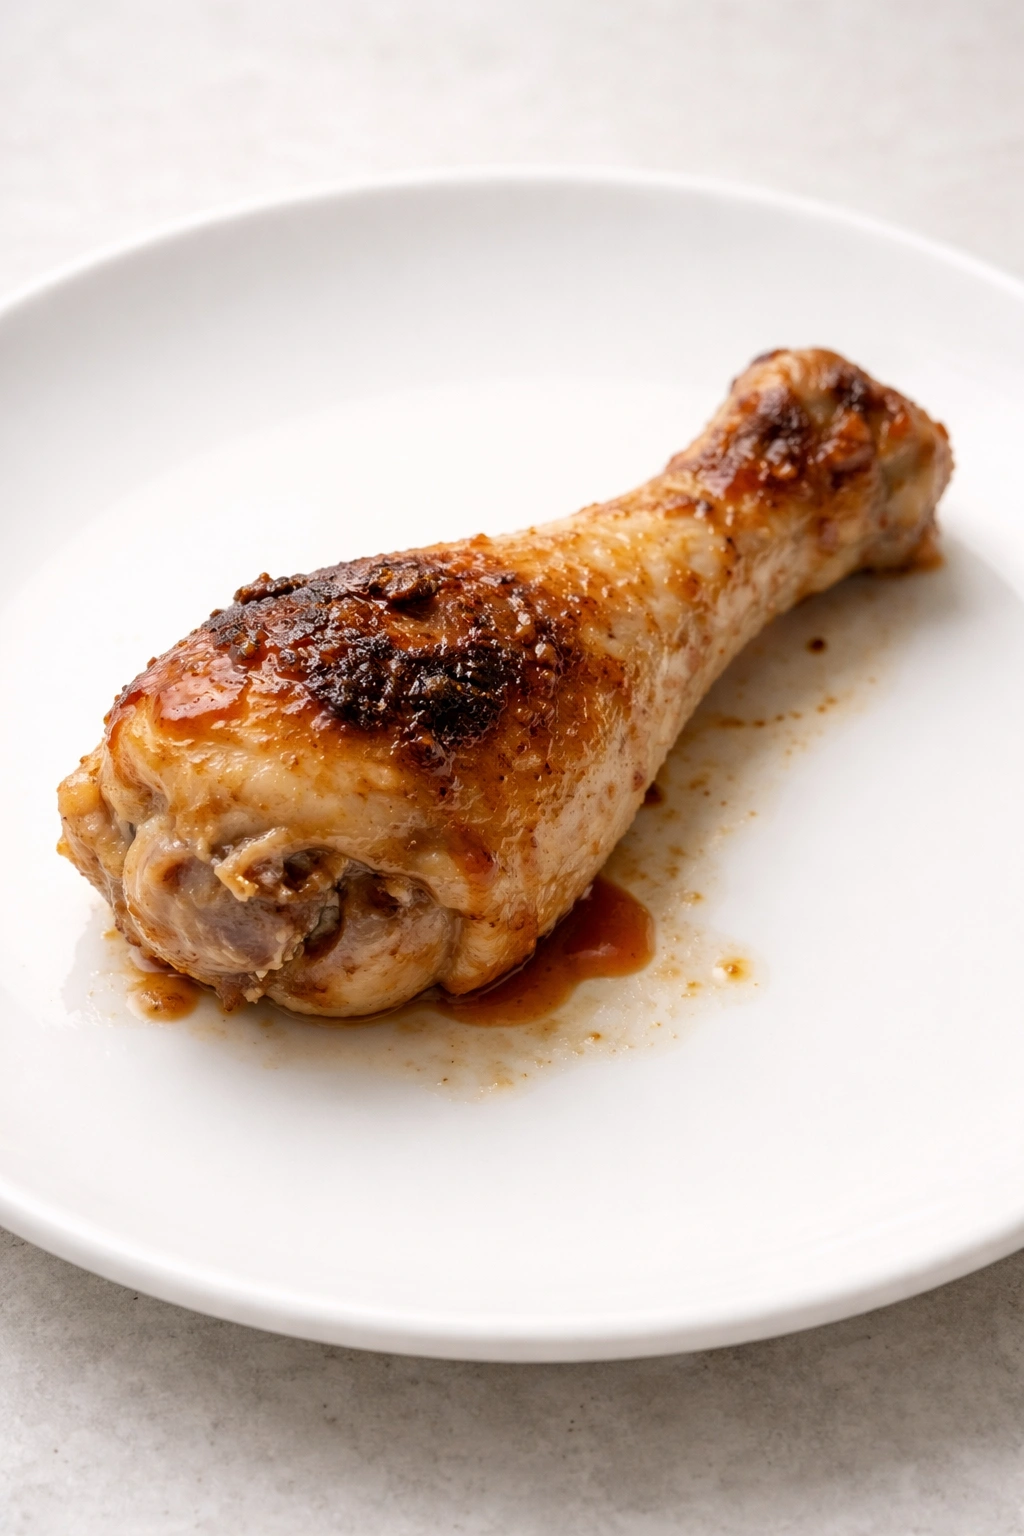
Start with a hot pan and sear first, then reduce heat. This isn’t just chef’s theater; it’s actual food science. When the pan and oil are nice and hot, the exterior of the chicken sears immediately, developing a golden-brown crust through a process called the Maillard reaction. This crust acts like a barrier that seals in the juices. Once that crust forms (which takes just about a minute per side), reduce the heat to medium. This allows the interior to cook through gently without overcooking the outside.
The key is not covering the pan during the browning process. A covered pan creates steam, which interferes with browning and traps moisture in a way that doesn’t create the protective crust you want. Let the chicken sit undisturbed for the first minute, then flip it. Resist the urge to constantly move it around—that also prevents proper browning.
Another game-changing trick is cutting chicken into consistently-sized pieces. If some pieces are twice as thick as others, the thin ones will be fully cooked while the thicker ones are still pink inside. Cut your chicken breasts into cubes that are roughly equal in size—aim for about one inch. If your chicken breasts are particularly thick, you can gently pound them with a meat mallet before cutting, which also helps tenderize the meat.
Marinating briefly in soy sauce (even just while you’re preparing the sauce) adds another layer of flavor and helps the chicken stay moist. The salt in the soy sauce seasons the meat throughout, not just on the surface. If you have time, 20 minutes makes a noticeable difference, but even 5 minutes helps.
Temperature matters too. Cook the chicken just until it’s no longer pink inside—160°F internally. Use a meat thermometer if you have one, as it removes all guesswork. Overcooking is the fastest way to dry out chicken, and a thermometer prevents that entirely. Picky eaters often reject chicken because they’ve had dry, overcooked chicken before, and you’re trying to change their mind about meat entirely.
Building a Peanut Sauce That Everyone Actually Wants to Eat
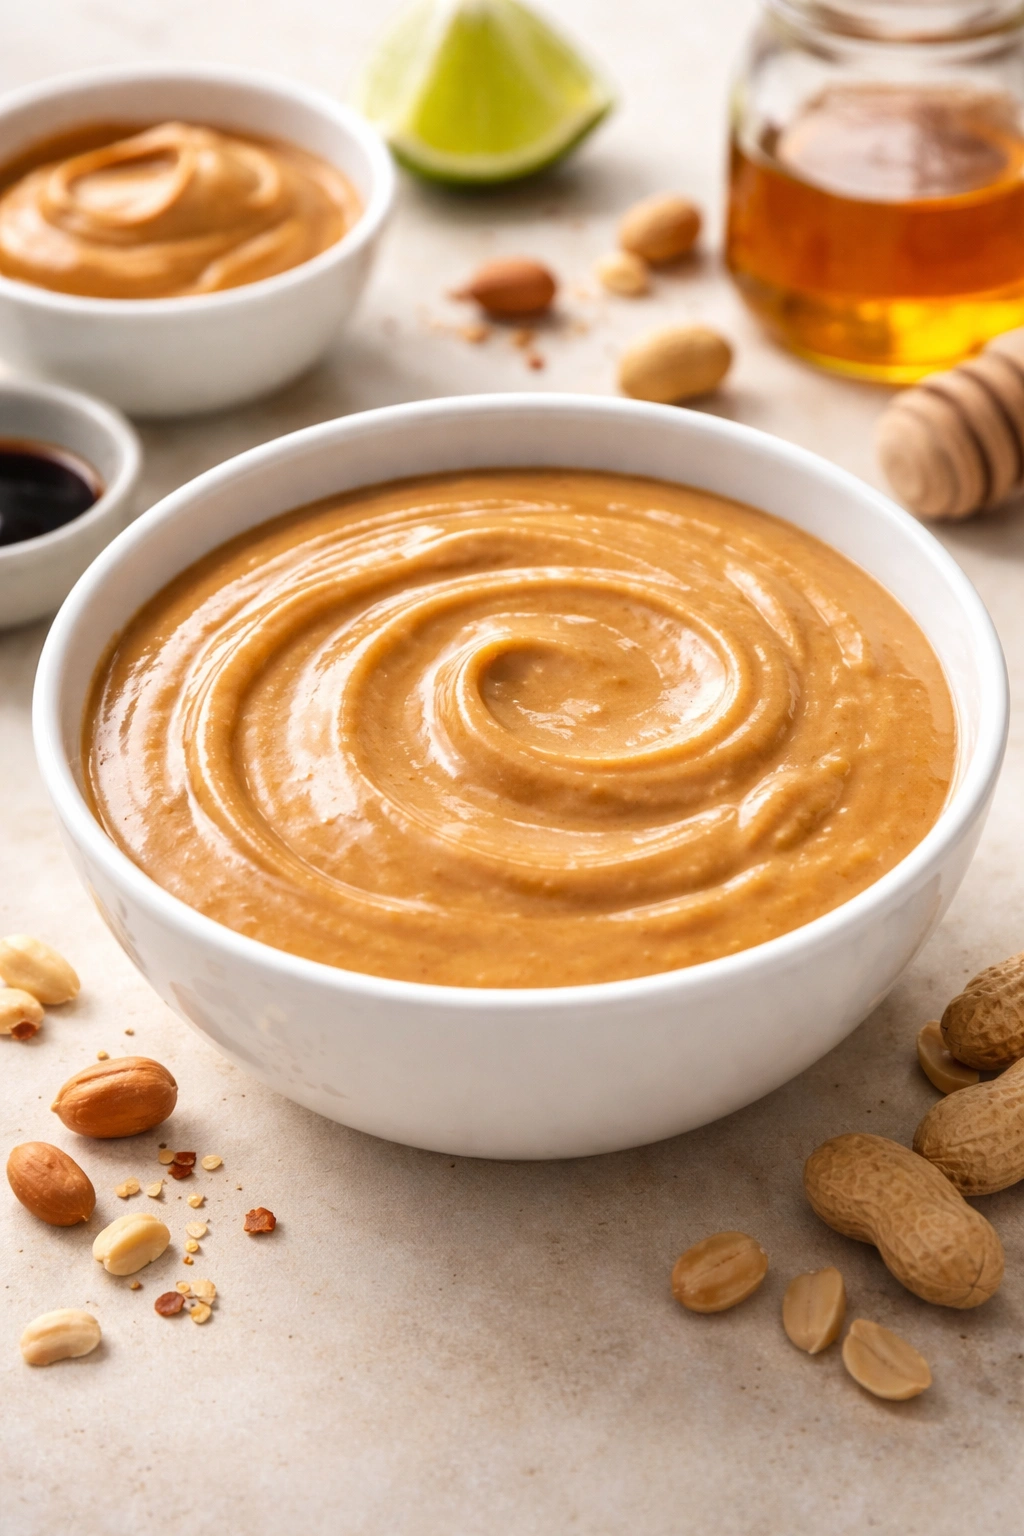
The sauce is truly the star of this dish. It needs to be creamy, flavorful, and balanced—not too thick, not too thin, not too spicy, not too sweet. The combination of ingredients creates something that tastes way more complicated than it actually is.
Peanut butter is the base, but it matters which kind you use. Natural, creamy peanut butter works best for this dish. It blends smoothly into the sauce and creates a velvety texture. If you use the natural stuff with the oil layer on top, stir that oil back in before measuring—don’t drain it. Crunchy peanut butter can work, but some picky eaters are particular about texture, and those pieces of peanut can be off-putting. Save the crunchy version for toppings instead.
Soy sauce or coconut aminos provide the salty, umami backbone that makes this sauce taste complex and restaurant-quality. Soy sauce is traditional and readily available. Coconut aminos is a great gluten-free alternative that’s slightly sweeter. Use low-sodium versions so you can control the salt level yourself, especially important when cooking for kids.
Honey adds richness and subtle sweetness that balances the salty and savory elements. It also helps the sauce have a glossy, cling-to-the-chicken quality that makes every bite feel luxurious. If you prefer, agave syrup works as a substitute, though the flavor is slightly different.
Fresh garlic and ginger are non-negotiable. These aren’t just supporting flavors—they’re essential to making this sauce taste authentic and crave-worthy. Mince the garlic very finely so it distributes evenly throughout the sauce. For ginger, fresh ginger is infinitely better than ground, and it adds a brightness and slight heat that grounds the sweetness of the honey and peanut butter.
Rice vinegar provides acidity that prevents the sauce from feeling one-dimensional and overly heavy. It brightens everything up and adds complexity. White vinegar works in a pinch, but rice vinegar has a gentler flavor that won’t overpower young palates.
Chicken broth or vegetable broth is the liquid that brings everything together. It adds savory depth and helps you achieve the right consistency. Start with half a cup, and adjust based on how thick or thin you want the final sauce to be.
The magic happens when you whisk all these ingredients together before adding them to the chicken. Mixing them in advance ensures everything is well combined and prevents lumpy peanut butter from clumping in your sauce. If the peanut butter seems thick and stubborn, warm the broth slightly before whisking it in—that makes everything blend more smoothly.
Why This Recipe Works for Meal Planning and Busy Families
One of the biggest reasons peanut butter chicken deserves a permanent spot in your dinner rotation is how forgiving and practical it is. It comes together in about 25-30 minutes from start to finish, which means you can have dinner on the table before most kids start getting genuinely hungry and cranky. There’s no complicated prep—just cutting chicken and whisking sauce.
It’s a one-pan wonder, meaning minimal cleanup. Everything cooks in one large skillet, so you’re not juggling multiple pots and pans. For families already drowning in dishes and laundry, this is an actual quality-of-life improvement.
The recipe also scales beautifully. Whether you’re cooking for a family of four or prepping for meal prep containers, the ratios stay the same. You can easily double it if you’re feeding a crowd, or halve it if it’s just you and your partner. The chicken pieces cook at the same rate regardless of quantity, so timing remains consistent.
It’s genuinely nutritionally balanced, which matters when you’re trying to get picky eaters to eat well. You’ve got lean protein from the chicken, healthy fats from the peanut butter, carbohydrates from the rice, and vegetables if you add any. Protein content is substantial—usually 25-30 grams per serving—so this keeps kids satisfied for hours rather than hungry again an hour later.
Yield: Serves 4 to 6 | Makes 6 servings as a main course with rice
Prep Time: 15 minutes
Cook Time: 20 minutes
Total Time: 35 minutes
Difficulty: Beginner — The steps are straightforward, ingredients are readily available, and there’s no special equipment required. This recipe is very forgiving and hard to mess up.
Complete Ingredients for Peanut Butter Chicken
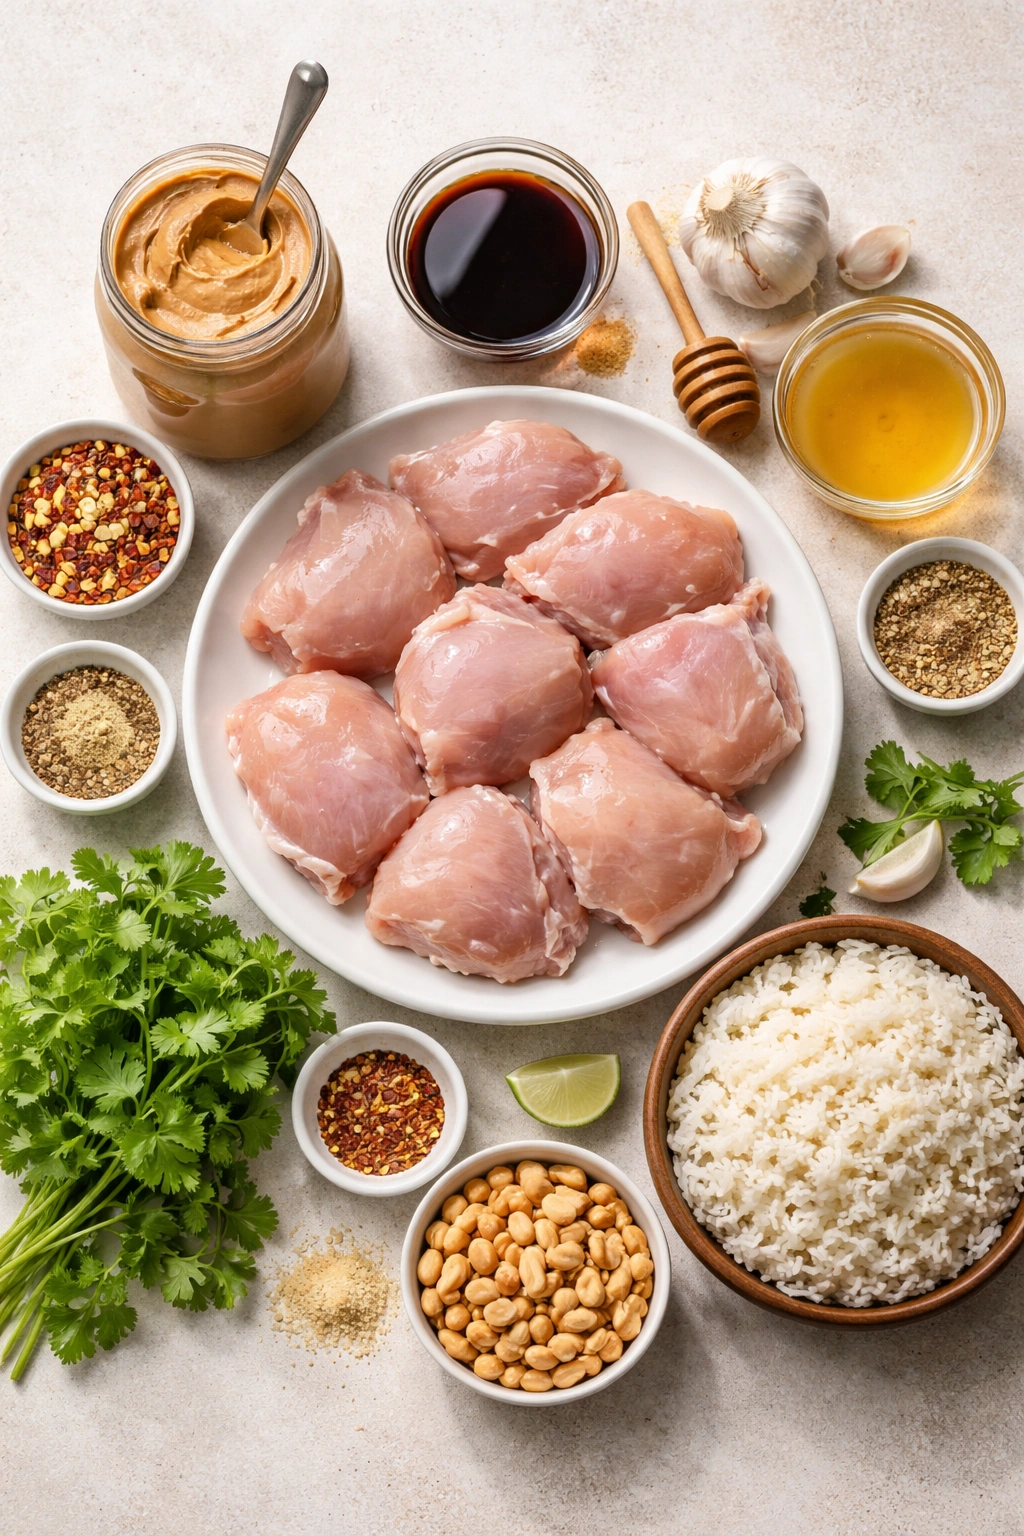
For the Chicken:
- 1½ pounds boneless, skinless chicken breast (about 3 medium breasts)
- 2 tablespoons low-sodium soy sauce or coconut aminos
- 2 tablespoons canola oil or neutral cooking oil, divided
For the Peanut Sauce:
- ½ cup natural, creamy peanut butter
- ¼ cup low-sodium soy sauce or coconut aminos
- ¼ cup honey or agave syrup
- 2 cloves garlic, very finely minced
- 1 teaspoon fresh ginger, minced or grated (or ½ teaspoon ground ginger if fresh isn’t available)
- ½ cup chicken broth or vegetable broth
- 2 tablespoons rice vinegar or white vinegar
- ¼ teaspoon red pepper flakes (optional, adjust to taste)
- ¼ teaspoon ground cumin (optional but recommended)
- Salt and black pepper to taste
For Serving and Garnish:
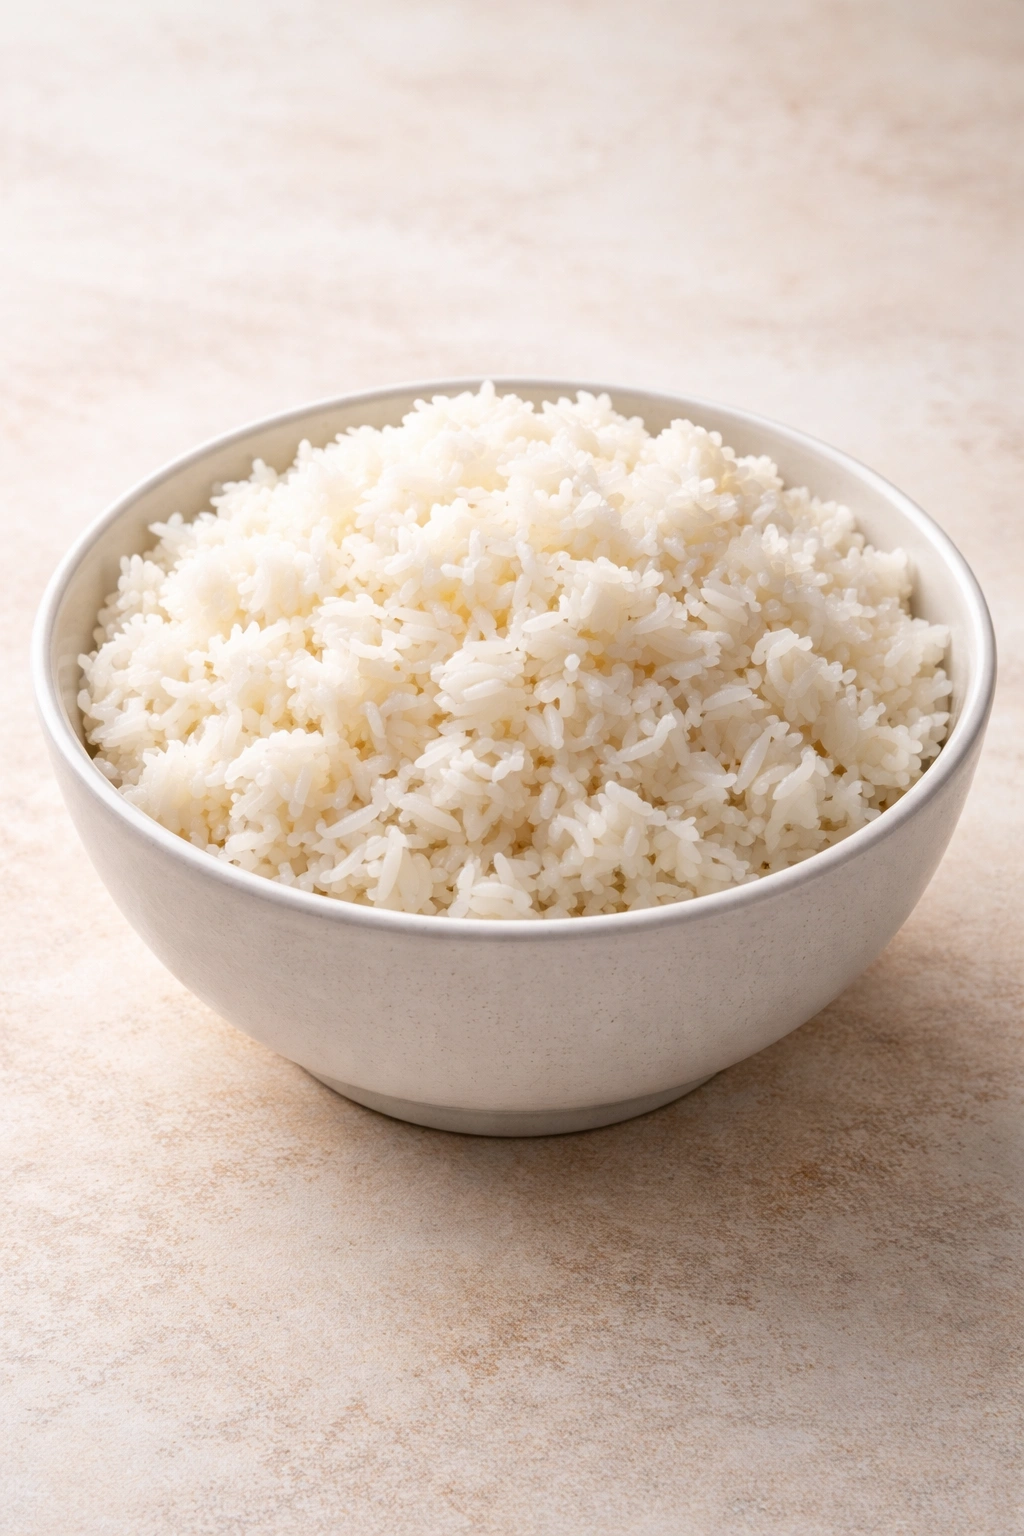
- Cooked rice (white, brown, jasmine, or basmati all work beautifully)
- ¼ cup roasted peanuts, roughly chopped
- Fresh cilantro, finely chopped (optional but adds brightness)
- Additional red pepper flakes, sesame seeds, or green onions for garnish (completely optional)
Substitution Notes:
- For a smoother sauce: Use natural peanut butter with the oil already stirred in, or add 1 extra tablespoon of broth to help thin it
- For a spicier version: Increase red pepper flakes to ½ teaspoon, or add a teaspoon of sriracha or chili oil
- For a dairy-free option: All ingredients are naturally dairy-free as written
- For a gluten-free version: Use tamari or coconut aminos instead of regular soy sauce (check the label), and ensure your broth is labeled gluten-free
- To reduce sweetness: Use less honey (start with 3 tablespoons and taste), or use agave which has a less pronounced sweetness
Step-by-Step Instructions for Perfect Peanut Butter Chicken
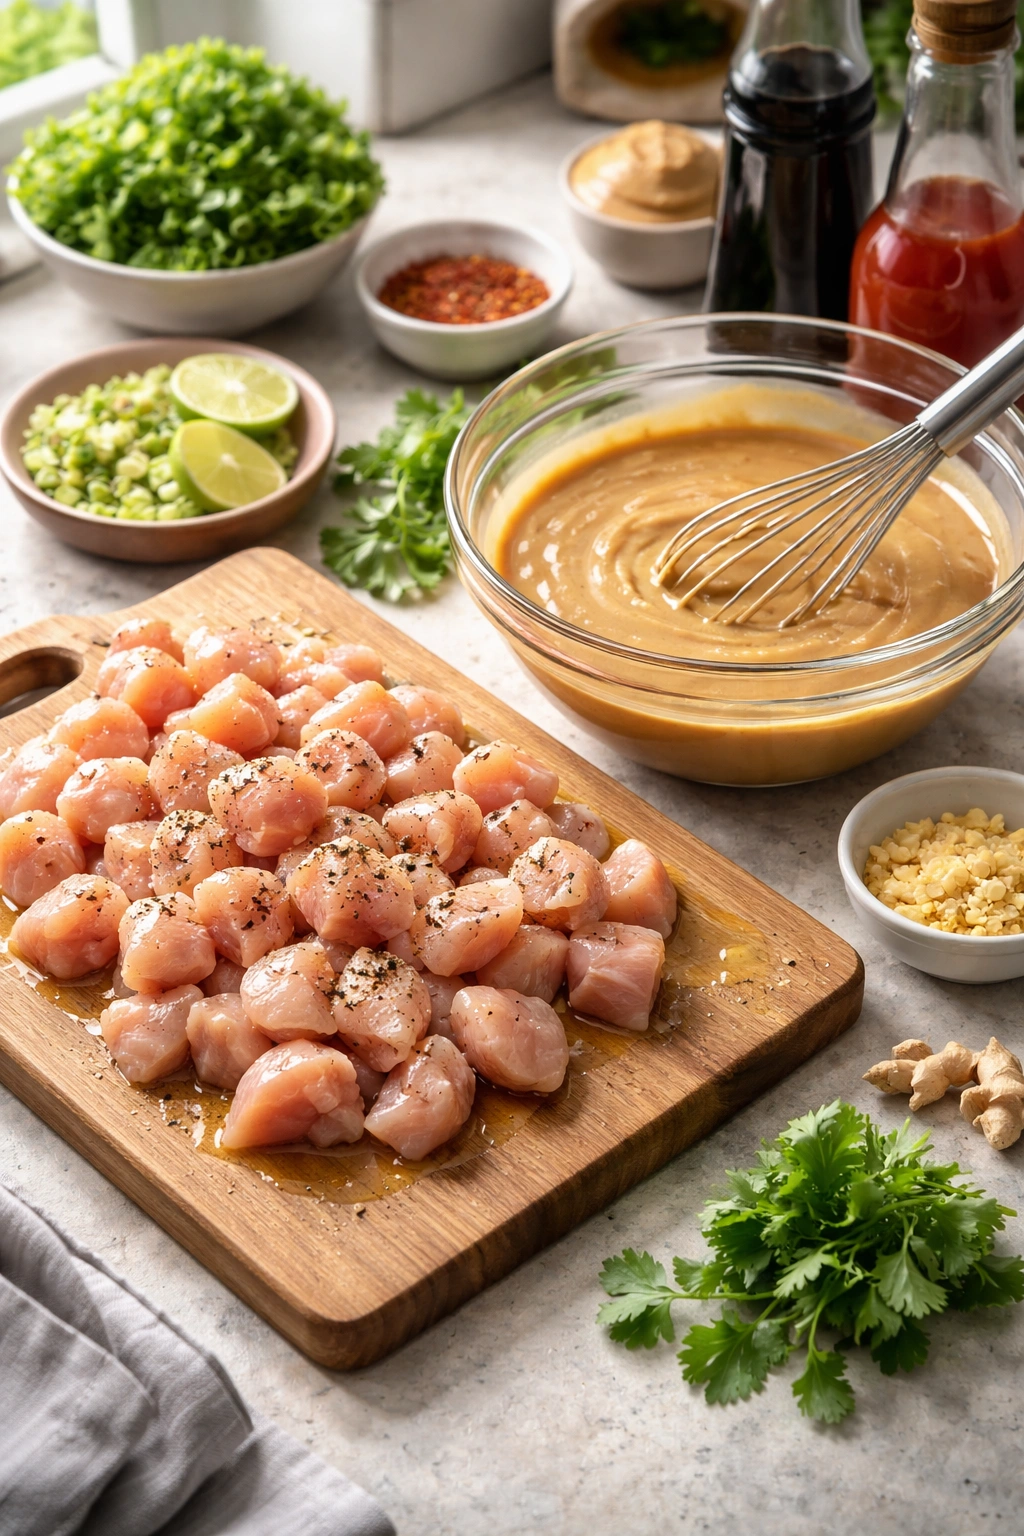
Prepare Your Ingredients:
-
Remove the chicken breasts from the refrigerator and pat them dry with paper towels—this helps them brown better. Place them on a cutting board.
-
Cut each chicken breast into approximately one-inch cubes. You should end up with roughly 20-24 pieces. Try to make them as uniform as possible so they cook at the same rate. If some pieces are noticeably thicker than others, gently pound them with a meat mallet to even them out.
-
Place the cut chicken pieces in a bowl and add the 2 tablespoons of soy sauce. Toss everything together so all the pieces are evenly coated. Set aside while you make the sauce—even 5-10 minutes of marinating adds noticeable flavor.
Make the Peanut Sauce:
-
In a medium bowl, whisk together the peanut butter, ¼ cup soy sauce, honey, minced garlic, and minced ginger. Whisk slowly and deliberately, making sure the peanut butter fully incorporates and you don’t see any lumps. This takes about a minute of good whisking.
Advertisements -
Add the rice vinegar, chicken broth, red pepper flakes (if using), and ground cumin (if using). Whisk until everything is smooth and well combined. The sauce should look creamy and pourable—if it seems too thick, add another tablespoon of broth. Taste it and season with a small pinch of salt and black pepper, but be conservative since the soy sauce already adds saltiness.
Cook the Chicken:
-
Heat 1 tablespoon of oil in a large skillet over medium-high heat. Let the pan get genuinely hot—this is important. You should see the oil shimmer and move freely around the pan. This takes about 30 seconds to a minute.
-
Carefully add the marinated chicken pieces to the hot pan (it will sizzle and pop—this is exactly what you want). Spread them out so they’re in a single layer as much as possible. Do not stir them immediately. Let them sit undisturbed for about 2 minutes so they can brown on the bottom.
-
After 2 minutes, stir the chicken and flip the pieces around so the other sides can brown. If the pan seems dry, add the remaining tablespoon of oil now. Cook for another 2-3 minutes, stirring occasionally, until the chicken pieces are golden brown on at least two sides and there’s no pink visible on the outside.
-
Continue cooking for 3-4 more minutes, stirring occasionally, until the internal temperature reaches 165°F when checked with a meat thermometer, or until the thickest piece is no longer pink when cut open. Picky eaters often have bad memories of dry chicken, so don’t skip this check—use a thermometer if you have one.
Combine with Sauce and Finish:
-
Pour the prepared peanut sauce directly into the skillet with the cooked chicken. Stir everything together gently but thoroughly, making sure every piece of chicken gets coated with sauce. The sauce should cling to each piece.
-
Reduce the heat to medium and let the whole thing simmer for 5-7 minutes, stirring occasionally. This allows the flavors to meld together and the sauce to thicken slightly as it cooks. The mixture should bubble gently around the edges—if it’s boiling vigorously, lower the heat.
-
Remove from heat and taste it. Add salt and pepper as needed—you might need more than you expect because the warm sauce flavors differently than the cold whisked sauce. The final taste should be balanced: savory and salty from the soy sauce, slightly sweet from the honey, creamy and rich from the peanut butter, and bright from the ginger and vinegar.
Advertisements
Serve:
-
Serve the peanut butter chicken immediately over freshly cooked rice. Spoon extra sauce from the pan over the top of each serving so everyone gets plenty of that delicious coating.
-
Garnish each serving with chopped roasted peanuts for crunch, fresh cilantro for brightness, and any other optional toppings you’d like. The peanuts especially make a difference—they add textural contrast that makes the dish more interesting to picky eaters.
Pro Tips and Troubleshooting for Success

If your sauce seems too thick: This usually happens if you used too much peanut butter or not enough broth. Simply whisk in another tablespoon or two of warm broth until you reach the consistency you want. Remember that the sauce will thicken slightly more as it cools.
If your sauce seems too thin: Let it simmer for a few extra minutes without the lid on. The longer it simmers, the more the liquid reduces and the thicker it becomes. You can also whisk in a teaspoon of cornstarch mixed with a tablespoon of cold water to thicken it instantly.
If the chicken seems undercooked: It’s fine to keep it on the heat a bit longer. Simply increase the simmer time in step 11 to 8-10 minutes. The sauce keeps it moist even with extended cooking, and better safe than sorry when feeding kids.
For a less spicy version: Omit the red pepper flakes entirely, or reduce them to just a tiny pinch. Ground ginger can occasionally taste slightly hot to sensitive palates—if your kids find it too strong, use less, or substitute ground ginger powder which has a milder flavor.
For a more flavorful sauce: The secret is proper searing of the chicken in step 7. That brown crust adds tons of flavor through the Maillard reaction. Don’t rush this step or skip it trying to save time. The 2 minutes of undisturbed cooking makes a huge difference.
If your garlic tastes raw or too sharp: You minced it too coarsely or it didn’t cook long enough. Make sure you mince it very finely in the sauce-making step, and let it cook for at least 1 minute in the pan with the sauce before serving. The longer it cooks, the mellower it becomes.
For a silky sauce: Whisk your peanut butter mixture slowly and deliberately. Rushing this step creates a lumpy sauce with peanut butter bits that don’t fully incorporate. Take 60 seconds to do it right.
Kid-specific tip for picky eaters: Serve the peanuts, cilantro, and any other garnishes on the side in small bowls. Let your child decide whether to add them to their serving. Sometimes picky eaters eat something more readily when they feel they have control over the presentation. If cilantro is too “exotic” tasting for your particular kid, skip it entirely—this dish is delicious without it.
Delicious Variations and Adaptations
The beauty of this recipe is that it serves as a base you can build on or modify depending on your family’s preferences and what you have on hand.
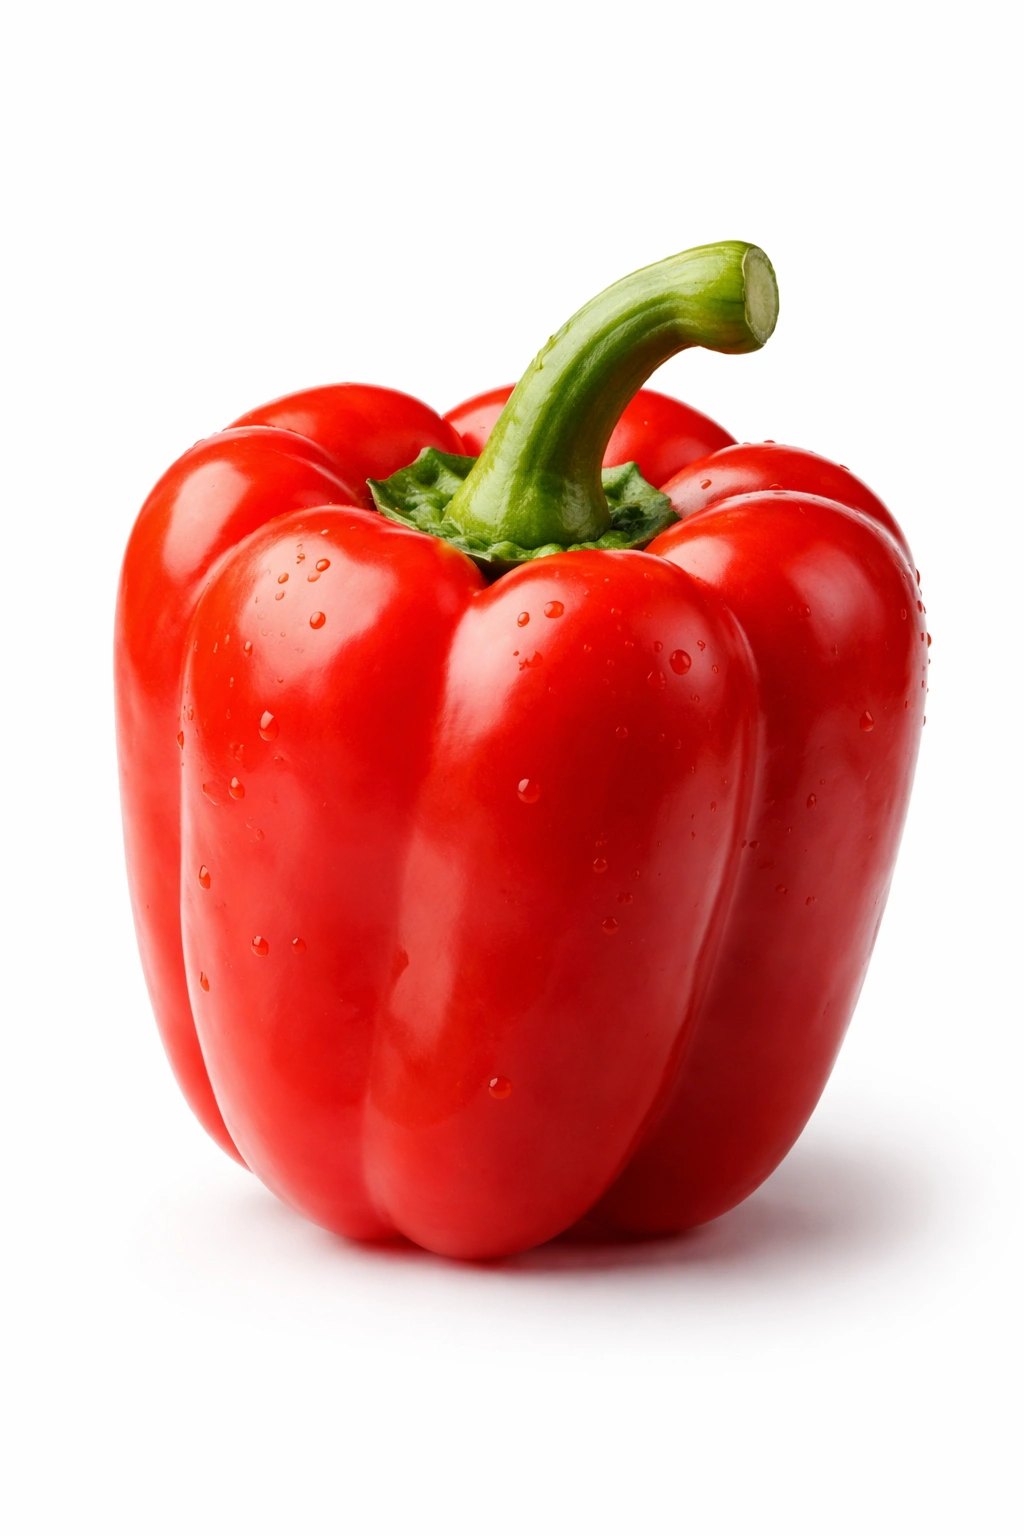
Adding Vegetables: This is how you sneak extra nutrition in without picky eaters realizing. Add sliced bell peppers (red, orange, or yellow are milder than green), snap peas, broccoli florets, or sliced carrots to the pan after the chicken has browned. Sauté them for 2-3 minutes before adding the sauce, or add them with the sauce and let them cook together. They’ll be tender-crisp and coated in that delicious sauce. Many picky eaters will actually eat vegetables when they’re covered in a sauce they love.
For a spicier version: If you’re feeding older kids or adults who like heat, add a tablespoon of sriracha to the sauce, increase the red pepper flakes to ½ teaspoon, or add a teaspoon of chili oil. You can also serve spicy sauce on the side for adults while keeping the main dish mild for kids.
With Different Proteins: This sauce works beautifully with pork tenderloin cut into pieces, shrimp, or firm tofu. The cooking times will differ slightly, but the sauce is equally delicious. Ground chicken also works well if you want to turn this into lettuce wraps for older kids.
Using Different Rice Bases: White rice is classic, but brown rice adds more nutrition and fiber. Jasmine rice is slightly sweet and aromatic, which pairs beautifully with the peanut sauce. For a lower-carb option, serve over cauliflower rice, and just increase the amount of sauce slightly since cauliflower rice absorbs more liquid.
With Noodles Instead: This dish is phenomenal served over rice noodles, soba noodles, or even regular spaghetti. Toss the cooked noodles with a little sesame oil first so they don’t stick, then pour the peanut chicken and sauce over the top.
Make it a Stir-Fry: Instead of serving over rice, turn it into a complete one-pan meal by adding cooked rice to the skillet with the sauce and chicken, and tossing everything together. Add some steamed broccoli or other vegetables, and you’ve got a complete, balanced meal in one pan.
For a Vegan Version: Substitute the chicken with cubed extra-firm tofu (pressed to remove excess moisture), and use vegetable broth instead of chicken broth. Everything else stays the same. The sauce is already plant-based.
For a Slow-Cooker Version: If you want to use a slow cooker, sear the chicken first in a skillet to develop that brown crust (this step is important for flavor), then transfer it to the slow cooker with the sauce. Cook on low for 4-6 hours or on high for 2-3 hours. The chicken will be incredibly tender, almost fall-apart tender, though it will be less crispy on the edges.
Storage, Meal Prep, and Making It Last
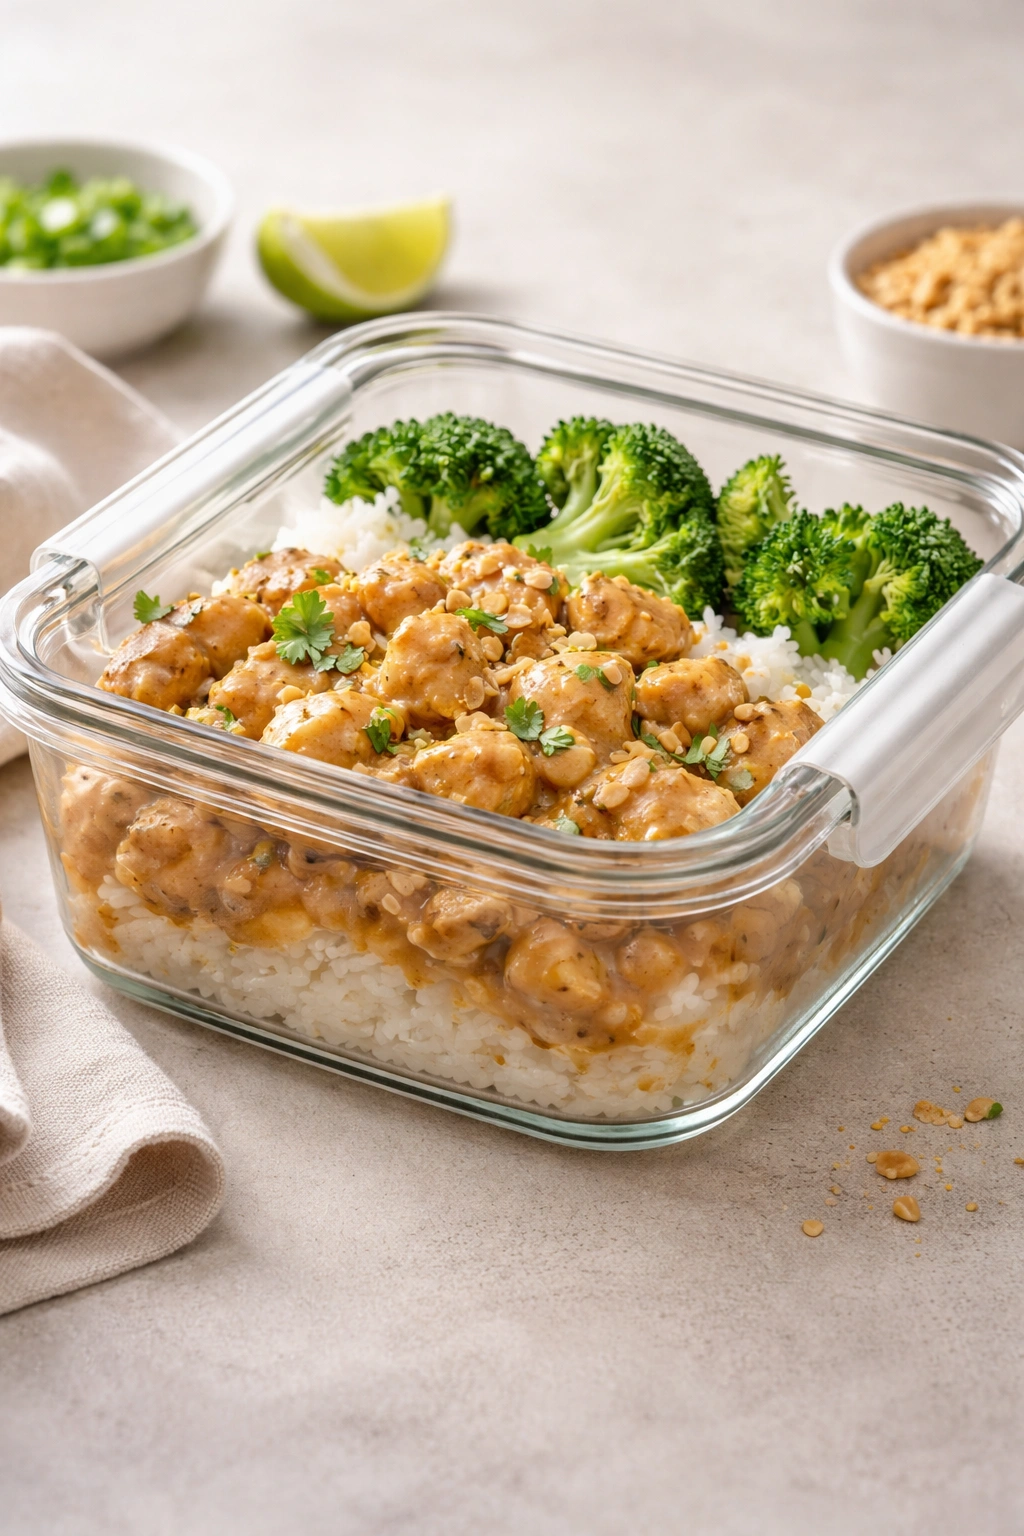
This dish is a meal-prep superstar, which means you can make a big batch and eat it throughout the week without anyone getting bored.
Storing in the Refrigerator: Place any leftovers in an airtight container and refrigerate for up to 4-5 days. The flavors actually develop and deepen overnight, so it’s often even better the next day.
Freezing for Later: Once cooled to room temperature, transfer the peanut chicken to a freezer-safe container or bag and freeze for up to 2-3 months. Thaw overnight in the refrigerator before reheating.
Meal Prep Strategy: Cook a double or triple batch on a Sunday. Portion it into individual containers with rice, cover, and refrigerate. Every day this week, you have a home-cooked meal ready to reheat. This works especially well for packed lunches—just microwave for 1-2 minutes, and it’s ready to eat.
Reheating on the Stovetop: This method produces the best texture. Place the chicken and sauce in a skillet over medium heat, stirring occasionally, for 3-5 minutes until it’s warmed through and the sauce is sizzling gently. If it seems dry, add a splash of broth or water.
Reheating in the Microwave: Transfer to a microwave-safe bowl or container, cover loosely (leaving a small vent so steam can escape), and microwave in 1-minute intervals, stirring between intervals, until heated through. This takes 2-4 minutes depending on the amount and your microwave’s power.
Reheating in the Oven: Spread the peanut chicken in a baking dish, cover with foil, and heat in a 350°F oven for about 15-20 minutes until warmed through. This is ideal if you’re reheating a large batch for a family meal.
Components You Can Prep Ahead: The peanut sauce can be made up to 2 days in advance and stored in the refrigerator. The chicken can be cut and marinated several hours ahead. The rice can be cooked ahead and reheated. This modularity means you can do some prep work in advance and still have a quick weeknight dinner.
What to Serve Alongside Your Peanut Butter Chicken
Rice is the traditional pairing, but the complete meal truly comes together with thoughtful side dishes that balance the richness of the peanut sauce.
Fresh, Crunchy Vegetables: A simple salad or vegetable platter provides textural contrast and freshness that cuts through the richness. Try an Asian-inspired cucumber salad with rice vinegar and sesame oil, a simple green salad with a light vinaigrette, steamed or roasted broccoli, or sautéed snap peas with garlic. These additions also sneak in extra vegetables for picky eaters, especially if the vegetables are cooked and coated in a sauce or oil they recognize.
Fruit-Based Sides: Mango salsa, pineapple pieces, or mandarin oranges add brightness and a hint of sweetness that complements the savory peanut sauce beautifully. The natural sweetness also appeals to picky eaters who might be hesitant about trying new dishes.
Bread and Carbs: Beyond rice, consider serving with warm naan bread, steamed dumplings, or spring rolls for a more complete Asian-inspired meal. These add textural variety and give picky eaters something familiar alongside the main dish.
Beverages: A simple water with lemon, unsweetened iced tea, or milk pairs well. Avoid sugary drinks, which add unnecessary calories and make the peanut sauce feel even richer.
Condiments and Toppings Station: Set out small bowls of chopped peanuts, fresh cilantro, sesame seeds, additional red pepper flakes, lime wedges, and coconut aminos or soy sauce. Let family members customize their own bowls. This gives picky eaters control and makes the meal feel interactive rather than dictatorial.
Common Mistakes That Keep Kids From Enjoying This Dish
Overcooking the chicken: This is the biggest culprit behind picky eaters rejecting chicken. Dry, stringy chicken is genuinely difficult to chew and swallow, and kids remember bad chicken experiences. Use a meat thermometer and aim for exactly 165°F, no more. Undercooked is risky, but just-right is worth the few extra seconds of attention.
Making the sauce too spicy: Ground ginger, garlic, and red pepper flakes are all wonderful, but they can easily overpower young palates if you’re too generous with measurements. Start conservative and add more to your own bowl if you want extra heat.
Using chunks of garlic or ginger instead of mincing finely: Small kids notice texture more than adults do. If they bite into a chunk of garlic or ginger, they might reject the entire dish. Mince everything finely so it dissolves into the sauce.
Skipping the browning step: The golden-brown crust on the chicken isn’t just for looks—it adds tremendous flavor and helps seal in juices. Don’t skip this by turning the heat down too early or crowding the pan.
Serving enormous portions: Kids’ appetites are smaller than adult appetites. When you load their plate with a huge pile of chicken and rice, they feel overwhelmed and are more likely to refuse it. Serve smaller portions and let them ask for seconds.
Forgetting that picky eaters need repeated exposure: It’s not unusual for a picky eater to refuse a new food the first time they see it. Serve this dish regularly—at least 2-3 times over a couple of weeks—before you decide your kid doesn’t like it. Familiarity breeds acceptance.
Making the sauce texture wrong: If it’s too thick, it feels gluey and unappetizing. If it’s too thin, it doesn’t cling to the rice and chicken properly. The right consistency should coat the back of a spoon but still flow slowly off it.
Using the wrong peanut butter: Overly processed peanut butter with lots of added sugar or oil separation issues won’t create a smooth sauce. Natural peanut butter makes a dramatically better sauce with a better texture.
Making This a True Family Favorite That Becomes a Regular Request

The goal isn’t just to get your picky eater to tolerate this dish—it’s to make it something they actually look forward to and request by name. This requires some strategic thinking beyond just cooking the recipe perfectly.
Serve it consistently: Make this dish every 1-2 weeks. Familiarity is the foundation of food acceptance. When a food becomes a predictable part of the rotation, it stops feeling scary and different.
Let your child participate in the cooking: Have them help cut soft ingredients (with supervision), whisk the sauce, arrange toppings in bowls, or stir the chicken. Kids are exponentially more likely to eat something they helped create. It’s not just psychology—there’s genuine ownership and pride involved.
Celebrate when they eat it without comment: Don’t make a huge deal about the fact that they’re eating chicken or trying a “new” sauce. Matter-of-fact acceptance is more powerful than enthusiastic praise, which can feel patronizing to kids and create weird food associations.
Offer it with trusted sides: Serve this with rice, noodles, or sides your child already loves and eats regularly. The familiar base makes the new or challenging element feel less risky.
Adjust to their preferences without eliminating the dish: If your child hates cilantro, don’t use it. If they don’t like visible ginger pieces, mince it extra finely or leave it out. The goal is to build positive associations with the dish, not to force them to like every component.
Tell stories about the dish: Share where the flavors come from, talk about the countries that inspired this recipe, or explain that peanuts grow underground (kids find this fascinating). Food stories create connection and curiosity, both of which increase willingness to try dishes.
Serve it for special occasions: Make this the meal for their birthday dinner, a celebration of something they accomplished, or a meal you make together on a weekend. Special associations make food feel important and valued.
Final Thoughts

Peanut butter chicken is more than just a recipe—it’s a tool for expanding your picky eater’s food world while still respecting their genuine food preferences and texture sensitivities. It’s proof that you don’t have to choose between what kids will actually eat and what’s genuinely nutritious and delicious. This dish offers all three, plus the bonus of being forgiving enough for beginners to execute perfectly on the first try.
The tenderness of the chicken, the complexity of the sauce, and the comforting familiarity of the overall dish work together to make something that appeals across age groups and food preferences. Whether you’re feeding a family of picky eaters, a mix of adventurous and selective eaters, or just looking for a fantastic weeknight dinner that comes together in 35 minutes, this recipe delivers every single time.
Start by making it exactly as written, get comfortable with the technique, and then adapt it based on what your family gravitates toward. The framework is solid enough to handle modifications, and flexible enough to grow with your family’s changing tastes. Before you know it, you’ll have a reputation in your household as the person who makes that amazing peanut butter chicken that even the pickiest person at the table asks for by name. That’s the real victory.