Imagine waking up to warm toast that’s not just buttered, but dressed in something richer, silkier, and infinitely more interesting than plain butter. That’s honey butter—the kind of condiment that transforms ordinary breakfast into something you’ll think about for days. It’s the thing that makes homemade biscuits actually worth the effort, that turns simple cornbread into something you’ll sneak bites of straight from the pan, that makes breakfast toast feel like dessert without any actual sugar crash afterward.
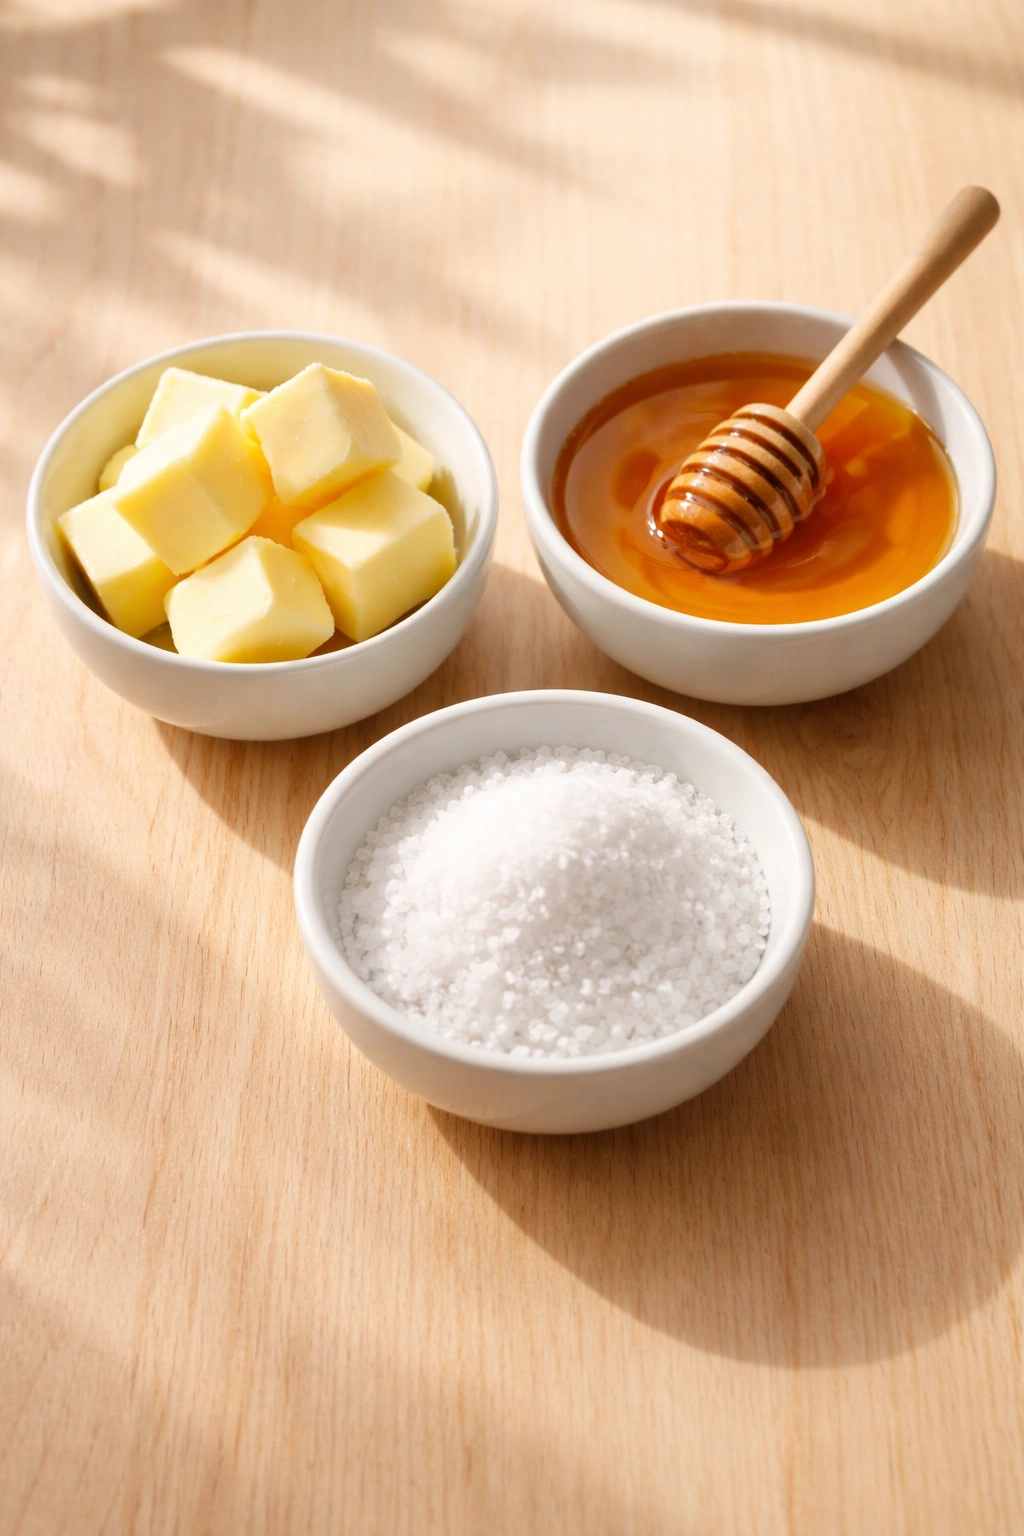
The beauty of honey butter is that it’s one of those rare kitchen creations where three ingredients is genuinely all you need. There’s no gimmick here, no hidden complexity. Just butter, honey, and a pinch of salt working together in perfect harmony. Yet somehow, this simplicity is exactly what makes it so versatile and addictive. It’s the kind of thing that once you’ve made it, you’ll find yourself spreading it on everything from warm bread to grilled vegetables, stirring it into oatmeal, dolloping it onto roasted chicken, and yes, eating it straight off a spoon when nobody’s watching.
The magic isn’t in elaborate technique or hard-to-find ingredients. It’s in understanding the science of how butter and honey come together, knowing exactly how much salt brightens the sweetness without being obvious, and mastering the gentle hand-mixing that creates that cloud-like texture that makes people stop mid-bite and ask what you did differently. Once you’ve made it once, you’ll realize store-bought versions feel heavy and commercial by comparison.
The Magic of Honey Butter

Honey butter has been around in various forms for centuries, but it’s experiencing a real moment in modern cooking—and for good reason. This isn’t a trendy flash-in-the-pan condiment; it’s actually a fundamental pairing that works everywhere because it bridges sweet and savory in a way that feels sophisticated without being fussy.
The reason honey butter works on such a wide range of foods comes down to flavor layering. Butter brings richness and a subtle nuttiness when it’s at room temperature and slightly whipped. Honey contributes not just sweetness, but depth—a complex floral or caramel note depending on the variety. Salt ties everything together by amplifying both flavors while preventing the honey from reading as cloying.
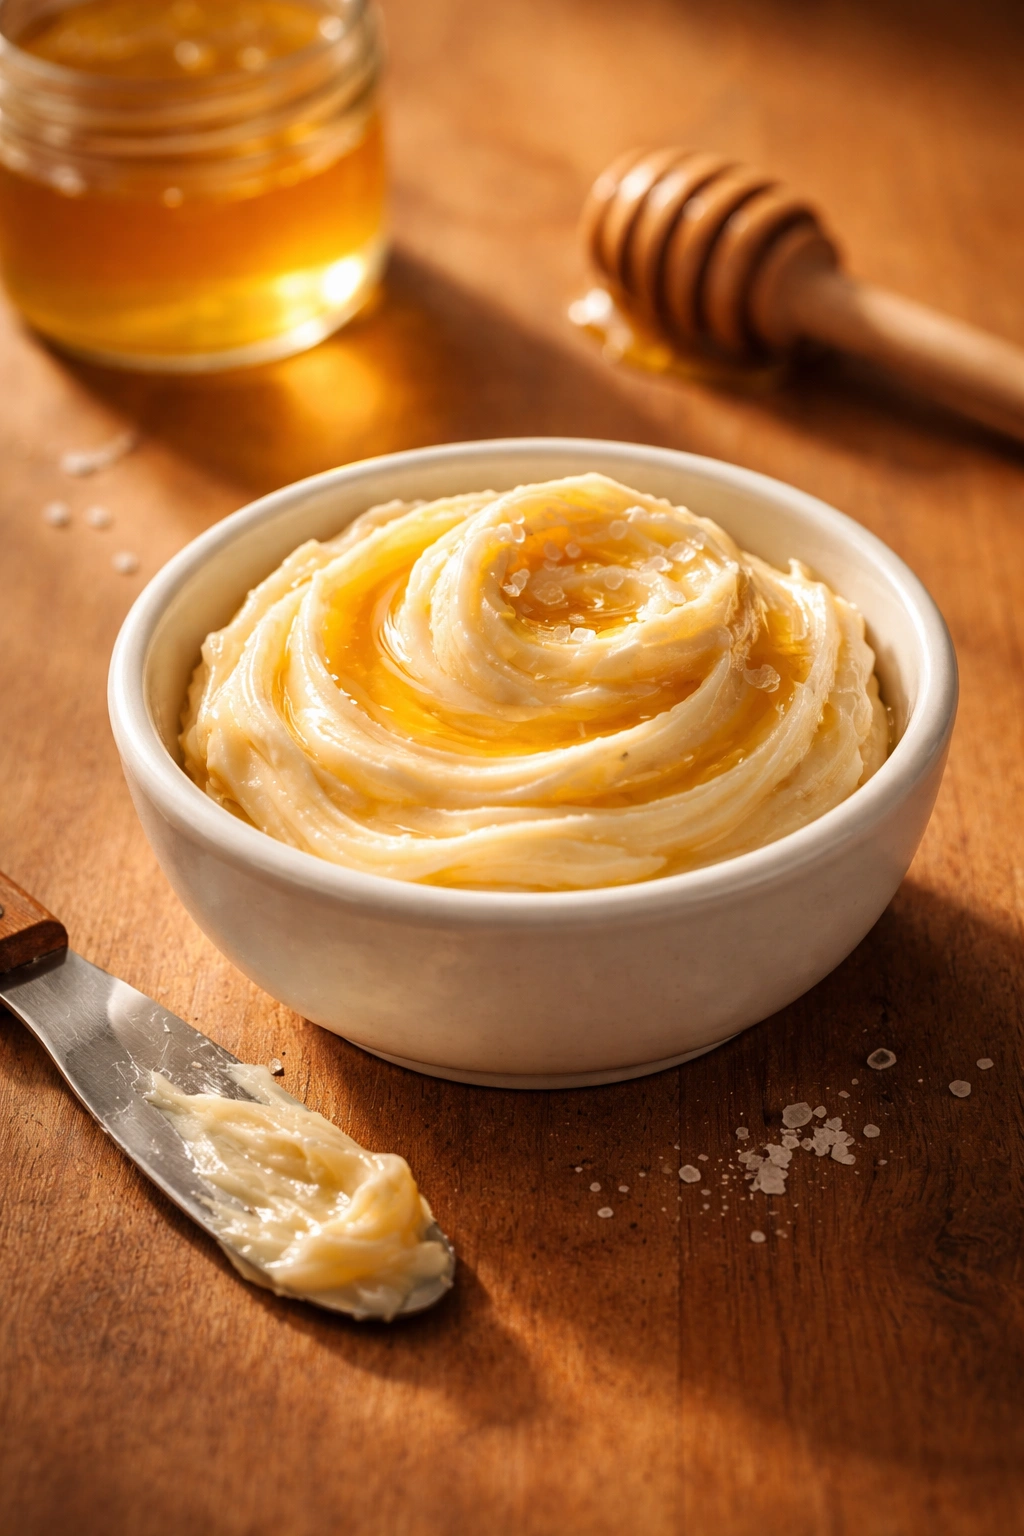
What makes homemade honey butter different from store-bought versions is texture and freshness. Commercial versions often use additives, stabilizers, or less butter than they should, which makes them feel heavy or pasty. When you make it yourself with three ingredients, you control the ratio and the aerating process. You get something that’s actually light, fluffy, and spreads like silk.
Why This Three-Ingredient Version Is Better Than Store-Bought
Store-bought honey butter often sits in jars for months before it reaches your table, which means the butter oxidizes slightly and the honey crystallizes. You’re getting a product that’s been optimized for shelf stability rather than actual flavor and texture. When you make it fresh, you taste the difference immediately—the butter is brighter, the honey tastes more vivid, and the whole thing has an almost whipped quality that disappears if it sits around.
The three-ingredient approach also means you’re in complete control of the sweetness level. Some people want honey butter that’s honey-forward and almost dessert-like. Others prefer a more subtle approach where the butter is the star and honey plays a supporting role. When you make it yourself, you adjust the ratio to your exact preference. You can also choose specific honey varietals—wildflower honey for complexity, clover honey for straightforward sweetness, or local raw honey if you can source it.
Making your own takes genuinely five minutes of hands-on time. You’re not steeping anything, not waiting for anything to set, not using special equipment. Just a bowl, a hand mixer or a sturdy whisk, and a little elbow grease. The fact that it’s this simple but tastes so much better than the commercial alternative is exactly why it’s worth the tiny investment of time.
Choosing Your Ingredients for Best Results
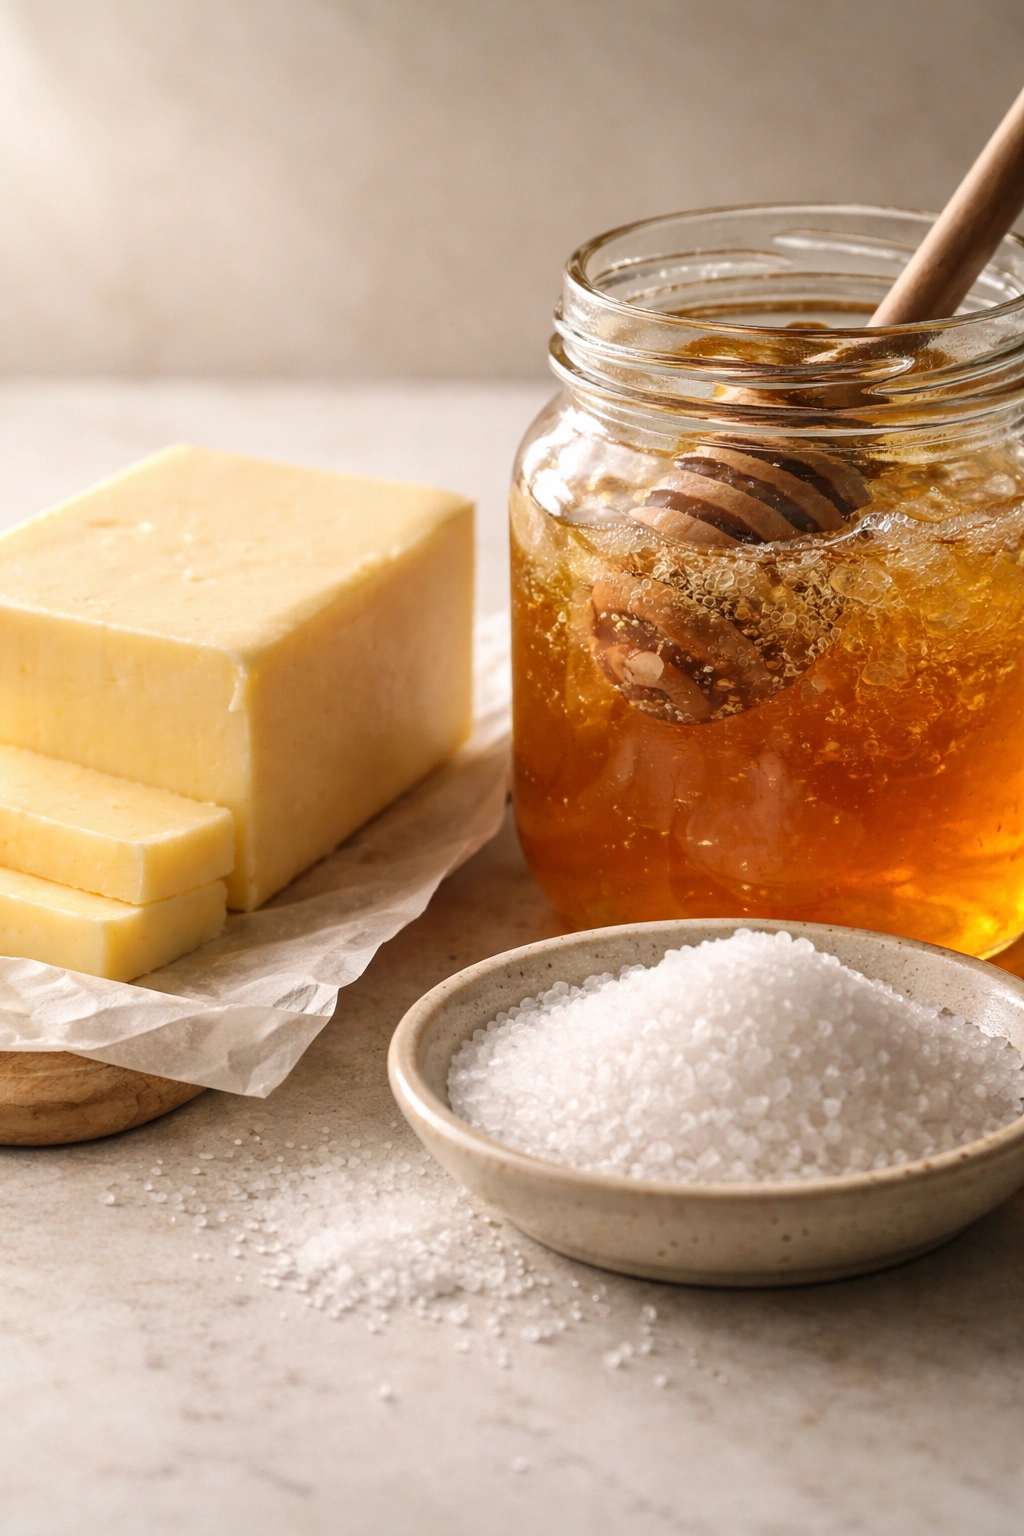
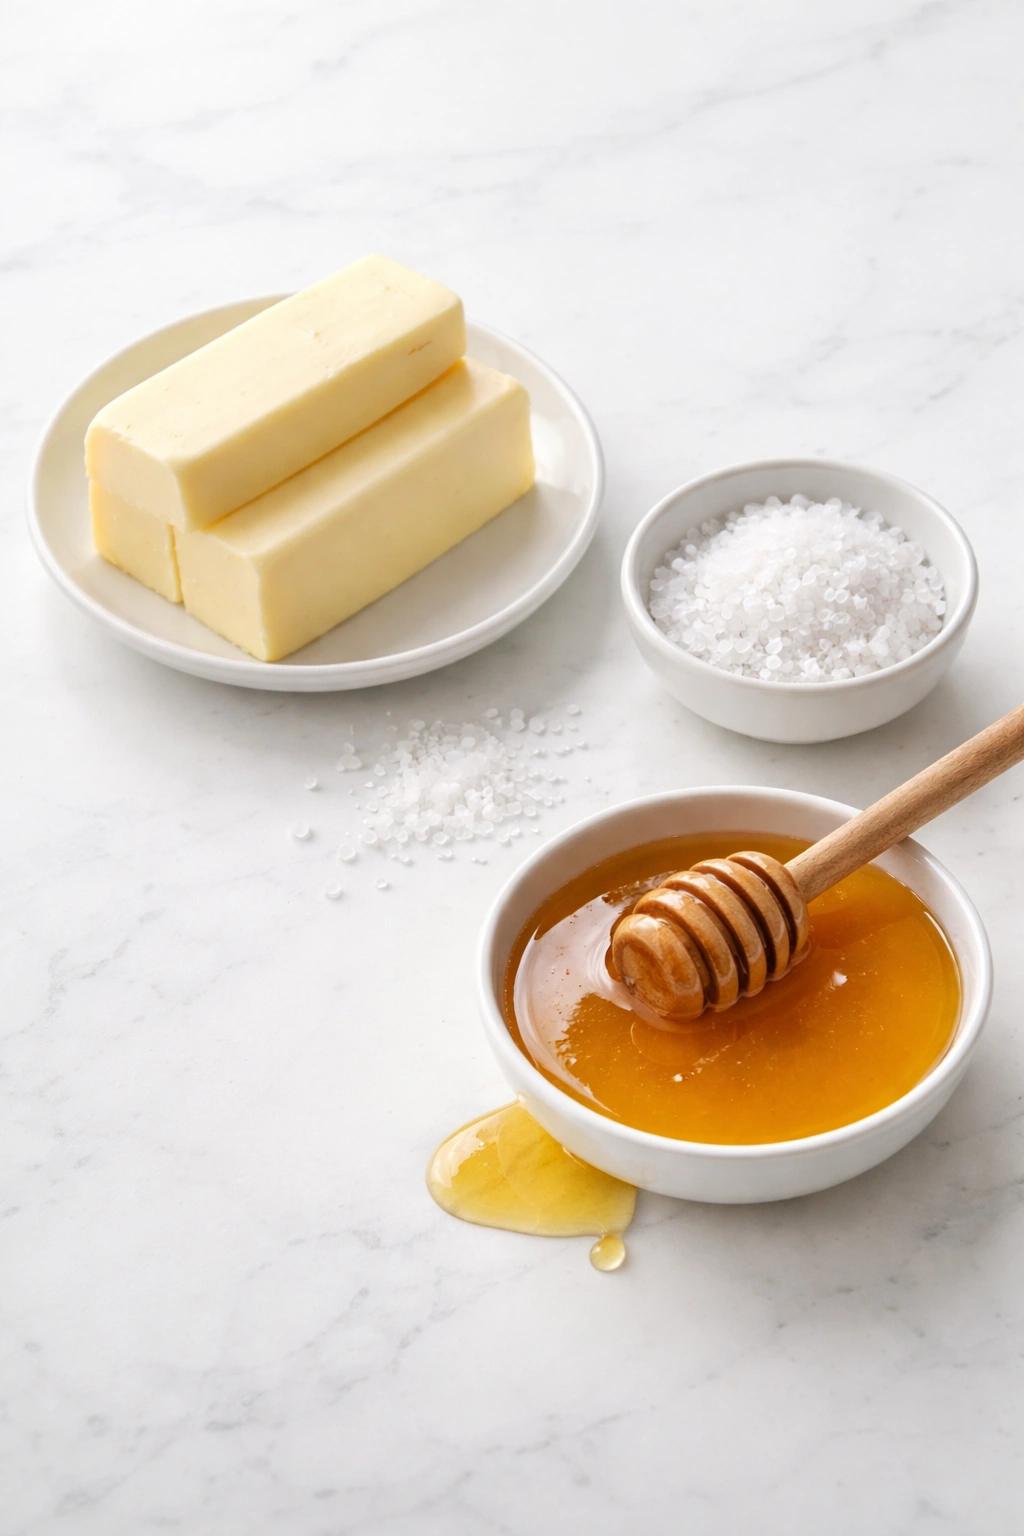
The quality of your three ingredients matters more here than in almost any other recipe because there’s nowhere to hide. You need butter that tastes like actual butter—not the ultra-salted kind and not the margarine-adjacent stuff that’s basically just dairy fat. European-style butter with a higher fat percentage (around 86% rather than 80%) creates an inherently creamier result, though regular unsalted butter absolutely works and is more economical.
For honey, avoid the ultra-processed clear stuff from the plastic bear bottle if you can. That’s been heated and filtered so aggressively that it’s lost most of its complexity. A good honey will have some body to it, some visible crystallization, and an actual flavor profile beyond just “sweet.” If you can get local or raw honey from a farmer’s market, you’ll taste a noticeable difference. Different honeys have different flavor notes—some hint at lavender or wildflowers, others lean toward caramel or butterscotch. Experiment with what’s available to you and notice how it changes the character of the finished butter.
The salt is the secret ingredient that most people don’t think about until they taste it. It needs to be fine sea salt or table salt—not coarse kosher salt, which doesn’t dissolve evenly and will create gritty spots. The salt should be almost imperceptible, just enough to heighten the sweetness and make people wonder what you did. About one-quarter teaspoon for this recipe is perfect.
Yield: Makes about ¾ cup | Serves 8 to 12 people (as a spread for bread or vegetables)
Prep Time: 5 minutes
Cook Time: 0 minutes (no cooking involved)
Total Time: 5 minutes
Difficulty: Beginner — no special skills or equipment needed beyond a hand mixer or whisk. This is literally one of the easiest recipes in existence.
Ingredients
- 1 cup (2 sticks) unsalted butter, softened to room temperature
- ⅓ cup raw or high-quality honey, at room temperature
- ¼ teaspoon fine sea salt
How to Make Honey Butter from Start to Finish
Prepare Your Butter:
-
Remove your butter from the refrigerator about 30 minutes before you plan to make the honey butter. It should be soft enough that your finger leaves a slight impression when you press it, but not so soft that it’s greasy or starting to lose its shape. If your kitchen is cool, it may take longer; if it’s warm, check it sooner. The right consistency is key — cold butter will break into chunks when you try to whip it, while overly soft butter will turn into a slick mess that won’t incorporate properly.
-
Cut the softened butter into roughly ½-inch cubes and place them in a medium mixing bowl. This gives the mixer more surface area to work with and helps everything incorporate more evenly.
Advertisements
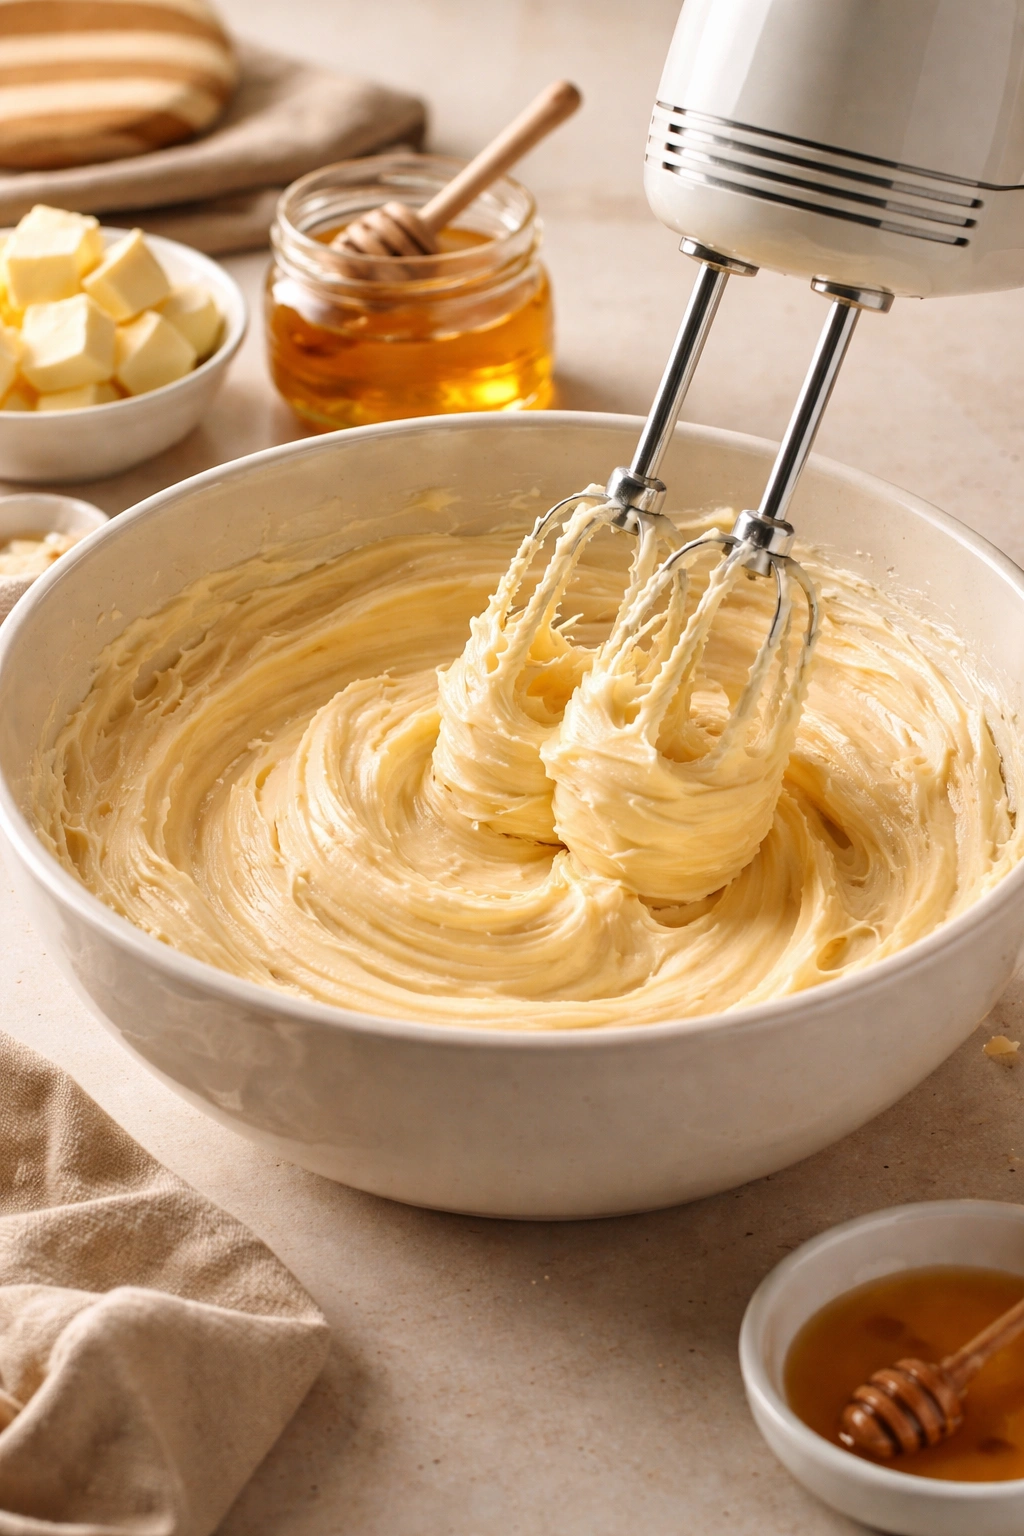
Whip the Butter:
-
Using a hand mixer on medium speed (or a stand mixer fitted with the whip attachment), beat the butter alone for 2 to 3 minutes, until it becomes noticeably lighter in color and increased in volume. You’re looking for something that’s pale yellow with a fluffy, almost cloud-like texture. Stop occasionally to scrape down the sides of the bowl with a spatula, making sure all the butter gets incorporated into the whipping action.
-
As you beat the butter, it starts incorporating tiny air bubbles — this is what creates that light, spreadable texture. You’ll notice it goes from a dense, compact mass to something airy and voluminous. This is exactly what you want. Do not skip this step or rush through it — the fluffiness of the finished honey butter depends entirely on this initial whipping.
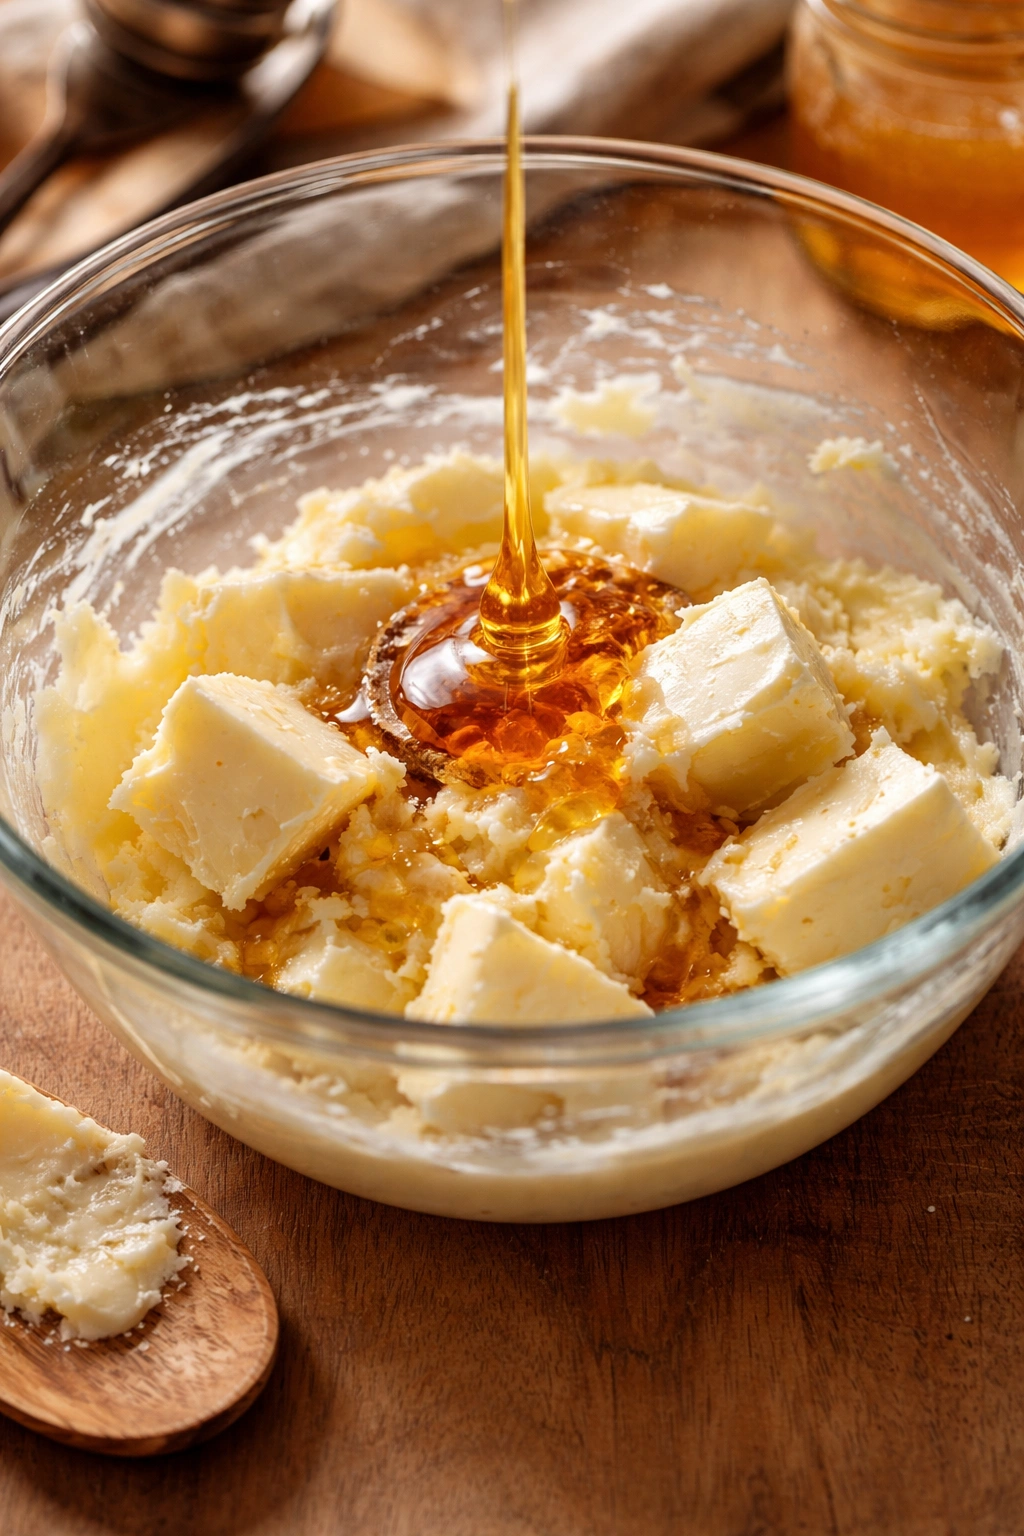
Add the Honey:
-
Reduce the mixer to low speed and slowly drizzle in the honey while the mixer runs. This is important — if you add all the honey at once, it can separate and create pockets instead of distributing evenly. Go slowly and let the mixer incorporate each bit fully before adding more. The process should take about 1 minute total for all the honey.
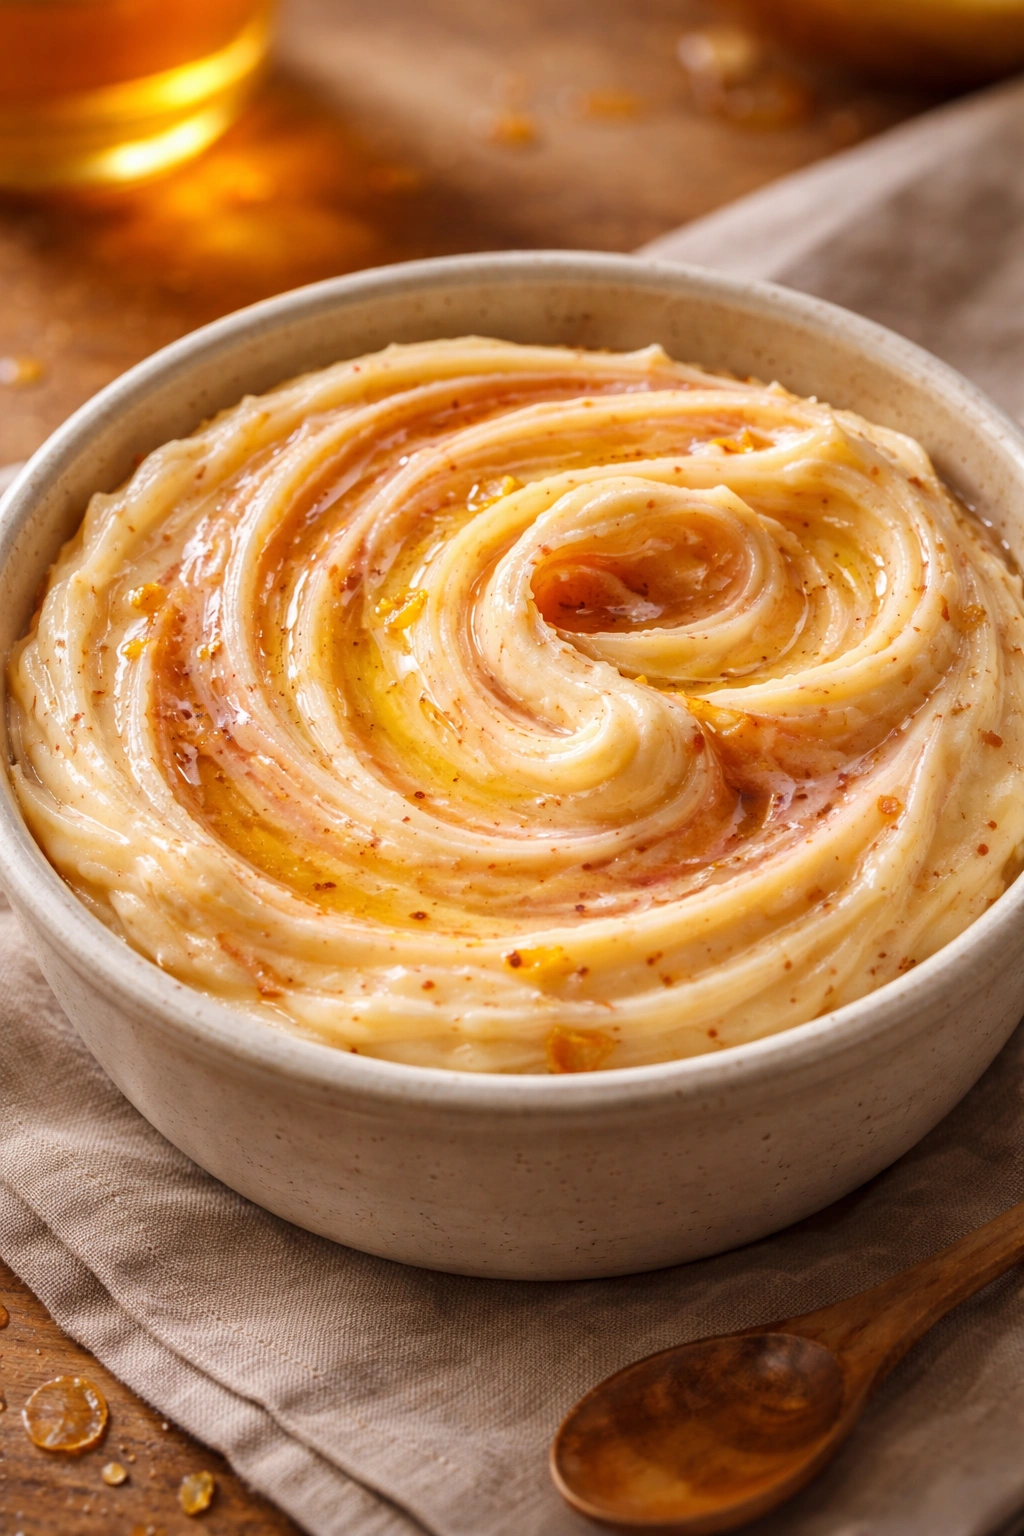
-
Once all the honey is incorporated, turn the speed back up to medium and beat for another 1 to 2 minutes. The mixture will look like it might separate at first — you might see swirls of golden honey throughout the pale butter. Keep beating. It will come together into a cohesive, spreadable consistency. You’re done when you can’t see any distinct honey streaks and the entire mixture is an even light tan color.
Add the Salt and Final Mix:
-
Sprinkle the salt over the top of the honey butter and beat on low speed for just 15 to 20 seconds, until the salt is completely distributed. You should not be able to see any salt granules — they should be completely dissolved and dispersed throughout. Taste a tiny spoonful if you want to verify the salt level (yes, raw butter is safe to taste, and this is actually a good practice).
-
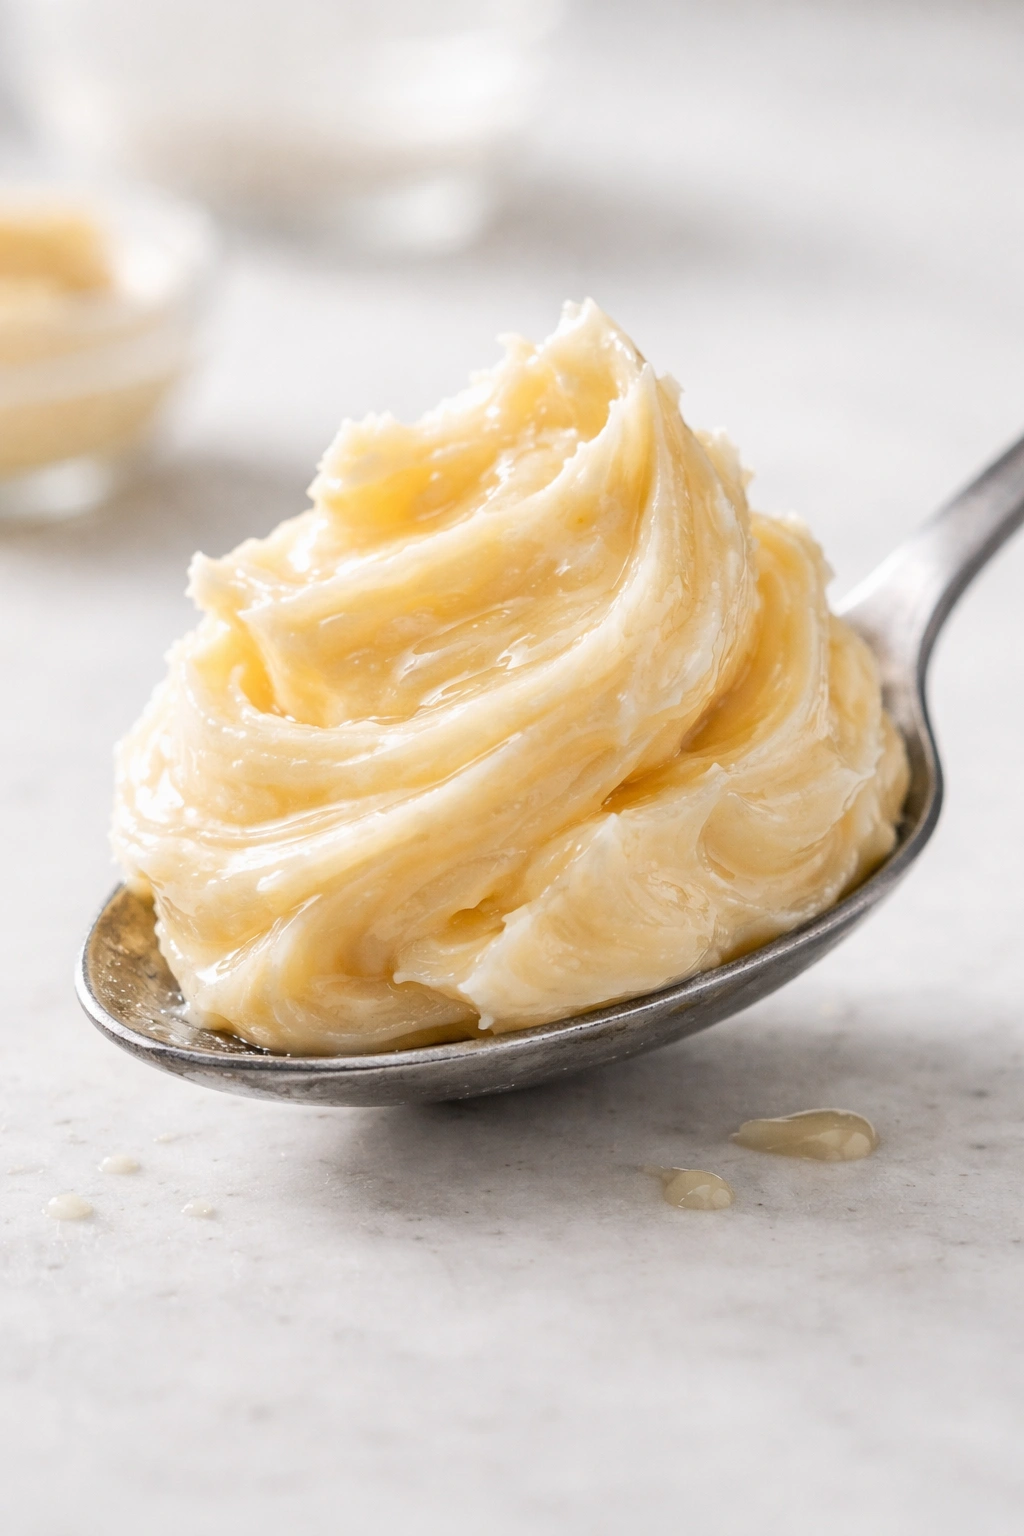
Once the salt is incorporated, stop mixing. Scrape the honey butter into a clean glass jar or a small serving bowl if you’re using it immediately. It will be soft and spreadable right now, and will firm up slightly as it cools to room temperature.
Tips to Get the Texture Just Right
The texture of your finished honey butter depends entirely on two things: how fluffy you whipped the initial butter, and how soft that butter was when you started. If you end up with something that’s too soft and greasy, your butter was too warm when you started. Chill it slightly and re-whip it — yes, you can absolutely do this. If it’s too stiff and doesn’t spread easily, your butter was too cold. Let it sit out for a few minutes and either re-whip briefly or just work it with a fork until it softens slightly.
Some people love their honey butter almost spreadable-cream-cheese consistency, while others prefer something firmer that holds peaks. This is determined by how long you whip the butter at the beginning. Whip it for the full 3 minutes if you want it really fluffy and light. Go for 2 minutes if you want something slightly denser. The honey stays the same amount either way — you’re just controlling the air content in the butter itself.
If your honey is crystallized or stiff, you can warm it very gently in the microwave — just 15 to 20 seconds at 50% power — to make it liquid again. Make sure it cools back to room temperature before adding it to the butter, or it might cause the butter to start separating.
The salt should genuinely be invisible. If you taste grittiness or see salt crystals, you either used salt that was too coarse, or your mixer didn’t run long enough for the salt to fully dissolve. Next time, use table salt or fine sea salt and beat the final mix for a full 20 seconds.
Common Mistakes That Throw Off the Balance
The most frequent mistake is using butter straight from the cold box. It will refuse to whip properly and you’ll end up with a grainy, separated mess. Plan ahead and leave your butter out for 30 to 40 minutes. If you’re impatient, you can cut it into very small pieces and it will soften faster. Real talk though: that prep time is built in because it actually matters.
Another common problem is adding the honey too fast. This causes the mixture to break and separate because the honey is hitting cold spots in the butter instead of incorporating smoothly. Go slowly. Drizzle. Let the mixer do its work. The temptation to just dump it all in at once is real, but resist it. You’ll end up with a prettier, smoother result if you take the 60 seconds to do it right.
Some people accidentally use salted butter, which throws off the salt balance entirely. Your finished honey butter ends up tasting weirdly salty and the sweetness gets buried. Unsalted butter gives you complete control over the final salt level. Check your butter wrapper if you’re not 100% sure.
Over-whipping is rare but possible. If you beat the honey butter mixture for like 5+ minutes straight on high speed, the butter can start to turn grainy and separate — you’re essentially breaking the emulsion. Mix until everything is combined and smooth, then stop. You’re not trying to make whipped cream; you’re just trying to incorporate air and combine ingredients evenly.
Variations to Make It Completely Your Own
Once you’ve made the basic three-ingredient version, you can take it in countless directions depending on what you’re planning to serve it with. For a savory application, add ½ teaspoon of fresh lemon zest and a pinch of cracked black pepper. This version is incredible on warm cornbread or smeared on roasted vegetables like carrots or Brussels sprouts. The lemon brightens everything and the pepper adds just enough complexity to keep it from being overly sweet.
For a spiced version that works beautifully on biscuits or sweet potato dishes, beat in ⅛ teaspoon of ground cinnamon, a tiny pinch of ground clove, and maybe a whisper of nutmeg. These warm spices pair with honey in an almost dessert-like way. You could even add a tiny bit of vanilla extract (just ⅛ teaspoon) if you want to push it even further in the warm-spice direction.
If you love floral notes, try infusing your honey butter with a tiny pinch of dried lavender or rose petals. Toast them in a dry pan for about 30 seconds to wake up their flavor, then beat them into the honey butter. Strain out the solids if you want a cleaner look, or leave them in for texture and visual interest. This works surprisingly well on chocolate cake or vanilla ice cream.
For a savory-sweet version that’s become my favorite for anything grilled, add 1 teaspoon of Dijon mustard and ½ teaspoon of fresh thyme leaves to the basic recipe. This sounds weird until you try it on corn on the cob or grilled chicken. The mustard adds a subtle tang, the thyme brings herbaceous earthiness, and suddenly your honey butter is sophisticated and complex.
A brown butter variation requires a bit more technique but is worth it. Melt the butter in a small saucepan over medium heat and let it brown until the solids at the bottom turn golden and smell nutty — about 5 to 7 minutes. Pour it into a bowl and chill until it’s back to spreading consistency, then whip it up with honey and salt. Brown butter has this toasted, almost caramel-like quality that makes the honey taste even deeper and more complex.
If you want to make it less sweet, simply reduce the honey to ¼ cup instead of ⅓ cup. The ratio will still work beautifully; the butter will just taste more like butter with a honey undertone rather than being honey-forward. Some people find they prefer this more subtle version.
How to Store and Keep Your Honey Butter Fresh
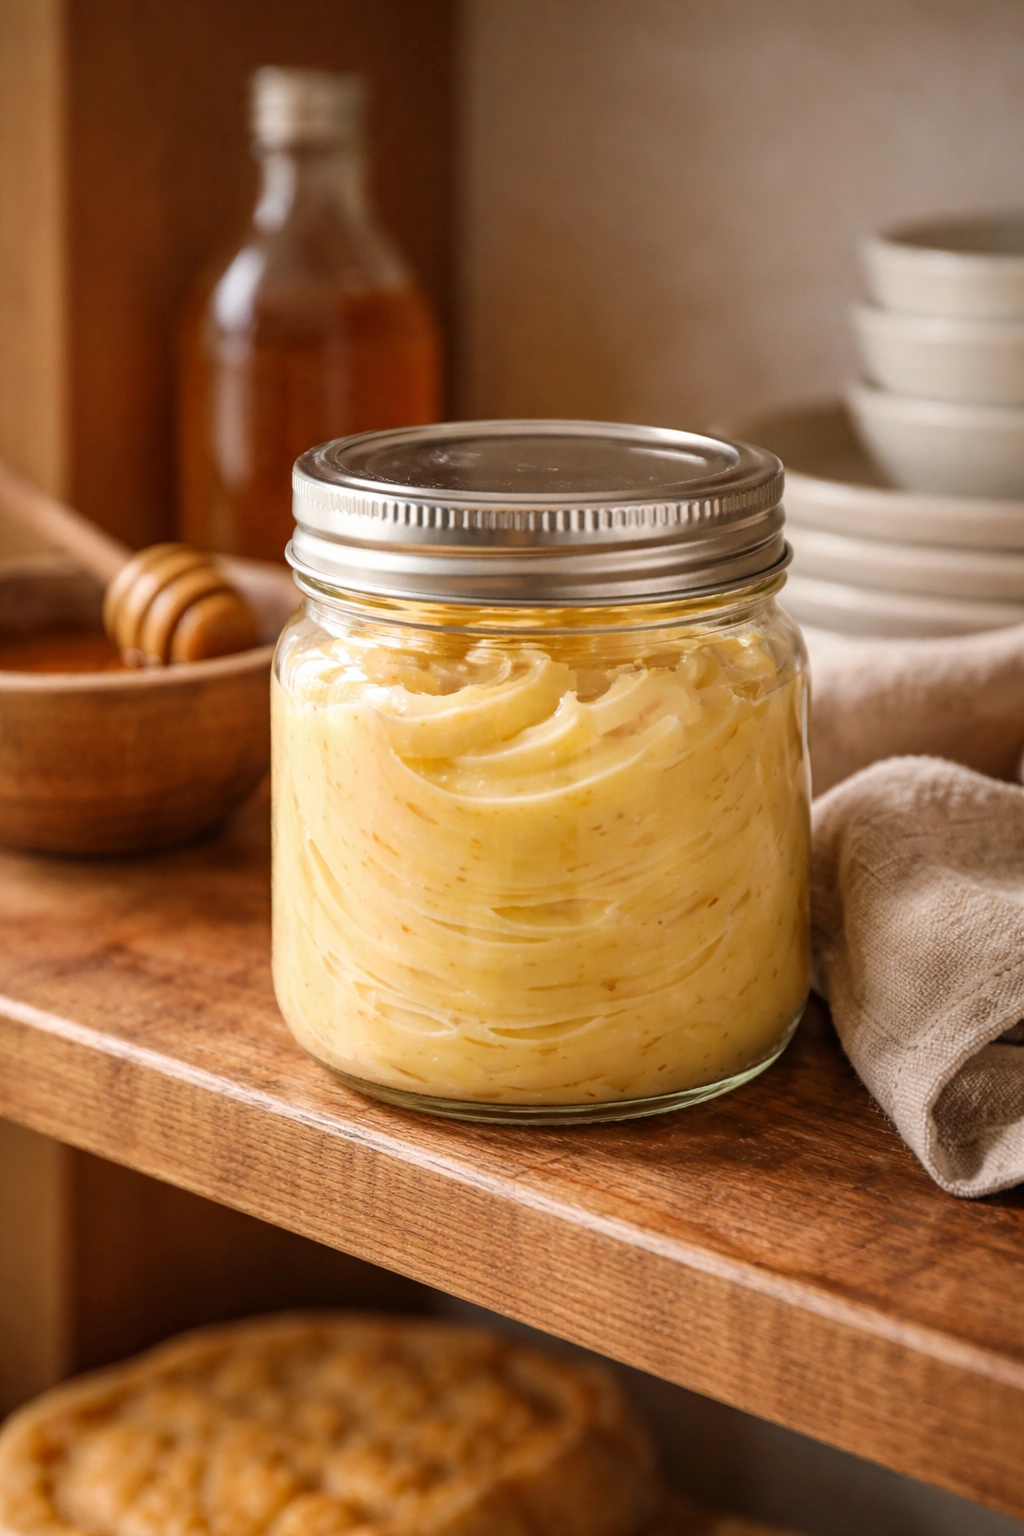
Honey butter keeps beautifully at room temperature for about one week, which is genuinely longer than you’d think for something this fresh and simple. The honey acts as a natural preservative, and the salt helps too. Keep it in a glass jar or covered container away from direct sunlight. Don’t leave it right next to your stove where it’ll warm up from cooking heat.
In the refrigerator, honey butter stays fresh and spreadable for about three weeks. It will firm up when chilled, which is actually convenient for some uses — you can scoop it or cut it into pats. If you want it spreadable straight from the fridge, just let it sit out for 5 to 10 minutes before serving. You can also keep it in a covered jar at room temperature and only refrigerate portions you’re not actively using.
This honey butter freezes beautifully for up to two months. Make a big batch, portion it into small jars or even into ice cube trays (it defrosts to perfect serving size that way), and you’ll always have it on hand. Thaw it in the refrigerator overnight or at room temperature for an hour before using. The texture comes back perfectly — it refreezes and thaws without any separation or graininess.
You can also make a big batch in advance for gift-giving. Spoon it into small glass jars, maybe with a ribbon and a little handwritten label. This is genuinely one of the best homemade food gifts because it’s so practical and people actually use it constantly. Nobody’s that person with a shelf full of homemade gifts they never opened. Honey butter gets used immediately.
If your honey butter ever separates slightly in the fridge (sometimes the honey pools at the bottom), just give it a quick stir or a brief mix with a fork before serving. This is not a sign anything’s wrong — it just means the honey and butter settled slightly during storage.
The Best Foods to Pair With Honey Butter
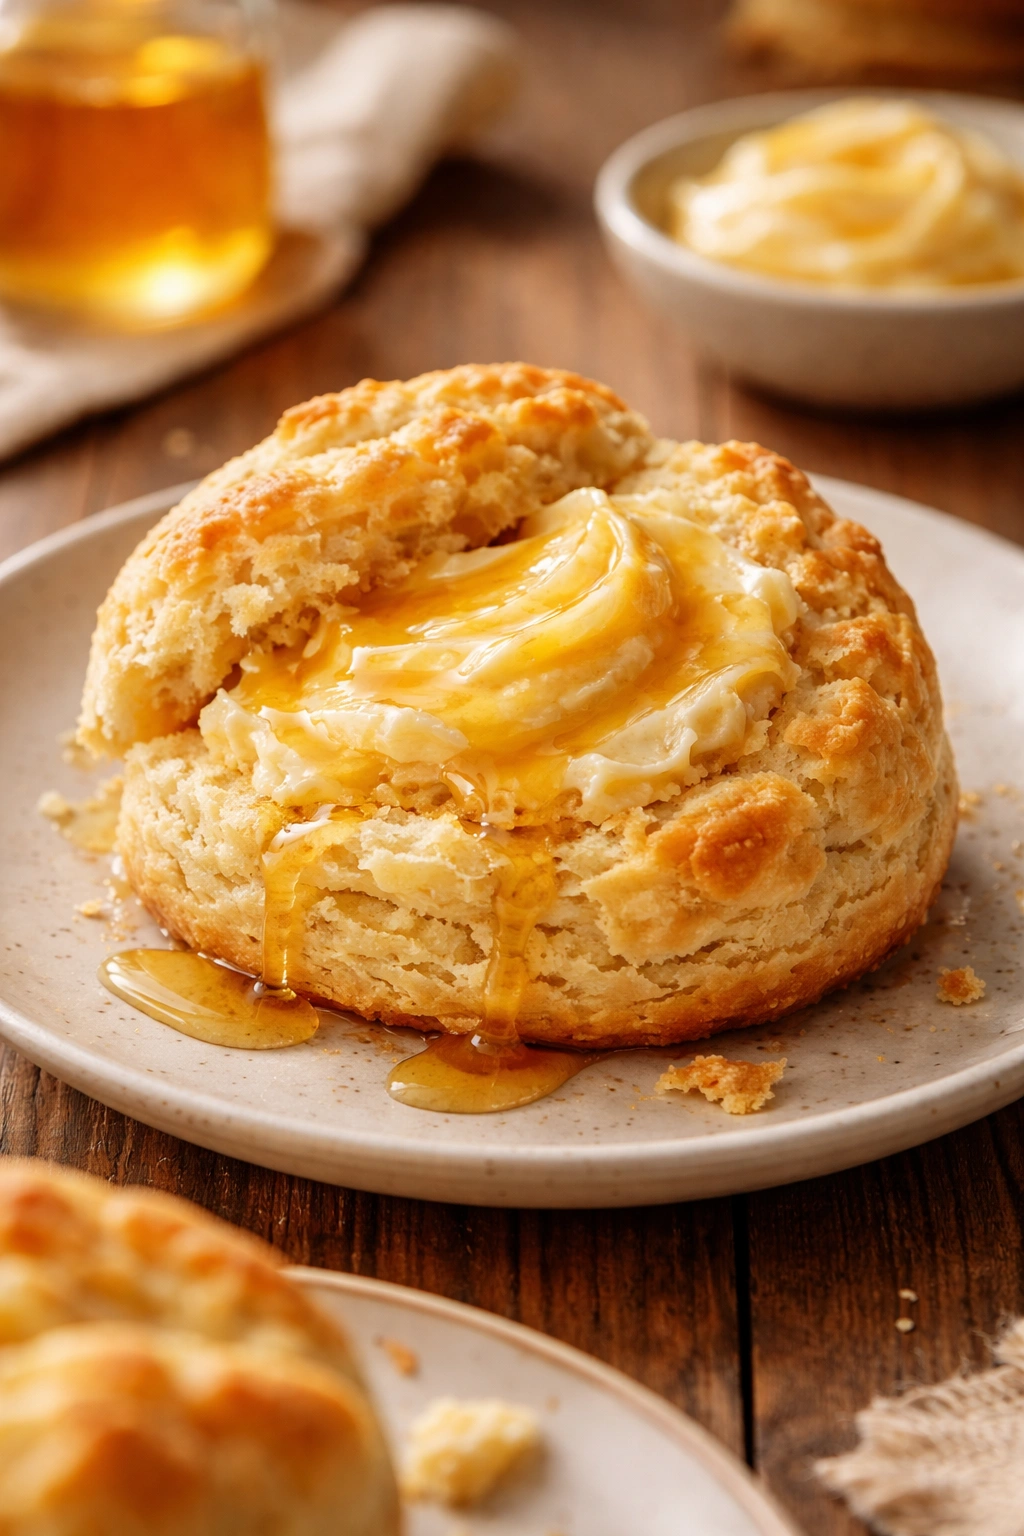
Warm biscuits and honey butter are genuinely a life-changing pairing. This is not hyperbole. A fresh-from-the-oven biscuit that’s still steaming, topped with a generous dollop of honey butter that melts immediately into all the flaky layers — there’s a reason this is a regional classic in the American South. The butter enriches the biscuit while the honey adds sweetness and creates almost a glaze effect.
Cornbread benefits enormously from honey butter in a way that regular butter doesn’t quite achieve. The sweetness of the honey echoes the subtle sweetness of the cornbread itself, and the butter makes every bite richer. Especially if you add a pinch of salt to the honey butter — it becomes this perfect balance of sweet and salty that makes you keep coming back for one more piece.
For something unexpected, try honey butter on roasted or grilled corn. A swab of it on warm corn on the cob is more interesting than regular butter and honestly makes me question why this isn’t already the standard. The honey melts into the little crevices and creates a subtle glaze, while the salt prevents it from reading as just sweet.
Toast — whether it’s regular bread, sourdough, or something more interesting like pumpernickel — transforms when you top it with honey butter instead of jam or regular butter. It’s less fussy than jam, less boring than plain butter, and the sweetness is more subtle, which means you can eat an entire plate of it without feeling like you’ve had dessert.
Roasted or grilled chicken is genuinely elevated by a spoonful of honey butter melting on top while it’s still warm. The honey caramelizes slightly from the heat of the chicken, and it creates a glaze that tastes restaurant-quality. Especially good on chicken thighs, which have enough fat that the honey butter feels balanced rather than excessive.
Warm waffles or pancakes get honey butter instead of syrup in my house now. You get the sweetness from the honey, the richness from the butter, and you avoid that too-sweet, overly-sticky feeling that pure maple syrup creates. The texture is also better — it melts and coats instead of sliding around.
Roasted sweet potatoes or any roasted root vegetables benefit from a small dollop of honey butter — even the savory versions with lemon and pepper. The warmth of the vegetables melts it slightly, and it creates an almost glaze that’s sophisticated without being fussy.
Final Thoughts
Honey butter is one of those recipes that seems too simple to matter until you actually make it and taste how much better it is than anything you can buy. It’s the kind of condiment that makes people stop mid-meal and ask what you did differently, even though you literally just whipped butter with honey and salt. That gap between simplicity and impact is what makes it so valuable to have in your regular rotation.
The real beauty here is that it’s completely flexible. The base three-ingredient version is perfect as-is for people who love straightforward honey and butter flavor. But it’s also a canvas for whatever direction you want to take it — spiced, herbal, citrusy, savory. Make it once and you’ll find yourself making it constantly, adjusting it based on what you’re serving it with, giving it away to people who taste it and immediately want the recipe.
Start with the basic version this week. Get good quality butter, decent honey, and fine salt. Make a batch. Taste it on warm toast or a fresh biscuit. Then you’ll understand why this simple recipe gets such passionate devotion. It’s because it actually delivers something noticeably better than store-bought alternatives, and you made it in five minutes with ingredients you almost certainly already have on hand. That combination of quality, simplicity, and speed is genuinely rare in cooking.