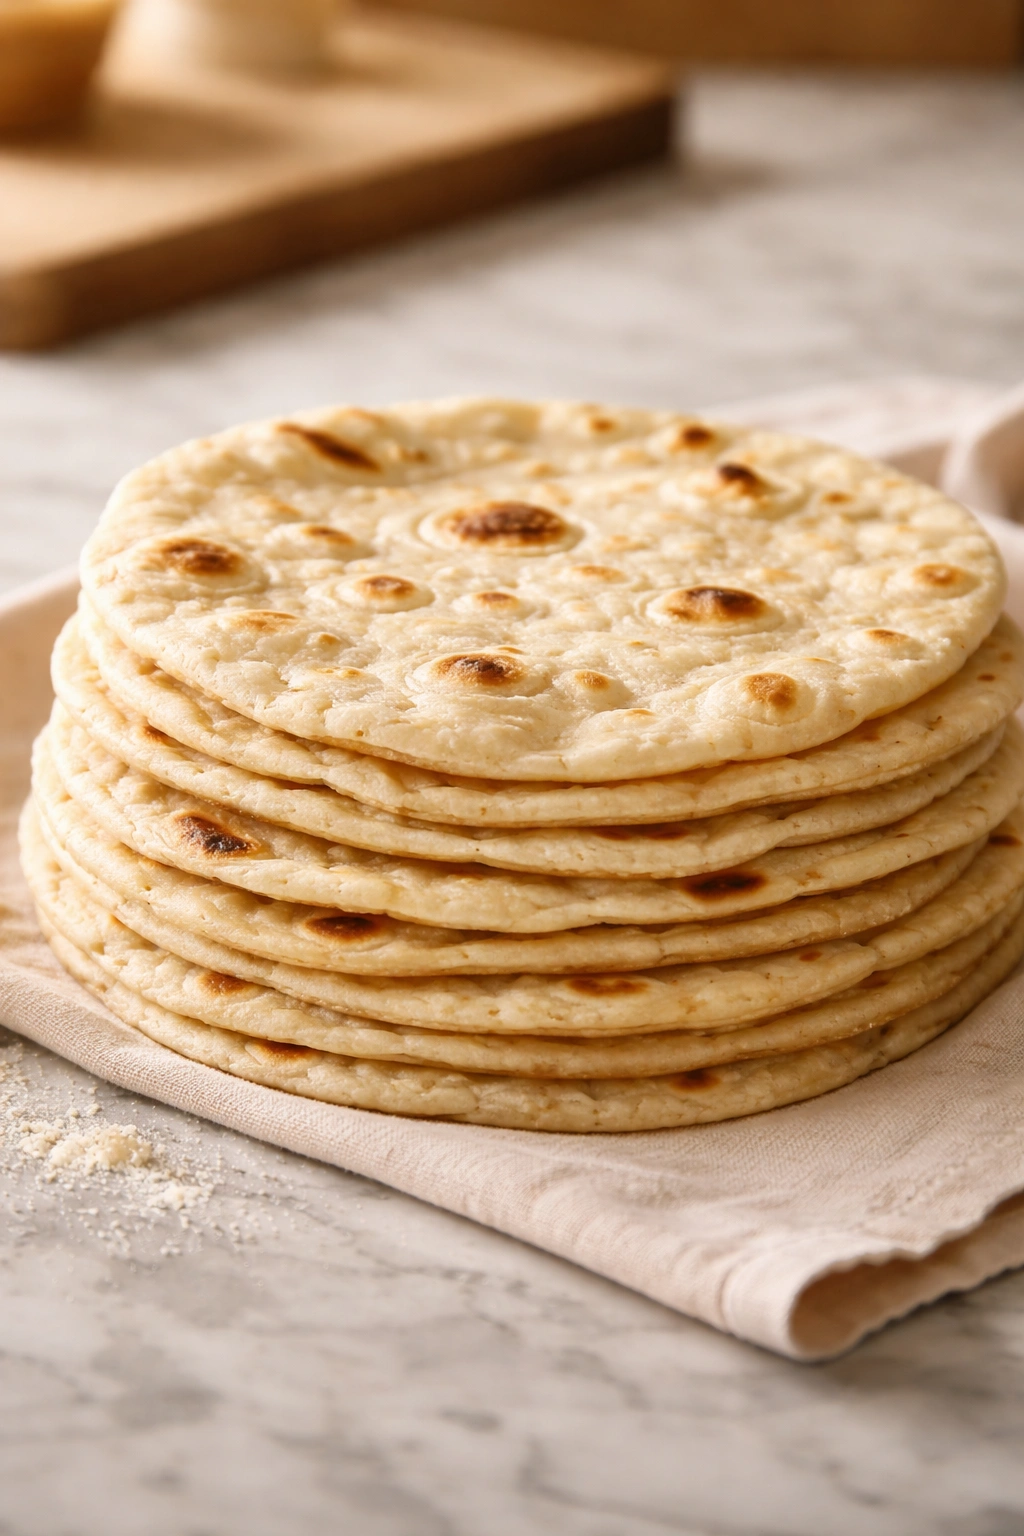
There’s something almost magical about a warm tortilla that comes straight off your own stovetop, still puffing with steam and a light char on its surface. The moment you tear into one, you understand why making tortillas at home is a game-changer—that tender, slightly chewy texture, the subtle wheaty flavor, the way it actually tastes like food instead of a generic vessel. And here’s what most people find shocking: you don’t need a long ingredient list or special equipment to achieve that homemade quality. Four simple ingredients—flour, water, salt, and fat—are genuinely all it takes to create tortillas that rival anything a professional baker might produce.
The magic isn’t in some secret ingredient or complex technique. It’s in understanding why these four components matter and how they interact with each other. Once you grasp that fundamental relationship, you can troubleshoot almost any issue, adapt the recipe to your preferences, and produce consistent, beautiful tortillas time and again. This isn’t a recipe that requires you to follow instructions mechanically—it’s a formula that actually teaches you something about how dough works.
The best part? You can have fresh, warm tortillas on your table in less than an hour, and they’ll taste so much better than store-bought that you’ll wonder why you ever bought them pre-made. Let’s walk through exactly how to make that happen.
Why Flour Tortillas Are Worth Making at Home

Store-bought tortillas often contain preservatives, emulsifiers, and dough conditioners that extend shelf life but compromise flavor and texture. The ingredient list on a typical package reads like a chemistry experiment—something definitely not happening in your own kitchen. A homemade tortilla, by contrast, develops its own subtle complexity during the brief resting period, and the texture becomes noticeably more tender because you control the hydration and don’t need additives to maintain freshness.
The real advantage of homemade goes beyond just ingredients, though. When you make tortillas yourself, you can adjust them to your specific preferences—slightly thicker and chewier, or thin and delicate. You can use a butter you actually love instead of whatever neutral fat the factory chose. You can make them at the exact moment you need them, so they’re still warm when you eat.
There’s also a genuine cost advantage. A batch of four tortillas costs pennies in ingredients and takes maybe thirty minutes total. Store-bought packages often cost several dollars and sit in your fridge slowly staling over two weeks. Anyone who makes tortillas regularly quickly realizes that the homemade version is cheaper, fresher, and incomparably better.
The Simple Science Behind 4-Ingredient Dough

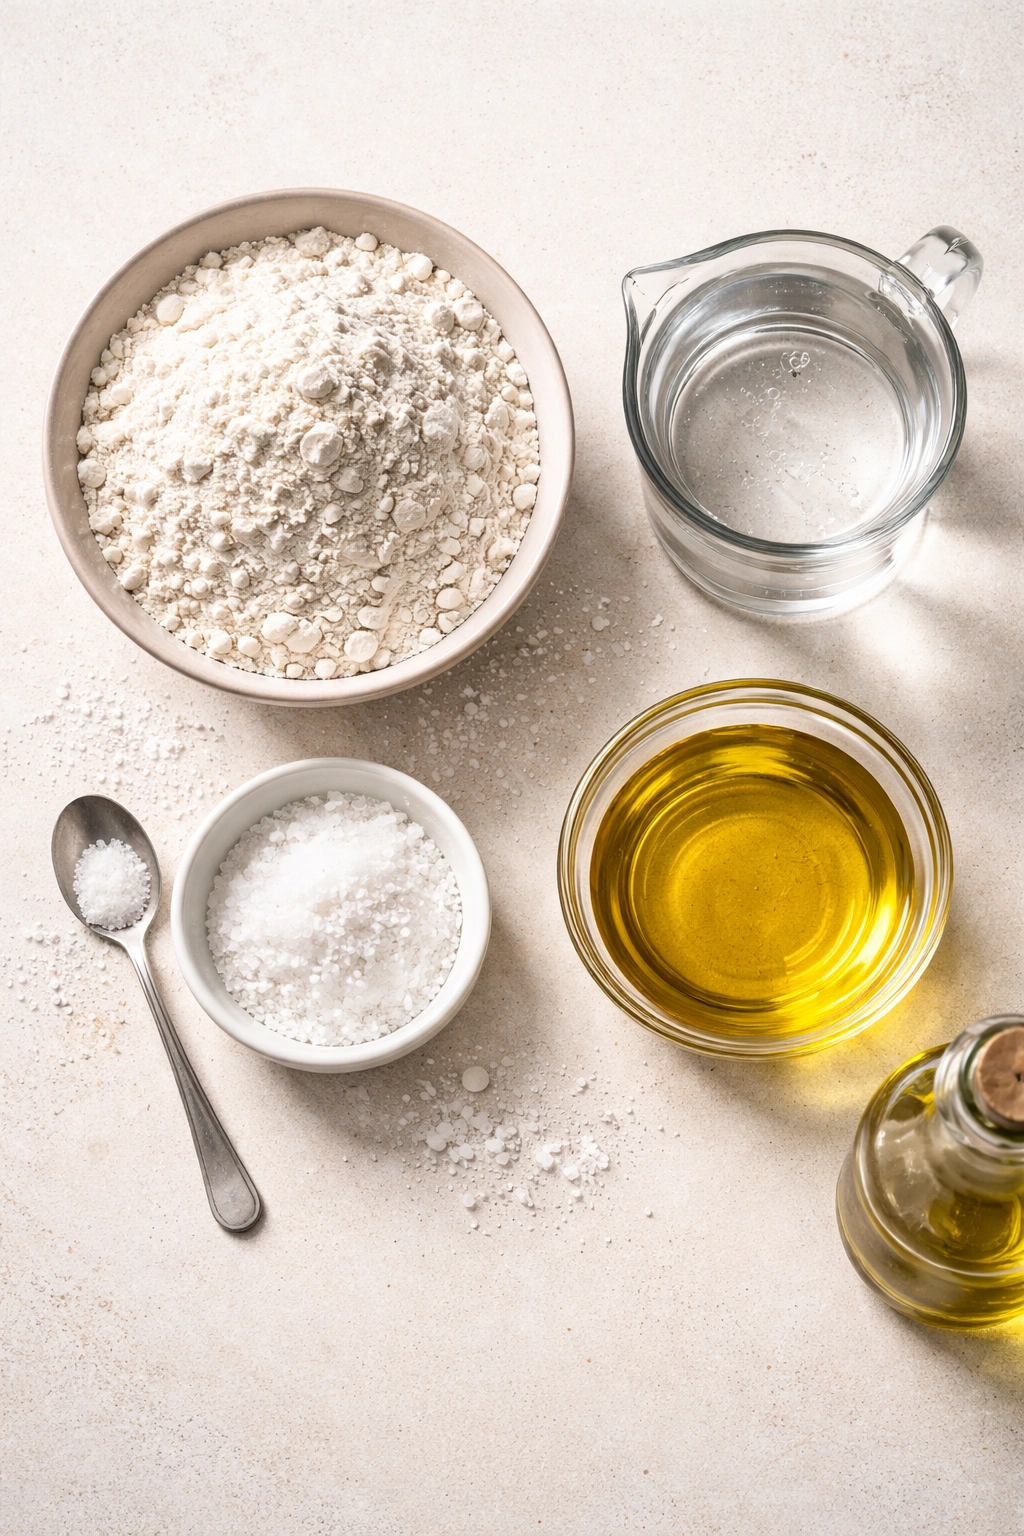
Every flour tortilla, at its core, is a hydrated dough that relies on gluten development for its structure. Flour provides the starch and protein. Water activates the gluten and keeps the dough flexible. Salt strengthens the gluten network and enhances flavor. Fat tenderizes the dough and adds richness. That’s the complete formula—nothing else is technically necessary.
The proportion of water to flour is what determines texture more than anything else. Too much water and your dough becomes sticky and unpredictable. Too little and it tears apart when you try to roll it. The magical sweet spot—usually around 60-65% hydration—produces a dough that’s easy to work with and creates tortillas with that ideal tender-but-not-fragile quality.
Resting the dough is where a lot of the flavor develops. During rest, the flour fully hydrates, and the gluten relaxes, making the dough easier to roll and cook. Even thirty minutes of resting transforms a tough, snappy dough into something smooth and cooperative. This is why homemade tortillas have a noticeably better flavor profile than tortillas made from dough that never got proper rest—there’s simply more time for flavor to develop.
Choosing the Right Flour for Maximum Flavor
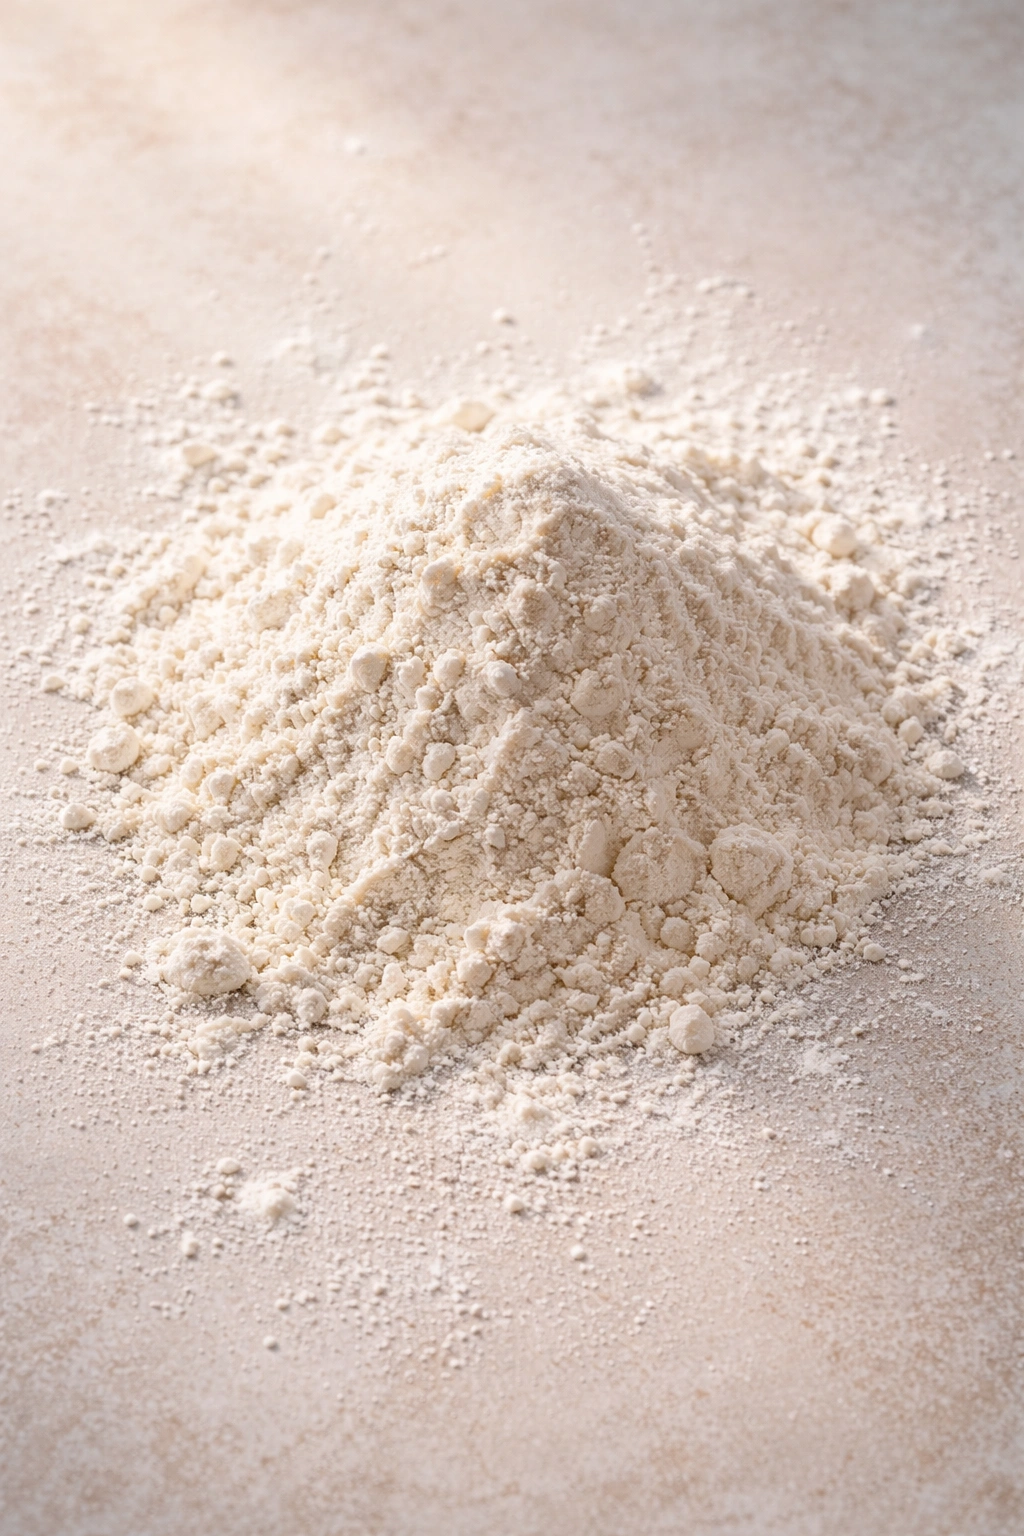
All-purpose flour is your best choice for flour tortillas, and honestly, you don’t need anything fancy. The protein content in all-purpose flour (usually around 10-12%) is perfect—high enough to develop structure and create that characteristic slightly chewy texture, but not so high that you end up with something tough. Bread flour has too much protein and creates tortillas that feel dense and chewy rather than tender. Cake flour doesn’t have enough protein and produces something that falls apart.
The one variable that actually matters is freshness. Flour that’s been sitting in your pantry for six months has already lost some of its potency. Fresh flour—something you’ve opened in the last month or so—will perform better and create a noticeably more flavorful dough. If you buy bulk flour from a bin at the grocery store, you might not know how old it is, so favor bags with clear dates when you can.
Some people swear by bread flour from a specific mill, or whole wheat flour blends, or even specialty flours. Those are great experiments once you’ve nailed the basic four-ingredient version. But for your first batch and for everyday cooking, standard all-purpose flour does the job perfectly.
Why Water Quality and Temperature Matter
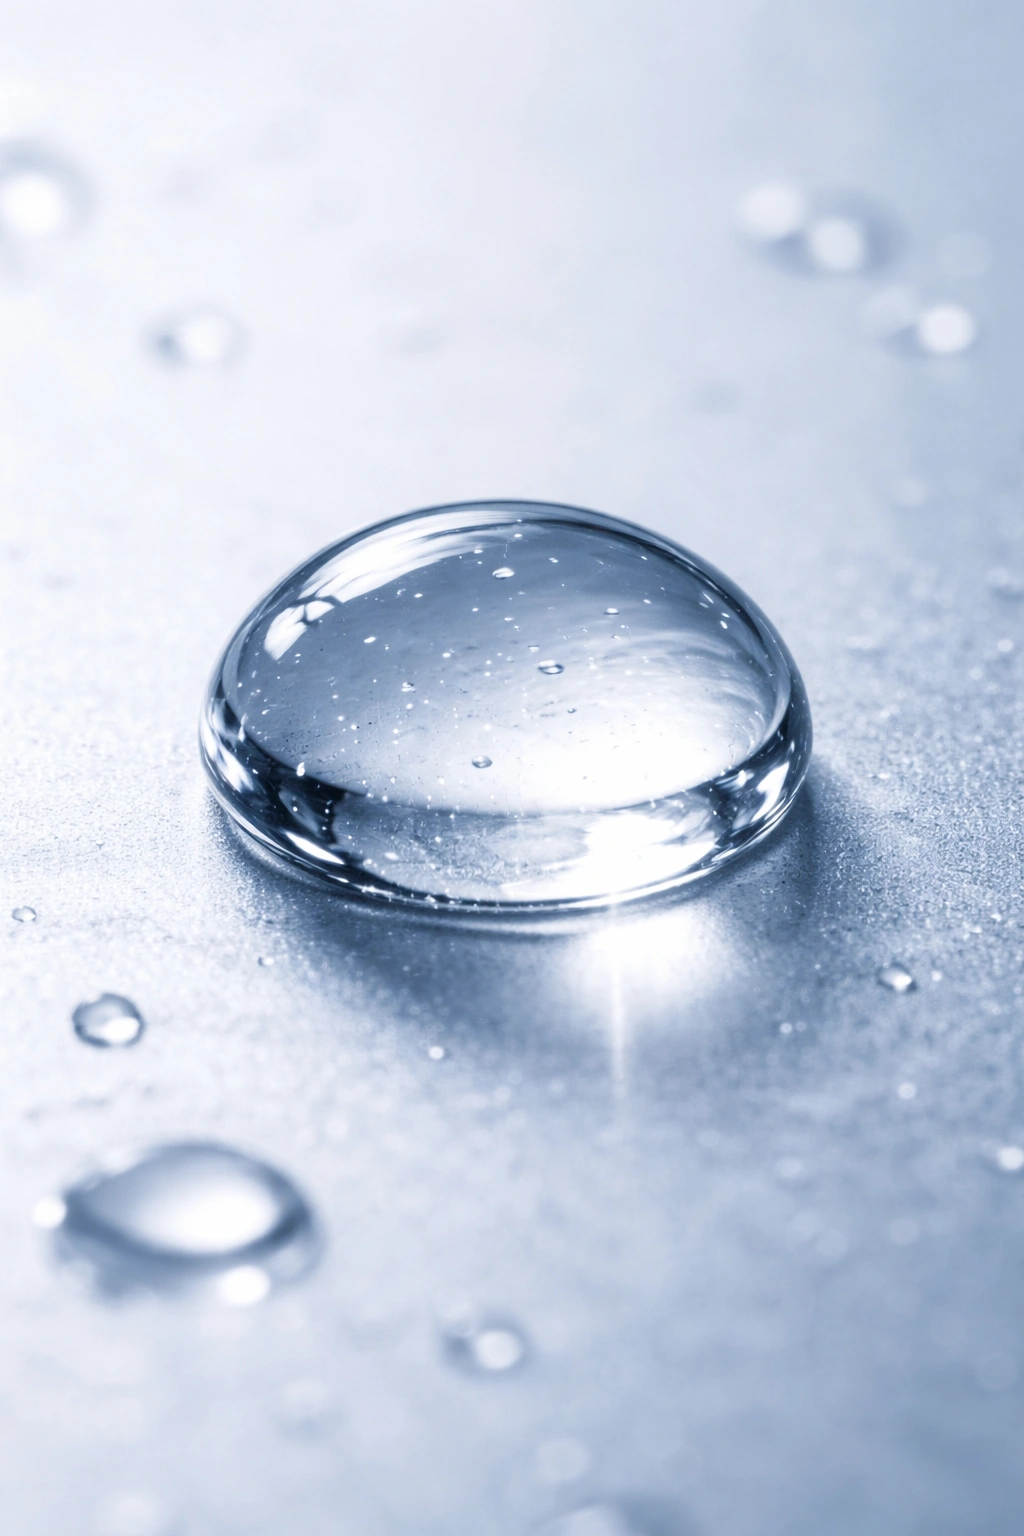
The temperature of your water affects how quickly the dough comes together and how fast gluten develops. Warm water (around 80-90°F or 27-32°C) speeds up hydration and gluten development, which means your dough will be ready to rest faster. Cold water slows everything down, which can actually be beneficial if you’re making dough ahead of time and want to control the timeline more precisely. Room-temperature water is the safe middle ground—it hydrates predictably without adding complexity.
Hard water (water with high mineral content) actually creates stronger gluten than soft water. If you have especially soft water, you might find your dough needs slightly less kneading because gluten develops faster. This is a minor variable, but it’s worth noticing if you suddenly have trouble getting your dough to the right consistency after using different water than usual.
Most home cooks don’t think about water quality, and that’s fine—your tap water almost certainly works great. But if you’re somewhere with unusually hard water and you’re having trouble, you’re not losing your mind. The water itself might be contributing to unexpectedly strong gluten development.
The Fat Component and Why It Transforms Texture
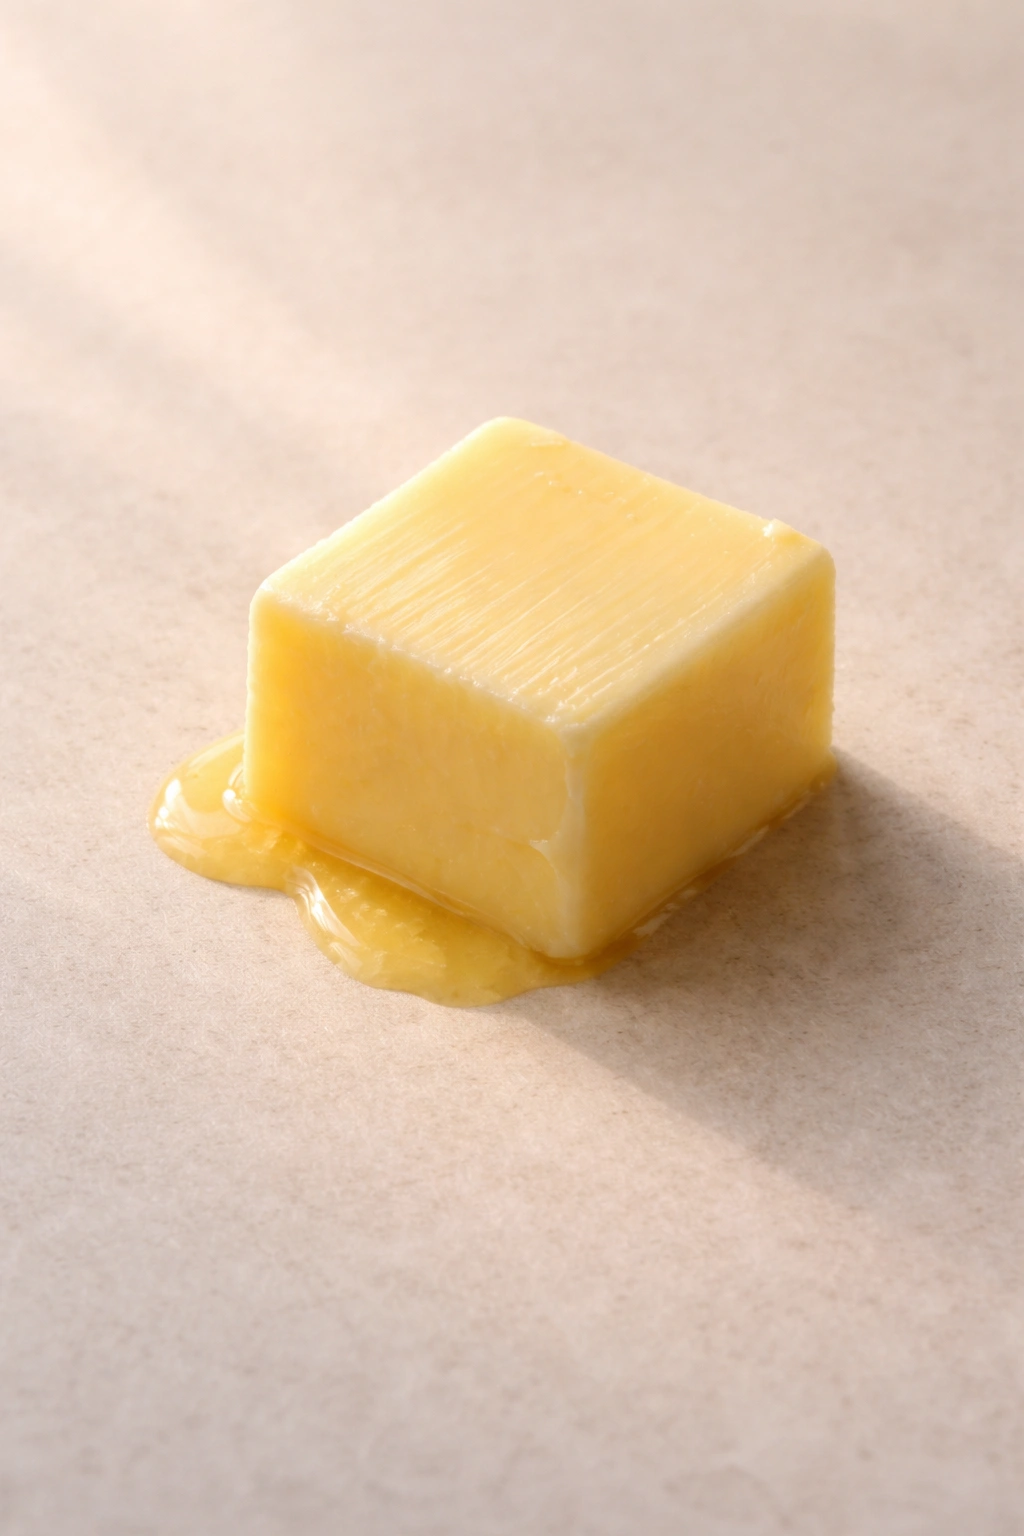
Butter, lard, vegetable oil, or shortening all work in a flour tortilla, and they all produce slightly different results. Butter creates the most tender tortilla with a rich, familiar flavor—it’s what most people reach for and what creates the most “homemade” taste. Lard (yes, really) creates an incredibly flaky, delicate tortilla with neutral flavor. Vegetable oil creates something slightly less tender but perfectly acceptable, and it’s a good choice if you’re avoiding animal fats. Shortening falls somewhere between oil and butter in terms of tenderness.
The amount of fat matters too. Even just two tablespoons per cup of flour noticeably softens the cooked tortilla. Less fat and you get something drier and more bread-like. More fat and it becomes almost too tender and starts to feel almost flaky, which is lovely but not the traditional flour tortilla texture most people are seeking.
Temperature of the fat affects whether it fully incorporates into the dough or creates little pockets. Cold butter cut into the dough creates a flakier result because the butter pockets create laminations. Melted or softened butter incorporates more evenly for a smoother, more tender crumb. Both are valid—it just depends on which texture you’re after.
Yield: Makes 8 to 10 tortillas | Serves 4 to 5 as part of a meal
Prep Time: 15 minutes
Cook Time: 20 minutes (includes rolling and cooking)
Total Time: 35 minutes active + 30 minutes resting dough
Difficulty: Beginner — The technique is straightforward with no special equipment required, and even your first batch will be entirely edible and delicious.
Best Served: Immediately while still warm, though they’ll stay soft in a covered container for several hours.
Ingredients:
- 2 cups all-purpose flour
- ¾ teaspoon fine sea salt
- 2 tablespoons unsalted butter, melted and slightly cooled
- ¾ cup warm water (approximately 80–90°F or 27–32°C; add gradually, as you may not need every drop)
Make the Dough:
-
In a medium bowl, whisk together the flour and salt until evenly combined.
-
Create a well in the center of the flour. Pour the melted butter into the well, then add ½ cup of the warm water. Using a fork, gently stir, pulling flour from the sides of the bowl toward the center, incorporating butter and water into the flour bit by bit.
-
As the mixture comes together, gradually add the remaining ¼ cup of warm water, a tablespoon at a time, stirring continuously. You’re looking for a shaggy, slightly sticky dough that holds together without being wet—it should feel like it would stick to your fingers if you pressed into it, but shouldn’t stick to the sides of the bowl. Stop adding water once the dough pulls away from the bowl walls, even if you haven’t used all of it. Dough hydration varies with humidity and flour brand, so use water judiciously.
-
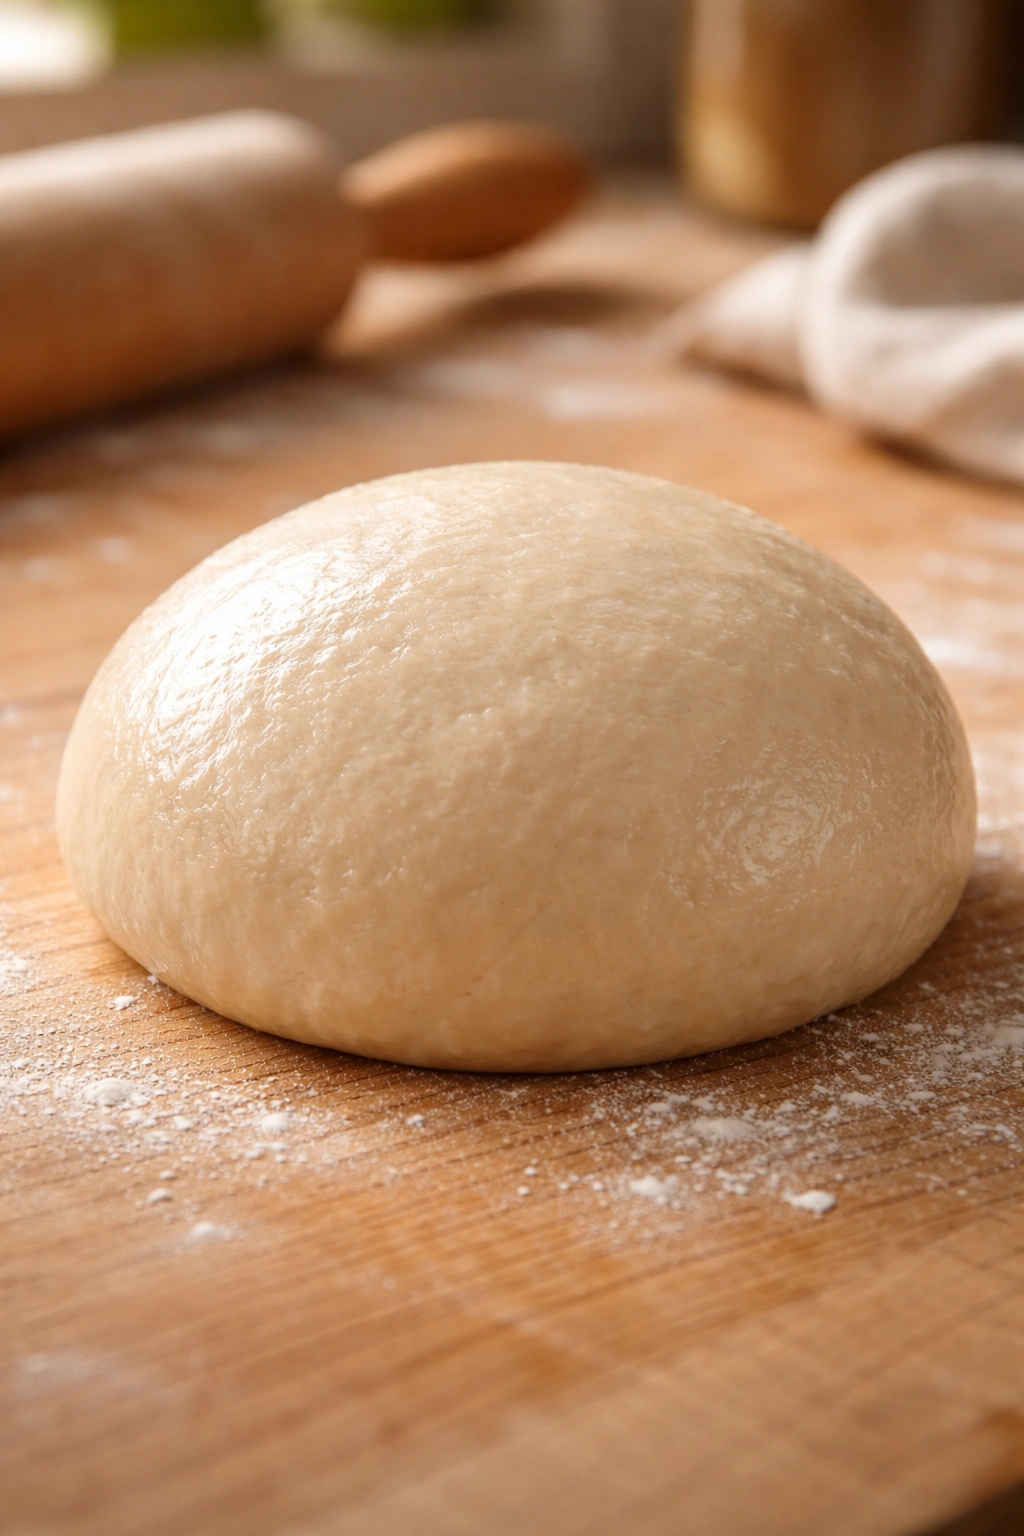
Transfer the dough to a lightly floured work surface. Knead the dough for about 5 minutes, using the heel of your hand to push the dough away from you, then folding it back over itself and rotating it a quarter turn. The dough should begin as rough and a bit sticky, then gradually become smoother, more elastic, and less sticky as gluten develops. You’ll feel a noticeable change in the dough’s texture—it should go from shaggy to smooth and spring back slightly when poked.
-
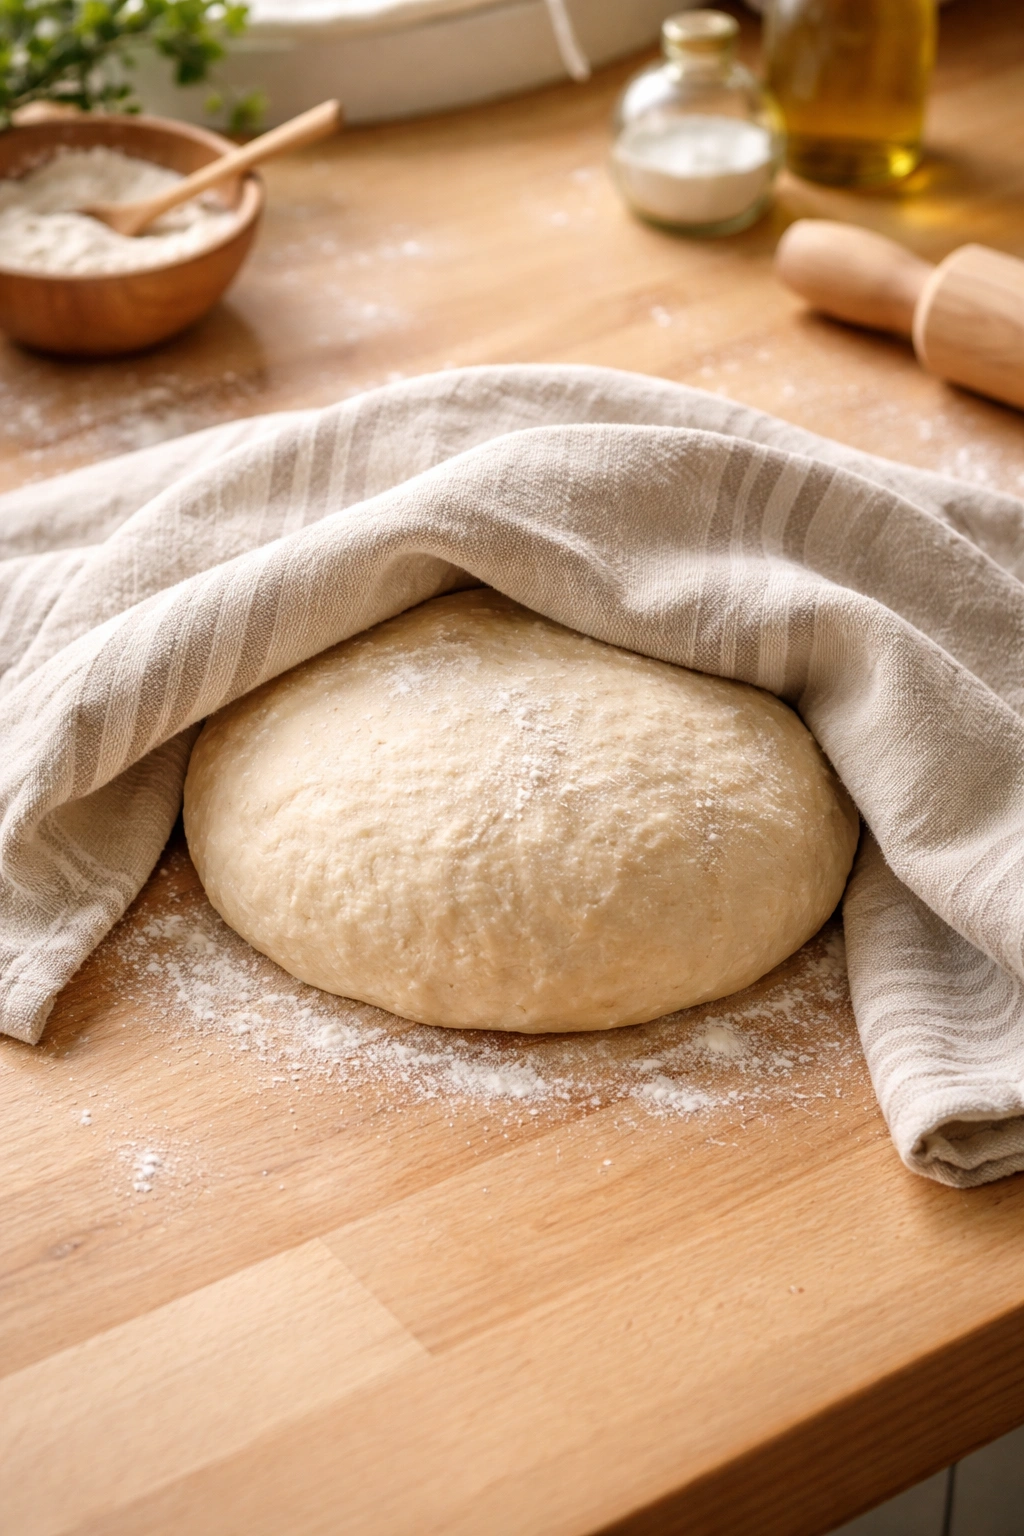
Form the dough into a ball, cover it with a clean kitchen towel or plastic wrap, and let it rest at room temperature for at least 30 minutes (up to 1 hour is fine). This resting period is crucial—it allows the flour to fully hydrate and the gluten to relax, making the dough significantly easier to roll and creating better-flavored tortillas.
Advertisements
Divide and Shape:
-
After resting, divide the dough into 8 to 10 equal pieces (each piece should be roughly the size of a ping-pong ball—about 1.5 ounces). Roll each piece into a smooth ball and cover them loosely with a towel while you work; this prevents them from drying out.
-
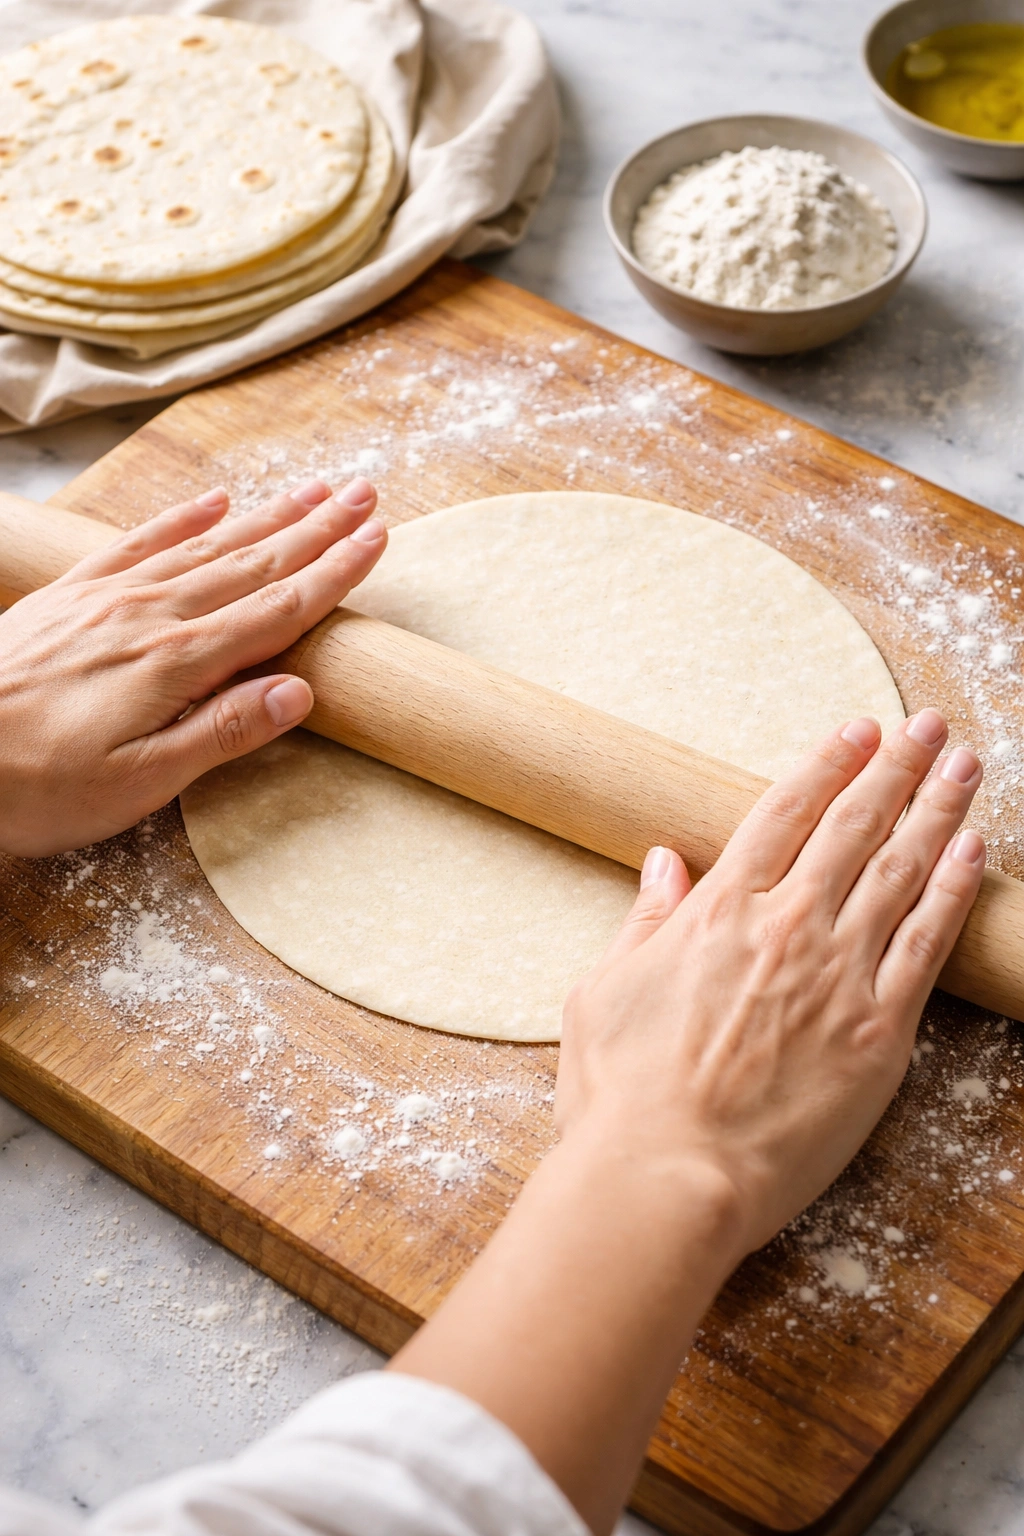
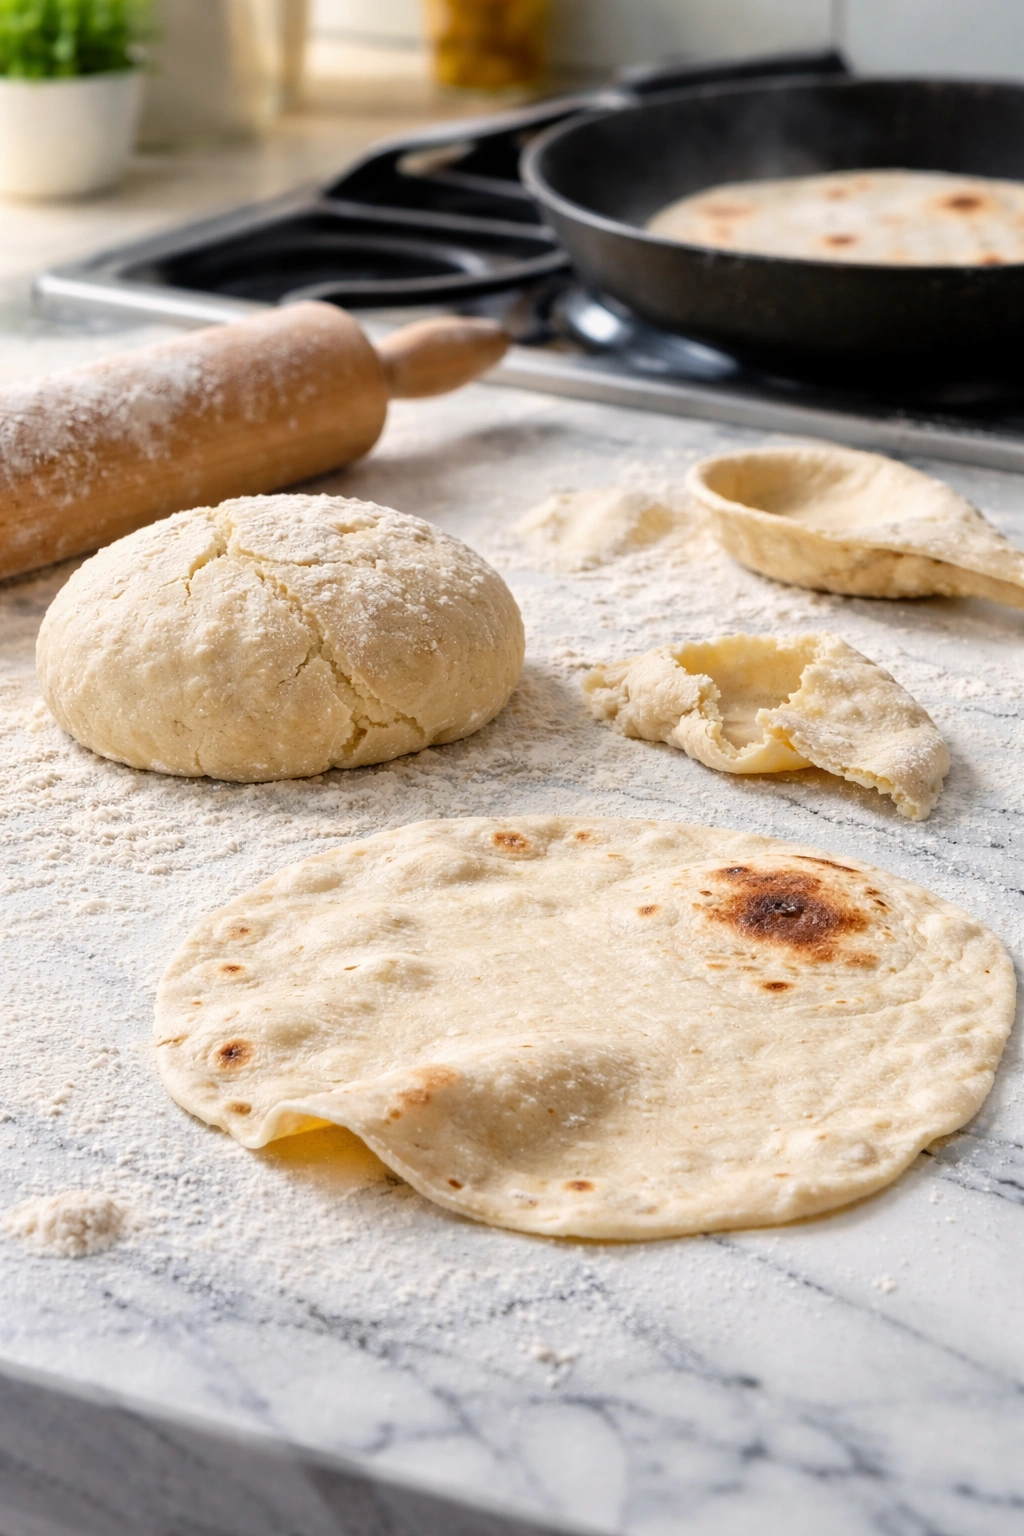
Working with one ball at a time, place it on a lightly floured work surface. Using a rolling pin, roll the dough ball into a thin disk approximately 7 to 8 inches in diameter. Use even pressure and rotate the dough a quarter turn after each roll, which helps ensure an even thickness and a more circular shape. The tortilla should be thin enough to see light through it in spots, but not so thin that it tears. If the dough springs back aggressively or tears, let it rest under a towel for 2 to 3 minutes, then try rolling again. Flour your work surface as needed to prevent sticking, but try to minimize added flour—each extra bit of flour you incorporate toughens the final tortilla slightly.
Cook the Tortillas:
-
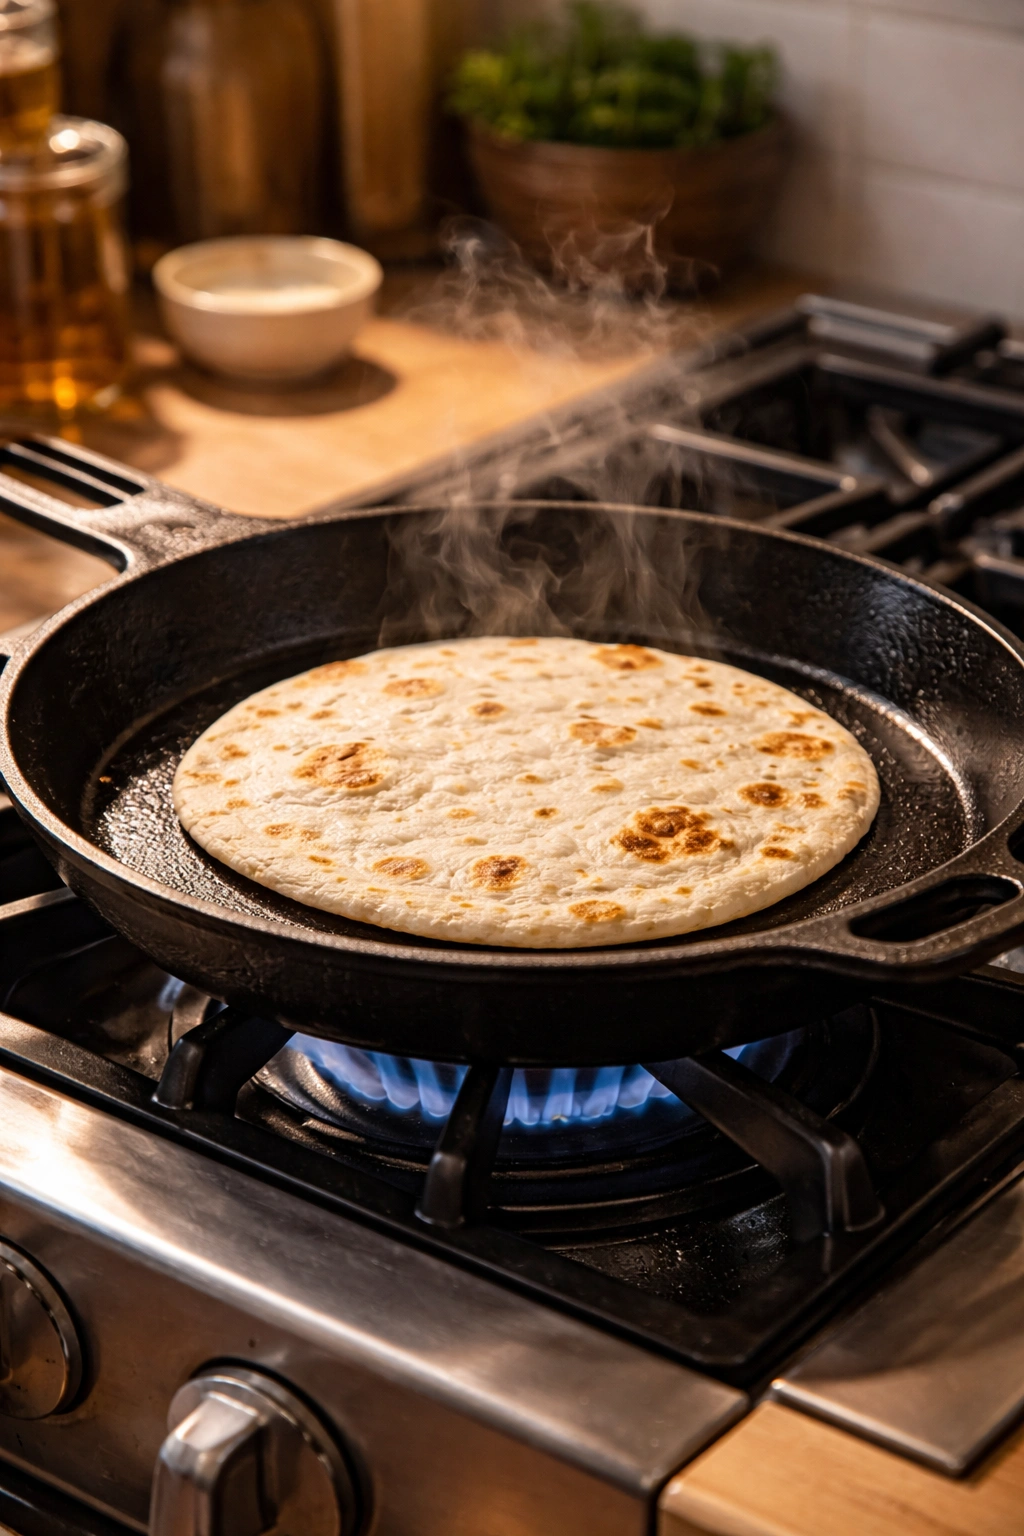
Heat a large dry skillet (cast iron or stainless steel work beautifully, nonstick is also fine) over medium-high heat for 1 to 2 minutes until it’s hot. To test readiness, flick a drop of water onto the surface—it should sizzle and evaporate immediately.
-
Carefully lay a rolled tortilla into the hot skillet. Cook for about 30 seconds, until the bottom surface loses its raw appearance and begins showing light spotting. Do not walk away—you’re watching for the exact moment to flip, not waiting for deep browning.
-
Flip the tortilla and cook the second side for about 20 to 30 seconds. At this point, the tortilla should begin puffing up, especially if the heat is properly calibrated and the dough was rolled thin enough. The puffing means steam is creating air pockets inside, which is exactly what you want—it creates the tender, airy crumb that makes homemade tortillas special.
-
Flip a third time and cook the first side for another 10 to 15 seconds. The tortilla is done when both sides show light browning and slight charring, and the texture feels soft and pliable rather than stiff. You’re not going for heavy browning here—light spotting is perfect.
-
Transfer the cooked tortilla to a clean kitchen towel or tortilla warmer, and immediately roll up or fold the towel around it to keep it warm and soft. The trapped steam will continue softening the tortilla as it cools slightly. Repeat with the remaining dough balls.
-
Serve the tortillas warm. If they cool completely before serving, they’ll still taste great but won’t have that delicate steam-fresh quality. You can reheat them briefly in a dry skillet or directly over a gas flame if you have one.
Advertisements
The Hydration Balance That Makes Dough Cooperative
The ratio of water to flour is technically what we call hydration, and it’s the single biggest variable that affects how your dough behaves. A dough at 62% hydration (¾ cup water for 2 cups flour is almost exactly that) sits in a sweet spot where it’s hydrated enough to develop gluten smoothly and roll thin without tearing, but not so wet that it sticks aggressively to your hands or the counter.
If your dough feels dry and crumbly no matter how much you knead, you need more water. Add a teaspoon at a time, knead for a minute, then assess. If your dough is sticky enough to make rolling difficult, you’ve added too much water and your best option is to dust it with flour during rolling—just be sparing, because excess flour makes the final tortilla tougher.
Humidity in your kitchen affects hydration more than you might think. On a dry day, your dough might need slightly more water. On a humid day, it might need slightly less. This is why the recipe says “approximately ¾ cup” rather than “exactly ¾ cup”—you really are adjusting based on how the dough feels, not following a precise measurement.
The Resting Period Where Flavor Develops
Most home cooks want to skip the resting step because it feels like wasted time. But that thirty-minute rest is where your tortillas go from “technically edible” to “genuinely delicious.” During rest, the flour continues absorbing water, the gluten network relaxes enough that rolling becomes easier, and subtle flavor compounds develop in the dough.
If you skip the rest or reduce it to five minutes, you’ll end up with a dough that’s hard to roll (it’ll keep snapping back), and the cooked tortillas will have a slightly tougher, less flavorful crumb. The dough will still work, but you’re sacrificing noticeable quality for minimal time savings.
Resting can happen at room temperature for thirty minutes to an hour, or in the refrigerator for several hours or even overnight. Cold resting is actually fantastic if you want to make dough ahead of time—just pull it out, let it come to room temperature for ten to fifteen minutes, then proceed with shaping and cooking.
Rolling Tortillas Thin Without Tears
The goal is uniformly thin—about ⅛ inch thick, thin enough that light shows through but not so delicate that it’s transparent. You’re aiming for a texture that’s sturdy enough not to tear when you pick it up, but thin enough that it cooks quickly and puffs properly.
The rolling technique matters more than the tool. A traditional wooden rolling pin works fine, as does a heavy wine bottle if you’re in a pinch. Avoid rolling pins with edges that are too sharp; they tend to catch on the dough and create tears. A smooth, rounded rolling pin (or even the smooth side of a meat mallet) distributes pressure more evenly.
The key to avoiding tears is consistent, even pressure. Don’t put all your weight in the middle—instead, roll from the center out in all directions, rotating the dough a quarter turn after each few rolls. This approach distributes pressure evenly and helps the dough stretch more predictably. If the dough resists rolling, let it rest under a towel for a few minutes; gluten has developed tension, and rest gives it a chance to relax.
Excess flour on your work surface causes more problems than it prevents. A light dusting is fine, but flour doesn’t belong in the dough at this stage. Each bit of flour you work into the dough during rolling toughens the final tortilla. Brush off excess flour from the rolled dough before it hits the skillet.
Temperature and Heat Control During Cooking
The heat level is absolutely critical, and it’s where most home cooks stumble. You want medium-high heat, which means hot enough that water droplets sizzle and evaporate in a second or two, but not so hot that tortillas char deeply in seconds. If your skillet is too cool, tortillas cook through without puffing, and you end up with something dense and bread-like. If it’s too hot, the outside burns before the inside cooks.
Finding the exact heat for your specific stovetop and skillet might take one test tortilla. Make your first one and note how it behaves. If it cooked too quickly, lower your heat slightly for the next one. If it seemed to take forever and didn’t puff well, increase the heat. After two or three tortillas, you’ll have the rhythm down perfectly.
Cast iron retains heat beautifully and is actually ideal for tortillas because it maintains consistent temperature throughout cooking. Stainless steel works well too, though it can cool down more noticeably when you place a room-temperature dough round into it. Nonstick works, but avoid nonstick skillets with raised edges—smooth, shallow edges make flipping easier.
Getting the Perfect Puff (And What It Really Means)
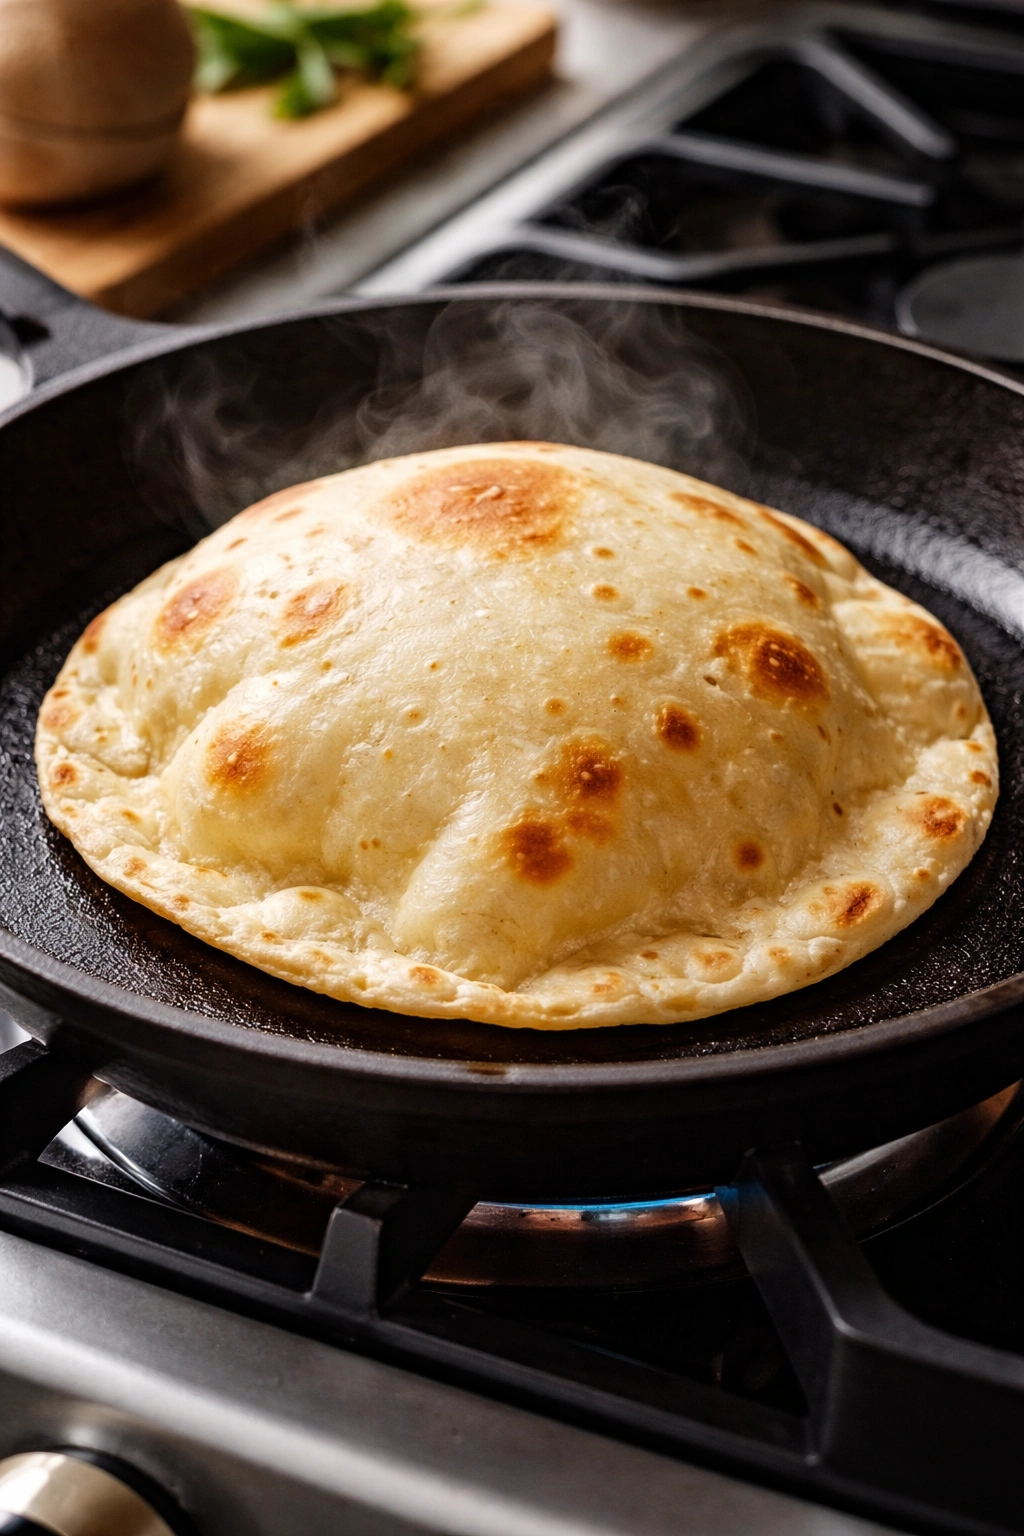
The puff that happens during cooking isn’t magic—it’s steam escaping from a thin layer of dough, creating an air pocket. For a puff to happen, three things need to align: the dough needs to be thin enough that steam can escape easily; the heat needs to be hot enough that moisture turns to steam quickly; and the cooking time needs to be short enough that the exterior sets before all the moisture escapes.
If your tortillas aren’t puffing, the most common culprit is rolling them too thick. Puffing is less likely when tortillas are thicker than ⅛ inch. The second most common culprit is heat that’s too low. When the skillet isn’t hot enough, moisture evaporates rather than turning to steam, and without steam pressure, there’s nothing to create a puff.
A dramatic puff is lovely, but it’s not actually required for a great tortilla. Even a tortilla that doesn’t puff can be tender and delicious if the dough was good and the cooking was careful. The puff is a sign that conditions were ideal, but don’t stress if it doesn’t happen every time.
Why Resting Dough Balls Matters During Rolling
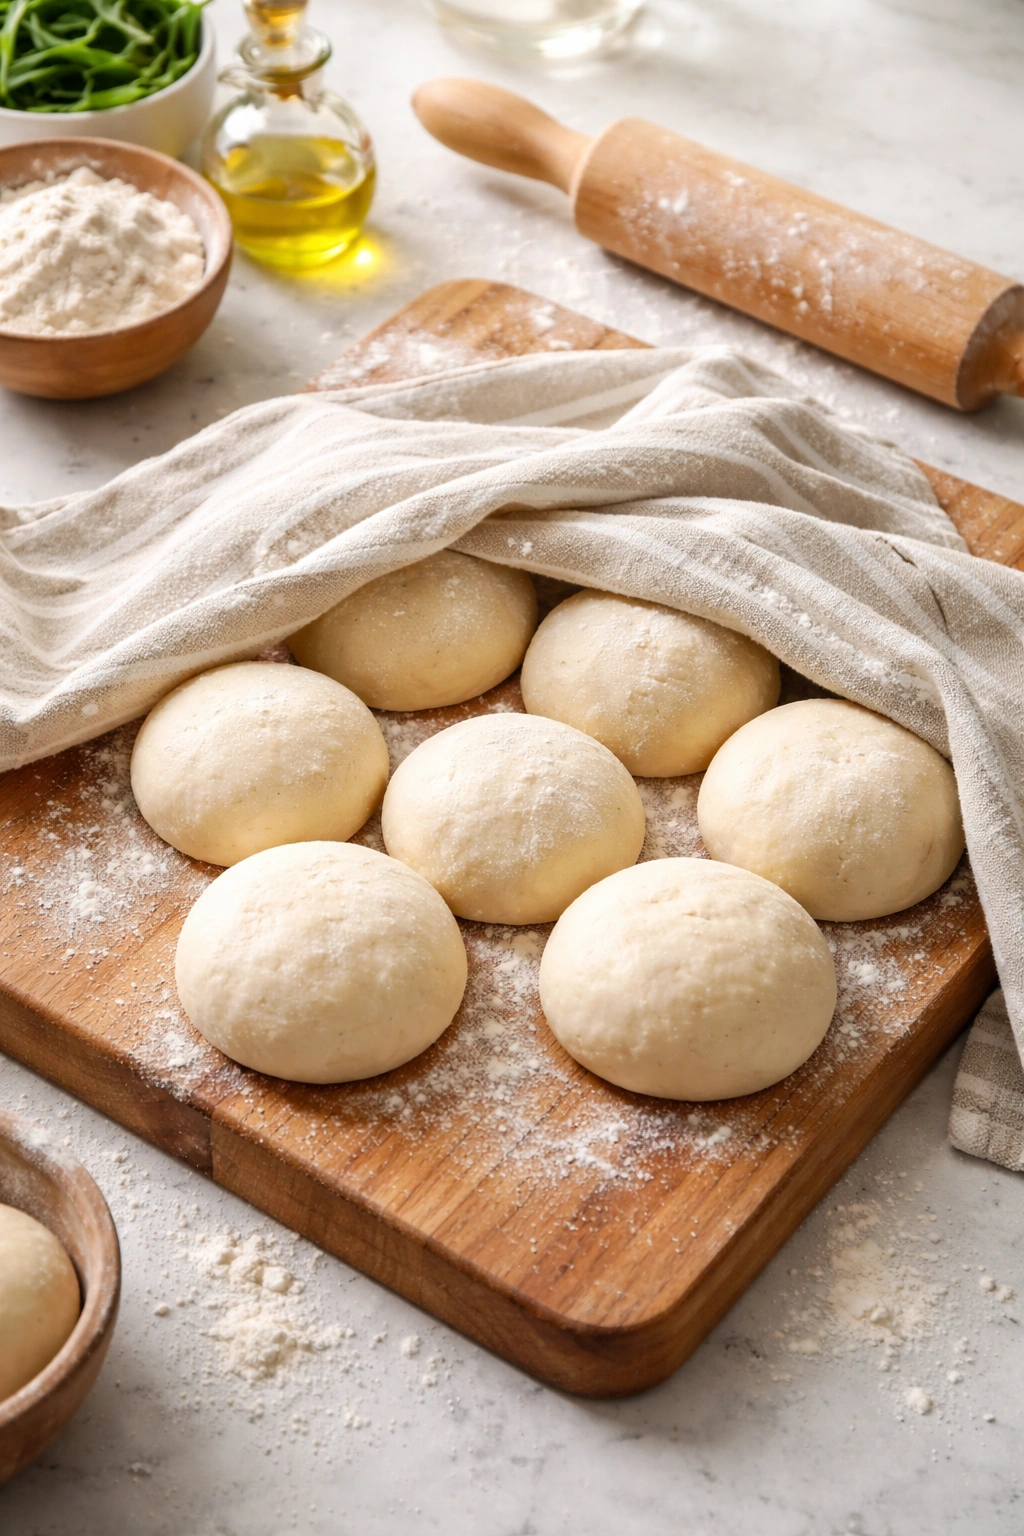
After you divide the dough into balls, you’ve done something that tightens gluten—you’ve shaped and stressed the dough. The individual balls need a brief rest, maybe five to ten minutes, before you start rolling them out. During this rest, the gluten relaxes again, and rolling becomes dramatically easier.
This is a small step that makes a huge difference in your rolling experience. If you try rolling directly from just-formed balls, the dough will fight back aggressively, spring back constantly, and generally be frustrating. A brief rest under a towel transforms the experience and produces more evenly thin tortillas.
Storage Strategies for Maximum Freshness
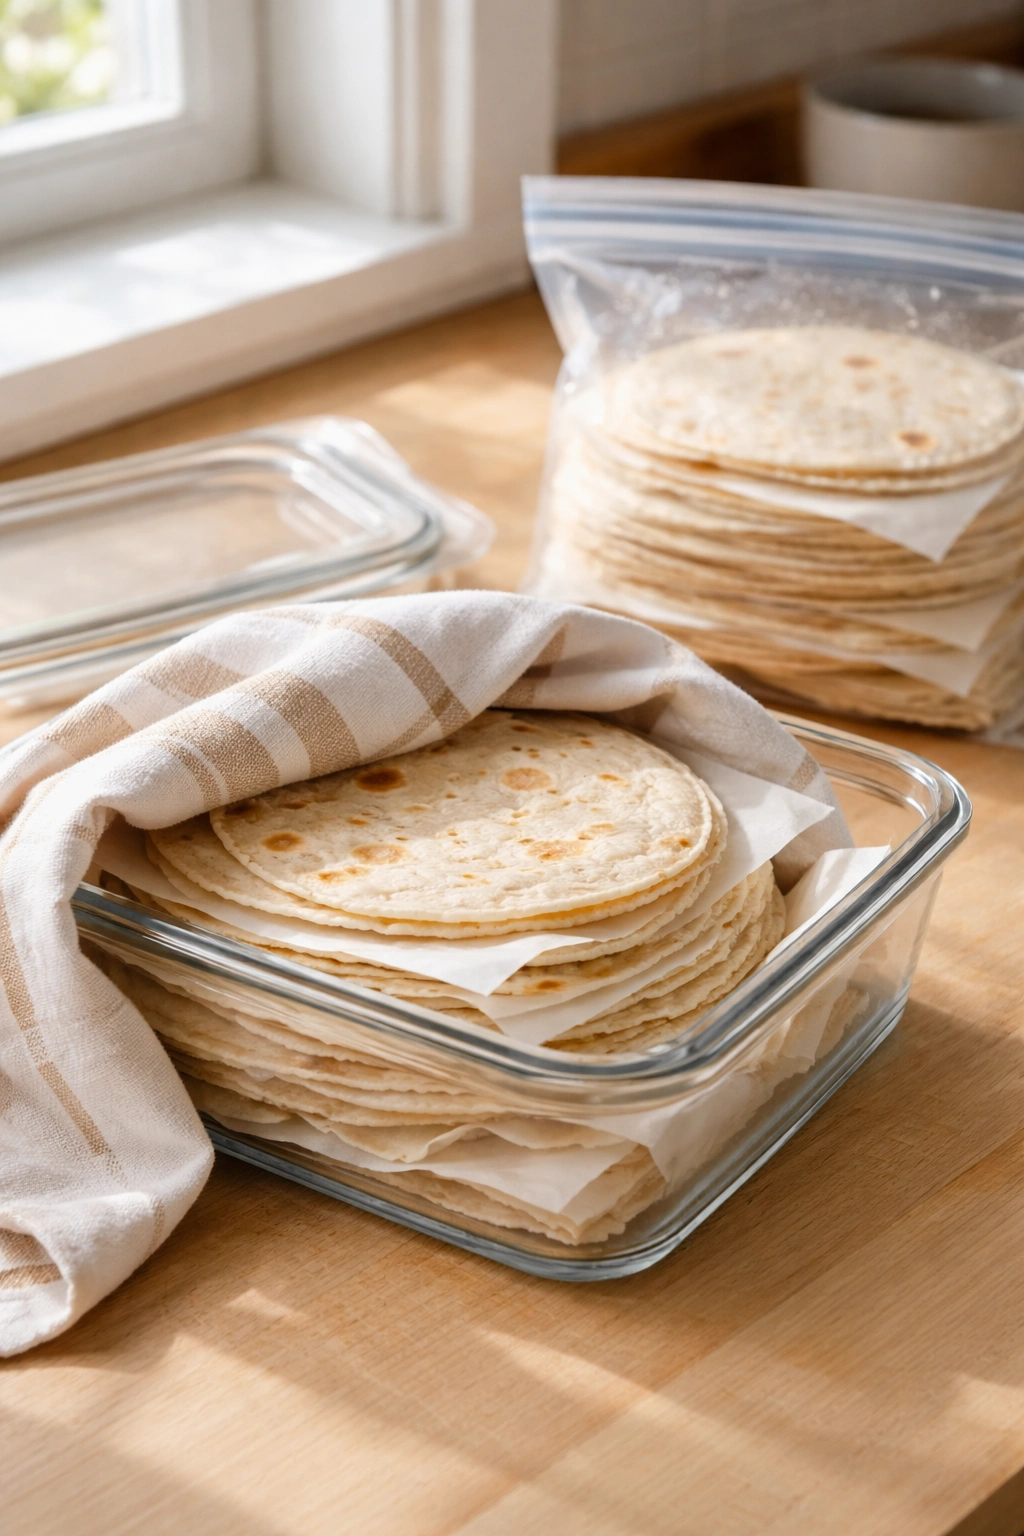
Warm, freshly cooked tortillas are best, but leftovers keep beautifully for several days. The moment they cool completely, wrap them in a clean kitchen towel and transfer them to a sealed plastic container or a zip-top bag. The container should be airtight, because exposed tortillas dry out quickly.
At room temperature, tortillas stay soft for about one day. In the refrigerator, they’ll keep for up to five days. The cold does make them firmer, but a quick 20-second pass through a hot, dry skillet brings them right back to warm and pliable.
For longer storage, freeze cooked tortillas in a zip-top freezer bag with parchment paper between each one (so they don’t stick together). They’ll keep frozen for about three months and cook beautifully from frozen—just defrost at room temperature for ten to fifteen minutes, then warm in a skillet.
You can also freeze uncooked dough. After shaping into balls, wrap them well and freeze for up to two weeks. Thaw overnight in the refrigerator, let them come to room temperature for ten minutes, then roll and cook as usual.
Common Mistakes That Compromise Your Results
The most common mistake is not letting the dough rest adequately, which results in a dough that’s impossible to roll smoothly and tortillas that end up thicker and tougher than intended. The second most common is adding too much flour during rolling, which toughens every tortilla noticeably. And the third is trying to roll the dough too thin before it’s fully hydrated—the dough tears because the flour hasn’t absorbed enough water yet.
Many home cooks also make the mistake of leaving the cooked tortilla in the skillet too long, trying to achieve some kind of golden-brown color. You’re not baking bread here—you want light spotting and a soft, pliable texture, not toasted, stiff tortillas. Thirty seconds per side is typically all you need, and if you’re cooking beyond forty-five seconds total, your heat is probably too low.
Another frequent mistake is cooking at inconsistent heat. If you keep adjusting the burner up and down, you’ll get inconsistent results. Set the heat where you think it should be, cook at least three tortillas at that setting, and then adjust if needed. Consistency matters more than trying to find the “perfect” heat for every single tortilla.
Flavor Variations That Transform the Basic Recipe

Once you’ve made the basic version a few times, variations become easy and intuitive. Adding a tablespoon of granulated sugar creates tortillas that brown more easily and have a subtle sweetness—this is lovely for breakfast tortillas or dessert crepes. A teaspoon of cumin or smoked paprika adds warmth and depth. A tablespoon of finely minced fresh cilantro creates herbaceous, fresh-tasting tortillas.
For whole wheat tortillas, replace up to ½ cup of the all-purpose flour with whole wheat flour. Whole wheat dough is slightly drier, so you might need an extra tablespoon of water. The tortillas will be earthier and slightly nuttier, though the tender quality does decrease slightly as whole wheat doesn’t develop gluten quite as vigorously.
Cornmeal can replace up to ¼ cup of flour, creating a corn tortilla hybrid with interesting texture. The addition of cornmeal makes the dough slightly more delicate, so handle it gently during rolling. Jalapeños, herbs, or even cheese can be mixed in, though cheese should be very finely minced so it doesn’t create hot spots during cooking.
Comparing Homemade to Store-Bought Quality
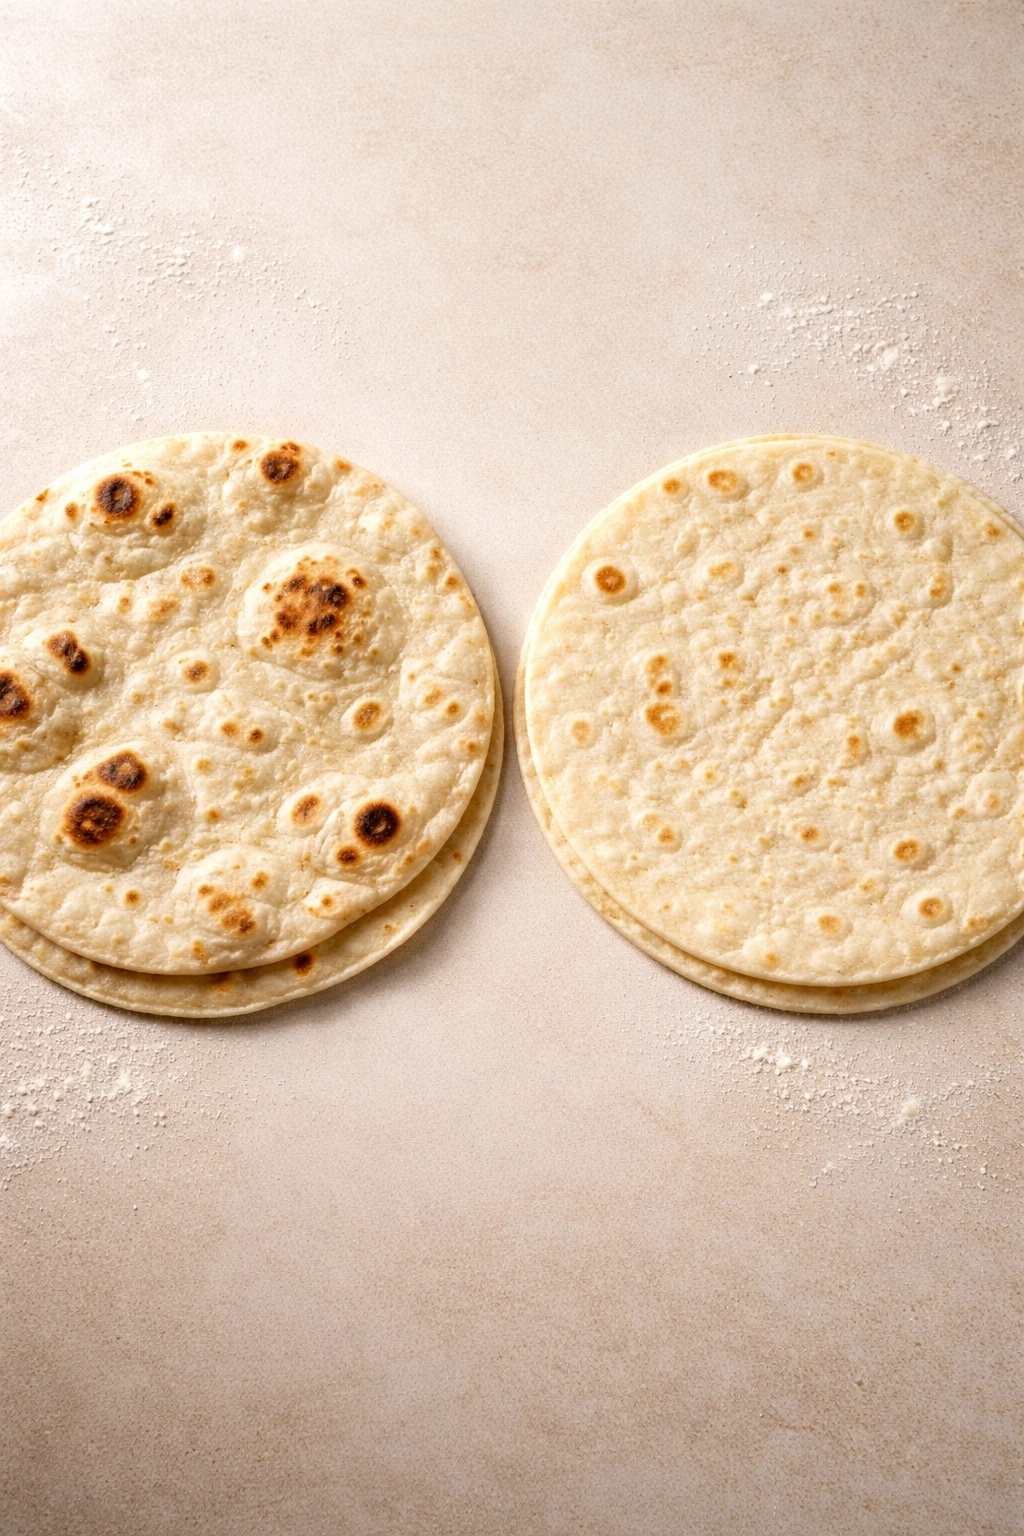
The flavor difference becomes obvious the moment you compare them side by side. Store-bought tortillas, even good ones, often have a doughy, slightly sweet flavor that comes from preservatives and oxidizing agents. Homemade tortillas taste clean, wheaty, and buttery by comparison. The texture is also noticeably different—store-bought tortillas have a uniform, slightly rubbery consistency, while homemade ones have more variation in texture with patches of slight chewiness and more delicate areas.
Cost-wise, making tortillas at home is dramatically cheaper. Eight to ten fresh tortillas from your kitchen cost less than a dollar. A store-bought package with similar quantity often costs three to four dollars. Even accounting for the time you spend, the homemade version is more economical and tastes better.
The only real advantage of store-bought is convenience—you don’t have to plan ahead. But once you realize you can make fresh tortillas in under an hour, that advantage shrinks considerably. Many home cooks find that making a batch on Sunday and freezing them solves the convenience problem entirely.
What Makes These Tortillas Actually “Homemade” Tasting
The homemade flavor comes from a few specific factors working together. The butter provides a rich, slightly sweet undertone that processed oils don’t create. The dough’s resting period allows subtle flavor compounds to develop through enzymatic activity—fermentation, technically, though it’s mild and contributes warmth rather than funk. The gluten network, fully developed through kneading and resting, creates a crumb structure that actually shows off these flavors instead of masking them with a uniform, generic texture.
The cooking method also contributes. A dry skillet creates a gentle, even heat that doesn’t dry the tortilla or create harsh, burnt flavors. The quick cooking time preserves the delicate flavors of the dough, whereas longer baking in a conventional oven would develop bitter notes.
Most importantly, freshness itself is a flavor. A tortilla that’s still warm and hasn’t yet begun to stale tastes dramatically better than one that’s been sitting for even a few hours. That freshness can’t be replicated in a store product that’s been packaged, shipped, and stored.
Using Tortillas Beyond the Obvious Applications
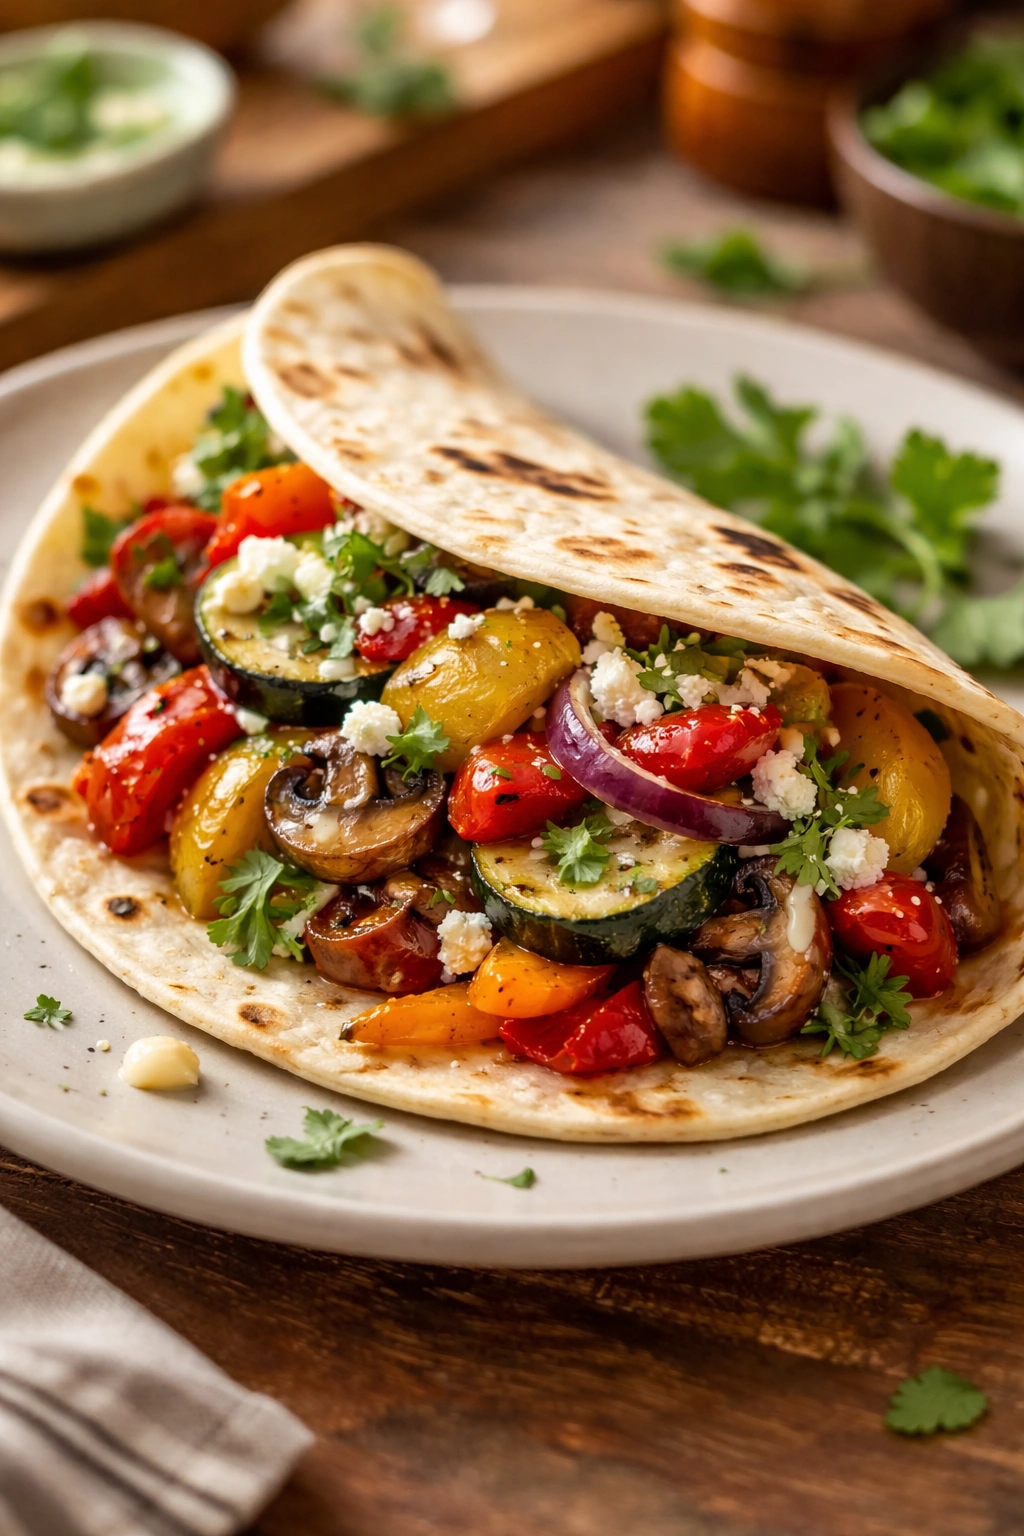
Fresh homemade tortillas deserve celebration beyond quesadillas and tacos. Warm tortillas wrapped around sautéed vegetables and crumbly cheese become an entire meal. Torn into strips and crisped in oil, they become excellent chip alternatives. Brushed with oil, dusted with cinnamon and sugar, and toasted, they become a dessert.
Leftover tortillas can be shredded and added to soups, layered into casseroles, or even torn and fried as croutons for salads. Cold tortillas can be spread with hummus, filled with roasted vegetables, and rolled into wraps. They’re infinitely more versatile than most people realize.
For breakfast, top a warm tortilla with scrambled eggs, avocado, and hot sauce. For a light dinner, pile on sautéed greens, roasted chicken, and a drizzle of tahini dressing. The possibilities expand the moment you stop thinking of tortillas as just holders for fillings and start seeing them as the star.
Serving Suggestions for Maximum Impact
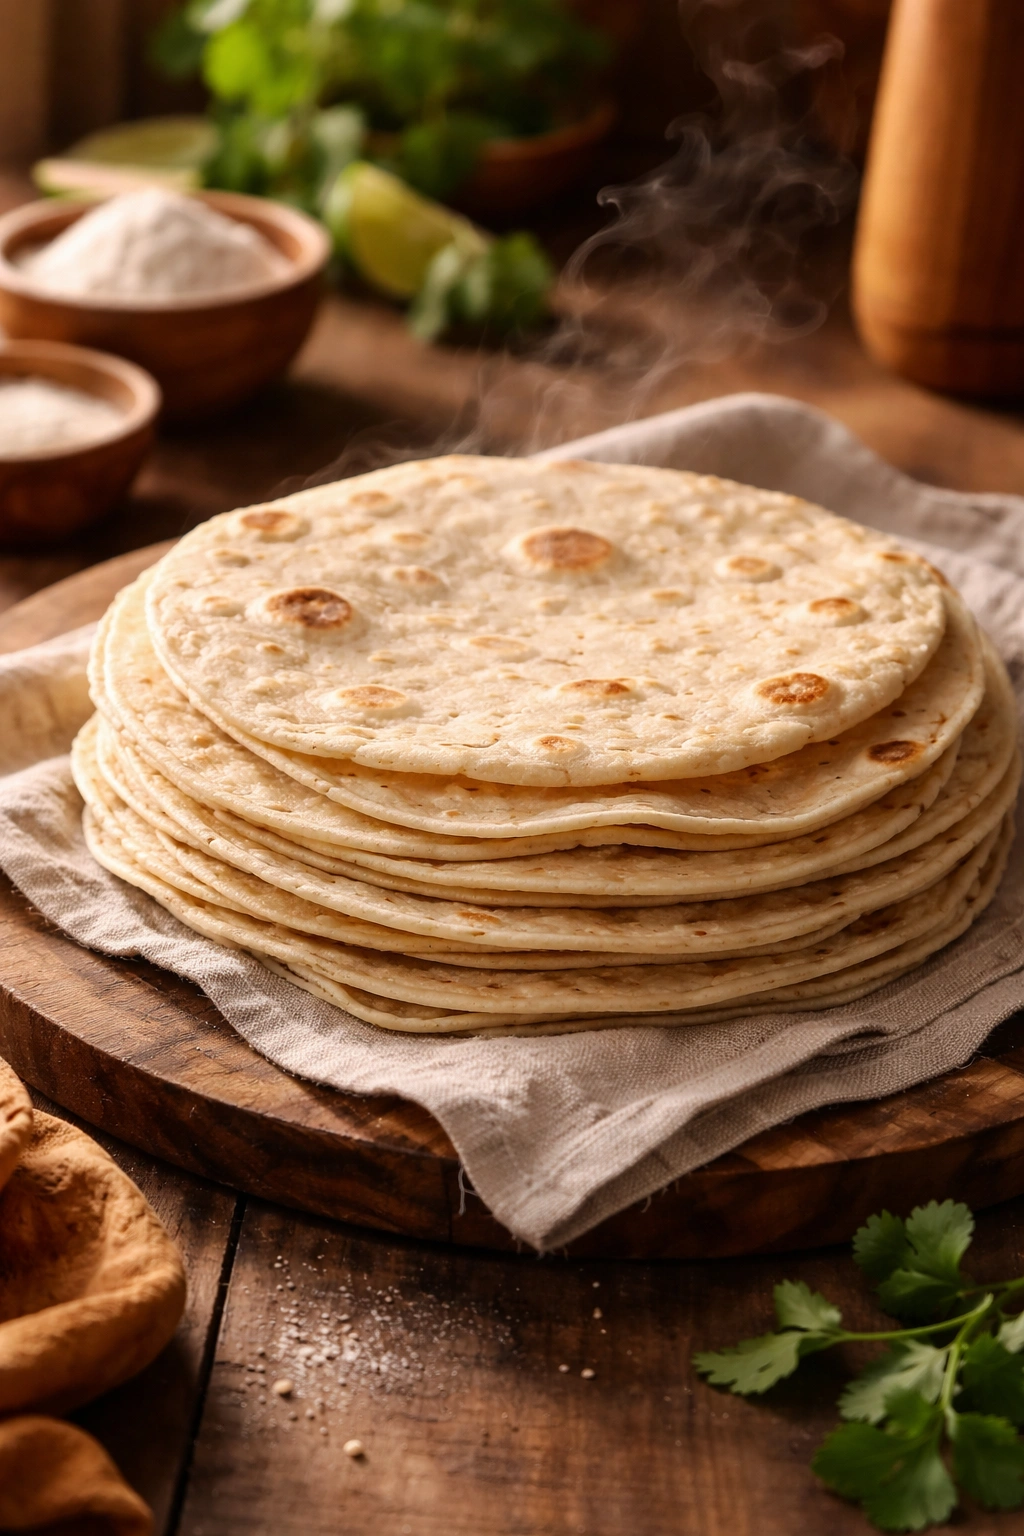
Serve tortillas immediately while they’re still warm. A beautiful wooden board or basket with a clean cloth underneath keeps them warm and makes for lovely presentation. Have toppings and fillings ready to go before the tortillas come off the heat—the magic window when they’re most pliable only lasts ten to fifteen minutes.
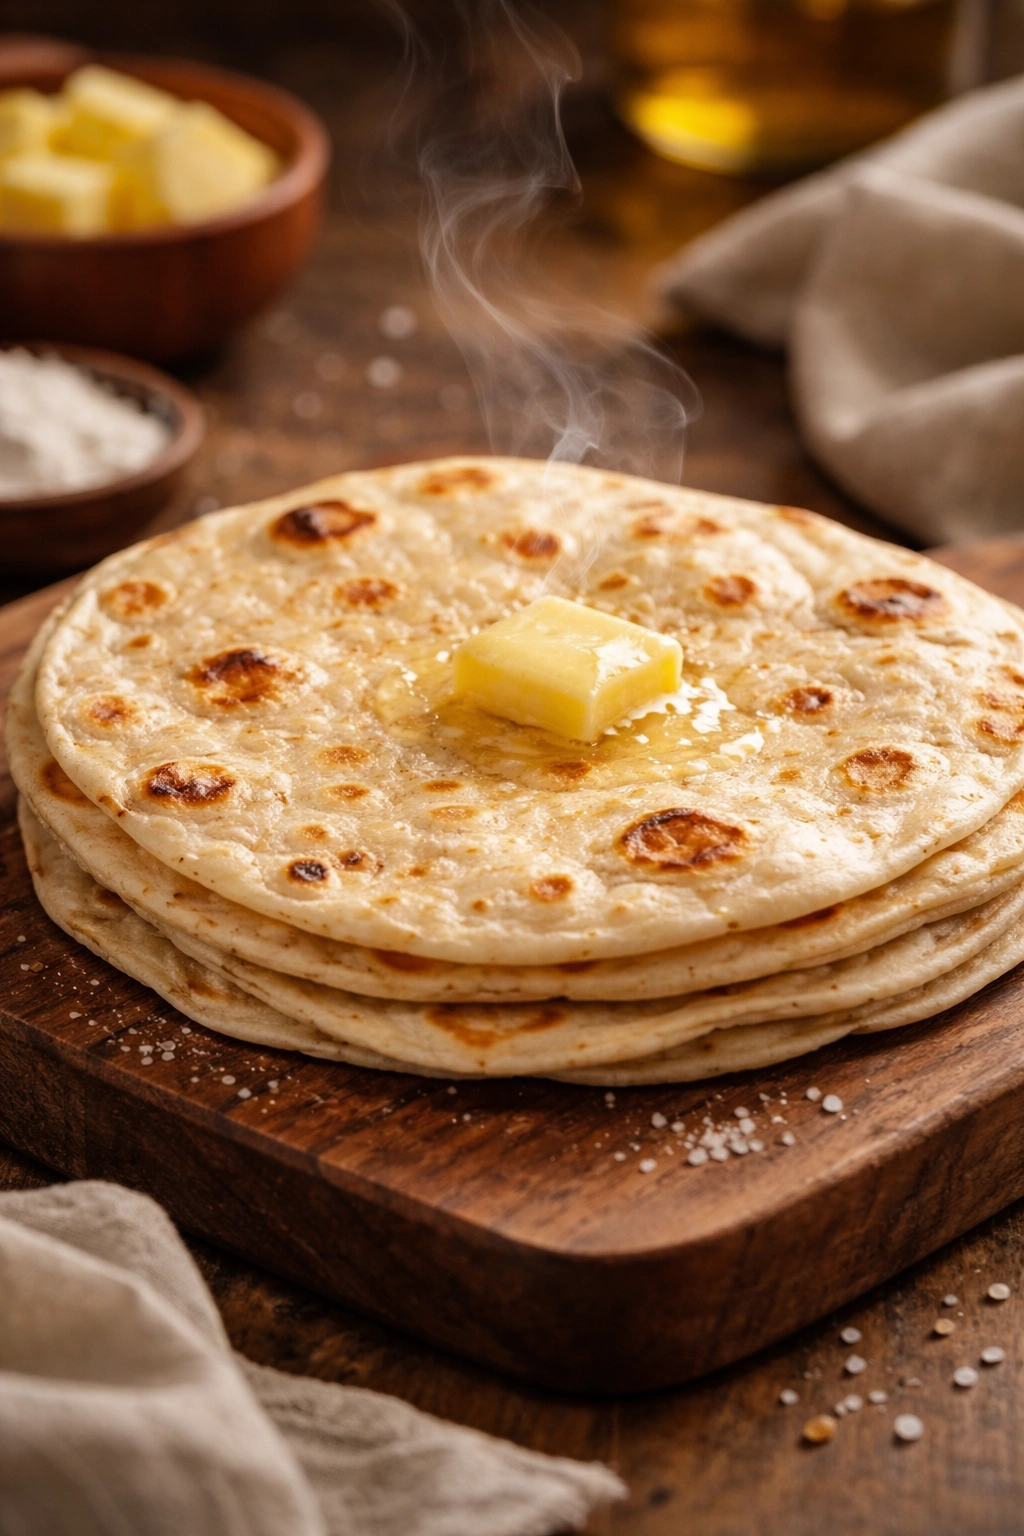
For casual meals, set out tortillas along with protein, vegetables, and sauces and let people build their own. For more structured dinners, assemble each tortilla just before eating. Warm tortillas pair beautifully with grilled vegetables, slow-cooked meats, fresh salsas, creamy beans, or almost any savory filling you can imagine.
The beauty of homemade tortillas is that they’re good enough to eat with absolutely nothing—just a sprinkle of salt and a pinch of black pepper while they’re still warm. Simple preparations show off the quality of the dough, the butter, and the care that went into making them.
Key Takeaways
Making flour tortillas at home comes down to understanding four simple ingredients and how they work together. The water-to-flour ratio, the resting periods, and the cooking temperature are the three variables that matter most. Everything else is refinement.
Once you’ve mastered the basic formula, you’ll find yourself making tortillas regularly because they’re faster and tastier than running to the store. That thirty-minute investment becomes part of your routine, and fresh, warm tortillas become a staple in your kitchen instead of an occasional splurge.
The confidence you build from making something simple really well also carries over. If you can nail a four-ingredient dough, you understand fundamental principles that apply to bread baking, pastry making, and countless other cooking projects. Small mastery builds bigger cooking skills.