There’s a moment that hits most home cooks around 4 PM on a random weeknight: the fridge looks sparse, the pantry feels picked over, and you’re staring down the prospect of ordering takeout again. But here’s what nobody tells you — some of the most delicious, satisfying dinners aren’t waiting in a fancy restaurant kitchen. They’re sitting in your cabinets right now, hiding behind the staples you’ve had for months.
The magic isn’t in special ingredients or complicated techniques. It’s in understanding that the fundamentals of great cooking — salt, fat, heat, and timing — matter infinitely more than whether your produce arrived in a CSA box this morning. A pantry-based dinner doesn’t have to taste like you’re making do. It can taste intentional, flavorful, and genuinely impressive. The secret is knowing how to build layers of flavor from everyday ingredients and having a framework for turning what you have into something memorable.
What follows aren’t vague suggestions to “throw something together.” Each of these eight dinners is a specific strategy, a clear roadmap of what to reach for and exactly how to turn it into something that’ll satisfy everyone at the table. Some take 20 minutes. Some take longer but require almost no active work. All of them prove that you don’t need to shop for inspiration — you need to understand how to cook with what’s already there.
1. Pasta With Caramelized Garlic, Red Pepper Flakes, and Whatever Protein You Have
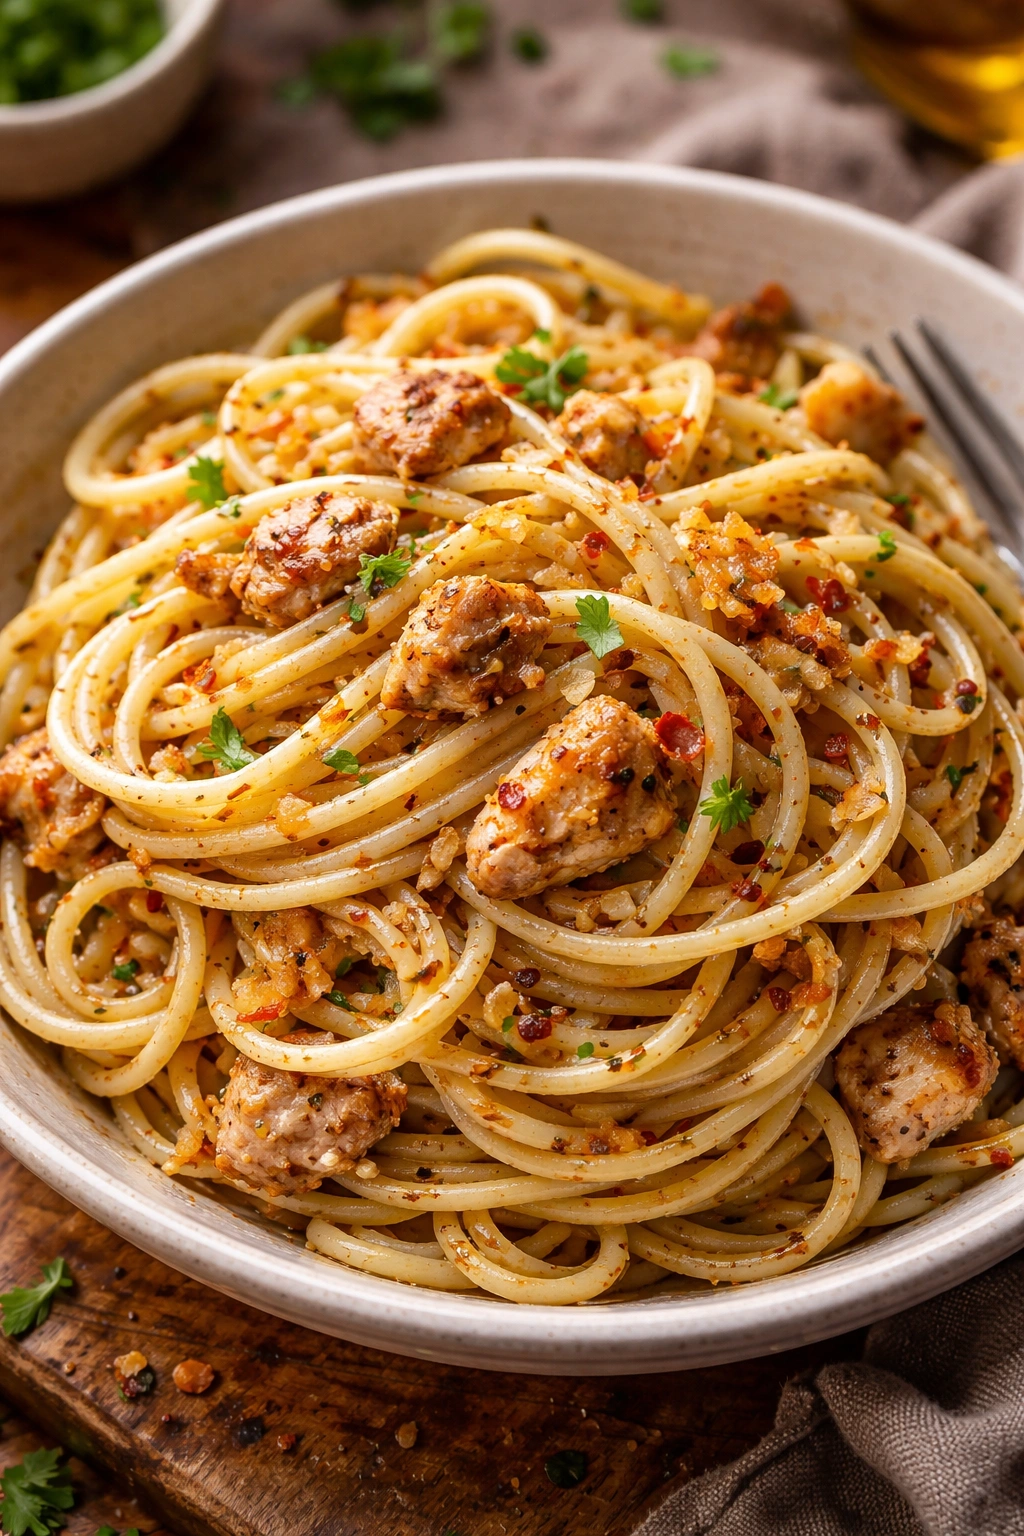
This is the dinner that separates people who can actually cook from people who follow recipes. It sounds minimalist because it is, but that’s precisely what makes it brilliant. There’s no cream, no cheese unless you want it, no tomato sauce masking mediocre ingredients. Just pasta, oil, garlic, heat, and the Maillard reaction doing all the heavy lifting.
Why This Works Every Single Time
Caramelized garlic is a flavor bomb that most home cooks skip over. When garlic spends time in hot oil, it transforms from sharp and pungent into something sweet, almost nutty, and completely addictive. The red pepper flakes add complexity and heat without requiring fresh chiles. Any protein works here — leftover rotisserie chicken, canned tuna, ground beef you brown while the pasta cooks, or even just a handful of whatever cheese you have melted into the hot pasta and oil. This dinner succeeds because it’s built on contrast: the sweetness of caramelized garlic against the bite of red pepper, the richness of good olive oil against the starch of pasta.
The Actual Technique
- Bring a large pot of salted water to a boil and cook your pasta until it’s just shy of fully tender (you want it to finish cooking in the oil).
- While pasta cooks, peel and slice 6-8 garlic cloves thin. Pour about 1/3 cup of olive oil into a large skillet and set it over medium heat.
- Add the sliced garlic and a generous pinch of red pepper flakes. Let it sit for about 30 seconds until the oil starts to smell incredible, then stir constantly for 3-4 minutes. Watch carefully — garlic goes from golden to burnt in about 10 seconds, and burnt garlic tastes acrid and bitter. You want it golden brown and crispy at the edges.
- Drain the pasta, reserving about 1 cup of pasta water. Add the hot pasta directly to the garlic oil, tossing constantly. Add a splash of pasta water — the starch helps create a silky sauce that clings to the noodles.
- Taste and season aggressively with salt and pepper. Add your protein, toss again, and serve immediately with grated cheese if you have it and red pepper flakes on the side.
Worth knowing: The difference between a mediocre version and a transcendent one is the oil quality and the heat level. Use the best olive oil you have — this is a dish where you taste every ingredient, and cheap oil tastes cheap. Medium heat is essential because high heat burns the garlic before it caramelizes.
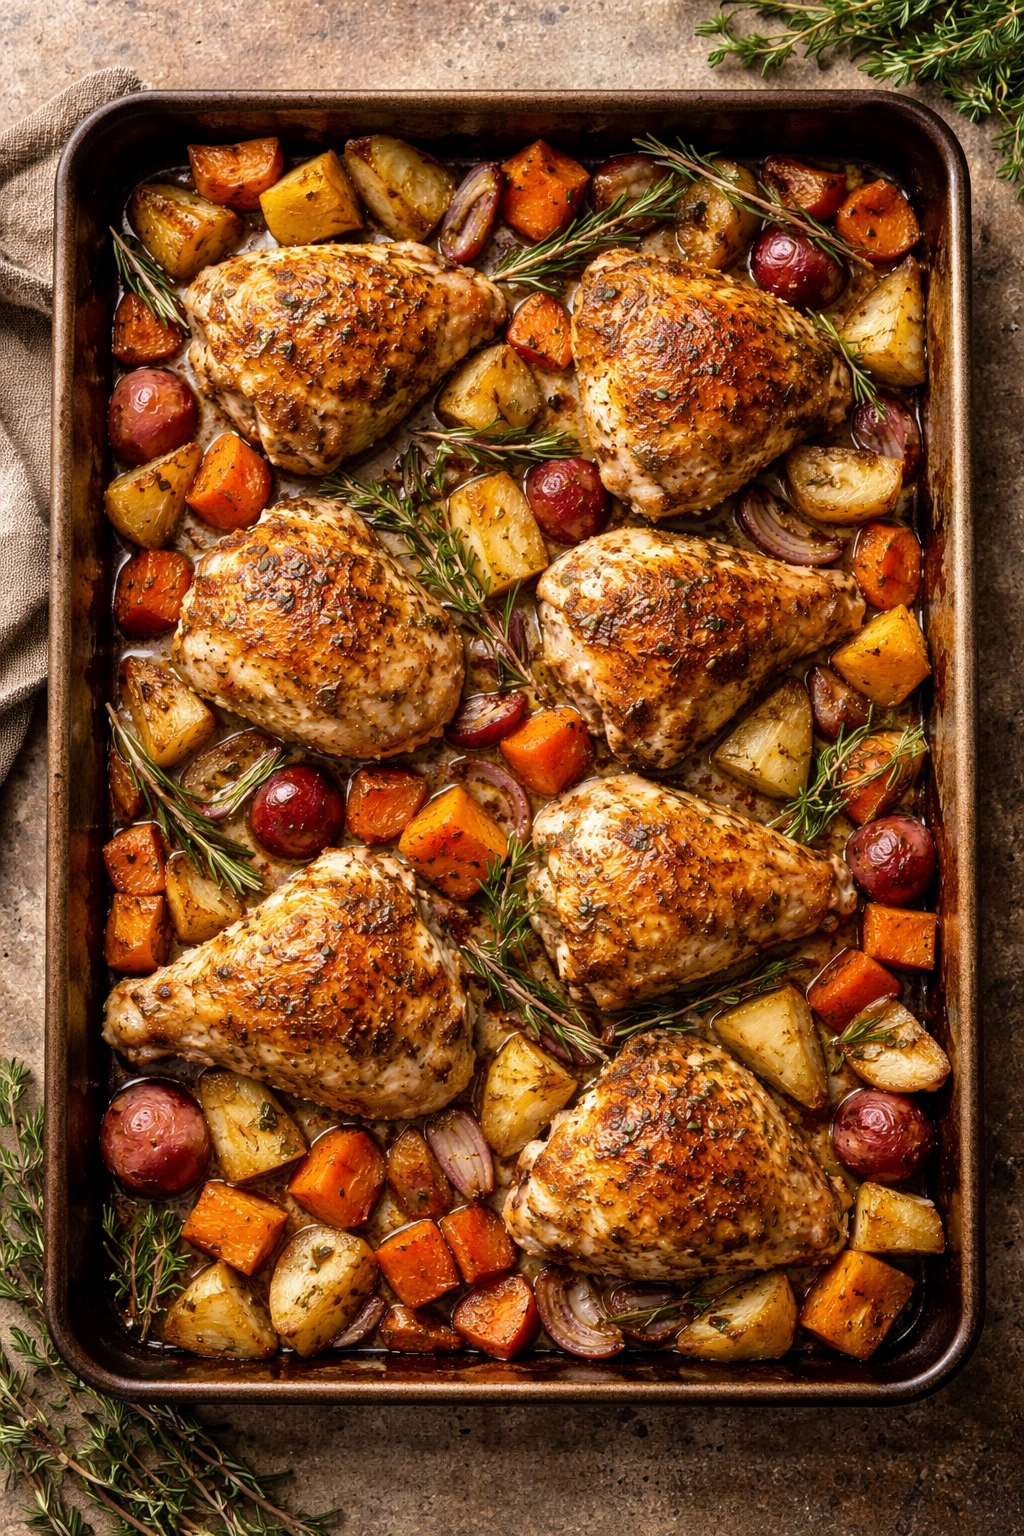
2. Sheet Pan Chicken With Root Vegetables and Leftover Herbs
Sheet pan dinners should be in every home cook’s rotation because they’re forgiving, they scale effortlessly, and they require almost no technique. The magic is in the seasoning, the temperature, and understanding how to layer vegetables so everything finishes at the same time.
Why This Is Your Secret Weapon
You’re building flavor through two mechanisms: the high heat that creates golden, slightly caramelized edges on vegetables and chicken, and the seasoning that makes every bite taste intentional rather than bland. Dried herbs work beautifully here — they taste different from fresh (more concentrated, a bit more astringent), and when they hit hot oil, their flavor distributes throughout the pan. This is a dish that looks impressive but requires zero skill beyond turning on the oven and tossing things with oil.
What Goes on the Sheet Pan
- Cut up whatever vegetables you have — potatoes, sweet potatoes, carrots, onions, Brussels sprouts, bell peppers. Aim for pieces about the same size so they cook evenly.
- Pat dry chicken thighs, drumsticks, or breasts (thighs are more forgiving than breasts, which dry out easily).
- Toss vegetables with enough oil to coat, salt, pepper, and whatever dried herbs or spices you have: oregano, thyme, paprika, garlic powder, cumin. A single herb works. A combination is better.
- Arrange vegetables on a sheet pan in a single layer. Nestle chicken pieces among them, skin-side up if they have skin (the skin crisps in the high heat).
- Roast at 425°F (220°C) for 30-40 minutes depending on chicken size and thickness. The chicken is done when the internal temperature reaches 165°F (74°C) and the skin is golden and crispy, and the vegetables are caramelized at the edges.
- If you have fresh herbs at the end — parsley, cilantro, thyme — scatter them on top just before serving. The contrast between the fresh herb brightness and the roasted savory depth is what elevates this from weeknight dinner to something you’ll crave.
Pro tip: Don’t crowd the pan. If everything is touching, it steams rather than roasts. Work with two sheet pans if needed. The chicken should have space around it to brown properly.
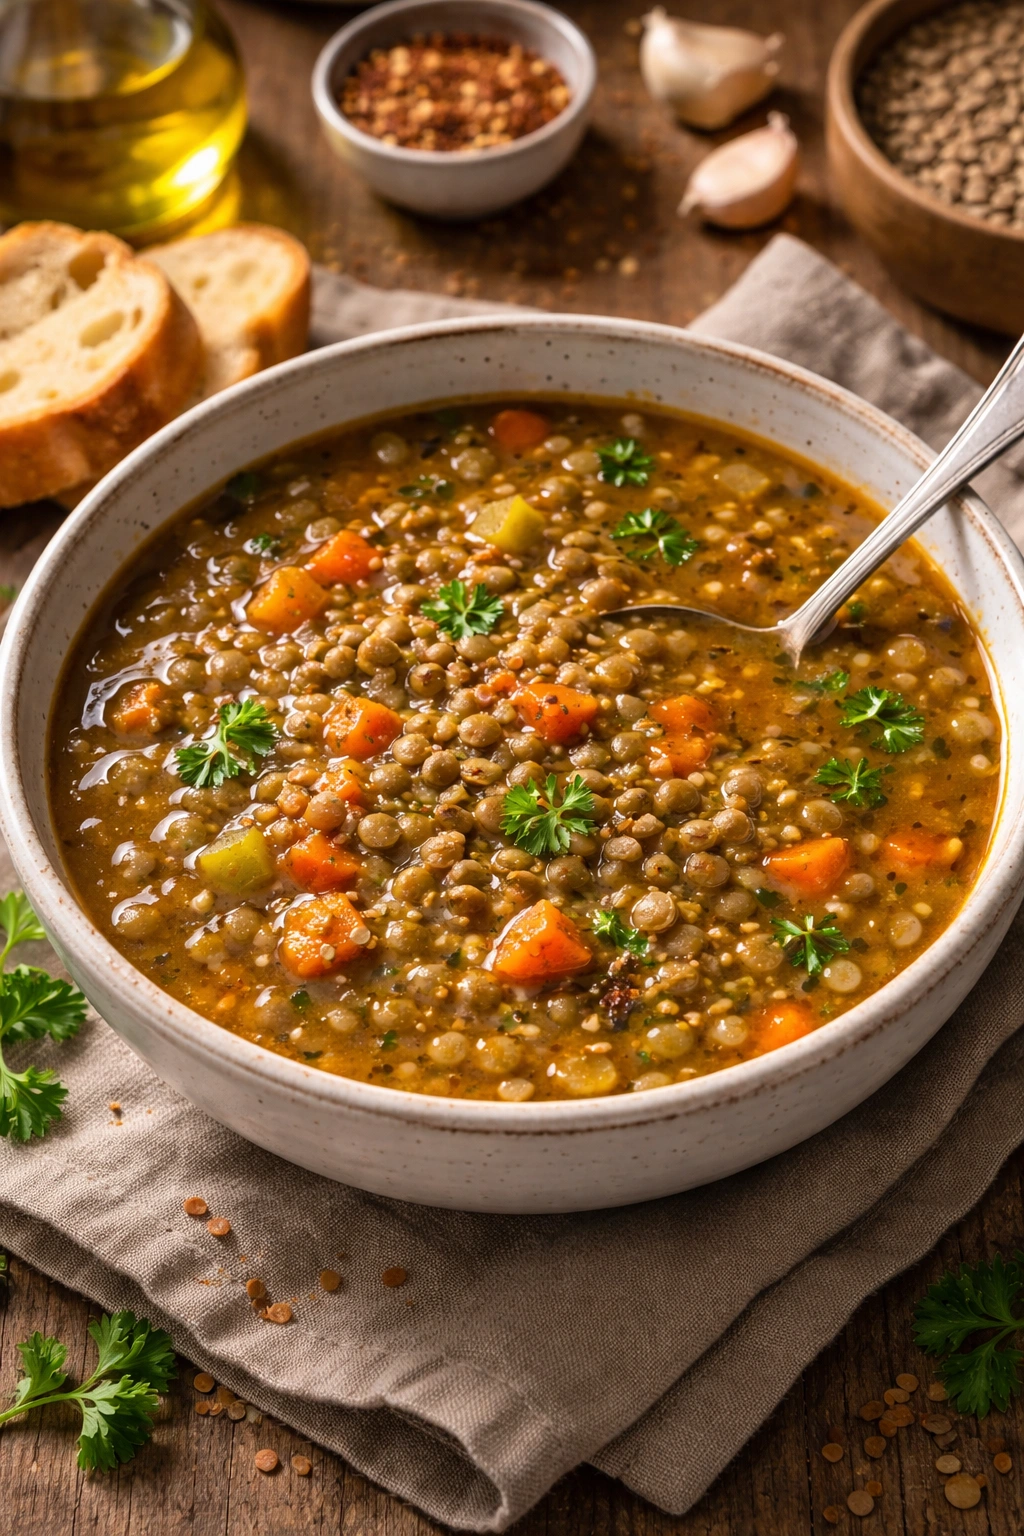
3. Lentil Soup Built on Aromatics and Broth
This is the dinner for nights when you need something warm, substantial, and endlessly adaptable. Lentils are a pantry staple that most people underutilize — they cook in 20-30 minutes without soaking, they’re packed with protein and fiber, and they taste better than people expect them to.
How This Becomes Restaurant-Quality Soup
The difference between a thin, sad lentil soup and a genuinely satisfying bowl is building a proper base. Start with aromatics (onion, garlic, celery if you have it) softened in oil until they’re sweet and fragrant. This is non-negotiable — it’s the flavor foundation. Then add stock or broth, lentils, and seasoning, and let it simmer. The lentils break down slightly, thickening the broth naturally. If you have a bay leaf, cinnamon stick, or crushed red pepper, toss them in. Even just salt and pepper becomes delicious when the base is built properly.
The Actual Process
- Heat oil in a large pot over medium heat. Dice an onion (or use half a large one) and add it to the oil with a pinch of salt. Stir occasionally for 5-7 minutes until the onion is soft, translucent, and starting to smell sweet rather than raw.
- Add minced garlic (3-4 cloves) and cook for another minute until fragrant.
- Pour in 4-6 cups of broth or stock (vegetable, chicken, beef — all work). Add 1 cup of dried lentils (brown or green lentils are best; red lentils get too mushy). Add salt, pepper, and any dried herbs you have.
- Bring to a boil, then reduce to a simmer and cook uncovered for 25-35 minutes until the lentils are tender but haven’t completely fallen apart.
- Taste and adjust seasoning. If the soup feels too thin, let it simmer a bit longer — the lentils will continue to soften and thicken the broth. If you have acid (vinegar, lemon juice) at the end, a splash brightens the entire pot and makes flavors pop.
- Serve as-is or with a drizzle of good olive oil, fresh herbs, or crusty bread on the side.
Worth noting: Lentil soup actually tastes better the next day after the flavors have had time to meld. If you’re making this on a night you’re tired, it’s an investment in future-you’s dinner.
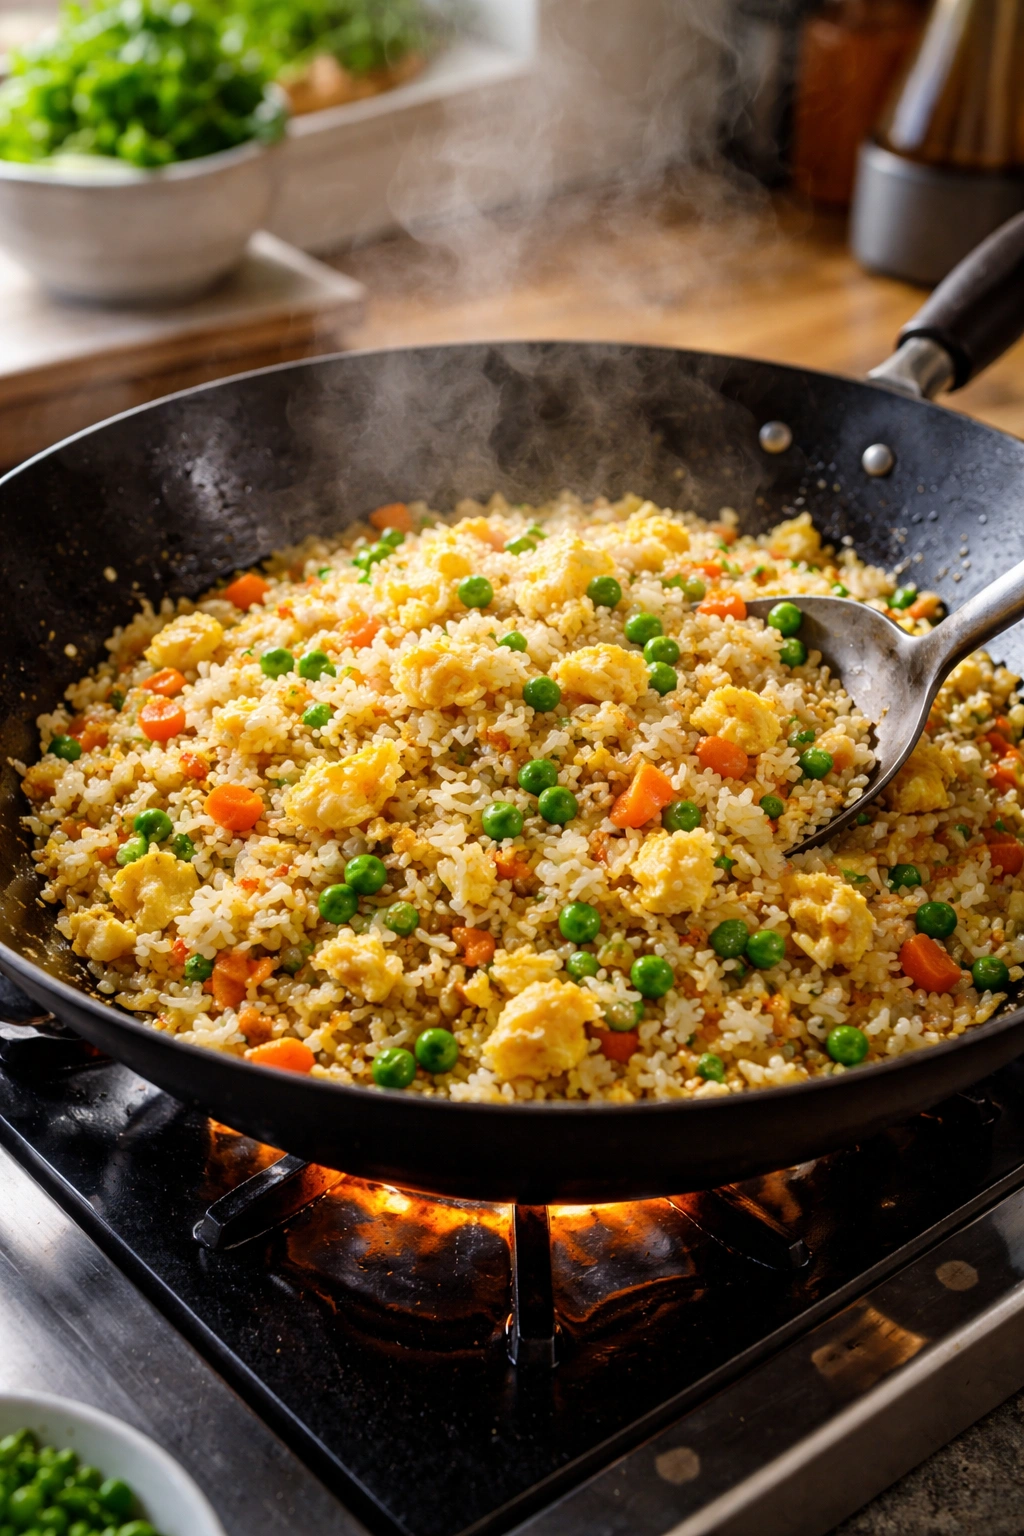
4. Egg Fried Rice (Better Than Takeout, Seriously)
Most people think fried rice is complicated or requires special ingredients. It doesn’t. It requires cold leftover rice, a hot pan, and an understanding of how to build flavor in quick succession. This is speed cooking at its best.
Why Your Version Will Beat Takeout
Restaurant fried rice tastes incredible because they use very high heat, work in small batches, and add flavor through aromatics, soy sauce, and egg yolks coating everything. You can replicate this at home by understanding the mechanics. Cold rice is essential — warm rice gets mushy. High heat is essential — it creates texture and caramelization. Egg is the binder that makes every grain taste rich.
The Method
- If you have cold leftover rice, perfect. If not, cook rice and spread it on a sheet pan to cool in the fridge for at least an hour (or while you’re doing other things). You want each grain separate, not clumped.
- Heat a wok, large skillet, or even a large saucepan over high heat. Add oil — about 2 tablespoons.
- Add your aromatics: minced garlic (3-4 cloves), minced fresh ginger if you have it (about 1 tablespoon), and diced onion or scallions if they’re in your fridge. Stir constantly for about 30 seconds to 1 minute until fragrant.
- Add 3 cups of cold cooked rice. Break up any clumps by pressing them against the hot pan with your spatula. Keep stirring. This should take 2-3 minutes. You’re not trying to brown it — you’re trying to heat it through and incorporate the aromatics.
- Add any vegetables (frozen peas and carrots are ideal; diced bell pepper, corn, broccoli all work), plus any protein (diced chicken, shrimp, tofu, or simply leave it vegetarian).
- Push everything to the side of the pan. Crack 2-3 eggs into the empty space and scramble them lightly. Once they start to set, mix them into the rice.
- Add seasoning: about 3 tablespoons of soy sauce (or tamari if you need gluten-free), and a teaspoon of sesame oil if you have it. Toss everything together. Taste — you might need more soy sauce or a pinch of white pepper.
- Serve immediately, topped with sliced scallions or cilantro if you have them.
The real secret: Don’t stir constantly in a lazy, distracted way. Stir with purpose. You’re trying to get a little bit of browning on the rice, not steam it. More heat, bolder movements, smaller portions. One 3-cup batch of rice in a large pan beats trying to fry 6 cups in one go.
5. Creamy White Beans With Spinach and Whatever’s Left in Your Fridge
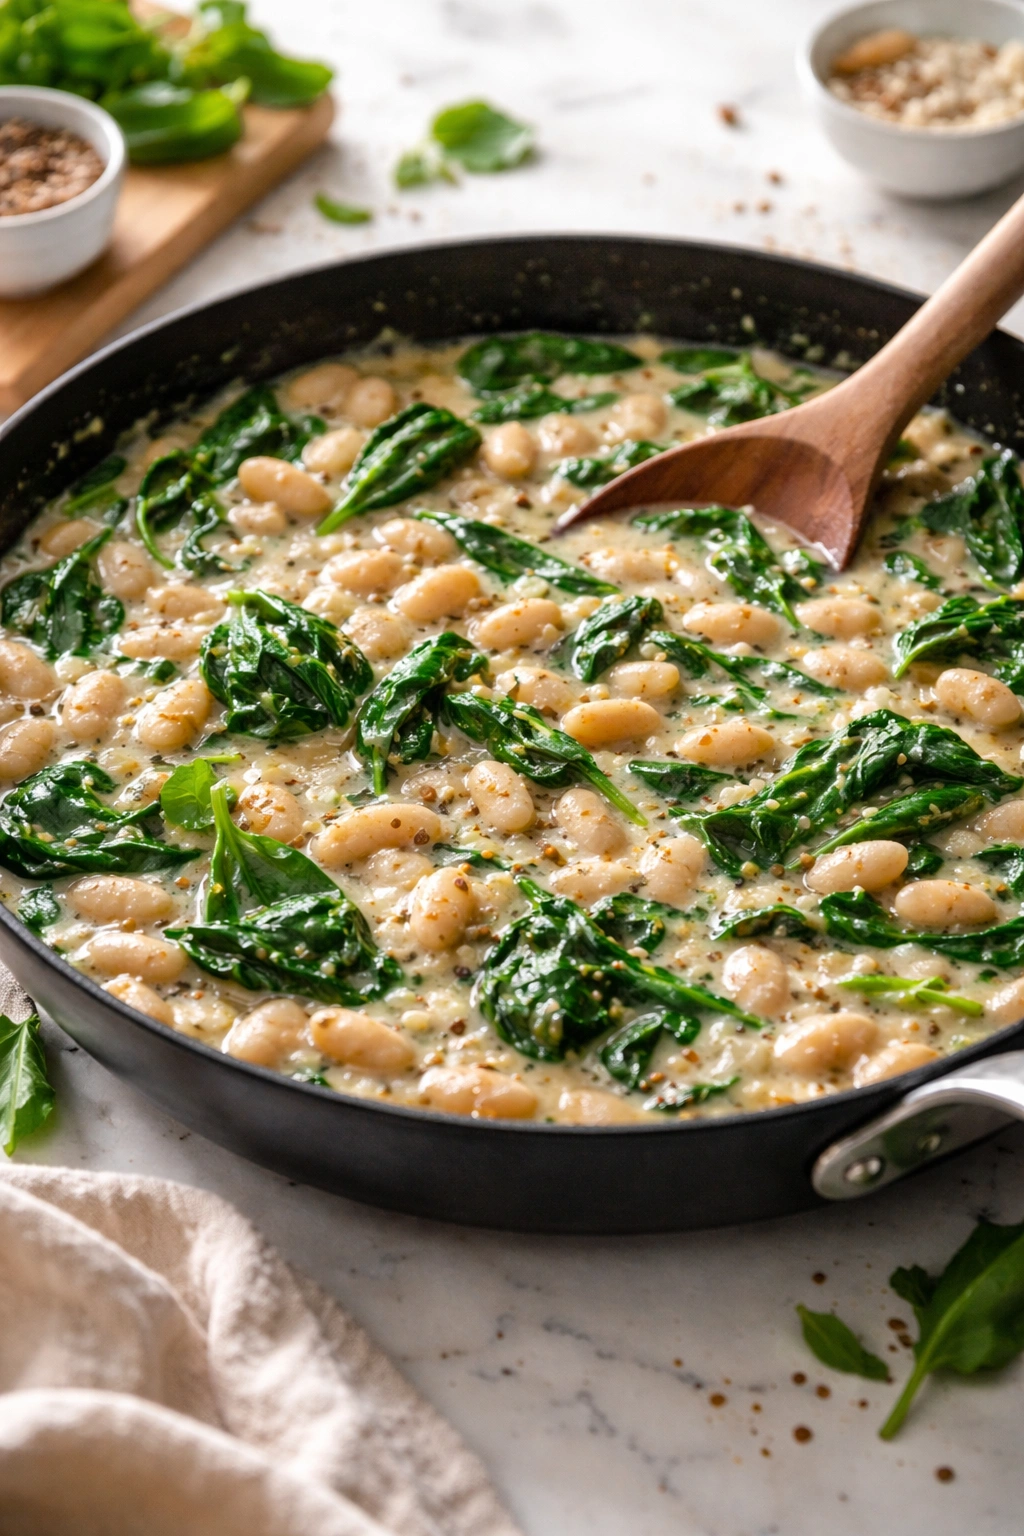
Canned beans are a miracle ingredient that people take for granted. They’re protein-rich, they cook instantly, and they have a neutral flavor that absorbs whatever you surround them with. Drain them, rinse them, and they’re ready to build into something delicious in under 20 minutes.
The Flavor Architecture
You’re creating a dish with three layers: the savory depth of garlic and onion, the richness of cream (or broth if you want it lighter), and the bright earthiness of leafy greens. The beans become creamy through stirring — as they soften in the hot liquid, their starches release and create a natural sauce. It sounds humble because it is, but it tastes restaurant-quality if you season confidently.
How to Build It
- Heat olive oil in a large skillet over medium-high heat. Add minced garlic (4-5 cloves) and diced onion. Cook for 4-5 minutes, stirring frequently, until the onion is soft and the garlic is golden and fragrant.
- Add two drained and rinsed cans of white beans (cannellini, great northern, or navy beans all work). Pour in about 1 cup of broth or water. Bring to a simmer.
- Add salt, pepper, and a pinch of red pepper flakes. Let it simmer for 5-7 minutes, stirring occasionally. The beans will start to break down slightly and thicken the liquid.
- Add a splash of cream (about 1/4 cup) or skip this for a lighter version. Stir it in.
- Add a large handful of spinach (or kale, or chard, or any green you have). Stir until it wilts, about 1-2 minutes.
- Taste and adjust seasoning. Add acid if you have it — a squeeze of lemon juice or a splash of vinegar brightens everything. Fresh herbs at the end (parsley, dill, basil) make a noticeable difference, but it’s still delicious without.
- Serve over toast, pasta, rice, or on its own with crusty bread to soak up the broth.
Pro tip: If you have stock rather than water, use stock — it makes every bite taste more intentional. The difference between dishes made with water and dishes made with real broth is noticeable, and it costs nothing extra if you keep broth in your pantry.
6. Stir-Fry Built on Sauce, Not Fancy Vegetables
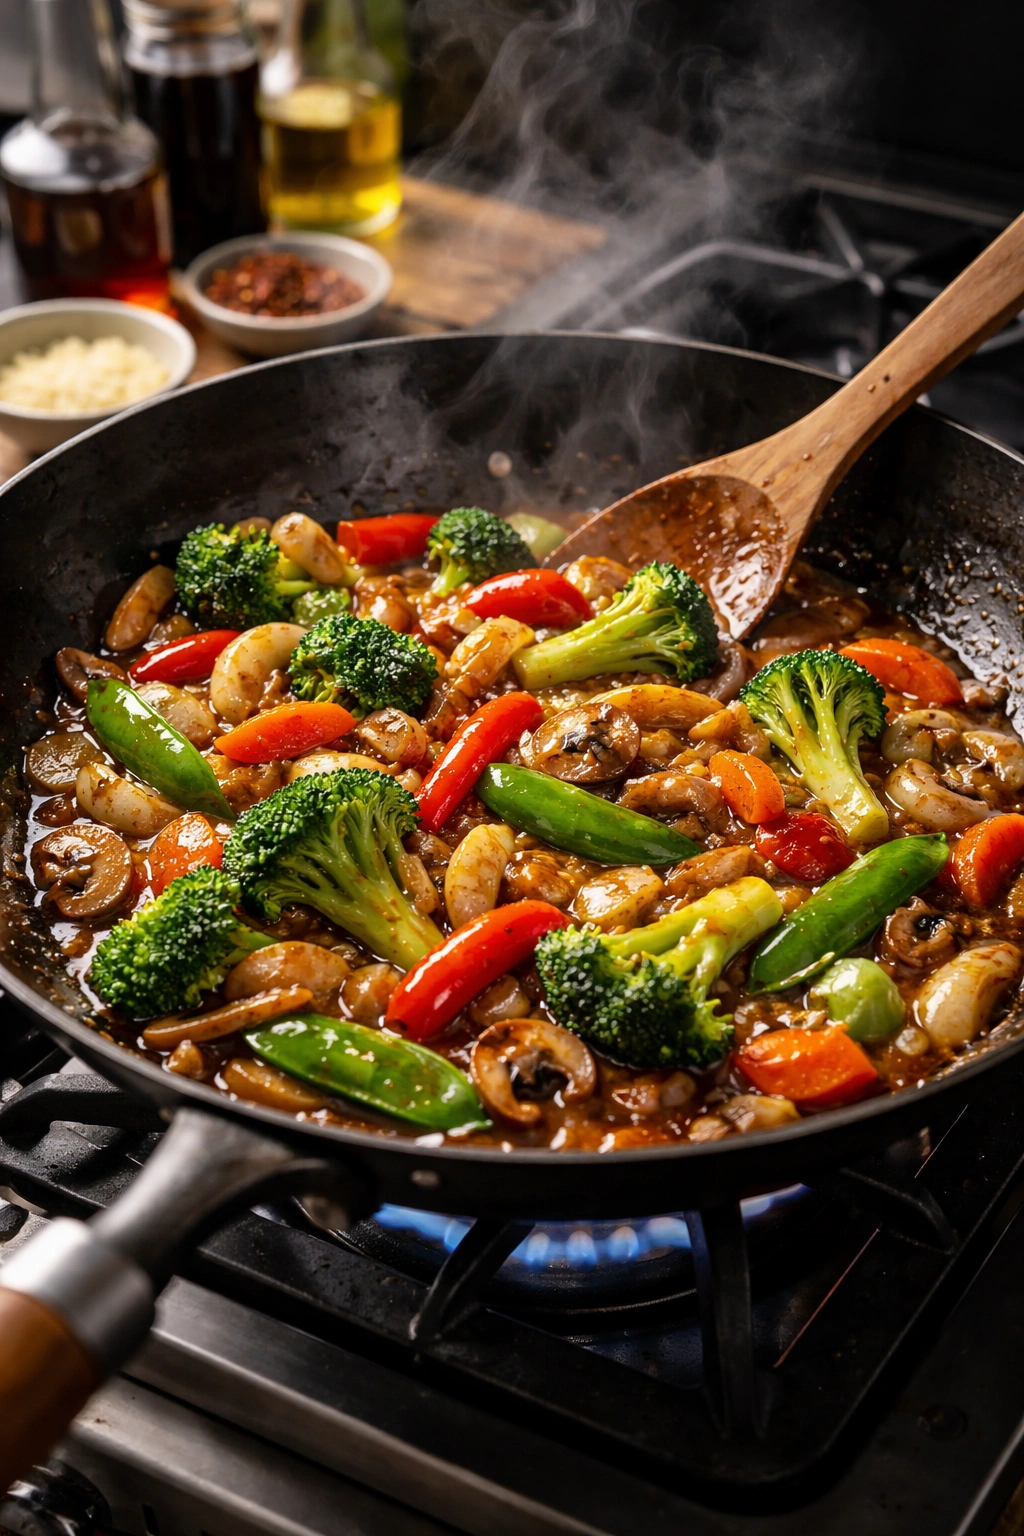
Most home cooks approach stir-fry backward. They spend time shopping for specific vegetables, then the actual cooking feels rushed and stressful. Better approach: use whatever vegetables you have, and make an excellent sauce. The sauce is where the flavor lives.
Why Sauce Changes Everything
A mediocre stir-fry with great sauce beats a great stir-fry with bad sauce. The sauce is your flavor insurance. It coats everything, it brings harmony to disparate ingredients, and it transforms humble vegetables into something crave-worthy. The base is soy sauce (or tamari), aromatics, acid, and optional sweetness. Add thickening (cornstarch slurry), and you’ve got something that tastes like it required skill.
The Process
- Make your sauce first: Mix together 3-4 tablespoons soy sauce, 2 tablespoons rice vinegar (or any vinegar), 1 tablespoon honey or sugar (optional but recommended), 2 cloves minced garlic, 1 teaspoon grated ginger if you have it, and about 1/4 teaspoon of red pepper flakes. If you want the sauce to be glossy and coat the vegetables, dissolve 1 tablespoon of cornstarch in 1/4 cup of water and add it to the sauce. Set aside.
- Prep all vegetables by cutting them into bite-sized pieces. Broccoli, bell peppers, snap peas, carrots, onions, mushrooms, zucchini — whatever you have. Aim for pieces that are roughly the same size.
- Heat a large skillet or wok over high heat. Add oil (about 2 tablespoons). Let it get shimmering and hot.
- Add your protein if you’re using one: chicken, beef, shrimp, or tofu. Cook until done or mostly cooked (it’ll finish cooking when the vegetables join). Remove and set aside.
- Add the vegetables that take longest to cook (carrots, broccoli, cauliflower) first. Stir-fry for 2-3 minutes. Then add the faster-cooking ones (peppers, snap peas, mushrooms, softer vegetables). Keep stirring and cooking for another 2-3 minutes until everything is hot and slightly tender but still has texture.
- Pour in the sauce and stir constantly for about 1-2 minutes. The sauce will coat everything, and if you included the cornstarch slurry, it’ll thicken and turn glossy.
- Return the protein to the pan, stir everything together, and taste. You might need more soy sauce, more acid, more heat — adjust to your preference.
- Serve over rice, noodles, or on its own. Top with sliced scallions, sesame seeds, or cilantro if you have them.
Real talk: The vegetables don’t have to be perfect or fresh from the farmers’ market. Slightly old carrots, a wrinkled bell pepper, frozen broccoli — all work. The sauce makes everything taste intentional.
7. Shakshuka (Eggs Poached in Tomato Sauce)

This is the dinner that feels fancy but takes about 25 minutes and requires ingredients most people have right now. Shakshuka is tomato sauce spiked with spices, and eggs are cracked directly into the hot sauce where they poach until the whites are set but the yolks are still runny. It’s simultaneously elegant and completely forgiving.
What Makes This Special
You’re building flavor in the sauce through spices and slow cooking. Cumin, paprika, and red pepper flakes transform tomato sauce from bland to complex. The eggs add richness and protein. The runny yolk becomes a sauce that you soak up with bread. It’s one of those dishes where every element earns its place, and the whole thing feels greater than the sum of its parts.
The Full Technique
- Heat olive oil in a large skillet over medium heat. Dice an onion and add it with a pinch of salt. Cook for 5-7 minutes, stirring occasionally, until the onion is very soft and translucent.
- Add minced garlic (4-5 cloves) and cook for about 1 minute until fragrant.
- Add 1-2 teaspoons of cumin, 1 teaspoon of paprika (sweet or smoked, both work), and a generous pinch of red pepper flakes. Stir constantly for about 30 seconds — this blooms the spices in the hot oil and makes them taste more vibrant.
- Add a large can of crushed tomatoes (28 ounces) or two cans of diced tomatoes (if that’s what you have, drain some of the liquid). Add salt and pepper. Bring to a simmer and cook for 5-10 minutes, stirring occasionally. The sauce should reduce slightly and taste flavorful and concentrated. Taste and adjust seasoning — it should taste bold because the eggs will dilute it slightly.
- Using the back of a spoon, make small wells in the tomato sauce. Crack an egg directly into each well. You can fit 4-6 eggs depending on the size of your skillet.
- Cover the skillet and reduce heat to medium-low. Cook for 3-5 minutes until the egg whites are set but the yolks are still runny. The time depends on how runny you like your yolks.
- While the eggs cook, warm some bread (pita, ciabatta, sourdough — anything you have). Scatter fresh herbs on the shakshuka if you have them (cilantro, parsley, dill all work beautifully).
- Serve in the skillet with bread on the side for dipping.
Worth knowing: The eggs continue to cook as you eat them, so pull them from heat when the whites look barely set. The carryover heat will cook them a bit more. Undercooked is better than overcooked here — rubbery egg yolks are sad.
8. Simple Braise (Protein and Vegetables in Rich Broth)
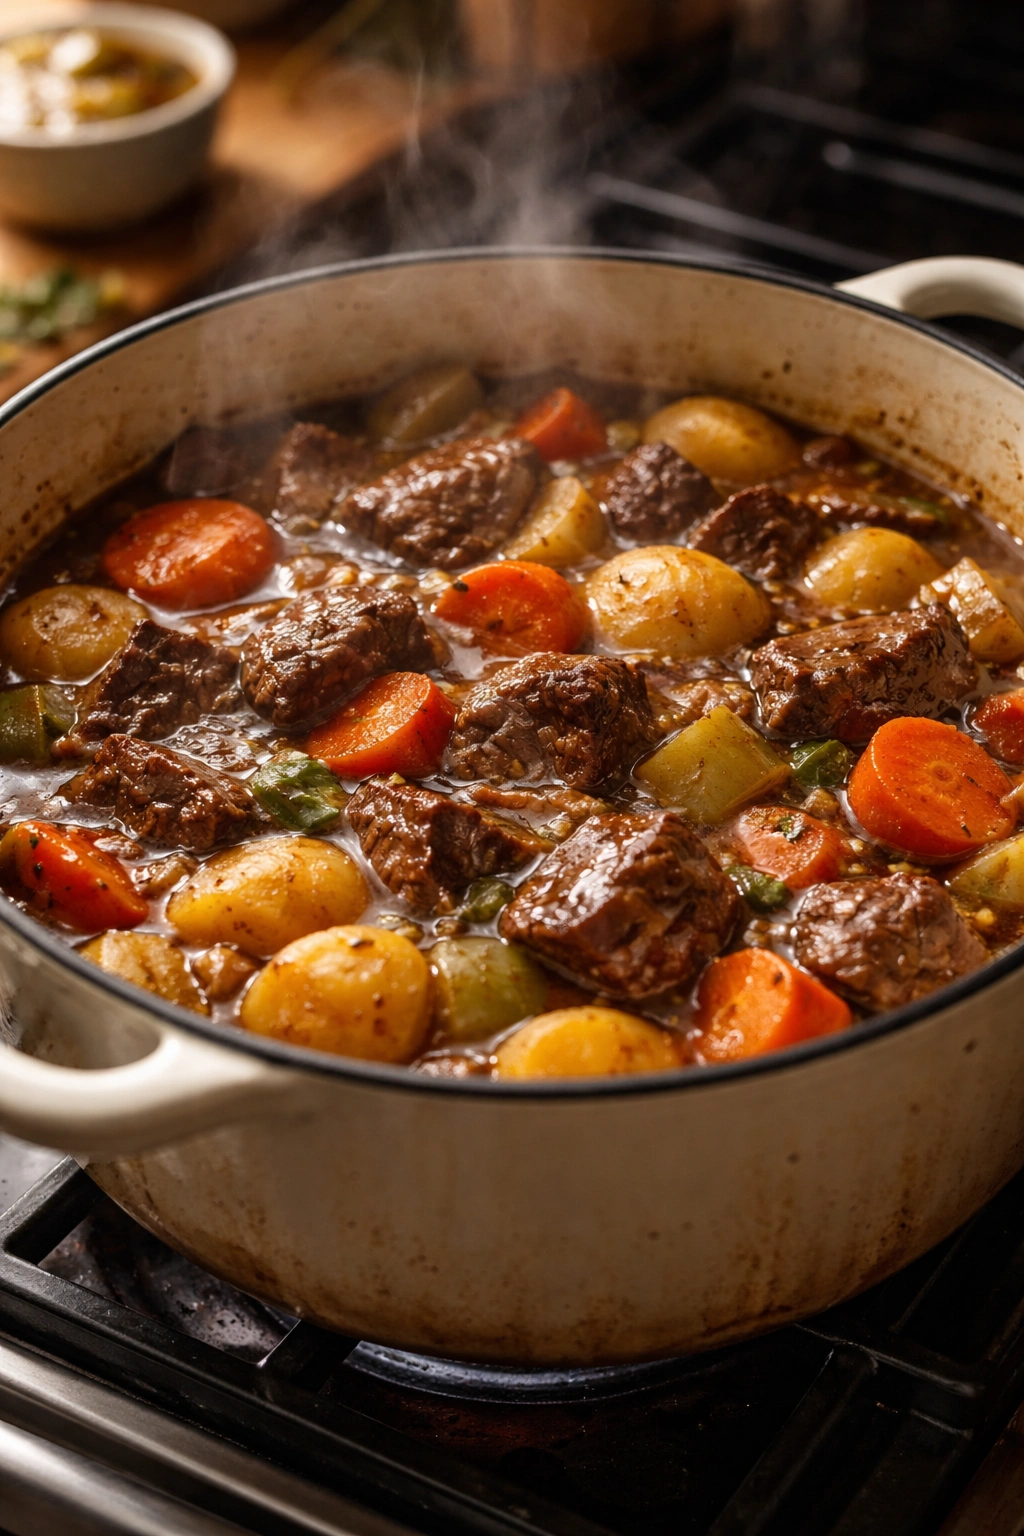
A braise is one of the most forgiving cooking techniques because it’s built-in forgiveness. You’re cooking something in liquid at a low temperature for an extended time. It’s hard to mess up, it tastes better as it sits, and it requires almost zero technique.
Why Braises Work as Weeknight Dinners
You’re building depth through low, slow heat. The meat becomes incredibly tender. The vegetables absorb flavor from the liquid and contribute their own. The whole thing comes together into something that tastes like it took hours but actually required maybe 20 minutes of active work. Most braises can be started in the morning, left to cook while you’re at work, and finished when you get home.
The Framework
- Choose a protein: chicken thighs, beef stew meat (chuck or brisket), pork shoulder, lamb, or really anything tougher and fattier (these have enough marbling to become tender through braising, whereas lean cuts get dry).
- Pat the protein dry. Season aggressively with salt and pepper. Heat oil in a Dutch oven or large heavy pot over medium-high heat. Brown the protein on all sides — about 2-3 minutes per side. The browning creates flavor through the Maillard reaction. Don’t skip this step.
- Remove the protein and set aside. Add diced onion and garlic to the pot. Cook for a few minutes until softened.
- Deglaze the pot (if you want — it’s not essential, but it adds flavor): add a splash of vinegar or wine if you have it, and scrape up the browned bits. Let it simmer for a minute.
- Return the protein to the pot. Add chopped vegetables (potatoes, carrots, parsnips, celery, mushrooms, whatever). Pour in enough broth or water to come about halfway up the protein. Add salt, pepper, and any herbs or spices you want (thyme, bay leaf, rosemary, juniper berries if you have them).
- Bring to a simmer, then cover and transfer to a 325°F (160°C) oven, or keep it on the stovetop at low heat on the smallest burner. The key is gentle simmering — not a rolling boil.
- Cook for 2-4 hours depending on the cut of meat, until the meat is fall-apart tender. Check periodically to make sure there’s still liquid in the pot (add more broth if needed).
- Remove from heat and taste. Adjust seasoning. The liquid has become a rich sauce through the rendered fat and collagen from the meat. Serve the meat and vegetables in bowls with plenty of this liquid.
Pro tip: Braises are genuinely better the next day. The flavors meld. The fat redistributes. If you have time, make this the night before you want to eat it, cool it, and refrigerate overnight. The fat solidifies on top, making it easy to remove if you want a lighter version. Reheat gently on the stovetop before serving.
Final Thoughts

The skill that separates home cooks who feel confident and those who feel stuck isn’t access to fancy ingredients or complicated techniques. It’s understanding that dinner is built on principles, not recipes. Salt brings out flavor. Heat creates texture. Aromatics create depth. Acid brightens everything. Fat carries flavor. Master these five things, and you can cook any night of the week with what’s in your pantry.
Every single one of these dinners proves that the most delicious cooking isn’t fancy — it’s intentional. You’re not throwing things together and hoping for the best. You’re making clear choices about flavor, about technique, about seasoning. You’re building each dish on a solid foundation so that every component has room to shine.
The next time you’re standing in front of your fridge at 4 PM feeling uninspired, remember that you probably have everything you need for something genuinely delicious. You don’t need to shop. You need to cook with confidence. Pick one of these frameworks, commit to it, and taste as you go. That’s the whole secret. That’s the entire game.