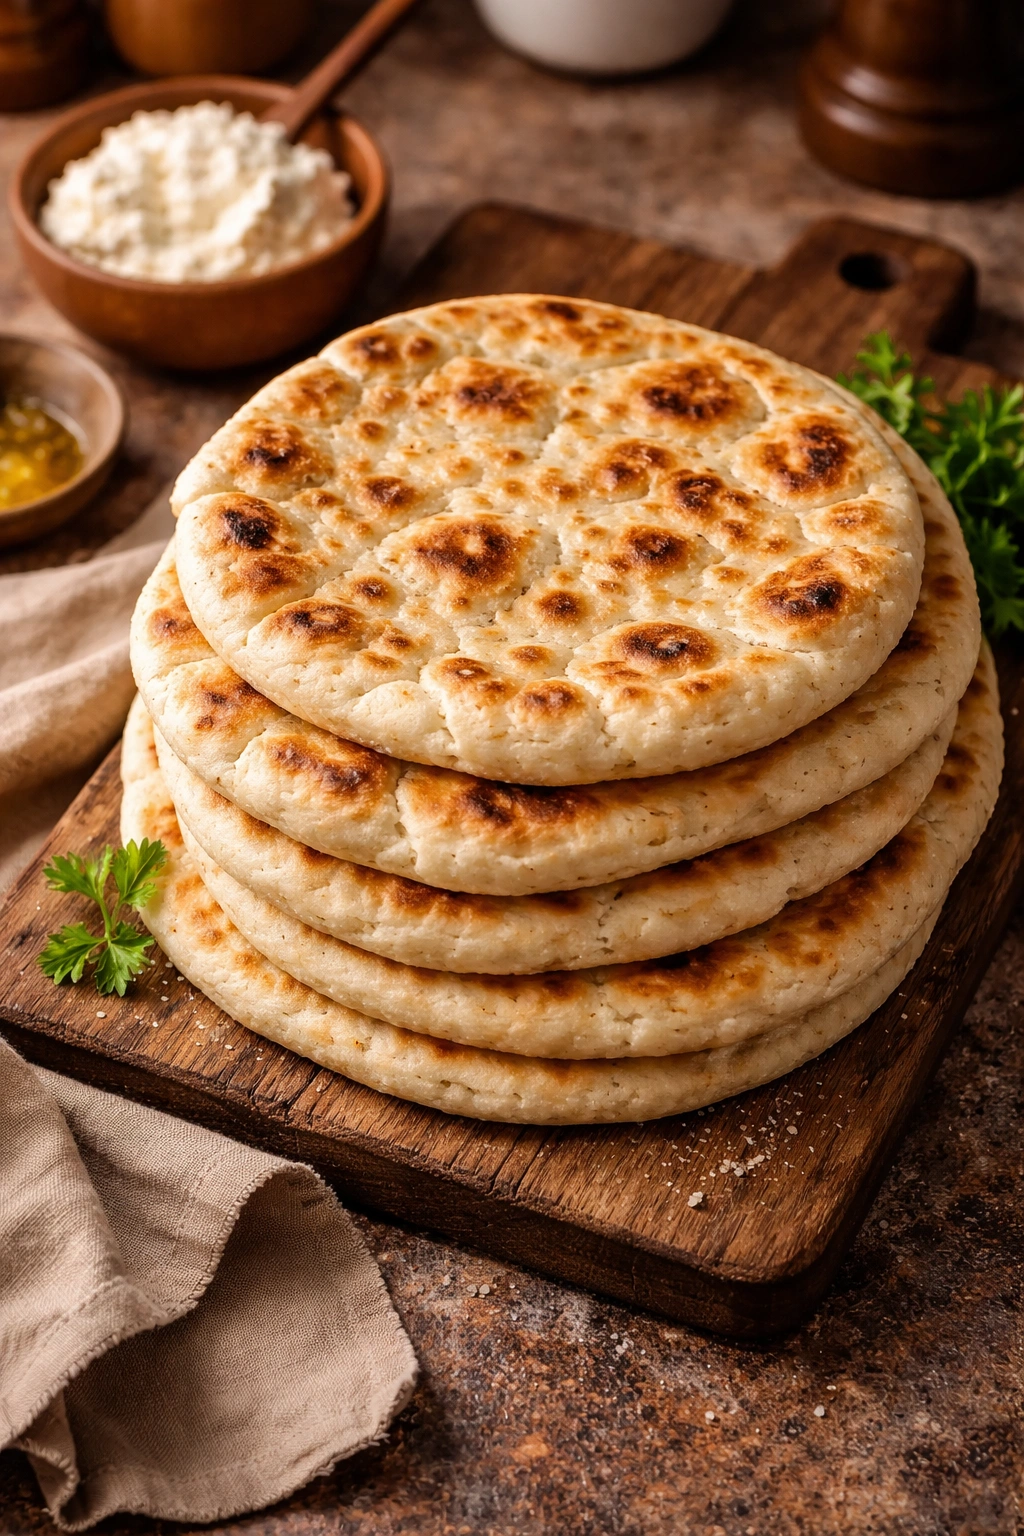
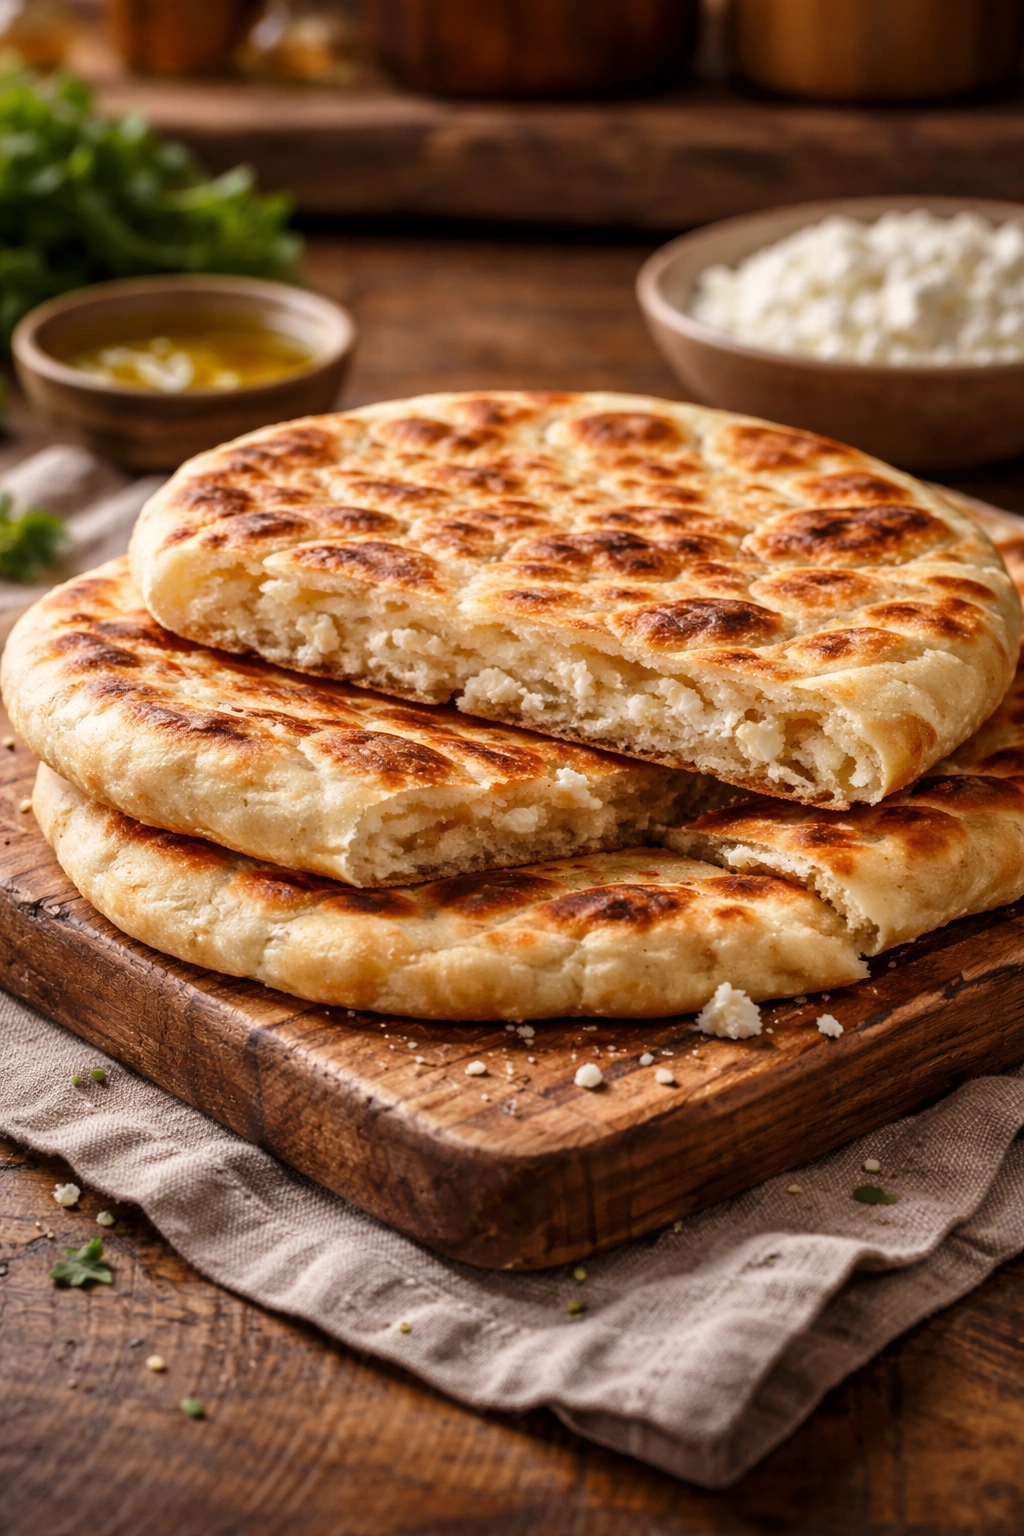
If someone told you that cottage cheese could transform into a soft, pillowy flatbread with a tender crumb and just enough tang to make everything taste better, you’d probably be skeptical. But here’s what happens when you mix creamy cottage cheese into your dough: the moisture from the cheese creates an incredibly tender crumb, while the protein gives you structure without any heaviness. The result is a flatbread that’s unlike anything you’ve made before—somewhere between naan and focaccia, with a subtle savory depth that makes it impossible to eat just one piece.
This isn’t a trendy internet discovery or a shortcut that compromises on flavor. Cottage cheese flatbread has real roots in Eastern European and Scandinavian cooking, where dairy-based breads have been staples for generations. What makes it worth your time isn’t just that it’s delicious—it’s that it’s genuinely easier to make than most flatbreads, works with your schedule because the dough is forgiving, and creates an insanely versatile result that works with everything from soups to dips to breakfast toppings.
The magic is in understanding how cottage cheese behaves in dough. Unlike cream cheese, which can make bread dense and rich, cottage cheese brings moisture without overwhelming the gluten structure. It creates a tender crumb because those small curds stay separated rather than melting into a solid mass. The result feels light despite being incredibly satisfying—you’re not eating something heavy at all.
Why Cottage Cheese Changes Everything in Flatbread
Most flatbreads rely on oil or butter to keep them tender. The problem with that approach is the texture can flatten out or become greasy depending on how much fat you use. Cottage cheese solves this differently by adding both moisture and protein simultaneously, giving you tenderness without any of the greasiness. The whey in cottage cheese also adds a subtle tanginess that deepens the bread’s flavor in ways you won’t immediately recognize but definitely notice when you taste it.
The protein content matters more than you’d expect. Regular white flour alone gives you around 12% protein, which creates a chewy gluten network. When you add cottage cheese with its own protein, you’re not making the dough tougher—you’re actually making it more stable while keeping it tender. This means you can handle the dough more confidently, and it holds its shape beautifully whether you’re making thick rounds or thinner rustic shapes.
Temperature stability is another hidden advantage. Cottage cheese creates a dough that’s less sensitive to room temperature variations than a typical flatbread. If you’re working in a warm kitchen or the dough sits out a bit longer than planned, it won’t overproof nearly as quickly. This forgiving nature is exactly why this recipe works so well for busy home cooks—you don’t need to time everything perfectly.
The flavor profile here is where things get interesting. Regular flatbreads can taste a bit one-note if you’re not careful. Cottage cheese brings that subtle tangy background note that makes your taste buds wake up. It’s not aggressive sourness—it’s the same gentle tang you’d get from yogurt or cultured butter, which means it plays beautifully with both sweet and savory toppings.
This Cottage Cheese Flatbread Recipe
Yield: Makes 4 to 5 large flatbreads (roughly 10 inches each) or 6 to 8 medium pieces
Prep Time: 15 minutes (hands-on active work)
Cook Time: 25 minutes (skillet time for all flatbreads)
Total Time: 40 minutes active + 30 minutes resting
Difficulty: Beginner — No special equipment required and the dough comes together in minutes. Even if you’ve never made flatbread, this method is forgiving and straightforward.
Best Served: Warm from the skillet, though they’re also wonderful at room temperature within a few hours of baking.
Ingredients for the Flatbread
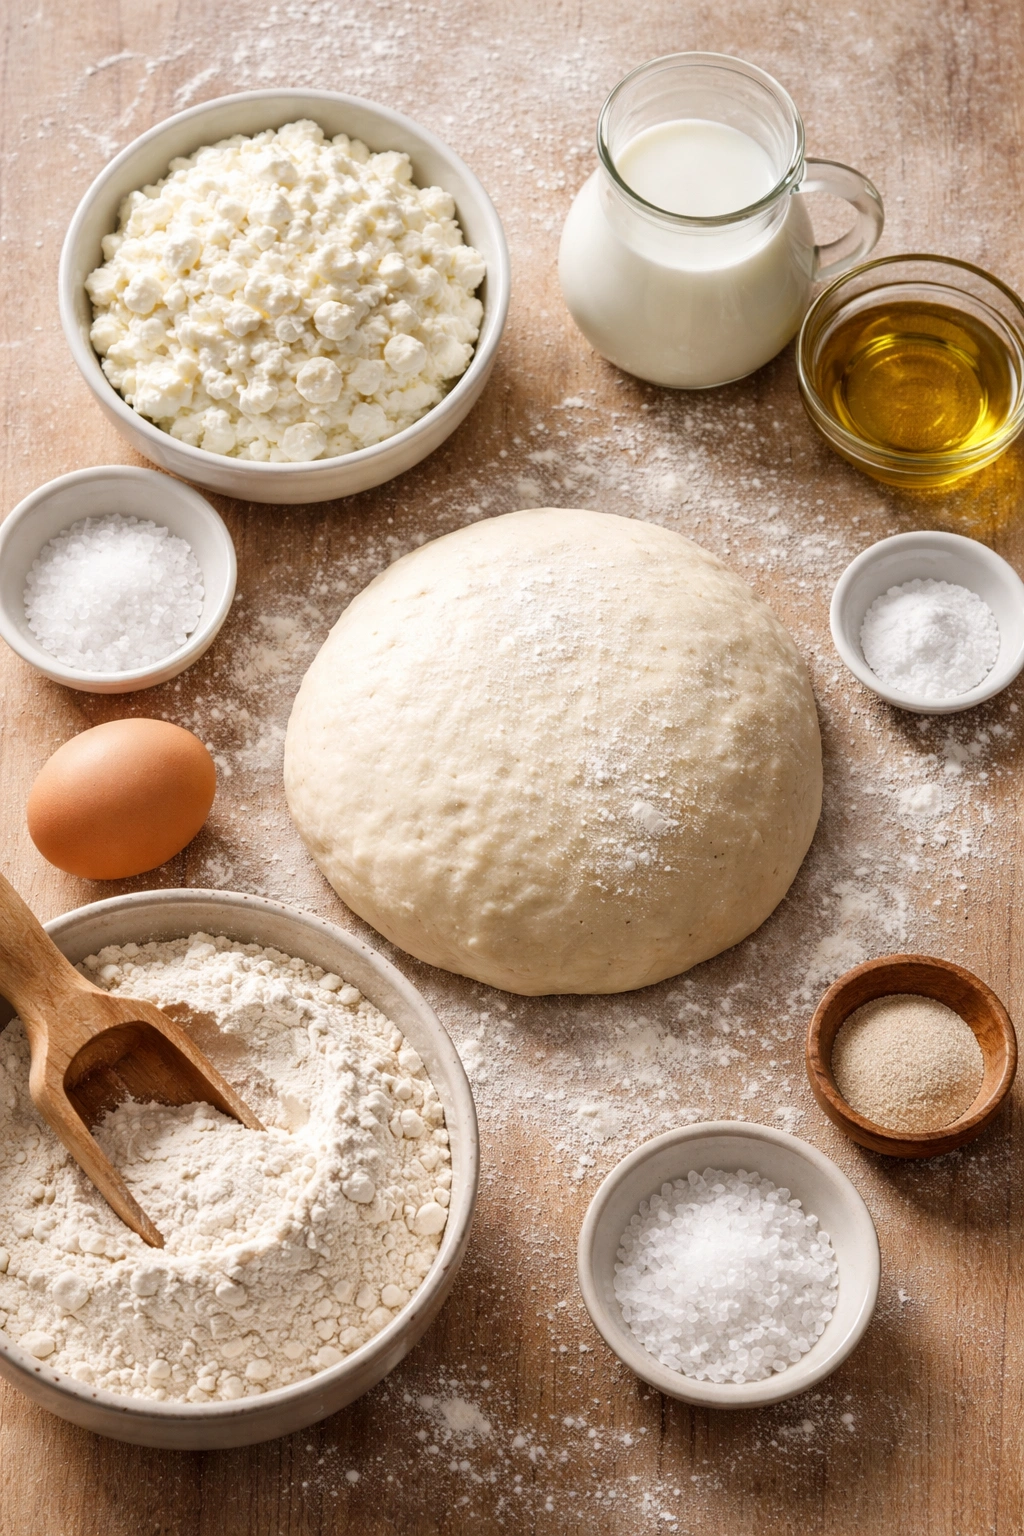
- 1½ cups all-purpose flour, plus extra for dusting the work surface
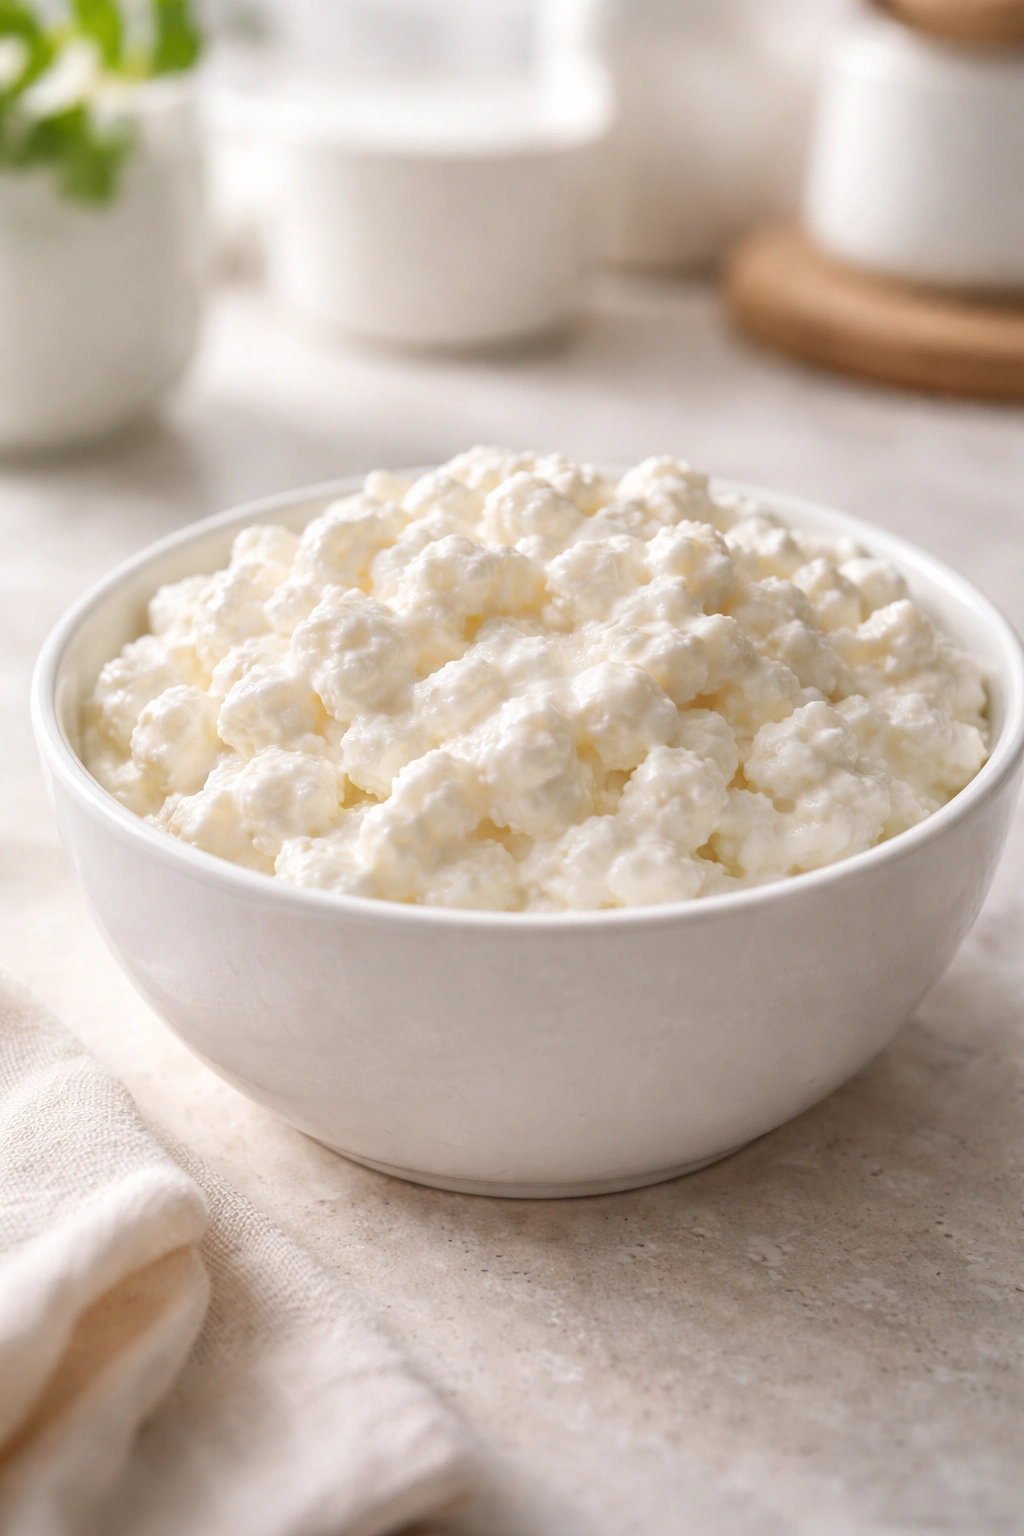
- 1 cup cottage cheese (full-fat or 2% works best; do not use non-fat), at room temperature
- 1½ teaspoons fine sea salt
- ¾ teaspoon instant yeast (such as SAF or Red Star brand)
- ½ teaspoon freshly ground black pepper
- 2 tablespoons unsalted butter, melted, plus more for brushing the finished flatbreads
- 1 tablespoon olive oil
- ¼ teaspoon garlic powder (optional but recommended)
How to Make Cottage Cheese Flatbread

Prepare Your Ingredients:
-
Measure the cottage cheese and let it sit at room temperature for 10 to 15 minutes while you gather everything else. Room-temperature cottage cheese mixes into the dough much more smoothly than cold cottage cheese straight from the fridge, and it won’t shock the yeast.
-
In a large mixing bowl, combine the flour, salt, instant yeast, black pepper, and garlic powder (if using). Stir these dry ingredients together with a whisk or fork until evenly distributed. The yeast will activate faster when it’s mixed throughout the flour rather than sitting in one spot.
Mix the Dough:
-
Add the room-temperature cottage cheese, melted butter, and olive oil to the dry ingredients. Using a wooden spoon or sturdy spatula, stir vigorously for about 2 to 3 minutes until a shaggy, cohesive dough forms. Do not overthink this step — you’re not trying to develop gluten yet, just combine everything into a rough mass. The mixture will look slightly lumpy and that’s completely fine.
-
Once everything is mixed, let the dough rest uncovered on the counter for 5 minutes. This brief pause lets the flour fully hydrate and makes the next step much easier.
-
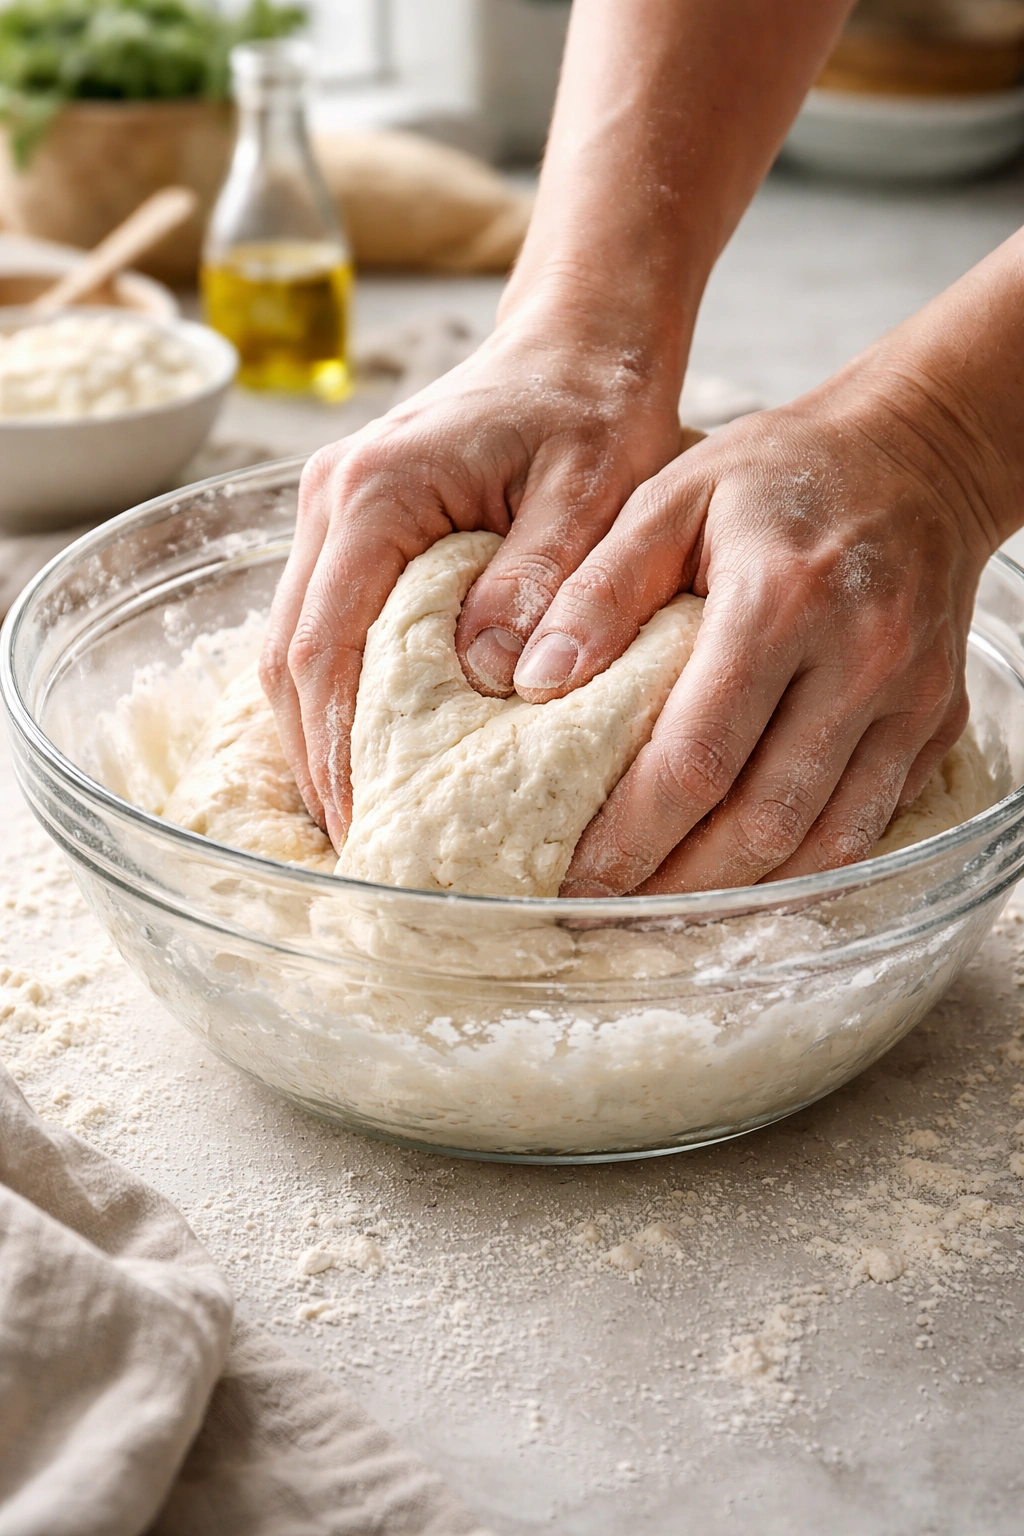
Turn the dough out onto a lightly floured work surface and knead gently for 3 to 4 minutes. The dough should feel soft, slightly tacky, and alive — not stiff or overly smooth. You’re looking for a dough that holds together but still feels supple and forgiving. Add just a small pinch more flour if the dough feels sticky enough that it’s difficult to work with, but resist the urge to add much flour — the slight tackiness is exactly what keeps these flatbreads tender.
Advertisements
First Rise:
- Shape the dough into a rough ball and place it in a clean bowl. Cover with a damp kitchen towel or plastic wrap, and let it rise at room temperature for 20 to 30 minutes. The dough doesn’t need to double in size — you’re looking for a noticeable increase in volume, maybe a 50% rise. This timing is flexible — if you need to leave it a bit longer, no problem. These flatbreads are very forgiving.
Shape and Cook:
-
Turn the risen dough out onto a lightly floured work surface and divide it into 4 or 5 equal portions using a bench scraper or sharp knife. Don’t fuss with precision here — approximate portions are perfectly fine.
-
Working with one portion at a time, use your hands or a rolling pin to gently shape each piece into a flatbread roughly ⅜ to ½ inch thick. You can make them roughly round, oval, or rustic rectangles — the shape doesn’t matter nearly as much as the thickness. If the dough springs back and resists shaping, let that portion rest for 2 to 3 minutes before continuing.
-
Heat a large cast-iron skillet, nonstick griddle, or heavy stainless steel pan over medium-high heat for 2 to 3 minutes until it’s very hot. The pan temperature is critical here — if it’s not hot enough, the flatbread will cook too slowly and turn out dense. If it’s too hot, the outside will burn before the inside cooks through. A properly hot pan should sizzle audibly when the flatbread hits it.
-
Place the first flatbread in the hot pan. It should sizzle and pop immediately. Cook for 2 to 3 minutes on the first side until the bottom is golden-brown with some deeper brown speckles. Use a wide spatula to peek underneath and check the color — you want it noticeably golden, not just pale tan.
-
Flip the flatbread carefully and cook the second side for another 2 to 3 minutes until that side also develops golden-brown color and the flatbread is cooked through. You should be able to press the center with your finger and feel that it’s no longer doughy — it should have some resilience. Watch carefully during this step — the cooking time is quick and the flatbread can go from golden to burnt faster than you’d expect if the heat is very high.
-
Transfer the finished flatbread to a plate and immediately brush the top with melted butter. This step is not optional — the butter adds richness and keeps the top from drying out. Repeat steps 8 through 12 with the remaining dough portions until all flatbreads are cooked.
-
Serve the flatbreads warm, ideally within 10 to 15 minutes of cooking them.
Why This Exact Method Works So Well
The beauty of this technique is that every step serves a specific purpose. The room-temperature cottage cheese isn’t just a convenience—it actually affects how the dough develops. Cold cottage cheese requires more aggressive mixing to incorporate, which can overdevelop the gluten and make the finished bread tougher than it should be. Room temperature cottage cheese integrates smoothly and quickly, giving you tender results without any extra work.
The brief resting period before kneading might seem unnecessary, but it prevents you from overworking the dough while you’re figuring out how it feels. The dough needs just enough kneading to bring the flour and cottage cheese together into a cohesive mass—probably 3 to 4 minutes of gentle work is ideal. You’re not trying to build maximum gluten structure the way you would with a long-rise bread. This is a quick-rise, tender-crumb bread, and a short knead is exactly what it needs.
The 20 to 30 minute first rise is short specifically because you want the yeast activity to be gentle and the dough to remain relatively tender. A longer rise would build more gluten and make the finished flatbread chewier. The shorter rise keeps things soft and pillowy. The flexibility in timing here—whether you do 20 minutes or leave it for 45 minutes—speaks to how forgiving this dough truly is.
The skillet cooking method is important because it creates a beautiful crust while keeping the inside soft and steamy. An oven would dry things out too much, and a grill would char the outside before cooking the inside. A hot skillet is the Goldilocks solution—hot enough to create color and flavor through browning, but enclosed enough that steam stays in the pan and keeps the bread tender as it cooks through.
Secrets to Perfect Cottage Cheese Flatbread Every Time

The single biggest factor is cottage cheese temperature. Use full-fat or 2% cottage cheese that’s been sitting out for at least 10 minutes before you start. Non-fat cottage cheese lacks the richness and can make the flatbread taste slightly dry, even though the texture will still be tender. The fat in the cottage cheese is flavor and mouthfeel combined.
Your flour matters more than you’d expect, but not in the way most recipes claim. You don’t need special bread flour or fancy high-protein flour for this recipe. All-purpose flour is perfect. What actually matters is that your flour is fresh—older flour that’s been sitting in your pantry for years absorbs more water during mixing and can make the dough feel differently than you’d expect. This is why the dough might need slightly more or less water on different days. Just add flour a tiny pinch at a time if needed, and trust that slight tackiness is your friend here.
Salt is not optional and isn’t just for flavor—it actually slows yeast activity in a beneficial way for this recipe. It prevents the dough from overproofing too quickly and gives you a wider window of time where the dough is perfect for cooking. Without adequate salt, these flatbreads can overproof in summer heat and become dense.
The yeast amount is deliberately modest because you want gentle activity, not aggressive fermentation. Instant yeast is preferable to active dry yeast because the smaller granules hydrate more evenly and the fermentation is more predictable. If you’re substituting active dry yeast, use the same weight but let the dough rise slightly longer—maybe an extra 5 minutes.
Butter brushing immediately after cooking is the difference between flatbreads that stay soft and ones that start drying out within an hour. The hot flatbread absorbs the butter, which adds both richness and a protective layer that slows moisture loss.
Pan heat is truly the make-or-nothing variable. If your pan isn’t hot enough, you’ll end up cooking the flatbread slowly and it will be dense and pale instead of golden and tender. If it’s too hot, the outside chars before the inside cooks. You want that aggressive sizzle when the flatbread hits the pan, but not violent smoking. Practice this once and you’ll know exactly what your pan needs.
Common Mistakes That Ruin This Recipe (And How to Avoid Them)

Using cold cottage cheese straight from the fridge is the most common mistake. Cold cottage cheese mixes unevenly and can create pockets of unmixed cheese throughout the dough, leading to inconsistent texture. Taking 15 minutes to let it warm up literally changes everything.
Adding too much flour during mixing is the second most common mistake, and I understand the impulse because the dough feels sticky and your instinct says “add more flour.” Resist it. This dough is supposed to feel slightly tacky. If you add too much flour, the flatbreads become tough and dense instead of tender. Trust that slight stickiness—it’s the secret to tenderness.
Skipping the first rise won’t ruin the flatbreads, but it will make them denser because the yeast hasn’t had time to create gas bubbles that keep them light. Even 20 minutes makes a noticeable difference in how airy and tender the final product is. This is not a time you can rush.
Cooking at too low a temperature creates pale, dense, chewy flatbreads instead of golden, tender ones. You need that hot pan to create crust and set the structure before the inside dries out. If you’re nervous about the temperature, test it by flicking a drop of water on the pan—it should evaporate almost instantly. If it just sits there, the pan isn’t hot enough.
Forgetting to brush with butter turns these soft flatbreads into ones that start drying out within an hour. The butter adds flavor, tenderness, and a protective layer. It’s not a garnish—it’s an integral part of the recipe.
Cooking them too long is less common but definitely possible if your pan is just slightly too hot. You want golden-brown color with some deeper brown spots, but not dark brown or blackened edges. Two to three minutes per side is usually right, but watch carefully and adjust based on how quickly the color develops on your specific stove.
Not letting the dough rest between shaping and cooking means it springs back when you try to cook it and ends up too thick. If the dough resists after shaping, let it rest for 3 to 5 minutes and it’ll be much more cooperative.
Variations That Actually Taste Different

Herb-Infused Flatbread is the simplest variation. Add 1 tablespoon of fresh minced herbs (dill, chives, or parsley work beautifully) to the dry ingredients, or sprinkle them on top of the dough right after shaping and before cooking. You can also mix 1 teaspoon of dried Italian seasoning into the dough for an aromatic version that pairs perfectly with tomato soup or Italian vegetables.
Everything Bagel Flatbread uses the same dough but gets topped with a mixture of sesame seeds, poppy seeds, dried onion, dried garlic, and sea salt sprinkled on top right after you flip it. It sounds over-the-top but it’s genuinely wonderful—the seeds toast in the skillet and create a textured, savory crust that’s addictive.
Caramelized Onion and Garlic version involves cooking 2 thinly sliced onions in butter over medium heat for 10 to 12 minutes until they’re golden and sweet, then mixing them into the dough along with 2 minced garlic cloves and ¼ teaspoon black pepper. This creates a flatbread with so much flavor that it barely needs anything else.
Cheese-Filled Flatbread is made by dividing the dough in half, shaping each half into a flatbread, then sprinkling crumbled feta, shredded cheddar, or fresh herbs on one piece, topping it with the other dough piece, and crimping the edges together before cooking. It becomes almost like a savory hand pie—crispy outside and cheese-filled inside.
Whole Wheat or Spelt Version works by substituting 50% of the all-purpose flour with whole wheat flour. The dough will feel slightly less smooth and you might need an extra 5 minutes of rising time, but the nuttier flavor is absolutely worth it. Whole wheat flatbreads pair beautifully with hearty soups and roasted vegetables.
Baked Instead of Skillet is possible if you need hands-off cooking. Shape the flatbreads and place them on a baking sheet lined with parchment paper. Brush the tops lightly with oil or melted butter. Bake in a 425°F (220°C) oven for 12 to 15 minutes until golden. They won’t develop quite the same golden-brown color as skillet cooking, but they’ll still be delicious and the process is less hands-on.
How to Store These Flatbreads (They Keep Better Than You’d Expect)
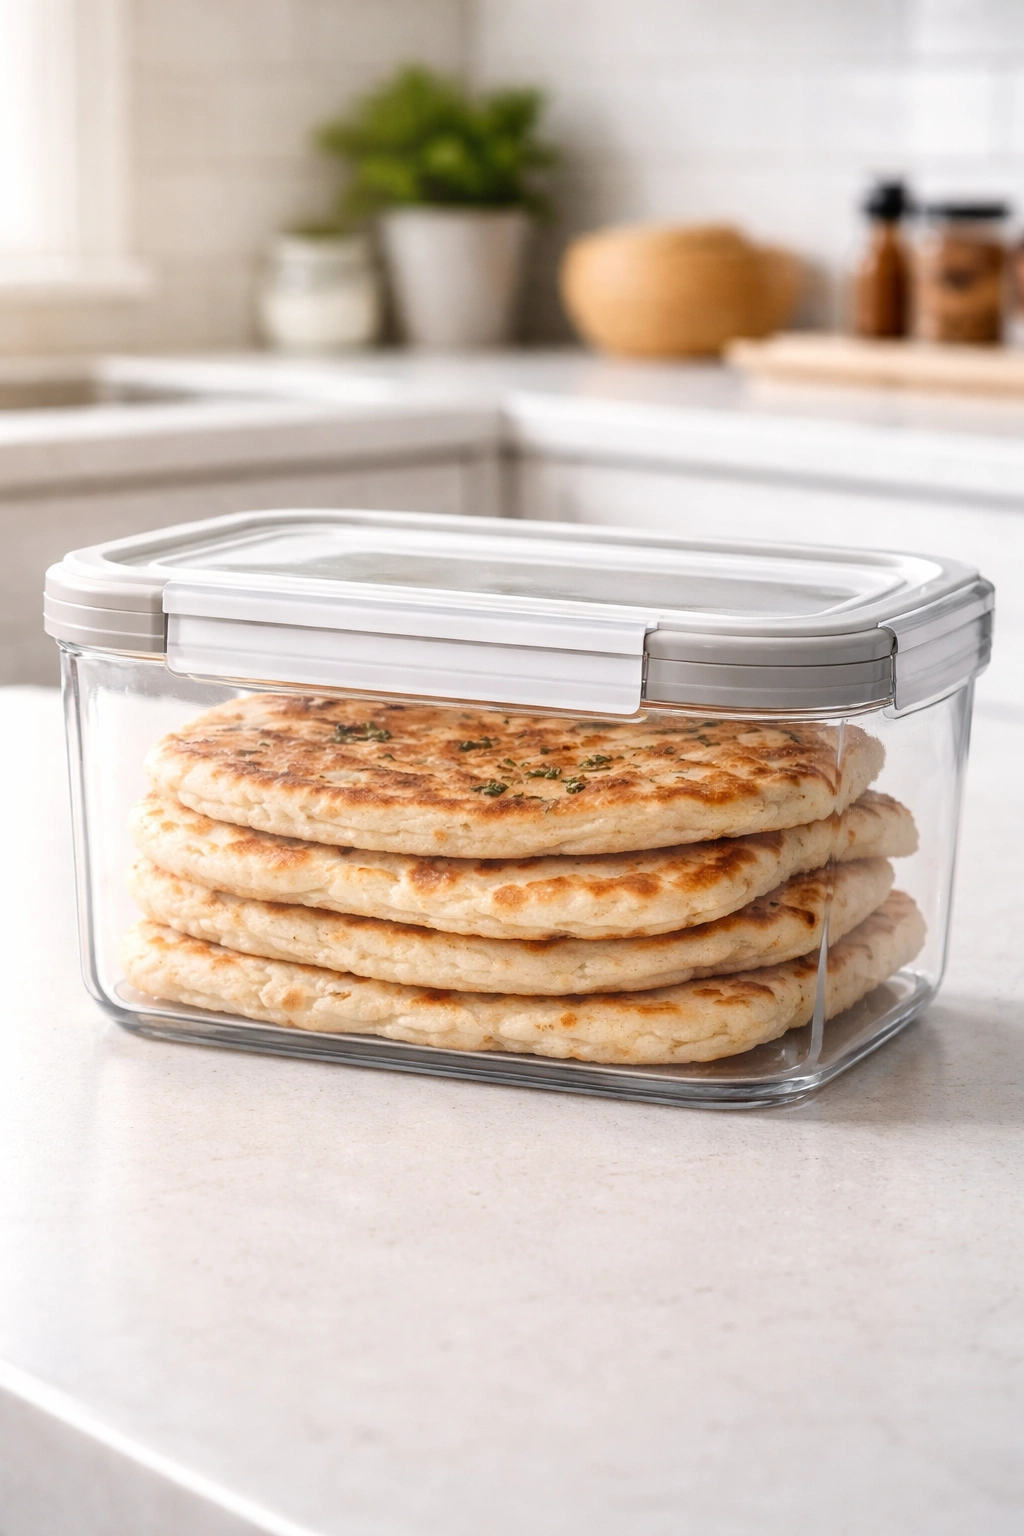
At room temperature: These flatbreads stay soft and enjoyable for about 4 hours after cooking if you keep them wrapped in a clean kitchen towel. The towel traps some moisture and prevents them from drying out. After about 4 hours, they’re not bad—they’re just noticeably less tender than fresh.
In the refrigerator: Store completely cooled flatbreads in an airtight container for up to 4 days. They won’t stay as tender as fresh, but they’re still perfectly good. Reheat them gently in a dry skillet over medium heat for about 1 minute per side, or wrap them in a damp paper towel and microwave for 15 to 20 seconds.
In the freezer: These freeze beautifully for up to 2 months if stored in an airtight freezer container or bag. Cool them completely first, then layer them with parchment paper between each flatbread so they don’t stick together. To thaw and reheat, defrost at room temperature for 1 to 2 hours, then warm them in a skillet over medium heat for 1 minute per side. They’ll taste almost as fresh as the day you made them.
Make-ahead strategy: You can make and cook these flatbreads up to 2 days ahead, store them in the refrigerator, and reheat them gently whenever you need them. This makes them perfect for meal prep or for having on hand for quick dinners. They’re especially great reheated if you’re serving them with dips or spreads—the flavor actually benefits from being eaten at room temperature or slightly warm rather than piping hot.
What to Serve With Cottage Cheese Flatbread (And How to Serve It)
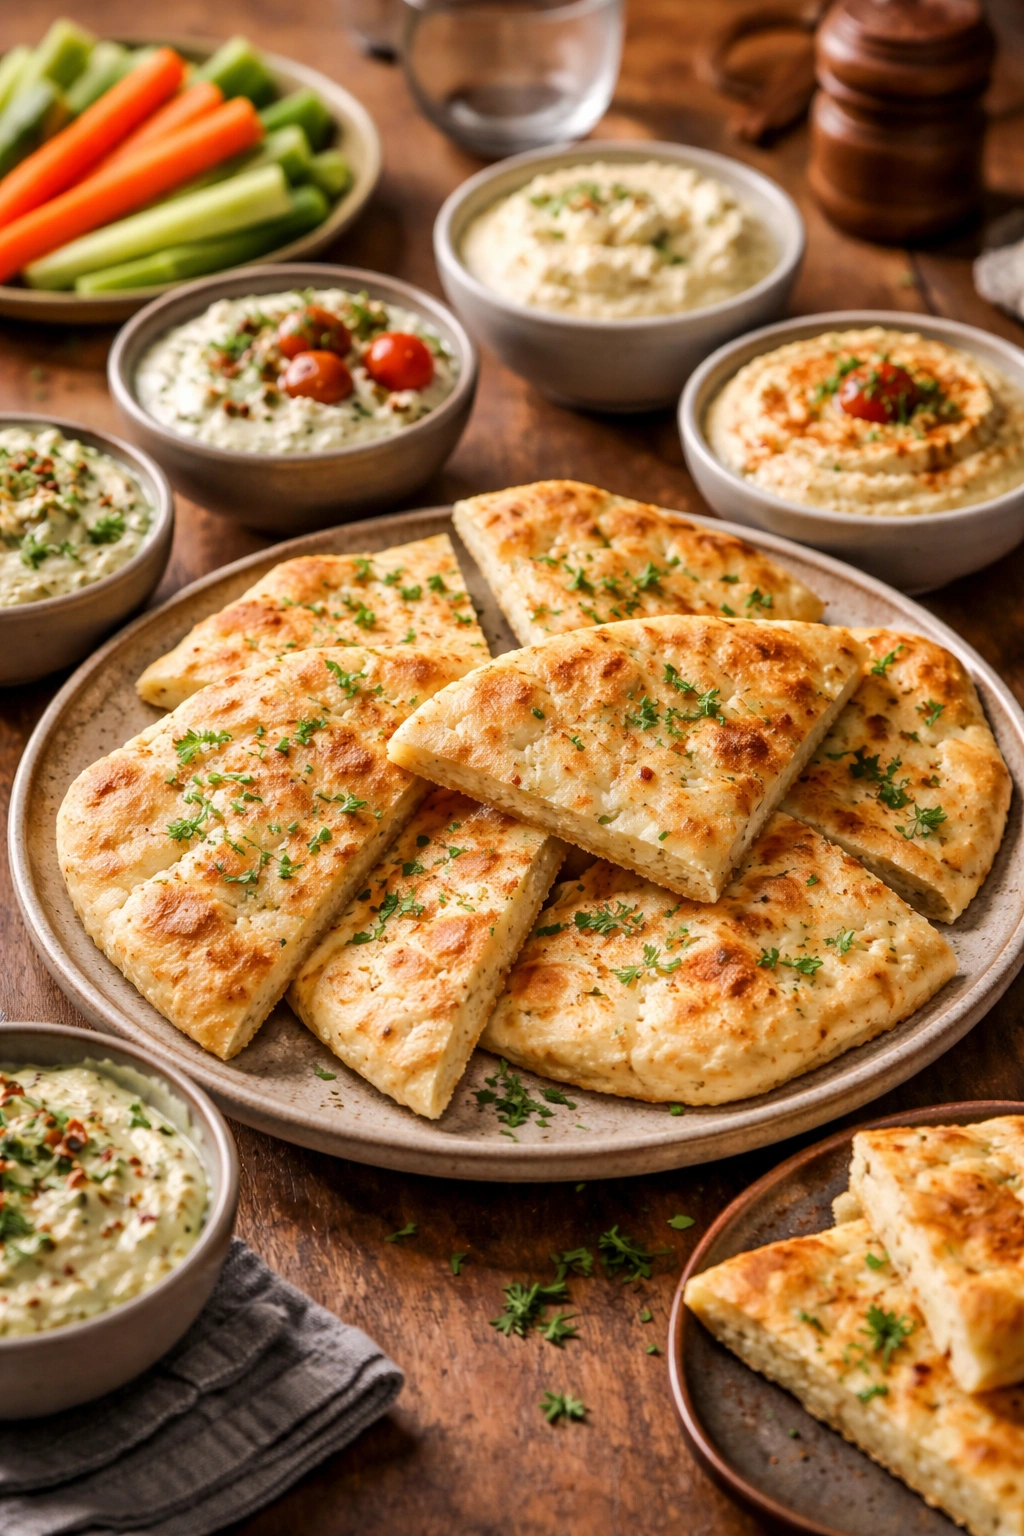
These flatbreads are a complete blank canvas for whatever you’re in the mood for. They’re sturdy enough to hold up to wet dips but tender enough to appeal to people who don’t usually love bread-based vehicles for toppings.
As a dip vehicle: The texture is perfect for creamy dips like hummus, baba ganoush, tzatziki, or whipped feta. Tear them into pieces and they’ll hold up beautifully without falling apart. They’re better dip delivery than crackers because there’s actual substance there.
With soups: Cottage cheese flatbread is the ultimate soup companion. The tender crumb soaks up broth without falling apart, and the subtle tang complements everything from tomato soup to vegetable soup to creamy mushroom soup. Tear pieces off and dunk them, or serve the flatbread whole on the side.
For breakfast: Top with soft-scrambled eggs, crumbled bacon, and fresh herbs for a composed breakfast. Or brush with butter and honey and serve alongside scrambled eggs and fruit. The flatbread is rich enough to stand up to egg yolk without being overwhelmed.
With salad: Torn into pieces and added to a salad, these flatbreads become crouton-adjacent—crispy on the outside but with that tender interior that’s different from traditional croutons. They’re especially good with heartier salads.
As the bread course at dinner: Brush them with good olive oil and coarse salt, or sprinkle them with herbs, and serve them as the bread at dinner. They’re more interesting than regular bread because of that subtle tang from the cottage cheese.
With roasted vegetables: Serve warm flatbreads alongside roasted vegetables and a drizzle of tahini sauce or yogurt sauce. They absorb those flavors beautifully and turn a vegetable plate into a complete meal.
For entertaining: These flatbreads are genuinely impressive to serve. Most people have never had cottage cheese flatbread and they’re surprised by how good it is. Make them 30 minutes before guests arrive, wrap them in a clean kitchen towel, and serve them warm. They feel fancy but you know how easy they are to make.
Final Thoughts
Cottage cheese flatbread earns its reputation because it actually delivers on every promise. These are truly tender and soft, they come together faster than you’d expect for homemade bread, and they’re versatile enough to work with whatever’s in your fridge. The cottage cheese isn’t just a gimmick—it genuinely changes the texture and makes the finished flatbread something special.
What makes these worth the hype is that they’re not a trade-off between convenience and quality. You get both. Fifteen minutes of hands-on work gives you flatbread that tastes like you spent hours developing the dough. The forgiving nature of the dough means you don’t need to be a baker to succeed. Even the first time you make these, you’ll probably nail them.
Once you’ve made this recipe once, you’ll understand why cottage cheese flatbread is worth the space in your regular cooking rotation. Keep cottage cheese in your fridge, and you’re always 40 minutes away from freshly cooked flatbread. That’s the real value here.