There’s something almost magical about the moment when your kitchen fills with the smell of soft pretzels baking. That warm, yeasty aroma is unmistakable, and it immediately makes people want to gather in your kitchen. The thing is, homemade soft pretzels have a reputation for being complicated — requiring special baking soda baths, precise timing, and a lot of room for error. But pretzel bites? They’re a completely different story. These little bites of dough are forgiving, quick, and deliver that same authentic pretzel experience without requiring you to become a pretzel master overnight. They’re also the kind of snack that tastes so good people genuinely won’t believe you made them from scratch.
What makes this approach work is simplicity. You’re not wrestling with long strands of dough that need shaping and boiling. Instead, you’re working with small, manageable pieces that bake directly on a sheet pan. The bites stay soft and chewy inside with that characteristic pretzel-crust exterior, and they come together in less time than most people expect. They’re genuinely foolproof, which means even if this is your first time working with yeast, you’ll have golden, warm pretzel bites to show for your effort.
Why These Soft Pretzel Bites Deserve a Spot in Your Baking Rotation
Pretzel bites occupy a sweet spot between snack and bread that almost nothing else can touch. They’re substantial enough to feel like a real baked good — not a cookie or a cracker — but sized perfectly for popping in your mouth without mess. You get that satisfying chew, the slight sweetness from the dough, and the salty-tangy contrast on the outside that defines what makes a pretzel a pretzel.
The genius part is that you can make these as often as you want. Unlike traditional pretzels, which require more planning and technique, these bites fit into a normal weeknight or weekend baking schedule. You can whip up a batch while you’re making dinner, or prep the dough in the morning and bake them fresh for an afternoon snack. They’re the kind of recipe that becomes a regular thing once you realize how simple it actually is.
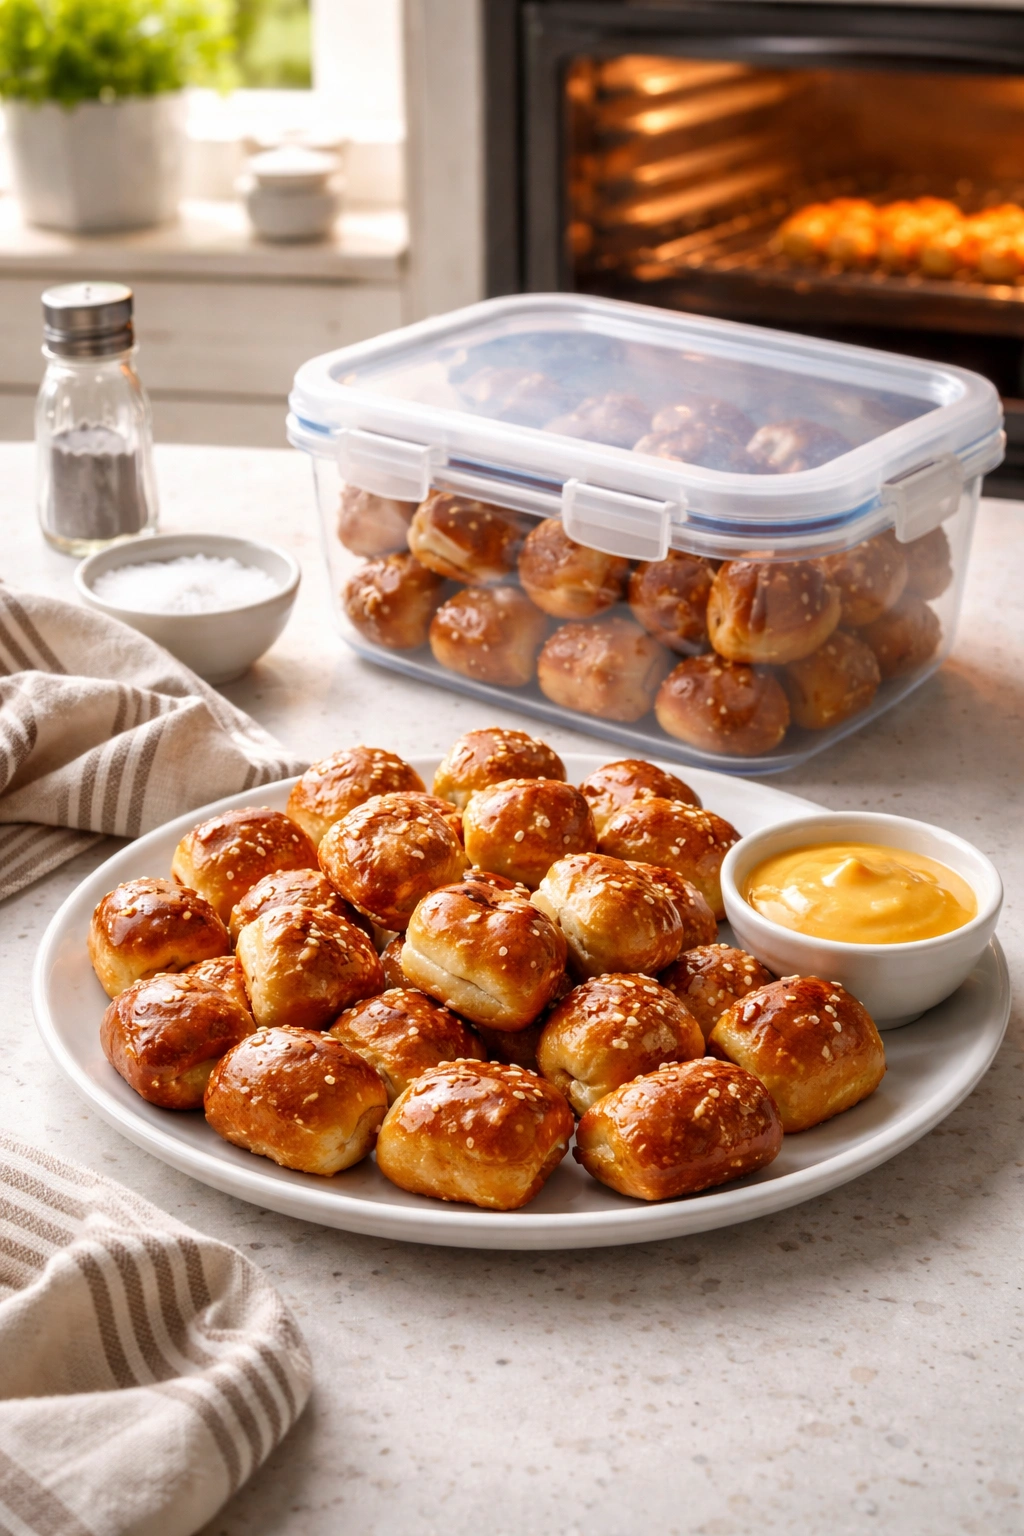
They’re also incredibly versatile for eating. Serve them warm with mustard for a proper snack, dunk them in cheese dip at a party, use them as an accompaniment to soups, or just eat them plain while they’re still warm from the oven. Kids will eat them without complaint, adults will be genuinely impressed, and you’ll feel the quiet satisfaction of having made something truly homemade from flour and yeast.
The Simple Technique That Makes This Work
The magic here is in understanding what a soft pretzel actually needs. Traditional soft pretzels get boiled briefly in a baking soda solution, which creates that characteristic dark exterior and changes the texture of the crust in a specific way. These pretzel bites skip that step entirely — instead, you brush the dough with an egg wash mixed with a bit of baking soda, which gives you that same effect without any special equipment or technique.
This isn’t a shortcut that compromises the result. The egg wash browns beautifully in the oven, creating that rich golden crust. The baking soda in the wash raises the pH of the dough surface slightly, which is what gives traditional boiled pretzels their distinctive texture and flavor. You get the authentic pretzel experience through a method that’s actually more accessible to home bakers.
The other thing that makes this work is proper proofing. You’re giving the dough time to develop flavor and rise adequately, which means you’re not rushing things. But the timeline is still reasonable — you’re looking at a couple of hours total, most of which is passive rising time while you do something else.
What You’ll Need to Gather
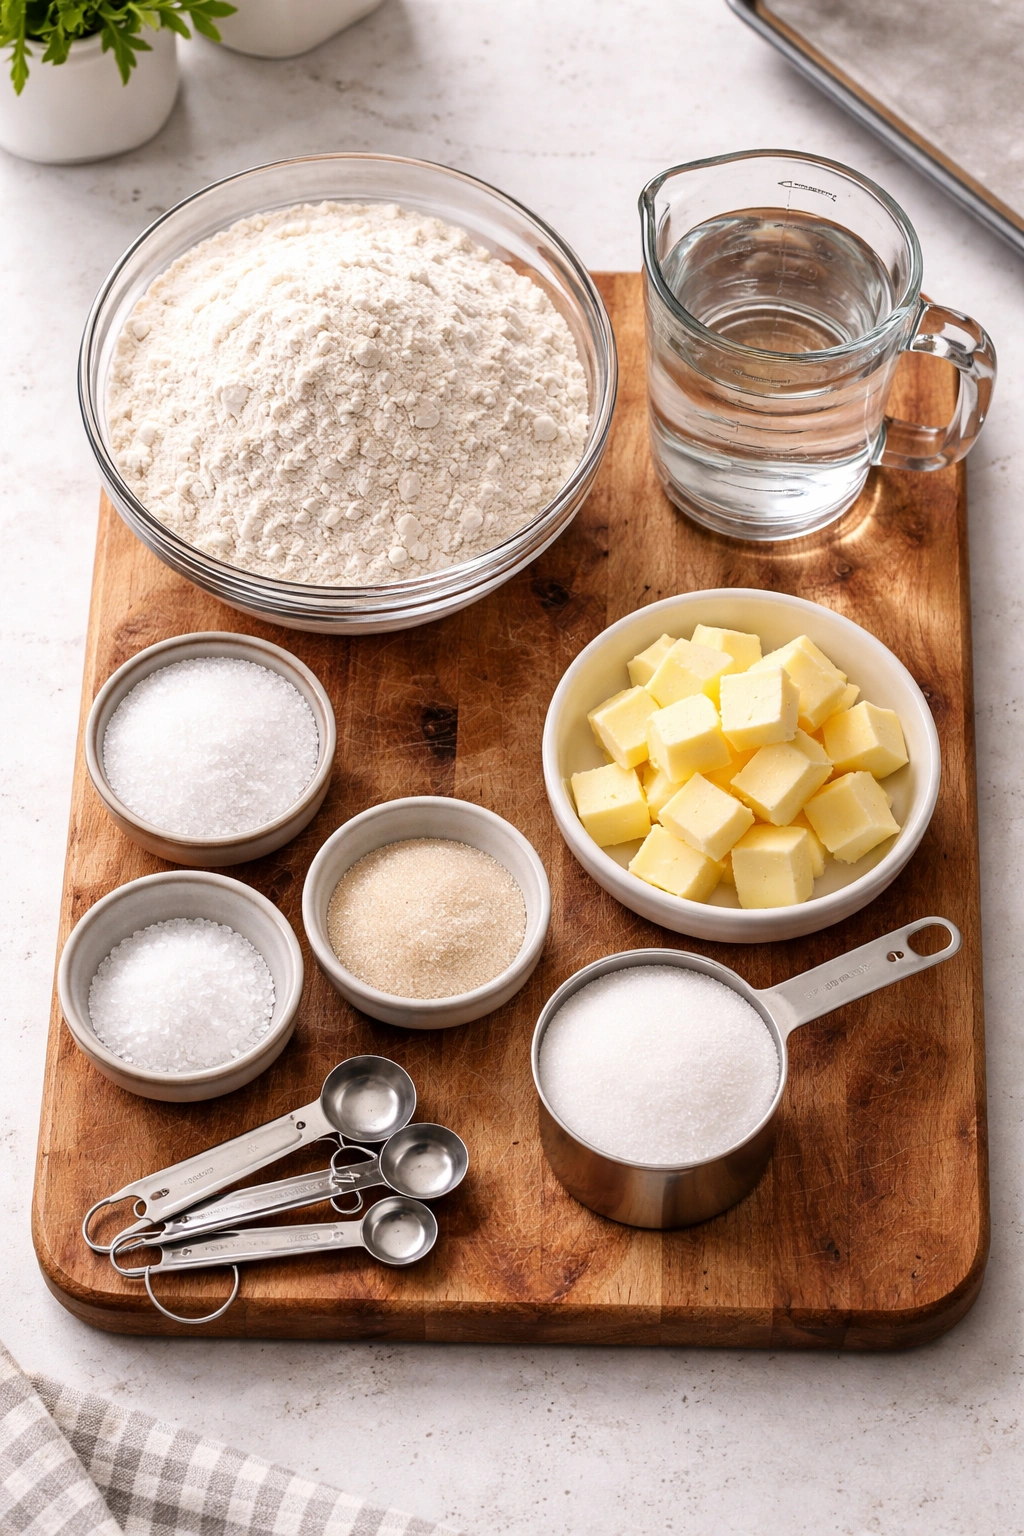
Before mixing anything, gather your ingredients and get your workspace ready. The ingredient list is genuinely short — this recipe lives and dies on using good-quality basics, not on complicated components. You’ll also want to prep a baking sheet and get your oven positioned correctly so those bites bake evenly.
Yield: Makes about 30-36 pretzel bites | Serves 4-6 as a snack or appetizer Prep Time: 20 minutes Cook Time: 12-14 minutes Total Time: 2 hours 30 minutes (mostly hands-off rising time) Difficulty: Beginner — This recipe uses basic techniques, straightforward ingredient measurements, and simple shaping. Even if you’ve never worked with yeast, the dough is forgiving and comes together easily. No special equipment required beyond a standard oven and sheet pan.
For the Pretzel Dough:
- 1 cup warm water (110°F / 43°C, warmer than body temperature but not hot to the touch)
- 2¼ teaspoons (1 packet) instant yeast
- 2 tablespoons granulated sugar
- 1½ teaspoons fine sea salt
- 2 tablespoons unsalted butter, melted
- 3 cups all-purpose flour (spoon into measuring cup and level off — do not scoop directly from the bag)
For the Egg Wash and Topping:
- 1 large egg
- 1 tablespoon water
- ½ teaspoon baking soda
- 1½ teaspoons coarse sea salt (pretzel salt preferred, but kosher salt works perfectly fine)
Optional Dipping Sauces (Pick One or More):
- Whole grain mustard or sharp yellow mustard
- Warm cheese sauce (melted cheddar or a jarred queso)
- Spicy brown mustard or honey mustard
- Soft butter mixed with garlic powder and fresh parsley
Prepare the Dough and Let It Rise
Mix the Dough:
-
Pour the warm water into a large mixing bowl. Sprinkle the yeast over the surface and let it sit for 1 minute without stirring — this gives the yeast a moment to hydrate and bloom.
-
Add the sugar, salt, and melted butter to the bowl. Stir gently with a wooden spoon or whisk until the yeast is dissolved and the liquid becomes slightly cloudy, about 30 seconds.
-
Add the flour 1 cup at a time, stirring well after each addition. After all the flour is incorporated, the dough will be shaggy and slightly sticky.
-
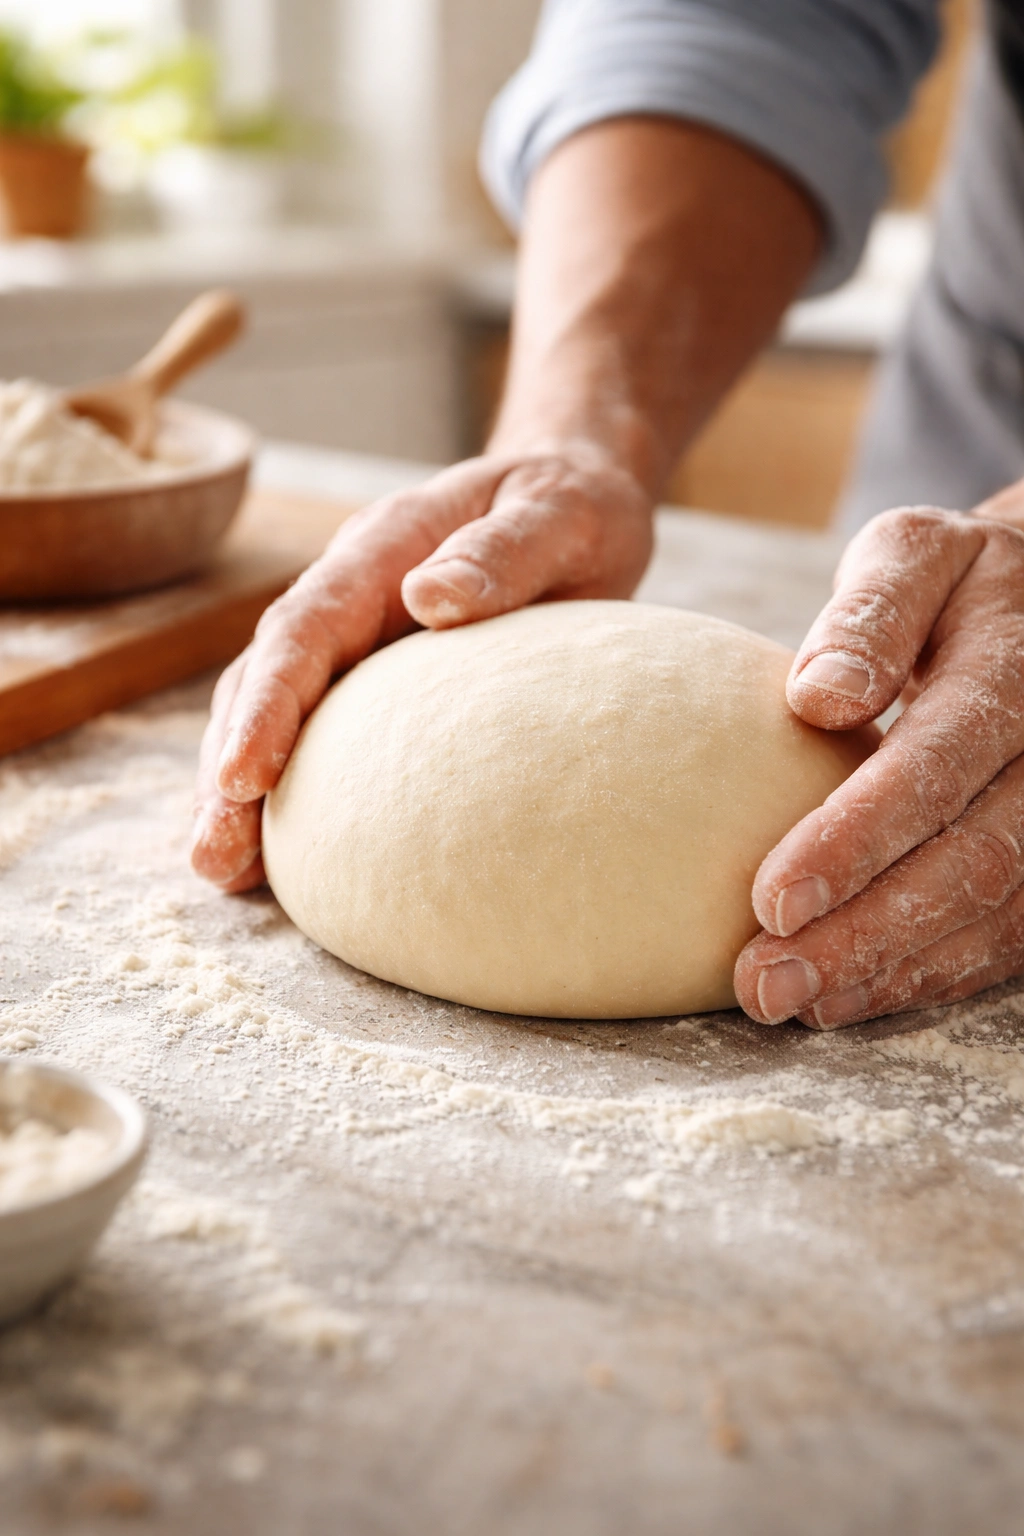
Turn the dough out onto a lightly floured work surface. Knead by hand for 8 to 10 minutes, folding the dough over itself, pushing it away from you with the heel of your hand, then rotating and repeating. You’re building gluten structure and making the dough smooth and elastic. The dough should spring back gently when you poke it with a finger, and it should feel soft and slightly tacky but not sticky.
First Rise — Let the Dough Develop: 5. Lightly grease a large bowl with oil or butter. Place the kneaded dough into the bowl and turn it once so the top is coated. This prevents a dry skin from forming on the dough’s surface during rising.
-
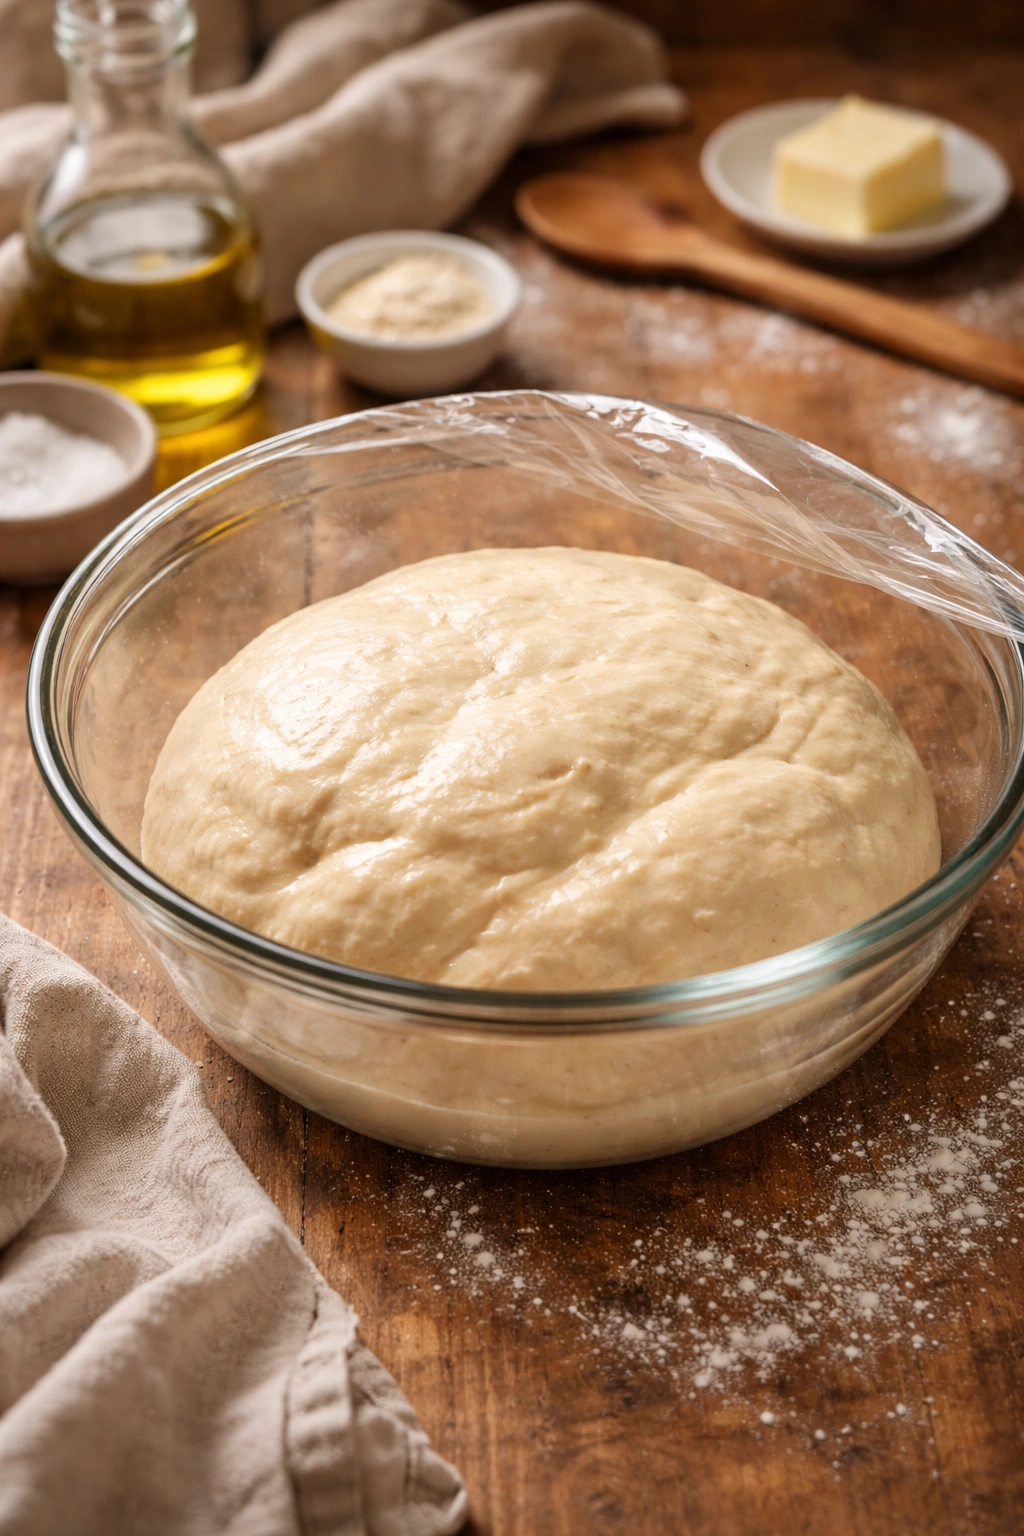
Cover the bowl loosely with a kitchen towel or plastic wrap. Set it in a warm, draft-free location — the top of your refrigerator, an unheated oven, or near (but not touching) a sunny window all work perfectly.
Advertisements -
Let the dough rise for 60 to 90 minutes, until it has visibly increased in size and springs back slowly (not immediately) when you gently poke it with a floured finger. The dough should be puffy and noticeably airy inside, roughly doubled in volume.
Shape the Bites and Proof
Shape into Pretzel Bites: 8. Preheat your oven to 400°F (200°C) and position the rack in the center. Line a large baking sheet with parchment paper or a silicone baking mat.
-
Turn the risen dough out onto a lightly floured work surface. Gently press it down to release some of the trapped gas — you’re not trying to deflate it completely, just make it workable.
-
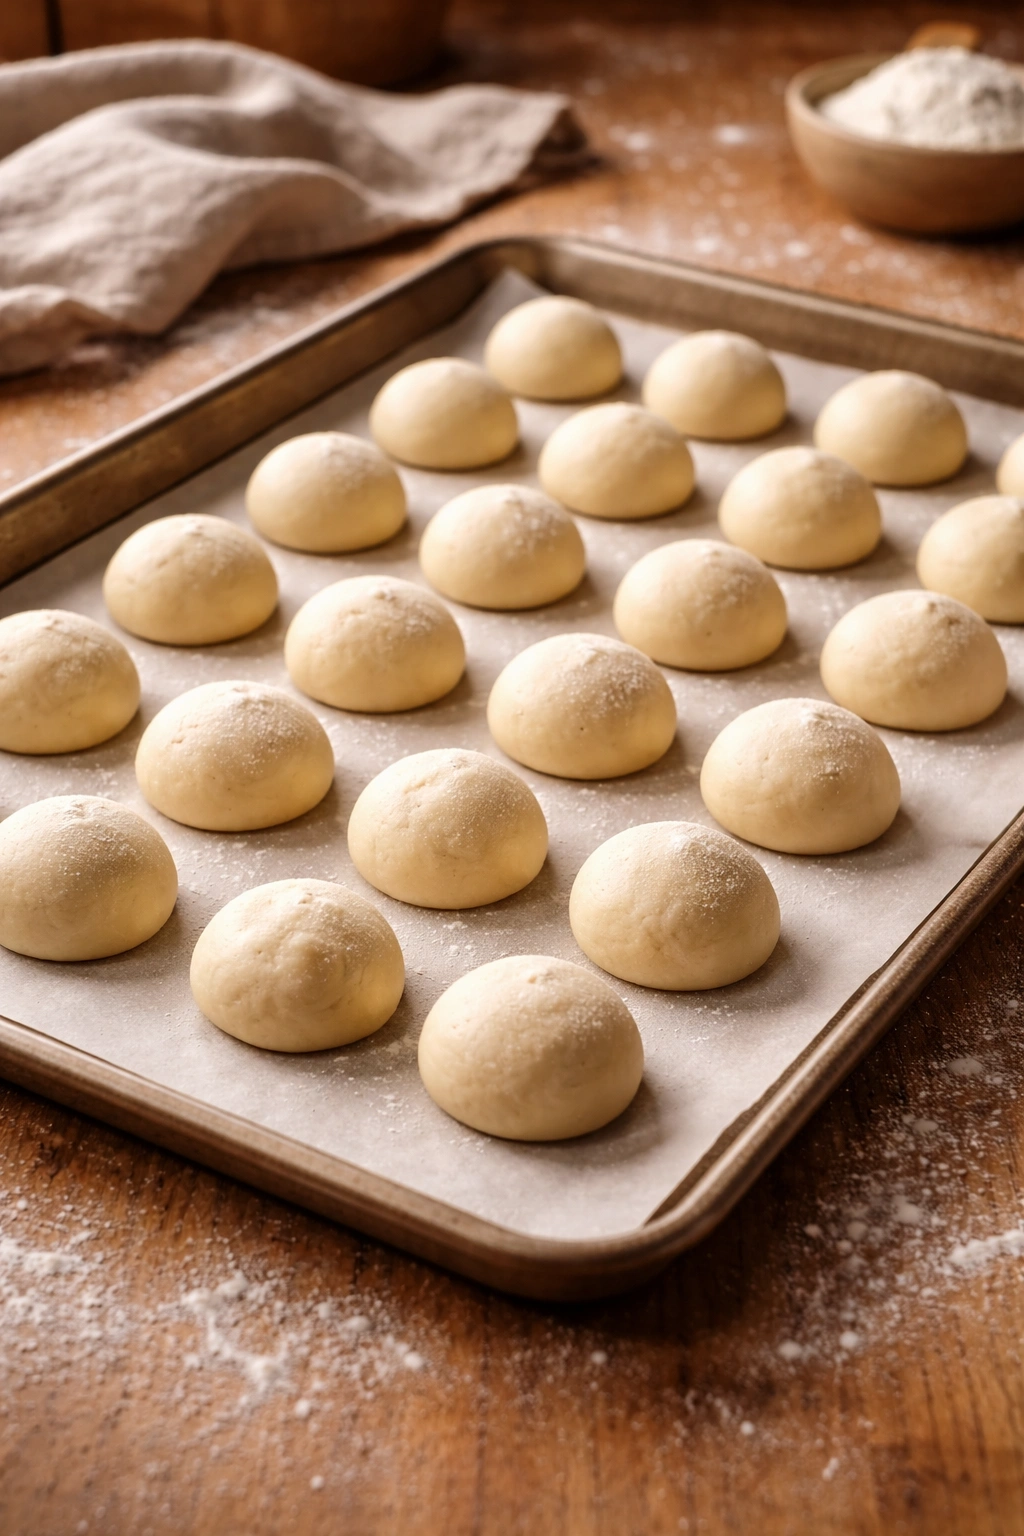
Using a bench scraper or a sharp knife, divide the dough into 30 to 36 roughly equal pieces. (Pro tip: Cut the dough in half, then quarters, then into eighths, then divide each eighth into 4 pieces — this ensures more consistent sizing than random cutting.) Each piece should be about the size of a large grape or small marble.
-
Roll each piece gently between your palms into a smooth ball. Don’t overwork these — you’re just creating a neat shape, not tightening the gluten aggressively. Place each ball on the prepared baking sheet, spacing them about 1 inch apart.
Second Rise — Shape Development: 12. Cover the bites loosely with a kitchen towel or plastic wrap. Let them rise for 20 to 30 minutes at room temperature, until they’re noticeably puffy and spring back slowly when you gently poke one. They don’t need to double in size during this rise — they’re just finishing their proofing in their final shape.
The Egg Wash and Bake
Apply the Egg Wash: 13. While the bites are on their final rise, prepare your egg wash. Crack the egg into a small bowl, add the water, and whisk vigorously for about 20 seconds until the mixture is light and frothy.
-
In a separate small bowl, stir together the baking soda and ½ teaspoon water to create a thin paste. Add this paste to the egg wash and stir well to combine — this mixture is what creates the characteristic pretzel crust. The mixture will bubble slightly as the baking soda reacts with the egg; that’s exactly what you want.
-
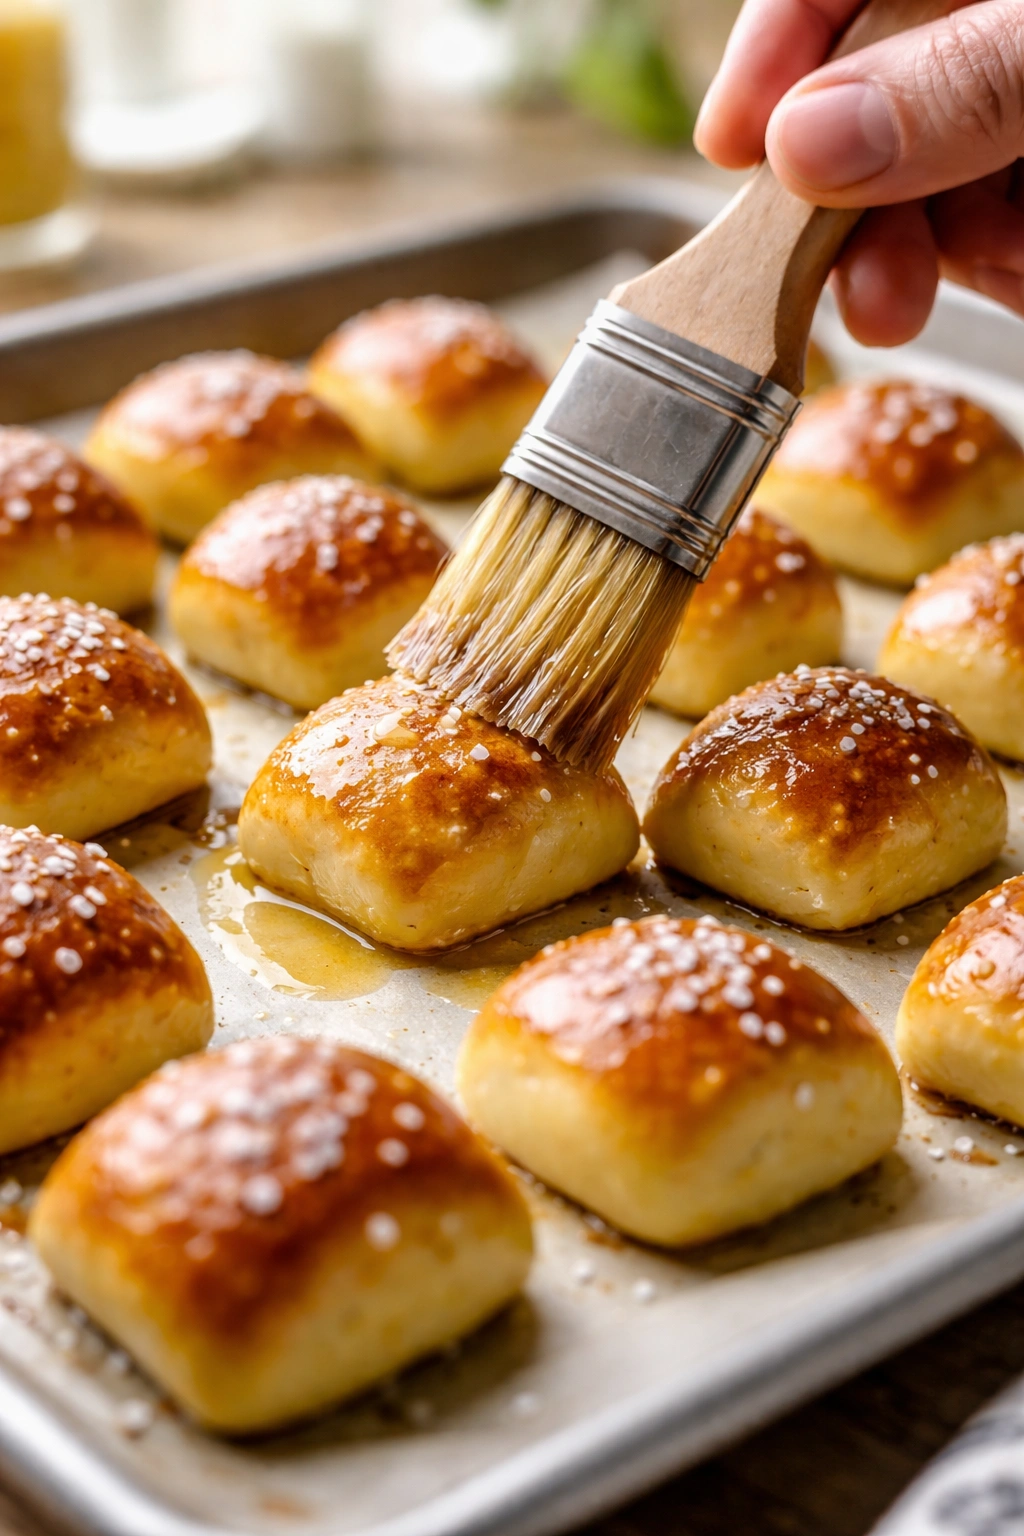
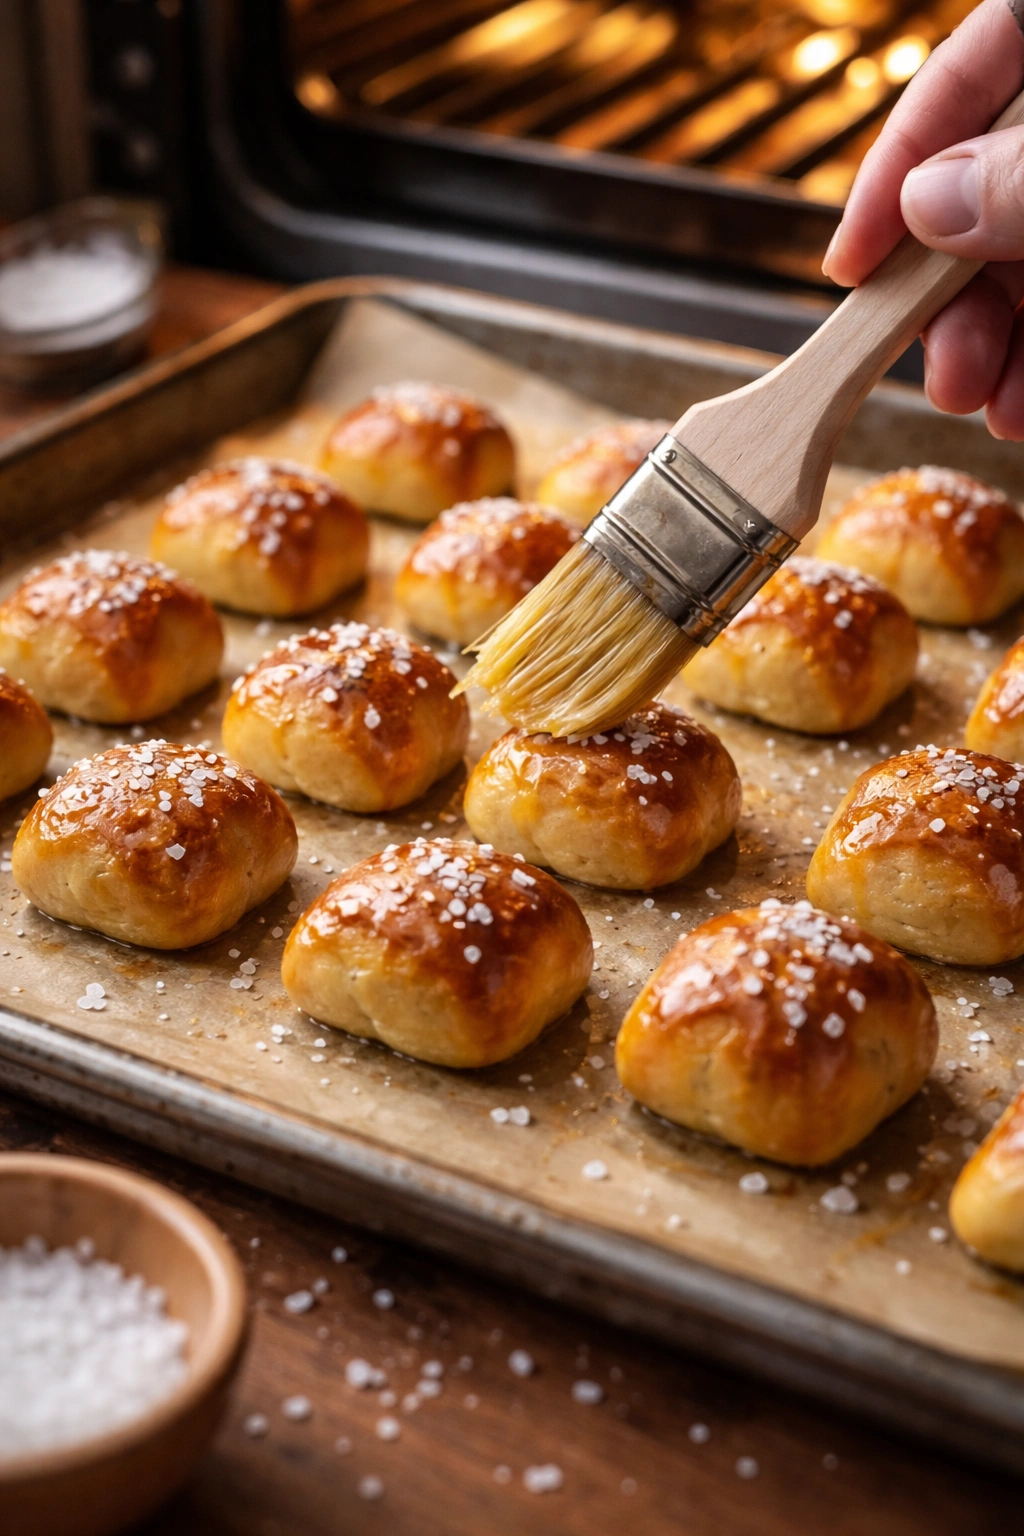
Using a pastry brush (or a small clean kitchen brush), brush each pretzel bite generously with the egg wash mixture, coating all visible surfaces. Work gently so you don’t deflate the risen dough, but make sure the coating is even and complete.
-
Immediately sprinkle each bite with a pinch of coarse sea salt, pressing gently so the salt adheres to the egg wash. Don’t undersalt these — the salt is a crucial flavor element, not optional. You should see visible salt crystals on every pretzel bite.
Advertisements
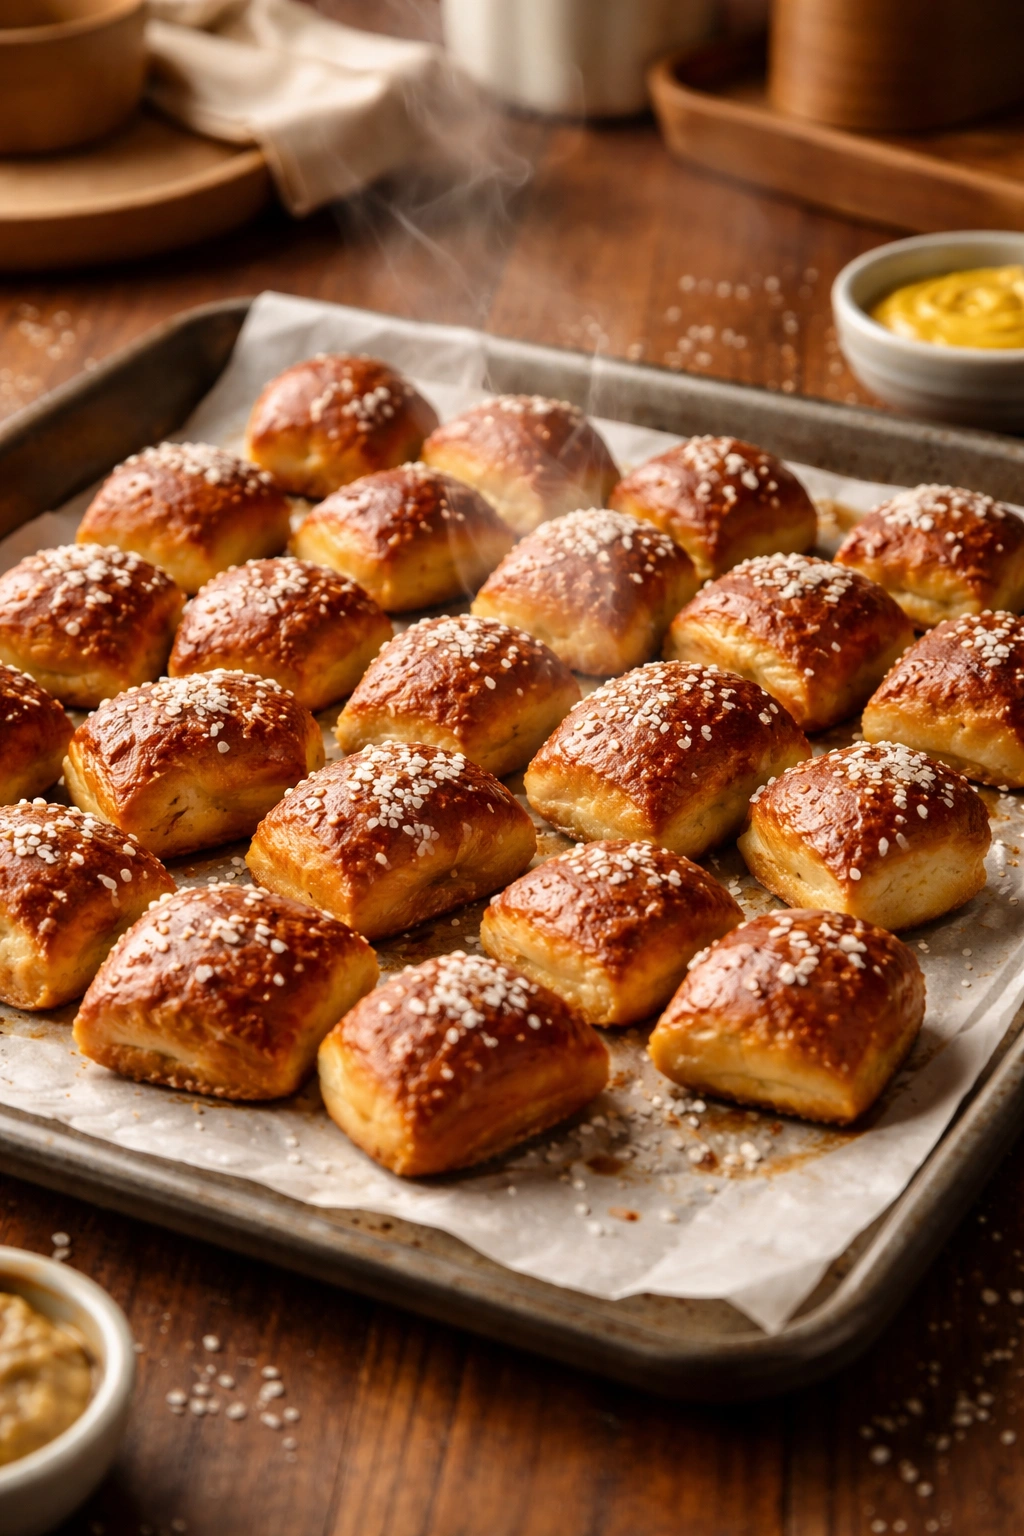
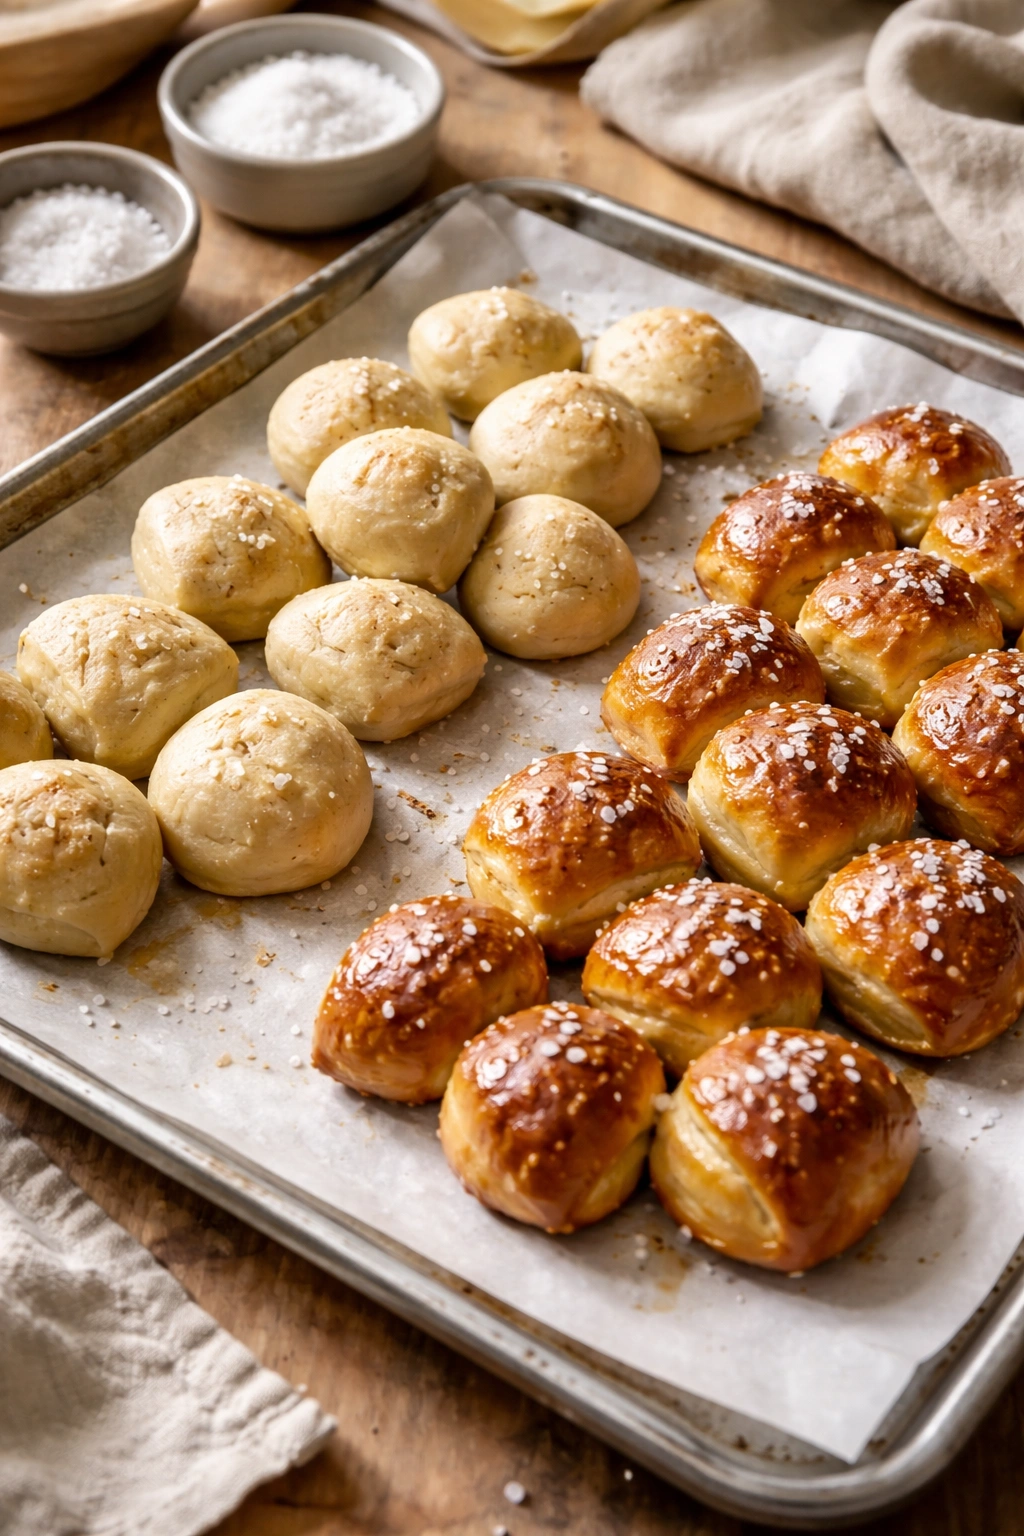
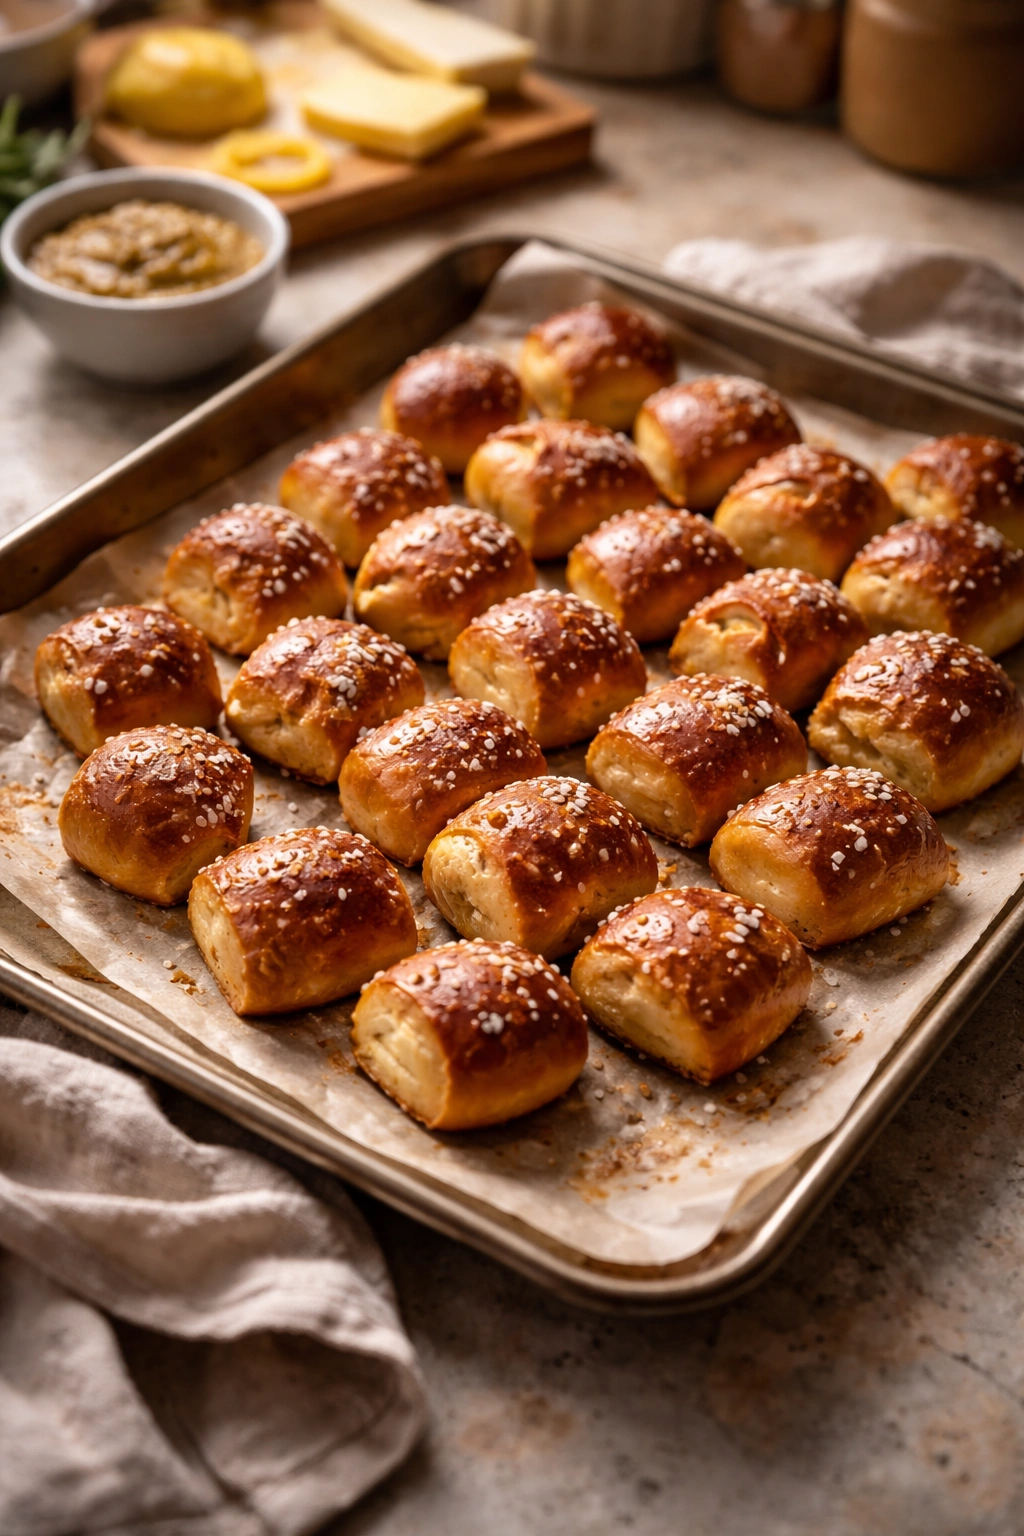
Bake Until Golden: 17. Place the baking sheet in the preheated 400°F (200°C) oven. Bake for 12 to 14 minutes, rotating the sheet halfway through baking for even browning, until the pretzel bites are deep golden brown on top and the edges have set firm.
-
The bites should smell intensely pretzel-like, smell slightly yeasty, and look almost waxy in their shininess — that’s the egg wash caramelizing and creating that characteristic pretzel gloss. The bottoms should also be golden (carefully lift one to check).
-
Remove the baking sheet from the oven and transfer the pretzel bites to a wire cooling rack using a spatula. Don’t skip the cooling rack — leaving them on the hot sheet will continue to cook the bottoms and can make them tough. Allow them to cool for at least 5 minutes before eating, though they’re absolutely best eaten while still warm.
Troubleshooting Common Pretzel Bite Mistakes
Not all pretzel bites turn out perfect the first time, but knowing what can go wrong means you’ll nail it on your second attempt. The good news is that the most common issues are preventable with very minor adjustments.
Dough That Won’t Rise or Stays Dense
If your dough barely rises during the first proof or stays heavy and dense even after baking, your yeast is likely dead. This happens when the water was too hot (over 120°F / 49°C) or the yeast was past its expiration date. Yeast is inexpensive — buy a fresh packet, use water that feels warm but not hot (test it on your inner wrist like you’re checking a baby’s bath), and your next batch will rise beautifully. Another possibility is that your kitchen was too cold. Yeast works slowly in cool temperatures. Find a warmer spot for rising, or let the dough rise longer.
Pretzel Bites That Are Tough or Rubbery Instead of Chewy
Overbaking is the culprit here. These bites are small and bake quickly — that 12-14 minute window is tight. Pull them out when they’re golden brown, not when they start turning darker. They’ll continue to firm up slightly as they cool, and they should have a tender chew, not a tough crumb. Also check that you’re not overworking the dough during shaping. Gentle handling creates tender bites.
Pale, Sad-Looking Pretzel Bites Without That Golden Pretzel Crust
This means your egg wash didn’t coat the bites adequately, or your oven temperature was off. Make sure you’re coating every visible surface with the egg wash before baking. If your oven runs cool (many home ovens do), the bites won’t brown properly. Invest in an oven thermometer — they’re inexpensive and incredibly useful. If your oven is indeed running cool, increase the temperature by 25°F and bake accordingly.
Bites That Spread or Lose Their Shape During Baking
This means your dough rose too much before baking — the gluten structure got overextended and can’t hold the shape in the oven’s heat. Shorten your second rise time. They should be noticeably puffy but still hold a clear, distinct shape when you poke them gently. If you’re letting them rise for 45 minutes to an hour during the second proof, cut it back to 20-30 minutes.
Creative Flavor Variations Worth Trying
The base recipe is delicious exactly as written, but once you’ve made it a couple of times, you’ll love experimenting with flavors. The dough itself is flexible and welcomes additions without fuss.
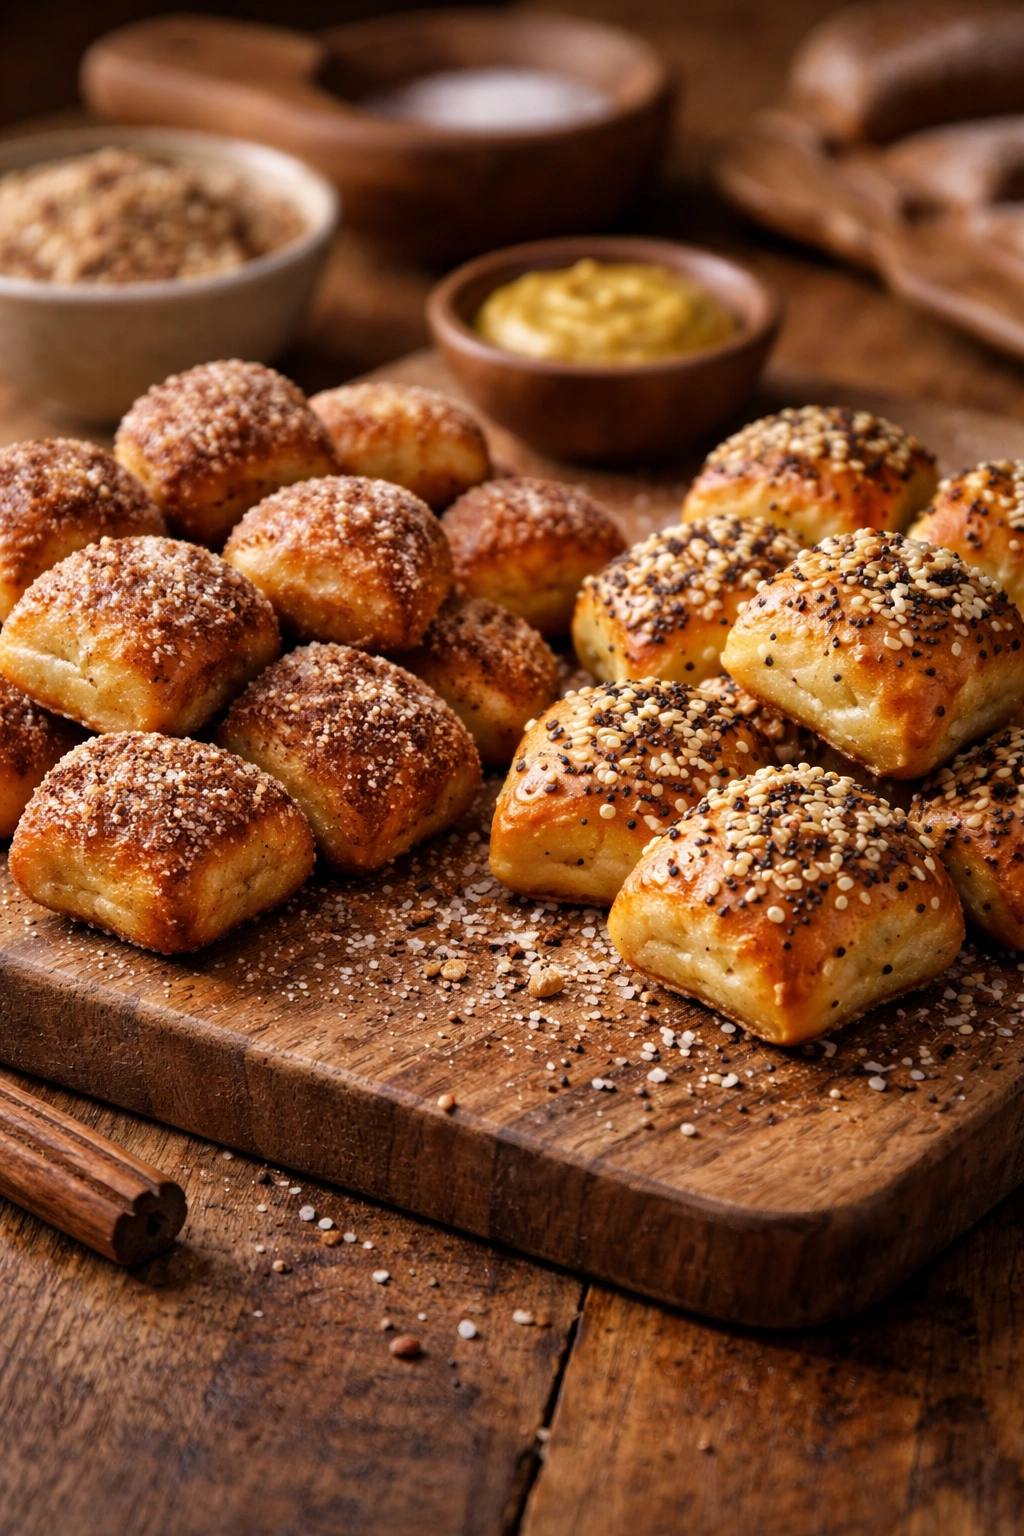
Everything Bagel Pretzel Bites
Skip the plain salt topping. Instead, make an everything bagel seasoning mix: combine 1 tablespoon sesame seeds, 1 tablespoon poppy seeds, 1 tablespoon dried minced onion, 1 tablespoon dried minced garlic, and 1½ teaspoons coarse salt. After brushing with the egg wash, sprinkle this mixture generously over each bite. The combination of seeds, onion, and garlic echoes the everything bagel but tastes distinctly pretzel-like. Serve these with cream cheese mixed with a pinch of smoked paprika for dipping.
Cinnamon Sugar Pretzel Bites
For a sweet version, omit the salt topping entirely. Instead, brush the egg-wash-coated bites with melted butter mixed with a tiny pinch of vanilla extract, then immediately sprinkle with a mixture of cinnamon and sugar (3 tablespoons sugar mixed with 1 teaspoon ground cinnamon). Bake as written. These transform into almost-dessert pretzel bites that pair beautifully with coffee or hot chocolate. They’re sweet but not over-the-top, and the pretzel base keeps them from tasting like a cookie.
Jalapeño and Cheddar Pretzel Bites
Add freshness and heat to the base dough. Before the first rise, fold ½ cup shredded sharp cheddar cheese and ¼ cup finely diced jalapeño (seeded if you prefer less heat) into the dough after kneading. The cheese and jalapeño distribute throughout, adding flavor in every bite. Use the standard egg wash and salt topping. These are fantastic with mustard or ranch dip, and they’ll draw compliments at any gathering.
Garlic Herb Pretzel Bites
Make an herb butter by mixing 2 tablespoons softened butter with 1 teaspoon garlic powder, ½ teaspoon dried Italian seasoning, and ¼ teaspoon red pepper flakes. Spread this mixture onto the warm pretzel bites straight from the oven, then sprinkle with fresh grated Parmesan cheese. The herbs and garlic infuse the bites while they’re still warm enough to absorb the flavors.
Seeded Variations
Instead of (or in addition to) the coarse salt, try different seeds. Sesame seeds are classic. Pumpkin seeds add earthiness. Caraway seeds create an almost rye-like flavor. You can also do half salt, half seeds for a hybrid topping that looks beautiful and offers textural variety.
How to Store and Reheat Your Pretzel Bites
These pretzel bites are best eaten fresh and warm, but they keep beautifully for several days and reheat in minutes.
Room Temperature Storage: Place cooled pretzel bites in an airtight container or sealed plastic bag. They’ll stay soft and fresh for up to 2 days at room temperature. After that, they start to firm up, though they’re still perfectly edible.
Refrigerator Storage: Store them in an airtight container in the refrigerator for up to 5 days. They’ll be slightly firmer than fresh, but reheating brings back the softness.
Freezer Storage: Pretzel bites freeze exceptionally well. Once cooled completely, place them in a freezer bag, remove as much air as possible, and freeze for up to 3 months. Thaw them at room temperature for 20-30 minutes, or skip thawing and reheat them directly from frozen.
Reheating Method: The best way to revive refrigerated or frozen pretzel bites is to warm them in a 350°F (175°C) oven for 3-5 minutes, until they’re warm throughout. They’ll regain their soft, chewy texture almost completely. You can also wrap them loosely in a damp paper towel and microwave for 20-30 seconds, though the oven method is superior if you have the time. Avoid reheating in a toaster oven set too high — you want gentle warmth, not additional browning.
Make-Ahead Strategy: You can prepare the dough and shape the bites the night before. After shaping but before the final rise, cover them tightly and refrigerate overnight. In the morning, let them come to room temperature and complete their final rise (this will take a bit longer than usual, maybe 30-40 minutes). Then proceed with the egg wash and baking as written. This overnight option is perfect if you want fresh pretzel bites for breakfast or for a planned gathering.
Serving Ideas and Perfect Pairings

Pretzel bites are naturally versatile, working as a snack on their own or as an accompaniment to almost any meal or gathering.
As an Appetizer: Warm pretzel bites are the perfect pre-dinner nibble. Serve them in a breadbasket with small bowls of good mustard, warm cheese sauce, and maybe a spicy brown mustard. People will start reaching for them and won’t stop until they’re gone.
With Soup: Soft pretzel bites are the ideal accompaniment to any creamy or broth-based soup. Serve them alongside tomato soup, butternut squash soup, or split pea soup. The chew and slight saltiness complement soups beautifully and make the meal feel more substantial.
At a Party: Set out pretzel bites with several dipping options — mustard varieties, cheese sauce, and maybe a spicy aioli. They’re handheld, not greasy, and sophisticated enough for a casual dinner party but fun enough for a game night.
As Part of a Charcuterie Board: Include a basket of warm pretzel bites on a charcuterie board alongside cured meats, cheeses, and pickles. The pretzel bites add a warm, homemade element that elevates the entire spread and signals that you’ve put thought and effort into the gathering.
With Beer: There’s a reason pretzels and beer are a classic pairing — the saltiness of the pretzel enhances beer’s flavors, and the slight sweetness of the dough balances the bitterness. Serve these alongside your favorite lager or ale.
For Kids: Children love pretzel bites because they’re soft, not challenging to eat, and fun to dip. Serve them with mild cheese sauce or peanut butter mixed with a tiny bit of honey. They’re a genuinely wholesome snack that tastes indulgent.
As a Bread Substitute: Serve soft pretzel bites alongside chili, stew, or any meal where you’d normally serve bread. They’re more interesting than plain bread and add personality to the meal.
Pro Tips From the Dough Up
A few small details separate okay pretzel bites from the ones people remember and ask you to make again.
Use a kitchen scale if you have one. Weight measurements are more accurate than volume measurements, especially for flour. If your recipe calls for 3 cups flour by volume, that’s approximately 360 grams by weight. If you use a scale, you’ll have more consistent results from batch to batch.
Don’t skip the second rise. The second rise might seem unnecessary when the dough has already risen once, but it’s crucial. It allows the shaped bites to proof in their final form, ensuring they’re fluffy and tender after baking rather than dense.
The egg wash is non-negotiable. This is what creates the pretzel crust. There’s no acceptable shortcut here. The baking soda mixed into the egg wash is essential — it’s what gives these bites their pretzel authenticity. Don’t skip it or substitute it with something else.
Brush the egg wash generously. A thin, stingy application won’t give you that shiny, golden exterior. Brush thoroughly, ensuring every visible bit of dough is coated. This is literally the difference between an okay pretzel and a pretzel that looks like it came from a bakery.
Check your oven temperature. Most home ovens run slightly cool or hot. An inexpensive oven thermometer solves this problem. If your bites are consistently pale, your oven is probably running cool. If they brown too quickly, it’s running hot. Adjust accordingly.
Let them cool just slightly before eating. I know it’s tempting to eat them straight from the oven, and honestly, they’re delicious warm. But giving them 5 minutes to cool very slightly means they’ll be easier to handle and the flavors will be slightly more pronounced as they cool.
Make a double batch. Now that you know how simple these are, you’ll want to make them often. The dough scales up beautifully — double all the ingredients and you’ll have pretzel bites to eat fresh and some to freeze for later. Your future self will thank you.
Final Thoughts
Soft pretzel bites are proof that some of the most crave-worthy baked goods don’t require fancy equipment, obscure ingredients, or advanced technique. You need flour, yeast, water, butter, and salt — things you likely have in your kitchen right now. The method is straightforward enough that you can teach someone else how to make them while you’re doing it together.
More importantly, making these teaches you fundamental baking skills that transfer to everything else you bake. You learn how yeast works, how dough develops, how to recognize when proofing is complete, and how to get a beautiful crust in your home oven. These aren’t abstract lessons — you’ll see and taste the results in your finished pretzel bites.
Once you’ve made these a couple of times, they’ll become almost automatic. You’ll mix the dough while your oven preheats, shape the bites while the first rise happens, and bake them fresh for dinner or snacking. That moment when they come out of the oven, golden and impossibly aromatic, never gets old. And the moment someone you’re feeding takes a bite and says, “Wait, you made these from scratch?”—that’s when you’ll know this recipe was worth your time.