Poaching an egg might seem like the kind of task that separates home cooks from restaurant professionals—all that precise water temperature, the careful swirling, the timing that demands attention to detail. But the truth is simpler than you think: poaching eggs isn’t actually difficult once you understand the physics of what’s happening and follow a few key principles. The main reason most people fail is not lack of skill but rather misinformation—they’ve been told conflicting advice about vinegar ratios, water temperature, and technique, so they approach the pan with uncertainty. That hesitation shows up in the egg. What you need instead is clarity on exactly why each step matters and the confidence that comes from knowing the right method.
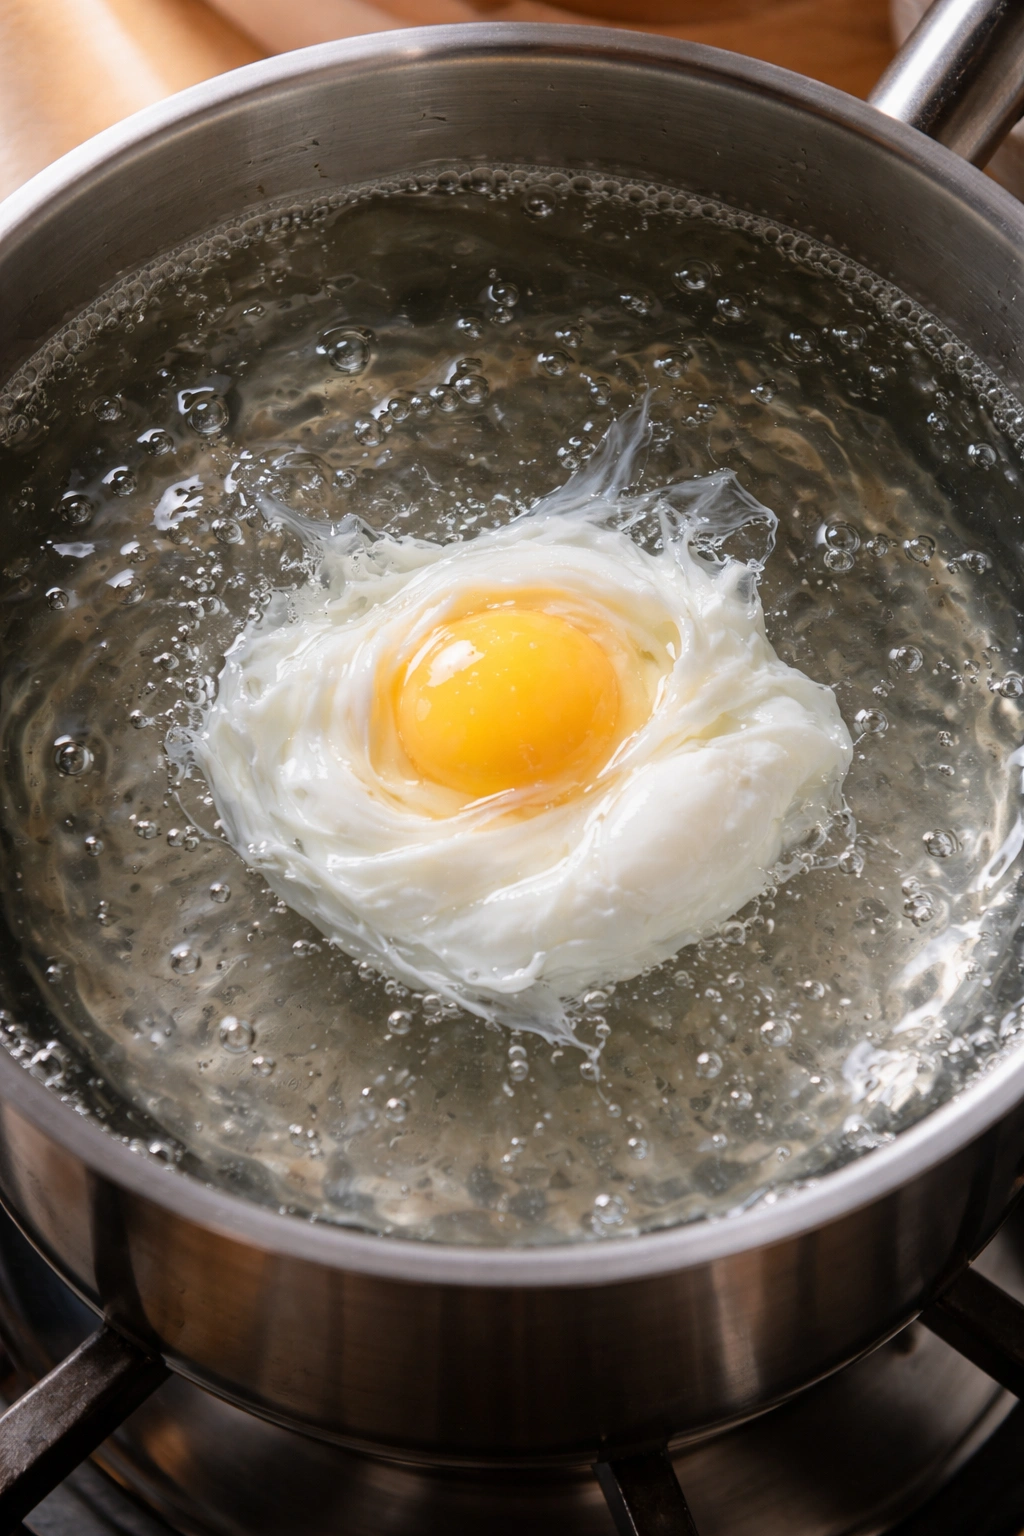
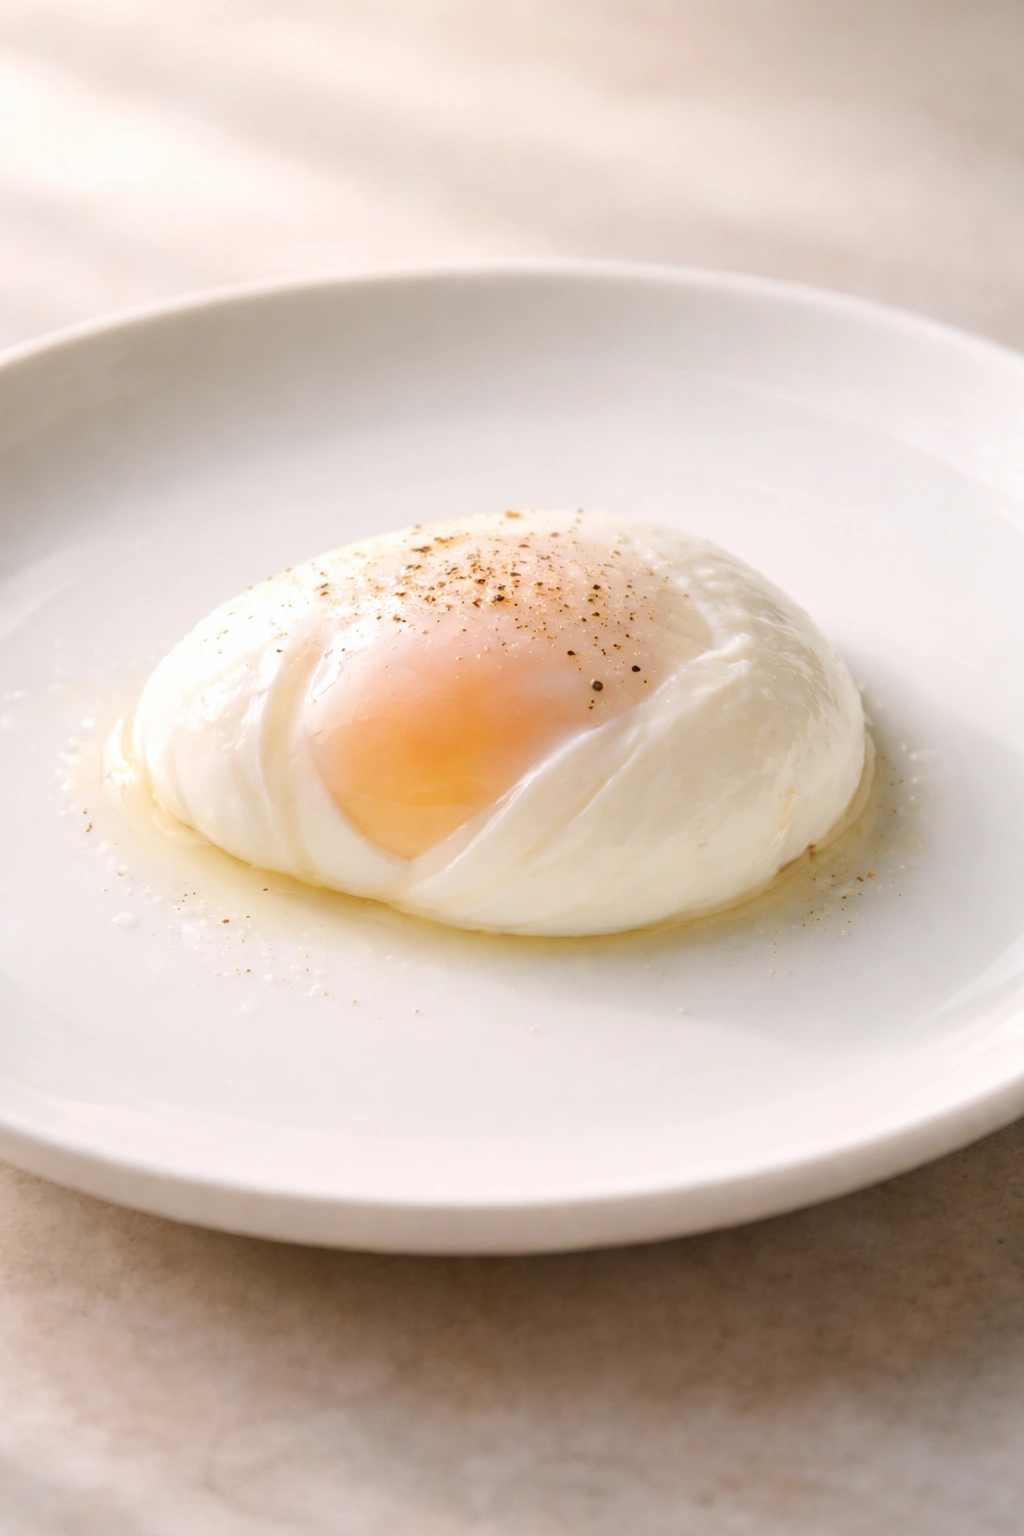
A perfectly poached egg has a silky, barely set white that clings to the yolk, and a golden, warm—but still runny—center that breaks open onto your toast or salad. It’s pure comfort, elegant but approachable, and it transforms breakfast from ordinary to something you genuinely want to wake up for. The good news is that once you nail the technique once, you’ll be able to repeat it consistently. There’s no mystique here, just science and straightforward execution.
The real secret lies in understanding that egg white has two distinct parts: the thinner outer white, which sets quickly in hot water, and the thicker inner white, which takes longer. Water temperature controls how these layers cook relative to each other. Gentle movement keeps the thin white wrapped around the yolk instead of dispersing into the water. And timing is everything—too short and your white is still translucent, too long and your yolk is firm rather than runny. Once you understand these three variables, you’ll be poaching like you’ve been doing it for years.
The Science Behind a Perfect Poach
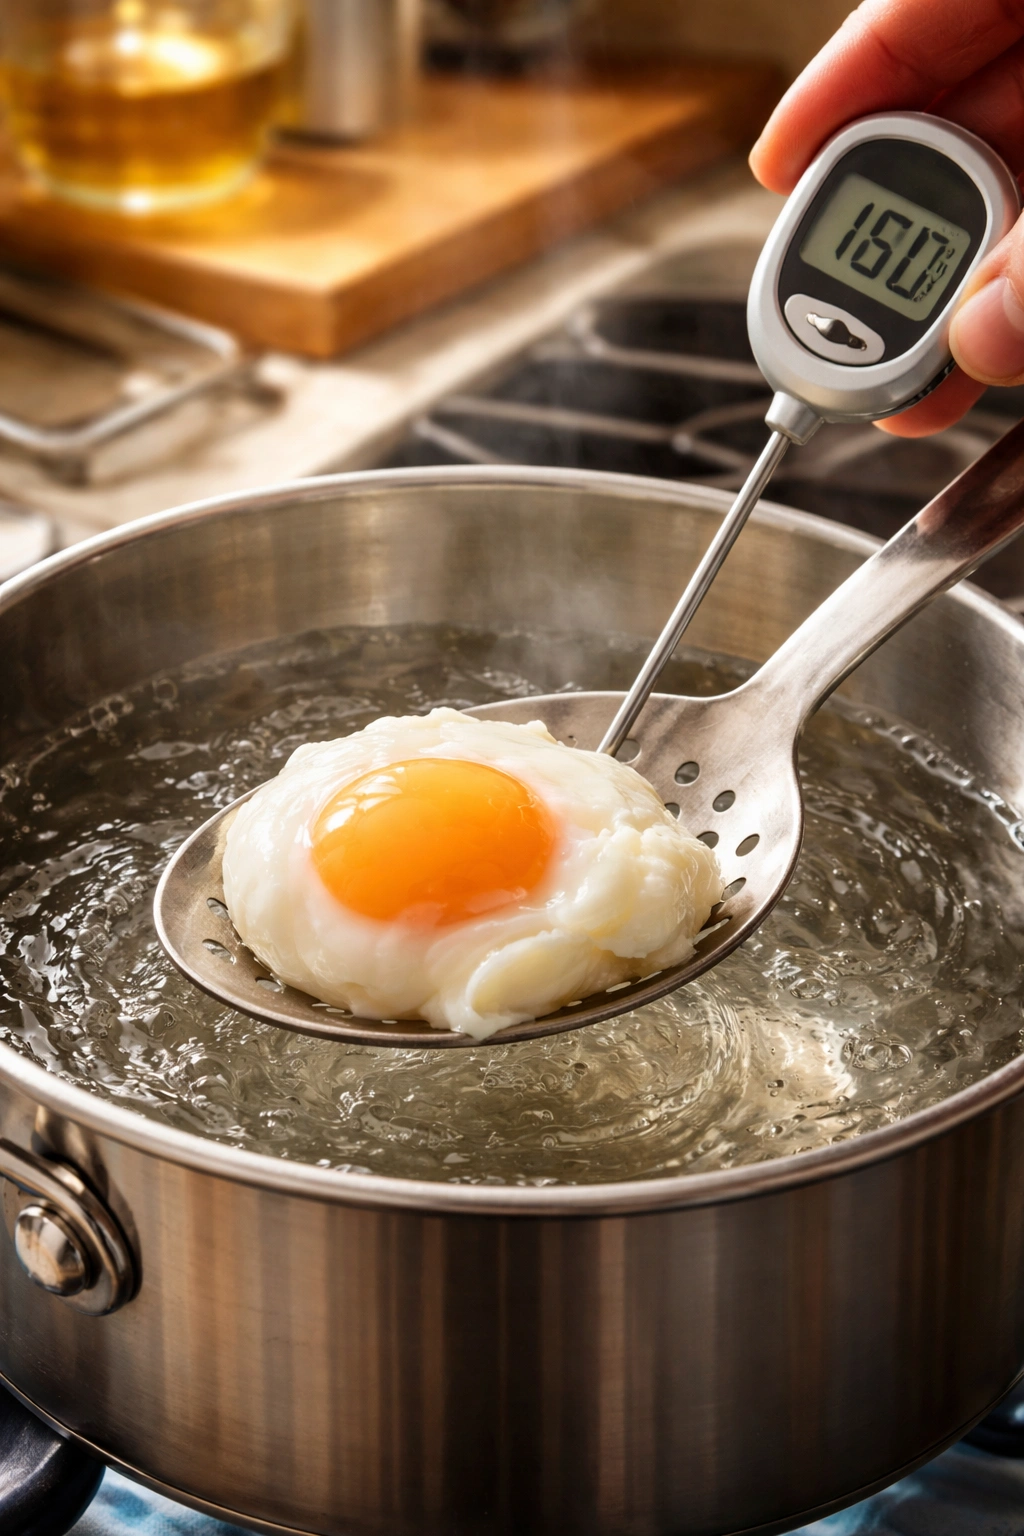
Egg white is mostly water and protein. When you introduce the raw egg into hot water, the proteins in that white denature—they unfurl and bond with each other, forming a solid network. The trick is controlling how fast this happens. Water that’s too hot (above 180°F) causes the outer white to set so aggressively that it breaks apart before the inner white has time to set. Water that’s too cool (below 160°F) takes forever and allows the white to disperse into loose wisps instead of holding a cohesive shape.
The sweet spot—around 160-180°F—is warm enough to set the white in roughly 3-4 minutes, but gentle enough that the white stays intact instead of shattering. This temperature feels hotter than a gentle simmer but isn’t at a rolling boil. Think of it as “barely simmering”—you’ll see small bubbles rising from the bottom and a few breaking the surface, but nothing dramatic.
Salt and vinegar also matter, but not in the way most recipes suggest. Salt raises the water’s boiling point and makes the white set faster—a minor effect, but useful. Vinegar does something different: the acidity lowers the pH of the water, which actually helps the white coagulate faster and more evenly. However, you don’t need much—a tablespoon in a full pot of water is plenty. Too much vinegar and you’ll taste it in your egg.
The motion matters because it creates a gentle current that encourages the thin white to wrap around the yolk rather than drift away. You’re not stirring vigorously; you’re creating a small whirlpool that the egg slides into.
Choosing the Right Eggs and Water
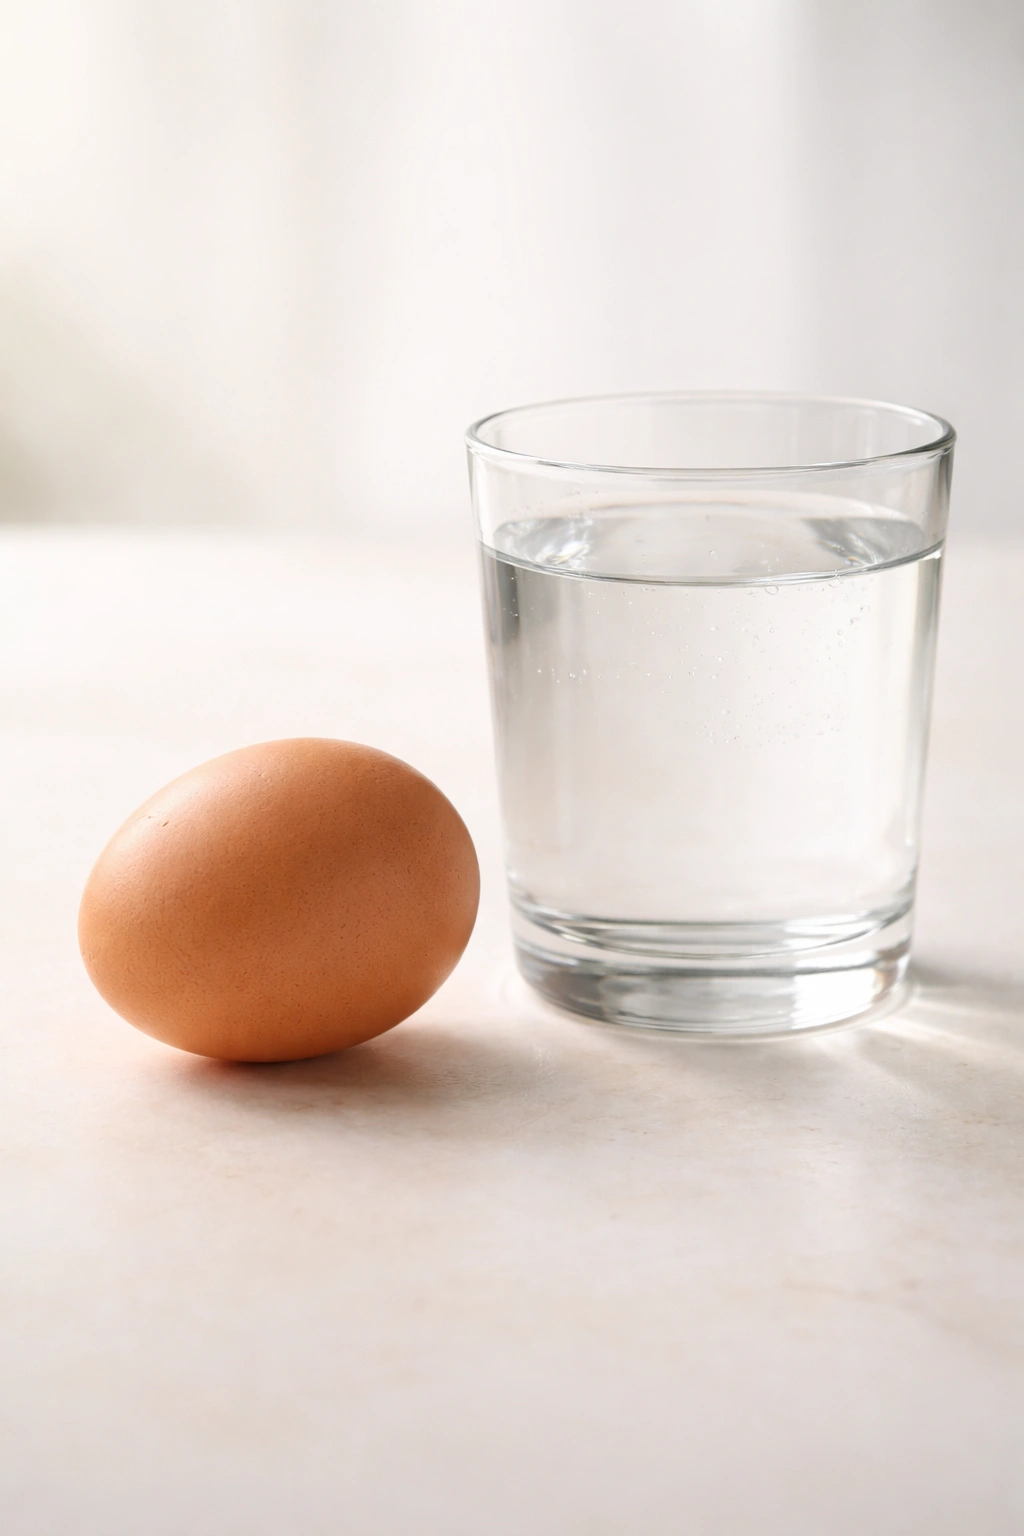
Not all eggs poach equally. Fresh eggs are essential—and by fresh, I mean eggs that are at most 7-10 days old. The fresher the egg, the more cohesive the white, and the better it holds together in water. Older eggs have whites that are thinner and more watery, so the white disperses immediately when you crack it into the water. If you’re not sure how old your eggs are, buy them from a source where you can see the packing date on the carton.
Room-temperature eggs are better than cold eggs because they cook more evenly. Cold eggs take longer to set, and the timing becomes less predictable. Pull your eggs out of the refrigerator 5-10 minutes before poaching, or at minimum, let them sit in warm tap water for a minute.
Water quality matters less than you might think, but filtered water does help avoid off flavors and mineral buildup in your pot over time. Use enough water to give the egg room to move—a 2-3 quart saucepan filled about two-thirds full is ideal for one or two eggs. More water means better temperature stability. Never poach in a shallow pan; the egg needs vertical space to unfold and set properly.
The Exact Temperature You Need
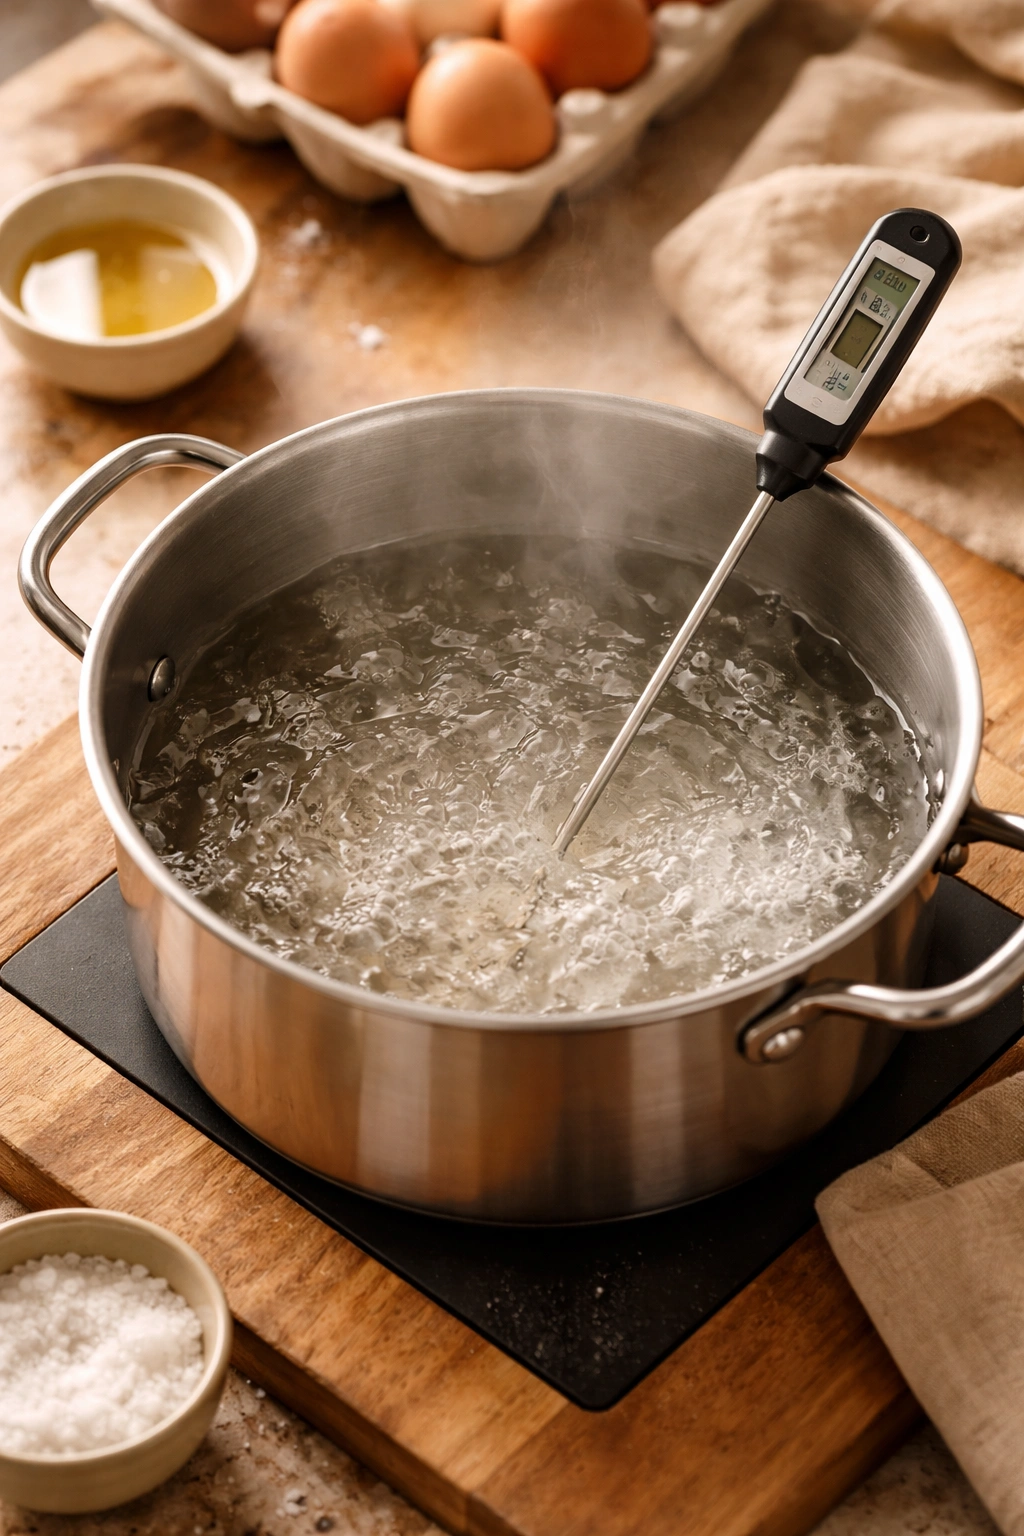
Use a cooking thermometer—not a guess. The difference between 155°F and 185°F is the difference between a poached egg with a barely set white and one where the white is rubbery. Most home cooks don’t own a thermometer, which is likely why their first attempts fail.
Fill your saucepan with water and bring it to a boil over medium-high heat. Once it’s at a rolling boil, reduce the heat to medium-low. Add a pinch of salt and about one tablespoon of white vinegar (or distilled vinegar). Now check the temperature. If it’s above 180°F, let it cool for a minute and check again. You’re aiming for 160-180°F—closer to 170°F is ideal if you can dial it in.
Once your water is at temperature, adjust your burner to maintain it. The temperature will drop by a few degrees once you add the egg, so you want to start a touch warmer than your target. If the water drops below 160°F, your egg will take too long to cook and the white will be wispy. If it climbs above 180°F, the white will set too fast and unevenly, or may even become granular.
Cracking the Egg Without Breaking the Yolk
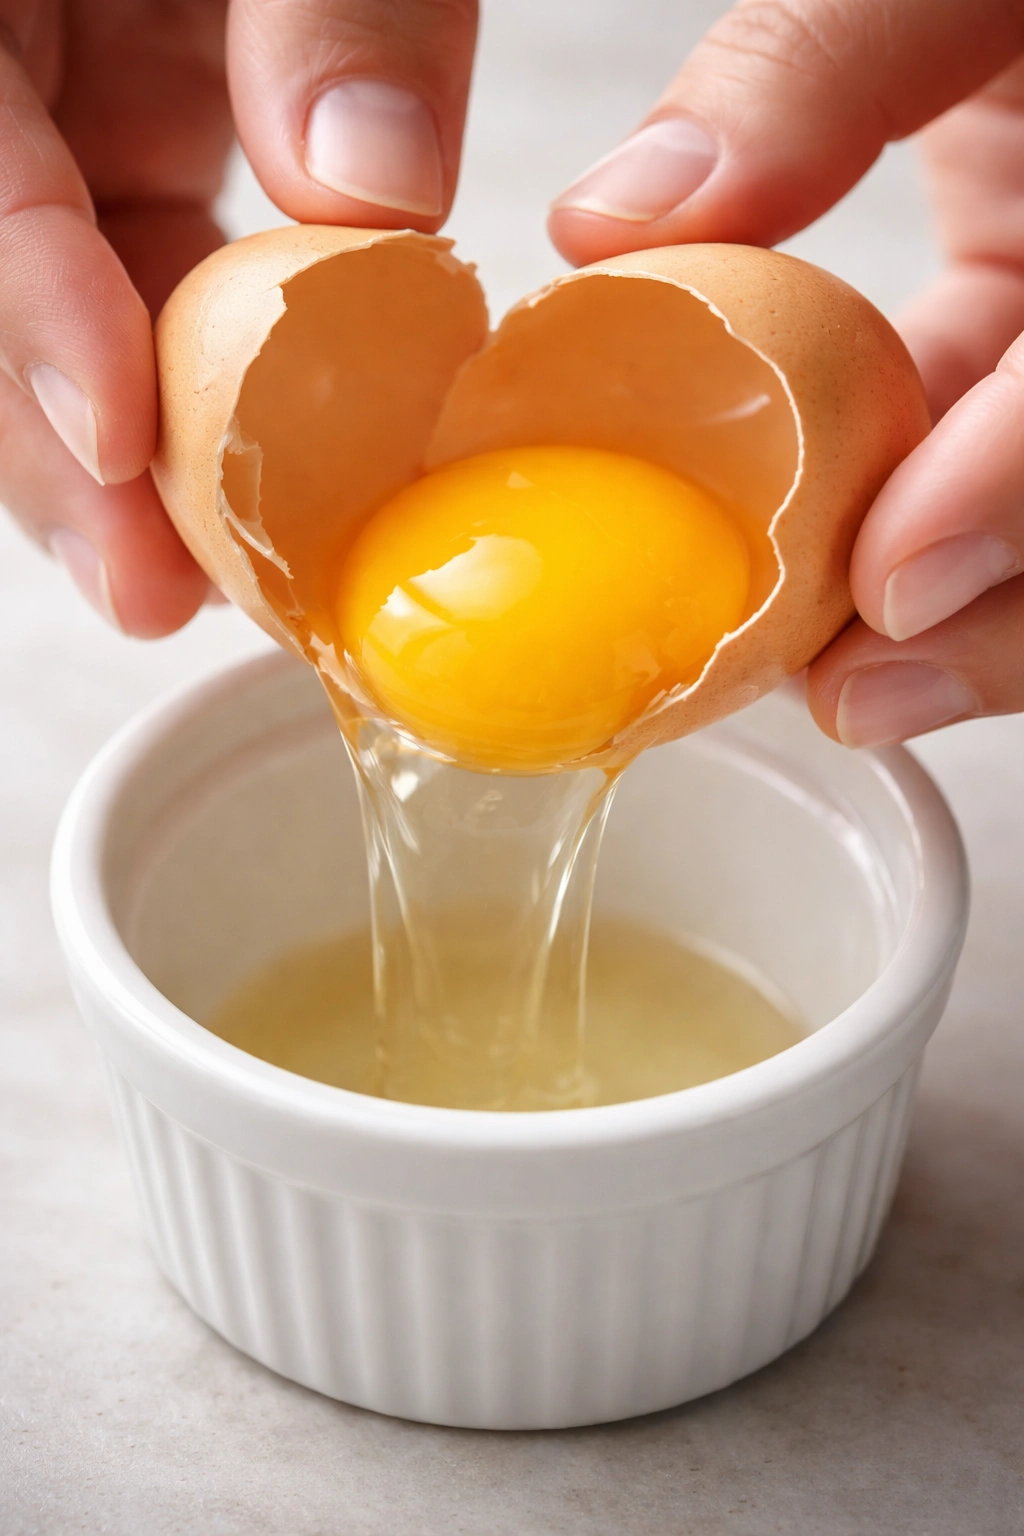
This is where precision begins. Crack the egg into a small cup or ramekin first—never directly into the water. This sounds like an extra step, but it’s actually the key safety move. You can check the egg for shell fragments, see if the yolk is intact, and position the egg however you want before it hits the water.
Crack the egg gently against a flat surface, not the edge of a bowl. The edge creates a sharp break that often damages the yolk. A flat surface (like the counter or the side of your saucepan) creates a cleaner break. Use your thumbs to gently separate the shell halves, letting the white flow into the cup while the yolk stays cradled in one shell half. Let the excess white drain away if you want a neater egg—this isn’t essential, but it does result in a less feathery white.
Once the egg is in your cup, look at it. Is the yolk intact and sitting in the center of the white? If yes, you’re ready. If the yolk has cracked or is at an odd angle, use that egg for scrambled eggs instead. Poaching is not forgiving of damaged yolks.
Creating the Perfect Whirlpool
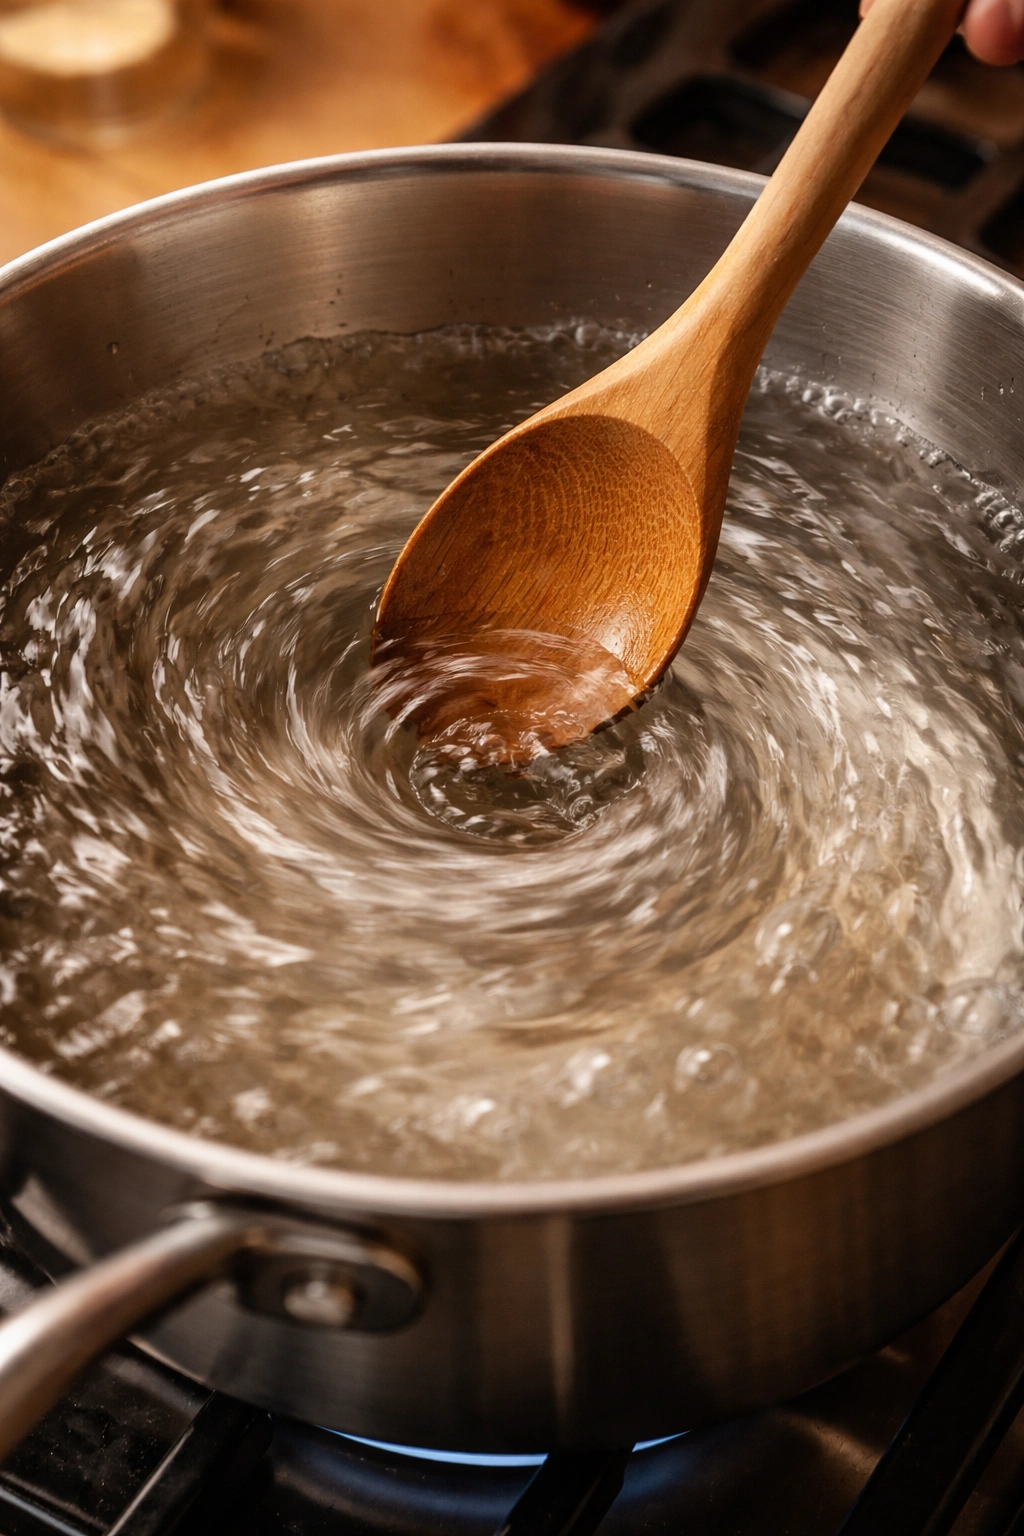
This is the move that changes everything. Use a wooden spoon or silicone spatula to stir the water in a circular motion—not wildly, but with intention. Create a gentle whirlpool that spirals around the center of the pan. The water should move smoothly and continuously, not in stuttering pulses.
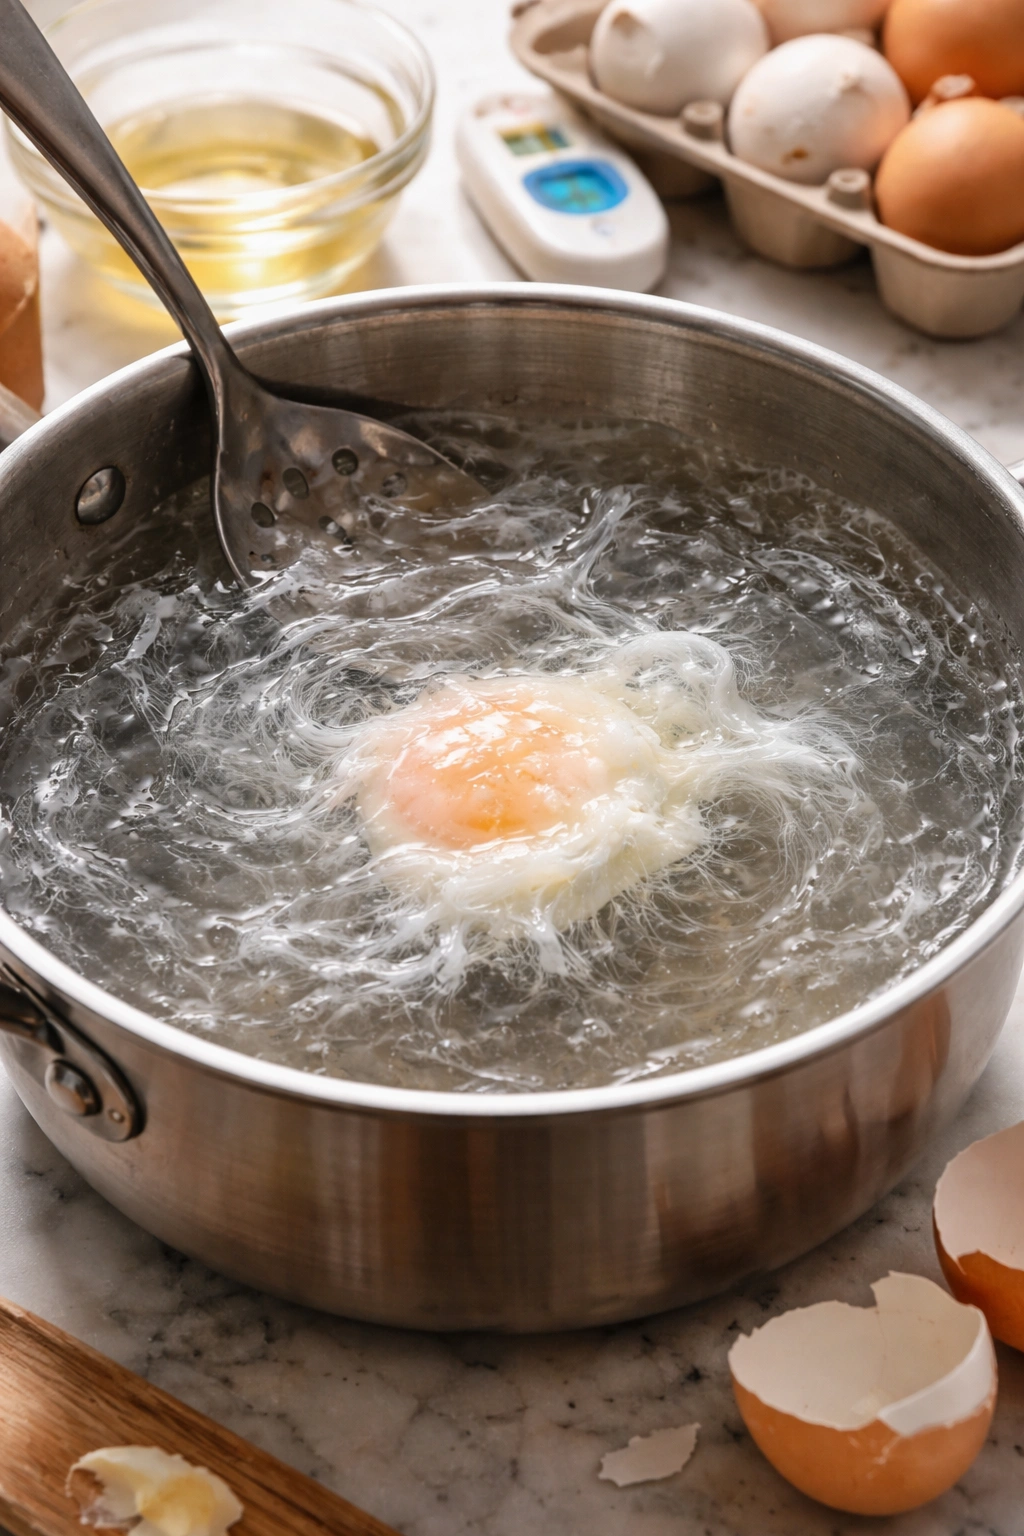
Once you’ve got a steady whirlpool going, immediately slide the egg from your cup into the very center of the whirlpool. The spinning water will catch the egg and wrap the white around the yolk almost instantly. This is why the whirlpool matters—it’s not for show, it’s functional. The wrapping happens in the first 10-15 seconds after the egg enters the water.
Stop stirring once the egg is in. Let the water settle. The egg will sink at first, then begin to float as it cooks. This is normal and expected.
The Cook Time That Determines Everything
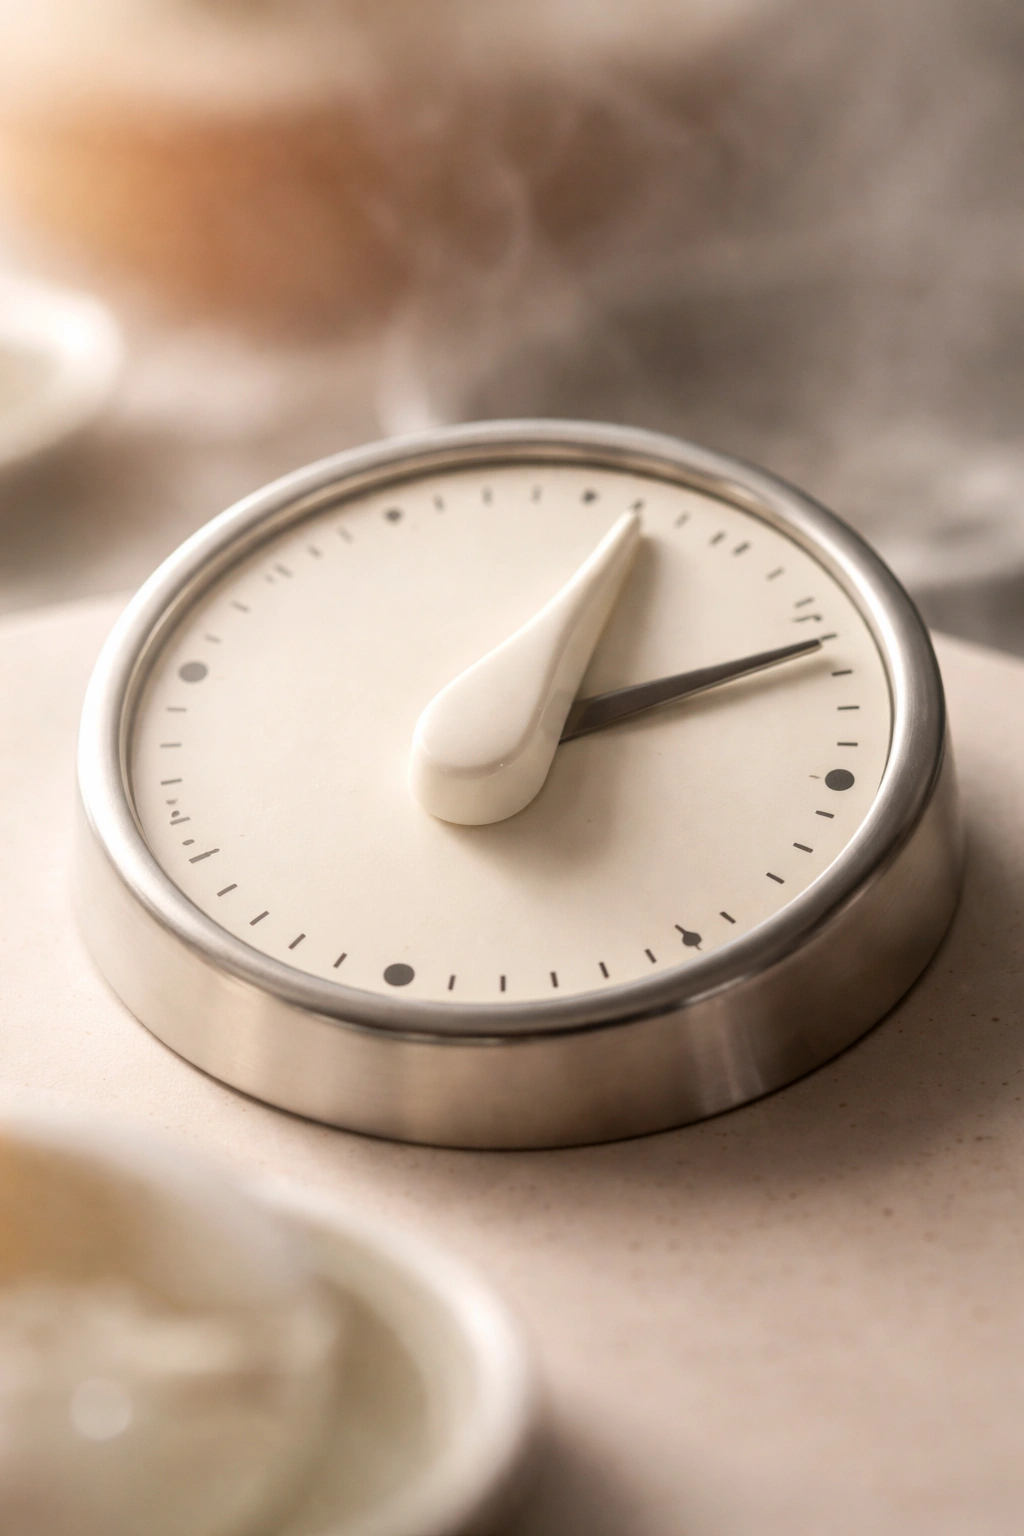
Timing is not about watching for specific visual cues—it’s about seconds. Most poached eggs cook in 3-4 minutes, but this depends on water temperature, egg size, and how cooked you like your yolk.
For a soft-set yolk (runny center, barely firm edges) and a fully set white, cook for 3-3.5 minutes at 170°F. For a yolk with a slightly firmer center but still creamy, cook for 4 minutes. Beyond 4.5 minutes, the yolk begins to fully set, and you’re moving away from the texture that makes poached eggs special.
Set a timer the moment the egg hits the water. Don’t estimate. Don’t wait until “it looks done.” The difference between a runny yolk and an overcooked one is literally 30 seconds at this temperature.
Removing and Draining the Egg
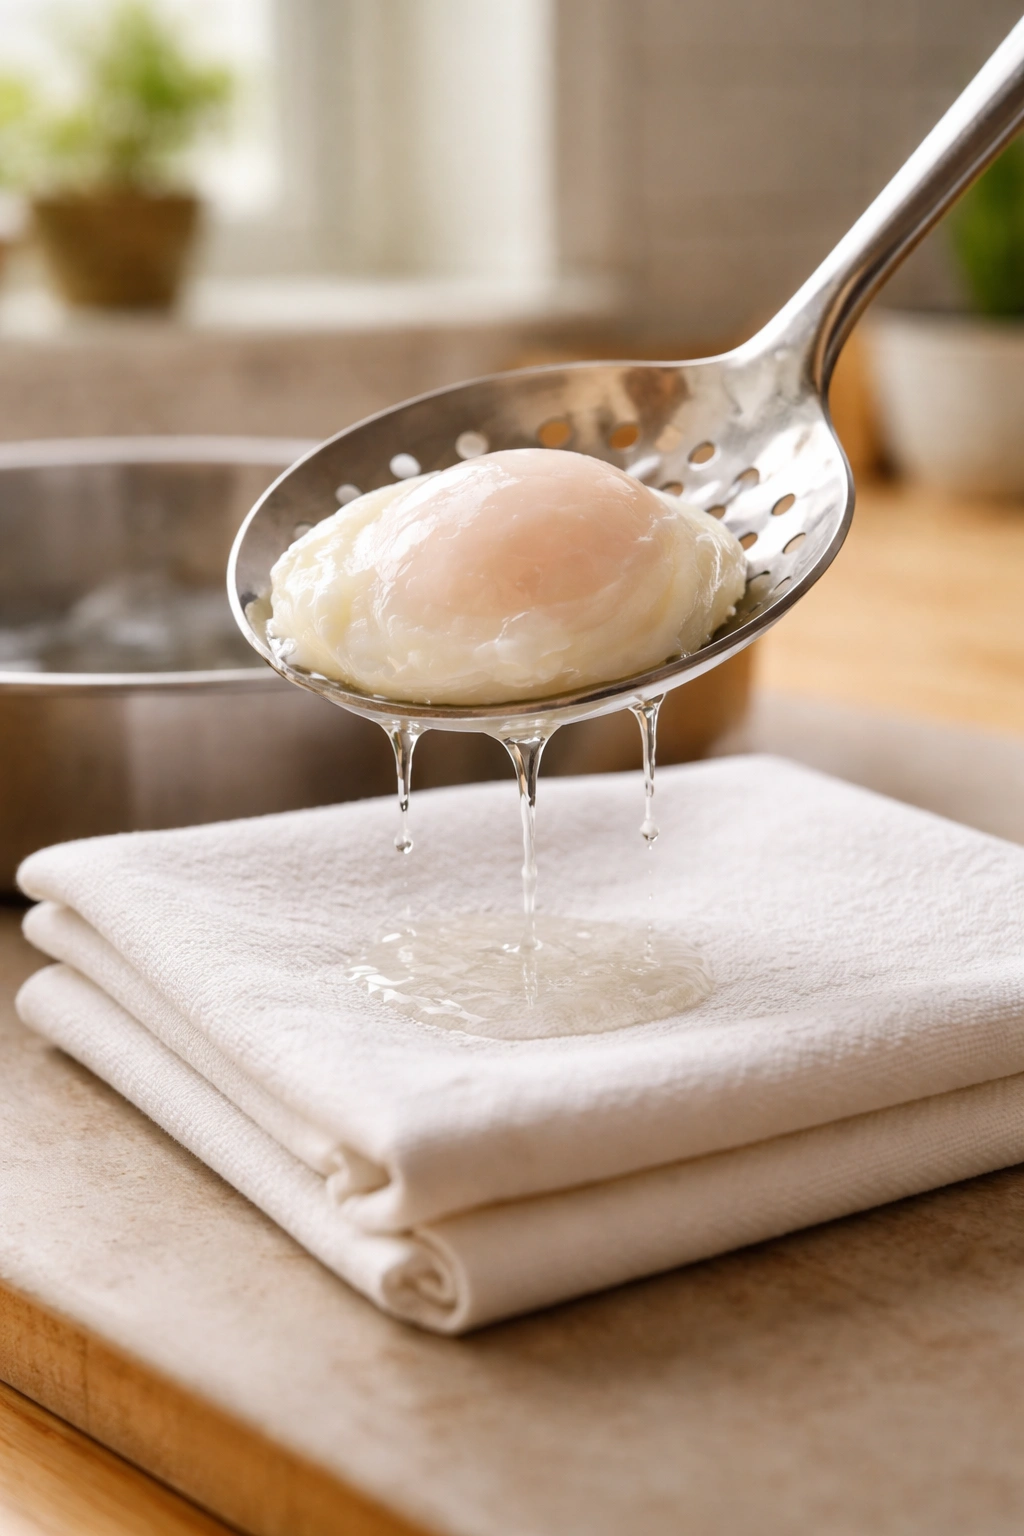
When your timer goes off, use a slotted spoon to scoop the egg from the water. Place it on a clean kitchen towel or folded paper towel for 5-10 seconds. This absorbs excess water that would otherwise make your toast soggy or dilute your sauce.
If any white is still translucent or feels loose to the touch, your water temperature was too low or your timing was short. A properly set white will feel delicate but intact to the spoon—not mushy or jelly-like. The entire white should be opaque and firm.
Transfer the egg immediately to your plate, toast, or serving dish. A poached egg is best enjoyed within a minute or two of cooking, while the yolk is still warm and the white is at its most delicate.
Common Mistakes That Ruin Your First Attempt
Too much vinegar is probably the most frequent error. More than a tablespoon per quart of water makes the egg taste sour and can actually cause the white to set too aggressively. A tablespoon is enough; don’t double it.
Skipping the whirlpool means your egg white disperses in wisps instead of holding together. Some recipes say you don’t need it, but they’re wrong. The whirlpool wraps the white around the yolk in seconds—without it, you’re relying on luck.
Using old eggs is nearly impossible to work around. If your eggs are more than two weeks old, the white is so thin that it will inevitably separate into wispy strands no matter your technique. Buy fresh eggs or accept that the attempt might not look pristine.
Water temperature guessing is why most home cooks fail. Without a thermometer, you can’t actually know if your water is at 160°F or 190°F. Those 30 degrees are the difference between success and failure. This is non-negotiable.
Crowding the pan by poaching multiple eggs at once lowers the water temperature and makes it harder to maintain consistent results. For your first attempts, stick to one egg at a time. Once you’re confident, you can poach two or three in a larger pot, but the water temperature drops significantly with each egg.
Moving the egg too much after it enters the water breaks it apart. Once the whirlpool settles and the egg sinks, leave it alone. No stirring, no poking, no checking. Just let it cook.
Troubleshooting: When Your Egg Goes Wrong
The white is wispy and separated. This means either your eggs were old, your water was too cool, or your whirlpool wasn’t established when you added the egg. For the next attempt: use fresher eggs, verify your water temperature with a thermometer, and create a more vigorous whirlpool before sliding the egg in.
The yolk is completely cooked through. You cooked it too long or your water was too hot. For the next try, reduce your cook time to 3 minutes exactly, and lower your water temperature to 160-165°F if possible.
The yolk broke when you removed it. This was likely a cracked yolk to begin with, or your slotted spoon wasn’t gentle enough. Check your raw eggs before cooking and use a slotted spoon designed for poaching—it’s slightly deeper and supports the egg better.
The egg tastes like vinegar. You used too much vinegar or the wrong type. Use distilled white vinegar at about a tablespoon per quart, or try lemon juice instead (a tablespoon of fresh lemon juice has a similar effect on cooking but tastes fresher).
Making Poached Eggs Four at a Time
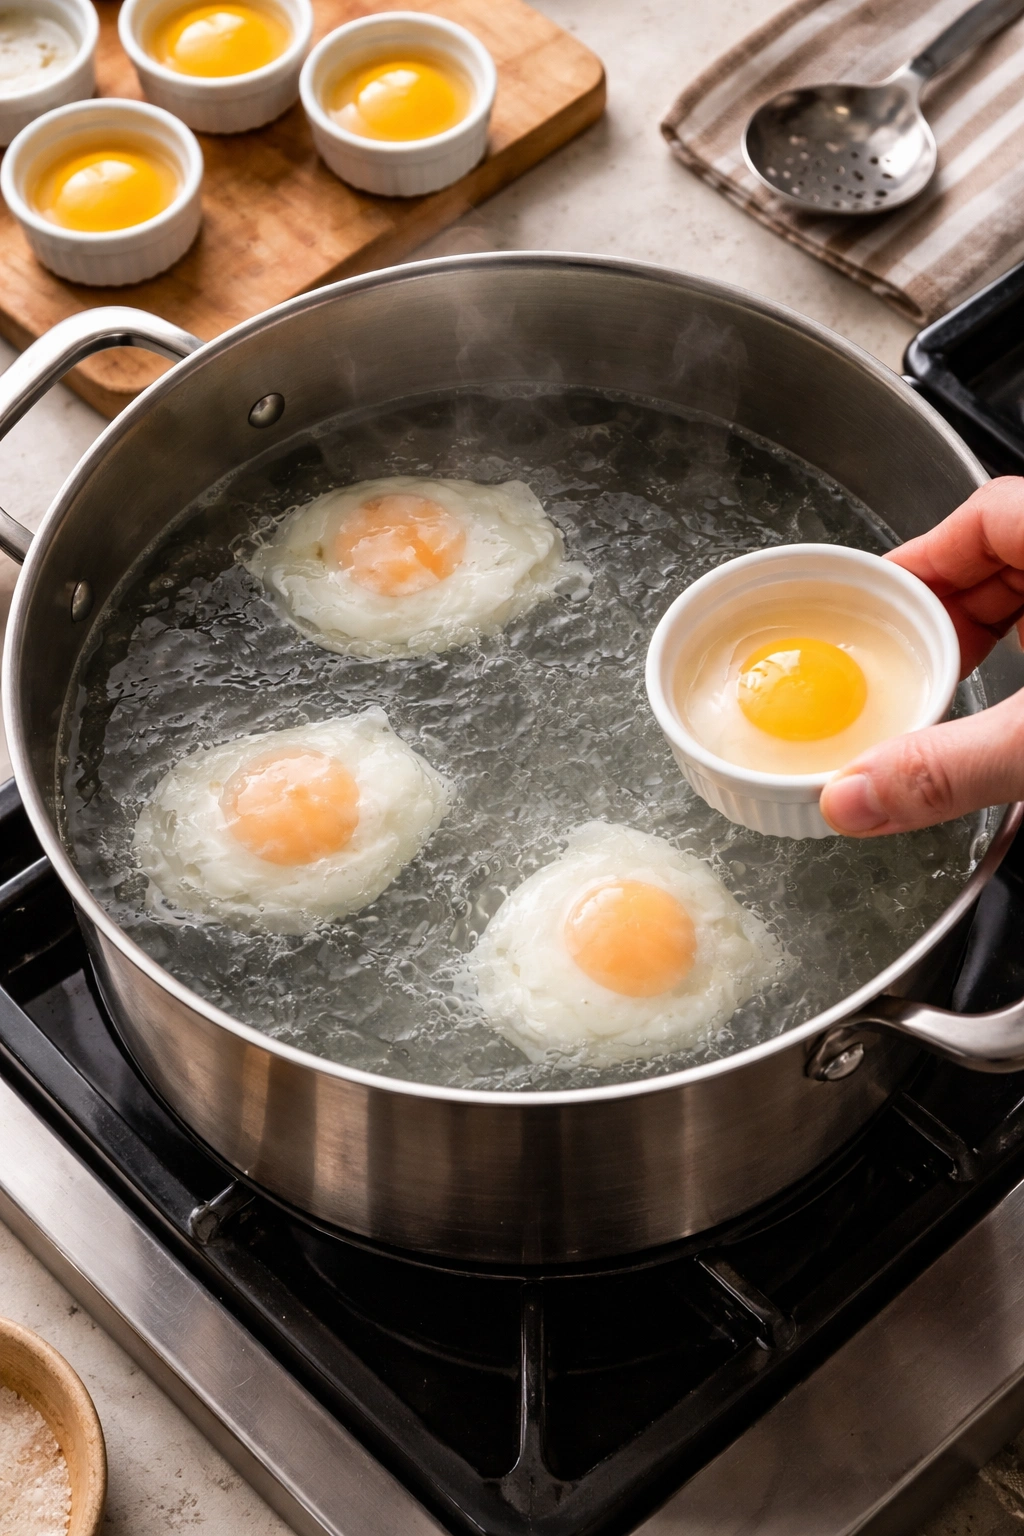
Once you’re comfortable with one egg, poaching four for a dinner party is a logical next step—but it requires adjusting your approach. Use a larger pot (4-5 quarts) filled to about three-quarters full. Bring it to 170°F and maintain that temperature carefully.
Prepare all four eggs in separate cups before you start. Crack each into its own ramekin so you’re not cracking eggs over boiling water while your first one is already cooking.
Create your whirlpool and add the first egg. Let it cook for about 45 seconds, then create another whirlpool on the opposite side of the pan and add the second egg. Repeat this process with the third and fourth eggs, spacing them out around the pot.
From the time you add the last egg, cook for another 3 minutes. All four will finish at roughly the same moment. This slight staggering prevents the water temperature from dropping too much when you add each egg, and it means all four eggs cook consistently.
Keep a thermometer in the water throughout. If the temperature drops below 160°F, increase your heat slightly for a minute. You’re managing the temperature the whole time.
Variations and Flavor Twists
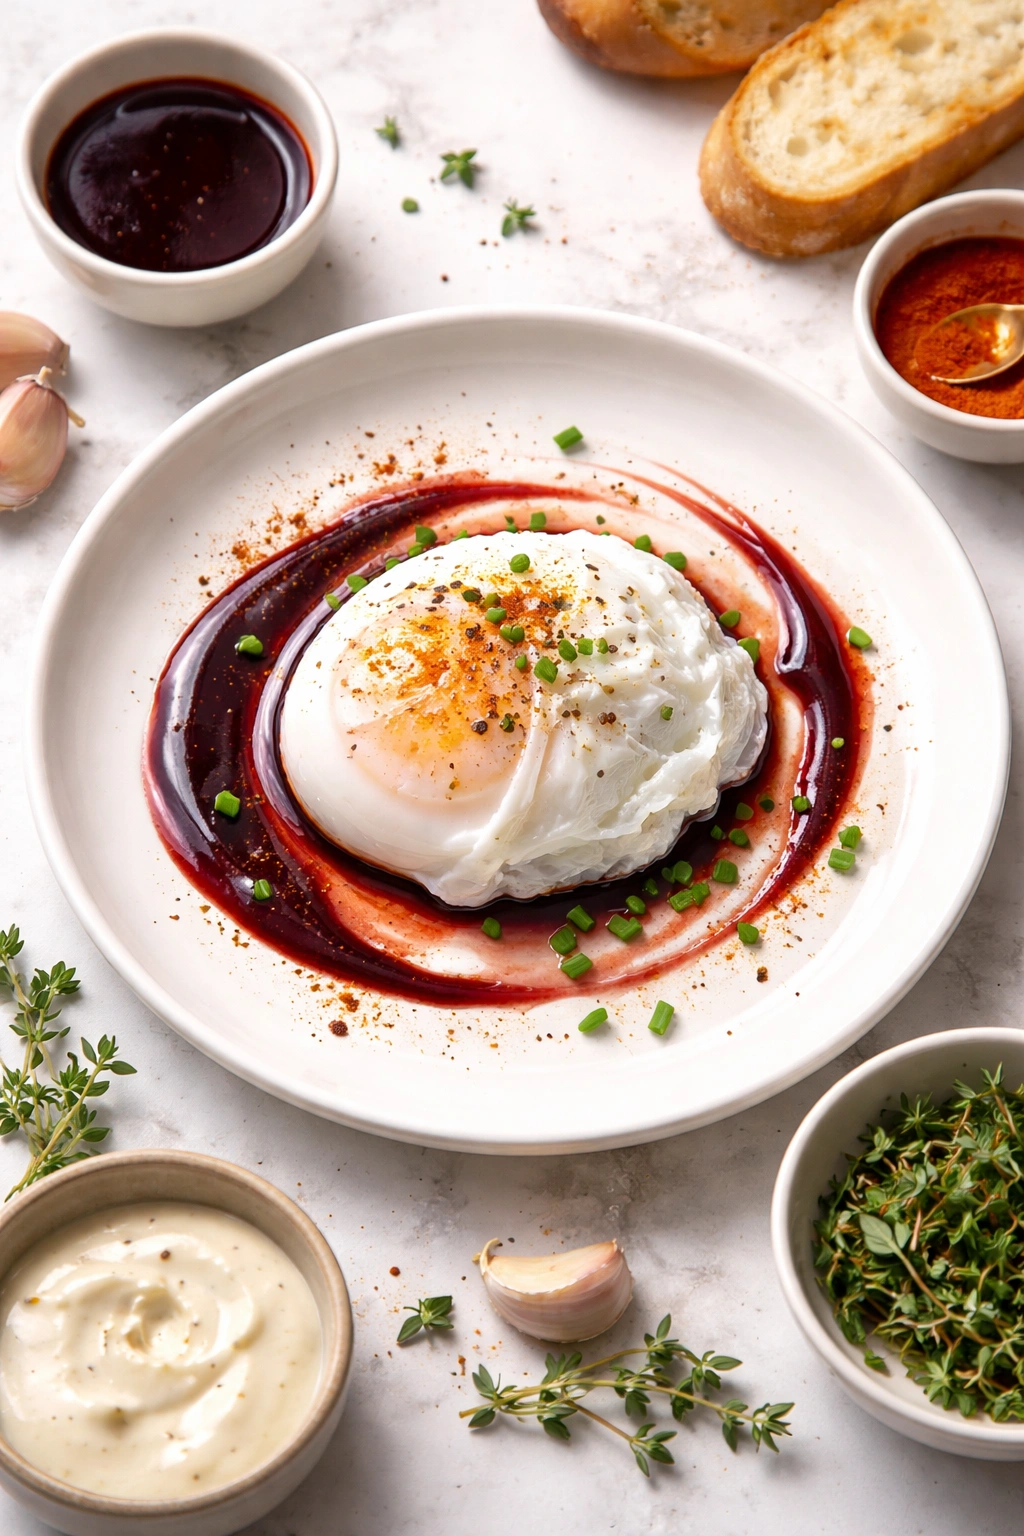
Poached eggs in wine reduction. Instead of water, use a combination of 3 parts water and 1 part dry white wine, with a pinch of salt. The wine adds acidity and complexity. Cook the eggs exactly the same way, but use the same liquid to serve—it becomes a simple, elegant sauce.
Smoked paprika poached eggs. Add a teaspoon of smoked paprika and a tiny pinch of cayenne to your poaching water. The spice infuses subtly into the white without overpowering the delicate yolk.
Herb-infused poaching liquid. Add fresh thyme, rosemary, or tarragon sprigs to your water while it heats. Remove them before poaching—you just want the flavor. This is especially nice if you’re serving the eggs with a salad or over greens.
Poached eggs in cream or tomato sauce. You don’t have to poach in water. Gently poach eggs in simmering cream (reduce heat to keep it at 160°F), or in a barely simmering tomato sauce. The cooking time is the same, but the flavor is richer. Use a slotted spoon so the egg stays separate from the sauce while it cooks, then gently nestle the finished egg into the sauce for serving.
Serving Suggestions That Showcase Your Eggs
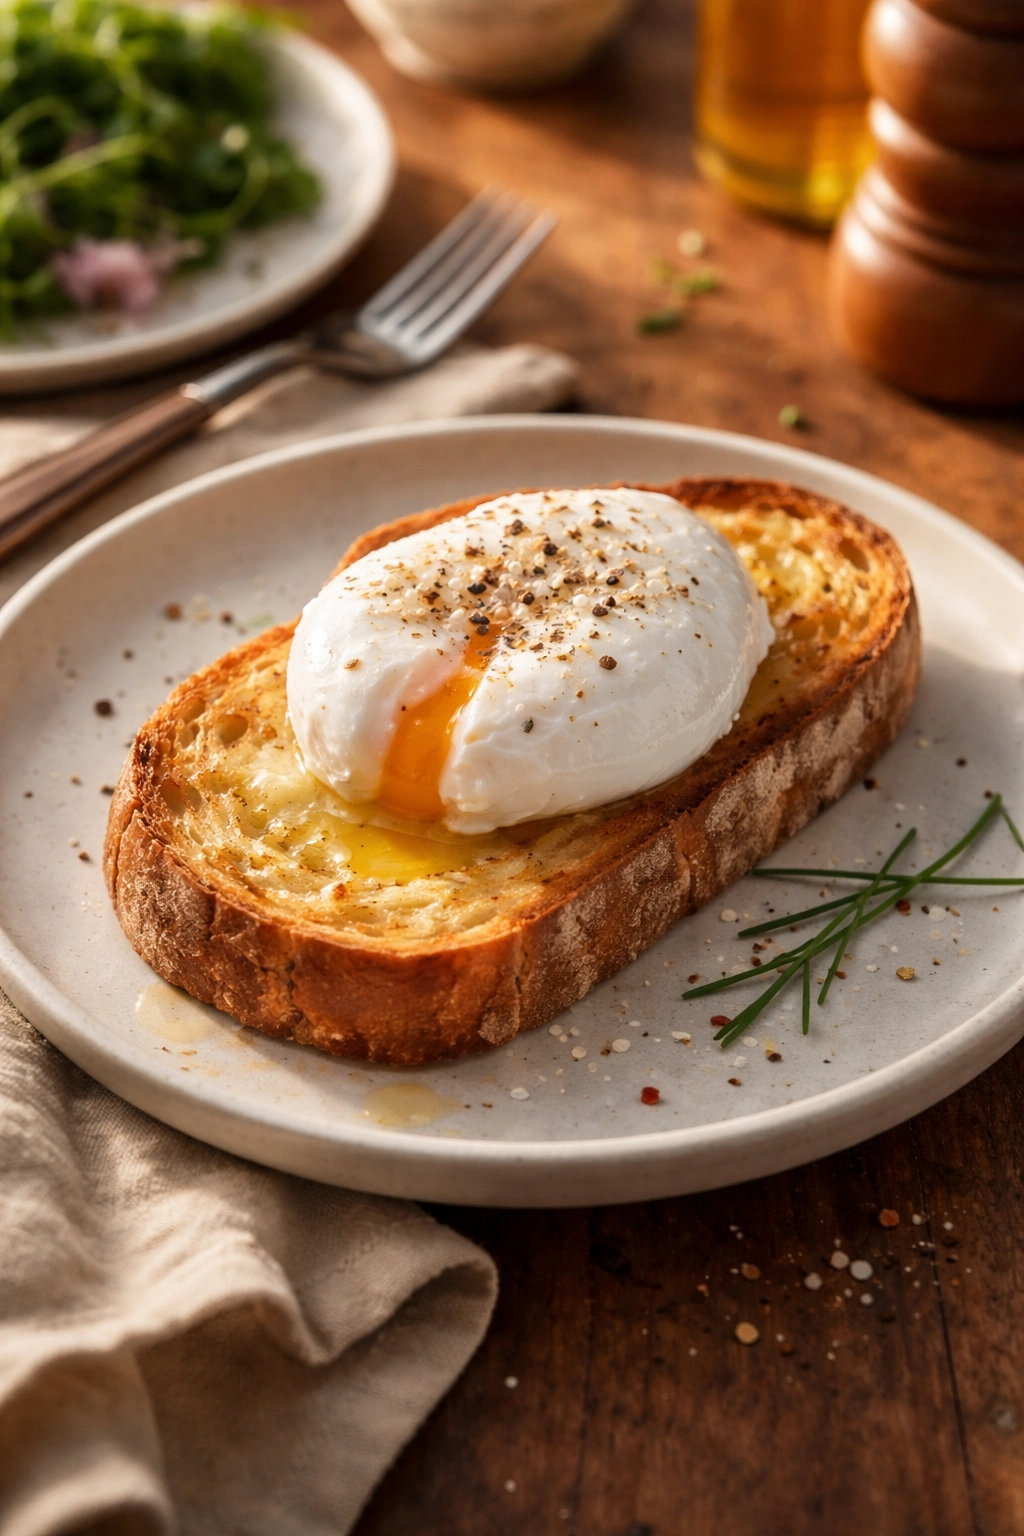
On buttered toast with fleur de sel and cracked black pepper. This is the purest version—just your beautiful egg, toasted bread, good butter, and a pinch of finishing salt. Don’t overthink it.
On a bed of sautéed spinach or wilted greens. The tender greens soften just enough to cushion the delicate egg, and the white stays crisp. Drizzle the whole thing with a squeeze of fresh lemon.
Over asparagus with hollandaise. This is eggs Benedict’s simpler, lighter sibling. Tender asparagus spears, a poached egg on top, warm hollandaise sauce. Pure elegance.
In a Niçoise salad. Poached eggs are the traditional protein in a composed Niçoise salad. The runny yolk becomes part of the dressing. Serve at room temperature for best results.
On avocado toast with microgreens. Mashed avocado on sourdough, a warm poached egg on top, a scatter of microgreens and a drizzle of good olive oil. The runny yolk mixes into the avocado.
Over cream-of-tomato soup. A poached egg floating on tomato soup is autumn comfort. The yolk thickens and enriches the broth as you eat.
Storing Poached Eggs and Make-Ahead Timing
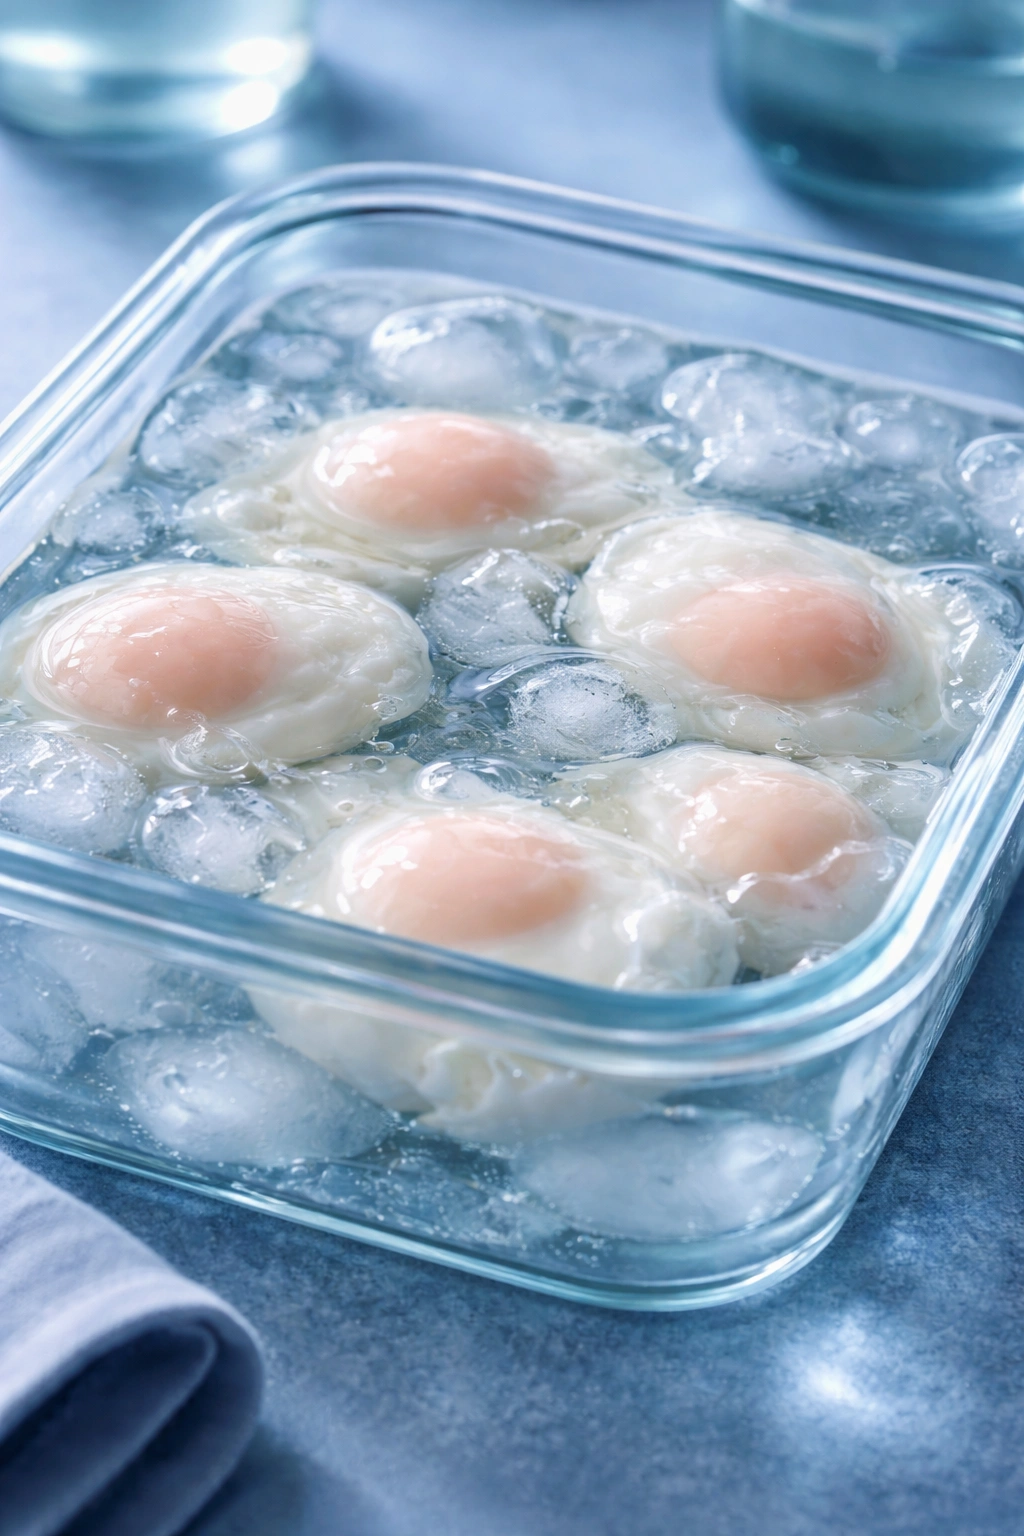
Poached eggs are best eaten fresh, warm, and immediately after cooking. However, you can prepare them an hour or so ahead if necessary by cooking them to just barely set (2.5-3 minutes), then cooling them in an ice bath immediately after. They’ll have a slightly softer texture, but they’ll keep.
To reheat, gently slip the cooled poached eggs into simmering water (160°F) for 1-2 minutes just before serving. This brings them back to temperature without further cooking the yolk.
If you’re prepping for a dinner party, cook each egg to just barely set, cool them, and then reheat as a batch in simmering water right before plating. All of your eggs will hit the table warm at the same moment.
Poached eggs don’t freeze well—the texture becomes mushy when thawed. Eat them fresh or enjoy the meal the same day.
Final Thoughts
Poaching an egg is genuinely simple once you stop overthinking it and focus on the three variables that matter: water temperature (160-180°F, measured with a thermometer), a solid whirlpool to wrap the white around the yolk, and exact timing (3-4 minutes depending on how cooked you want the yolk). That’s it. No magic, no special talent required—just clarity on the method and the confidence to execute it.
Your first poached egg might not be perfect. The white might be a tiny bit wispy, or the yolk might be slightly firmer than ideal. That’s completely fine. Your second will be noticeably better, and by your third, you’ll be making consistently beautiful eggs without thinking. The technique lives in your hands and your reflexes, not in complicated instructions.
Once you’ve nailed this, you’ve actually unlocked something bigger—a confidence in the kitchen that translates to other dishes. If you can poach an egg consistently, you can learn any technique that requires precision and timing. You’ll stop being afraid of methods that seem complicated and start seeing them as puzzles with straightforward solutions. And every time you slide a perfect poached egg onto your plate, you’ll remember that moment when you weren’t sure you could do it—and you’ll know that you can.