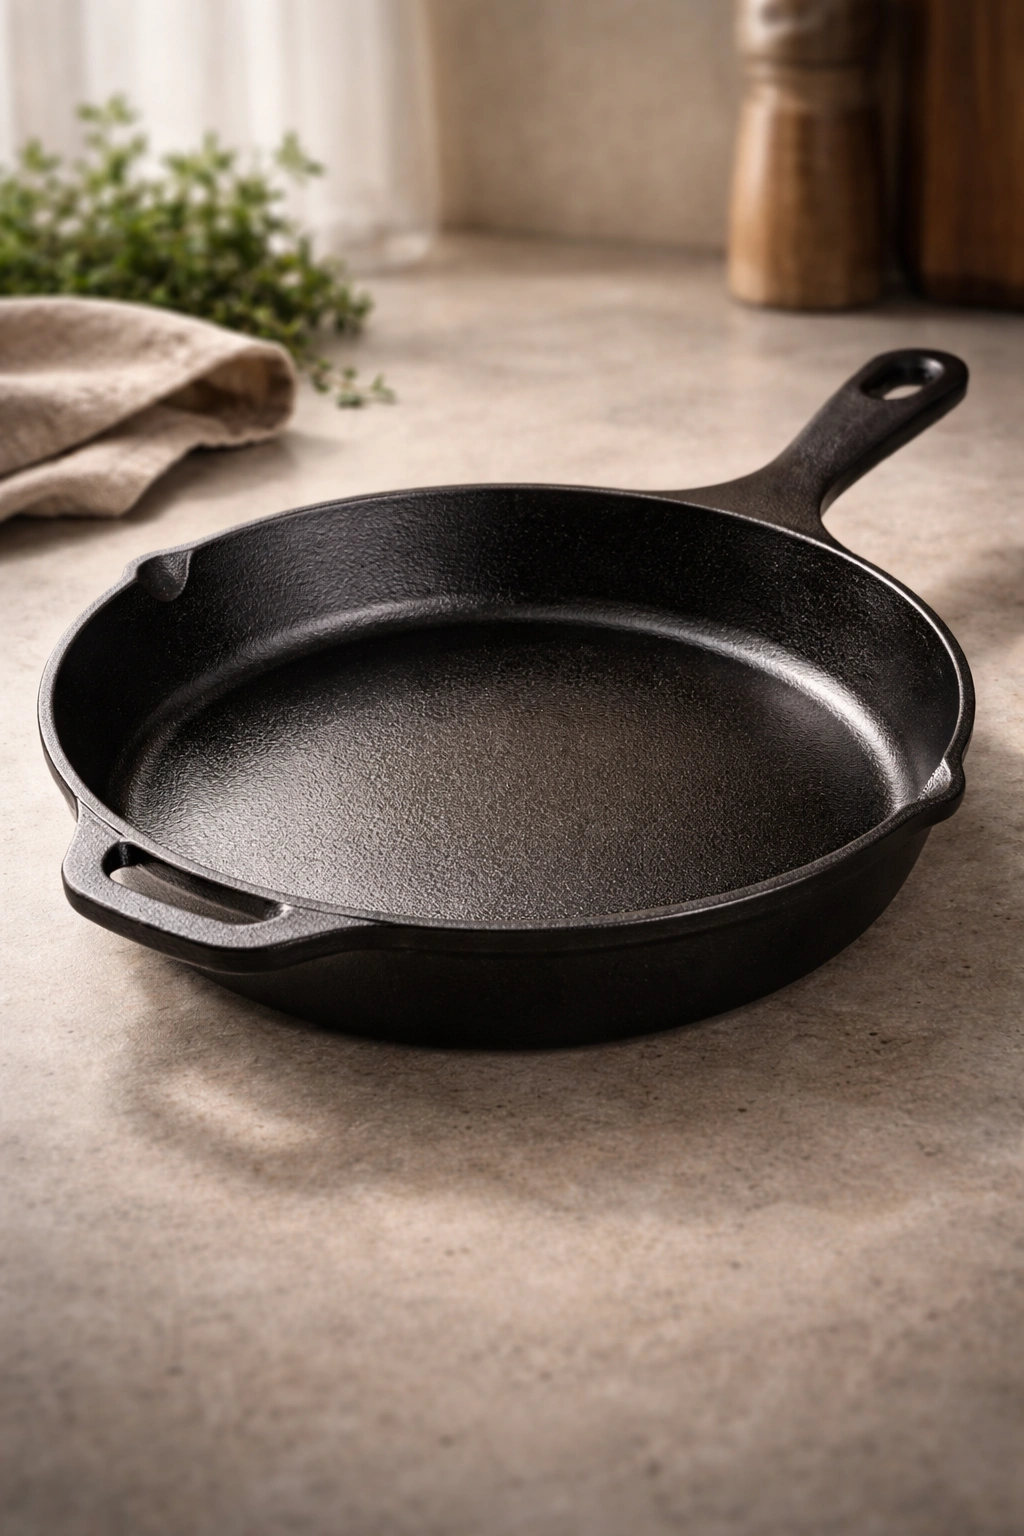
Cast iron seasoning is one of those kitchen skills that looks mysterious until you understand what’s actually happening. A well-seasoned skillet isn’t just coated with oil—it has a polymerized, stick-resistant patina built from layers of oxidized fat that bond directly to the metal. This surface doesn’t wash off easily, doesn’t require constant maintenance, and actually improves with use. The problem is that most people either skip seasoning entirely, overdo it with thick gummy layers, or use the wrong oils for their climate. The result? Sticky, flaking seasoning that feels more like a burden than a benefit. The good news is that proper seasoning is straightforward once you know the mechanics, and you can build a genuinely excellent surface on any cast iron piece in a few hours.
Understanding What Cast Iron Seasoning Actually Is
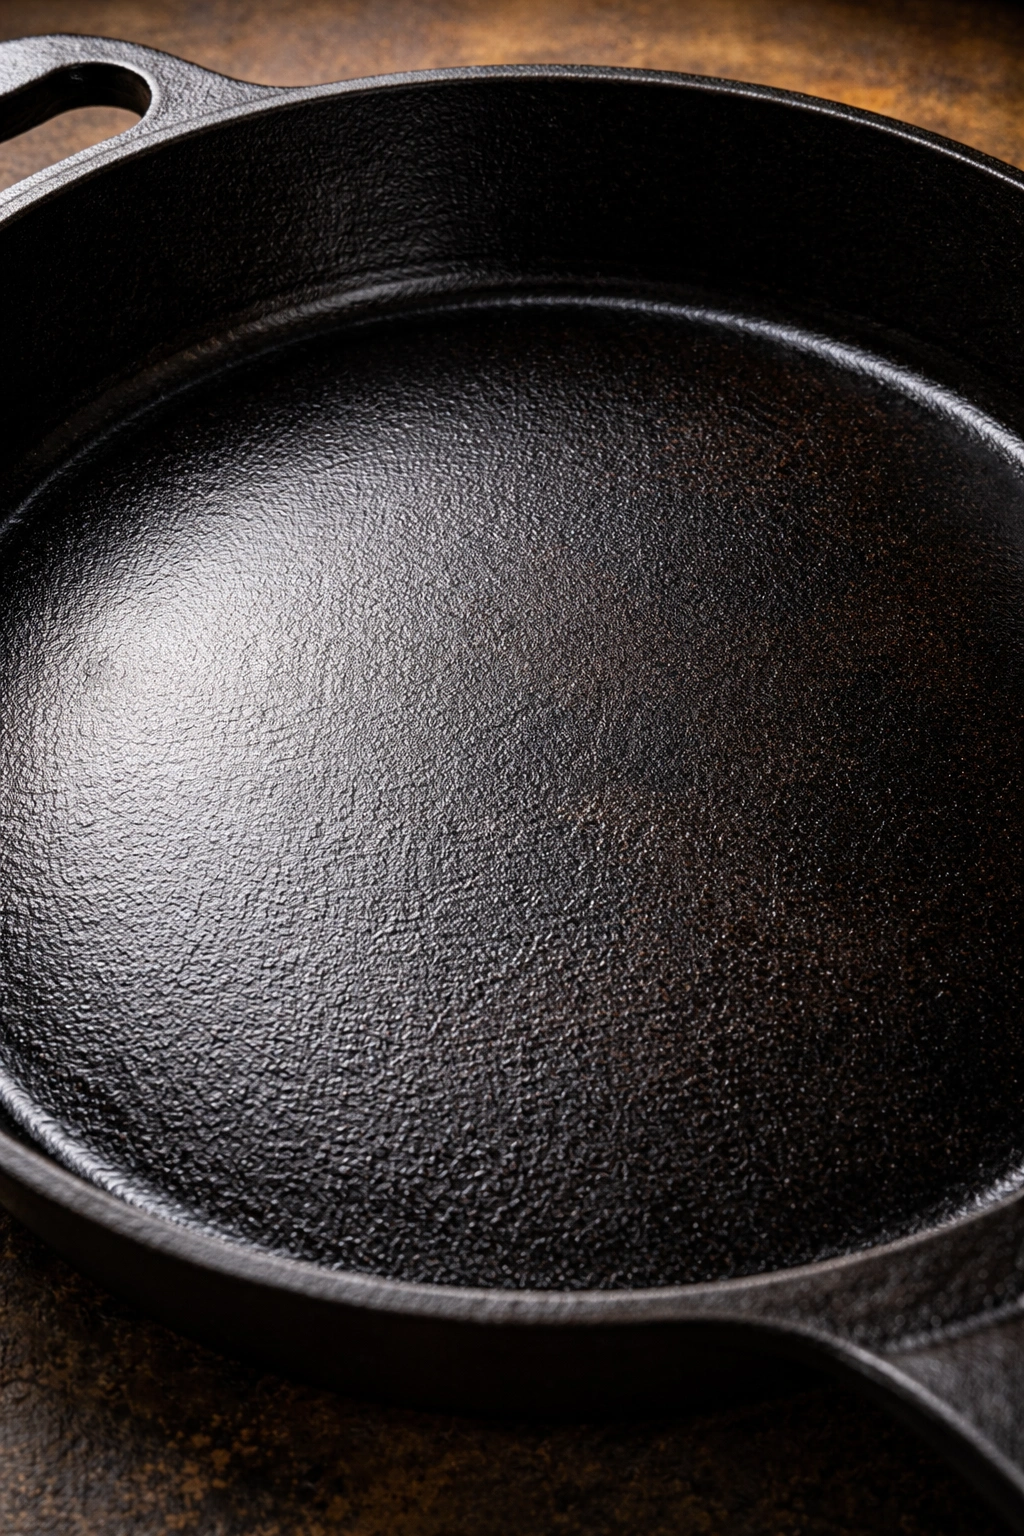
Seasoning isn’t just a coating of oil sitting on top of your skillet—that’s a common misconception that leads to greasy, slippery pans. What actually happens during proper seasoning is polymerization, a chemical process where oil molecules bond together and fuse to the iron surface at high heat. When you apply a thin layer of oil and heat it past its smoke point, the fat breaks down and creates a hard, plastic-like layer that’s chemically bonded to the metal itself. This layer is what prevents rust and creates the naturally non-stick surface that cast iron is famous for.
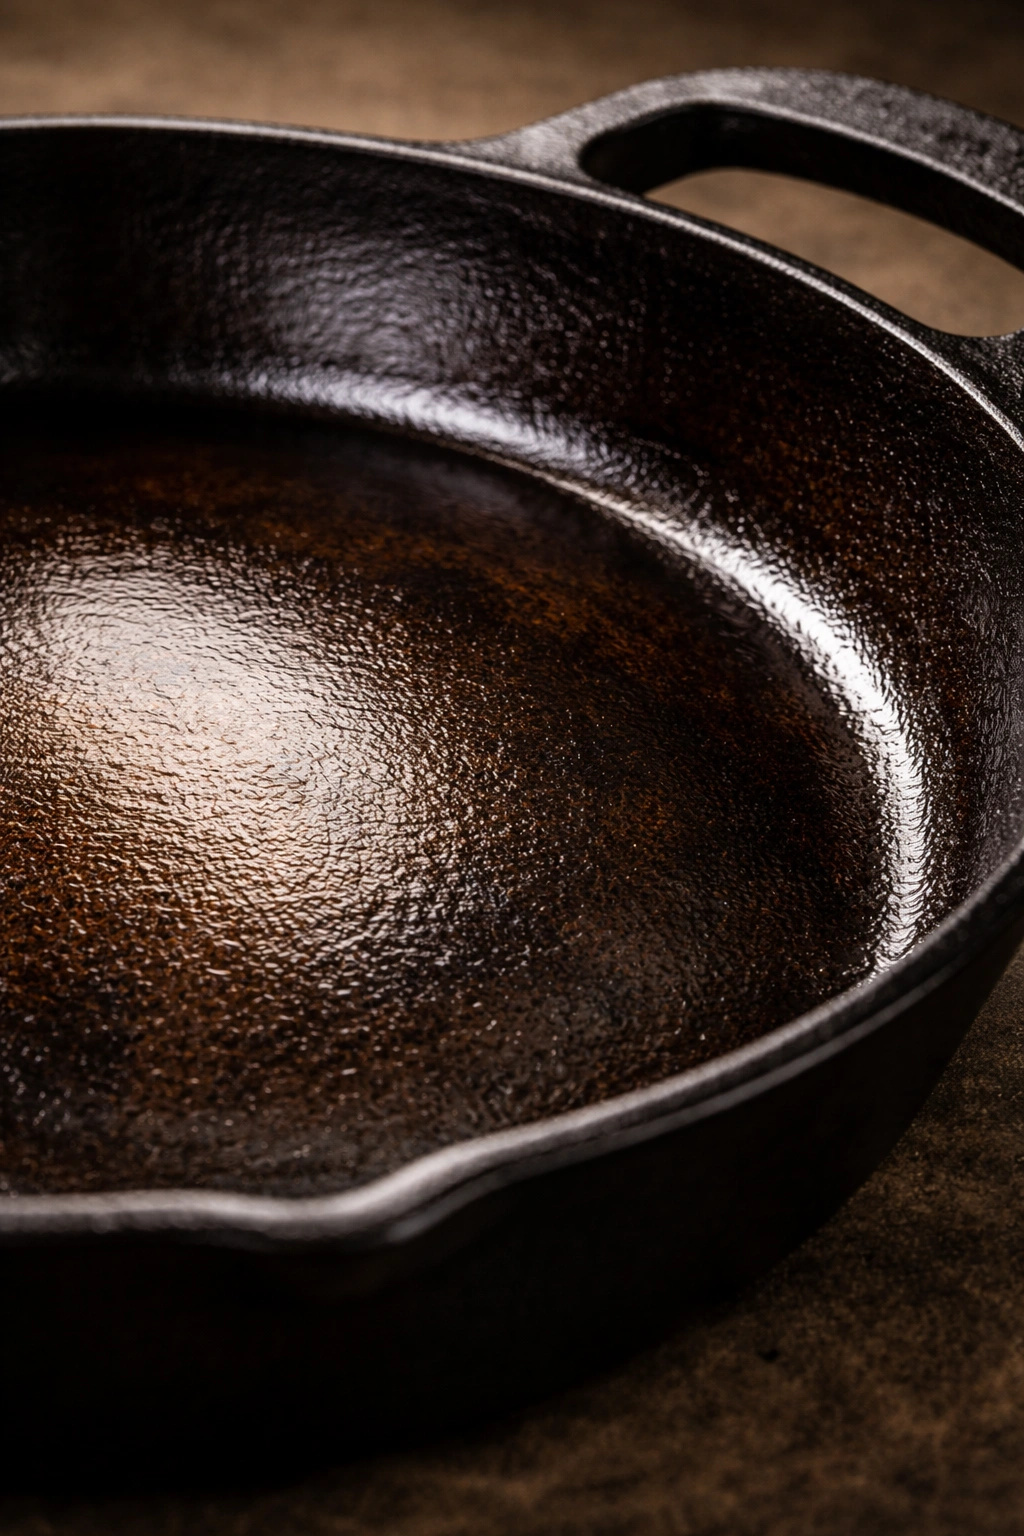
The reason traditional cast iron improves with age is that every time you cook with it, you’re adding microscopic layers to this polymerized coating. Each bit of fat that hits the hot surface—whether it’s butter from your steak or oil from your chicken—undergoes the same chemical transformation and bonds to what’s already there. Over years or decades, these layers accumulate into a smooth, darkened finish that’s incredibly durable and genuinely non-stick without the toxic coating issues of modern non-stick pans.
This is fundamentally different from seasoning your cast iron the way your grandmother might have—by simply wiping oil on it and putting it away. That approach worked when cast iron was used daily and saw constant heat, but modern kitchens often leave skillets sitting unused for weeks. Without regular polymerization happening, old-school oil gradually oxidizes and becomes sticky. Understanding the polymerization process changes everything about how you approach seasoning, because you’ll stop trying to build up thick layers and start focusing on the right temperatures and thin applications instead.
Why Traditional Vegetable Oils Work Better Than Most Alternatives
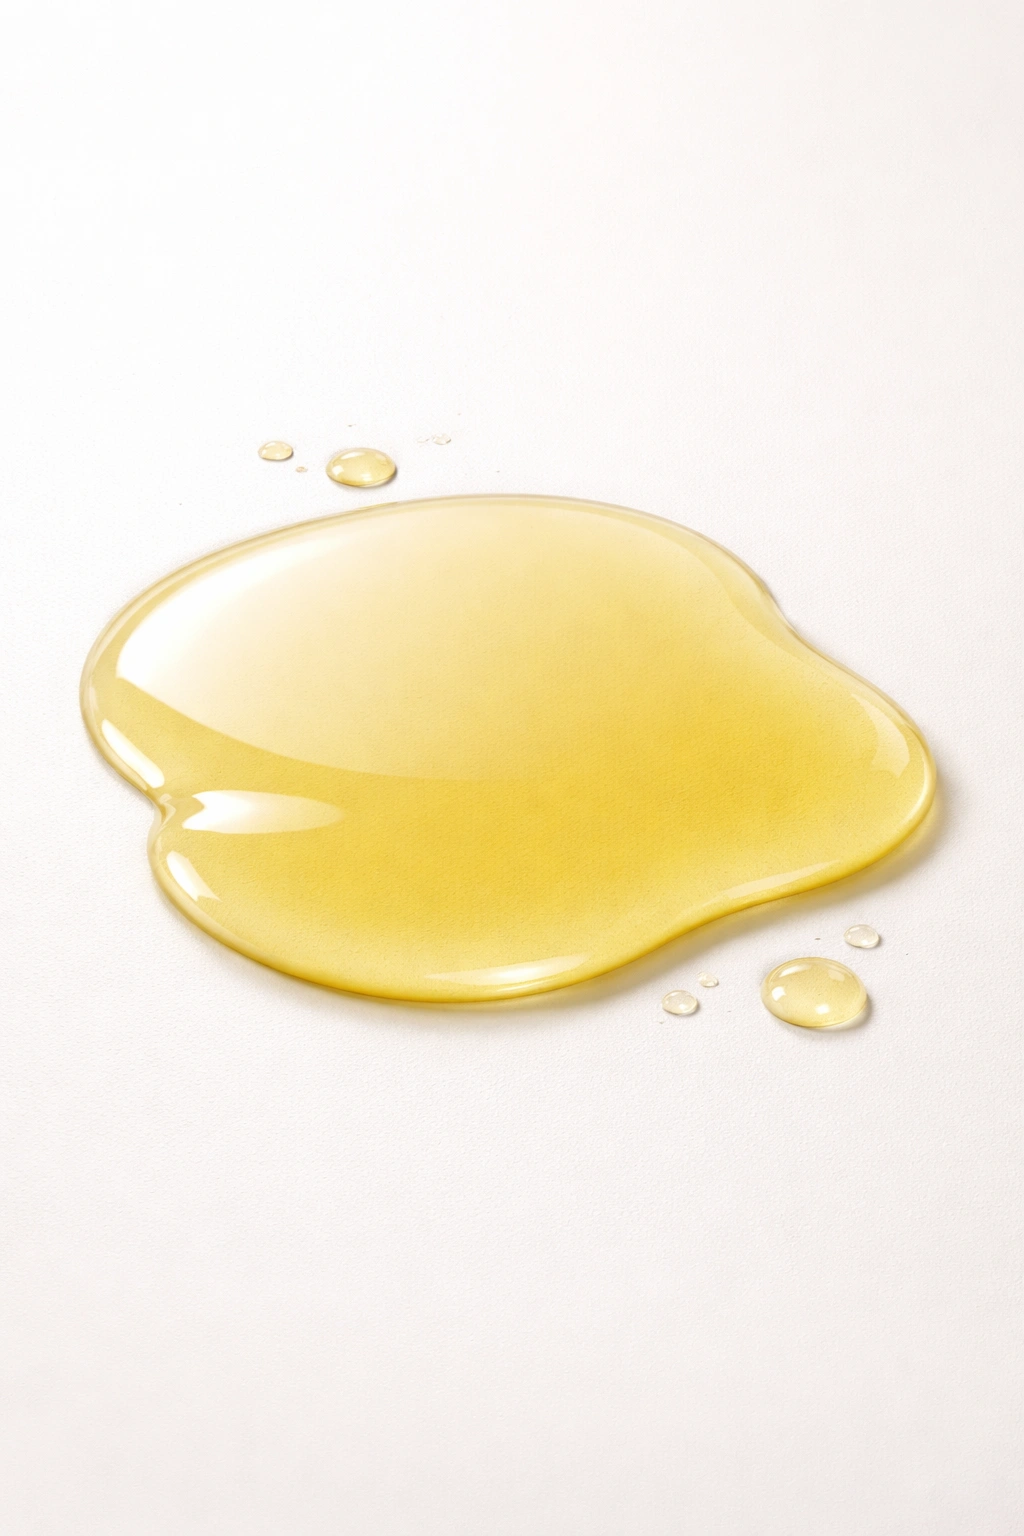
Not all oils are created equal for cast iron seasoning, and the difference comes down to smoke point—the temperature at which oil starts to break down and smoke. You need an oil that will actually polymerize, which requires reaching and sustaining temperatures above its smoke point. Most vegetable oils, canola oil, and grapeseed oil have smoke points between 400°F and 450°F, which is ideal because your oven or stovetop can reliably exceed these temperatures.
Coconut oil, olive oil, and avocado oil are all tempting because they’re trendy and available in every grocery store, but they’re actually terrible for cast iron seasoning. Coconut oil has a smoke point around 350°F, which means it might not polymerize fully depending on your oven temperature. Olive oil’s smoke point sits around 375°F, and it has a strong flavor that can eventually impart to your food. Avocado oil works better than these two, with a smoke point around 520°F, but it’s expensive and offers no real advantage over vegetable oil for seasoning purposes.
The absolute best oils for cast iron are the boring, utilitarian ones: vegetable oil, canola oil, refined grapeseed oil, and refined sunflower oil. These are affordable, have appropriate smoke points for polymerization, and lack distinctive flavors that could affect your cooking. Grapeseed oil specifically has a slightly higher smoke point (450°F) and creates a particularly smooth finish, which is why it’s a favorite among cast iron enthusiasts, but if you already have vegetable oil in your cabinet, that’s perfect. The subtle differences between these options matter far less than applying thin layers consistently—starting with the wrong oil is fixable, but applying thick gloppy layers of the right oil will sabotage your seasoning.
How to Choose the Perfect Oil for Your Climate

Here’s a detail most seasoning guides miss: humidity in your climate affects which oil works best for long-term seasoning maintenance. If you live in a dry, arid climate with low humidity, almost any vegetable oil works beautifully—polymerized oil is stable, rust rarely develops, and you’ll need to re-season far less frequently. Cast iron in Arizona or Colorado can go months between seasonings without any degradation.
If you live somewhere humid—the Southeast, Pacific Northwest, or anywhere with salt air—you’re fighting constant moisture trying to reach the bare metal beneath your seasoning. In these climates, more durable oils like grapeseed oil or avocado oil (despite the cost) create a slightly harder, more water-resistant finish than basic vegetable oil. The polymerized coating is thicker and more resistant to the humidity that naturally breaks down oil over time. If you’re seasoning cast iron in Florida, Louisiana, or near an ocean, spending extra on grapeseed oil is a worthwhile investment because you’ll genuinely need that extra water resistance.
This also means that location affects how often you should re-season. Humid climates benefit from maintenance seasoning every 2-3 weeks if the skillet sits unused; dry climates can go 2-3 months without maintenance. If you use your cast iron multiple times a week for cooking, climate becomes almost irrelevant—you’re building seasoning constantly through cooking. The critical point is moisture exposure. An unused skillet in a humid apartment should be re-seasoned more frequently than a heavily used one in an arid climate, even though the used one technically has more cooking on it.
Preparing Your Skillet: Cleaning Before the First Seasoning
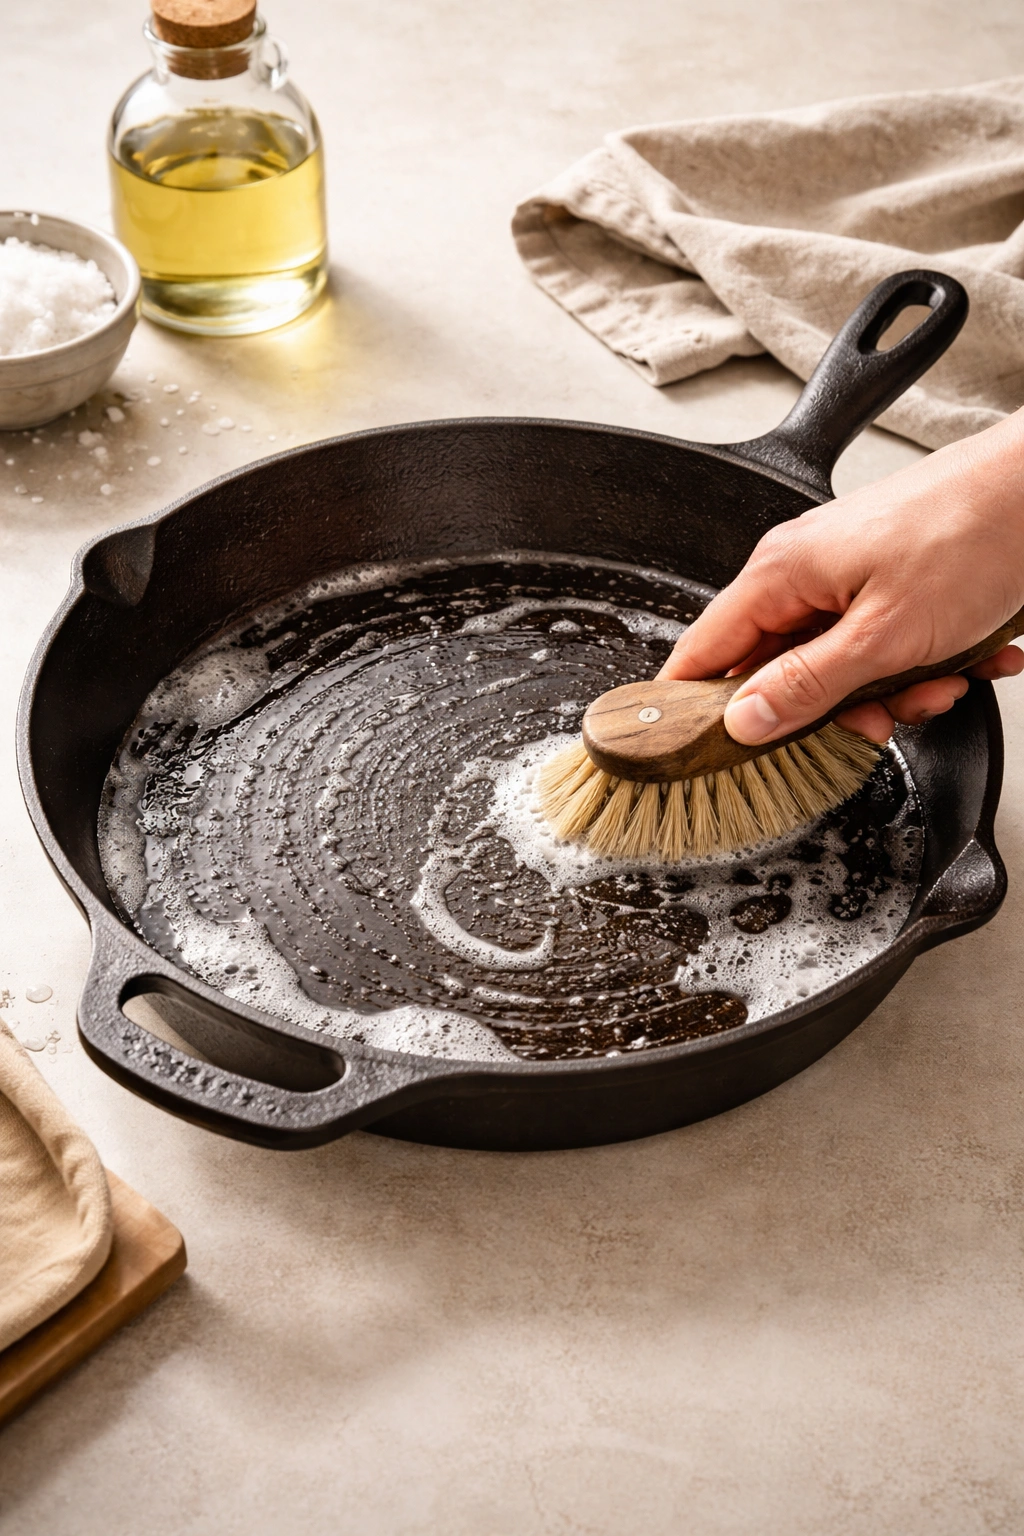
Before you apply any seasoning, your skillet has to be absolutely clean—free of old rust, factory coating, food residue, and dust. This is the unsexy part of seasoning, but it’s non-negotiable because any debris between the metal and your oil layer will create a weak spot where seasoning doesn’t adhere properly.
Start by scrubbing the entire skillet—inside, outside, handle, and everything—with hot soapy water and a stiff brush. Yes, use soap; the idea that soap ruins cast iron is a myth from the days when lye-based soap actually damaged seasoning. Modern dish soap is mild and won’t hurt polymerized oil. Scrub aggressively, especially if you’re dealing with old, crusty seasoning that’s flaking or sticky. A stainless steel scrub pad or even a chainmail cast iron scrubber works better than a sponge for removing stubborn buildup.
If you’re resurrecting a rusty or heavily damaged skillet, soak it in vinegar (white or apple cider) for 1-2 hours, then scrub the rust away with a scrub pad. The acid in the vinegar dissolves rust without damaging the underlying iron. For really stubborn rust, use a wire brush or fine steel wool, or if you have access to one, a power drill with a wire wheel attachment makes the job much faster. Once the rust is gone, scrub with soap and water again to remove the vinegar and any rust particles.
After washing, dry the skillet completely—use a kitchen towel and then set it on the warm stovetop for 2-3 minutes to evaporate any lingering moisture. Moisture is the enemy of proper seasoning because it gets trapped under the oil and prevents polymerization. Some people use a hair dryer on the lowest setting, but the stovetop is faster and more reliable. You want the skillet hot enough that you can barely hold your hand near it, but not so hot that oil will immediately smoke when applied.
The Stovetop Method for Quick, Multiple Thin Layers
The stovetop method is perfect when you want to build seasoning quickly or add maintenance layers to an already-seasoned skillet. It takes 20-30 minutes total and produces excellent results because you’re controlling the heat directly and can build multiple layers in one session.
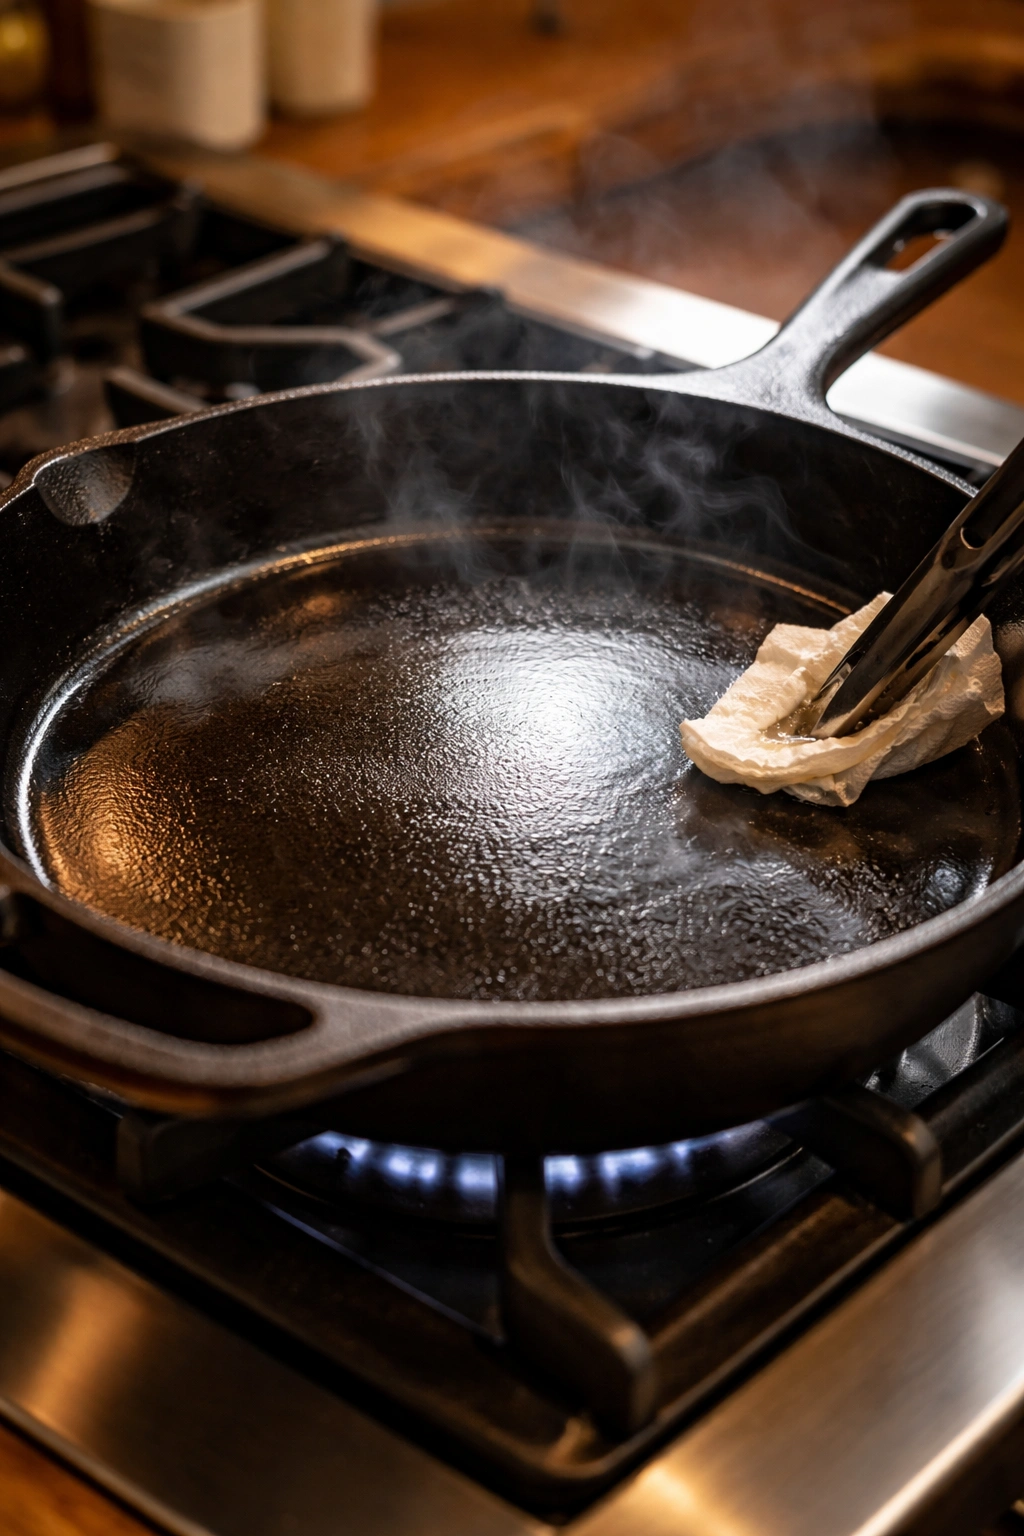
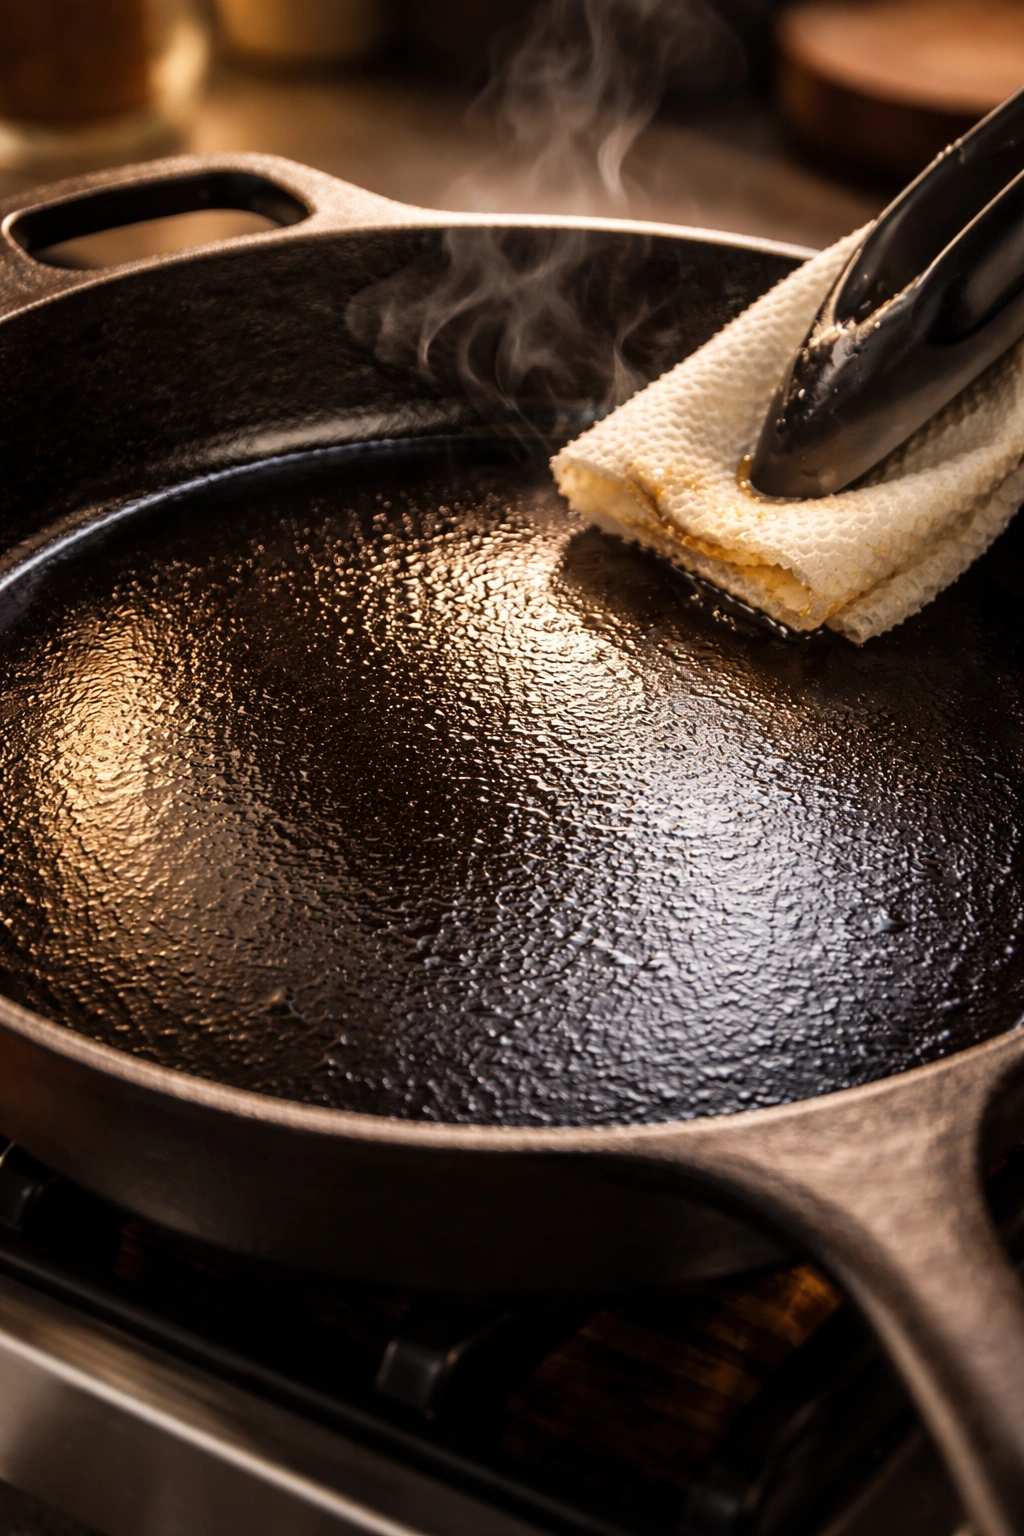
Heat your skillet on the stovetop over medium-high heat until it’s hot enough that a drop of water immediately beads and rolls across the surface (around 300-350°F, depending on your stove). Apply the tiniest amount of oil to a clean cloth—you’re not trying to coat the skillet; you’re aiming for a barely visible sheen. This is the hardest part for beginners because the impulse is to use more oil, but excess oil is what creates sticky, gummy seasoning. A dime-size amount of oil spread across the entire skillet surface is plenty.
Wipe the oil across the hot surface using a cloth folded into a small pad, moving in the direction of the grain and covering the entire cooking surface, sides, and underside. The oil should look like a thin haze, almost dry to the eye. You should be able to see the metal beneath the oil layer—if the skillet looks shiny and wet, you’ve used too much. Wipe away any excess with a clean cloth until the surface looks almost matte, with just a faint sheen.
Reduce the heat to medium and let the skillet cook for 5-8 minutes. You’ll see the oil start to smoke slightly, which is exactly what you want—that smoke is the polymerization process happening in real time. The skillet will gradually turn darker as the oil layer hardens. Don’t leave it unattended because you don’t want it smoking heavily or turning black with char; medium heat creates a gentle, steady polymerization without overdoing it.
After 5-8 minutes, the skillet will look darker and feel slightly tacky when you touch the cooking surface with your fingertip (be careful—it’s still hot). Let it cool for 2-3 minutes, then repeat the process: apply another barely-visible layer of oil, wipe thoroughly, and heat on medium for 5-8 minutes. Most people build 2-3 layers in one stovetop session, creating noticeably improved seasoning in under an hour. Each layer adds to the durability and non-stick quality without creating that thick, sticky residue that happens when people overdo oil application.
Oven-Based Seasoning for Deep, Durable Finishes
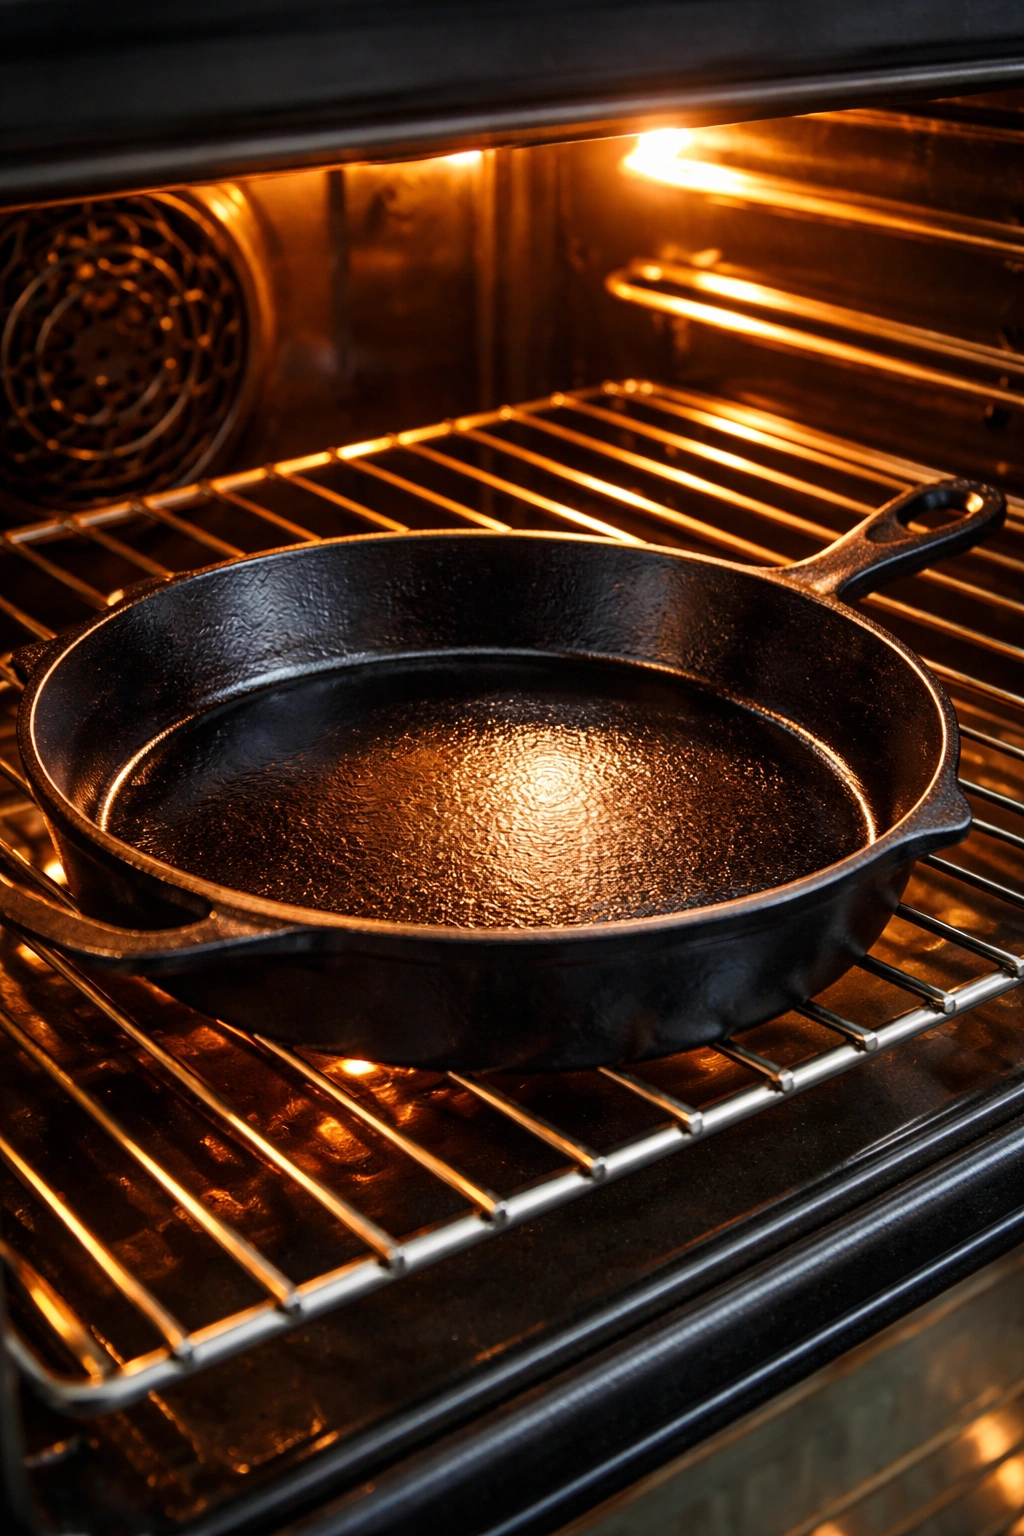
The oven method creates the most durable, evenly-polymerized seasoning because the heat is consistent and surrounds the entire skillet. This is the gold-standard approach for seasoning new skillets or completely rebuilding damaged seasoning, and it’s what serious cast iron enthusiasts use for long-term, deep finishes.
Preheat your oven to 500°F (or as high as your oven goes—some go to 550°F). While it preheats, prepare your skillet by cleaning and drying it thoroughly on the stovetop as described above. The skillet needs to be hot and completely dry before you add oil.
Once the oven reaches temperature and your skillet is hot and dry, place it briefly on a burner, apply the absolute thinnest layer of oil using a cloth (the same barely-visible sheen you’d use for stovetop seasoning), and wipe vigorously with a clean cloth to remove excess. The goal is an almost dry-looking surface with barely any visible shine. This is crucial—excess oil creates sticky seasoning, and the oven’s intense, enclosed heat will lock in any mistakes you make at this step.
Place the oiled skillet in the preheated oven for 1 hour. The heat will gradually polymerize the oil into a hard, plastic-like layer. You might see a bit of smoke coming from the oven, which is normal—crack a window or turn on a vent hood if the smoke bothers you, but don’t open the oven during cooking. The intense, sustained heat is what makes oven seasoning so effective; you’re giving the oil enough time and temperature to fully polymerize into a dense layer.
After 1 hour, turn off the oven and let the skillet cool completely inside—at least 30 minutes, though leaving it overnight is fine. This cooling process is important because it allows the polymerized layer to harden and set firmly. Once cooled, your skillet will have a noticeably darker, more durable finish than after stovetop seasoning.
For a truly exceptional seasoning (the kind that builds up over years of use), repeat this oven process 3-5 times in succession. Apply a thin layer of oil, wipe thoroughly, heat in a 500°F oven for 1 hour, cool, and repeat. This creates multiple layers of polymerized oil that bond to each other and to the metal, resulting in a finish that rivals vintage cast iron. Yes, it takes several hours, but you’re investing in a tool that will outlast you by decades. Many cast iron enthusiasts do this initial deep seasoning once when they acquire a new skillet, then maintain it through regular cooking and occasional touch-up layers.
Building Your First Protective Layer on a New Skillet
New cast iron from reputable manufacturers comes with a factory seasoning, but it’s often minimal—just enough to prevent rust during storage and shipping. This thin factory coating is a starting point, not a finished product, and you need to build on it before using the skillet for serious cooking.
Start by cleaning the new skillet with hot soapy water and a brush to remove any factory dust or oil residue. Dry it thoroughly on the stovetop. Then apply 3-5 layers of seasoning using either the stovetop method (if you have limited time) or the oven method (if you have a couple hours). New cast iron actually accepts seasoning beautifully because the surface is clean and ready to bond with polymerized oil.
After these initial layers, your skillet is ready for cooking, and here’s the good news: cooking is where the real seasoning happens. Every time you cook with fat—butter, bacon grease, oil, meat drippings—you’re adding to the seasoning. Start with foods that benefit from a bit of extra fat: bacon, sausage, fried eggs, or pan-seared steaks. These early cooking sessions should have more fat than your normal recipes would use, which accelerates the seasoning buildup while you’re also enjoying delicious food.
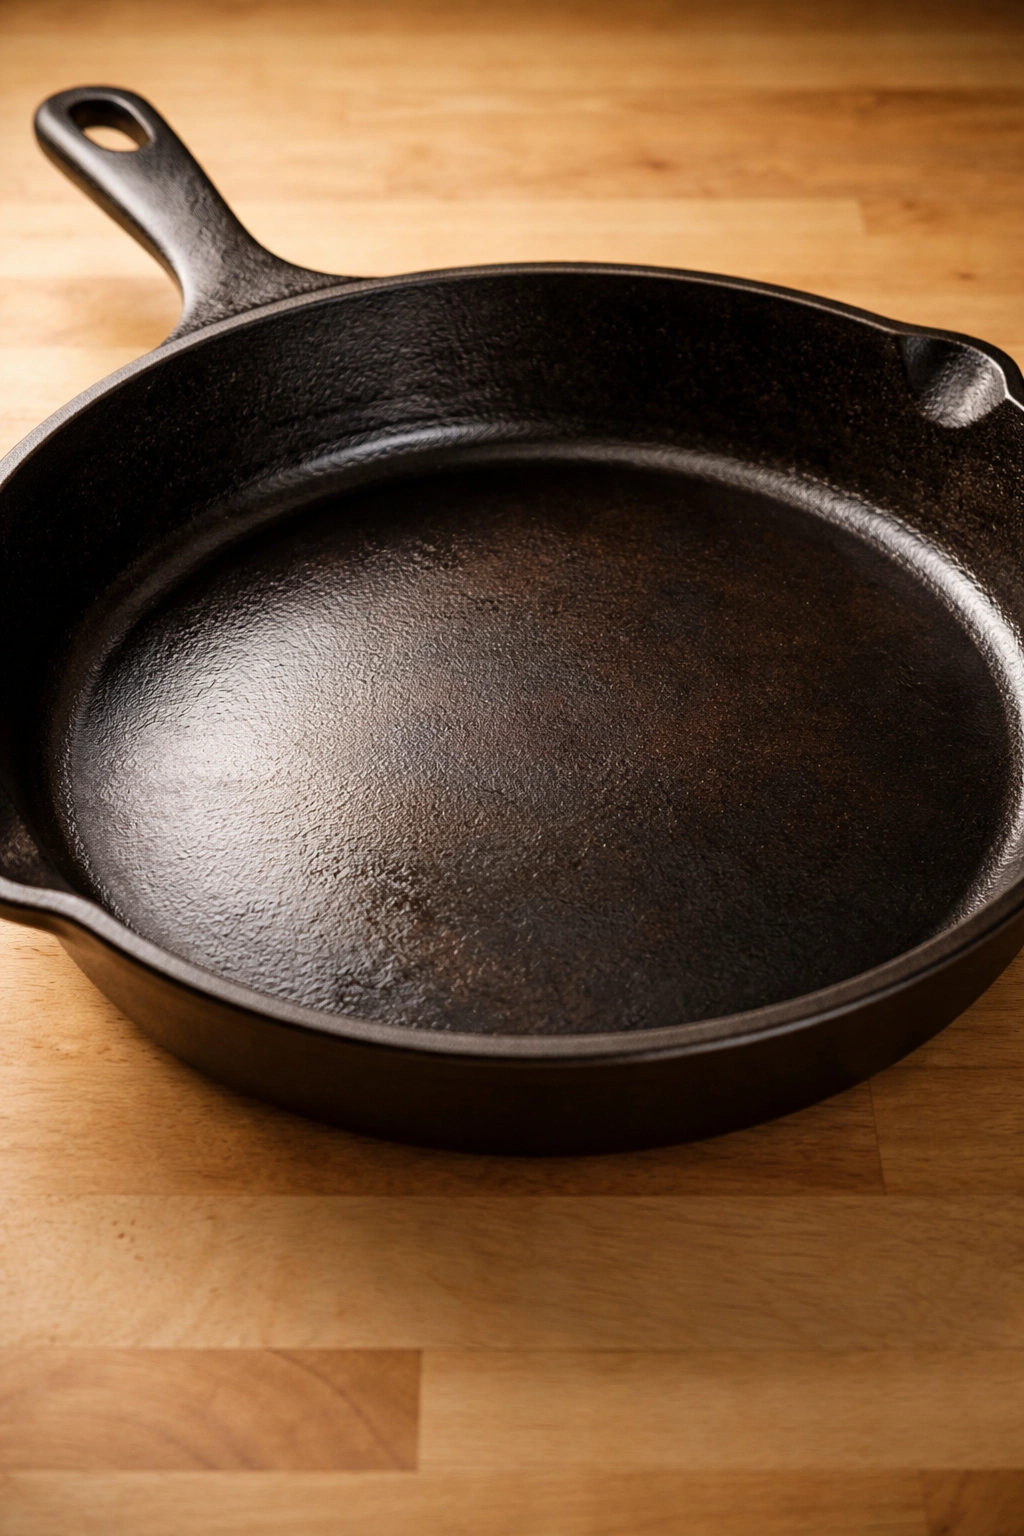
After 10-15 cooking sessions with adequate fat, your new skillet will have a noticeably smoother, darker surface than it did out of the box. This is the seasoning developing in real time through actual use. The factory coating plus your initial layers plus all that cooking-in-fat creates a finish that’s genuinely non-stick and will only improve from here on out. It typically takes 20-30 cooking sessions before a new skillet reaches the patina of a well-seasoned vintage piece, but you’ll notice improvement at every stage.
Maintenance Seasoning: How Often and When to Apply It

Here’s where most people overcomplicate seasoning: after that initial buildup, you don’t need to do much. A well-seasoned, regularly-used skillet maintains its finish through cooking alone. The best maintenance is simply using your skillet multiple times per week with adequate fat.
However, if your skillet sits unused for extended periods—more than a month—it benefits from a quick maintenance seasoning session. Unused skillets in humid climates need this more frequently than those in dry climates. The process takes 15-20 minutes using the stovetop method: apply 1-2 thin layers of oil with heat, and you’ve refreshed the seasoning without any heavy lifting.
If you notice your seasoning starting to look dull, sticky, or like it’s flaking in spots, that’s a signal to add a maintenance layer. This isn’t an emergency—your skillet isn’t damaged—but a quick touch-up prevents the problem from getting worse. Most cooks do this once every 2-4 weeks of regular use, or every 1-2 weeks if the skillet sits mostly unused. The key is making it a simple, quick habit rather than a complicated project.
Pro tip: Keep a small jar of your chosen seasoning oil in the kitchen. When you finish using the skillet, while it’s still warm, quickly wipe on a gossamer-thin layer with a cloth and let it cool. This improves the seasoning with almost zero effort and takes literally 30 seconds. Over time, these tiny additions add up to a remarkable, dark, smooth finish that improves year after year.
Common Seasoning Mistakes and How to Avoid Them
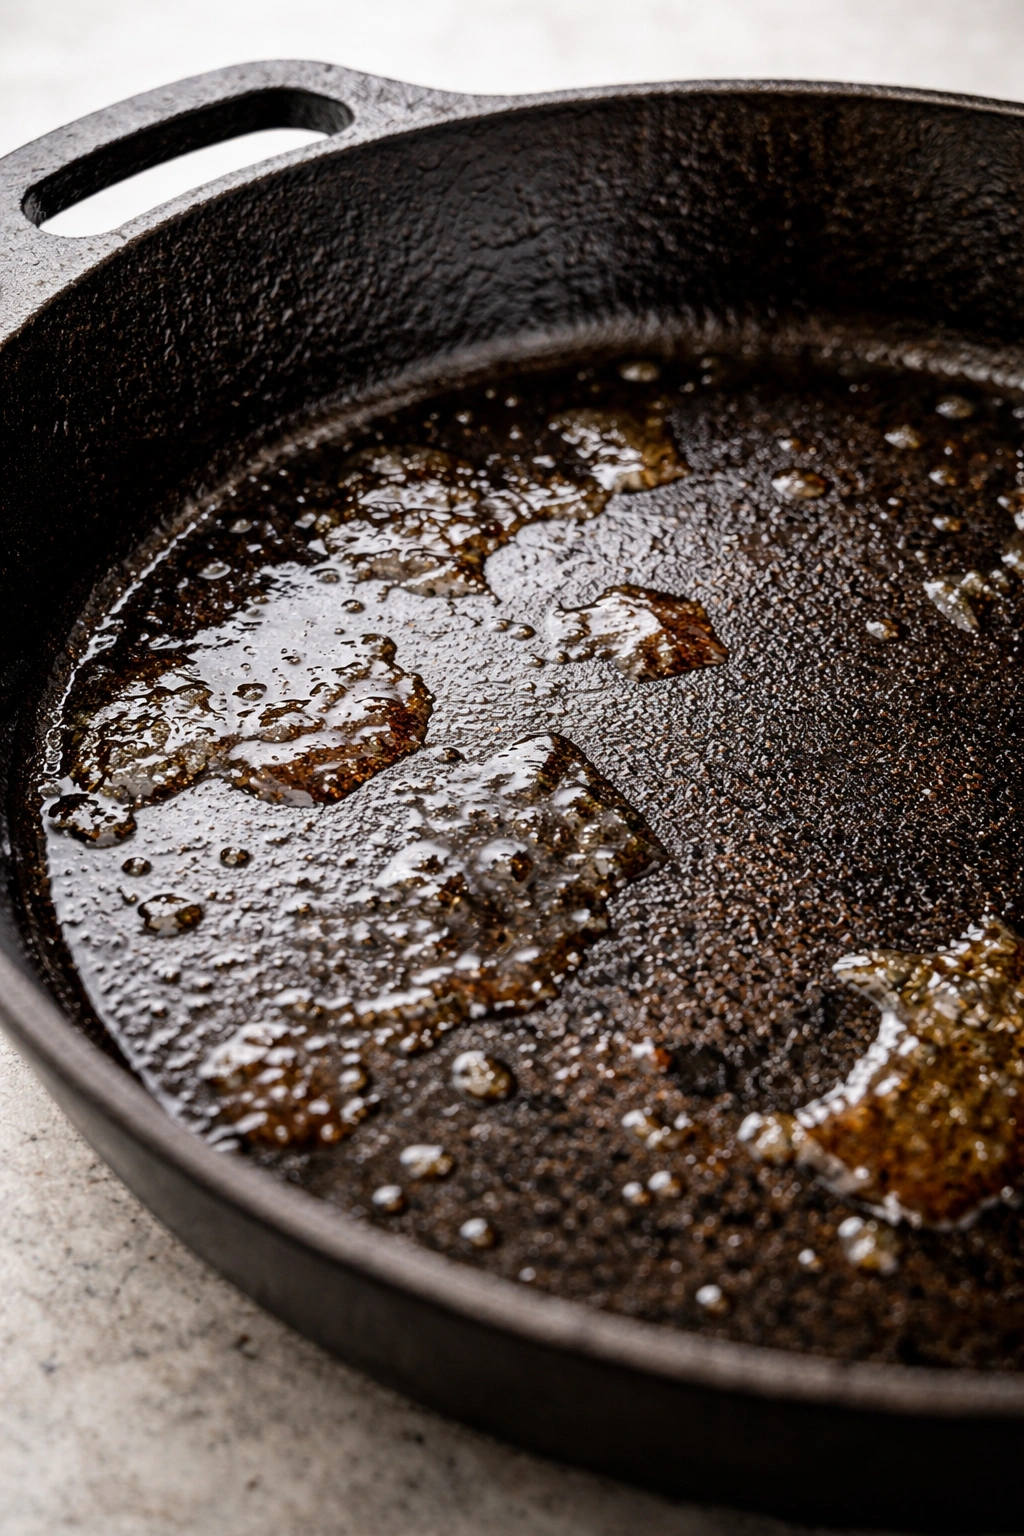
The single most common mistake is using too much oil. Excess oil doesn’t polymerize evenly—it creates thick, sticky layers that collect dust, feel gummy, and eventually flake off. The mental shift that fixes this is understanding that you’re not coating the skillet, you’re adding a barely-visible sheen. If you can see your reflection in the oil or the skillet looks wet, you’ve used too much. Wipe more vigorously with your cloth, and apply the next layer using less oil.
The second mistake is not heating the skillet hot enough before applying oil. If the pan is room temperature or just warm, the oil won’t polymerize properly—it’ll just sit on the surface and accumulate as a sticky residue. The stovetop method requires medium-high heat; the oven method requires 500°F. Adequate heat is non-negotiable for polymerization, and skipping it is why some people end up with perpetually sticky, terrible-feeling seasoning.
The third mistake is applying oil unevenly, leaving bare spots or patches with heavy concentrations. This creates a blotchy finish where some areas feel smooth and others feel sticky or rough. The fix is to wipe thoroughly after applying oil, making sure every part of the cooking surface gets equal coverage. Work in the direction of the grain, and don’t stop wiping until the surface looks almost dry with just a faint sheen. Take extra time on the first application when building new seasoning—this even base prevents problems later on.
A fourth mistake is using the wrong oil temperature or smoke point. Oils with low smoke points (coconut oil, olive oil) won’t polymerize fully. Oils with very high smoke points (refined avocado oil, refined peanut oil) create harder, more durable seasoning but cost significantly more. Stick with vegetable, canola, or grapeseed oil unless you have a specific reason to use something else—these are the reliable middle ground that work perfectly for cast iron.
Finally, some people try to rush the process by applying thick layers or using the oven at too-high temperatures (above 550°F). This creates dark, shiny seasoning that looks impressive but is actually fragile and prone to flaking. Proper seasoning is built gradually through thin, consistent layers. Fast doesn’t exist with seasoning—the best results come from patience and multiple thin applications, not one thick one.
Fixing Under-Seasoned or Damaged Cast Iron
If your seasoning has deteriorated—it’s sticky, flaking, or has rust spots—the solution is more aggressive than maintenance seasoning. You need to strip away the damaged seasoning and rebuild from a clean surface.
For lightly flaking or sticky seasoning without rust, the stovetop method on high heat can sometimes salvage the situation. Heat the skillet over high heat until it starts smoking, then immediately reduce heat to medium and wipe it thoroughly with a cloth. This removes loose pieces and burns away sticky residue without you having to scrape anything. Once it cools, you can apply fresh seasoning layers to the cleaned surface. This works about half the time and saves you from doing a full strip-down.
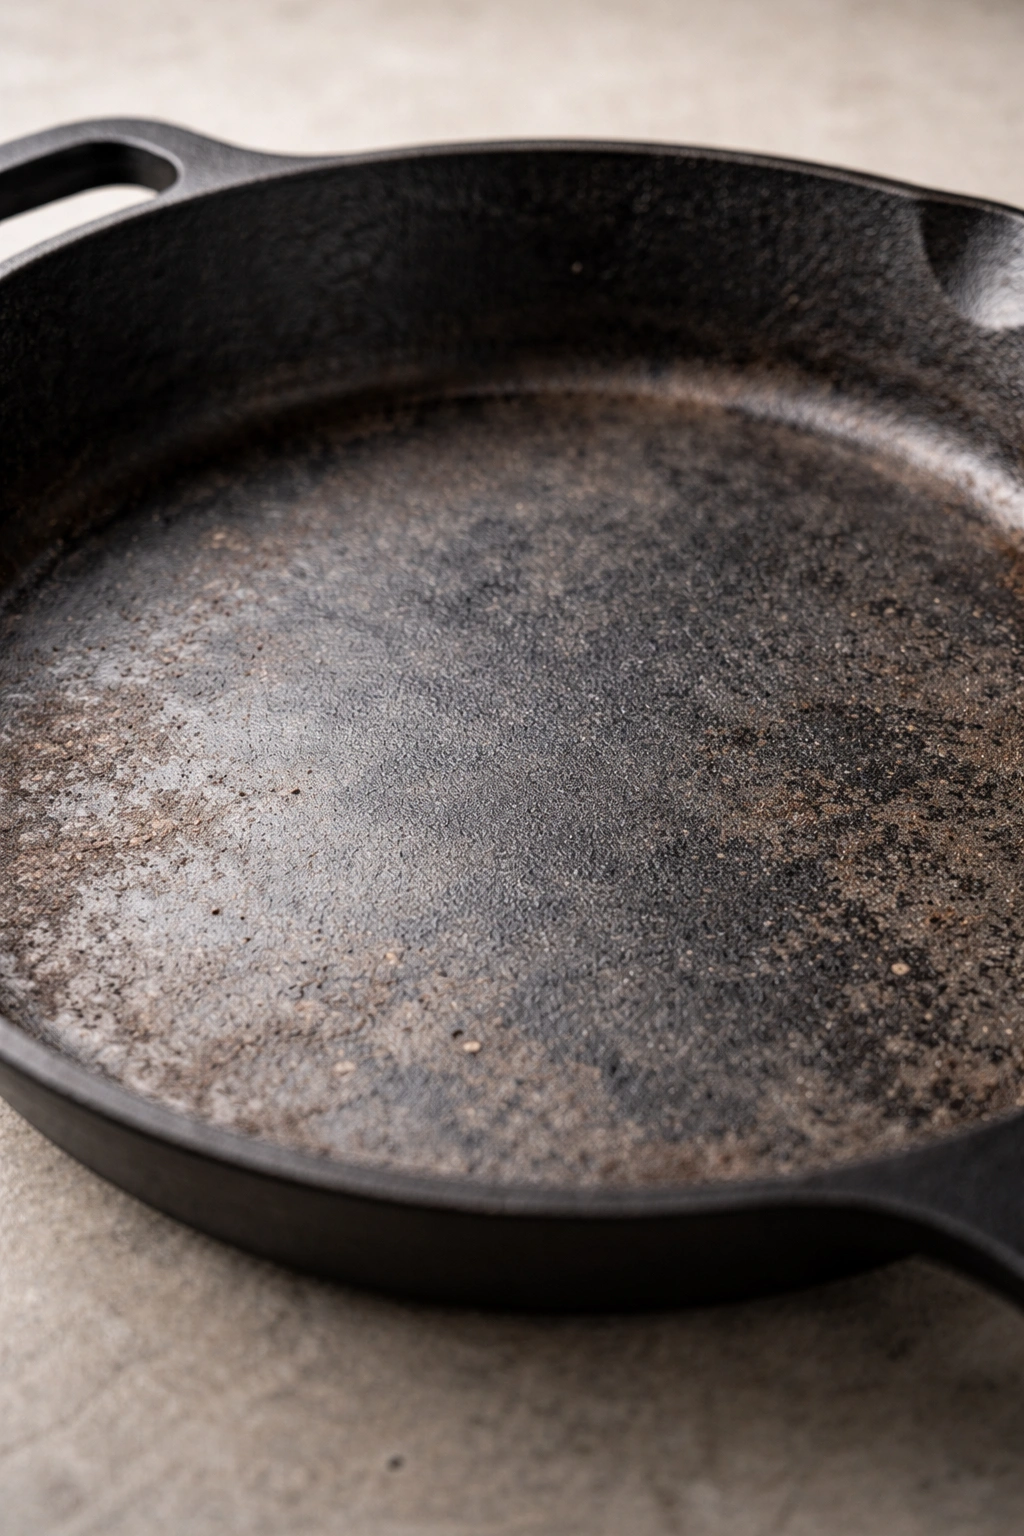
If the seasoning is heavily flaked, sticky throughout, or has significant rust spots, you need a full reset. The safest approach is to use white vinegar to remove rust without damaging the underlying iron. Soak the skillet in vinegar for 1-2 hours (not longer—vinegar can damage iron if left too long), scrub with a stiff brush to remove rust and old seasoning, rinse with soap and water, and dry thoroughly on the stovetop. The skillet will look bare and somewhat gray, which is normal—you’ve exposed clean metal that’s ready for new seasoning.
After stripping, apply the oven-based seasoning method 3-5 times to rebuild a solid base. This takes a few hours but restores the skillet to like-new condition. Once you’ve done this rebuild, regular cooking with adequate fat will maintain the finish indefinitely without needing another reset.
For severe rust or heavily pitted surfaces, you might consider professional restoration (some companies specialize in cast iron restoration and use methods like sandblasting to clean the surface), but for most home cooks, the vinegar-soak-and-rebuild approach works perfectly fine.
Storage and Environment: Humidity’s Role in Seasoning
Where and how you store your cast iron directly affects how long the seasoning lasts. A skillet stored in a dry kitchen cabinet will maintain its seasoning longer than one stored above a stove where steam from cooking constantly reaches it, or in a damp basement where humidity is high.
High humidity is the primary enemy of cast iron seasoning. The moisture in the air seeks out any tiny pore or imperfection in the polymerized layer, penetrates it, and oxidizes the bare iron beneath, creating rust spots. In very humid climates or humid seasons, even well-seasoned skillets can develop tiny rust spots if stored carelessly. The solution is either storing skillets in dry locations (inside cabinets, not open shelves) or applying a thin protective oil layer before storage.
If you’re storing a cast iron skillet for weeks without use, apply a very thin layer of oil to the entire surface—cooking surface, sides, handle, and underside. This creates a temporary barrier against humidity. Don’t make it thick or shiny; a barely-visible sheen is plenty. This extra step is especially important if you’re storing skillets in a basement, garage, or any location with variable humidity.
For long-term storage (months or years), some cast iron enthusiasts wrap their skillets in plastic wrap or store them in sealed plastic bags with a small packet of silica gel (the kind used in shoeboxes to absorb moisture). This is overkill for normal use, but it’s useful if you’re storing inherited skillets or a collection you’re not currently cooking with.
If your climate is humid year-round, consider keeping your regularly-used skillets on an open shelf or hanging rack in the kitchen rather than tucked away. The heat from cooking and the movement of air around them prevents moisture from settling. This also encourages more frequent use, which is the single best thing you can do for cast iron seasoning.
Advanced Techniques: Smoke Point vs. Polymerization
Most seasoning guides focus on smoke point—the temperature at which oil visibly smokes—as the critical temperature for seasoning. In reality, smoke point is just the starting indicator; real polymerization happens at higher temperatures and continues for a while after visible smoking stops.
Oils with smoke points around 400°F (vegetable oil, canola oil) will start smoking and polymerizing around 420-450°F depending on the specific brand and refining level. Once you reach that temperature and maintain it for 5-8 minutes on the stovetop (or 1 hour in a 500°F oven), the polymerization process is complete. The oil molecules break down, recombine, and form a hard plastic-like layer. Continuing to heat beyond this point doesn’t improve seasoning—it just creates excessive smoke and waste.
Oils with higher smoke points (grapeseed oil at 450°F, avocado oil at 520°F) require higher temperatures to polymerize, but once they do, they create slightly harder, denser layers than lower-smoke-point oils. This is why grapeseed oil is preferred by some cast iron enthusiasts—not because it’s fundamentally better, but because the polymerized layer is marginally more durable and water-resistant. For most home cooks, this subtle advantage isn’t worth the extra cost.
An important detail: refined oils (which are what you typically buy at the grocery store) polymerize differently than unrefined oils. Unrefined oils contain more impurities and create darker, sometimes slightly sticky seasoning. Refined oils polymerize more evenly and create cleaner, more consistent finishes. This is why pure vegetable oil from the grocery store is better for seasoning than trendy cold-pressed or unrefined options.
The relationship between temperature, time, and oil chemistry is what separates excellent seasoning from mediocre seasoning. High temperature (500°F oven) plus adequate time (1 hour) plus thin application creates the best results. Moderate temperature (medium stovetop heat) plus shorter time (5-8 minutes) creates acceptable results but takes more repetitions to build equivalent durability. Understanding these mechanics helps you make intentional choices rather than following recipes blindly.
How Long Does a Proper Seasoning Actually Last
A properly-polymerized seasoning layer is remarkably durable. If you’re using your skillet regularly with adequate fat, the seasoning will improve and deepen for years. I know cast iron skillets that have been used continuously for 40+ years and still improve with each cooking session. The polymerized layer itself doesn’t degrade—it bonds chemically to the iron and stays put.
The only thing that can remove polymerized seasoning is physical abrasion or acid. Vigorous scrubbing with steel wool, dishwasher cycles, or scraping with metal utensils will gradually wear away the surface layer. Acidic foods (tomatoes, vinegar, wine) will slowly dissolve the polymerized oil, which is why cast iron isn’t ideal for extended cooking with highly acidic ingredients. A brief sauce made with tomatoes won’t damage seasoning, but simmering chili for hours can noticeably reduce it.
Moisture and rust are the other threat. If you leave water sitting on cast iron without drying it, rust will develop quickly, creating pitting that damages the smooth seasoning surface. This is why proper cleaning—using soap and water followed by immediate, thorough drying—is crucial for seasoning maintenance.
In practical terms, if you’re using your skillet 2-3 times per week and drying it thoroughly after each use, your seasoning will last indefinitely and improve continuously. If you’re using it occasionally and storing it carelessly in humid conditions, you might need maintenance seasoning every 2-4 weeks. The “lifetime” of seasoning is really about use patterns and storage, not the age of the skillet itself. A 50-year-old skillet with poor storage might need more frequent re-seasoning than a 2-year-old skillet that’s used constantly and stored properly.
Final Thoughts
Seasoning cast iron stops being mysterious once you understand that you’re building polymerized layers of oil through heat and time, not trying to create a thick protective coating. The best seasoning comes from thin applications, adequate heat, and regular use—not from overcomplicating the process or obsessing over which oil to use. Choose vegetable, canola, or grapeseed oil, apply barely-visible layers, and maintain steady heat until polymerization happens. After that, cook with fat, dry your skillet thoroughly, and let time and use do the rest.
The most important thing to accept is that seasoning is a gradual process. You won’t build remarkable seasoning in one afternoon, but you will see steady improvement with each cooking session over weeks and months. That patient, incremental approach is what transforms a new skillet into a beloved kitchen tool that genuinely performs better every year. Start with clean metal, apply thin layers consistently, and trust the chemistry to work. Your cast iron will reward the effort with decades of reliable, increasingly non-stick cooking.