Packing lunch for kids every single day can feel like running on a treadmill—you’re exhausted, uninspired, and wondering if you’ll ever break free from the sandwich-and-apple routine. The real challenge isn’t coming up with lunch ideas; it’s coming up with lunch ideas that your child will actually eat instead of trading away or bringing home uneaten. You know the feeling: you spend time preparing something you think is nutritious and clever, only to open that lunchbox at the end of the day and find most of it untouched. It’s demoralizing, wasteful, and honestly, makes you question whether your effort is worth it.
The truth is, kids have opinions about food, and those opinions often differ wildly from what adults think they should enjoy. But here’s the good news: there are real lunch solutions that check every box—they’re genuinely easy to prepare, require minimal cooking skills or equipment, keep well without refrigeration for hours, and most importantly, kids actually want to eat them. These aren’t elaborate Pinterest-worthy creations designed to impress other parents. These are no-fuss, kid-approved lunches that busy families can realistically prepare on a weeknight or quickly assemble in the morning.
The lunches in this guide come from what actually works in real kitchens with real kids who have real preferences—some picky, some adventurous, but all capable of deciding whether something’s worth eating. You’ll find ideas that work for different situations: cold lunches that need no thermos, make-ahead options that save you time during the week, lunch ideas that let kids build their own meals (which mysteriously makes them more likely to eat what they’ve assembled), and classic combinations that work because they simply taste good.
1. Pasta Salad with Veggies and Protein
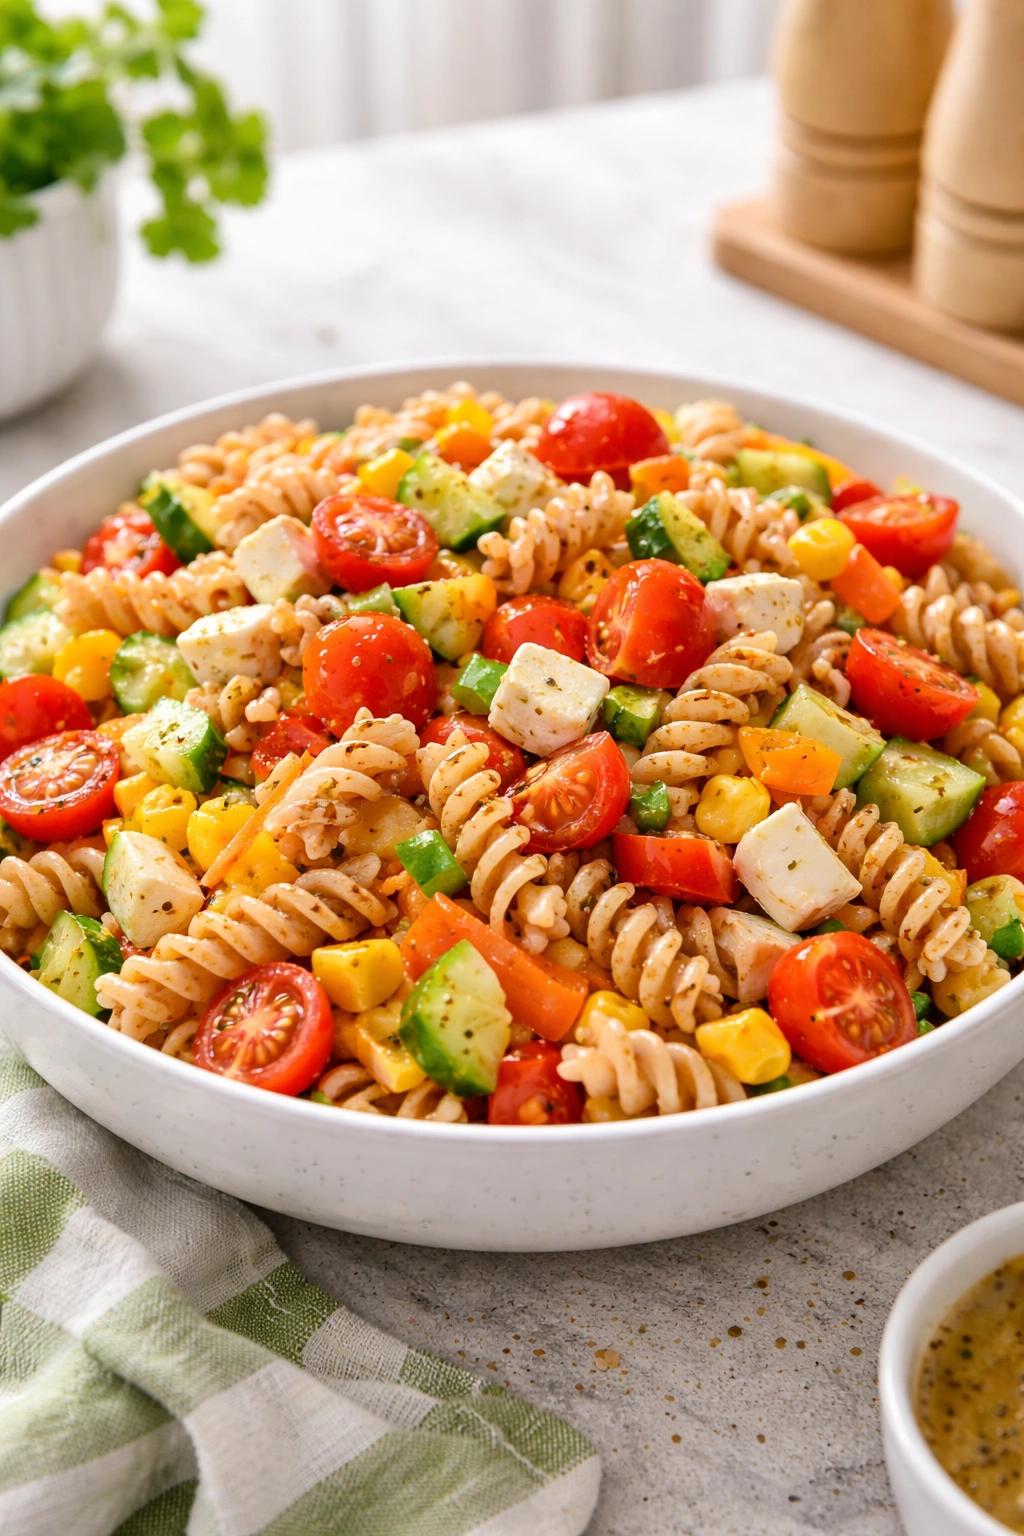
Pasta salad is one of those magical lunch options that tastes better on day two or three, making it perfect for meal prep. Unlike a warm pasta dish, cold pasta salad actually improves as the flavors meld overnight, and it requires no reheating—just pull it straight from the lunch box and eat. Kids typically enjoy pasta because it’s familiar, and when you choose the right dressing and mix-ins, they don’t even notice they’re eating vegetables.
Why Kids Love It
Kids gravitate toward pasta salad because it has texture variety and recognizable ingredients. You can see the pasta, the cheese, maybe some ham or chicken—nothing is hidden or unidentifiable. The Italian dressing coats everything and makes it taste savory and interesting without being strange. Cold pasta also has a pleasant firmness that kids often prefer over warm, mushy textures.
Easy Recipe Formula
- Pasta base: Use whole-wheat rotini, bowtie, or small shells (about 3 cups cooked)
- Protein: Diced rotisserie chicken, canned tuna mixed with mayo, or diced turkey
- Veggies: Cherry tomatoes (halved), diced bell peppers, shredded carrots, diced cucumber, or corn
- Cheese: Cubed mozzarella or cheddar
- Dressing: Italian dressing mixed with a little extra olive oil so it doesn’t dry out by day three
Pro tip: Make this on Sunday and it stays fresh and delicious through Wednesday. The longer it sits, the more the flavors develop, and the pasta absorbs the dressing evenly.
2. DIY Lunchables with Quality Ingredients
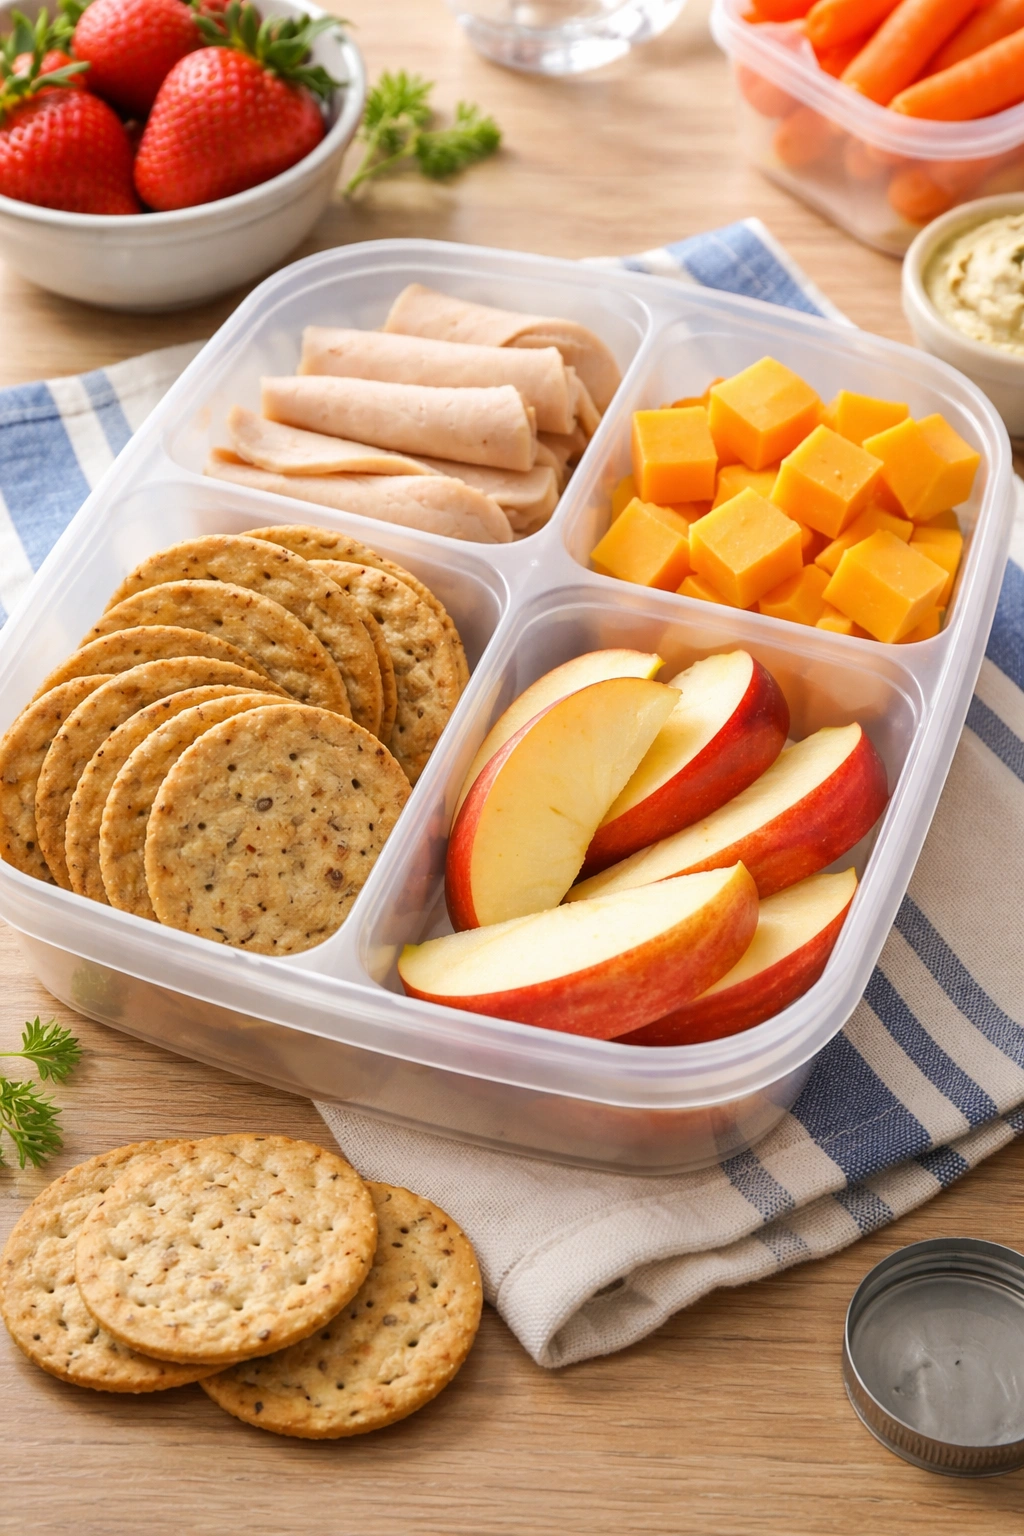
Prepackaged Lunchables are convenient, but they’re loaded with sodium and preservatives, and they’re honestly expensive for what you get. Making your own lunchables takes about five minutes and costs a fraction of the price while giving you complete control over the quality of every ingredient. The beauty of this lunch is that kids love the autonomy of choosing what they eat and assembling it themselves.
Why This Works So Well
Store-bought Lunchables work because kids enjoy the pick-and-choose aspect—they get to decide what they want to eat and in what order. When you replicate this at home with better ingredients, kids stay just as engaged while you’re saving money and reducing artificial ingredients. The compartmentalized approach also means nothing gets soggy or mixed together, which appeals to kids who prefer foods separated on their plate.
Assembly Guide
- Meat: Layer of sliced low-sodium turkey, ham, or salami
- Cheese: Slices of real cheddar or mozzarella (not singles wrapped in plastic)
- Crackers: Whole-grain or seeded crackers you choose, not the cheap ones in the box
- Bonus items: Apple slices, grapes, small pickles, roasted chickpeas, or a hard-boiled egg
- Container: Use a divided bento box so each component stays separate and appealing
Worth knowing: Kids are more likely to eat vegetables and proteins they’ve selected themselves, so if you include veggies, let them choose which ones go in their box.
3. Chicken and Guacamole Wraps
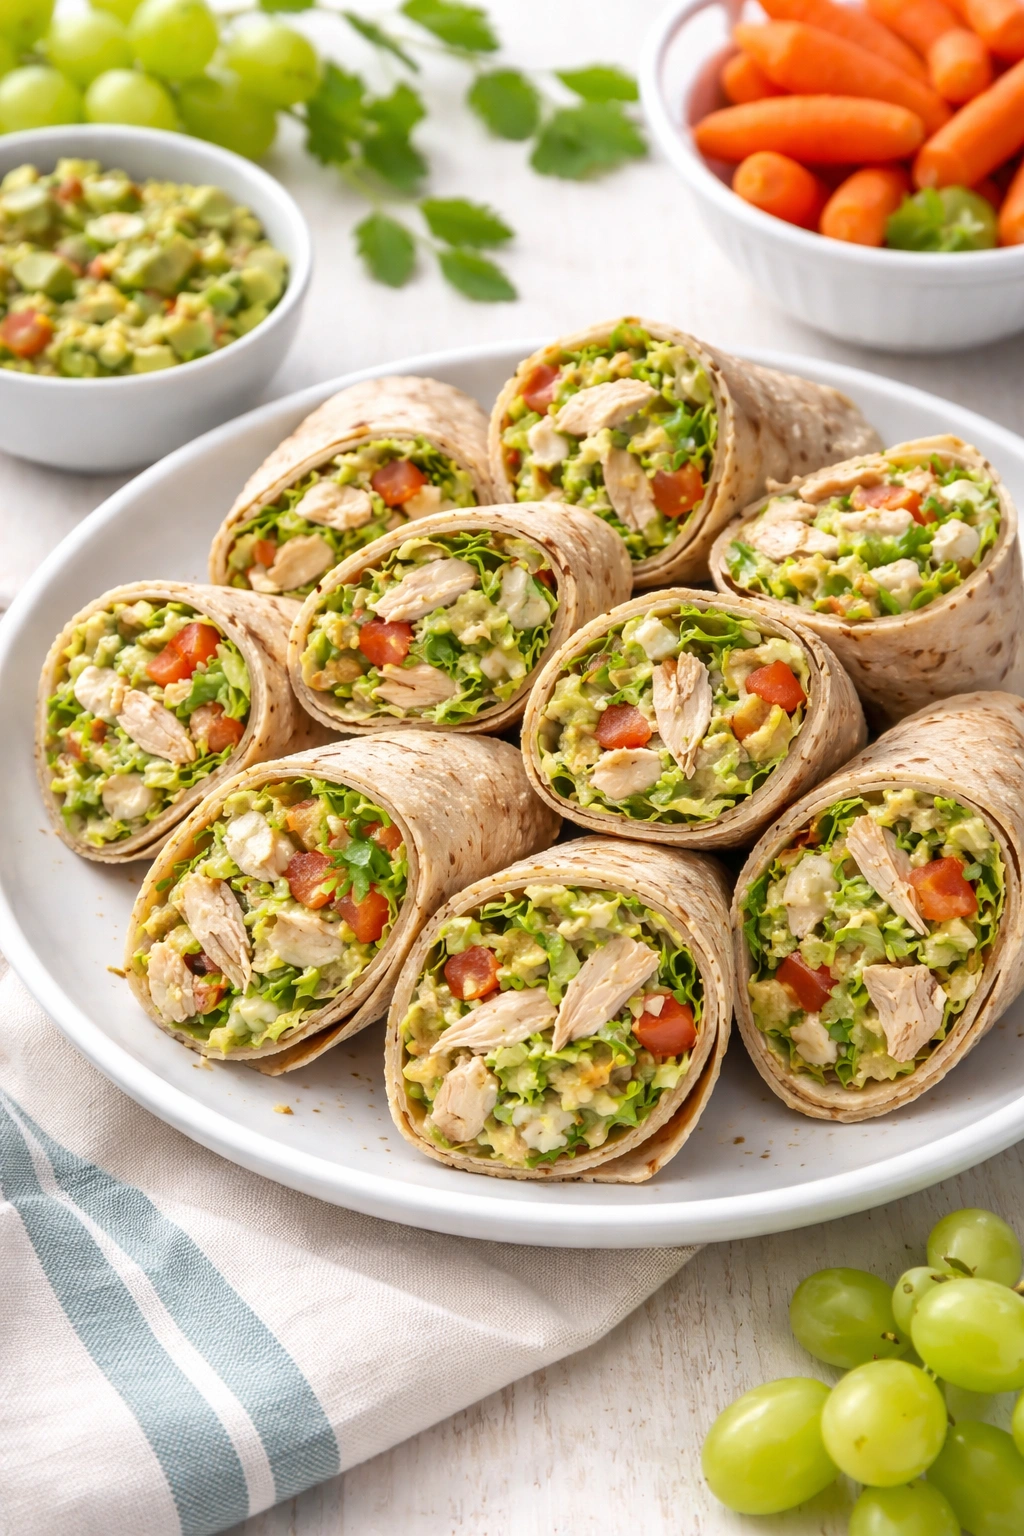
Wraps are underrated lunch vehicles because they’re less messy than sandwiches when packed correctly, they’re forgiving if you need to prep ahead, and they feel more special to kids than basic bread sandwiches. Chicken and guacamole is a combination that sounds fancy but requires almost no cooking—you can use rotisserie chicken straight from the store.
Why Kids Request This Repeatedly
Guacamole is creamy and rich, making the wrap feel indulgent even though it’s genuinely nutritious. Chicken provides protein that keeps kids satisfied through the afternoon, and the avocado adds healthy fats plus a flavor that doesn’t taste “healthy” in a preachy way. The wrap itself is fun to eat, and if you cut it into pinwheels before packing, it looks more interesting than a plain sandwich.
Preparation Tips
- Protein: One cup shredded or diced rotisserie chicken per two wraps
- Guacamole: Use a small container of guacamole or mash half an avocado with a squeeze of lemon (prevents browning)
- Vegetables: Shredded lettuce or spinach, diced bell peppers, or grated carrots for crunch
- Wrap: Use a whole-wheat tortilla—flour wraps hold together better than corn for packing
- Packing trick: Wrap tightly in foil, then store in a container so it stays sealed and doesn’t fall apart during transport
Insider note: Pack the guacamole in a separate small container and let your kid spread it into the wrap just before eating. This prevents sogginess and makes them feel like they’re building their own lunch.
4. Sheet-Pan Mini Meatballs with Dipping Sauce
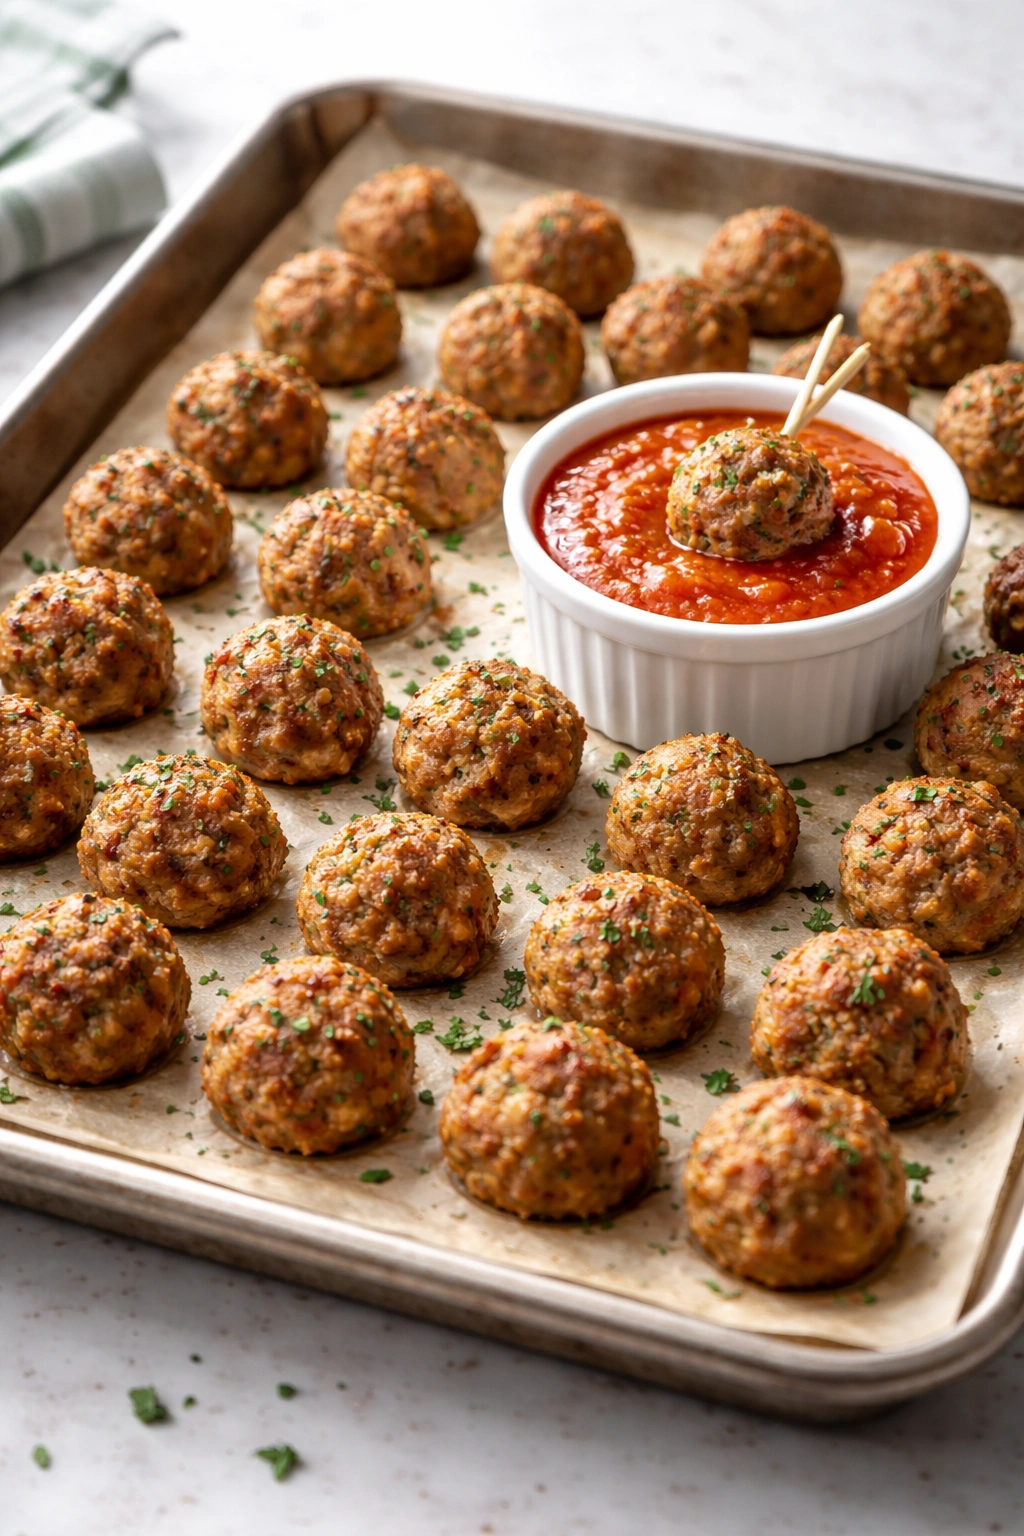
Meatballs are criminally underrated as a lunch item because most parents only think of them as a pasta side dish. But cold or room-temperature meatballs are actually perfect for lunch boxes: they’re protein-packed, they’re not messy if your kids eat them with their hands, and they come with a built-in fun factor when paired with a dipping sauce.
Why Kids Go Crazy for These
Meatballs hit multiple pleasure points: they’re flavorful, they’re easy to eat, they have a satisfying texture, and dipping them in sauce makes eating feel interactive and fun. Unlike chicken nuggets (which are often viewed as “baby food” by school-age kids), meatballs feel slightly more grown-up while still being kid-friendly.
Simple Recipe
- Mix one pound ground beef, one-third cup breadcrumbs, one egg, salt, pepper, and Italian seasoning until just combined
- Roll into walnut-sized balls and arrange on a lined sheet pan
- Bake at 375°F for 15 minutes until cooked through
- Let cool completely, then store in the fridge
- Pack with marinara sauce or barbecue sauce for dipping in a small sealed container
Key fact: Make these on Sunday and you have lunch protein for the entire week. They freeze beautifully too, so you can thaw them ahead of packing day.
5. Build-Your-Own Taco Boxes
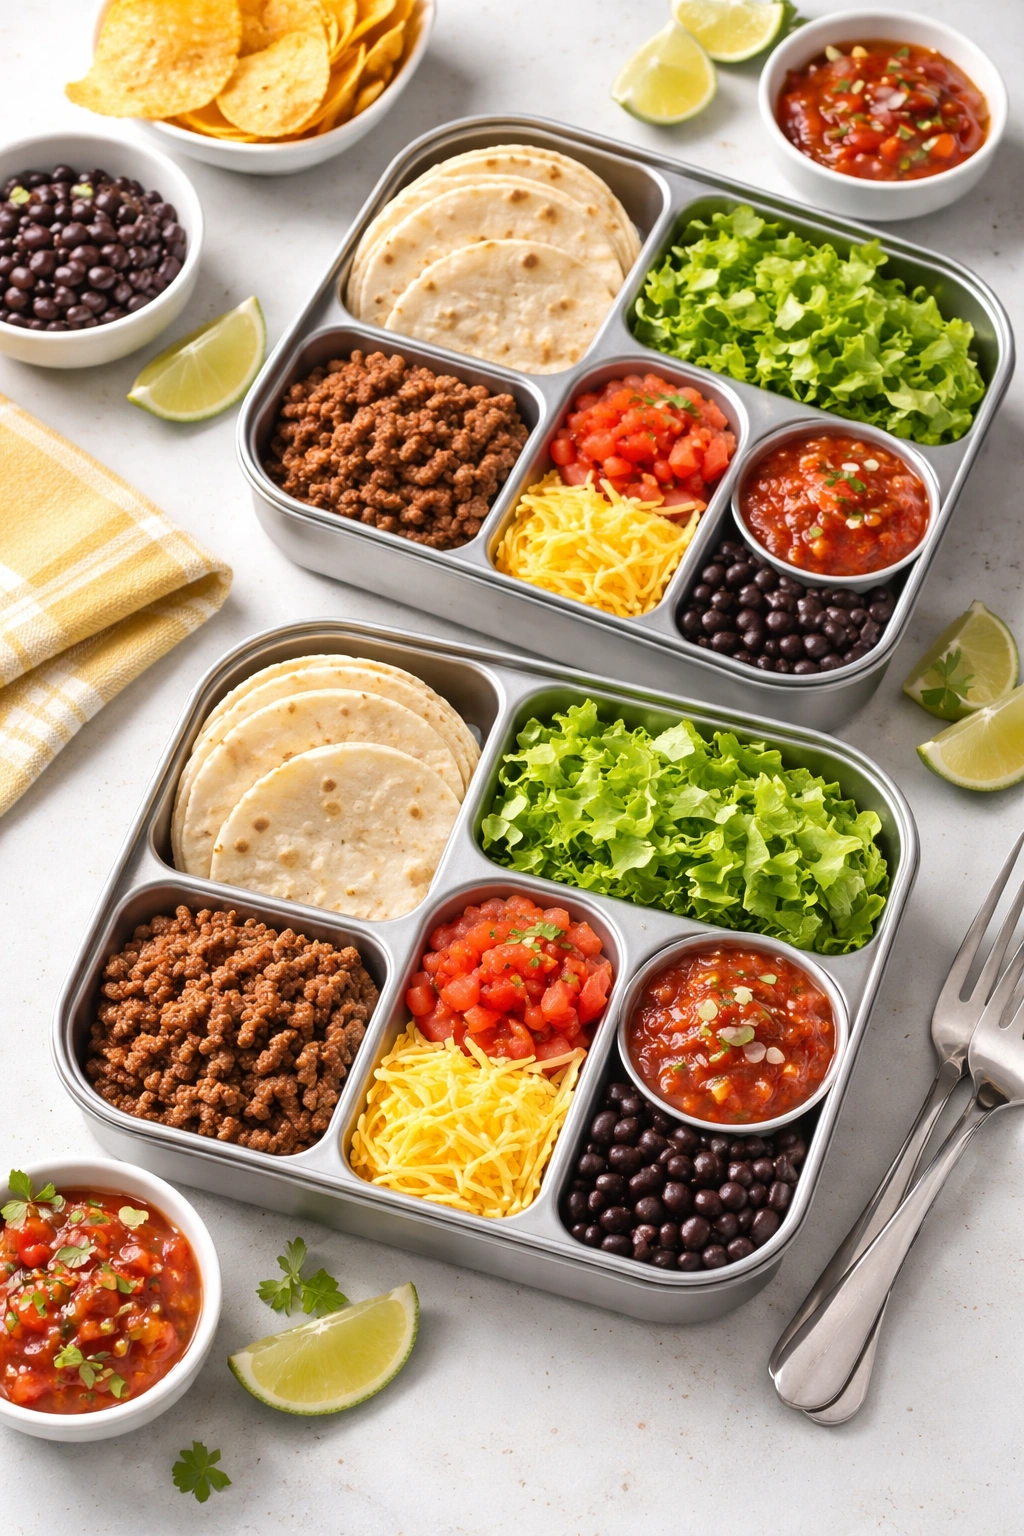
Tacos somehow transform ordinary ingredients into something exciting, and when kids get to assemble their own, they’re infinitely more likely to eat every component. This lunch box idea uses the structure of a taco but in cold, pack-friendly form—think deconstructed tacos where everything stays separated until your child puts it together.
Why The DIY Approach Changes Everything
Research consistently shows that kids eat more and enjoy meals more when they have a hand in assembling them. With a taco box, they’re not just picking ingredients—they’re actually building their meal, which creates a sense of ownership and investment in finishing it. Even picky eaters will eat beef, beans, lettuce, and salsa when they’ve assembled it into something of their own creation.
Container Breakdown
- Protein: Seasoned ground beef or shredded chicken (warm or cold, both work)
- Carbs: Corn tortillas or taco shells in a small bag so they stay crispy
- Toppings: Shredded cheese, diced tomatoes, shredded lettuce, black beans
- Sauce: Mild salsa or guacamole in a sealed container
- Bonus: Corn chips or black olives for extra flavor
Packing strategy: Use a compartmentalized lunch box so each ingredient stays separate and distinct. Kids are more likely to eat vegetables when they can see them clearly rather than having them mixed into something.
6. Cold Pizza Leftovers
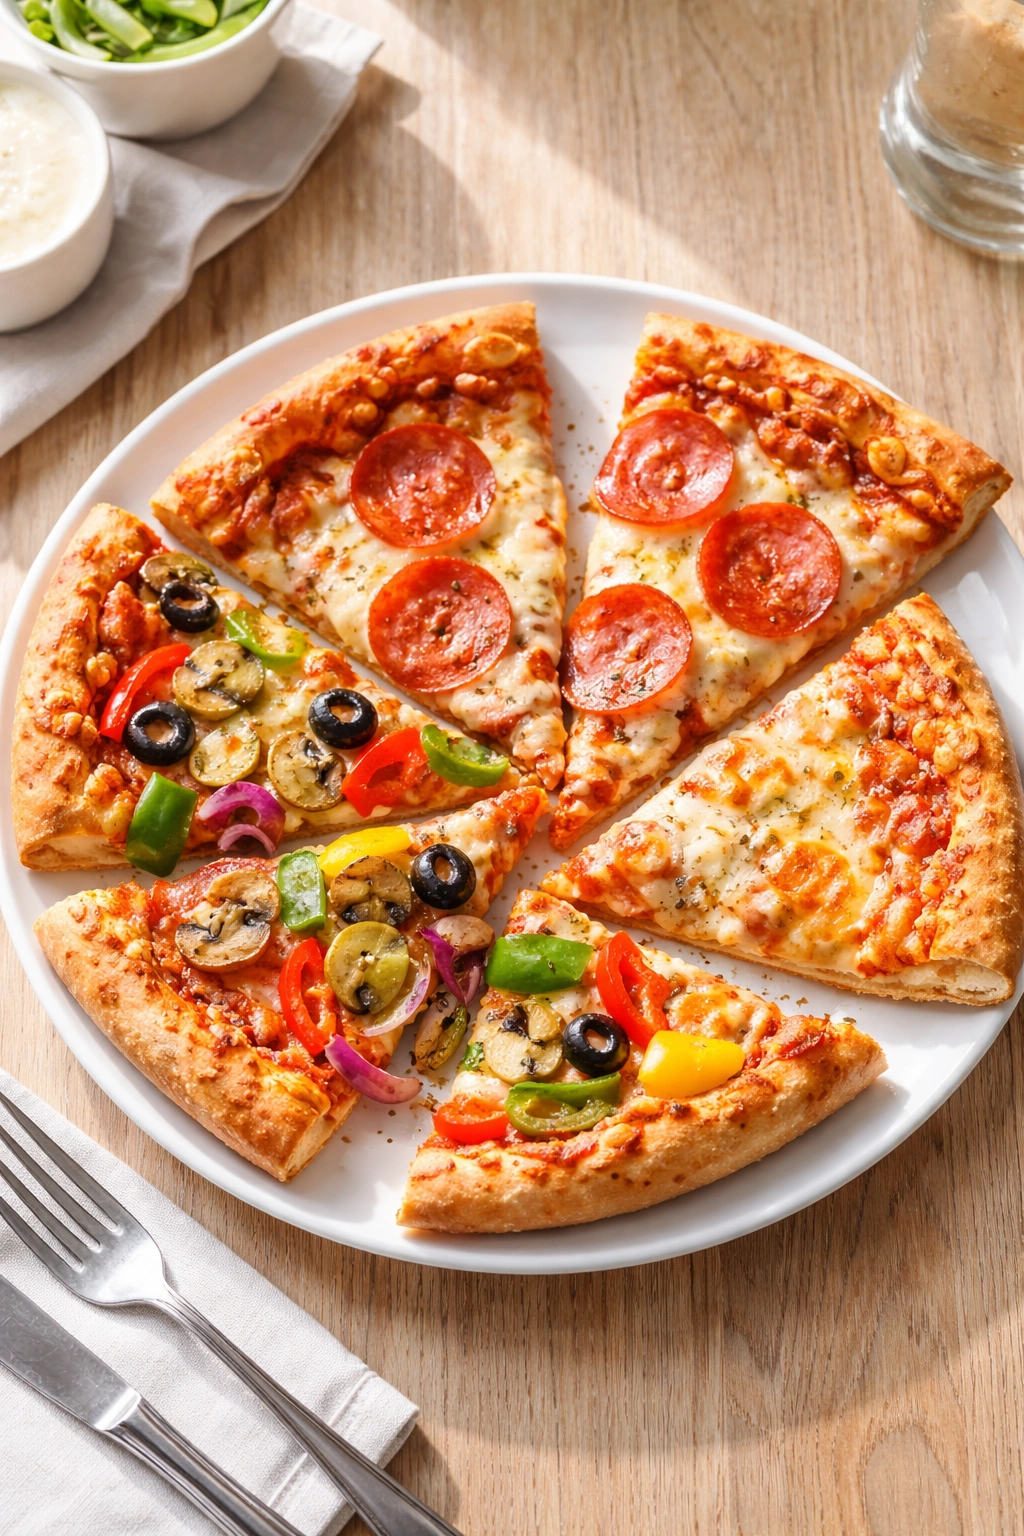
Here’s something that surprises many parents: kids will absolutely eat cold pizza for lunch, even pizza they enjoyed warm at dinner. Cold pizza is convenient, requires zero preparation on the day of packing, tastes genuinely good at room temperature, and kids view it as more exciting than a sandwich.
Why This Is a Parent’s Secret Weapon
Most parents overlook cold pizza as a lunch option because they think pizza is only meant to be eaten hot. But pizza has everything a balanced lunch needs: carbohydrates from the crust, protein from cheese and meat, and often vegetables if you’ve chosen toppings wisely. Making an extra pizza or two during dinner specifically for lunch packing is one of the easiest ways to guarantee your kid will finish lunch.
Pizza Strategy
- Homemade is better but store-bought works: If making pizza at home, go light on sauce so it doesn’t get soggy
- Topping ideas: Pepperoni, sausage, cooked ground beef, chicken, or keep it simple with just cheese and veggies
- Veggie additions: Finely chopped peppers, mushrooms, olives, or spinach added before baking
- Storage: Wrap individual slices in foil or parchment, then pack in a container so they stay intact
Pro tip: Cut pizza into smaller squares rather than traditional triangles for lunch boxes—they’re easier to handle and less likely to fall apart during transport.
7. Cheese and Crackers Bento Box
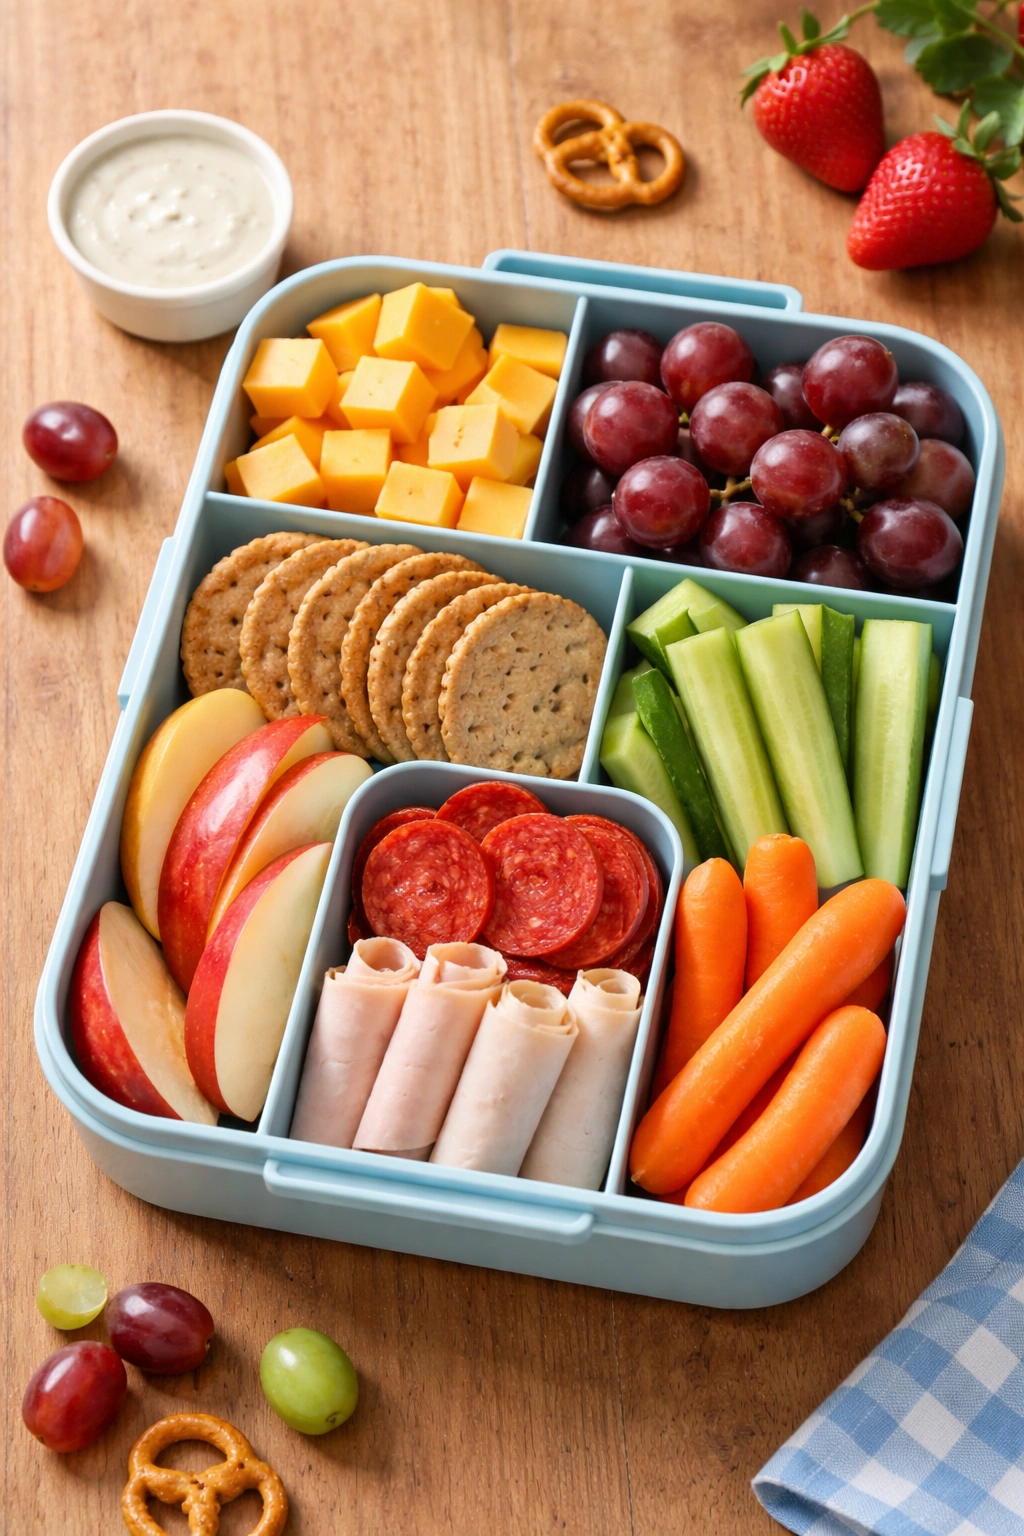
The simplicity of this lunch is exactly what makes it brilliant. A thoughtfully assembled cheese and crackers box with complementary additions feels more intentional and special than throwing random items into a lunch box, and it provides the variety that keeps kids engaged during the meal.
Why The Bento Box Approach Wins
Kids often prefer grazing to sitting down to a traditional meal. They like variety, they like picking and choosing, and they like foods that feel snackable rather than formal. A well-constructed bento box with cheese, crackers, fruit, and maybe a protein satisfies all these preferences while still being nutritionally balanced.
Bento Box Formula
- Cheese: Three different types in small cubes (sharp cheddar, mild cheddar, mozzarella, or brie)
- Crackers: Whole-grain varieties, seeded crackers, or even pretzels for variety
- Fruit: Grapes (halved for safety), apple slices with lemon juice to prevent browning, berries, or dried fruit
- Protein: Pepperoni slices, salami rolled up, hard-boiled egg, or roasted chickpeas
- Vegetable: Baby carrots, cucumber slices, bell pepper strips, or cherry tomatoes
Worth knowing: Divide everything into small portions rather than larger servings. Kids feel like they’re getting more food when it’s portioned out into separate compartments, even if the total amount is the same.
8. Turkey or Ham Pinwheels
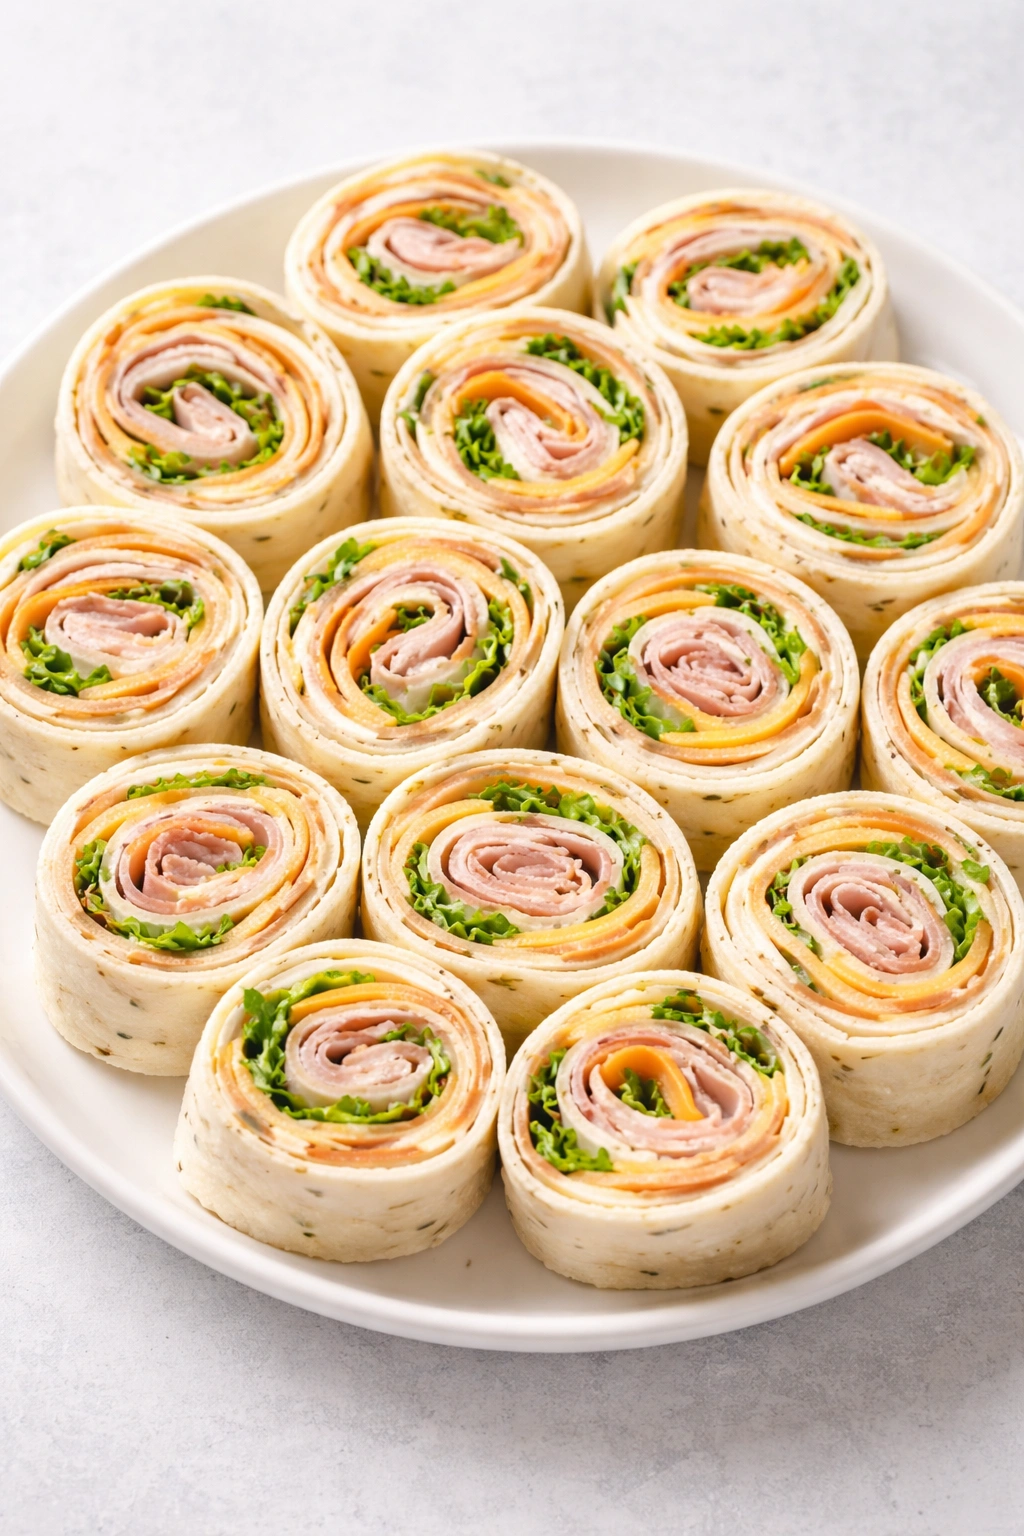
Pinwheels are pinwheels for a reason: they’re genuinely delicious, they look fun, they’re easy to eat, and they can be made in massive batches ahead of time. Unlike sandwiches that can get soggy or fall apart during transport, pinwheels stay intact and maintain their appeal even if they’ve been sitting in a lunch box for hours.
Why Kids Think These Are Special
Pinwheels look like you put effort into lunch, even though they take maybe ten minutes to assemble. Kids recognize them as “special food,” they’re easy to eat with one hand, and they taste sophisticated without being weird or off-putting.
Pinwheel Assembly
- Base: Whole-wheat tortillas, one per two pinwheels
- Spread: Cream cheese or hummus spread evenly across the tortilla
- Protein: Layer of deli turkey or ham
- Veggie: Shredded carrots, thinly sliced bell peppers, or baby spinach leaves
- Finish: Roll tightly, wrap in plastic wrap, refrigerate for at least 30 minutes, then slice into half-inch pieces
- Storage: Keep in an airtight container in the fridge—they stay fresh for three to four days
Pro tip: The longer pinwheels sit in the fridge before slicing, the better they hold together because the cream cheese sets and the flavors meld.
9. Peanut Butter and Banana Roll-Ups
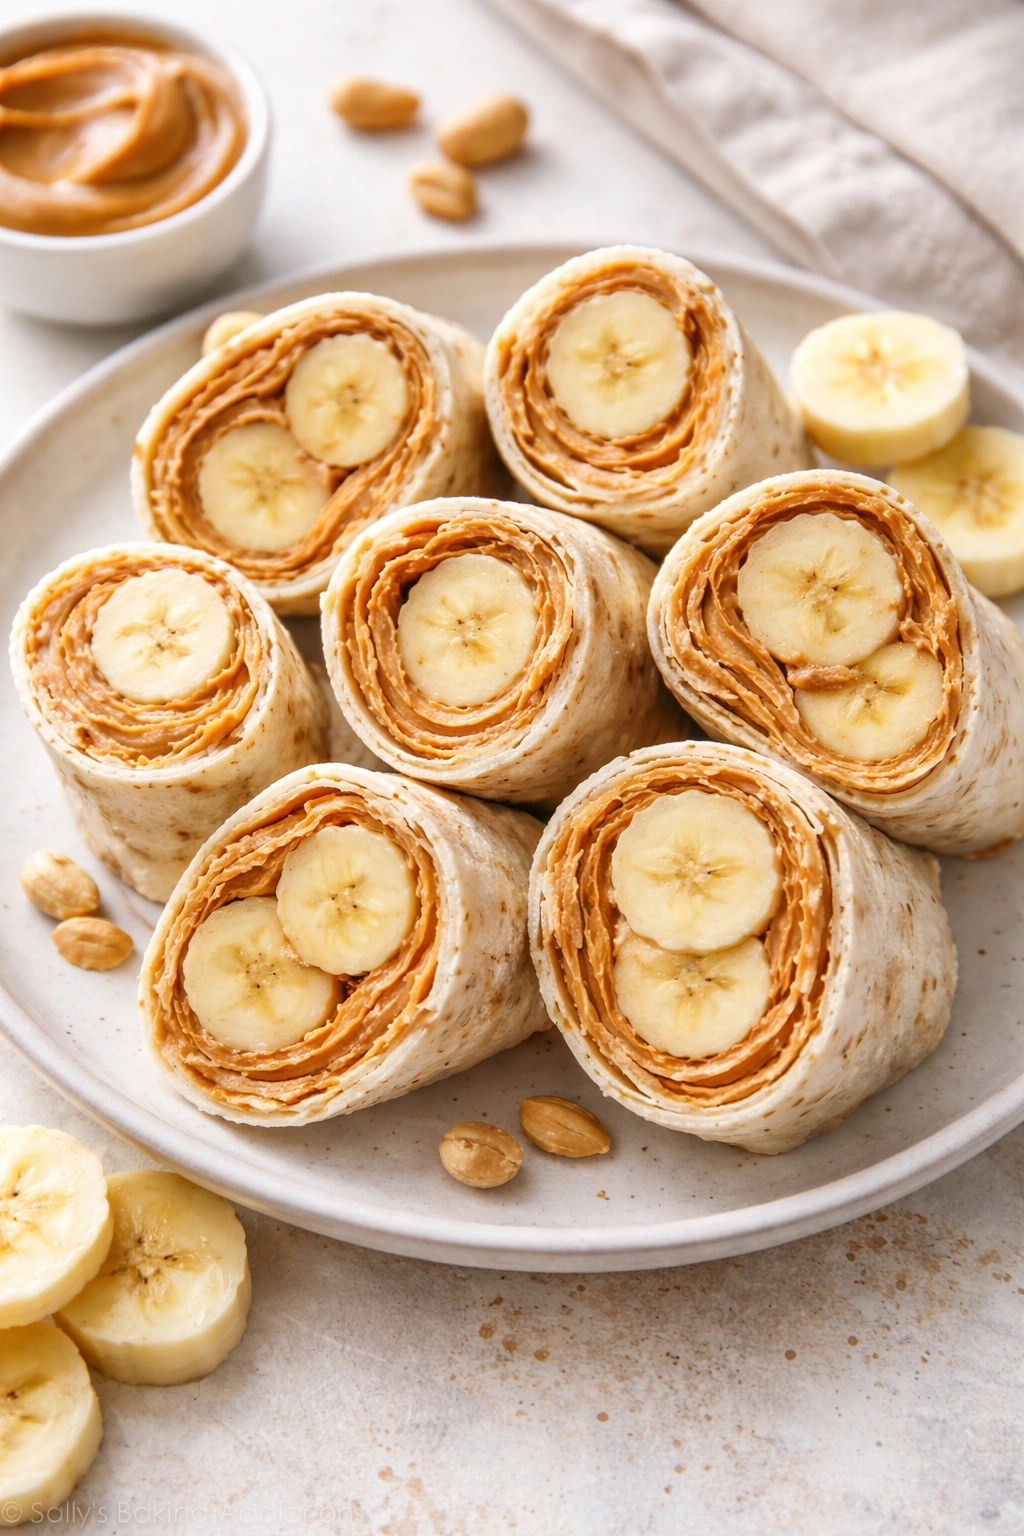
This is the adult-approved version of the classic peanut butter and banana combination, transformed into something more portable, less messy, and honestly more fun than a traditional sandwich. Roll-ups feel like dessert but deliver the protein and sustained energy kids need through the school day.
Why This Combination Works for Lunch
Peanut butter provides protein and fat (which supports satiety), banana adds carbohydrates and natural sweetness, and when you roll them together in a tortilla, the whole thing feels indulgent without being unhealthy. This is a lunch that doesn’t feel like a lunch—it feels like a treat your child got lucky enough to have in their box.
Simple Formula
- Tortillas: Whole-wheat or flour tortillas, one per roll-up
- Peanut butter: Smooth or crunchy, spread thinly across the tortilla
- Banana: One ripe but still firm banana, sliced lengthwise or into thin strips
- Optional add-ins: Honey drizzle, chocolate chips, or sunflower seed butter for variety
- Packing: Wrap tightly in foil or parchment to hold its shape during transport
Insider note: If you’re worried about the banana browning, brush the inside of the tortilla with a tiny bit of lemon juice before adding the banana, or pack a small container of lemon juice separately for your kid to brush on before eating.
10. Yogurt Parfait with Granola and Fruit
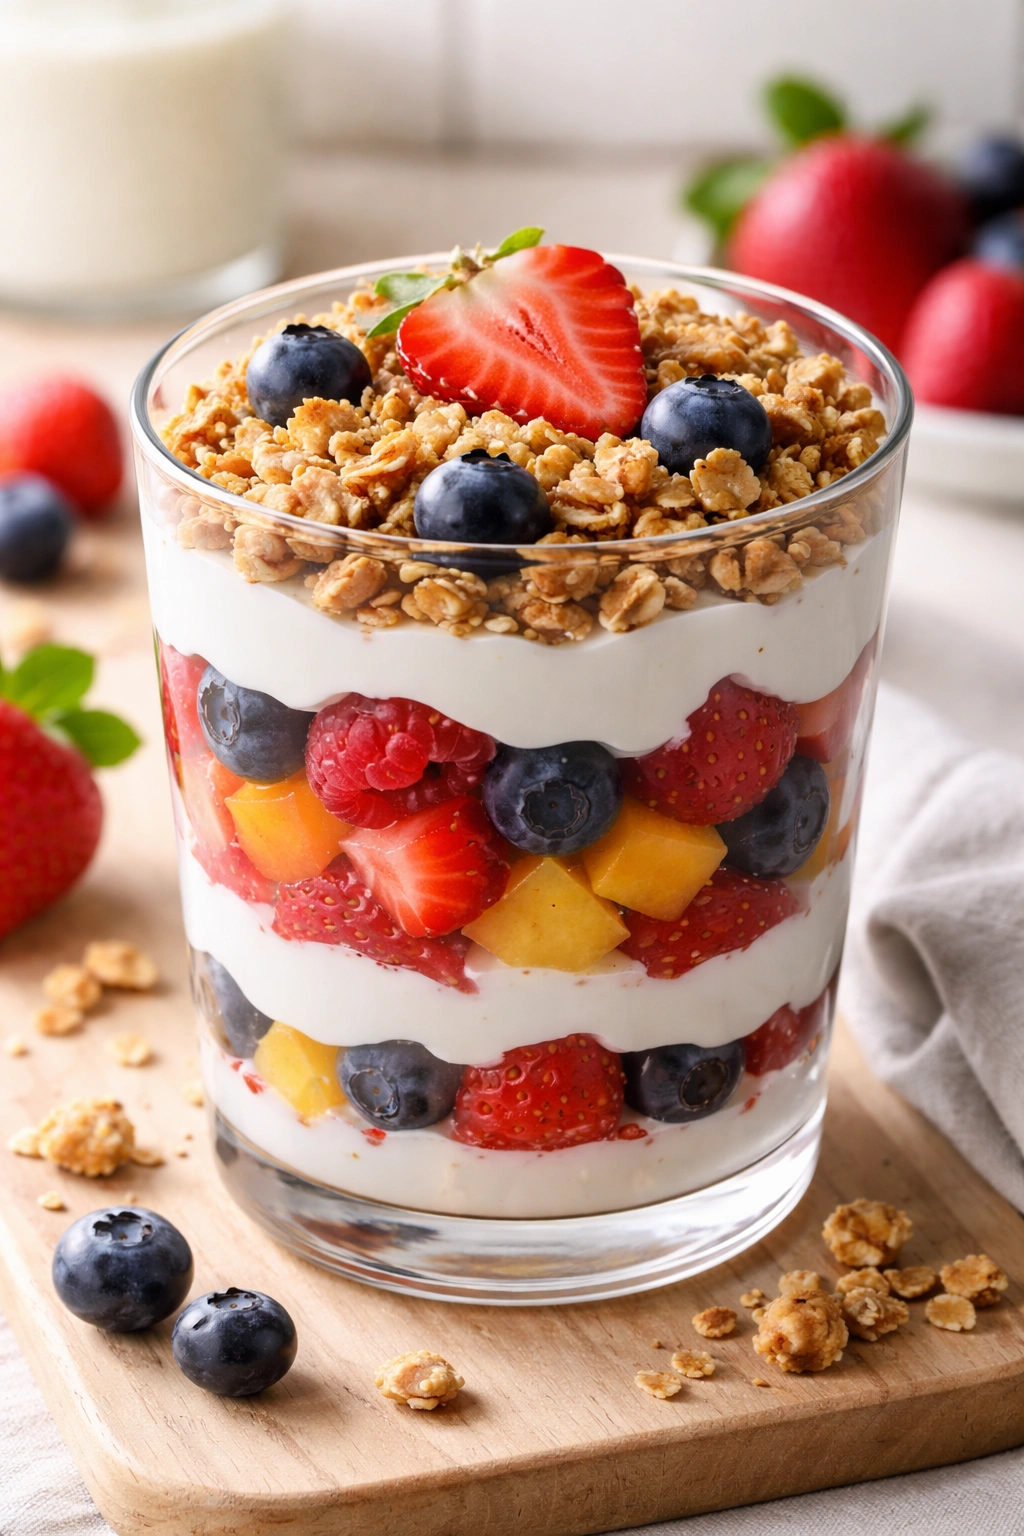
A yogurt parfait offers nutritional density in a format kids genuinely enjoy eating: it has multiple textures, tastes naturally sweet without being candy, and feels like a special treat rather than a lunch obligation. The compartmentalized approach also means nothing gets soggy if you pack the granola separately.
Why The Layered Approach Matters
Kids eat with their eyes first, and a parfait looks more interesting than a bowl of plain yogurt. The variety of textures and flavors keeps them engaged through the whole meal. Plus, when you layer fruit and yogurt together, you’re providing probiotics, protein, carbohydrates, and vitamins in one container.
Assembly Steps
- Base yogurt: Start with Greek yogurt or a high-protein yogurt in a sealed container (about one cup)
- Fruit: Layer in fresh berries, diced peaches, or chopped apple mixed with a bit of cinnamon
- Granola: Pack granola in a small separate container to keep it crispy until your child eats it
- Honey or jam: Optional drizzle for extra sweetness, packed separately
- Packing: Use a container with a lid and remember that yogurt parfaits need to stay refrigerated, so pack with a cold source
Real talk: If your child’s school has limited refrigeration, this one might not work unless your lunch box stays truly cold throughout the day. In that case, use the cold pack strategy: freeze a small water bottle the night before, lay it on its side to freeze fully, then fill it with water in the morning and pack it with the yogurt. It’ll keep everything cold and thaw throughout the day for your child to drink.
Final Thoughts

The most important realization about packing lunches that kids will actually eat is that boring doesn’t work, but complicated doesn’t have to either. Every single lunch idea here can be prepared in ten minutes or less, most can be made ahead in bulk, and all of them are variations on foods that genuinely appeal to kids rather than foods that “should” appeal to them based on nutritional charts.
Start by choosing three of these ideas that feel most realistic for your family’s schedule and preferences. Rotate through those three for a week or two until they feel automatic, then add a fourth option. Within a month, you’ll have a comfortable rotation of lunches that your kids actually request and that don’t come home half-uneaten. That’s the real win—not creating elaborate meals, but creating reliable, kid-approved options that make your mornings easier and your afternoons better.