Dry banana bread is a tragedy that happens far too often—and it’s almost always preventable. You’ve probably experienced that dense, crumbly slice that feels like you’re eating a piece of cardboard, or the cake that somehow managed to dry out even though you swear you didn’t overbake it. The frustration is real, especially when you’ve followed a recipe and done everything “right.”
The truth is that achieving truly moist banana bread requires understanding exactly what causes moisture loss and then deliberately building a loaf that resists it at every stage. It’s not about lucky timing or secret ingredients most people don’t know about. It’s about understanding the science of moisture retention, making intentional choices about your ingredients and technique, and knowing the specific signs that tell you when your banana bread is perfectly done—not a second longer.
Over the years of baking countless loaves, I’ve tested every variable that affects moisture: different banana ratios, oil versus butter, mixing methods, oven temperatures, cooling techniques, and storage approaches. What I’ve learned is that moist banana bread isn’t actually difficult—it just requires precision and a clear understanding of what you’re doing and why. The good news is that once you nail this, you’ll have a technique that produces a consistently moist, tender crumb that actually improves slightly as it sits, rather than getting worse.
Why Most Banana Bread Comes Out Dry
The primary culprit behind dry banana bread is overbaking, and it happens more easily than most people realize. Because banana bread is dense and dark, it’s genuinely hard to tell when it’s finished just by looking at the top. Most home bakers either leave it in too long waiting for it to look “done,” or they don’t have a reliable way to check doneness without cutting into the loaf itself.
The second major cause is insufficient fat in the batter. Fats (whether oil, butter, or both) are literally what make baked goods moist. Without enough of them, even a perfectly timed loaf will taste and feel dry. The ratio of fat to flour matters tremendously, and many standard recipes skimp here to reduce calories—at the cost of eating experience.
Under-ripe or overly dry bananas also play a significant role. Bananas that aren’t perfectly ripe don’t contain as much natural moisture or sweetness, and bananas that have been sitting around losing their moisture content will absorb water from the batter instead of contributing it. This shifts your batter’s actual hydration level downward, resulting in a drier final product.
Finally, the cooling process matters more than most people realize. If you slice into banana bread while it’s still warm, you can actually cause it to dry out faster because you’re releasing steam and breaking the crumb structure while it’s still fragile. Patience during cooling is part of the moisture-preservation equation.
The Secret to Perfectly Moist Banana Bread
The real secret isn’t complicated: it’s a combination of three things working together. First, you need the right ratio of fat to flour. Second, you need to nail the baking time using a precise doneness test rather than guessing. Third, you need to understand what happens to banana bread after it comes out of the oven and treat the cooling and storage phase as part of the recipe itself.
The most important single factor is using a gentle oven temperature (350°F / 175°C instead of 375°F / 190°C) that allows the interior to bake through before the exterior over-browns. A lower oven temperature gives you more margin for error because the top won’t set and harden before the crumb in the center has finished cooking and setting properly.
The second crucial factor is using a combination of oil and melted butter. Oil contributes liquid fat that stays soft and tender, while butter adds flavor and structure. The combination gives you both moisture and taste—neither one alone does the job as well.
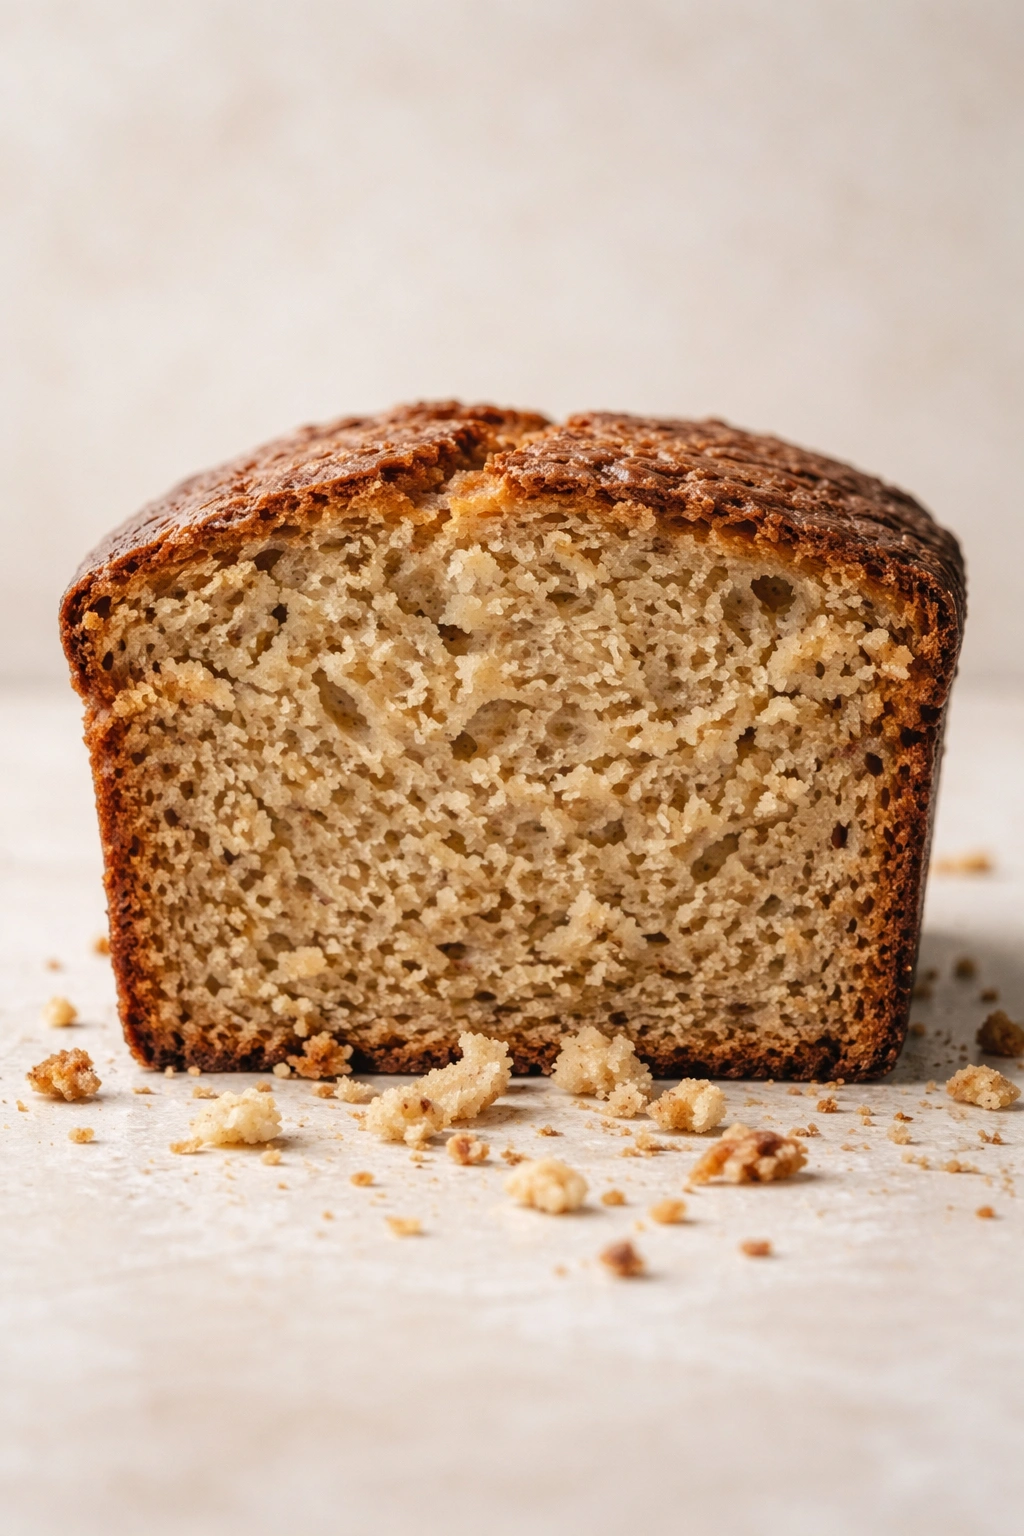
Finally, understanding that banana bread continues to cook slightly even after it comes out of the oven is essential. A toothpick inserted in the center should come out with just a few moist crumbs clinging to it, not completely clean. It will firm up as it cools, and those residual moist crumbs are actually what keep the final loaf tender.
Choosing the Right Bananas for Maximum Moisture

Not all bananas are created equal when it comes to baking banana bread. The ripeness of your bananas directly affects both the moisture content and the flavor of your finished loaf.
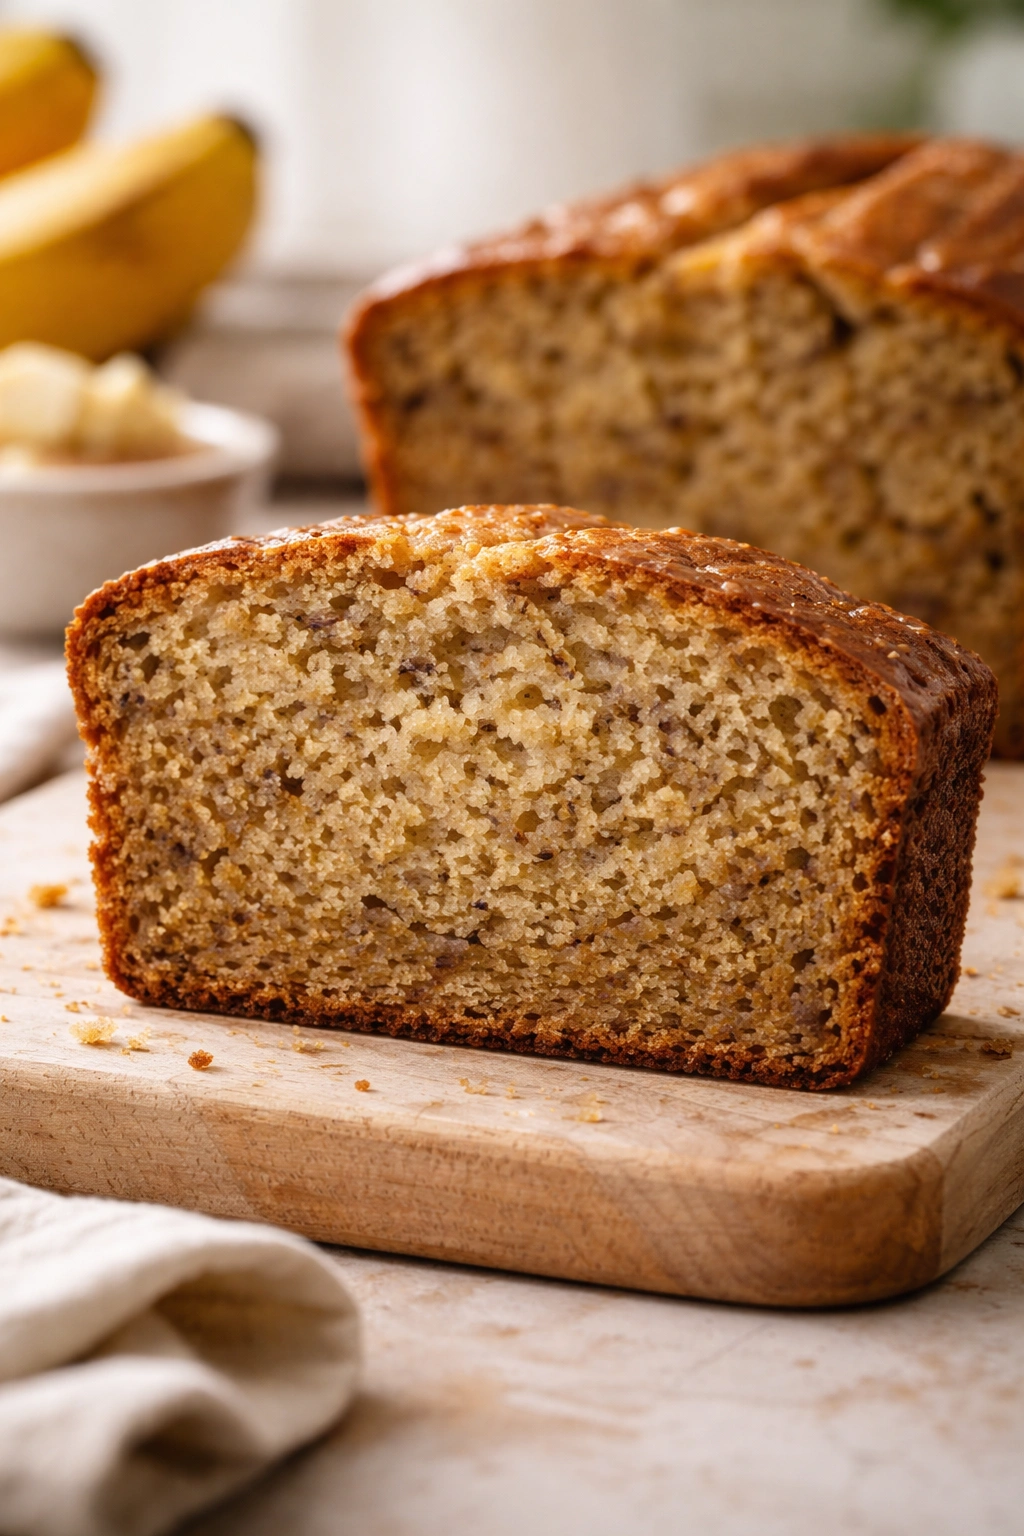
Perfectly ripe bananas are those with a deep yellow skin speckled with brown spots—those brown spots indicate that the starches have converted to sugars and the banana has reached peak ripeness. At this stage, the banana is softest, sweetest, and contains maximum natural moisture. These are exactly what you want for banana bread.
If your bananas aren’t quite there yet, you can speed up the process by placing them in a paper bag on the counter for a day or two, or even in a 300°F oven for 15 minutes if you’re in a rush. The goal is to get those brown spots on the skin before you peel them.
Avoid using bananas that are still mostly yellow or bananas that have progressed to nearly all brown or even black. A banana that’s too green hasn’t developed enough sweetness and contains too much starch and too little natural moisture. A banana that’s too brown—past the point of having brown spots and verging on decomposing—will be mushy and may have started to ferment, which affects flavor.
The texture matters too. When you peel and mash your bananas, they should be creamy and break apart easily. If you’re using bananas that have been sitting in the refrigerator (which darkens the skin but makes them seem overripe), check that the actual flesh is still firm and creamy, not brown and pulpy inside. Refrigerated bananas can look overripe on the outside while still being less ripe on the inside.
One practical trick: if you have leftover very ripe bananas you won’t use immediately, peel them, mash them lightly, and freeze them in ice cube trays. Frozen mashed bananas keep for months and thaw to nearly the same consistency. They’re perfect for banana bread and eliminate the scramble to use bananas before they go bad.
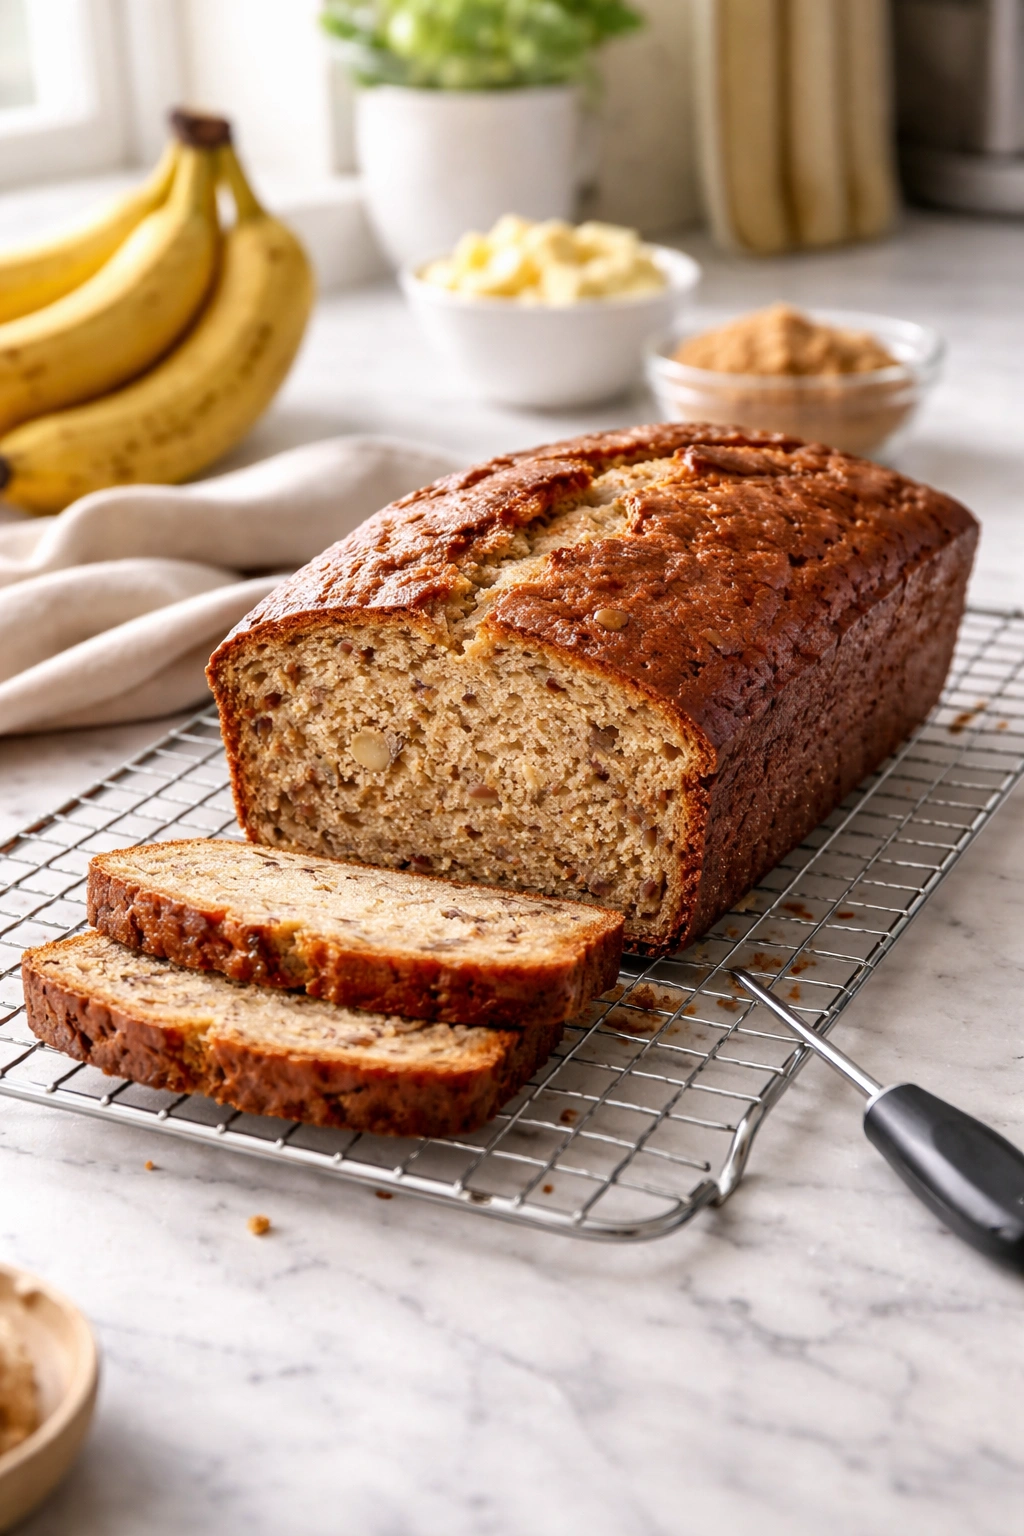
The Recipe
Yield: One 9×5-inch loaf, serves 8 to 10 slices
Prep Time: 15 minutes
Cook Time: 55 to 60 minutes
Total Time: 70 to 75 minutes active + 1 hour cooling before slicing
Difficulty: Beginner — no special equipment required and straightforward steps that even a first-time baker can follow with confidence.
For the Banana Bread:
- 3 large ripe bananas (about 1¼ pounds or 550 grams), peeled and mashed until creamy (you should have approximately 1½ cups / 360ml of mashed banana)
- ⅓ cup (80ml) neutral oil such as vegetable, canola, or light olive oil
- 4 tablespoons (60 grams / ½ stick) unsalted butter, melted
- ¾ cup (150 grams) granulated sugar
- ¼ cup (50 grams) light brown sugar, packed
- 2 large eggs, room temperature
- 1 teaspoon pure vanilla extract
- 1¾ cups (210 grams) all-purpose flour
- 1 teaspoon baking soda
- ½ teaspoon fine sea salt
- ¼ teaspoon ground cinnamon (optional but recommended for depth)
Optional Add-Ins:
- ¾ cup (90 grams) chopped walnuts or pecans, toasted for better flavor
- ¾ cup (130 grams) chocolate chips (semi-sweet or dark chocolate, depending on preference)
Prepare the Pan and Preheat:
-
Preheat your oven to 350°F (175°C) and position the oven rack in the center position.
Advertisements -
Grease a 9×5-inch loaf pan thoroughly with softened butter or cooking spray, paying special attention to the corners and edges where banana bread tends to stick. Alternatively, line the pan with parchment paper, leaving a 1-inch overhang on each long side — this makes turning out the finished loaf effortless and is my preferred method.
Combine the Wet Ingredients:
-
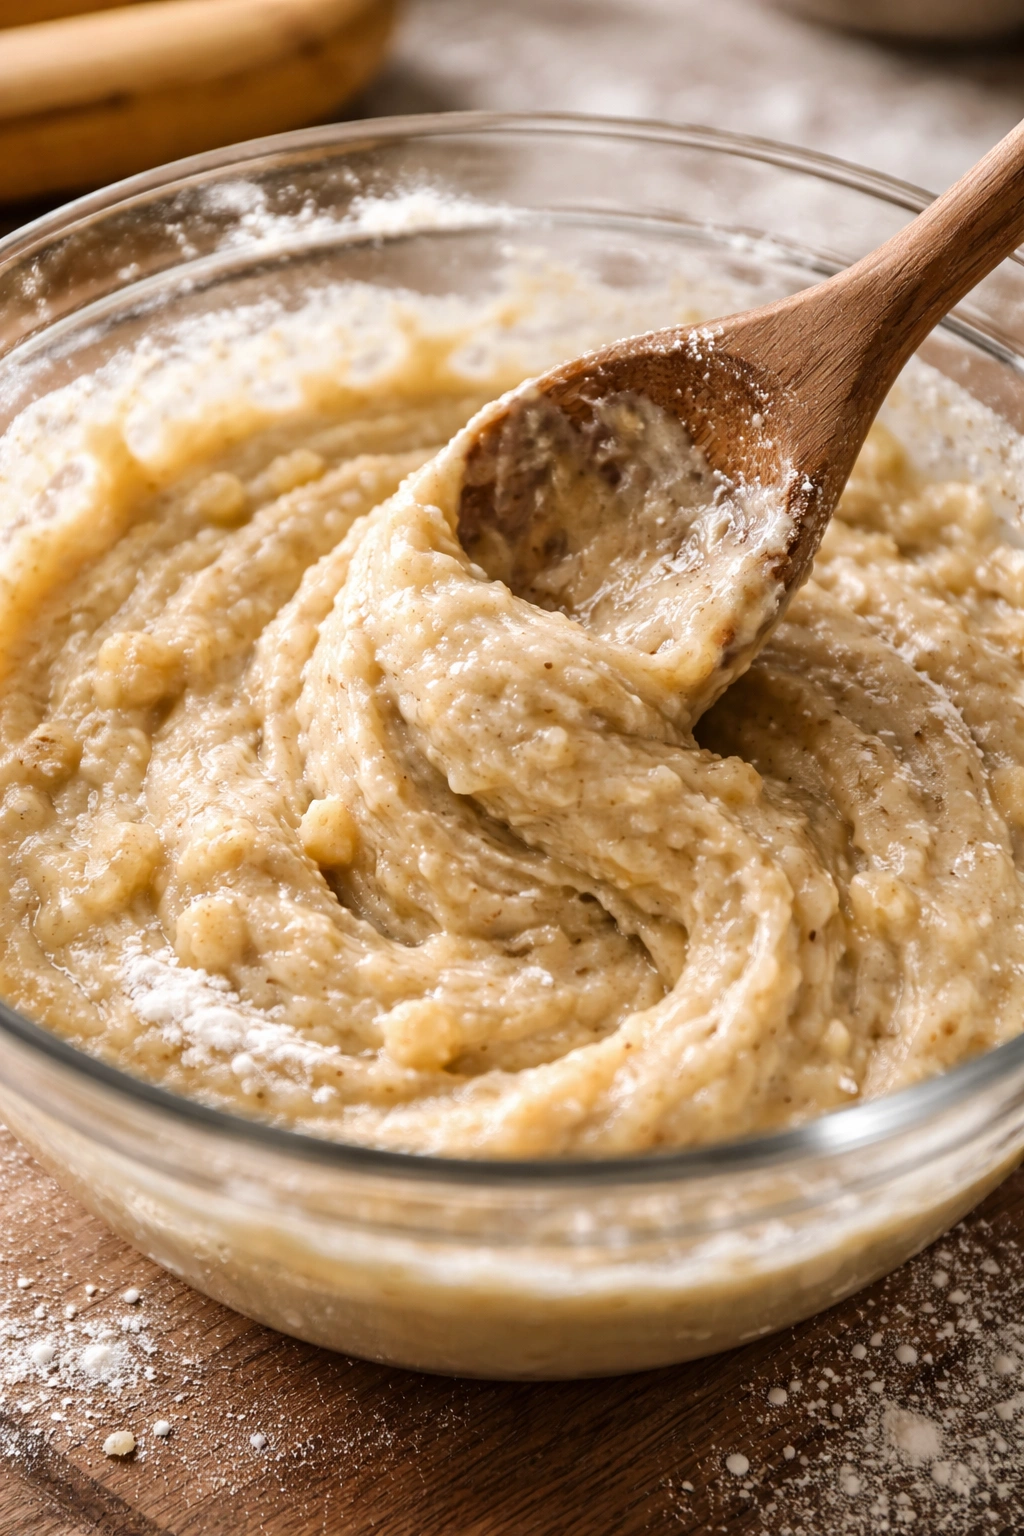
In a large mixing bowl, combine the mashed bananas, oil, melted butter, granulated sugar, and brown sugar. Stir vigorously with a wooden spoon or flexible spatula until the mixture is well combined and the sugars are mostly dissolved into the banana mixture. This should take about 1 minute of stirring. The mixture will look smooth and creamy.
-
Add the eggs one at a time, stirring well after each addition until the egg is fully incorporated. The mixture should look pale and slightly fluffy after both eggs have been added — this means you’re incorporating a tiny bit of air, which contributes to a tender crumb.
-
Stir in the vanilla extract until fully combined. Set the wet mixture aside.
Combine the Dry Ingredients:
- In a separate medium bowl, whisk together the flour, baking soda, salt, and cinnamon (if using) until evenly distributed. Whisking ensures the baking soda is spread evenly throughout so you won’t have any streaks of unbaked batter or bitter spots from concentrated baking soda.
Combine Wet and Dry:
-
Pour the wet banana mixture into the bowl with the dry ingredients. Using a flexible spatula or wooden spoon, fold the two together gently and deliberately. The most important rule here: fold only until you see no streaks of white flour remaining. Stop immediately after that point. Overmixing develops gluten, which toughens the crumb and makes the banana bread dense and less moist. You want a tender crumb, not a tough, cakey texture.
-
If you’re using walnuts or chocolate chips, fold them in gently during this final step, making sure they’re distributed evenly throughout the batter.
Bake:
-
Pour the batter into the prepared loaf pan and smooth the top with an offset spatula or the back of a spoon, creating an even surface.
-
Bake for 55 to 60 minutes, rotating the pan 180 degrees halfway through (at the 27-to-30-minute mark). Rotating ensures even browning and prevents the edges from overbaking while the center is still raw.
-
The banana bread is done when a toothpick inserted into the very center of the loaf comes out with just a few moist crumbs clinging to it — not completely clean, and definitely not with wet batter on it. This is the critical sign. If it comes out completely clean, you’ve likely slightly overbaked it. If it comes out with wet batter, it needs another 2 to 3 minutes.
-
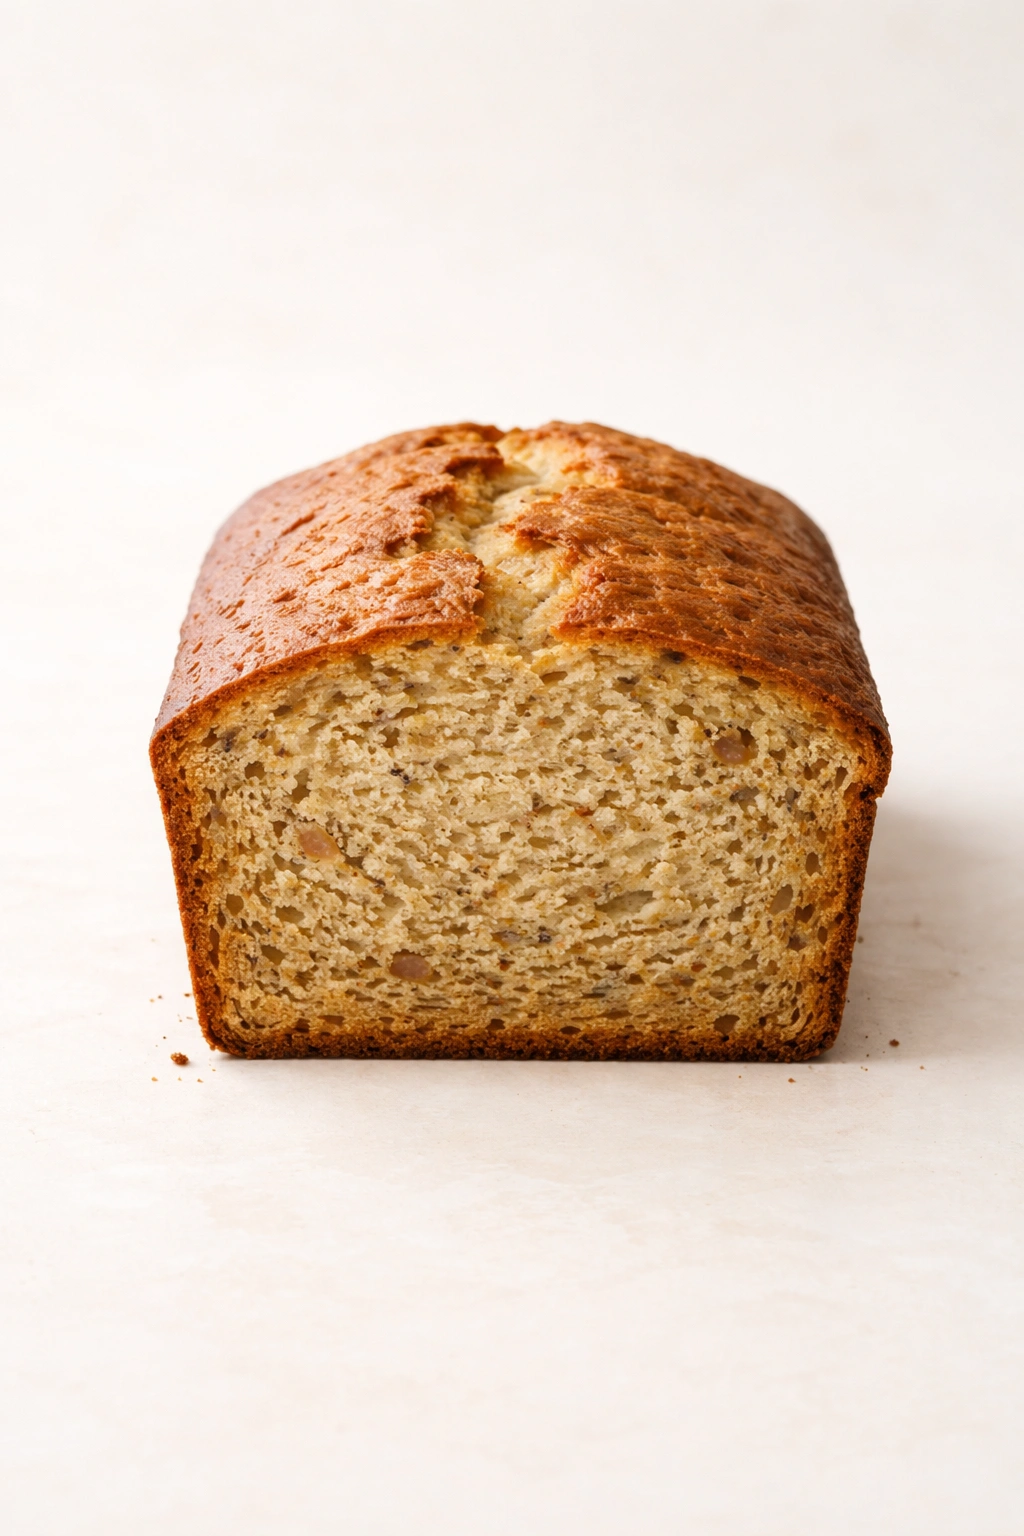
Additionally, the edges should be just barely pulling away from the sides of the pan, the top should be deep golden brown, and the loaf should smell unmistakably of bananas and vanilla.
Advertisements
Cool and Rest:
-
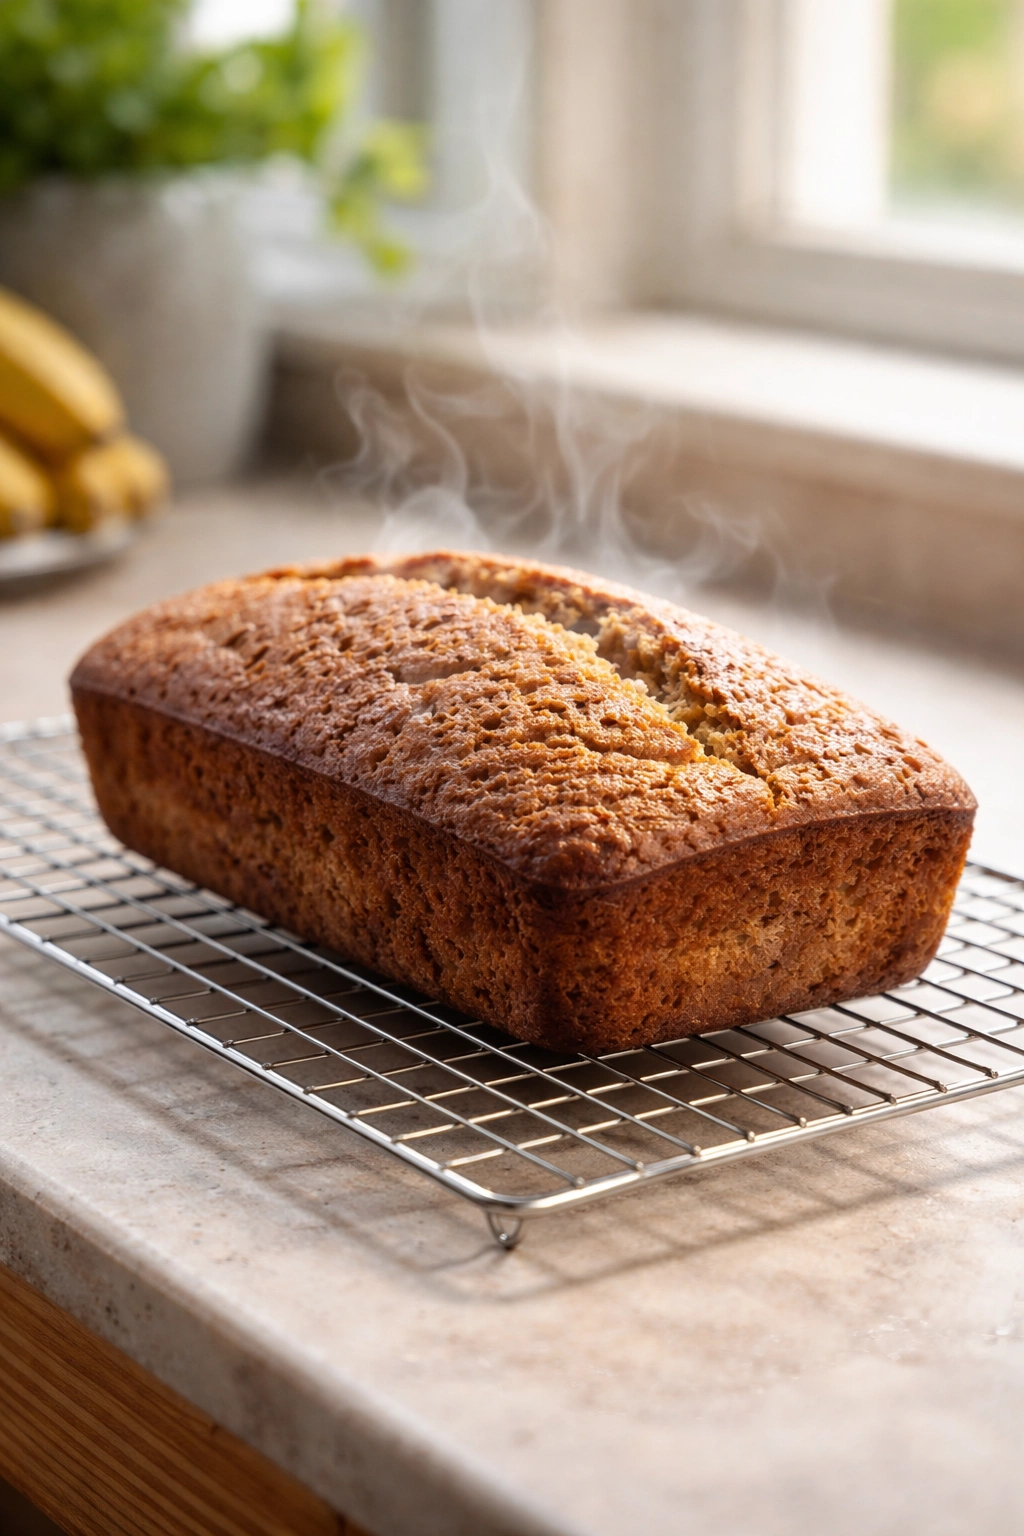
Remove the banana bread from the oven and set the loaf pan on a wire cooling rack. Let it cool in the pan for exactly 10 minutes — this is crucial. The banana bread is still delicate at this stage, and the 10 minutes allows it to set enough that it won’t fall apart when turned out, but it’s still warm enough to turn out cleanly without sticking.
-
After 10 minutes, turn the loaf out of the pan onto a wire cooling rack and let it cool completely at room temperature for at least 1 full hour (ideally 1 hour 30 minutes) before slicing into it. This is not optional. The crumb continues to set and firm up as it cools, and slicing into warm banana bread will compress the crumb, tear the structure, and actually accelerate moisture loss. I know it’s tempting to slice into that warm loaf, but patience here is what separates moist, tender banana bread from dry, crumbly banana bread.
-
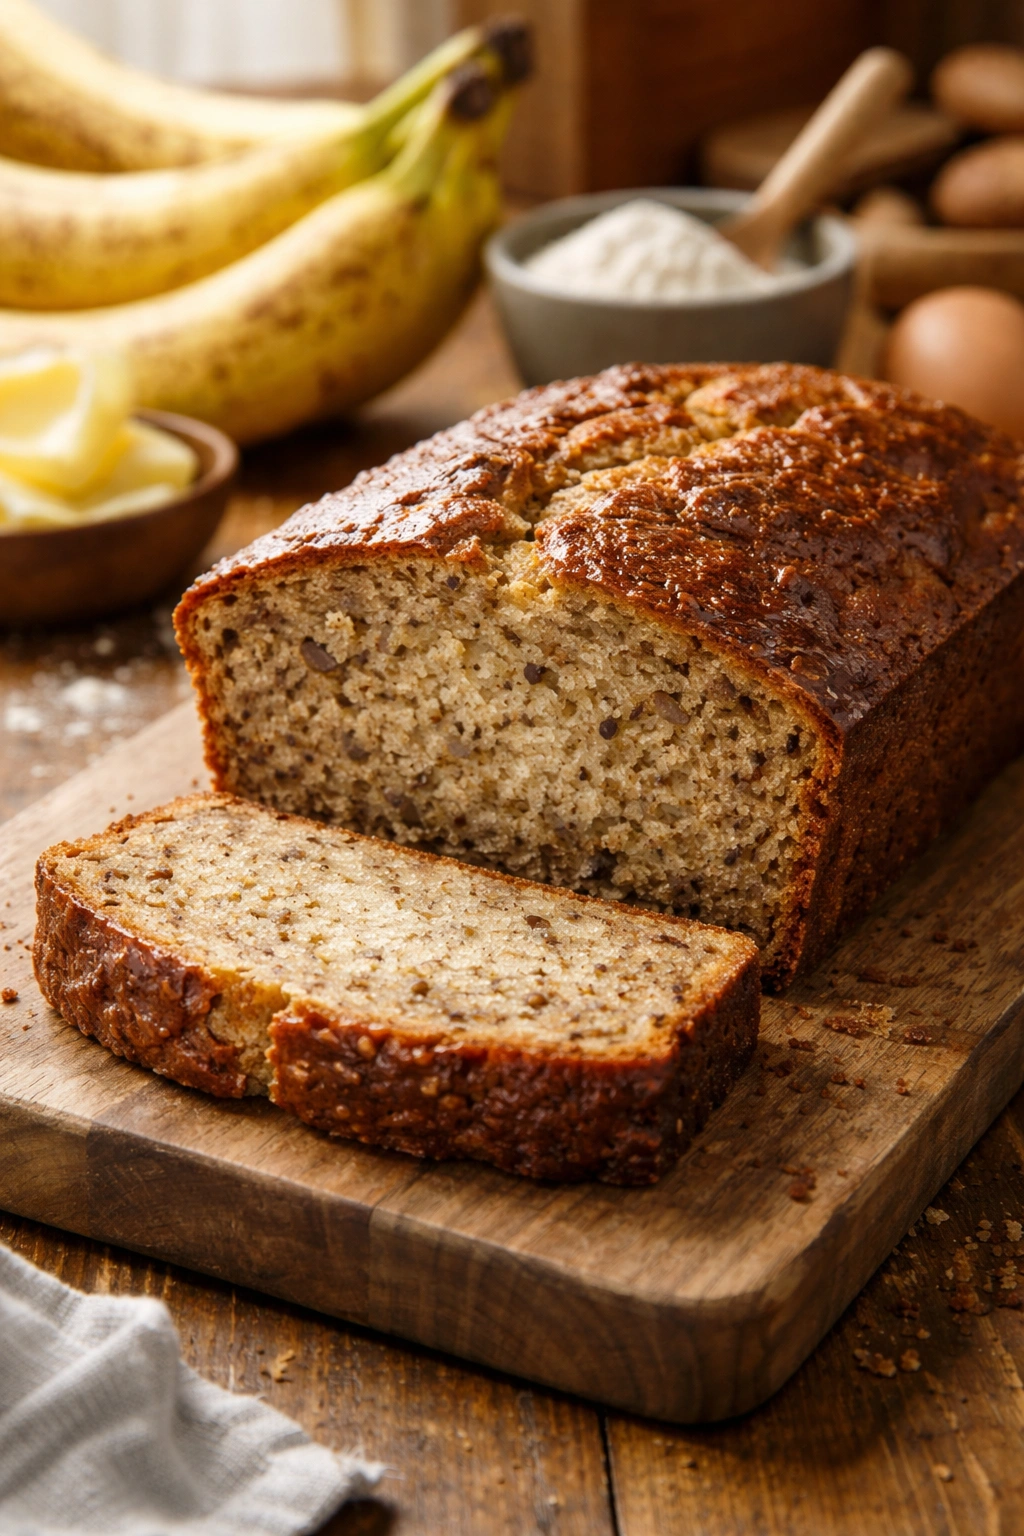
Once completely cooled, slice with a serrated knife using a gentle sawing motion rather than pressing down — this keeps the crumb intact and prevents crushing the delicate structure.
The Critical Ratio That Makes All the Difference
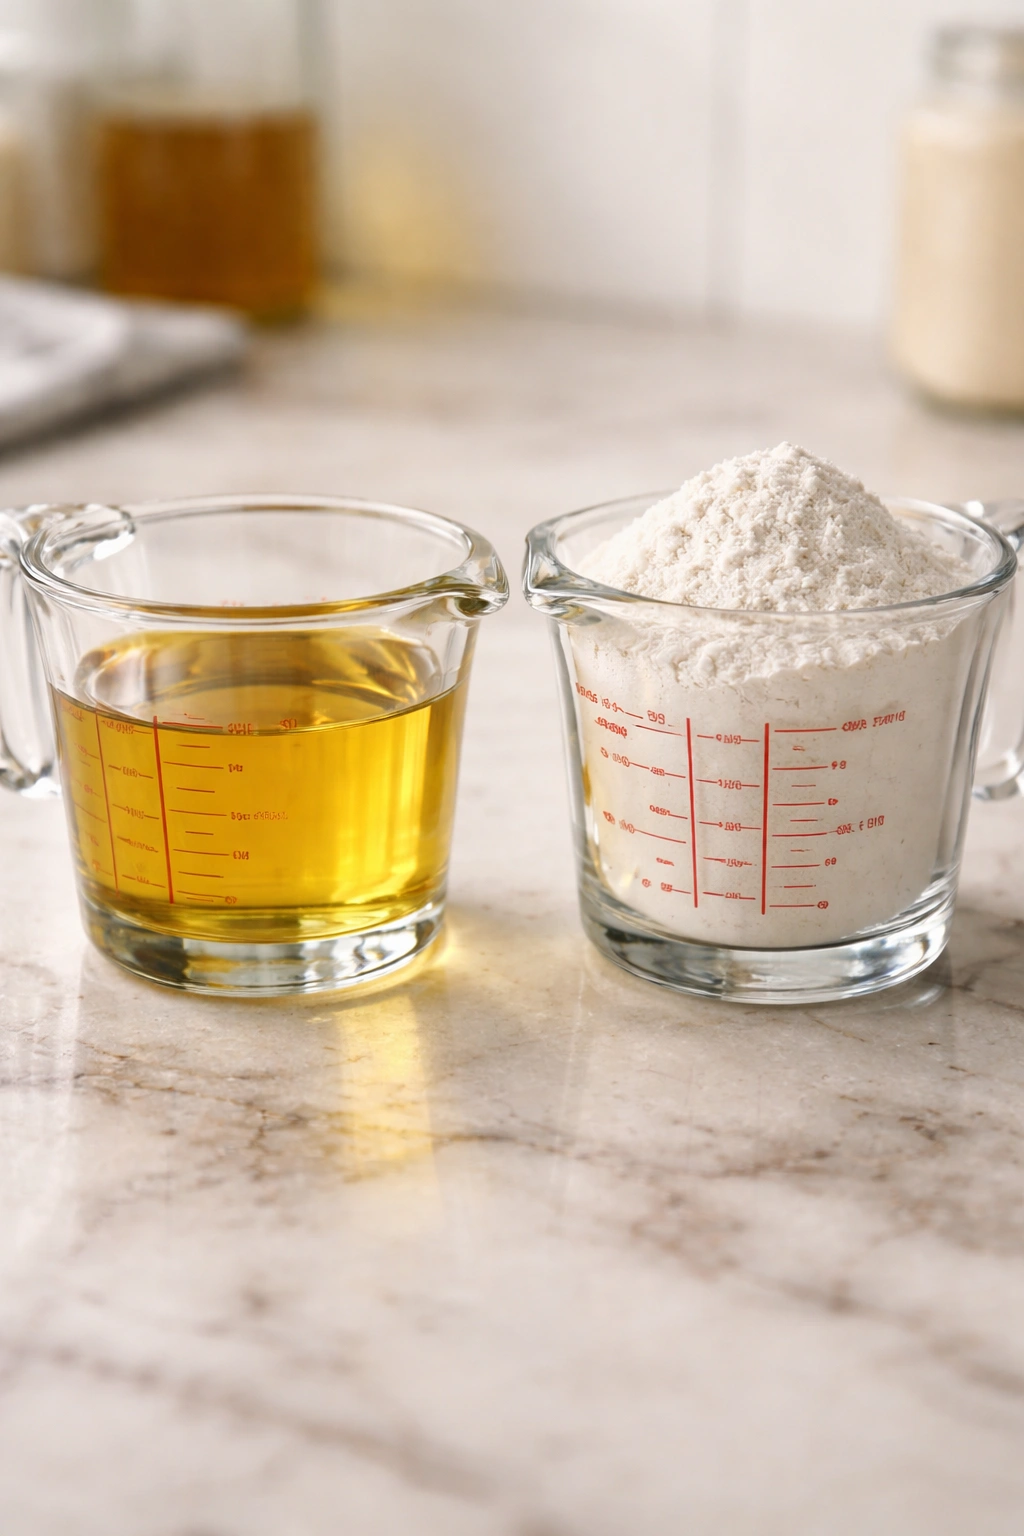
The ratio of fat to flour is where moist banana bread is either made or broken. This recipe uses 0.50 cups of combined fat (oil plus melted butter) to 1¾ cups of flour. That’s a ratio of approximately 28.6% fat by weight to flour, which is right in the sweet spot for incredibly moist banana bread that still has good structure.
Many traditional banana bread recipes use less fat—often just 4 tablespoons of butter to 2 cups of flour—and they reliably produce drier results. The extra fat in this recipe isn’t there to make it unhealthy or overly rich; it’s there because fat is what literally keeps baked goods moist and tender. When you eat a slice, the fat coats your mouth and makes the crumb feel tender rather than mealy or chalky.
The combination of oil and melted butter is more effective than using just one. Oil contributes liquid fat that doesn’t solidify as it cools, keeping the crumb soft and tender even the next day. Butter contributes flavor and helps the cake set with the right structure. Together, they give you both a moist, tender crumb and excellent banana flavor—neither one alone does the complete job.
The ratio of the two is important too. Using equal parts oil and butter by volume (⅓ cup oil and 4 tablespoons melted butter) gives you the best of both worlds. If you used all oil, the banana bread would be slightly too moist and would have a denser crumb. If you used all butter, it would firm up too much as it cooled and the previous-day texture wouldn’t be as tender.
How Oil Creates Moisture vs. Butter
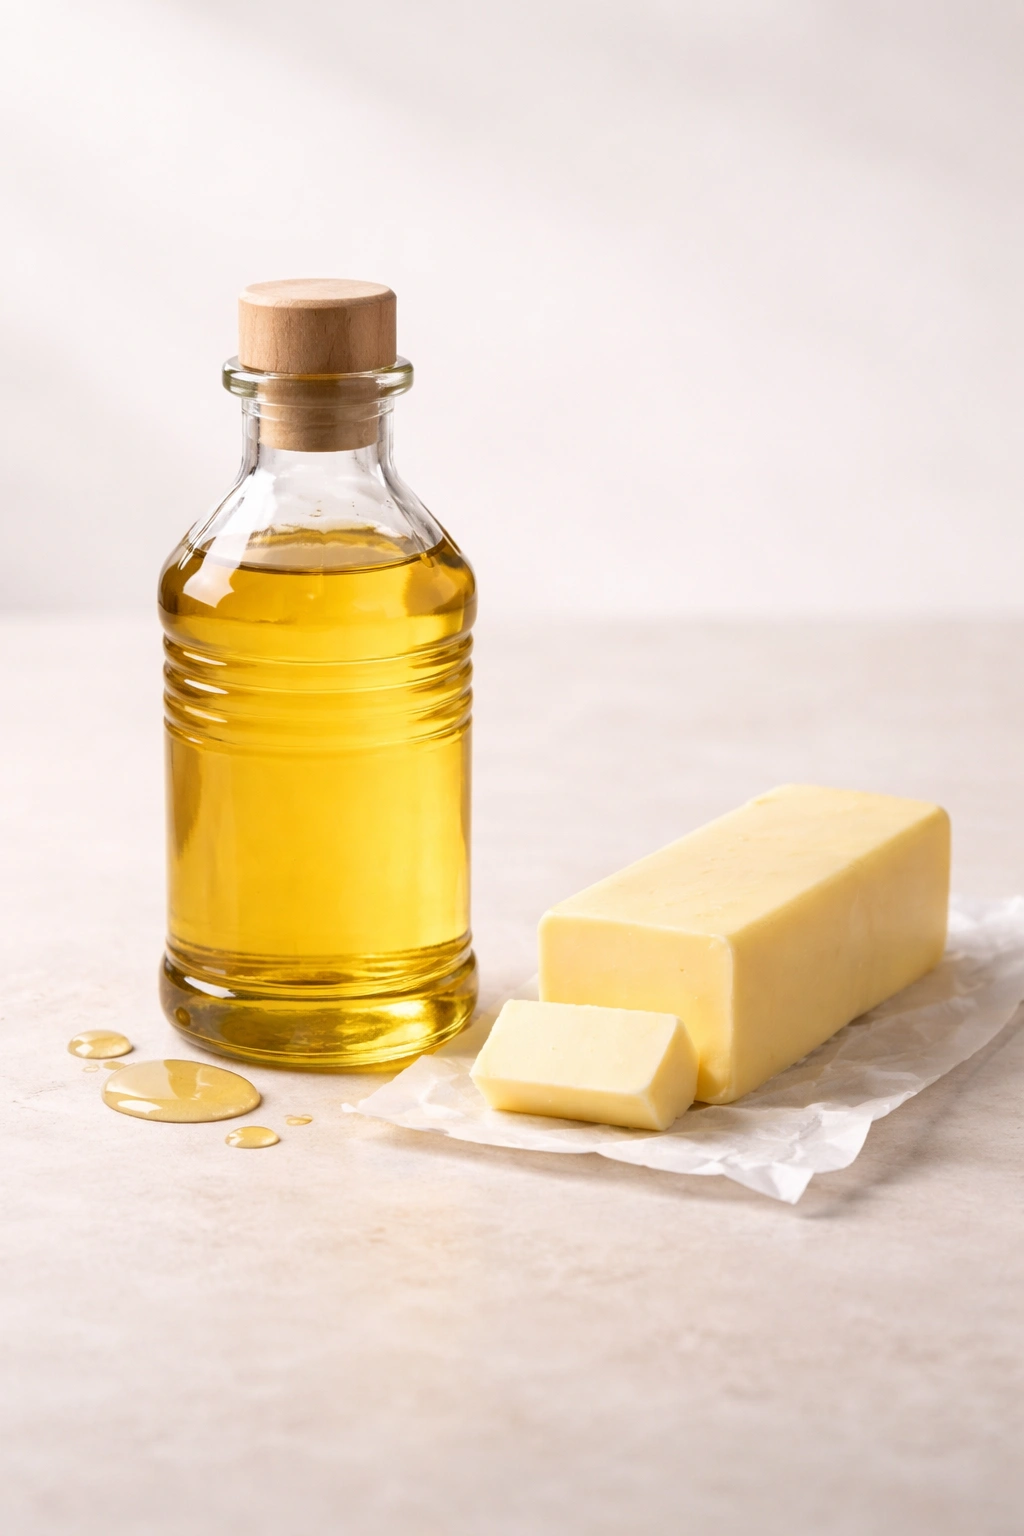
Understanding what oil and butter actually do in a baked good is essential to understanding why this combination works. Oil is liquid fat that stays liquid as the baked good cools. When you bite into banana bread made with oil, the oil coats your tongue and keeps the crumb feeling soft and moist, even days later.
Butter, on the other hand, is solid fat at room temperature. As banana bread cools, the butter solidifies and firms up. This is good for structure and crumb—it helps the loaf hold together and slice neatly. But if you used only butter, the banana bread would gradually firm up over a day or two and start feeling dry because the solid butter doesn’t contribute to that soft, moist mouthfeel the way liquid oil does.
The combination is truly synergistic. The oil keeps everything tender and moist. The butter provides flavor (oil is relatively neutral) and helps create a proper crumb structure that holds together cleanly. You get a banana bread that’s moist and tender immediately, stays moist and tender after sitting overnight, and actually benefits from a day of resting when the flavors develop and deepen.
This is also why it’s important to use quality oil and quality butter. Refined neutral oils like canola or vegetable oil work perfectly. Extra virgin olive oil, on the other hand, has a strong flavor that competes with the banana flavor and isn’t what you want here. For the butter, unsalted butter lets you control the salt level in the batter—salted butter can vary widely in salt content between brands, so unsalted gives you more control and predictability.
The Importance of Not Overmixing the Batter
Overmixing the batter is probably the second most common cause of dry banana bread, right after overbaking. When you mix flour with liquid and fat, you’re developing gluten—the protein network that gives structure to bread and cakes. In banana bread, you want just enough gluten to hold the cake together, but not so much that it becomes tough and dense.
The key is to fold the wet and dry ingredients together very gently, stopping as soon as you see no white streaks of flour remaining. You’re not trying to create a smooth, perfectly uniform batter. A few tiny lumps are completely fine and actually preferable. They’ll disappear during baking, and they’re a sign that you haven’t overmixed.
Using a gentle folding motion with a flexible spatula or wooden spoon is much better than stirring vigorously with a wooden spoon or, worse, using an electric mixer. Folding is the gentlest way to combine ingredients—you’re using gravity and a turning motion rather than beating the batter, which would develop maximum gluten.
The overmixing problem becomes even more critical if you add chocolate chips or nuts. Many bakers add these, then keep stirring to make sure they’re evenly distributed. This extra stirring can push you over the line from perfectly mixed to overmixed. Instead, fold these additions in during the final folding step with the dry ingredients, and distribute them as gently as possible. It’s okay if they’re not perfectly even—they’ll be distributed naturally as the batter bakes.
Room Temperature Ingredients and Why They Matter

Using room temperature eggs and bananas might sound like a minor detail, but it actually affects the texture of your banana bread in measurable ways. When all your ingredients are at the same temperature, they emulsify more easily and combine more smoothly. Cold eggs, in particular, don’t incorporate evenly into a banana batter and can create lumpy pockets where the texture will be uneven after baking.
To bring eggs to room temperature, simply set them on the counter while you’re gathering your other ingredients—about 15 to 20 minutes is usually sufficient. If you forget ahead of time, you can place them in a bowl of warm water for 5 minutes and they’ll warm up quickly.
Bananas should also be at room temperature before mashing them. If they’ve been in the refrigerator, let them sit on the counter for 20 minutes before using them. A cold banana mashes unevenly and won’t combine as smoothly with the other wet ingredients.
The reason this matters for moisture is that ingredients at the same temperature combine more evenly, creating a more uniform batter. An uneven batter bakes unevenly—some parts will overcook slightly while others might be underdone, creating variations in moisture and texture throughout the loaf.
Getting the Oven Temperature Exactly Right
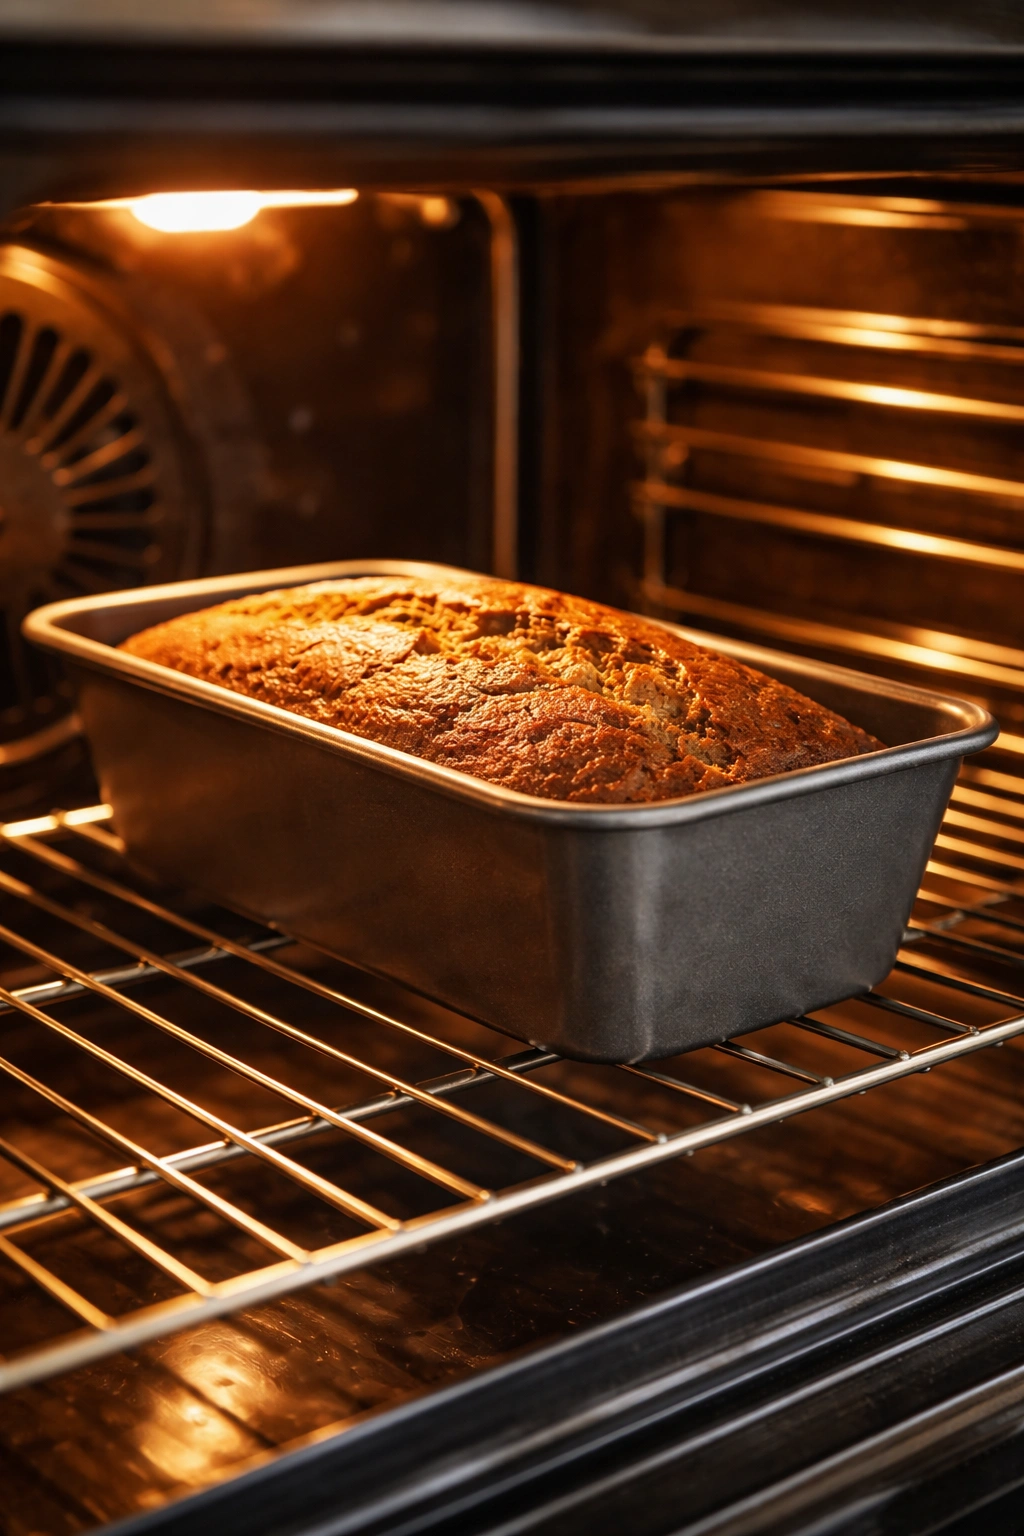
Using 350°F (175°C) instead of the more common 375°F (190°C) is one of the single most important decisions in this recipe. The lower temperature gives you substantially more time for the center to bake through before the exterior over-browns and hardens. This is critical for achieving moisture.
At 375°F, the exterior sets and browns quickly, and by the time the center is fully baked, the outside edges can be overdone, which dries them out. At 350°F, everything bakes more gently and evenly. The longer baking time (55 to 60 minutes instead of 45 to 50) allows moisture to redistribute within the loaf and the crumb to set properly without any part of it getting blasted with too-high heat.
If your oven runs hot or cold (many home ovens do), invest in a simple oven thermometer. Place it on the center rack and check the actual temperature before baking. If your oven is 25°F higher than the dial says, adjust accordingly. An oven that’s even 25°F too hot can be the difference between a moist loaf and a dry one.
Also, rotating the pan halfway through (at about 27 to 30 minutes) is essential. Most home ovens have hot spots, usually near the back or one side. Rotating ensures that one side doesn’t get overcooked while the other side is still slightly underdone.
How to Tell When Your Banana Bread Is Done (Without Drying It Out)
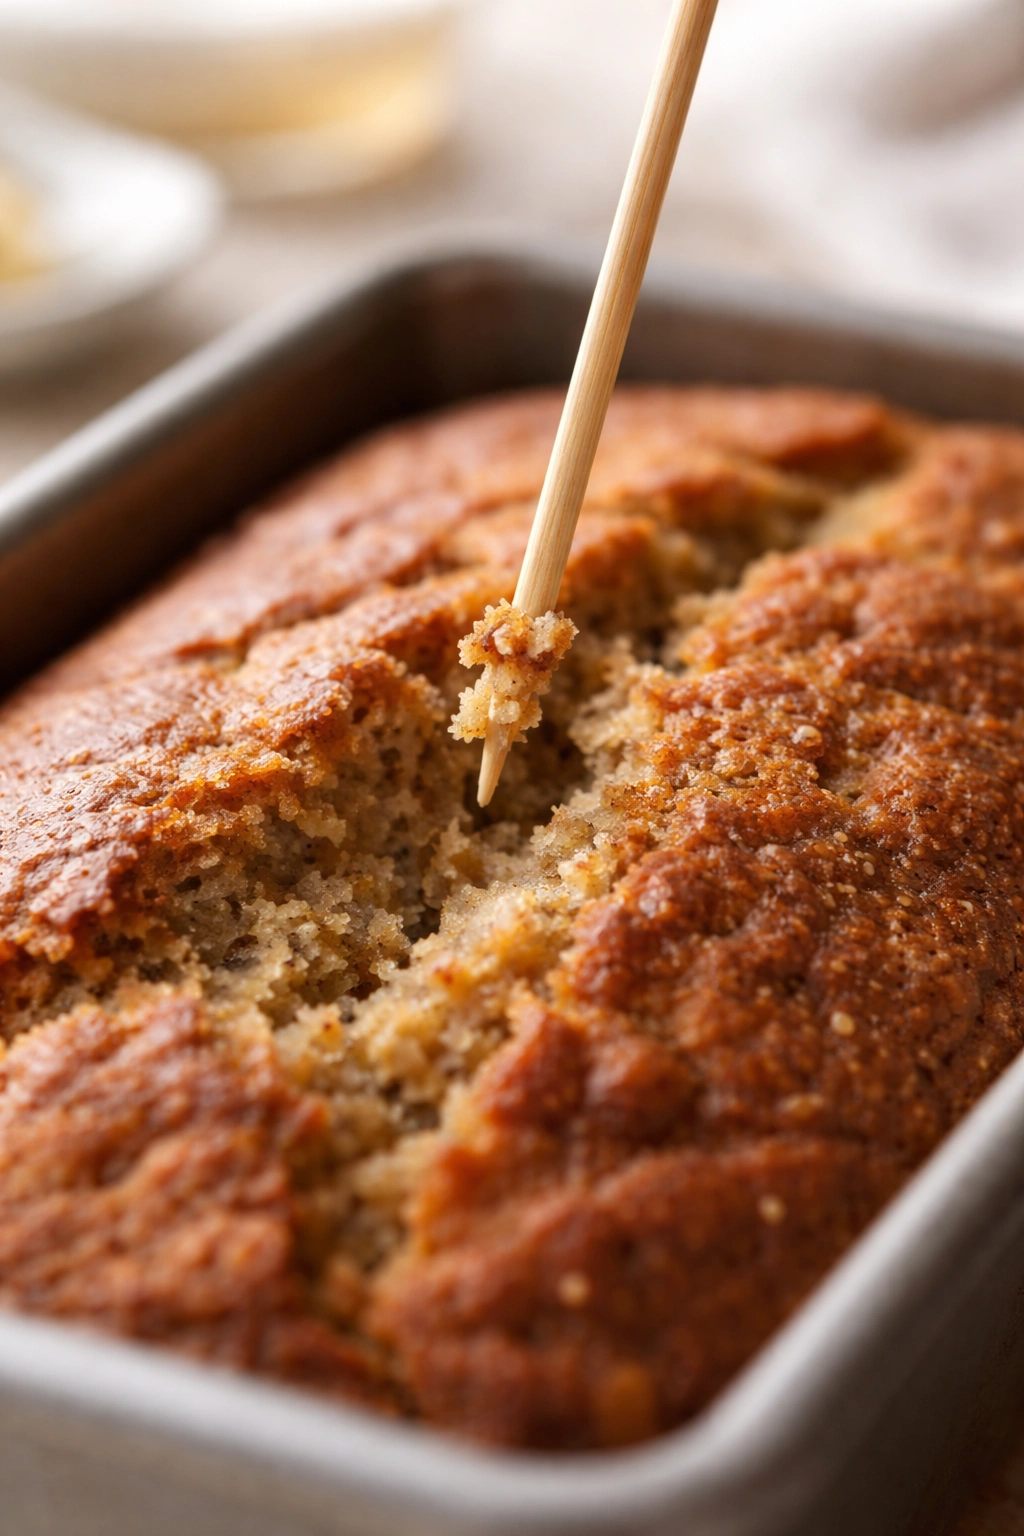
This is the single most important skill for getting moist banana bread. The toothpick test is your most reliable indicator, but you need to know exactly what to look for. Insert a toothpick into the very center of the loaf, straight down to the bottom. When you pull it out, it should have just a few moist crumbs clinging to it.
The key word is “moist” not “wet.” If wet batter is still clinging to the toothpick, bake another 2 to 3 minutes and test again. If the toothpick comes out completely clean with no crumbs at all, you’re right at the threshold—the banana bread is baked but might be slightly overdone. The goal is to catch it with just a few moist crumbs still clinging, because those crumbs indicate that the center is just barely set but still has moisture in it.
This works because banana bread continues to cook slightly even after it comes out of the oven. Those moist crumbs will firm up as the loaf cools, resulting in a perfectly set interior that’s still tender and moist. If you wait until the toothpick comes out completely clean, you’ve actually baked past the optimal point.
Visual cues matter too, but don’t rely on them alone. The top should be deep golden brown (not pale, which means underbaked; not dark brown, which means overbaked). The edges should just barely be pulling away from the sides of the pan. The loaf should smell intensely of bananas and vanilla, and it might smell slightly caramelized—that’s the banana sugars and butter caramelizing slightly, which is perfect.
A gentle dome in the center of the top is normal and even desirable—it means the center rose well. A sunken center, on the other hand, can indicate that the loaf was underbaked and is cooling too quickly, or that it was underbaked to begin with.
The Cooling Process That Keeps It Moist
The cooling process is literally part of the baking process, and treating it carelessly will undo all the other work you did to achieve moisture. The first 10 minutes in the pan are crucial—they allow the structure to set enough that the loaf won’t fall apart when you turn it out. During these 10 minutes, steam is still escaping, and the crumb is still setting.
After 10 minutes, turn the loaf out onto a wire cooling rack. A wire rack is essential here because it allows air to circulate underneath, so the bottom doesn’t steam and become soggy. If you set the hot loaf on a plate or countertop, the bottom will trap steam and get wet, which paradoxically makes the banana bread feel less moist overall because the contrast between a soggy bottom and the rest of the crumb is unpleasant.
The full cooling time is at least 1 hour and ideally 1 hour 30 minutes. During this time, the residual heat in the loaf gradually dissipates, the crumb continues to set, and flavors develop and deepen. Slicing into a warm loaf—even one that feels cool to the touch—will compress the still-soft crumb, tear the structure, and accelerate moisture loss.
I realize it’s agonizing to wait this long, especially when the banana bread smells amazing and looks beautiful. But this patience is exactly what separates genuinely moist banana bread from the disappointing dry kind. Once it’s completely cooled, it slices cleanly, holds together perfectly, and tastes far better than it would have if you’d sliced into it warm.
Storage Methods That Preserve Moisture
How you store banana bread directly affects how moist it remains over the next several days. The enemy of moisture in stored baked goods is air exposure and temperature fluctuation—both cause the moisture to evaporate.
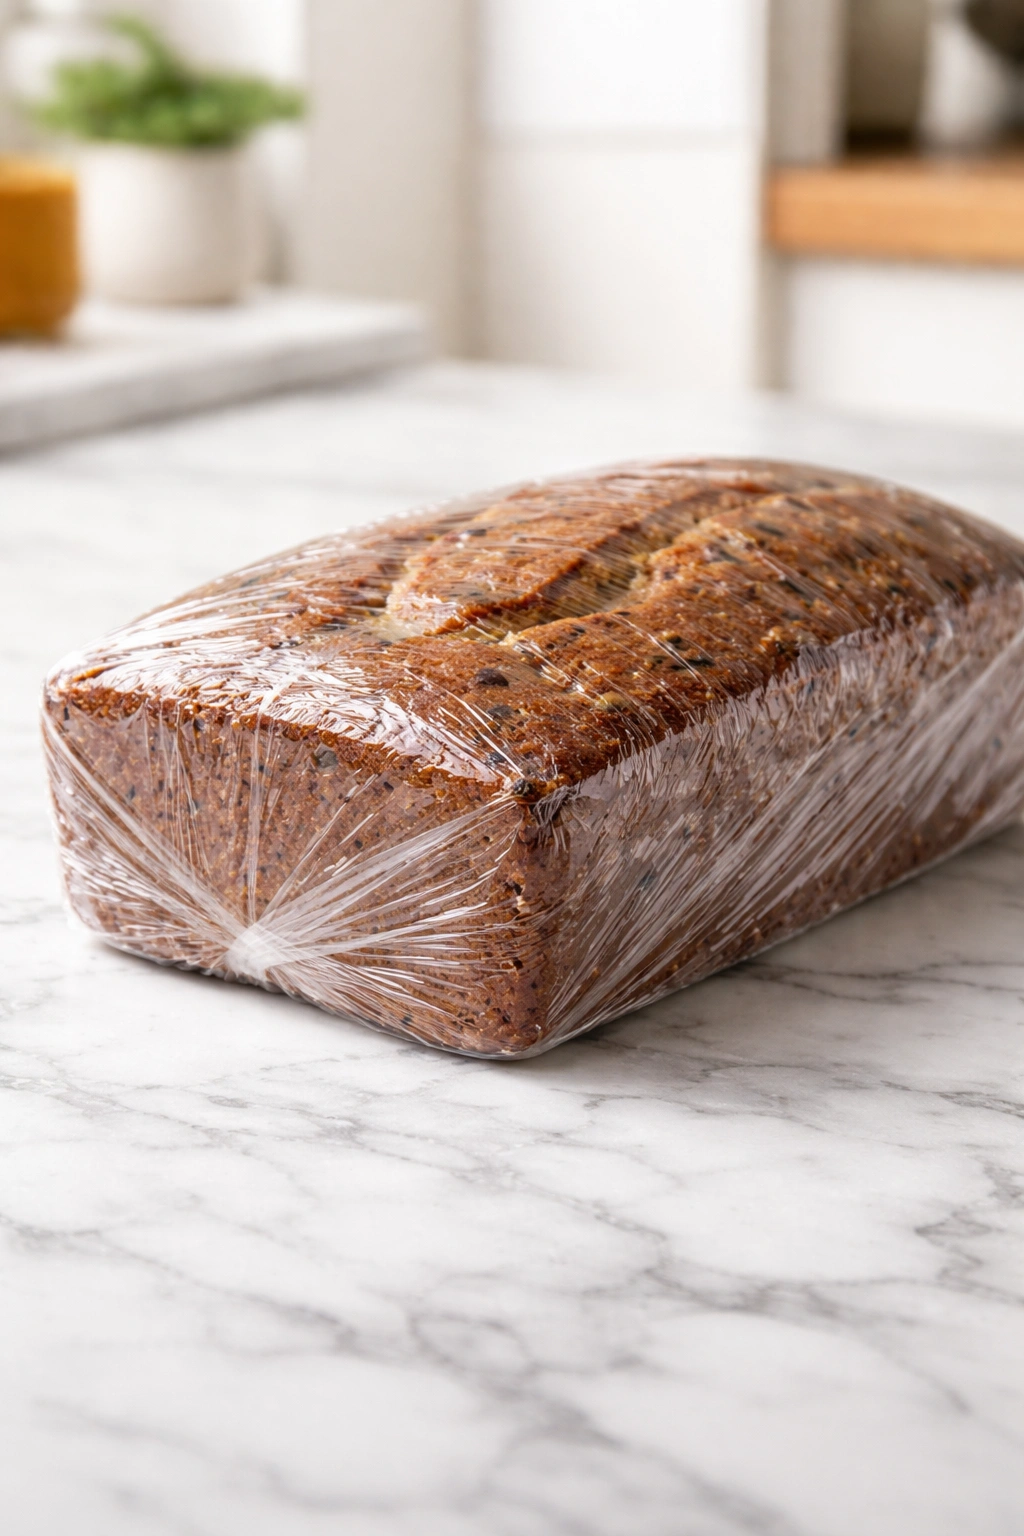
The best method is to wrap the cooled loaf (either whole or sliced) tightly in plastic wrap once it has completely cooled. The plastic wrap creates a seal that traps internal moisture and prevents evaporation. Store it at room temperature, away from direct sunlight and heat sources. Properly wrapped banana bread stays moist and delicious for 3 to 4 days at room temperature.
If you want to store it longer, wrap it in plastic wrap and then aluminum foil for an extra layer of protection, and refrigerate it. Banana bread actually improves slightly after a day or two of refrigeration—the flavors meld and deepen, and the crumb actually becomes more tender. It keeps well in the refrigerator for up to 1 week.
For longer storage, wrap the cooled loaf in plastic wrap and then aluminum foil, and freeze it. It keeps for up to 3 months in the freezer. To thaw, let it come to room temperature in its wrapping on the counter for about 2 hours. Never unwrap it while it’s thawing, because moisture will condense on the surface and the loaf will actually absorb that condensation, making it soggy. Keeping it wrapped allows it to thaw gently and evenly.
Once thawed, the banana bread tastes nearly identical to fresh-baked. This makes it incredibly practical to bake a loaf or two and keep one in the freezer for whenever you want banana bread without having to bake it fresh.
Common Mistakes That Dry Out Your Banana Bread
Beyond the big ones—overbaking and insufficient fat—there are several smaller mistakes that can subtly dry out banana bread. Using over-ripe bananas (the kind that are mostly brown and have started to break down) leaves you with mushy bananas that absorb liquid from the batter instead of contributing moisture. Underripe bananas don’t have enough natural moisture and sweetness.
Adding too much leavening (baking soda) can also cause dryness. Baking soda in excess creates a loaf that rises too much and too quickly, creating large air pockets that make the crumb feel dry and mealy. This recipe uses exactly 1 teaspoon for 1¾ cups flour, which is the correct amount.
Measuring flour incorrectly—by scooping directly from the bag instead of spooning flour into your measuring cup and leveling it off—is another silent killer. When you scoop directly, you compress flour into the measuring cup, so you end up with much more flour than the recipe intended. Extra flour means the batter has an incorrect flour-to-liquid ratio, and it’ll be drier as a result. Always spoon flour into your measuring cup and level it off with a knife.
Using low-moisture “healthy” oil substitutes like coconut oil (solid at room temperature) instead of liquid neutral oil also reduces moisture. Coconut oil solidifies as banana bread cools, the same way butter does, so it doesn’t provide that important soft, tender mouthfeel that oil gives.
Finally, slicing into the banana bread before it has completely cooled is a huge mistake that immediately dries it out by breaking the structure and releasing steam.
Variations and Adaptations
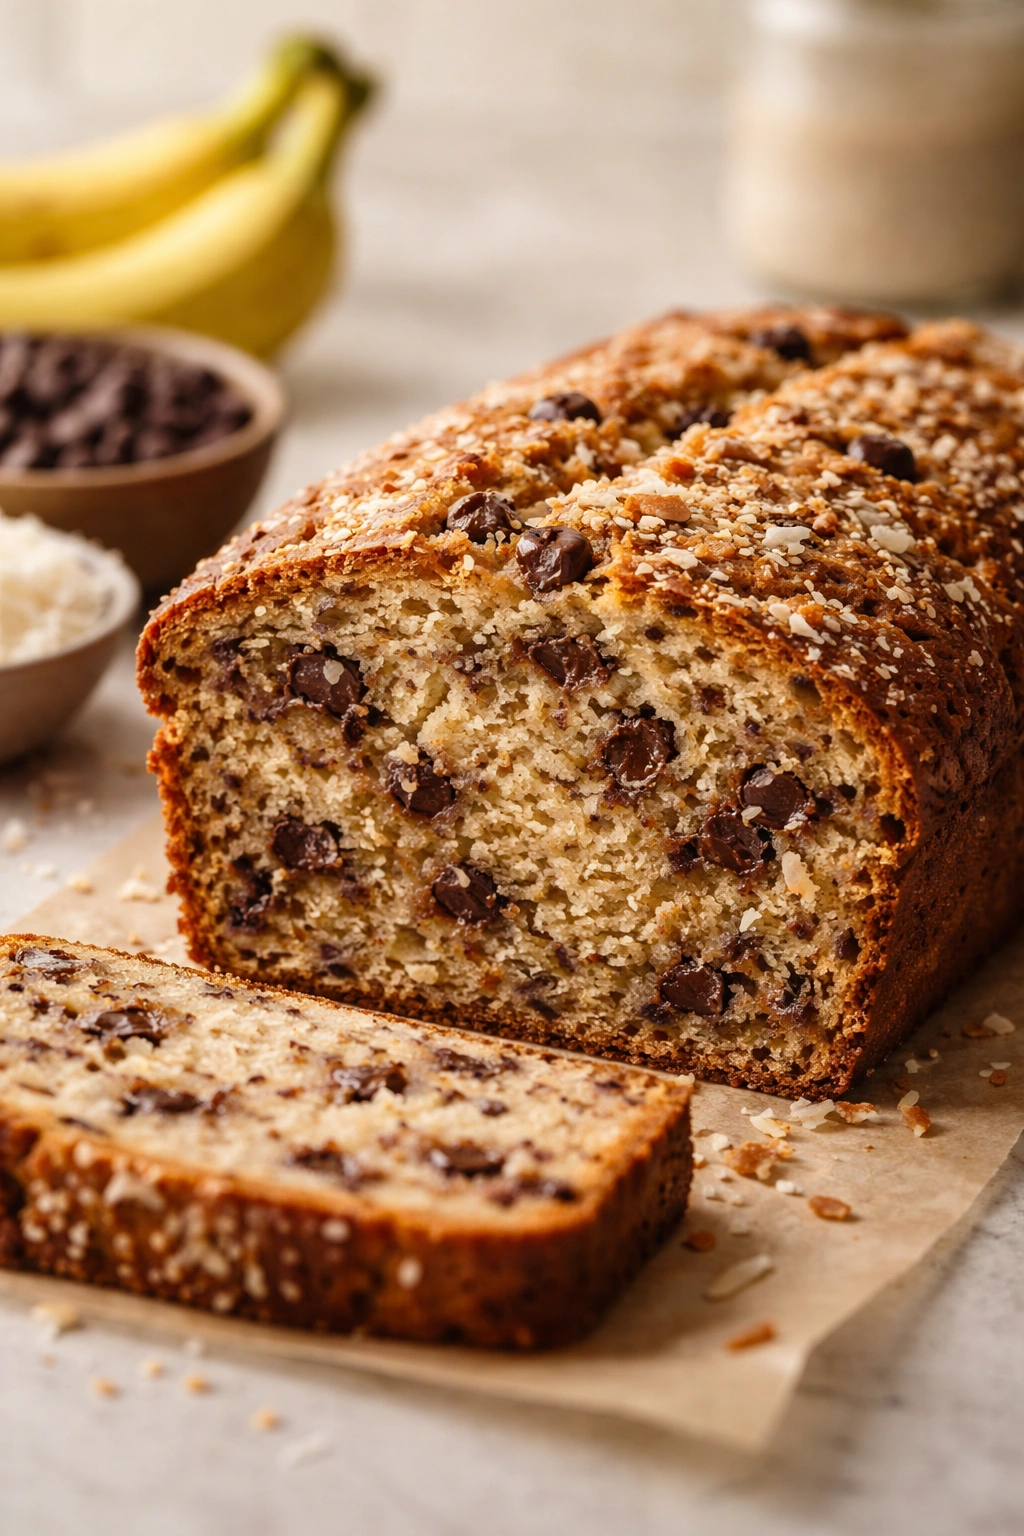
Once you’ve mastered the basic recipe, there are endless ways to customize it. For a chocolate variation, reduce the oil to ¼ cup and add 3 tablespoons of unsweetened cocoa powder to the dry ingredients. Add ¾ cup of chocolate chips and ½ cup of chopped walnuts. The result is a rich chocolate-banana bread that’s still incredibly moist.
For a spiced version, add ½ teaspoon ground nutmeg, ¼ teaspoon ground ginger, and a pinch of ground cloves to the dry ingredients along with the cinnamon. This gives you a deeply spiced banana bread that tastes almost like banana bread cake.
For a tropical twist, add ½ cup of shredded toasted coconut and ¼ cup of crushed pineapple (drained well) to the wet ingredients. This creates a bright, tropical flavor profile that’s unexpected but delicious.
If you’re baking for someone with a nut allergy, simply skip the nuts—the banana bread is equally moist and delicious without them. If you want extra texture without nuts, add ⅓ cup of sunflower seeds or pumpkin seeds.
For a reduced-sugar version that’s still moist, you can replace up to ¼ cup of the granulated sugar with unsweetened applesauce. The applesauce contributes moisture and sweetness without adding refined sugar, though you’ll notice a very slight difference in flavor and texture. Don’t replace more than this amount or the structure and moisture balance shifts.
For mini loaves (which bake faster and are great for gifting), divide the batter among 4 greased small loaf pans and bake at 350°F for 35 to 40 minutes. Check doneness at 35 minutes using the toothpick test. Mini loaves actually stay moister longer because they have a better surface-area-to-volume ratio.
Serving Suggestions and Pairings
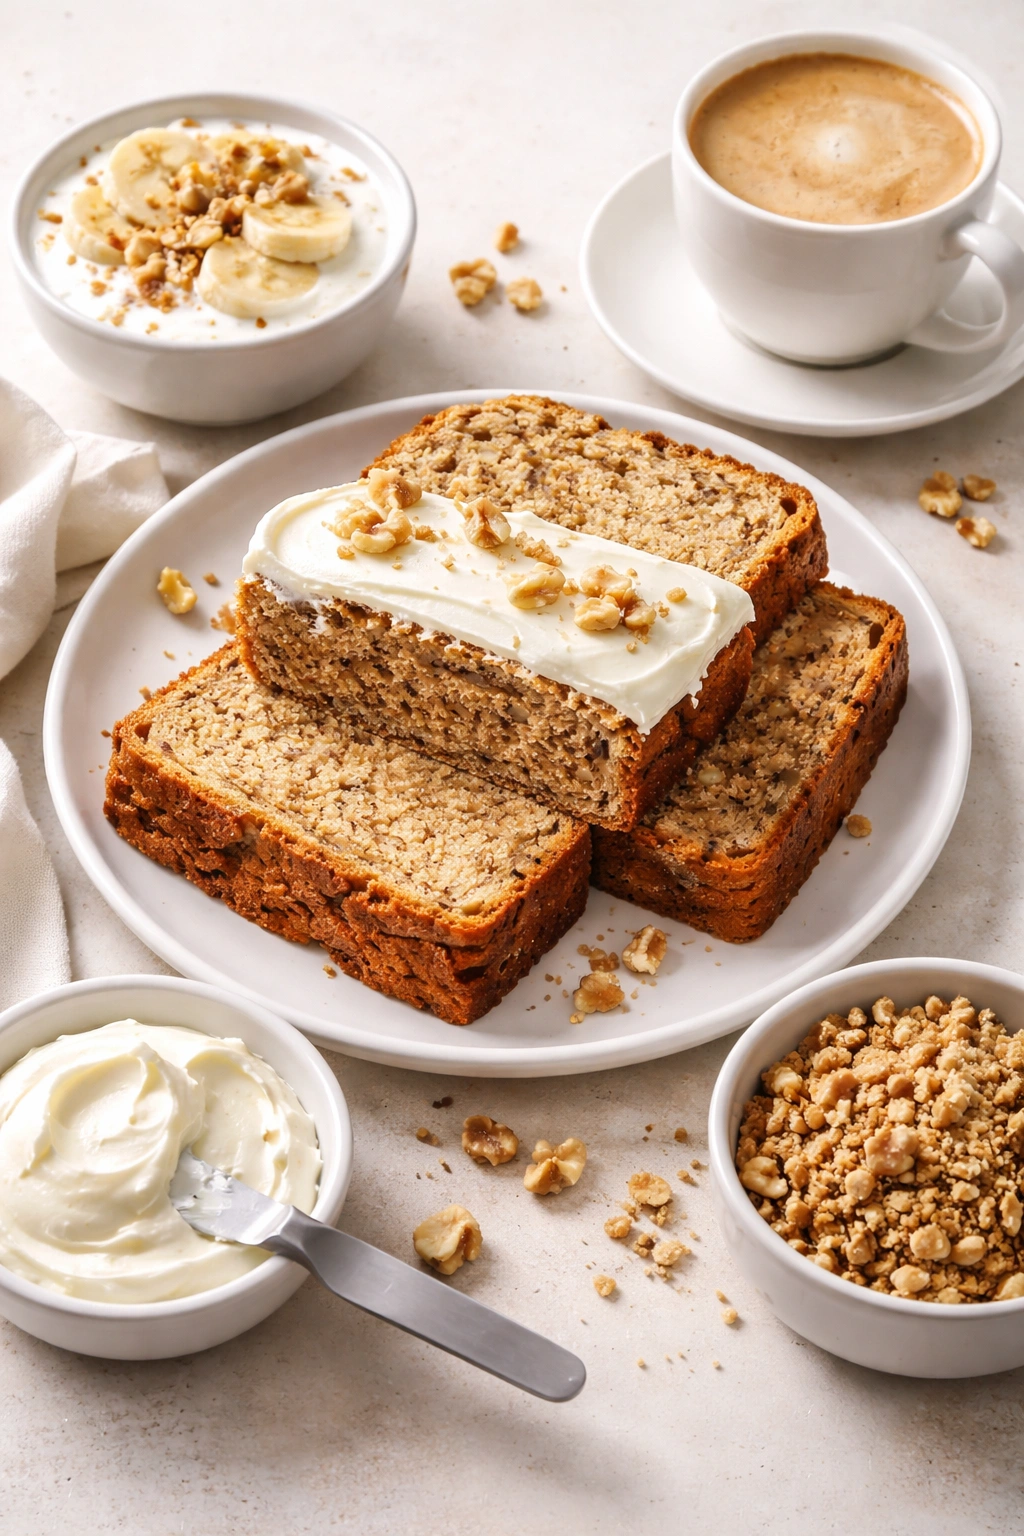
Banana bread is wonderful on its own, but a few additions make it even better. A thin layer of cream cheese frosting spreads easily over cooled banana bread slices and adds moisture and richness. Mix 4 ounces of softened cream cheese with 2 tablespoons of softened butter and 1 cup of powdered sugar, and spread about 1 tablespoon on each slice.
A simple streusel topping baked on top is also excellent. Mix ⅓ cup of brown sugar, ⅓ cup of old-fashioned rolled oats, ¼ cup of cold butter cut into small pieces, and ¼ cup of chopped pecans. Sprinkle this mixture over the batter before baking for a crunchy top.
Sliced banana bread pairs beautifully with coffee, tea, or hot chocolate. It’s equally good with a cold glass of milk, almond milk, or oat milk. For breakfast, serve it with Greek yogurt and a drizzle of honey, or alongside scrambled eggs and fruit for a complete meal.
For a dessert presentation, toast a slice lightly and serve it warm with a small scoop of vanilla ice cream or a dollop of whipped cream. The ice cream melts into the warm banana bread, creating a simple but deeply satisfying dessert.
Banana bread also works as an unexpected element on a charcuterie board—its mild sweetness and moist crumb pair surprisingly well with aged cheddar, crackers, and dried fruit. Cut it into small cubes and guests will be reaching for more.
Final Thoughts
Moist banana bread is entirely within your control. It’s not about luck, special ingredients, or inherited talent—it’s about understanding what creates moisture, making deliberate choices to preserve it, and having a reliable method to know when your loaf is perfectly baked.
The three pillars are simple: the right ratio of fat to flour that keeps the crumb tender and soft, a gentle oven temperature that bakes everything evenly, and the discipline to let your banana bread cool completely before slicing. Follow these three principles, and you’ll never have dry banana bread again. You’ll have banana bread that’s moist on day one, even moister on day two as the flavors deepen, and still tender and delicious by day four.
The beauty of this recipe is that it’s forgiving once you understand the principles. If you accidentally grab medium bananas instead of large ones, just use one more. If your oven runs slightly hot, rotate the pan a bit earlier and check for doneness a couple minutes sooner. If you don’t have walnuts, skip them or use something else. The core technique—the oil and butter ratio, the gentle mixing, the correct oven temperature, the toothpick test—remains reliable regardless of these small variables.
Bake with confidence, wait patiently for it to cool, and enjoy banana bread that’s actually moist, tender, and delicious every single time.