When cornbread stuffing hits the table, it shouldn’t crumble in your mouth or taste like sawdust soaked in broth. The best versions are tender enough to cut with a fork, packed with savory flavor, and so moist you don’t need gravy to enjoy it—though you’ll probably pour it on anyway. The secret isn’t complicated, but it’s easy to get wrong: it comes down to understanding how cornbread actually absorbs liquid, when to add that liquid, and exactly how long to bake it all together.
Most people either under-soak their stuffing and end up with a dry, gritty casserole, or they over-soak it and create something that tastes waterlogged and mushy. The difference between those two extremes is usually just a few tablespoons of broth and maybe five minutes of baking time. The good news? Once you understand the mechanics, you’ll never serve dry stuffing again.
This isn’t just about dumping cornbread cubes into a pan with some broth and hoping for the best. Real cornbread stuffing—the kind that stays tender through serving and actually improves after it’s been sitting out for a bit—requires a specific ratio of liquid to bread, the right baking time, and a handful of techniques that transform this humble dish into something that deserves its place at the center of the table.
Why Cornbread Is the Foundation
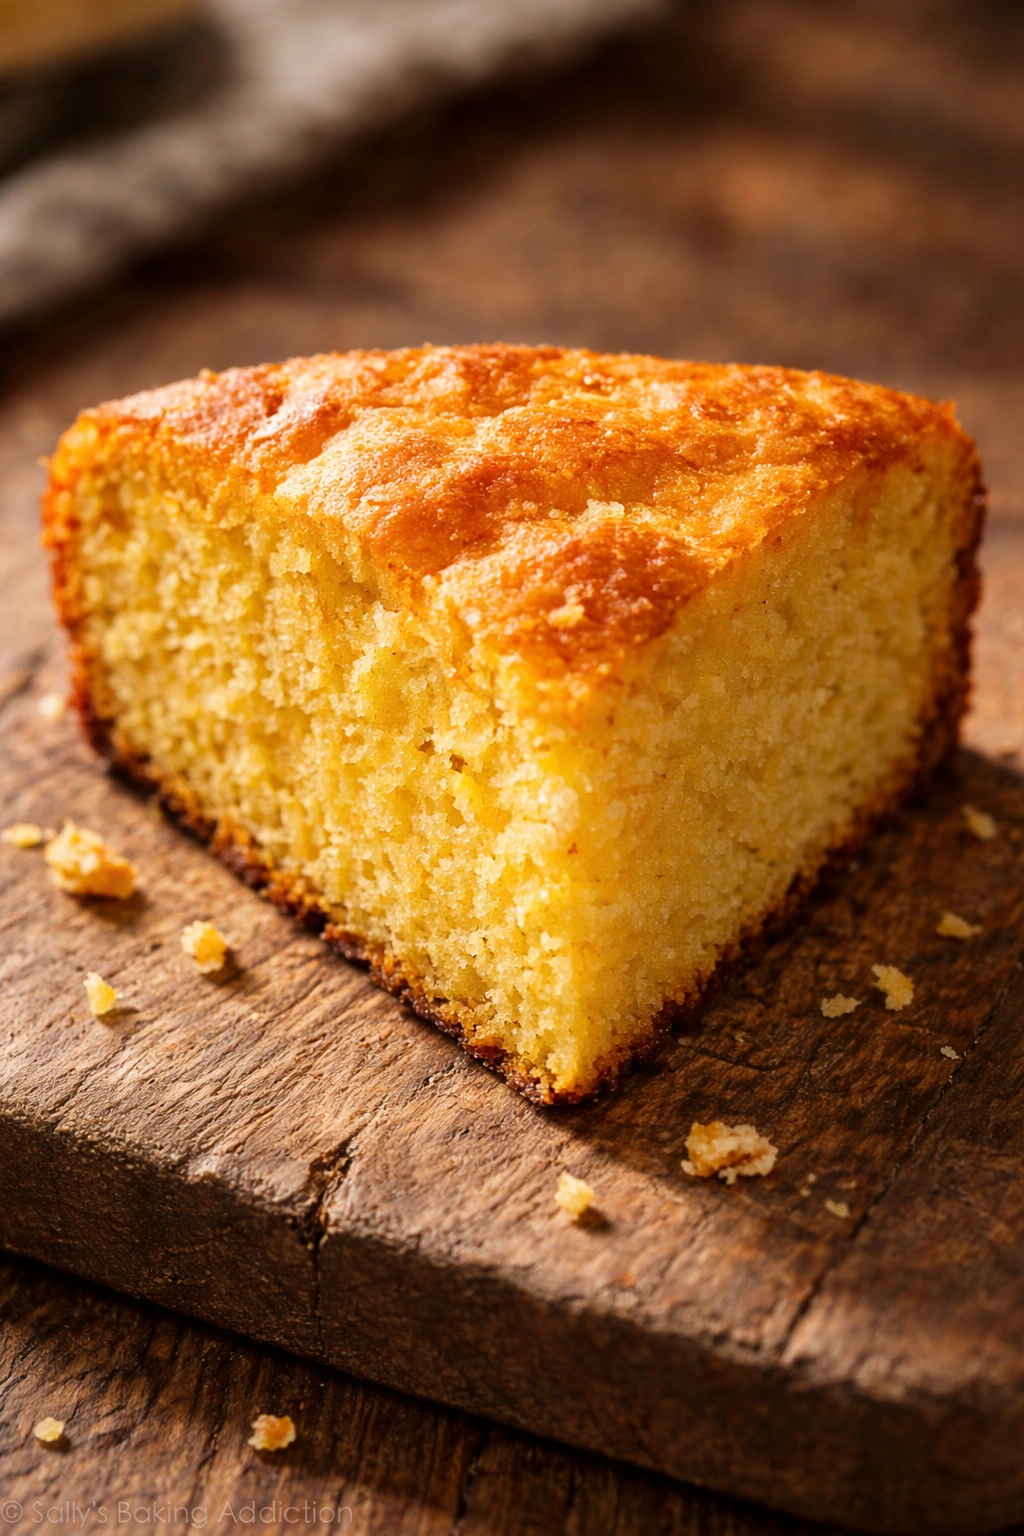
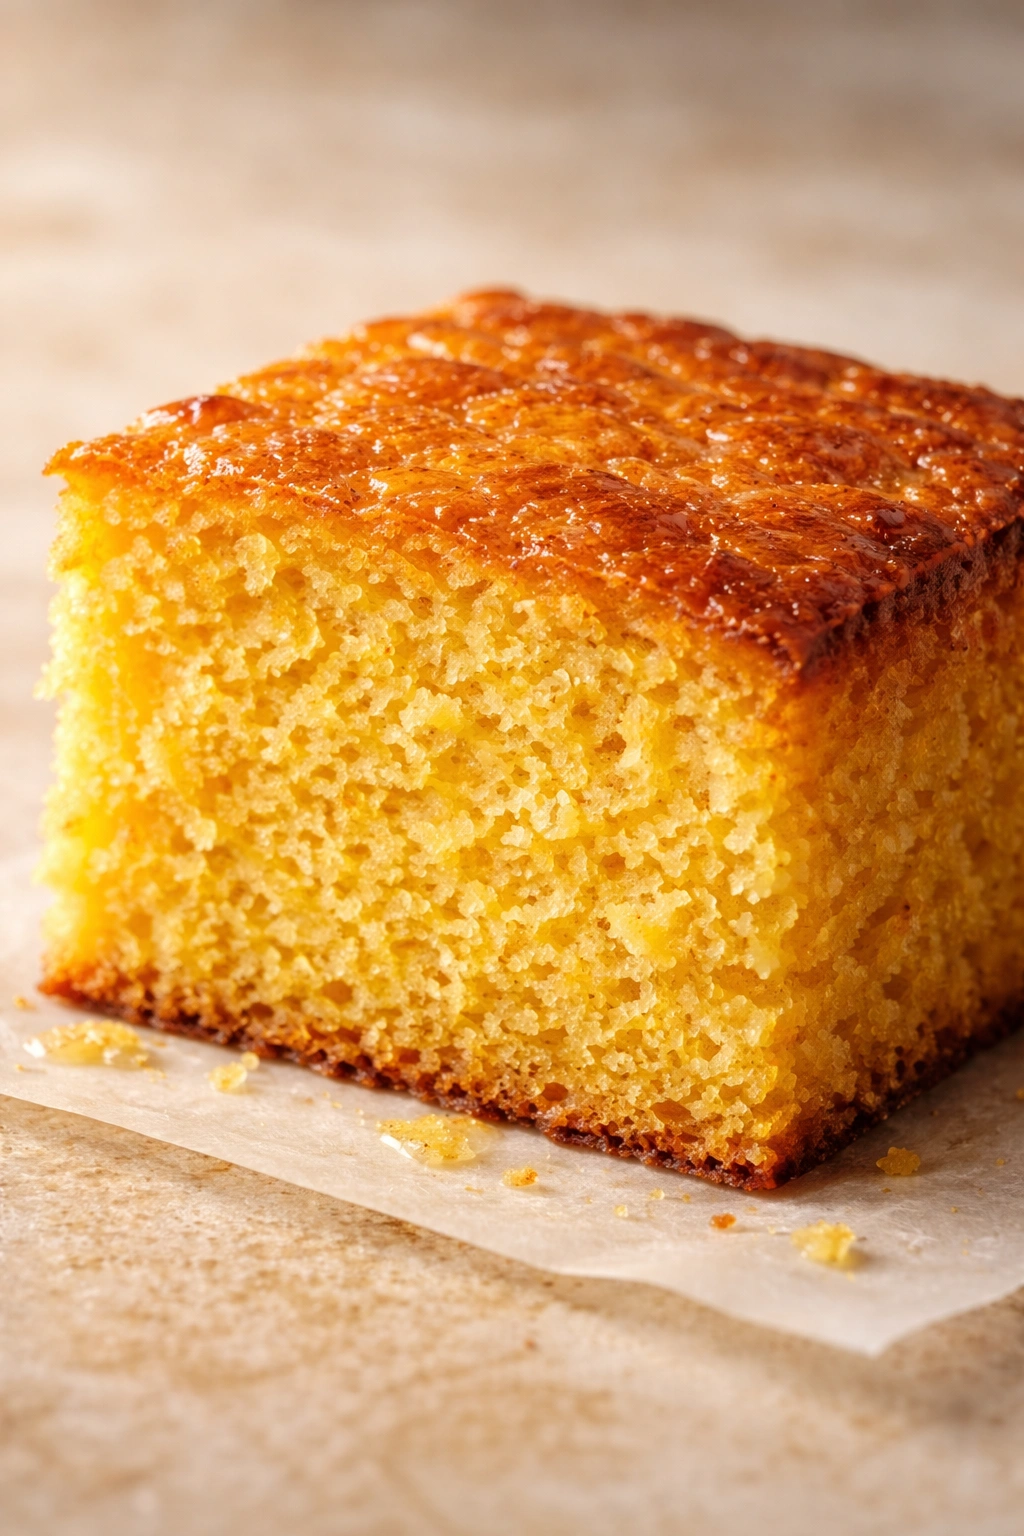
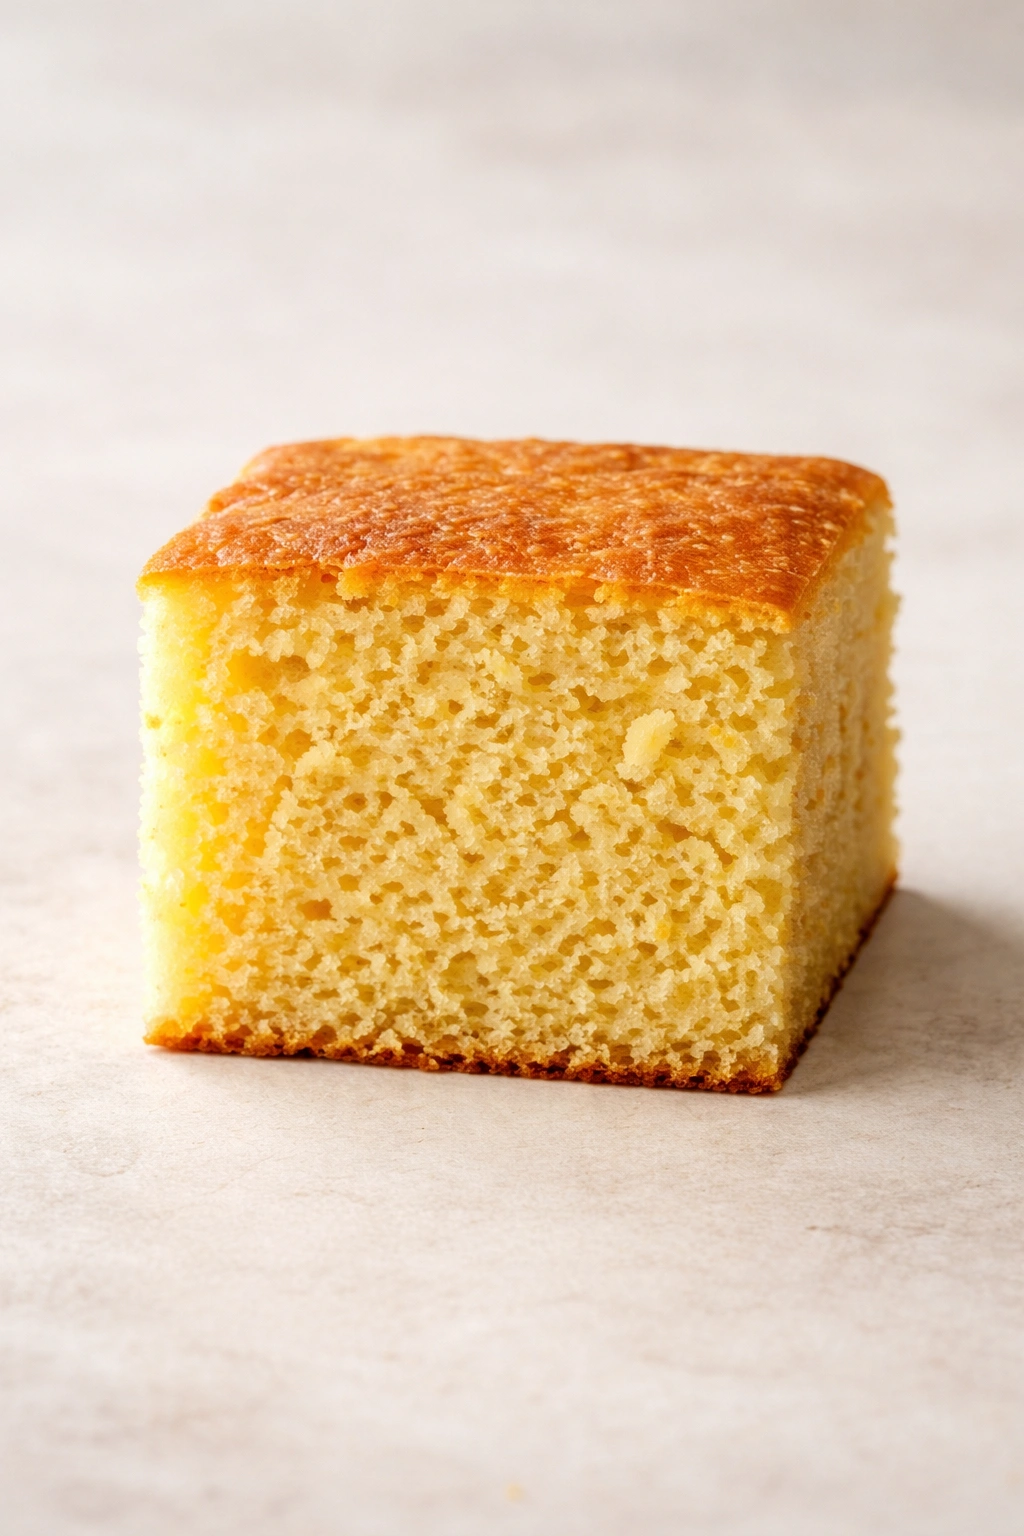
Cornbread brings something entirely different to stuffing compared to white bread or even herb bread. The cornmeal gives it a naturally slightly coarser, more interesting texture, and it has a subtle sweetness that balances savory ingredients without overwhelming them. Cornbread also has a lower gluten content than wheat bread, which means it absorbs liquid more evenly and breaks down into a more cohesive mass when baked together.
The texture of homemade cornbread matters enormously for stuffing. A dense, finely crumbed cornbread will soak up liquid differently than a lighter, fluffier one. If you’re using store-bought cornbread, look for something that feels substantial in your hand—not airy, not dense as a brick, but somewhere in the middle. The quality of your cornbread is honestly half the battle when it comes to moisture in the final dish.
Many recipes call for day-old cornbread, and there’s real wisdom in that. Fresh cornbread holds too much moisture of its own and doesn’t have the slight drying that allows it to absorb broth evenly. If you’ve just made cornbread, spread the cubes on a baking sheet and let them sit uncovered at room temperature for 4-6 hours, or even overnight. This lets some of the surface moisture evaporate without making the bread rock-hard.
The Moisture Science You Actually Need to Know

Here’s what most recipes don’t explain clearly: cornbread cubes don’t all absorb liquid at the same rate. The outside edges will soak up broth faster than the interior. If you dump all your liquid in before baking, the outside pieces turn to mush while the inside stays dry. The solution is what I call the “two-stage hydration” method—you add some broth before baking, then add the rest partway through.
Cornbread is also more delicate than wheat bread. It can turn grainy if it absorbs too much liquid too quickly, because the cornmeal particles separate instead of binding together smoothly. You want the moisture to penetrate gradually, which is why you’re not throwing everything into a bowl and letting it sit for an hour before baking. The baking process itself becomes part of the hydration—the heat helps the liquid distribute more evenly.
The ratio of liquid to bread is roughly one cup of broth to every three cups of cornbread cubes, but this varies based on how much other wet ingredient you’re adding (eggs, cream, sautéed vegetables that release moisture). That’s why I always reserve some extra broth to add during baking—you can see what the texture actually looks like and adjust from there.
Building Better Flavor While You Build Better Texture
Moisture isn’t just about liquid—it’s also about fat. Butter is your best friend here. A good cornbread stuffing should have somewhere between 4 and 6 tablespoons of butter mixed throughout, which sounds like a lot until you remember that you’re serving 8-10 people. The butter coats the bread cubes and helps distribute moisture more evenly, plus it adds flavor that broth alone can’t provide.
Sautéing your aromatics—the onions, celery, and garlic—in butter before adding them to the stuffing does two things: it renders out their moisture so they don’t water down the final dish, and it builds flavor that gets distributed throughout. Don’t just chop and add raw vegetables. Spend five minutes in a skillet with them. The difference is huge.
Eggs are critical too, but only if you’re making a moister, custard-style stuffing rather than a dryer, more bread-forward version. One or two eggs beaten in add richness and help everything bind together, but they also set more firmly during baking, which means you have less risk of the whole thing turning soupy. If you prefer a looser texture, skip the eggs. If you want something that holds together beautifully on the plate, the eggs are essential.
Making Your Own Cornbread for Perfect Control
Homemade cornbread gives you total control over texture and moisture. This simple recipe produces cornbread that’s exactly what you want for stuffing: tender crumb, just enough corn flavor without being overpowering, and a slightly firm structure that won’t disintegrate when soaked.
For the Cornbread:
- 1 cup cornmeal (fine or medium grind)
- 1 cup all-purpose flour
- 2 tablespoons granulated sugar
- 1 tablespoon baking powder
- 1 teaspoon fine sea salt
- 1 cup whole milk (room temperature)
- 4 tablespoons unsalted butter, melted
- 2 large eggs, room temperature
- 1 tablespoon honey (optional, enhances moisture)
Yield: One 8×8-inch pan, yielding approximately 8 cups cubed cornbread
Prep Time: 10 minutes
Cook Time: 20 to 25 minutes
Total Time: 30 to 35 minutes plus cooling
Difficulty: Beginner — straightforward ingredients and method that works the first time.
-
Preheat the oven to 400°F (200°C) and position the rack in the center. Grease an 8×8-inch baking pan generously with butter and set it aside.
Advertisements -
In a large bowl, whisk together cornmeal, flour, sugar, baking powder, and salt until completely combined. Make sure there are no lumps of baking powder hiding in the mixture.
-
In another bowl, whisk together milk, melted butter, eggs, and honey (if using) until smooth and fully combined.
-
Add the wet ingredients to the dry ingredients and stir until just combined—you want the batter to come together with maybe a few small flour streaks still visible. Overmixing will make the cornbread tough. Do not overbeat.
-
Pour the batter into the prepared pan and spread it into an even layer with a spatula.
-
Bake for 20 to 25 minutes, until a toothpick inserted in the center comes out clean or with just a few moist crumbs clinging to it. The edges should be just beginning to pull away from the sides of the pan.
-
Let the cornbread cool in the pan for 10 minutes, then turn it out onto a wire rack and let it cool completely.
-
Once fully cooled, cut or break the cornbread into 1-inch cubes. Spread the cubes on a baking sheet in a single layer and let them sit uncovered at room temperature for at least 4 hours, or ideally overnight, to dry out slightly before using in the stuffing.
The Essential Cornbread Stuffing Recipe
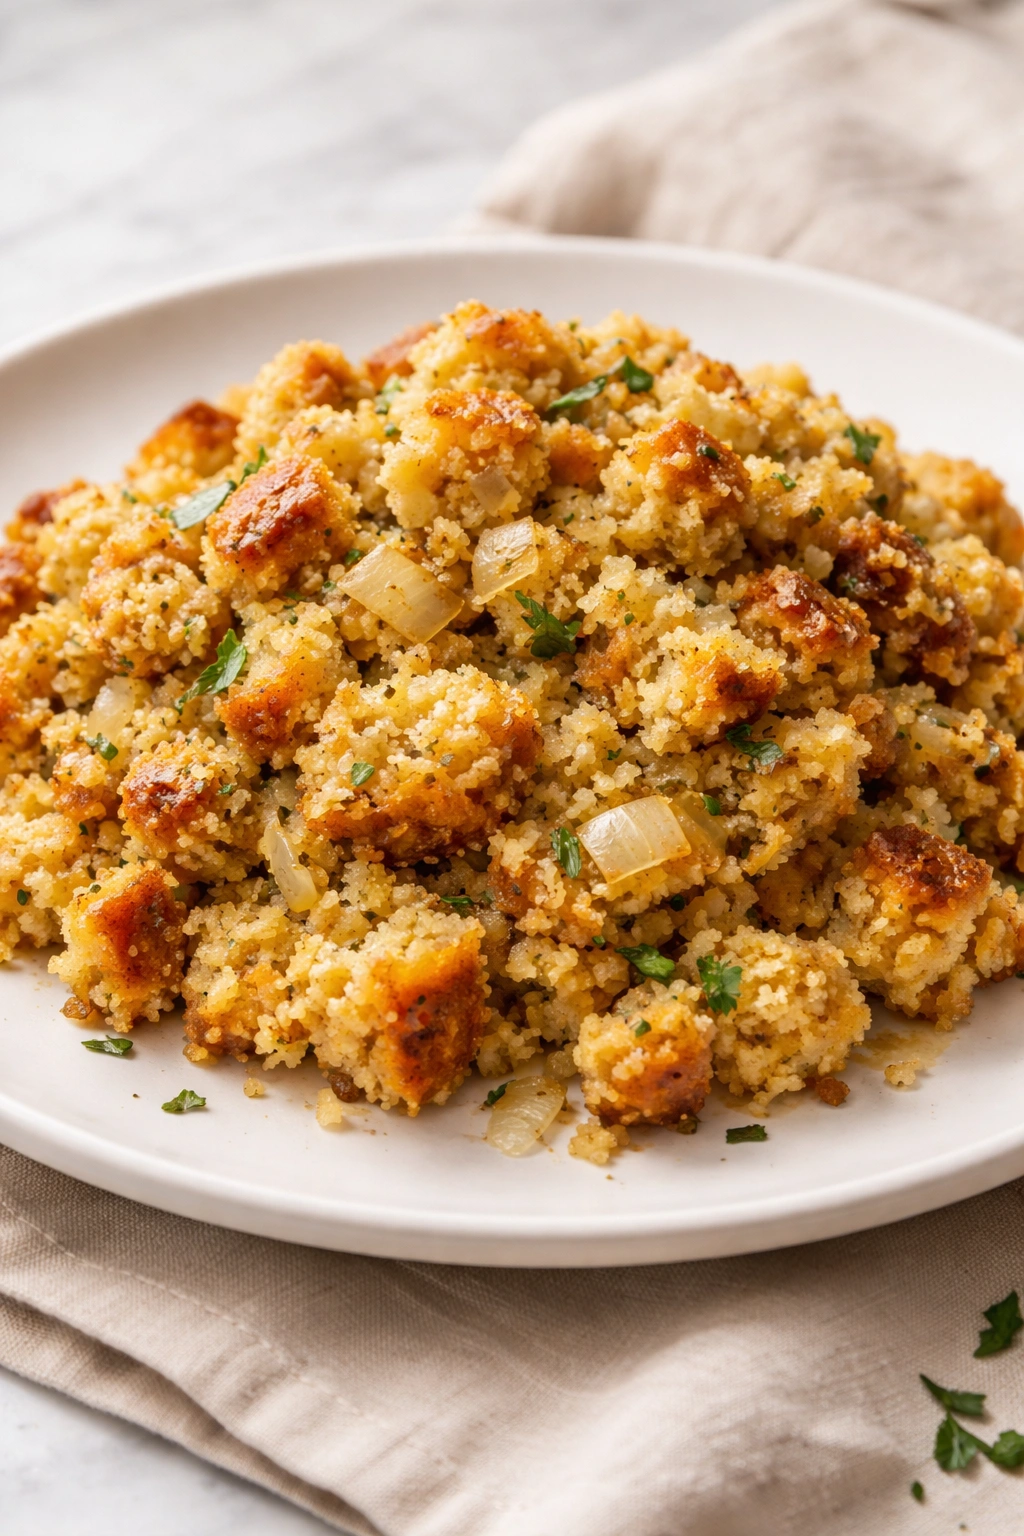
This is the master recipe that stays moist and tender every single time. The technique matters as much as the ingredients, so read through the instructions completely before you start.
For the Stuffing:
- 8 cups cornbread cubes (day-old or dried according to instructions above)
- 4 tablespoons unsalted butter
- 1 large yellow onion, diced
- 3 celery stalks, diced
- 3 cloves garlic, minced
- 2 cups low-sodium vegetable or chicken broth, divided (plus more if needed)
- ½ cup heavy cream or whole milk
- 2 large eggs, beaten
- 2 tablespoons fresh flat-leaf parsley, chopped
- 1 tablespoon fresh sage, chopped (or 1 teaspoon dried sage)
- ½ teaspoon fresh thyme, chopped (or ¼ teaspoon dried thyme)
- ½ teaspoon fine sea salt
- ¼ teaspoon freshly ground black pepper
- ⅛ teaspoon cayenne pepper (optional, adds subtle heat)
Yield: Serves 8 to 10
Prep Time: 25 minutes
Cook Time: 45 minutes
Total Time: 1 hour 10 minutes
Difficulty: Intermediate — multiple steps and timing involved, but straightforward once you understand the method. Success comes from following the two-stage hydration technique and not skipping the sautéing step.
Prepare the Base Vegetables:
-
Melt butter in a large skillet over medium heat. Once the foam subsides, add diced onion and celery and cook, stirring occasionally, for 6 to 7 minutes, until the onion is translucent and the celery is just beginning to soften. The vegetables should smell sweet and fragrant but still have slight texture.
-
Add minced garlic to the skillet and cook, stirring constantly, for 30 seconds to 1 minute, until fragrant but not browned. If the garlic browns, it will taste bitter and throw off the whole dish.
-
Remove the skillet from heat and let the vegetables cool for 5 minutes. This cooling step is important because you’re about to add beaten eggs, and you don’t want them to scramble from the residual heat.
Make the Wet Mixture:
-
In a medium bowl, whisk together 1 cup of the broth, heavy cream, and beaten eggs until completely combined. Season with salt, pepper, and cayenne if using.
Advertisements -
Pour the egg and broth mixture into the cooled skillet with the sautéed vegetables and whisk everything together until thoroughly combined. Set aside.
Combine and Bake:
-
Place the cornbread cubes in a large bowl (a 9×13-inch baking dish works too, but a bowl makes mixing easier). Pour the vegetable and egg mixture over the cornbread and fold gently with a large spoon or spatula, turning the mixture over itself for about 1 minute, until the cubes are evenly coated but not mushy. Some cubes should still have visible individual shape—you’re not making a paste.
-
Transfer the mixture to a greased 9×13-inch baking dish, spreading it into a relatively even layer. If there are gaps between pieces, that’s actually good—it allows heat to circulate.
-
Pour the remaining 1 cup of broth slowly over the top of the stuffing, pouring it in several spots across the surface so it distributes evenly. Do not stir it in after pouring—let gravity pull it down through the bread. If the top of the stuffing looks dry, add a bit more broth (up to ½ cup additional).
-
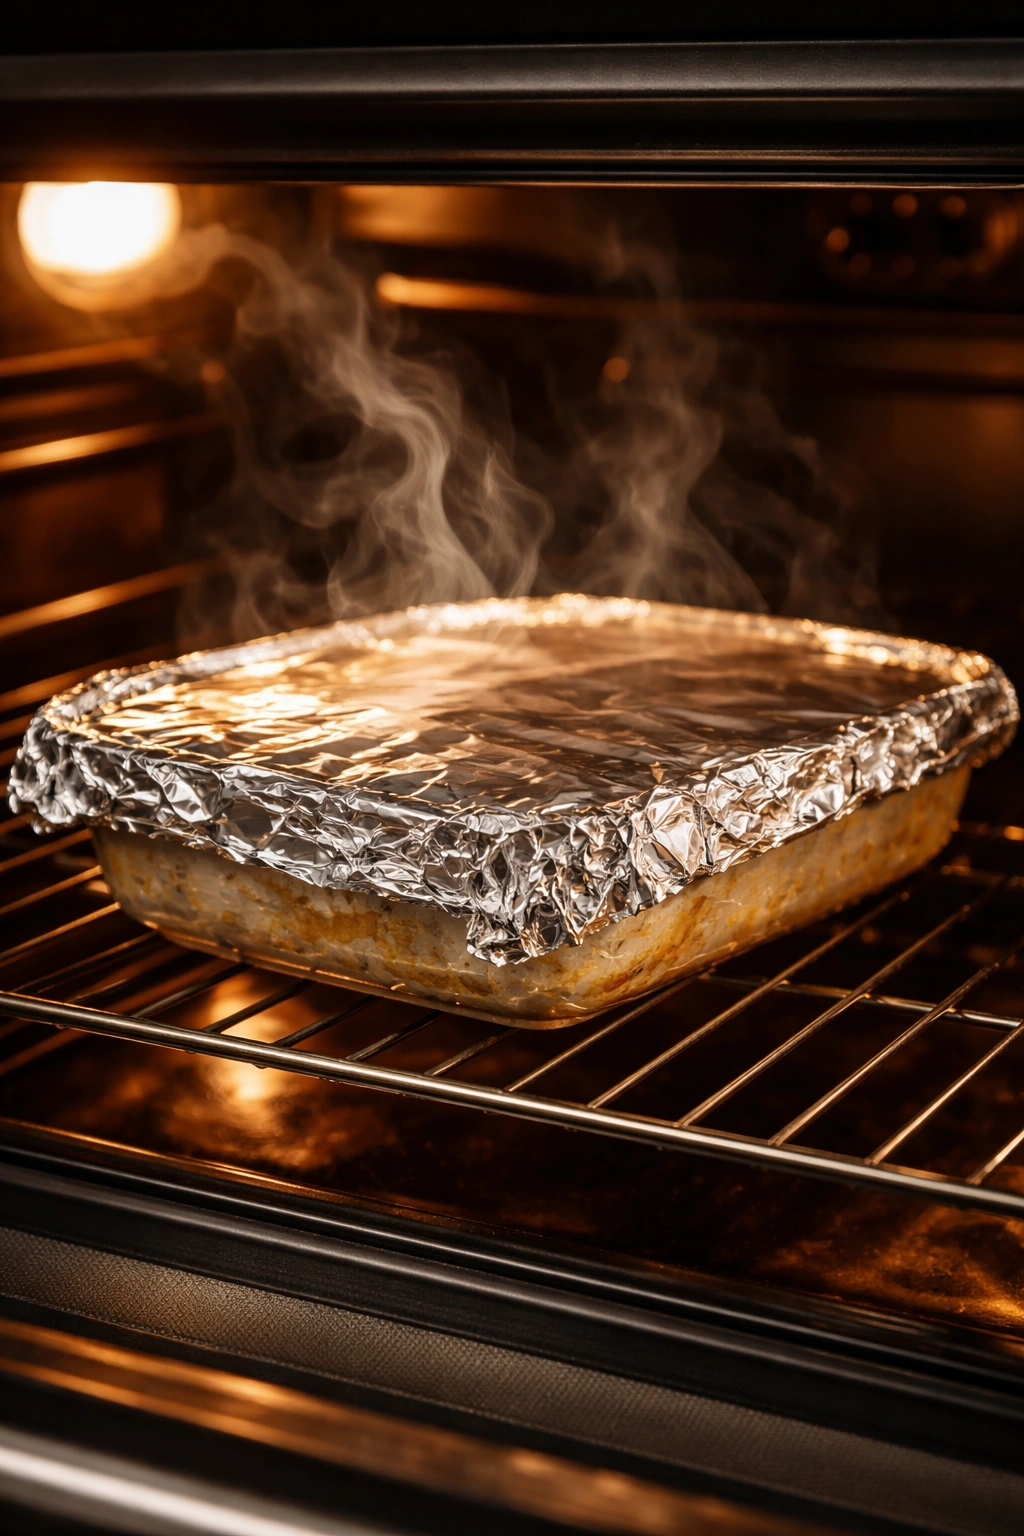
Cover the baking dish tightly with aluminum foil and bake at 350°F (175°C) for 30 minutes. The foil traps steam, which keeps the stuffing moist during the initial baking period.
-
After 30 minutes, carefully remove the foil. At this point, you can peek at the texture—it should look moist but not soupy. If it looks very dry on top, add another ¼ cup of broth. If it looks swimmy, skip additional broth.
-
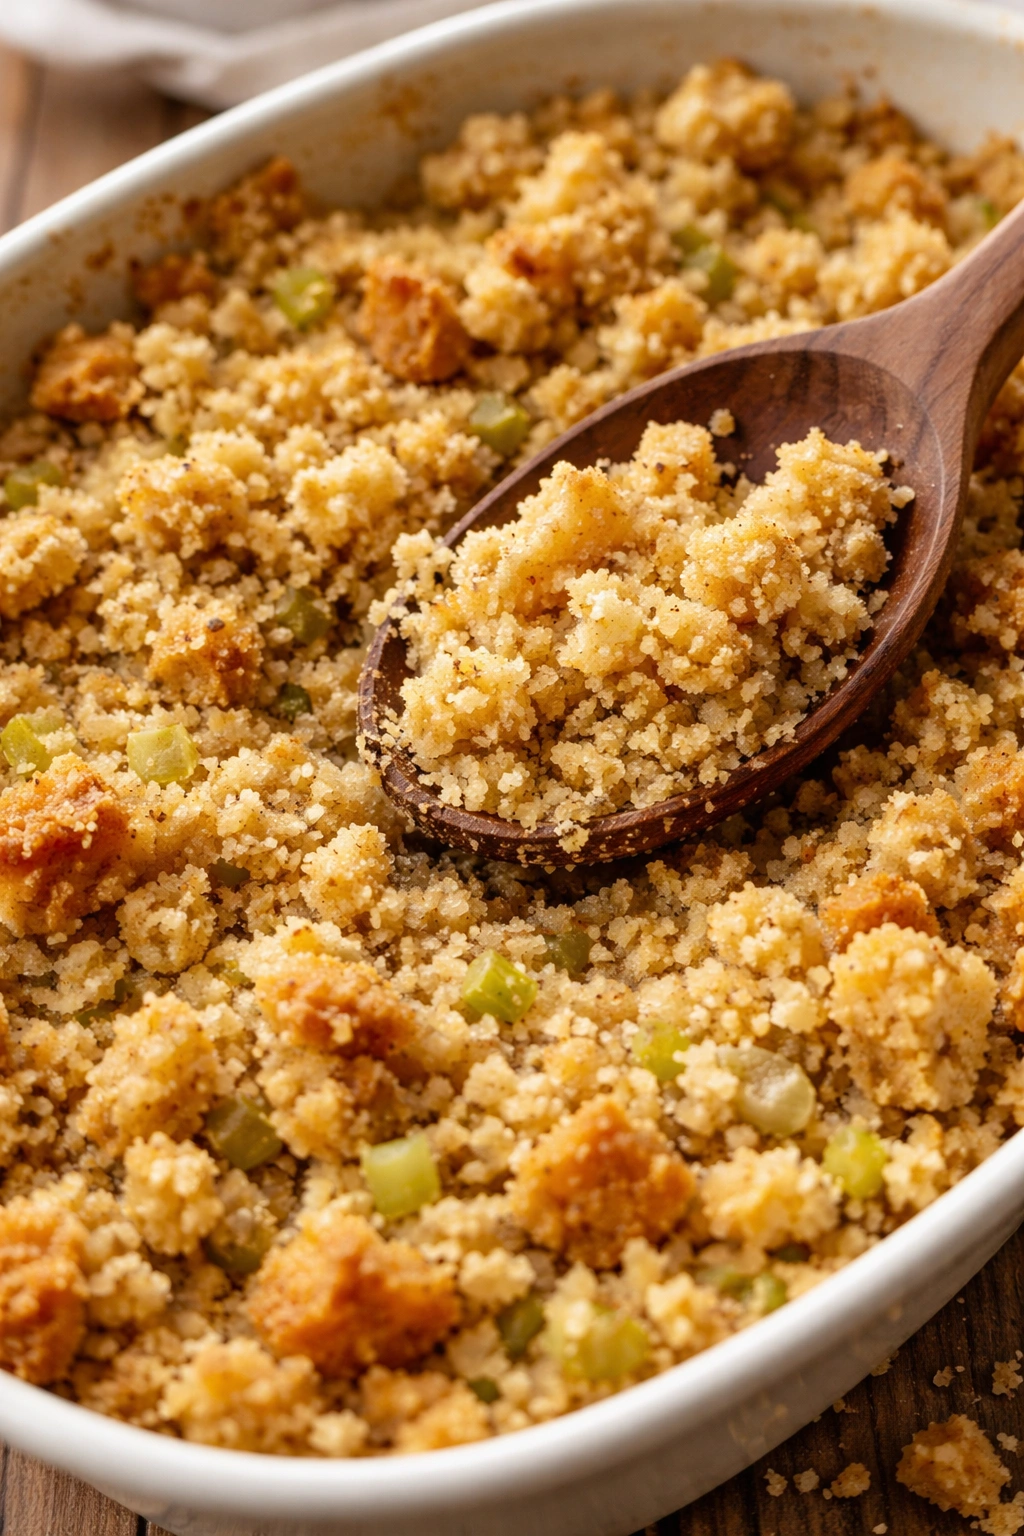
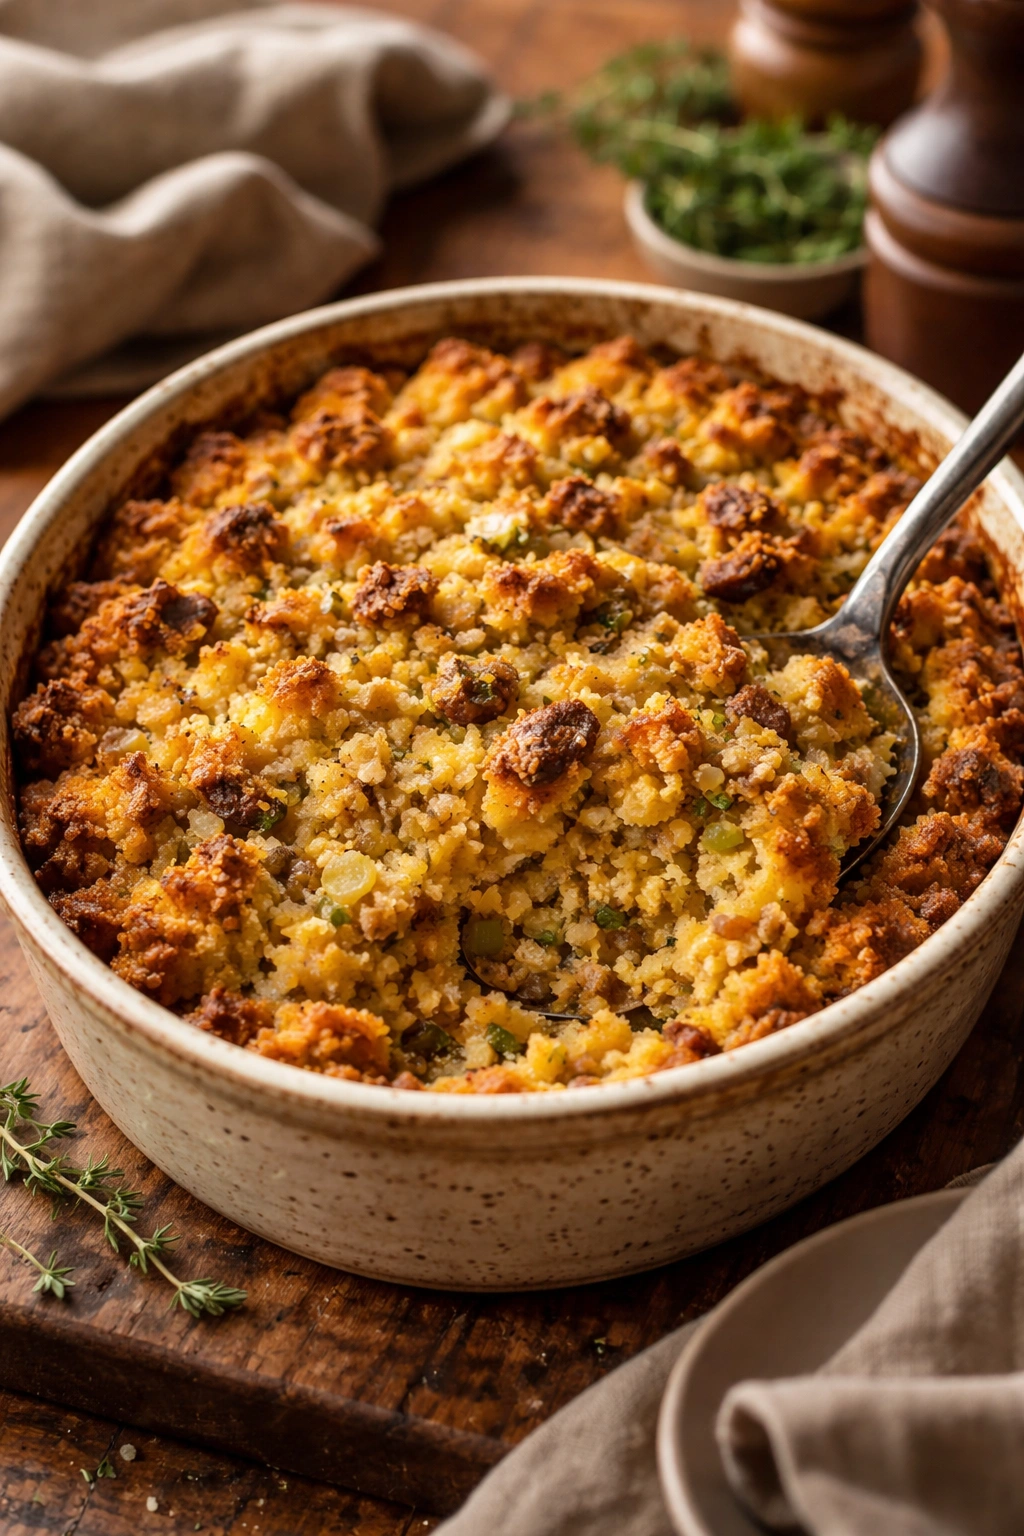
Return the uncovered baking dish to the oven and bake for an additional 12 to 15 minutes, until the top is light golden brown and a thermometer inserted into the center reads 160°F (70°C), indicating the eggs are fully set. The stuffing should jiggle very slightly when you gently shake the pan—that’s perfect. If it seems completely rigid, it’s overbaked.
-
Let the stuffing rest at room temperature for 5 to 10 minutes before serving. This allows the structure to set slightly without cooling down too much.
Why This Technique Creates Perfect Moisture

The two-stage approach—mixing some liquid in before baking, then adding more halfway through—is the real secret here. When you cover the dish initially, you’re creating a moist oven environment that lets the bread cubes hydrate gradually and evenly without the outside pieces turning to paste.
Removing the foil at the thirty-minute mark accomplishes two things: it allows any excess steam to escape so the stuffing doesn’t turn waterlogged, and it lets the top develop a little color and slight crust, which creates textural contrast. The final uncovered baking gives you that golden top without drying out the interior.
The eggs in the mixture also play a crucial role in texture. As they set during baking, they create a custard-like matrix that binds the cornbread cubes together and holds moisture evenly throughout. Without eggs, you get a more bread-forward texture that can be drier. With them, you get something silkier and more cohesive.
The Herbs Matter More Than You Think
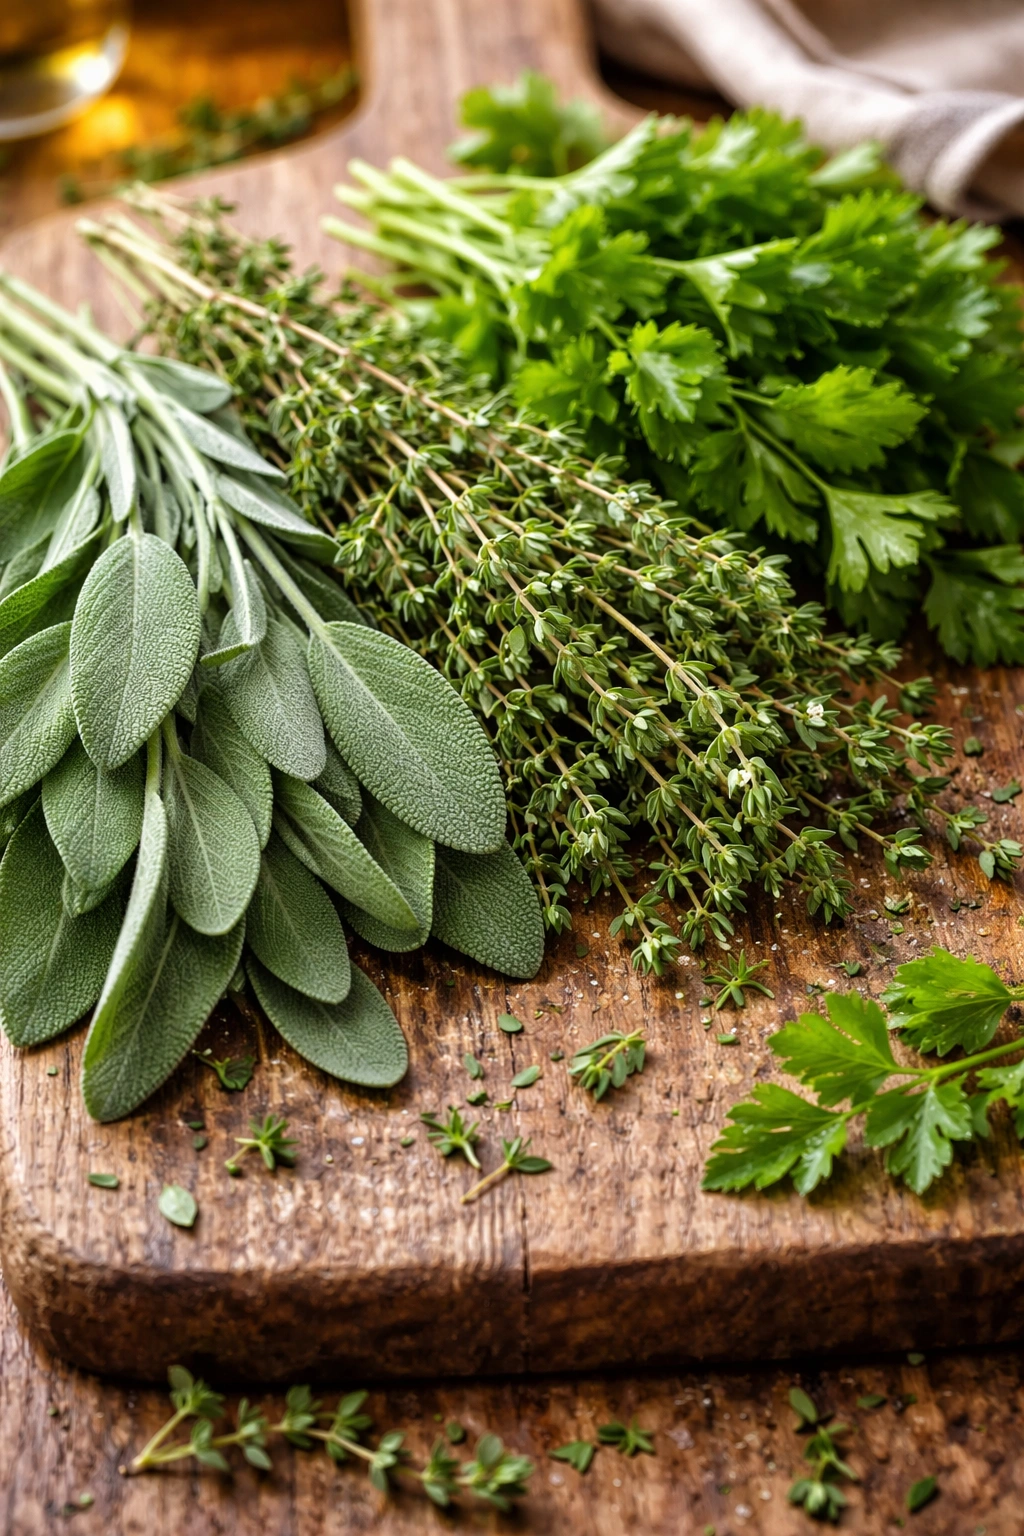
Fresh herbs are genuinely transformative in cornbread stuffing, so don’t skip this step or substitute with dried herbs exclusively. Fresh sage and thyme have a completely different flavor profile than their dried versions—more herbaceous, less concentrated, and less dusty.
If you can’t find fresh sage at your market, dried sage is perfectly acceptable, but use only one teaspoon instead of a tablespoon—dried herbs are about three times more concentrated. The same goes for thyme. For parsley, fresh is really worth seeking out. It adds a bright, peppery note that dried parsley just can’t replicate.
Chop your herbs shortly before adding them to the mixture. If you chop them too early and let them sit exposed to air, they’ll oxidize and lose both color and flavor. The 30 seconds it takes to chop them right before you need them is absolutely worth it.
Common Mistakes That Lead to Dry Stuffing
The number one mistake is not using day-old cornbread. Fresh cornbread holds too much of its own moisture and then doesn’t absorb the broth evenly. It’s like trying to teach something that already knows everything—you’re working against yourself.
The second big mistake is adding all the broth at once before baking. I cannot stress this enough: if you do this, you will end up with mushy edges and a dry center. The two-stage approach exists for this exact reason. Trust the process.
Overbaking is the third common mistake. Stuffing continues to firm up as it cools, and carryover cooking happens during that resting period. If your oven thermometer reads 165°F instead of 160°F, that extra five degrees might not seem like much, but it can mean the difference between tender and slightly tough. Get a good instant-read thermometer and use it.
Some people skip sautéing the vegetables and add them raw. Don’t do this. Raw onions and celery release moisture that you didn’t budget for, and they don’t taste nearly as good. Five minutes of sautéing transforms them.
Pro Tips for Restaurant-Quality Results
Make a cornbread-and-broth blend that you can taste before the dish goes into the oven. Take a small handful of cornbread cubes and a tablespoon of broth, mix them together, and taste. The cornbread should taste well-seasoned and flavorful, not bland. If it’s bland, your final dish will be too, because the seasoning needs to come from somewhere, and it’s either the broth or your vegetables. Build that flavor foundation carefully.
Use the best quality broth you can find. Store-bought broth varies tremendously in salt content and flavor. Some brands taste like salt water; others are almost flavorless. Taste your broth before you use it. If it’s very salty, you might want to use a little water mixed in to dilute it. If it’s weak, use it full strength or consider adding another source of flavor like a splash of vermouth or a bay leaf.
If you want deeper savory flavor, add a tablespoon of soy sauce to the broth mixture. It sounds odd in a cornbread stuffing, but the umami adds a savory richness that makes people say “I can’t quite figure out what makes this taste so good.” You’re not making soy-flavored stuffing; it’s just a flavor amplifier.
Toast your spices if using whole seeds. If you have whole sage leaves, crush them slightly in your hand before adding them—this releases the essential oils and intensifies the flavor. The aromatics carry the entire flavor profile of the dish, so don’t approach them casually.
Variations and Seasonal Twists

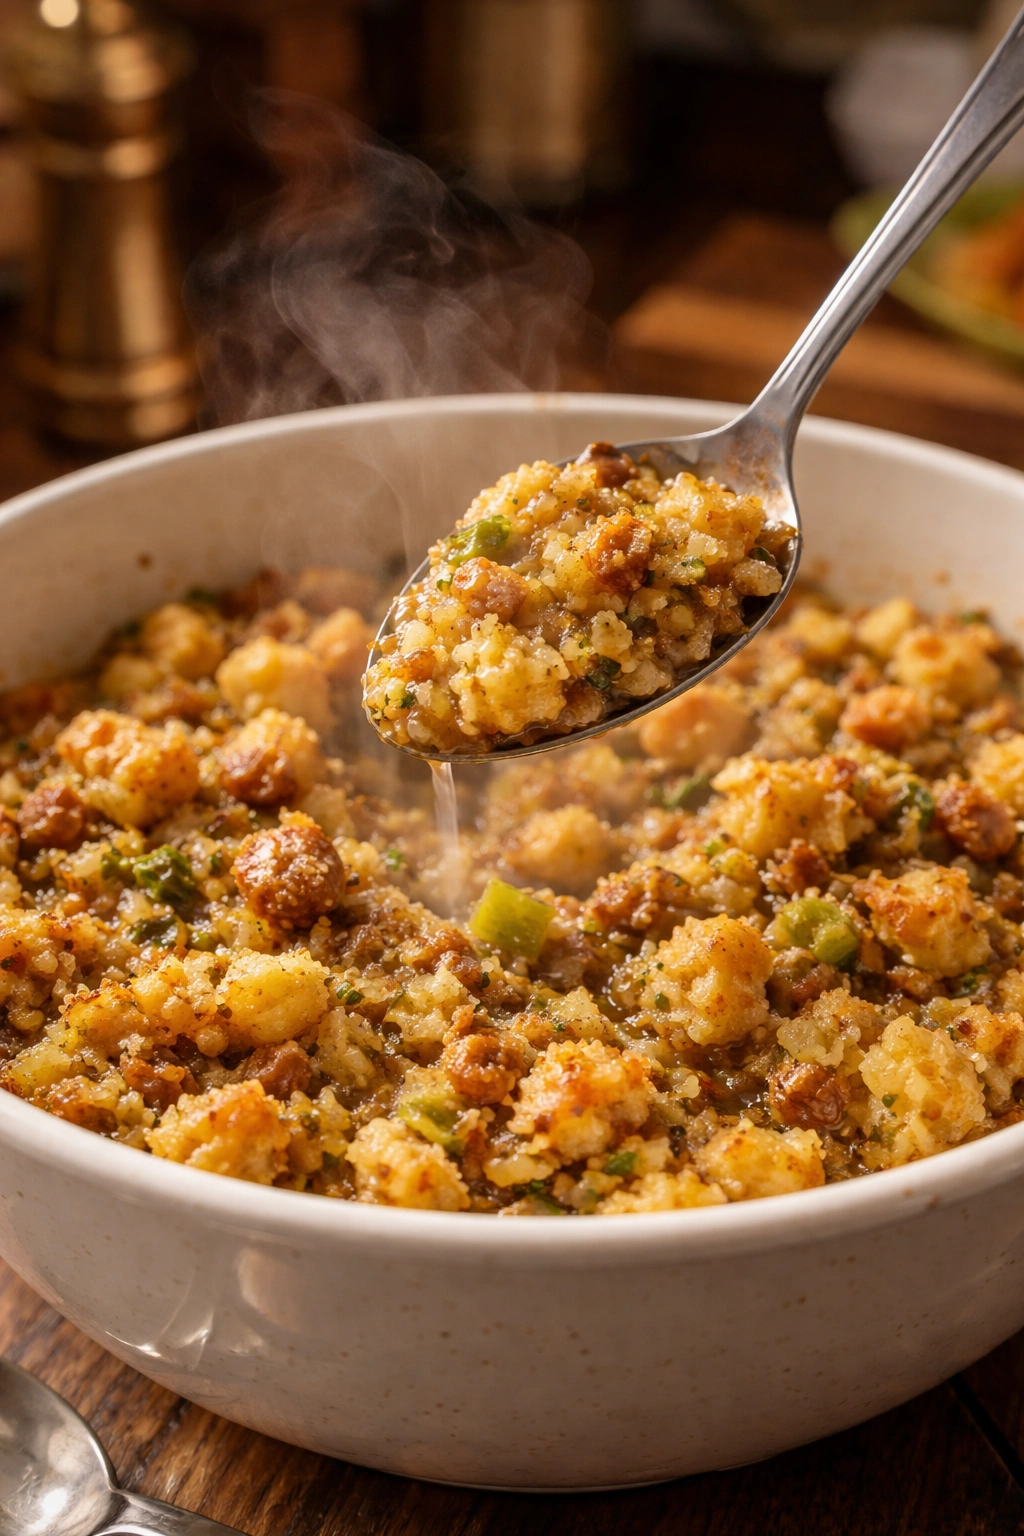
Sausage-Forward Version: Brown one pound of loose Italian sausage (preferably with some fennel) in the skillet before adding the onions and celery. Let the rendered fat serve as part of your cooking fat. The sausage adds richness and a subtle spice that plays beautifully with cornbread. This version actually needs slightly less butter since sausage is fatty.
Mushroom and Herb Variation: Dice one pound of mixed mushrooms (cremini, shiitake, and oyster work beautifully together) and sauté them separately in butter until they’re deeply golden and starting to crisp on the edges, about 8 minutes. Then sauté your onions and celery as usual, and fold the mushrooms in at the end. Mushrooms add a meaty richness and their own moisture, so you might reduce the broth to three-quarters cup total instead of one full cup. Add an extra teaspoon of fresh thyme when using mushrooms.
Corn and Jalapeño Version: This celebrates the cornmeal’s relationship with corn. Stir two cups of fresh corn kernels (or thawed frozen corn) into the cornbread mixture just before adding the broth. Dice one jalapeño (seeds removed for less heat, seeds kept for more) and sauté it with the onions and celery. Add a teaspoon of cumin and a pinch of smoked paprika. This version has a wonderful brightness and slight heat that’s especially lovely with chicken or turkey.
Southern-Style with Pecans: Toast one cup of roughly chopped pecans in a dry skillet over medium-low heat, stirring frequently, until fragrant, about 3 minutes. Add them to the cornbread mixture just before baking. The pecans add crunch and nutty richness that’s very Southern. Reduce the herbs slightly (especially the sage) since pecans have their own assertive flavor.
Dairy-Free Adaptation: Replace the heavy cream with full-fat coconut milk, and skip the eggs or replace them with an aquafaba and water slurry (three tablespoons aquafaba plus one tablespoon water mixed together). The cornbread stuffing won’t bind quite as beautifully without eggs, but it will still be moist and delicious. Cornbread made with non-dairy milk will work perfectly well too.
Make-Ahead Dressing Casserole: Assemble the entire dish the day before serving, but instead of baking it, cover it tightly with plastic wrap and refrigerate overnight. The bread will continue to absorb moisture even in the cold, so you might need to add an extra quarter cup of broth when you’re ready to bake. Bake it covered at 350°F for 40 to 45 minutes instead of 30, then uncovered for another 12 to 15 minutes until the top is golden and a thermometer reads 160°F.
Storage and Make-Ahead Guidance
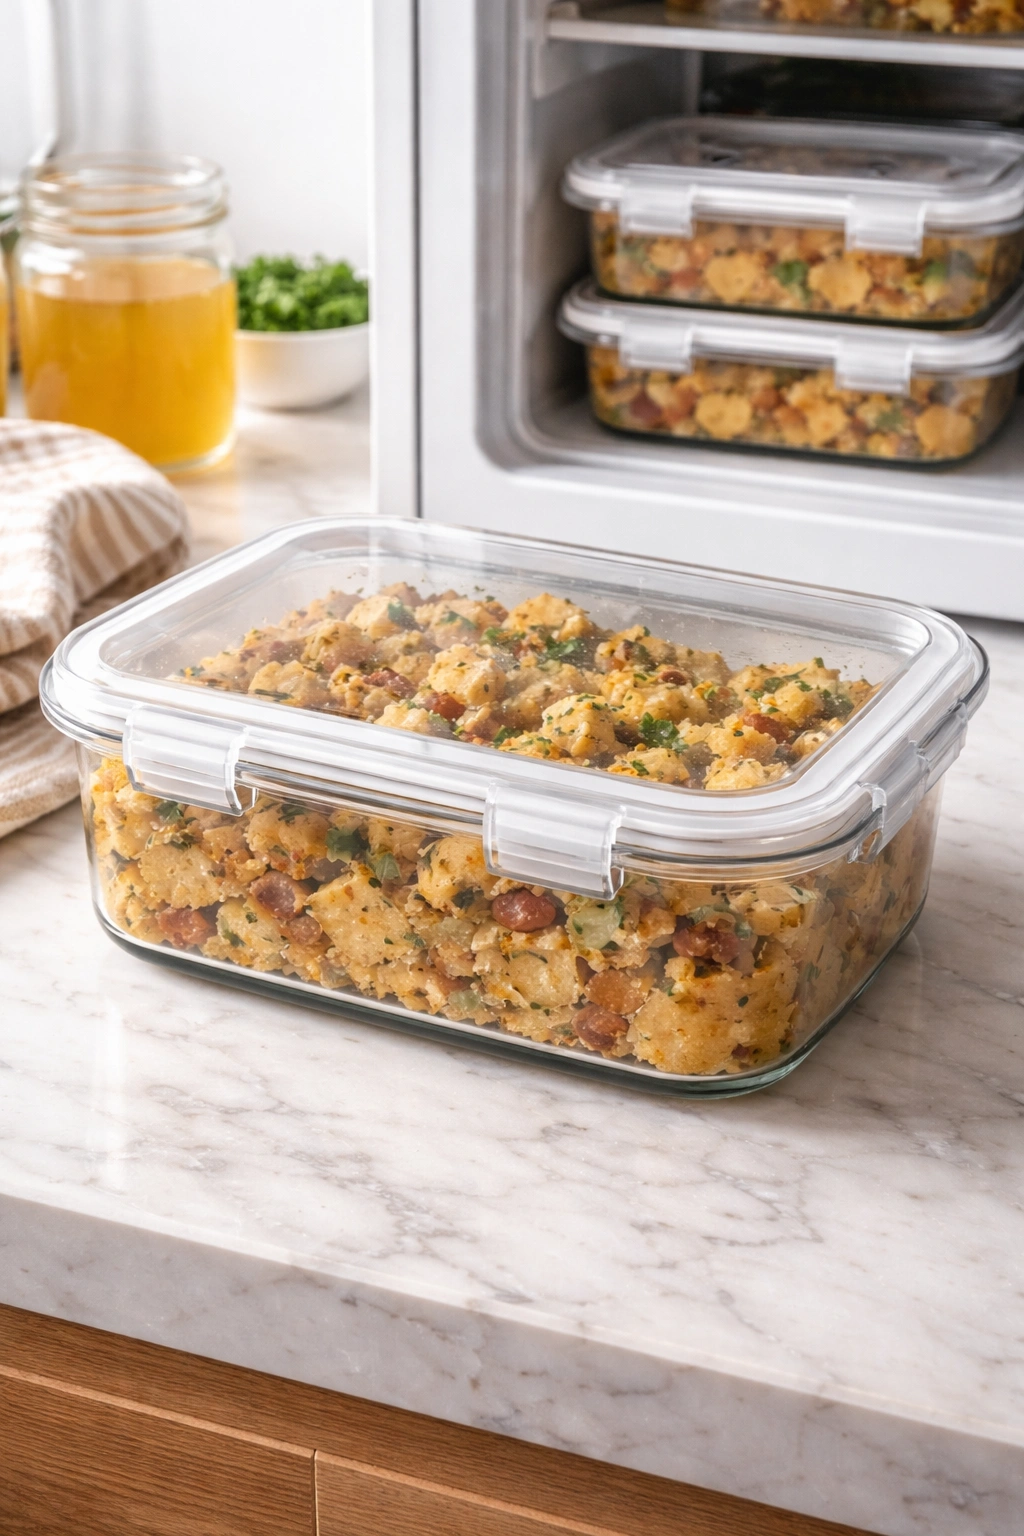
Cornbread stuffing keeps beautifully for up to three days when stored properly. Let it cool completely to room temperature, then cover it tightly with plastic wrap or transfer it to an airtight container and refrigerate. The stuffing will actually taste better on day two as the flavors meld together and the texture continues to firm up.
If you’re preparing it for a holiday dinner, you can make the cornbread up to three days ahead and store the cubes in a sealed container at room temperature. You can also prep your vegetable sauté the day before, cool it completely, and store it in the refrigerator. On the day you’re serving, combine everything and bake. This setup means you’re really only spending 30 minutes of active cooking time on the day.
The entire assembled casserole can be frozen before baking. Assemble it in a disposable aluminum pan, cover it tightly with plastic wrap and then aluminum foil, and freeze it for up to two months. When you’re ready to bake, don’t thaw it—add an extra 15 minutes to the covered baking time (so 45 minutes covered instead of 30) and then bake uncovered until golden and a thermometer reads 160°F.
For portions you’re planning to serve later, you can actually freeze baked stuffing. Cool it completely, cut it into serving-sized pieces, wrap each piece individually in plastic wrap, and place them all in a freezer bag. They’ll keep for up to three months and can be reheated gently without thawing.
Reheating Without Losing Texture
The enemy of leftover stuffing is the microwave. Microwaving dries it out rapidly and can turn the texture rubbery. Instead, reheat in the oven, which gives you much more control.
Place your leftover stuffing in a baking dish, cover it with foil, and heat at 300°F (150°C) for 15 to 20 minutes, until warmed through. If the stuffing has been refrigerated, it might have lost some moisture, so splash a couple of tablespoons of broth over the top before covering—this replenishes the liquid as it reheats. If it’s been frozen, add a bit more broth and give it a few extra minutes.
You can also reheat individual portions very gently in a covered small skillet on the stovetop over low heat, stirring occasionally. This takes about 8 to 10 minutes for a single serving and gives you more even heating than the oven does for small amounts.
Don’t reheat until the stuffing is steaming hot—just until it’s warm throughout. Overheating will dry it out no matter what method you use. The goal is bringing the temperature up, not cooking it further.
Serving Suggestions and Pairings

Cornbread stuffing pairs beautifully with roasted turkey, chicken, or a vegetarian main course. It’s also wonderful alongside ham, pork, or even fish with enough seasoning to stand up to it. The mild sweetness of cornbread means it works with virtually any protein, which is part of why it’s such a beloved dish.
For sides, this stuffing works best alongside something bright and acidic—a cranberry sauce, a lemony vegetable, or a salad with a sharp vinaigrette. The stuffing is rich and filling, so lighter vegetables like roasted green beans or a simple spinach salad create nice balance on the plate.
Serve it in a shallow bowl or on a plate with enough space around it that the pieces don’t run together. This stuffing is tender enough to cut with a fork, so you want it to be the star of the plate, not crowded in with other elements.
Leftover stuffing is absolutely delicious toasted in a skillet with a bit of butter the next morning, served alongside scrambled eggs. It also makes an excellent sandwich when packed between two slices of buttered toast with some turkey and cranberry sauce.
If you’re serving this to a crowd, assemble it in a beautiful baking dish so people can see it before serving. The golden top and visible cornbread texture are part of its appeal, and plating it directly from the baking dish gives it a homemade, inviting quality that elegant plating sometimes lacks.
Final Thoughts
Moist, tender cornbread stuffing isn’t a mystery—it’s the result of understanding how cornbread absorbs liquid, adding that liquid in the right way, and baking it precisely enough that the eggs set without the whole thing turning rubbery. The two-stage hydration method takes out all the guesswork. You’re not hoping it comes out right; you’re using a technique that you can repeat with consistency.
The other secret is respect for your ingredients. Use day-old cornbread, good broth, fresh herbs, and actually sauté your vegetables instead of just throwing them in raw. These aren’t fancy steps or complicated techniques—they’re just doing the right thing at each stage. When you do that, you end up with stuffing that’s so much better than the version most people make that guests will ask for your recipe.
This is one of those dishes that rewards a little attention and repays that attention a hundredfold. It’s the kind of side dish that becomes the thing people look forward to, not just at the holidays but anytime you serve it. Once you master this version, feel free to play around with variations, but make the basic recipe a few times first so you understand how the technique works. That knowledge is what sets you up to improvise confidently later on.