Easy Fried Rice That Beats Any Takeout Order
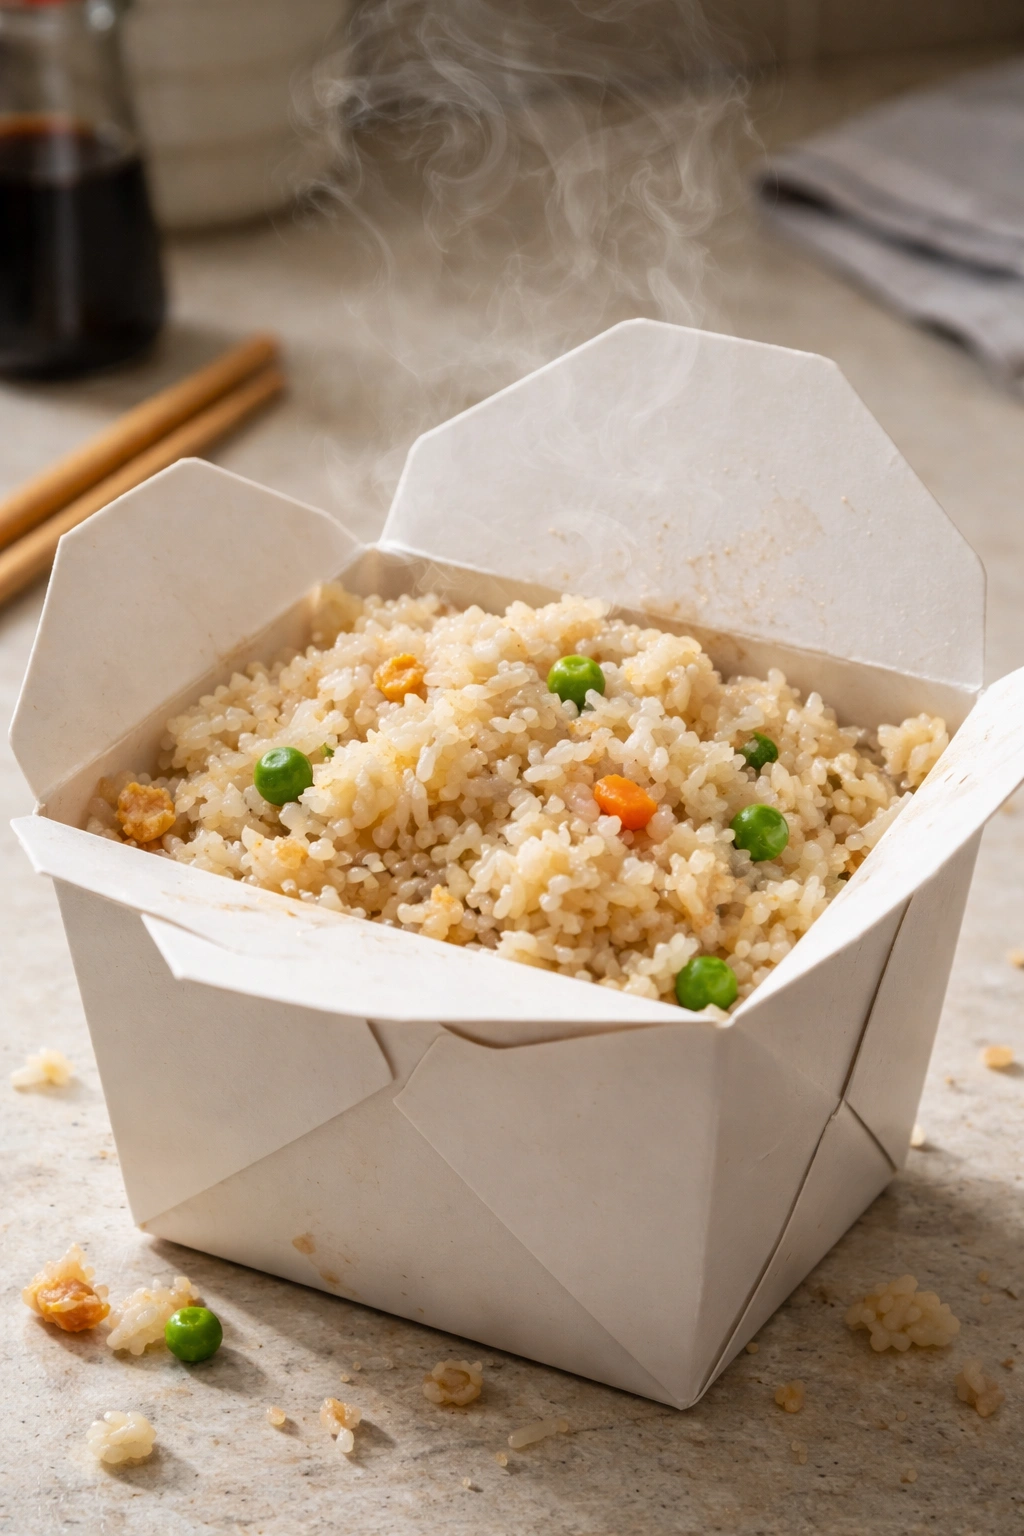
You’re standing in front of your fridge on a weeknight, staring at a container of leftover rice and wondering if you should just order takeout again. Here’s what I want you to know: that fried rice sitting in your takeout container costs you upward of fifteen dollars, arrives with grease pooling on top, and honestly? You can make something infinitely better in your own kitchen in about twenty minutes. I’m talking restaurant-quality fried rice—the kind with grains that stay separate and slightly crispy, vegetables that pop with freshness, and flavors so layered and savory that everyone at your table will be fighting over the last bite.
The secret isn’t some exotic ingredient or fancy technique you don’t have access to. It’s actually the opposite. It’s cold rice, high heat, and the understanding of how to build flavor in stages rather than throwing everything into a pan at once and hoping for the best. After making dozens of batches to crack the code, I’ve landed on a method that’s foolproof, endlessly customizable, and genuinely tastes better than any takeout version I’ve ever ordered. The best part? It’ll cost you a fraction of the price, and you’ll know exactly what went into it.
Let’s talk about why homemade is going to win. Most takeout fried rice is either gluey because it was made with fresh rice, or it’s dry and one-dimensional because whoever made it didn’t understand how to layer seasoning. The good news is that understanding these two things—and a handful of other insider tricks—puts you miles ahead. You’re about to learn everything you need to know to make fried rice that’ll have your family asking you to make it again next week.
The Real Reason Takeout Fried Rice Disappoints
There’s a reason why homemade fried rice has such a different texture and flavor than what arrives in that white container. Takeout kitchens are optimizing for speed and volume, not quality. They’re using fresh-cooked rice because they don’t have the luxury of planning ahead, and fresh rice releases steam that turns the whole dish into a pasty, clumpy mess. They’re also typically adding just one wave of seasoning at the end rather than building flavor throughout the cooking process, which is why the soy sauce tastes one-dimensional and overly salty.
The other problem is temperature. Most home cooks don’t realize that fried rice actually needs serious heat—I’m talking about turning your burner up to nearly maximum. The high heat is what causes the rice grains to actually fry rather than steam, which creates those golden-brown crispy bits that make fried rice craveable. It’s also what gives the vegetables that slightly charred, caramelized edge that tastes so much better than the steamed-mushy vegetables you get when everything cooks low and slow.
Real talk: Once you understand these mechanics, you’ll realize that takeout fried rice isn’t better—it’s just more convenient. And convenience is losing its appeal once you taste what you can actually make at home.
Why Cold Rice Is Your Secret Weapon
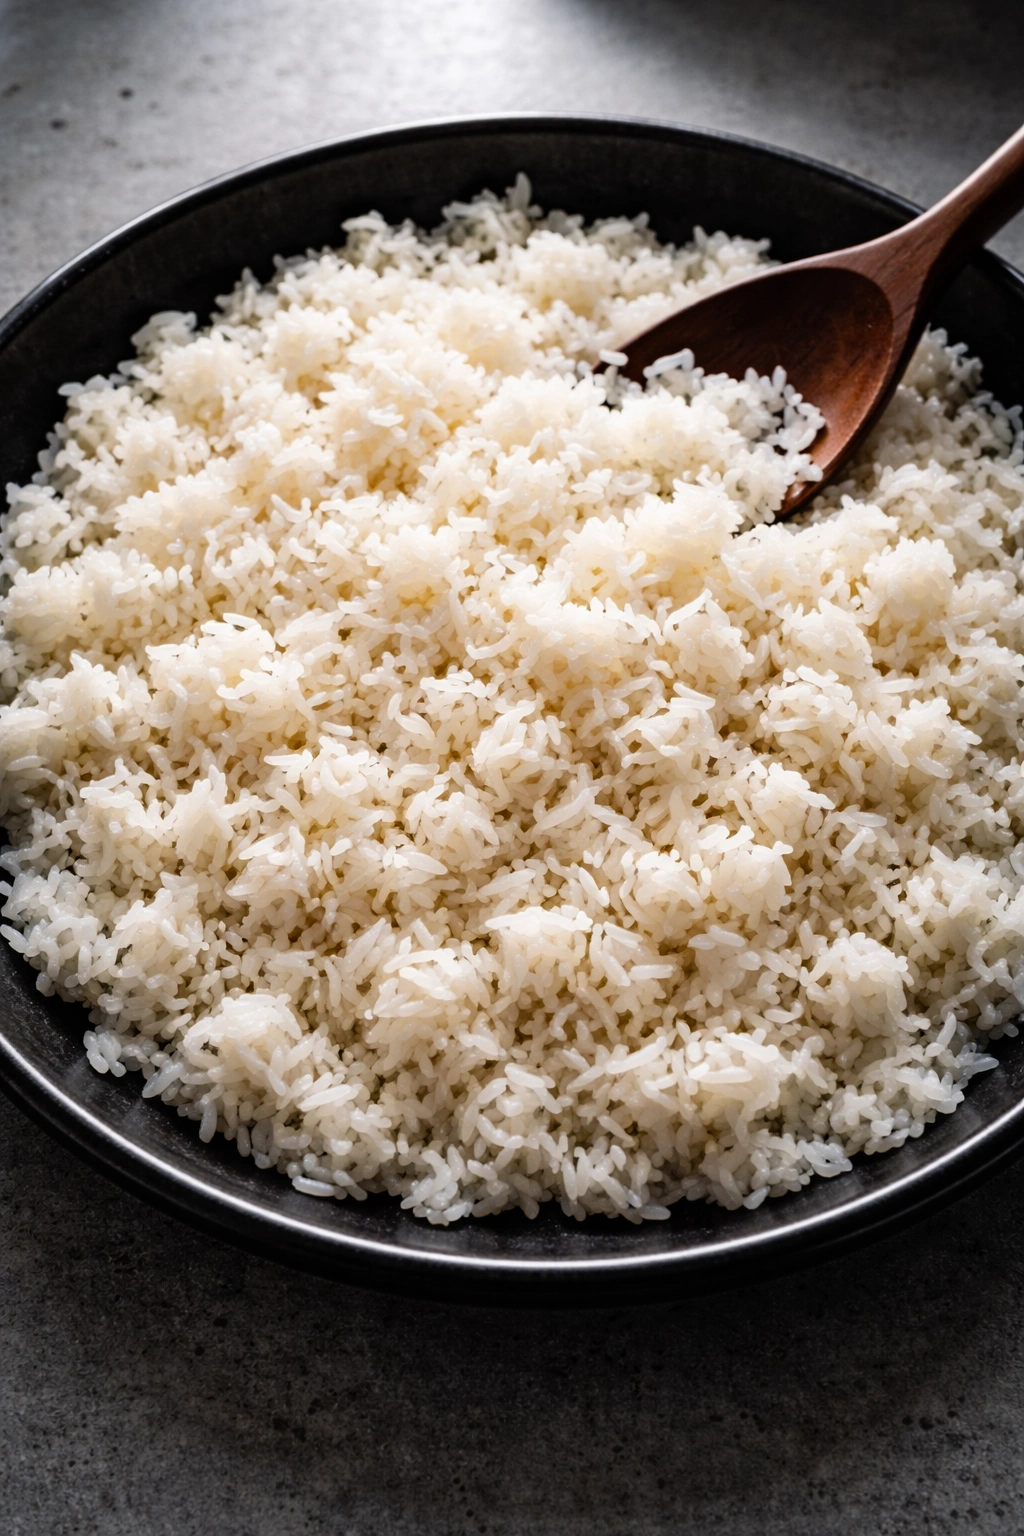
This is the single most important decision you’ll make for this recipe, so let me explain exactly why it matters. Freshly cooked rice contains a lot of moisture. When that hot, wet rice hits a hot skillet, the moisture immediately turns to steam, and steam is the enemy of crispy fried rice. The rice grains puff up, absorb that steam, and become soft and gluey. They stick together in clumps instead of staying as individual, separate grains that can actually fry.
Cold rice, on the other hand, has had time to dry out. The starches have set, the grains are firm, and when they hit a hot pan with fat, they actually fry instead of steam. You’ll hear them sizzle, you’ll see them develop those gorgeous golden-brown bits, and the texture will be completely different—still tender, but with just enough slight crispness to make it interesting.
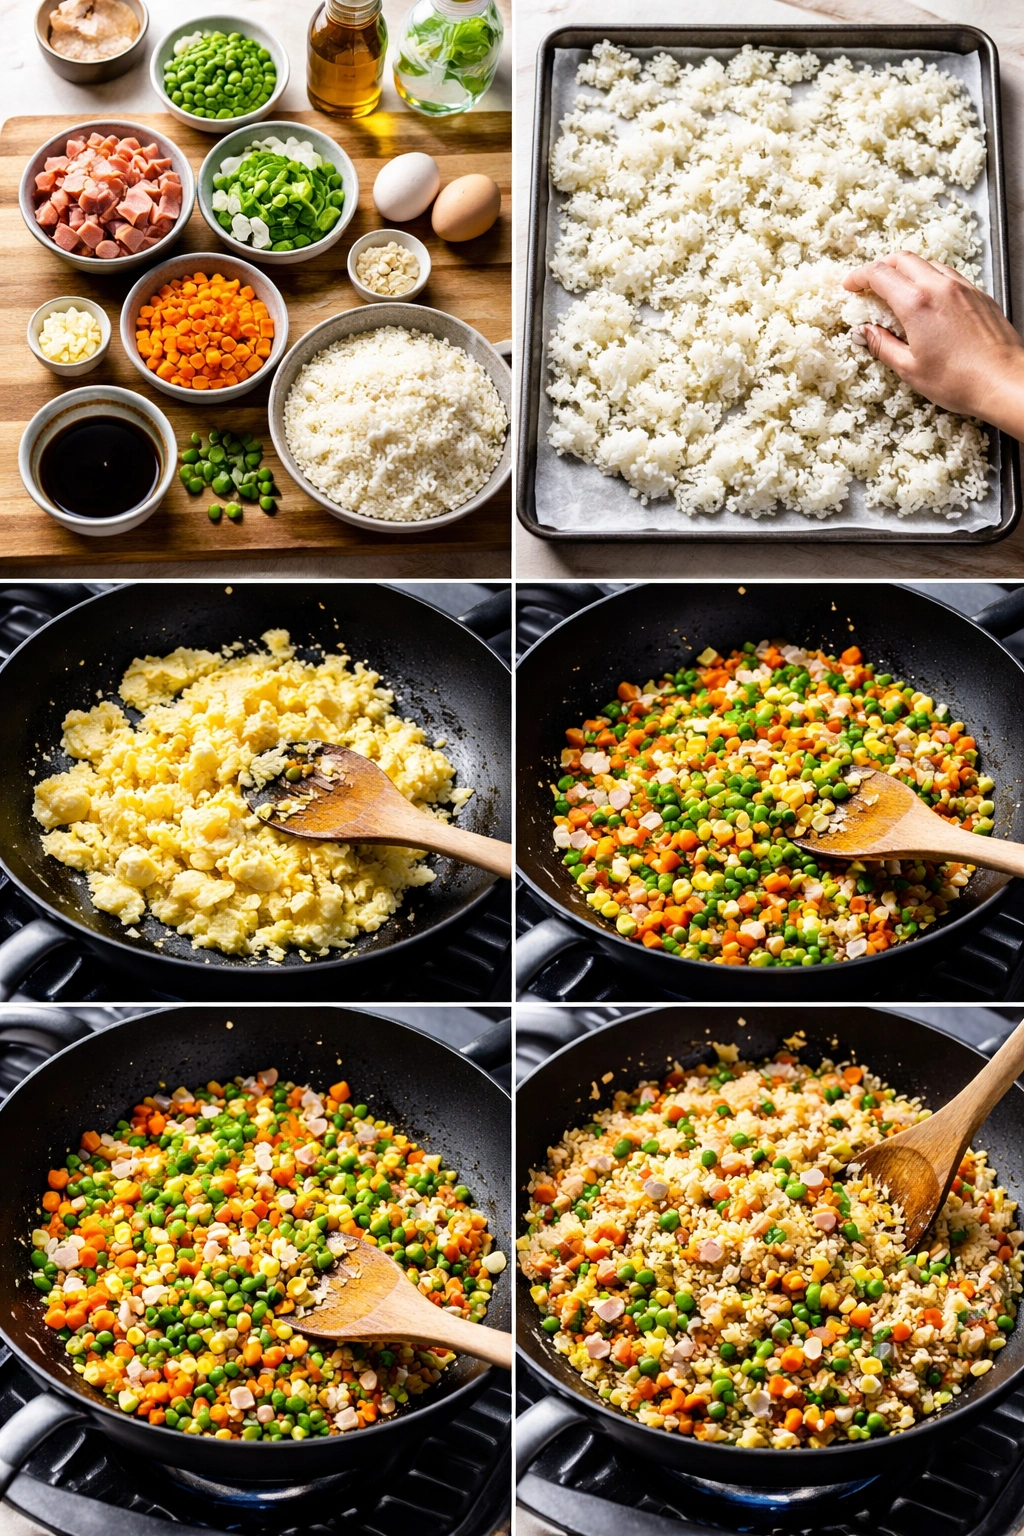
The ideal scenario is planning ahead. Cook your rice the night before, spread it out on a baking sheet (don’t cover it), and leave it uncovered in the refrigerator overnight. The air circulation helps it dry out even more, and you’ll get the best texture possible. But here’s the real-world version: if you don’t have leftover rice, just cook a fresh batch and spread it on a sheet pan. Pop it in the freezer for fifteen to twenty minutes, and it’ll be cold and dry enough to work beautifully. Some people spread it on a sheet pan and refrigerate it for thirty to forty-five minutes—either method works. The point is that you’re giving the rice time to firm up before it goes into the pan.
Pro tip: Use a long-grain rice like jasmine or basmati. These varieties stay more separate when cooked compared to short-grain rice, which tends to stick together naturally. If you’ve only got short-grain rice on hand, just know that you might need to use a slightly lighter hand with any additional liquid in your seasonings.
Understanding the Key Ingredients and Their Roles
Every ingredient in fried rice serves a specific purpose, and understanding that purpose will help you make smarter decisions when you want to customize or troubleshoot. Let’s break down what you actually need and why.
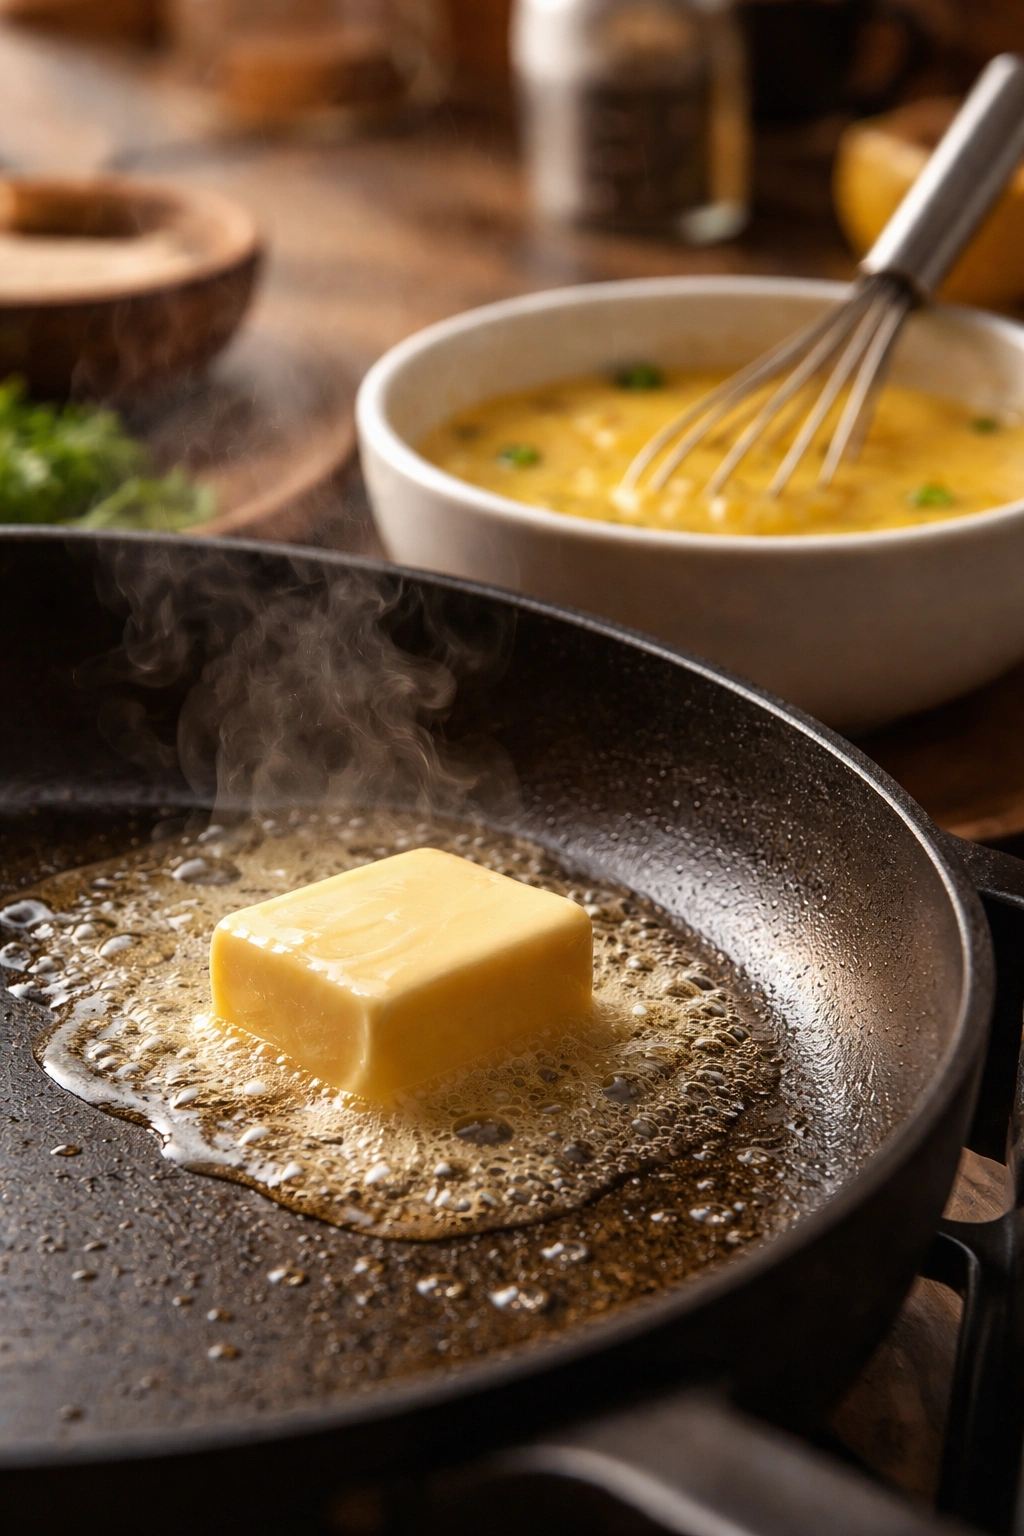
Butter as your cooking fat is the first thing that might seem strange if you’re expecting traditional Asian fried rice to use oil. But here’s why butter actually wins: it adds a rich, slightly sweet depth that you simply can’t get from neutral oil. It also helps everything brown more evenly and completely. That said, if you’re avoiding dairy, neutral oils like vegetable, canola, or avocado oil work fine—you’ll just miss that subtle richness. The key is using enough fat that the rice can actually fry, not just sit in the pan and dry out further. Three tablespoons might sound like a lot, but it’s distributed across four to five cups of rice, so you’re not making something heavy. You’re just ensuring that every grain gets coated enough to develop color and flavor.
Eggs are non-negotiable in fried rice, and here’s why: they add richness, protein, fat that helps carry flavor, and those delicious little savory bits that make people go searching through their bowl looking for every egg piece. Cook them first, set them aside, and add them back at the very end. This prevents them from overcooking and becoming rubbery while the rest of the dish finishes cooking.
Soy sauce is your primary seasoning, and it’s bringing both salt and umami—that savory, mouth-filling depth that makes food taste incredible. The thing about soy sauce is that different brands vary wildly in sodium content, so taste as you go. I always start with less than I think I’ll need because you can always add more, but you can’t remove it. Low-sodium versions are a solid choice if you’re watching your salt intake, and they pair beautifully with the other seasonings.
Sesame oil is the finishing touch that transforms fried rice from good to unforgettable. It has a distinct nutty, toasted aroma that’s unmistakable and beloved. Here’s the critical thing: sesame oil is meant as a finishing oil, not a cooking oil. The heat will burn it and destroy those beautiful nutty notes. Remove your pan from the heat before you stir it in. You’re only using half a teaspoon to a teaspoon maximum—it’s incredibly flavorful, and a little truly goes a long way.
Oyster sauce is optional, but it’s a serious flavor booster. It doesn’t taste like oysters, I promise. It’s a thick, dark sauce that adds savory depth and a slight sweetness. A teaspoon or two is all you need, and it’s worth seeking out in the Asian section of your grocery store or ordering online. If you don’t eat shellfish, you can absolutely skip it and the fried rice will still be delicious.
Vegetables bring color, texture, fresh flavor, and nutrients. The base combination of carrots, onions, and peas is classic for a reason—they cook at similar rates, they’re usually on hand, and they provide a good mix of sweetness (peas and carrots) and savory depth (onions). But this is where you can absolutely play around. Green beans, bell peppers, mushrooms, broccoli, snap peas, corn, zucchini—any vegetable that you’d want in a stir-fry works beautifully in fried rice.
Garlic is there to add savory complexity, and it’s best added after the initial vegetables have softened. If you add it at the same time as harder vegetables like carrots, it can overcook and turn bitter. Fresh minced garlic is ideal, but garlic powder works in a pinch.
Green onions are split into duty here. The white and light green parts go in earlier to cook with the other vegetables, and the dark green tops are a raw garnish that adds a fresh, onion-y bite at the end. This gives you both cooked and raw allium flavors, which creates more complexity.
Yield: Serves 4 to 6 | Makes about 6 cups
Prep Time: 10 minutes
Cook Time: 15 minutes
Total Time: 25 minutes
Difficulty: Beginner — No special equipment required, and the technique is straightforward even if you’ve never made fried rice before. The steps are sequential and forgiving.
Ingredients for Restaurant-Quality Fried Rice

For the Rice and Basics:
- 4 to 5 cups cooked jasmine or long-grain white rice, chilled overnight or for at least 15-20 minutes in the freezer
- 3 tablespoons butter (or neutral oil like vegetable or canola oil)
- 3 large eggs, lightly beaten
For the Vegetables:
- 1 medium carrot, peeled and cut into small dice (about ½-inch pieces)
- 1 small white onion, chopped into bite-sized pieces
- 1 cup frozen peas (no need to thaw)
- 4 green onions, white and light green parts separated from dark green tops, both sliced
- 3 cloves fresh garlic, minced
For the Seasoning:
- 3 to 4 tablespoons low-sodium soy sauce (or more to taste)
- 2 teaspoons oyster sauce (optional but highly recommended)
- ½ to 1 teaspoon toasted sesame oil
- ¼ teaspoon freshly ground black pepper
- Pinch of kosher salt (optional, depending on how much soy sauce you use)
The Technique That Changes Everything: Building Flavor in Stages
Making fried rice is a bit like building a song—you’re not throwing all the instruments in at once. You’re adding them in sequence, each one adding its own layer to the composition. This staged approach is what separates homemade from that one-dimensional takeout version.
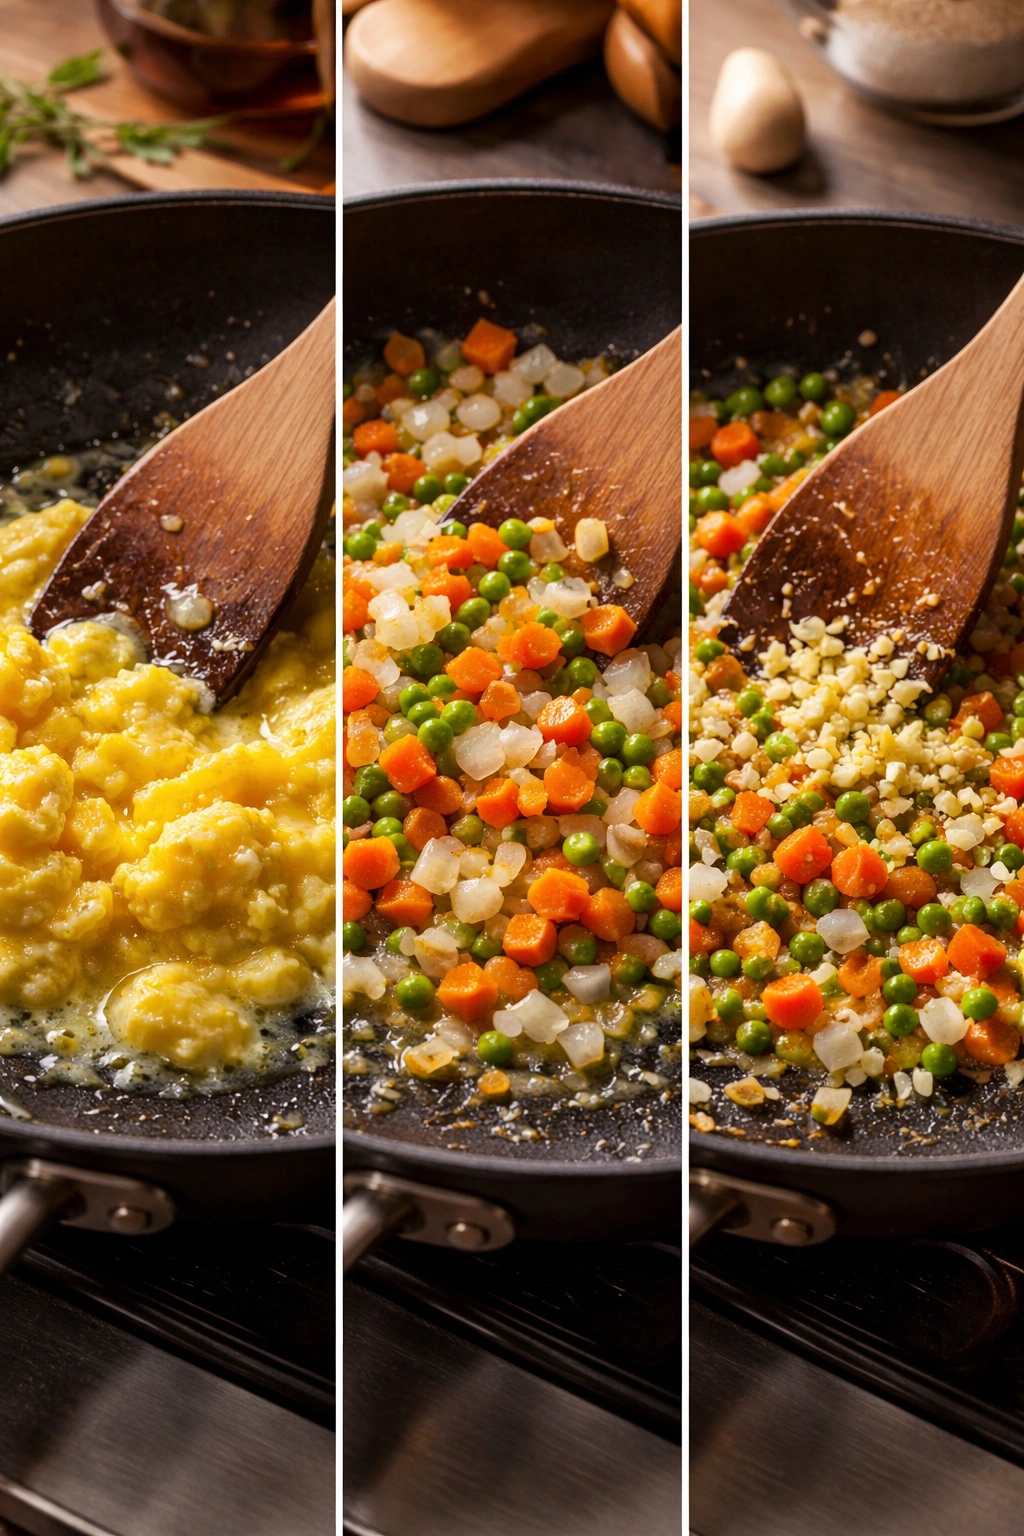
The first stage is cooking the eggs separately. You’re using just a small pat of butter here, getting them cooked through completely, and then setting them aside. This matters because eggs will continue to cook if they stay in the pan, and you want them to stay tender with distinct little pieces scattered throughout the dish rather than a single overcooked scrambled mass.
The second stage is getting your vegetables started. You’re sautéing the harder vegetables (carrots and onions) first because they need more time to soften. This is medium heat, giving the vegetables time to actually become tender and develop some color. You’re not trying to fry them yet—you’re just softening them. After a few minutes, when the onions are becoming translucent and the carrots are starting to yield to a fork, you add the garlic. This goes in near the end because garlic cooks fast, and burnt garlic tastes bitter.
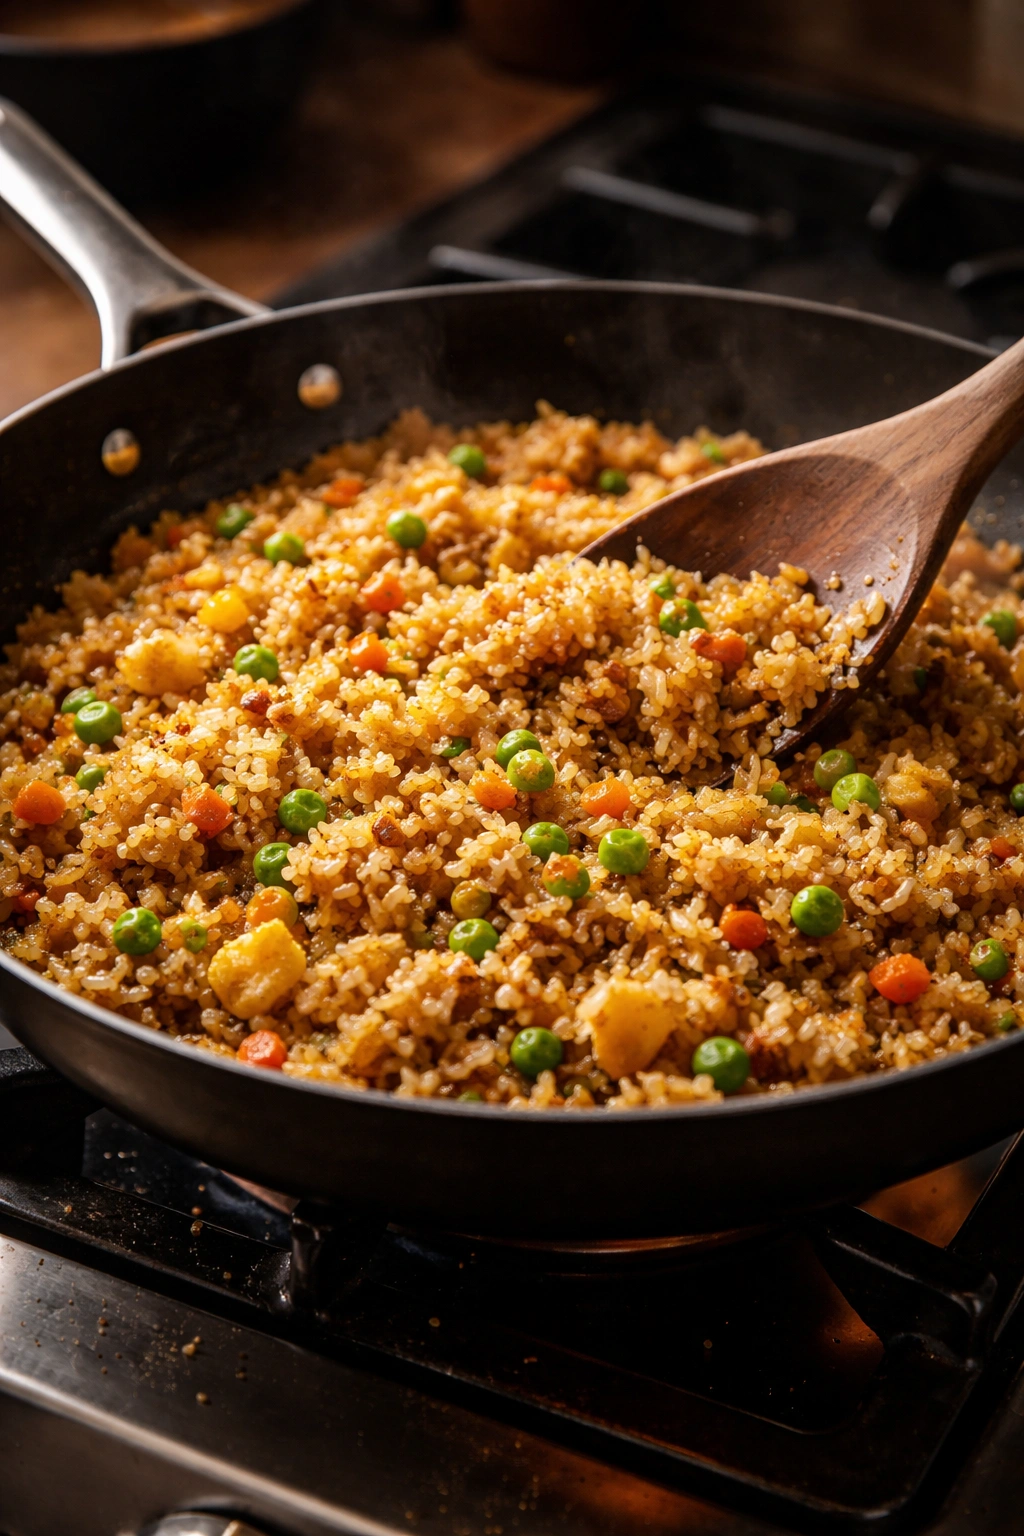
The third stage is where the magic happens: the high-heat frying of the rice itself. Here’s where you turn your burner up high. You’re going to push those softened vegetables to the side of the pan, melt the remaining butter in the now-empty space, and add your cold rice. This is the moment when things get loud—you’ll hear sizzle and pop. You let the rice sit undisturbed for just a minute or so to get that initial crust and browning, and then you start tossing and stirring. Every fifteen to twenty seconds, you give it a good stir, moving the rice around so different surfaces get exposed to the hot pan. After about three to four minutes, the rice will look slightly golden, the grains will be separating, and you’ll see some of those crispy brown bits developing. This is exactly what you want.
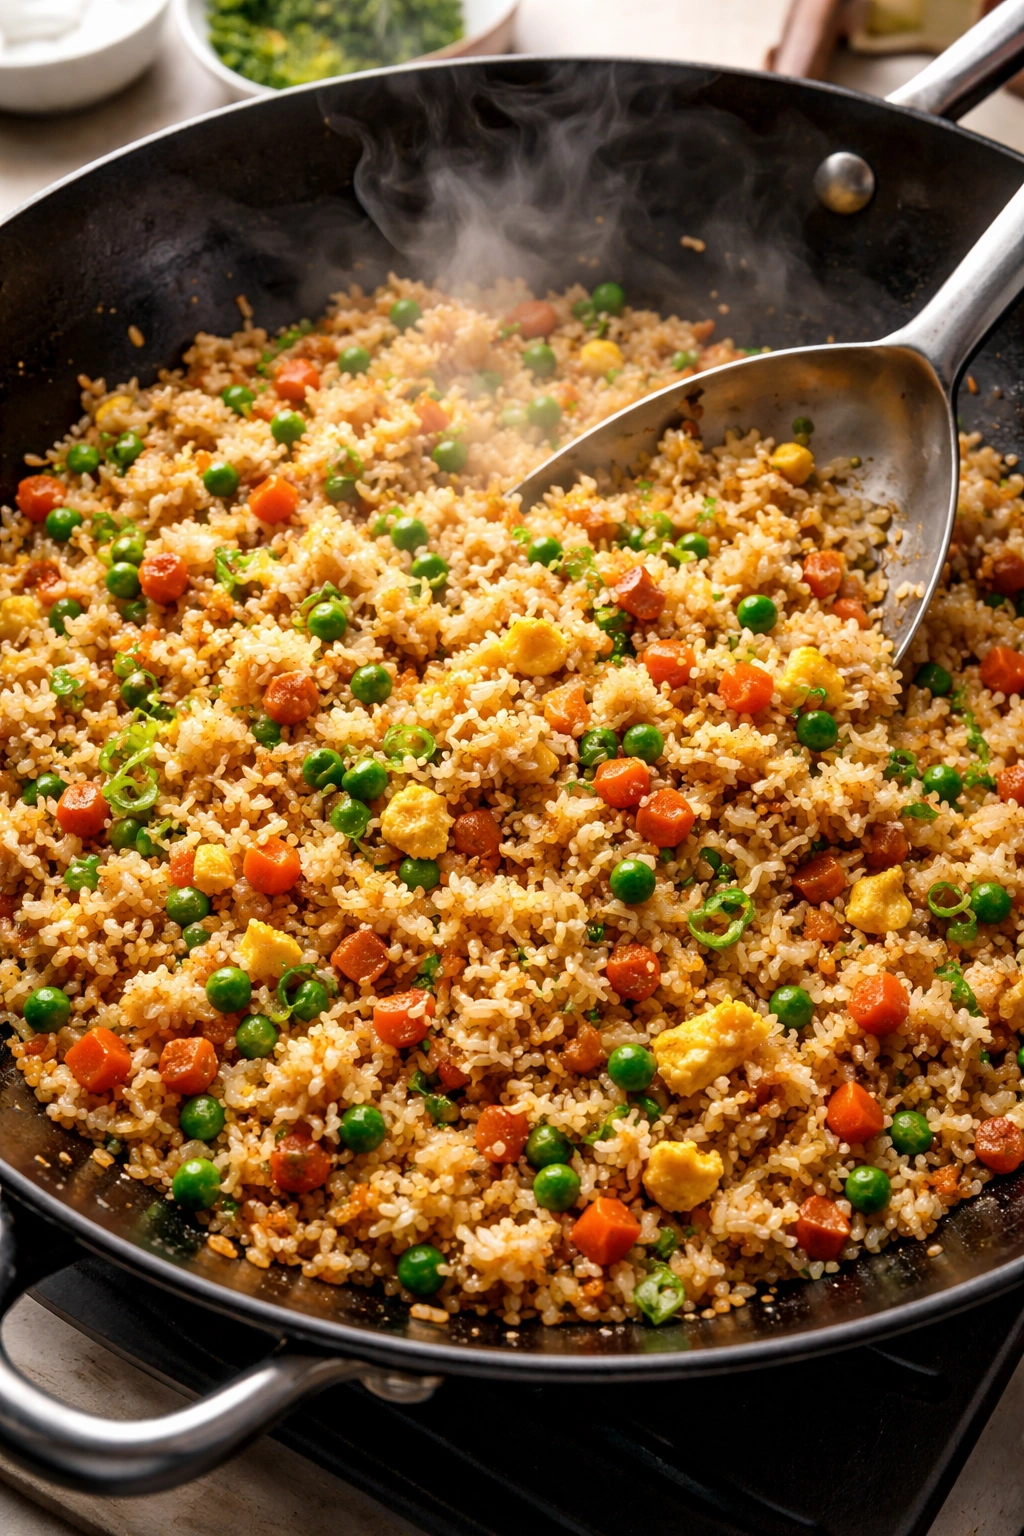
The final stage is finishing. You remove the pan from the heat (this is critical—you don’t want the sesame oil to burn), and you add back the eggs, the peas, your soy sauce, oyster sauce if you’re using it, and that precious sesame oil. Everything gets stirred together, and the residual heat finishes warming everything through. You taste, adjust your seasonings, and it’s done.
Step-by-Step Instructions for Perfect Fried Rice
Prepare Your Ingredients:
-
Have all your ingredients prepped and ready to go before you start cooking. Mince your garlic, cut your carrots into small pieces, chop your onion, slice your green onions (keeping the white and light green parts separate from the dark green tops), and beat your eggs in a small bowl. Fried rice comes together fast once the pan is hot, and you won’t have time to be chopping things mid-cook.
-
Make absolutely sure your rice is cold. If it’s still slightly warm or even room temperature, spread it on a baking sheet or plate and pop it in the freezer for another fifteen minutes. Cold rice is not negotiable—this is the single most important ingredient for success.
Cook the Eggs:
-
Set a large skillet (preferably nonstick, but any large skillet will work) over medium heat. Add one tablespoon of butter and let it melt, swirling the pan so it coats evenly.
-
Pour in your beaten eggs and let them cook undisturbed for about thirty seconds—this gives them a chance to set slightly. Then scramble them gently with a spatula, breaking them into small pieces as you go. You want bite-sized pieces of egg throughout the finished dish, not a single scrambled mass. Once they’re cooked through (which should take about one minute total), transfer them to a clean plate and set aside. Don’t worry if they’re still slightly soft—they’ll finish cooking when they go back in the pan at the end.
Sauté the Vegetables:
-
Add one more tablespoon of butter to the same pan (you’ll see the remaining two tablespoons go in later). Once it’s melted and the pan is hot, add your diced carrot and chopped onion. Sprinkle with a tiny pinch of salt—this helps draw out the vegetables’ moisture and helps them cook and brown faster.
Advertisements -
Cook for about four to five minutes over medium heat, stirring occasionally. You’re looking for the onion to become translucent and soft, and the carrots to start yielding when you press them with your spatula. They don’t need to be completely tender, but they shouldn’t be crunchy either. This is low enough heat that they’ll soften without browning too much.
-
Add your minced garlic and cook for one more minute, stirring constantly. You’ll smell it become fragrant—that’s your signal that it’s ready. Don’t let it cook longer than this or it’ll start to brown and taste bitter.
The High-Heat Frying:
-
Push all your vegetables to one side of the pan. Increase your heat to high—you’re going for nearly full heat, whatever that is on your stove. Add the remaining two tablespoons of butter to the empty side of the pan and let it melt quickly.
-
Add your cold rice all at once, along with the white and light green parts of your sliced green onions and the peas. Stir everything together to combine. It’s going to seem like a lot of rice, and that’s fine—you’re making six cups of fried rice.
-
Let the rice sit undisturbed for one to two minutes. This is when the magic happens—the bottom of the rice is making contact with the hot pan and starting to develop color and a slight crust. You’ll hear it sizzle. Don’t stir yet; just listen.
-
Now start stirring. Give the rice a good toss and stir every fifteen to twenty seconds for the next three to four minutes. You’re breaking up any clumps, moving different surfaces of the rice into contact with the hot pan, and distributing the heat evenly. The rice should start to look golden-brown, the grains should be separating from each other, and you should see bits of brown and slight crispness developing. This is what you want—don’t stop until you see this happening.
Finishing:
-
Remove the pan from the heat immediately. Pour in your soy sauce, oyster sauce if you’re using it, and drizzle in your sesame oil. Add back the scrambled eggs from earlier and give everything a really good stir, making sure the soy sauce coats all the rice grains evenly and the eggs get distributed throughout.
-
Sprinkle with the dark green tops of your green onions (the raw part), add a crack of fresh black pepper, and taste. This is your moment to adjust—need more soy sauce? Drizzle some in. Want more sesame oil? A few more drops. Trust your taste buds.
Advertisements -
Serve immediately while it’s hot, making sure everyone gets a good mixture of the crispy bits, vegetables, and eggs.
The Secrets That Really Make a Difference
Understanding the mechanics is one thing, but here are the tricks that’ll take your fried rice from good to incredible.
Let the rice actually brown. This is the biggest difference between home fried rice and takeout. Most home cooks are afraid of browning, thinking it means burning. There’s a huge difference. Browning is what happens when the starches in the rice caramelize and turn golden—it adds nutty, savory flavor. Burning is what happens if you let it sit in the pan without stirring and ignore the smell. Brown is good; burnt smells acrid and tastes bitter. You know you’ve got browning when you see golden-brown bits and the rice smells toasted and savory. This usually takes three to four minutes of high-heat cooking with frequent stirring.
Use a nonstick skillet if you have one. This isn’t mandatory, but it makes the job so much easier. With nonstick, the rice won’t stick to the bottom of the pan, and you can use slightly less fat. If you don’t have nonstick, a regular skillet works—just keep your heat at a slightly more reasonable level so the rice doesn’t stick, and stir a bit more frequently. Cast iron is actually beautiful for this too, as long as it’s well-seasoned.
Don’t skip the oyster sauce. I know it sounds weird if you’ve never used it, but it’s a secret weapon. A teaspoon or two isn’t going to make your fried rice taste like seafood. It’s going to add a savory umami depth that’ll make people ask what your secret ingredient is. Find it in the Asian section of your grocery store, and don’t assume you don’t like it without trying it.
Taste and adjust your seasonings. Different brands of soy sauce vary wildly in saltiness, and different people have different salt preferences. Always taste before serving and be willing to adjust. I almost always add a little extra soy sauce to my own portion at the table because I love the flavor. There’s no such thing as a perfect saltiness that’ll work for everyone—make it work for you.
Use room-temperature or slightly warm rice for the vegetable stage, cold rice for the frying stage. I know that sounds contradictory, but here’s why: if you add your vegetables to cold rice, they won’t distribute evenly and you won’t get good heat penetration. Add the rice cold when it’s going to be fried. But prep and sauté your vegetables while the rice is coming to temperature. It’s a small thing, but it helps.
Common Mistakes and How to Fix Them
Mushy, gluey rice. This is almost always because you used rice that wasn’t cold enough. There’s no fix once the rice is cooked—that moisture has turned to steam and softened the grains. For next time, make sure your rice has been in the fridge overnight or at least the freezer for twenty minutes. If you only have fresh rice, spread it on a sheet pan and let it cool to room temperature first, then refrigerate or freeze it before using.
Rice that doesn’t brown at all. Your heat isn’t high enough. Fried rice genuinely needs high heat—you should be at nearly maximum heat on your stovetop. If your stove runs cool, keep the heat on high and just stir more frequently to prevent burning. You’ll know you’ve got the right heat when you can hear the rice sizzle and pop in the pan.
Clumpy rice that didn’t separate. This usually means you didn’t stir frequently enough, or your rice was too wet to begin with. For next time, stir every fifteen to twenty seconds during the frying stage, and make sure your rice has had proper time to dry out in the refrigerator or freezer.
One-dimensional flavor. You’re probably not using enough soy sauce, or you’re not using oyster sauce or sesame oil. These ingredients are what make fried rice taste like fried rice and not just reheated rice with eggs. Taste as you go and adjust.
Eggs that are rubbery or overcooked. You cooked them too long at the beginning, or you added them back to the hot pan and left them in there instead of immediately removing from heat. Cook eggs just until set (about one minute), set them aside, and add them back right before removing the pan from the heat.
Variations and Customizations
The beauty of fried rice is that it’s endlessly flexible. You can customize it a hundred different ways depending on what you have on hand or what you’re craving.
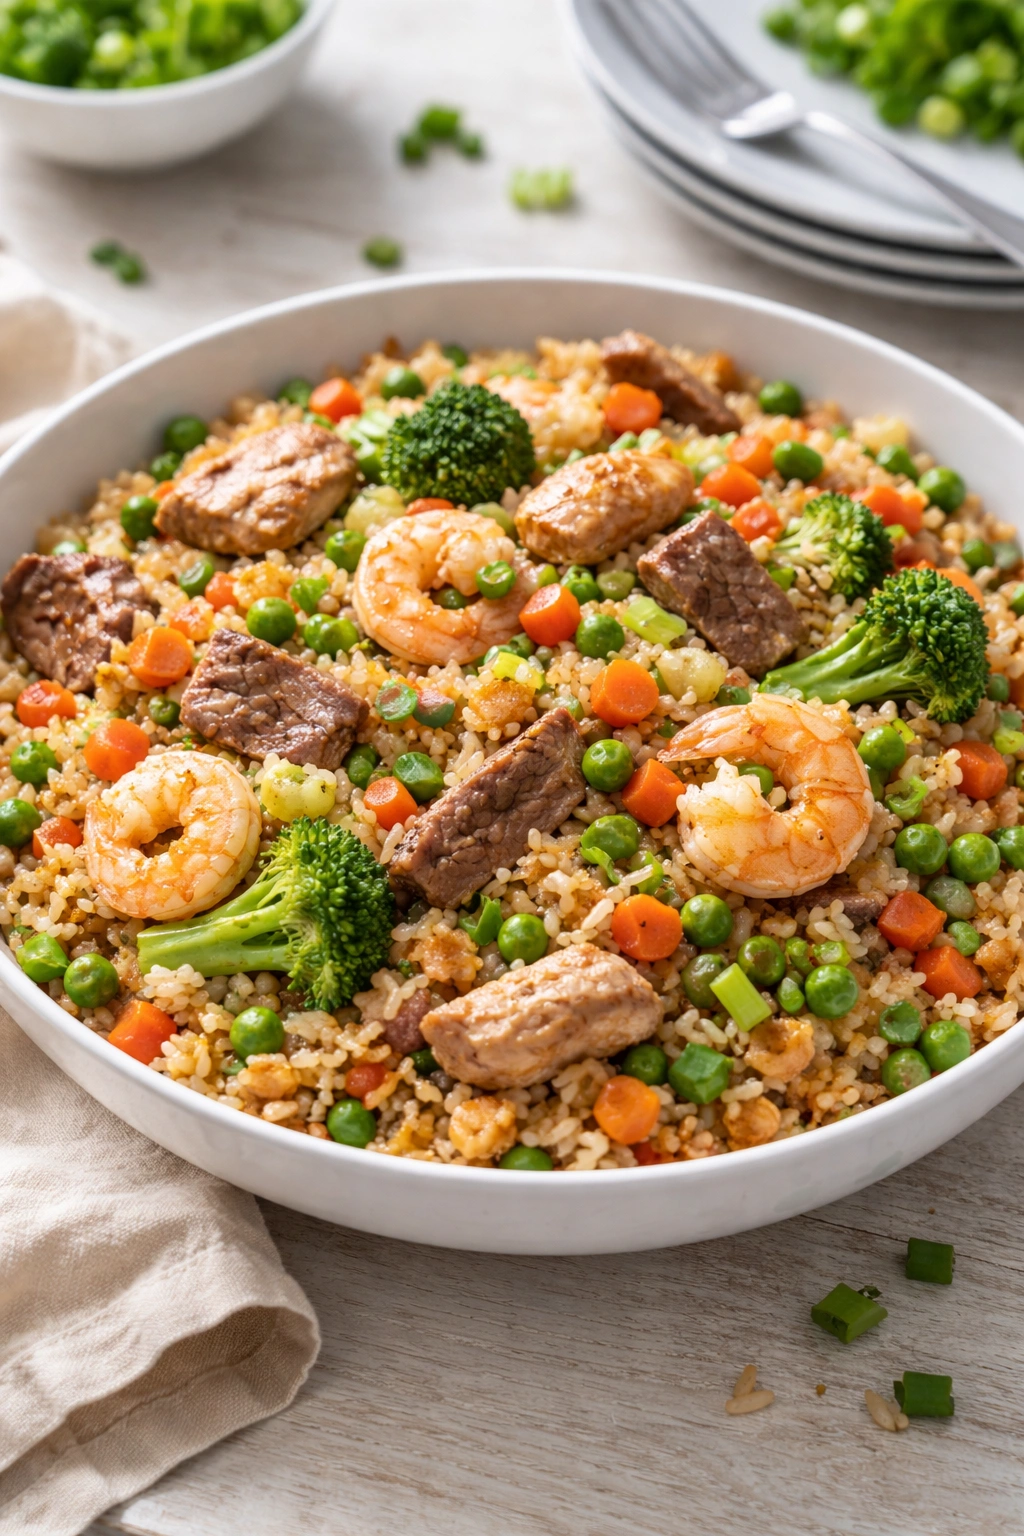
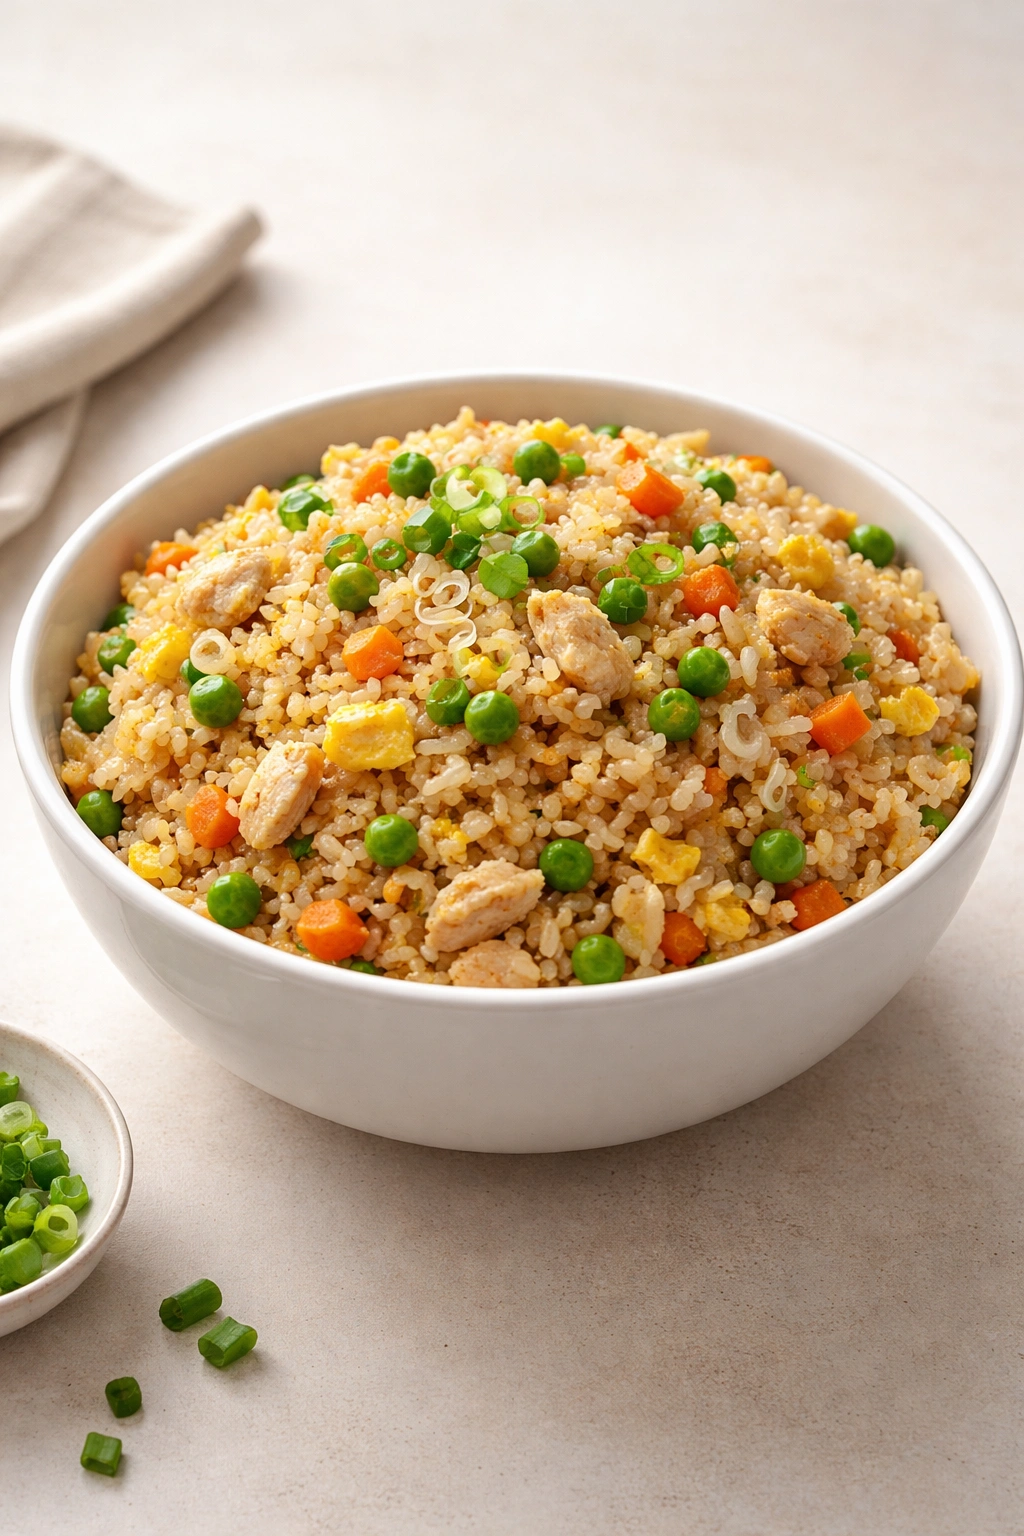
Chicken Fried Rice: Dice chicken breasts into bite-sized pieces and cook them in the butter before you start the vegetables. Cook them over medium-high heat until they’re no longer pink inside (about five minutes), then set them aside. Add them back with the rice in the final stage. You can also use rotisserie chicken if you want to shave time off the prep—just tear it into pieces.
Shrimp Fried Rice: Use the same technique as chicken fried rice, but use peeled raw shrimp instead. Cook them in the butter until they turn pink (about three to four minutes), then set aside. Shrimp cooks fast, so don’t walk away from the pan.
Beef Fried Rice: Cut steak or ground beef into small pieces and cook it in the butter until browned. Ground beef is actually easier here because you just break it up as it cooks. Set it aside and add it back with the rice.
Vegetable-Only Fried Rice: Skip the meat entirely and just add more vegetables. Bell peppers, broccoli, snap peas, mushrooms, baby corn, water chestnuts—whatever you like. Just account for different cooking times (softer vegetables like snap peas can go in near the end, while broccoli should go in with the carrots and onions).
Kimchi Fried Rice: Add chopped kimchi when you add back the eggs. The tangy, spicy kick is incredible. You can add a teaspoon of gochujang (Korean red chili paste) if you want even more depth. Use slightly less soy sauce since kimchi already brings salt and flavor.
Thai-Inspired Fried Rice: Skip the oyster sauce and sesame oil, and instead add a splash of fish sauce, a squeeze of lime, fresh basil (add it at the end), and a pinch of red pepper flakes or fresh chopped chili. This gives you an entirely different flavor profile.
Hawaiian Fried Rice: Omit the regular vegetables. Use diced fresh pineapple (or canned, drained), diced ham, and red bell pepper. The sweetness of the pineapple against the savory soy sauce is addictive.
Egg Fried Rice: Make this with no protein except the eggs, and load it up with vegetables. It’s lighter, faster, and still completely satisfying.
Storing, Reheating, and Make-Ahead Strategies
Fried rice is one of those wonderful dishes that actually tastes good as a leftover, often even better the next day because the flavors have had time to meld together.
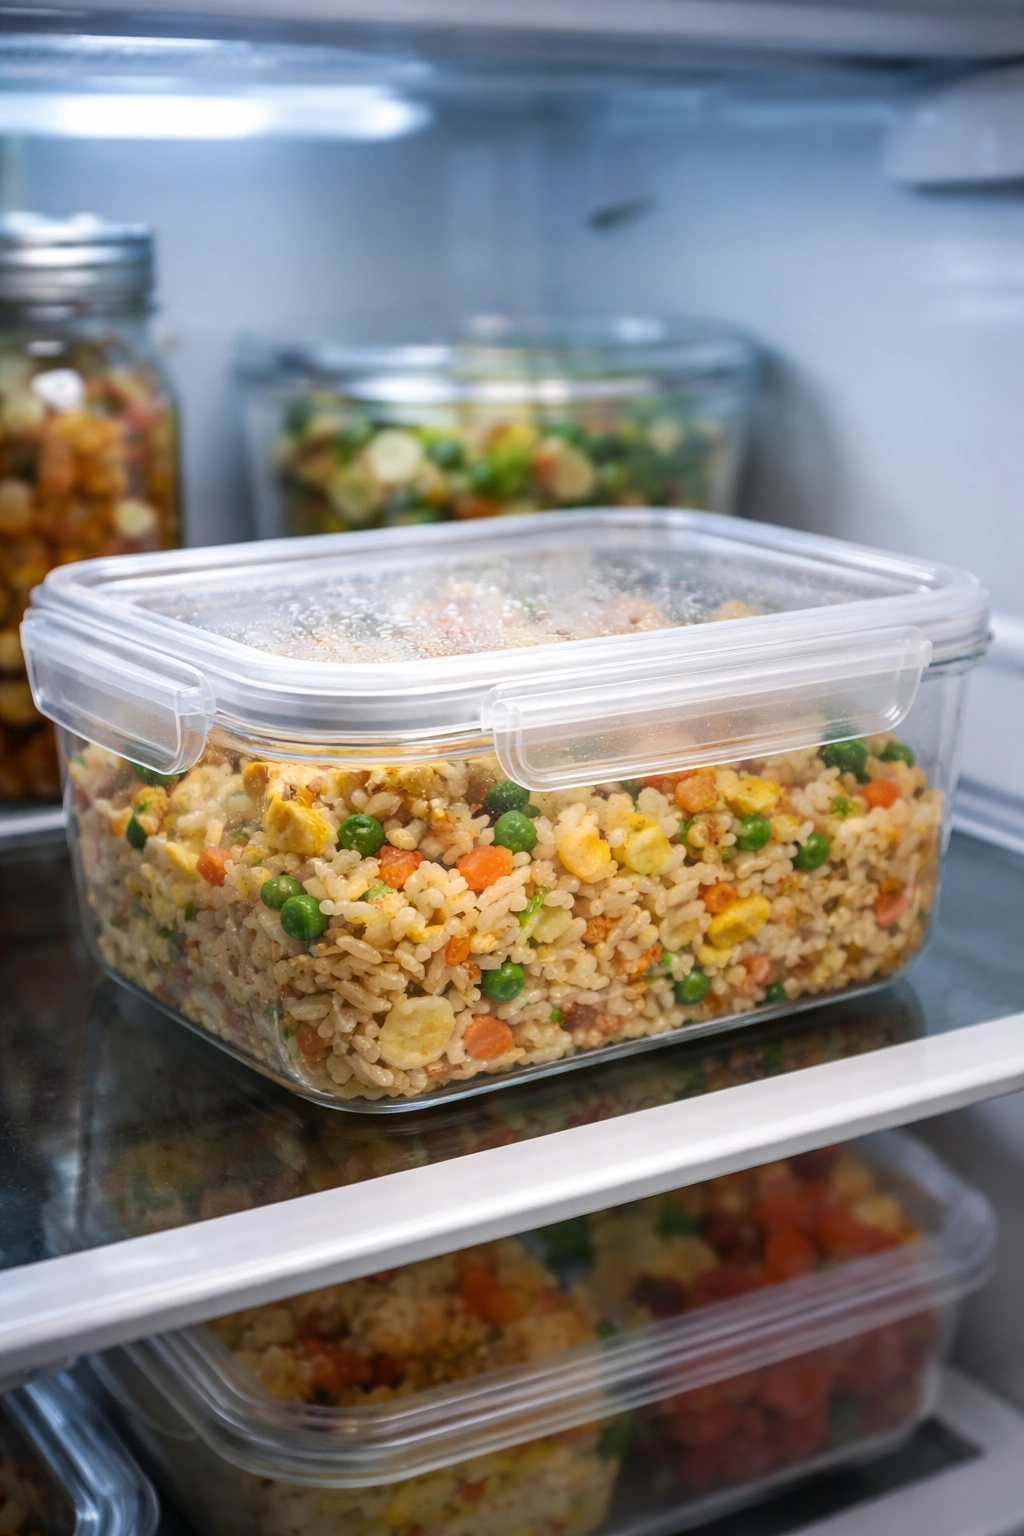
Storage: Put any leftovers in an airtight container in the refrigerator where it’ll keep for five to seven days easily. It won’t dry out or get weird—fried rice stays surprisingly fresh. Some people claim it tastes better the next day, and I don’t disagree.
Freezing: Yes, you can freeze fried rice. Portion it into airtight containers or freezer bags, remove as much air as possible, label with the date, and freeze for up to three months. It defrosts beautifully.
Reheating: The microwave is your friend here. Transfer your cold fried rice to a microwave-safe bowl, add a tablespoon of water or a splash of soy sauce (this prevents it from drying out), cover loosely, and microwave in thirty-second intervals until it’s heated through. You can also reheat it in a skillet over medium heat—just add a teaspoon of oil and stir occasionally for about five minutes until everything is warm.
Make-Ahead considerations: You can prep all your vegetables hours in advance and store them in containers in the fridge. You can cook your rice a day or two ahead. The only thing you can’t really do ahead is the actual frying—that needs to happen right before serving so you get the crispiness and the fresh, hot texture. But honestly, the whole thing comes together in fifteen minutes anyway.
Perfect Pairings and Serving Suggestions
Fried rice is versatile enough to be a complete meal on its own, but it’s also a perfect side dish for other Asian-inspired preparations.
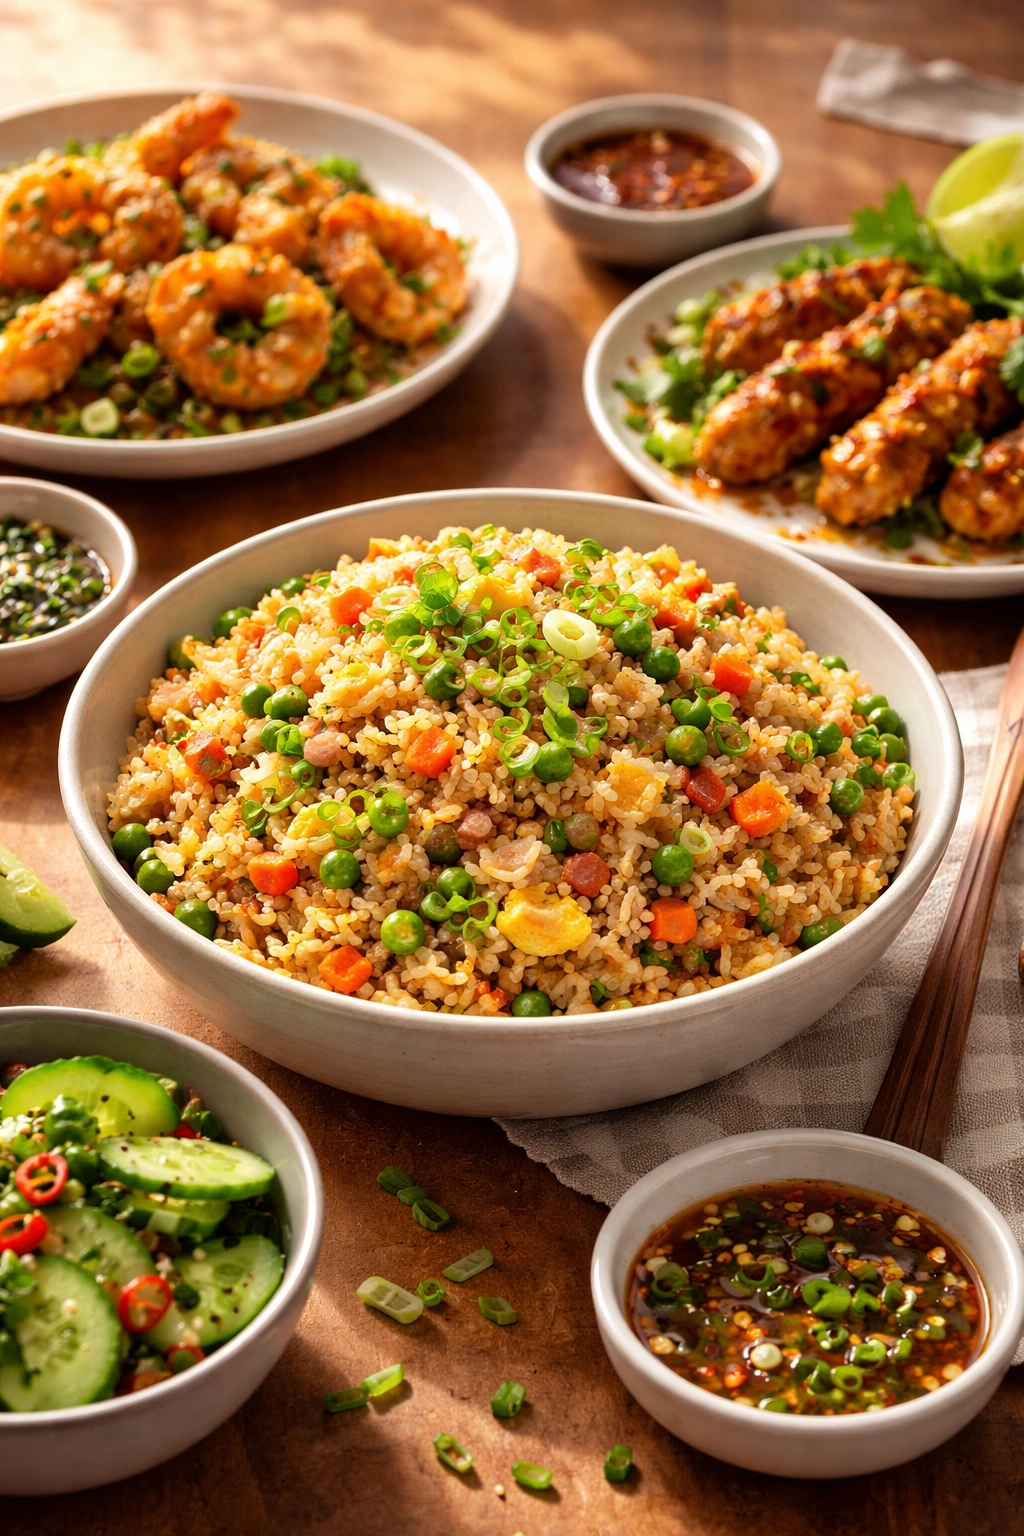
Serve it alongside: Egg drop soup for a classic Chinese restaurant experience, egg rolls or spring rolls for added crunch and freshness, a simple green salad with a light vinaigrette to balance the richness, or steamed vegetables if you want to add more green to the plate.
Pair it with: Any Asian-inspired protein like teriyaki chicken, sesame-crusted fish, General Tso’s chicken, or orange chicken. The fried rice plays beautifully as a side because it’s got enough flavor to stand on its own but isn’t so heavy that it overwhelms the main dish.
Serve it as: A complete weeknight dinner for your family with nothing else. It’s got protein from the eggs (and chicken, shrimp, or beef if you add them), carbs from the rice, and vegetables for nutrients and fiber. It’s balanced and satisfying.
Pro presentation tip: Serve it in individual bowls rather than a big family-style platter. Top each bowl with a sprinkle of sliced green onions and sesame seeds if you have them. It looks more intentional and restaurant-quality that way.
Final Thoughts
You’re now armed with everything you need to make fried rice that’ll make you wonder why you ever spent money on takeout. The key is understanding that cold rice matters, high heat matters, and building flavor in stages matters. Everything else is just variations on this foundation.
Start with this basic recipe until you’ve made it a few times and your hands know the motions. Once you’re comfortable, start playing around with proteins and vegetables. The technique stays the same; you’re just swapping out variables. Pretty soon, you’ll have a dinner that’s ready in twenty minutes, costs a fraction of what takeout costs, and tastes better than anything that arrives in a white container.
The best part? You’ll make this once, and then your family will be asking for it constantly. That’s how you know you’ve nailed it.