Making your own bread at home sounds like something reserved for people with special baking skills, fancy equipment, and way too much free time. The truth? It’s not. The basic process is so straightforward that people have been baking bread for thousands of years without mixers, thermometers, or even consistent oven temperatures — and their bread turned out great. What makes homemade bread intimidating isn’t the actual baking; it’s the mythology around it. You’ll hear terms like “gluten development” and “proper fermentation” and “scoring technique,” and suddenly a simple process sounds like advanced chemistry.
The reality is that beginner-friendly bread doesn’t require any of that complexity. In fact, some of the best-tasting bread comes from the simplest recipes — the ones where you mix a few basic ingredients, give them time to develop on their own, and then bake. No special techniques. No elaborate equipment. Just flour, water, salt, yeast, and patience.
If you’ve ever wanted to make your own bread but felt held back by doubt or didn’t know where to start, this is your guide. I’m going to walk you through exactly what you need, why each step matters, and how to avoid the handful of mistakes that trip up most beginners. By the end, you’ll have a loaf of homemade bread that tastes infinitely better than anything you can buy at a grocery store — and you’ll understand why bakers actually love this process.
Why Making Bread at Home Seems Intimidating But Isn’t
The bread-making mythology has created an entire generation of people convinced they’ll fail before they even try. Part of this comes from professional bakeries with their temperature-controlled rooms, commercial ovens, and bakers who’ve spent decades perfecting their craft. Part of it comes from bread books that get unnecessarily technical. But here’s what those sources don’t always emphasize: basic bread is genuinely forgiving.
Yeast is a living organism that’s literally designed to do the heavy lifting for you. Your job isn’t to coax it into perfection; it’s just to give it the basic conditions it needs — flour, water, salt, and time. The fermentation process does most of the actual work. Unlike baking a pastry or cake where precision matters at every single step, bread rewards patience far more than it rewards precision.
Most beginner failures don’t happen because the baker lacked skill; they happen because someone tried to rush the process or skipped the simple instructions. Give yourself the right ingredients, a clean bowl, and time for the dough to develop, and you’re already 80 percent of the way to excellent bread.
The confidence shift happens when you stop thinking of bread as something to “achieve” and start thinking of it as something to simply allow to happen. Your role is smaller than you think. You mix, you wait, you shape, you wait again, you bake. That’s genuinely it.
Understanding Flour, Water, Salt, and Yeast: The Foundation
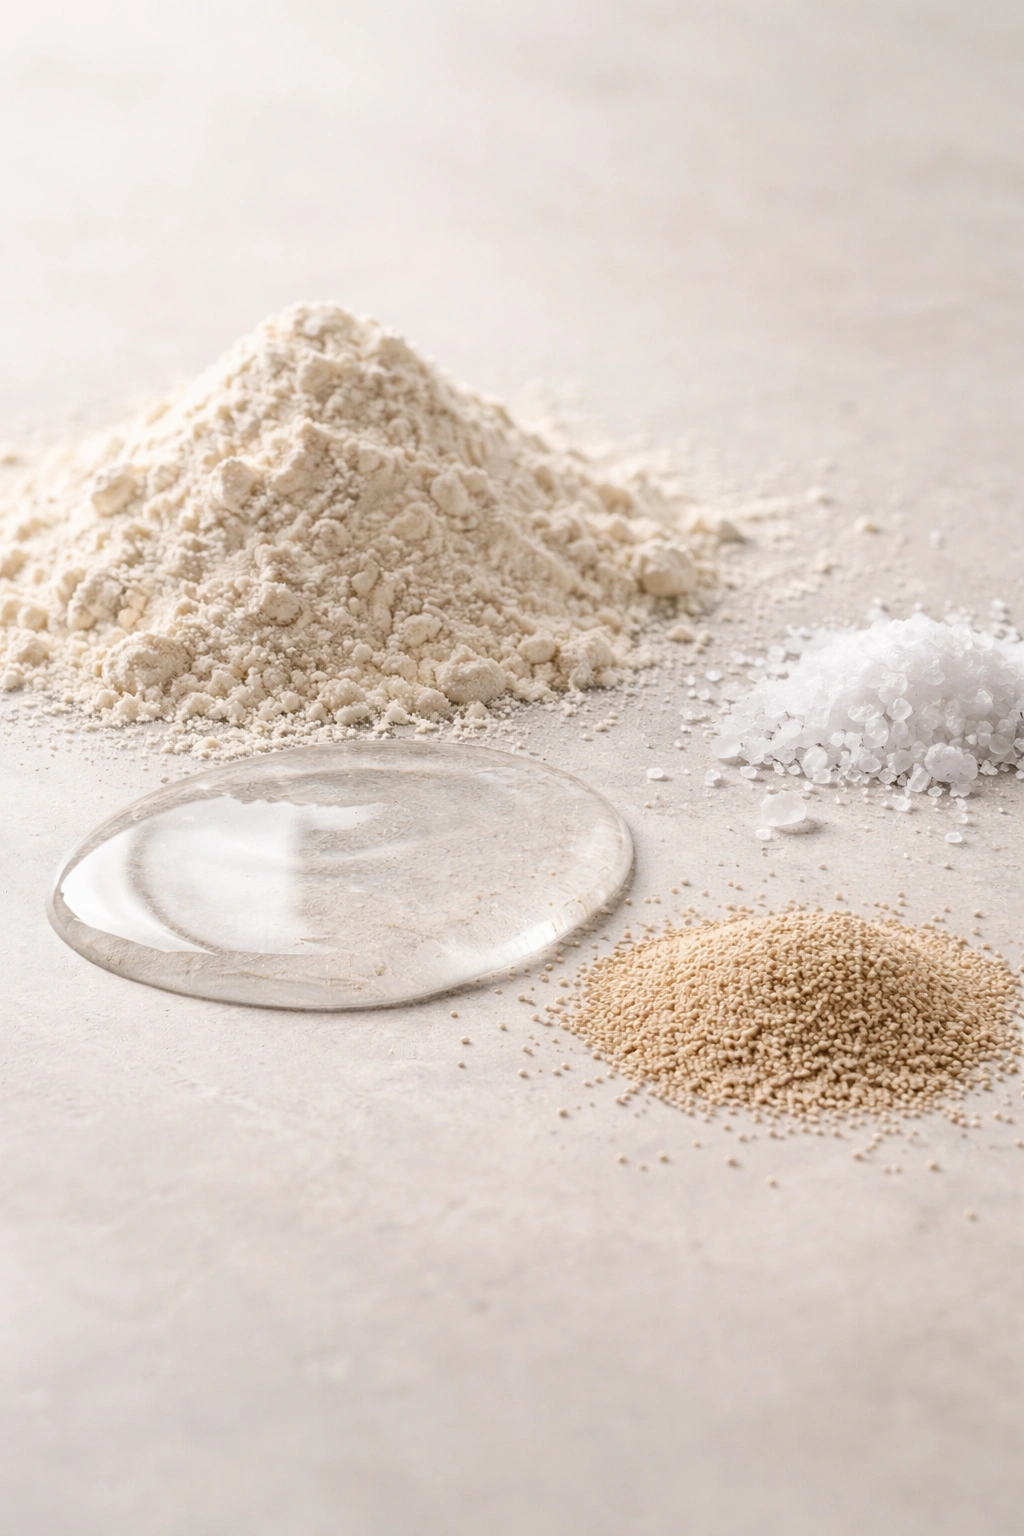
Good homemade bread contains exactly four ingredients. Nothing else. No sugar, no milk, no eggs, no butter. Just these four, and understanding what each one does removes most of the mystery around the process.
Flour provides the structure. It contains proteins called glutenin and gliadin that, when hydrated and manipulated, form networks strong enough to trap gas bubbles created by yeast. You don’t need fancy bread flour for beginner loaves — all-purpose flour works beautifully. It has enough protein to develop structure without being so high-protein that it becomes difficult to work with. Bread flour (11-13% protein) is actually unnecessary for someone starting out; all-purpose (10-12% protein) is the better choice because it’s more forgiving.
Water activates the flour proteins and provides the environment where yeast can live and work. The ratio of water to flour matters more than most guides suggest — more water creates a wetter dough, which becomes an open, holey crumb structure; less water creates a tighter, finer crumb. For beginners, a 60-65% hydration ratio (meaning 60-65 grams of water per 100 grams of flour) creates a dough that’s workable but still develops excellent flavor and structure.
Salt is often overlooked, but it does crucial work. It strengthens gluten strands, controls fermentation speed, and most importantly, brings out the subtle flavors that develop in the dough over time. Without salt, bread tastes flat and one-dimensional. With it, you get complexity. Salt also prevents the dough from fermenting too quickly, which matters because rapid fermentation doesn’t develop flavor properly.
Yeast is the engine. It consumes sugars in the flour and produces carbon dioxide gas (which makes the bread rise) and alcohol and acids (which create flavor). The specific yeast doesn’t matter much for beginners — instant yeast, active dry yeast, or fresh cake yeast all work. They’re just different forms of the same organism. Instant yeast is the easiest to work with because it dissolves quickly and behaves predictably.
Essential Equipment You Actually Need
Here’s where bread-making gets genuinely simple: you need less equipment than you’d think, and what you do need probably already exists in your kitchen.
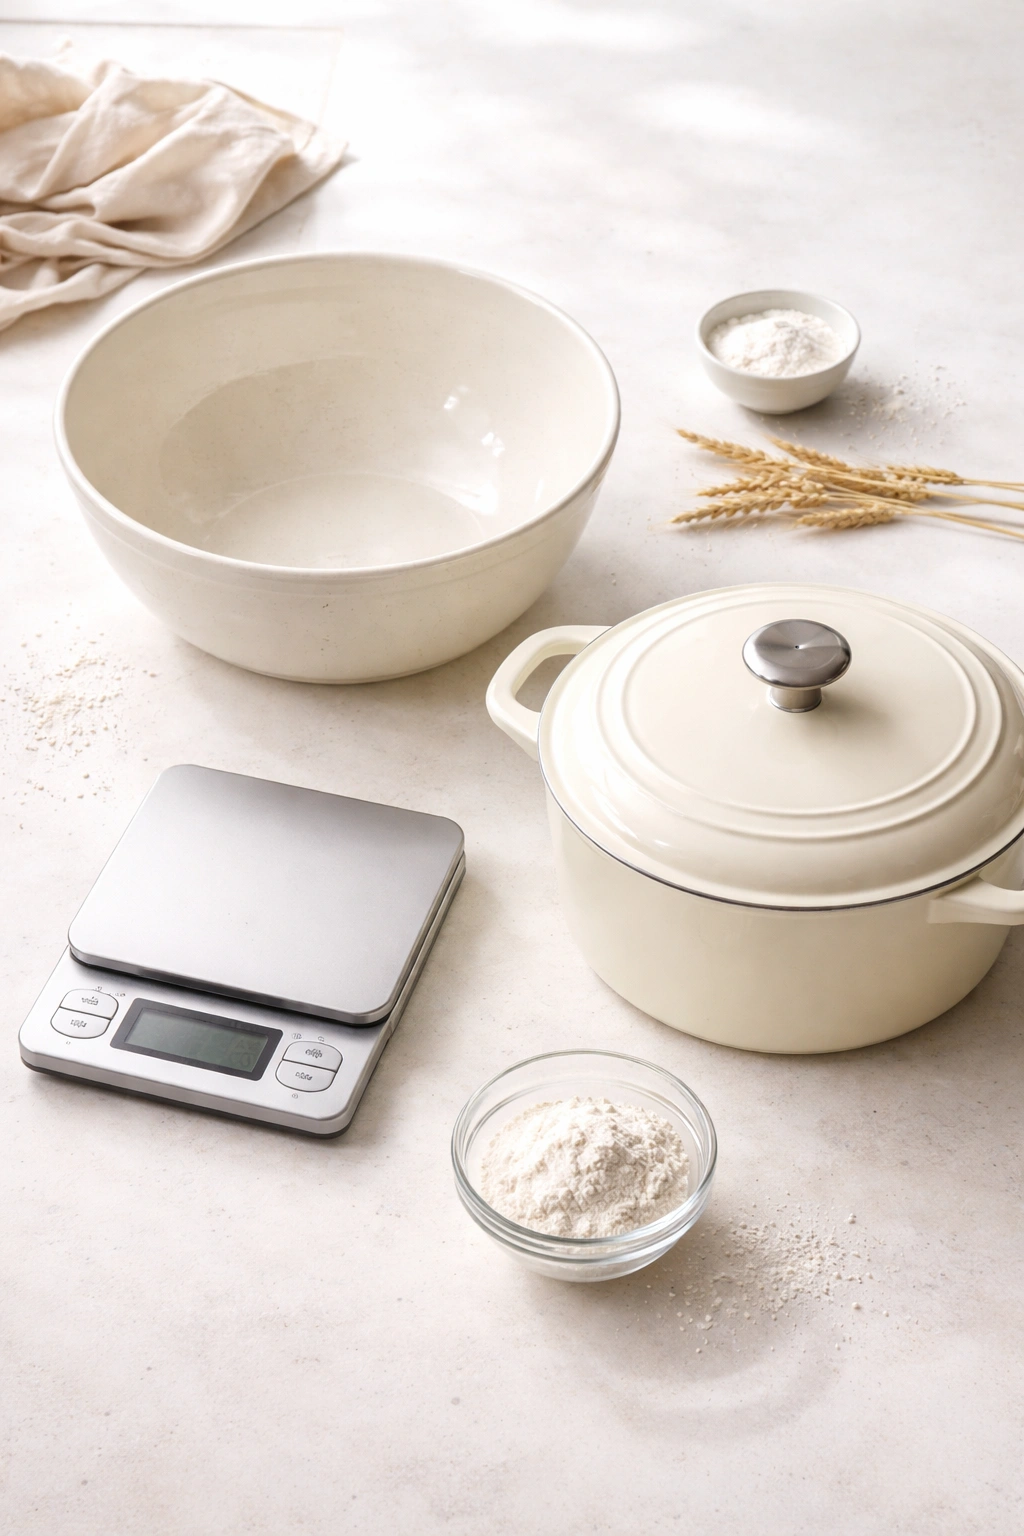
A bowl. That’s the most important thing. Any reasonably large mixing bowl works. It doesn’t need to be special. You’re just mixing ingredients and letting dough ferment in it. Glass, ceramic, plastic — genuinely doesn’t matter.
A kitchen scale. This is the one tool I’d argue is worth buying specifically for bread-making. A scale removes guesswork. “Two cups of flour” varies dramatically depending on how you scoop and pack it; 280 grams of flour is always exactly 280 grams. A basic digital scale costs fifteen dollars and makes every single bake more consistent. This matters more than any other equipment because the precision it provides automatically prevents beginner mistakes.
A Dutch oven or covered baking vessel. This isn’t actually necessary, but it makes a massive difference in results. A Dutch oven traps steam around the baking bread, which creates a beautiful crispy crust. You can bake bread on a regular baking sheet, and it’ll still taste great — the crust just won’t be as crispy and spectacular. If you don’t have a Dutch oven, a covered roasting pan works, or even a baking sheet covered with aluminum foil.
A bench scraper or dough scraper. This is a flat, blunt-edged tool that costs about five dollars. It makes handling sticky dough dramatically easier because the blade is wide enough to scoop under dough without poking through it. You can use a rubber spatula or even the edge of a sturdy credit card, but a real bench scraper is genuinely worth it.
That’s it. You don’t need a stand mixer, a bread machine, a proofing box, a bread stone, banneton baskets, or linen liners. You don’t need a fancy thermometer (though a simple instant-read thermometer does help). You definitely don’t need expensive specialty flours. Start with these four items and add anything else only if you find you want it.
Choosing Your Starter Recipe: A Simple No-Knead Approach
The easiest beginner bread method is no-knead bread, which became popular over the past couple of decades because it solves one of the biggest barriers beginners face: the kneading. Traditional bread-making requires ten to fifteen minutes of active kneading, either by hand or in a machine. It’s physical, it’s somewhat boring, and it feels vaguely intimidating if you’ve never done it before.
No-knead bread skips this entirely. Instead of kneading to develop gluten, the dough develops through a long, slow fermentation over twelve to eighteen hours. The yeast and bacteria work on the dough overnight, creating the same gluten structure that hand-kneading would, plus developing deeper, more complex flavor. You’re trading time for physical effort — a fair deal if you have a counter space and a few hours to spare.
This method is genuinely forgiving because the extended fermentation is actually hard to mess up. Underfermenting it is nearly impossible; overfermenting it takes quite a bit longer than you’d expect. There’s a wide window of time where the dough is ready to shape and bake. That margin for error is invaluable when you’re learning.
The other major advantage of no-knead bread is that the finished loaf tastes noticeably better than bread made with standard quick-rise methods. The long fermentation develops acids and other flavor compounds that create depth and complexity. People taste your first no-knead loaf and assume you’ve been baking for years because the flavor is so much better than what they expect from a beginner.
Rustic No-Knead Bread for Beginners

Yield: Makes one 9-inch boule (round loaf) | Serves 8 to 10
Prep Time: 15 minutes (hands-on active mixing only)
Fermentation Time: 12 to 18 hours at room temperature
Bake Time: 45 minutes (covered) + 20 to 25 minutes (uncovered)
Total Time: 12 to 18 hours fermentation + about 1 hour 15 minutes active baking
Difficulty: Beginner — no kneading required, forgiving fermentation window, minimal technique needed
For the Dough:
- 500 grams all-purpose flour (about 3⅔ cups by volume)
- 350 grams cool filtered water or tap water (about 1½ cups)
- 10 grams fine sea salt (approximately 2 teaspoons)
- ½ teaspoon instant yeast (about 1/8 of a teaspoon — yes, this small amount is correct)
For Baking:
- 1 to 2 tablespoons all-purpose flour or cornmeal, for dusting (optional but helpful)
- Dutch oven or heavy covered baking vessel
Prepare the Dough:
-
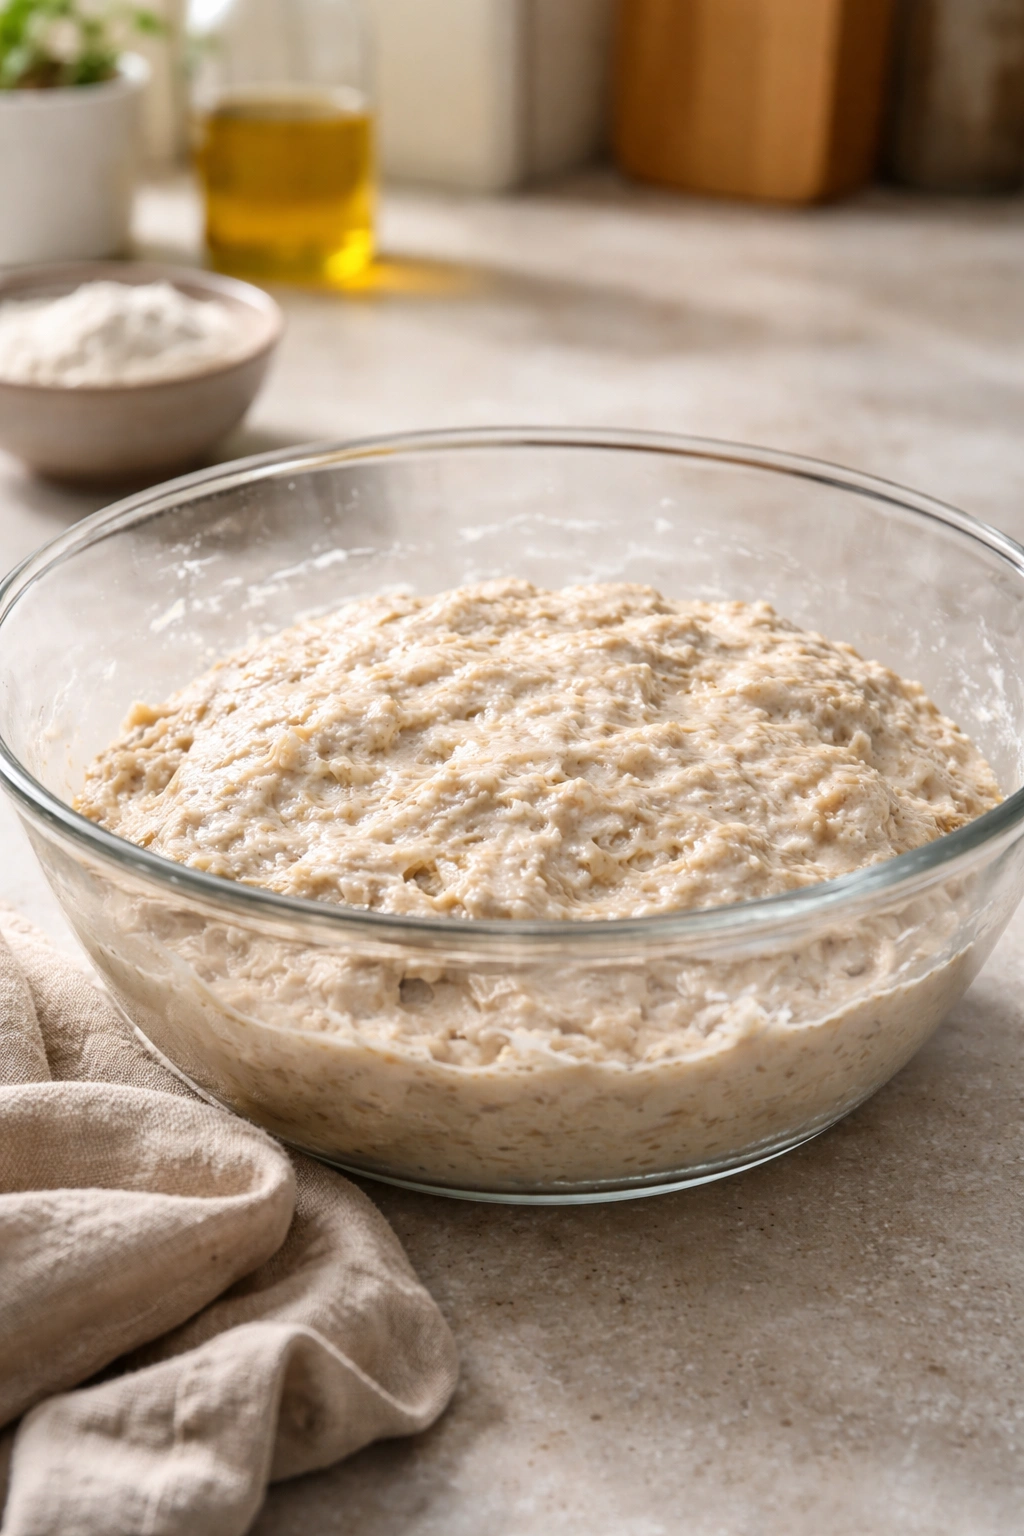
In a large mixing bowl, combine the flour, water, salt, and yeast. Stir with a wooden spoon or your hand until all the flour is hydrated and there are no dry pockets remaining. The dough should look shaggy and rough — don’t worry if it feels wetter or stickier than you expected. This is exactly right.
-
The dough at this stage should feel like a thick, cohesive mass but not smooth or kneaded. Scrape down the sides of the bowl so all the dough is gathered together in one lump. Do not add extra flour or try to make the dough feel “normal.” This higher hydration is what creates the open, holey crumb structure that makes no-knead bread special.
-
Cover the bowl loosely with plastic wrap, a damp kitchen towel, or a loose fitting lid — you want to allow some airflow but prevent the surface from drying out. Leave the dough on your counter at normal room temperature (between 65°F and 75°F is ideal, but anything between 60°F and 80°F works).
Allow the Dough to Ferment Overnight:
-
Leave the dough untouched for the next 12 to 18 hours. You’re not checking it constantly or folding it or rotating it — just let it sit. During this time, the dough will gradually expand, becoming noticeably larger and bubblier. By hour 12, it should be roughly doubled in size and visibly full of gas bubbles when you look at it from above.
-
You’ll know it’s ready when you can see a network of large bubbles just below the surface, the dough has risen substantially, and the surface may have some small cracks or collapsed areas (this is totally normal and doesn’t mean anything went wrong). The dough should be soft and billowy, and when you gently poke it, it should spring back slowly rather than immediately snap back.
Prepare for Baking:
- About 30 minutes before you plan to bake, place your Dutch oven (including the lid) in your oven and preheat to 450°F (230°C). This preheating time is important because you want the Dutch oven itself to be screaming hot when the dough goes in — the heat from the pot is what creates that beautiful crust.
Shape and Score the Dough:
-
Turn the dough out onto a lightly floured work surface. It will be soft, slightly sticky, and full of bubbles — this is correct. Don’t overhandle it or press it down extensively; you want to preserve as many of those gas bubbles as possible.
Advertisements -
With floured hands, gently pull the edges of the dough toward the center, rotating as you go, creating a round, taut ball. You’re not aggressively kneading it; you’re just shaping it into a rough sphere by gently tensioning the surface. This takes less than a minute. The finished ball should feel firm on the outside while still being soft underneath.
-
If using a Dutch oven, carefully transfer the shaped dough to a piece of parchment paper (this makes it easier to move into the hot pot). If not using a Dutch oven, place the dough on a preheated baking sheet that’s been dusted with cornmeal or flour.
-
Using a sharp knife or bread lame, make one confident slash across the top of the dough, cutting about ¼ inch deep at roughly a 30-degree angle. This “scoring” does two things: it guides where the bread expands during baking (creating an attractive ear), and it releases steam in a controlled way. The cut doesn’t need to be perfect — any slash works just fine.
Bake the Bread:
-
Carefully remove the smoking hot Dutch oven from the oven (use thick oven mitts — the handle will be extremely hot). Lift the lid, and quickly but carefully transfer the dough on its parchment paper into the Dutch oven. If the dough is on parchment, you can just carefully lower the whole thing in; if not, gently slide it off your baker’s peel or baking sheet directly onto the Dutch oven’s heated surface. The dough will sizzle when it hits the hot pot — this is exactly what you want. Immediately replace the lid.
-
Bake covered for 45 minutes. Don’t peek — the steam trapped inside is doing crucial work. After 45 minutes, carefully remove the lid (steam will rush out, so be careful of your face and hands) and continue baking uncovered for another 20 to 25 minutes, until the crust is deep golden brown on all sides, including the bottom.
-
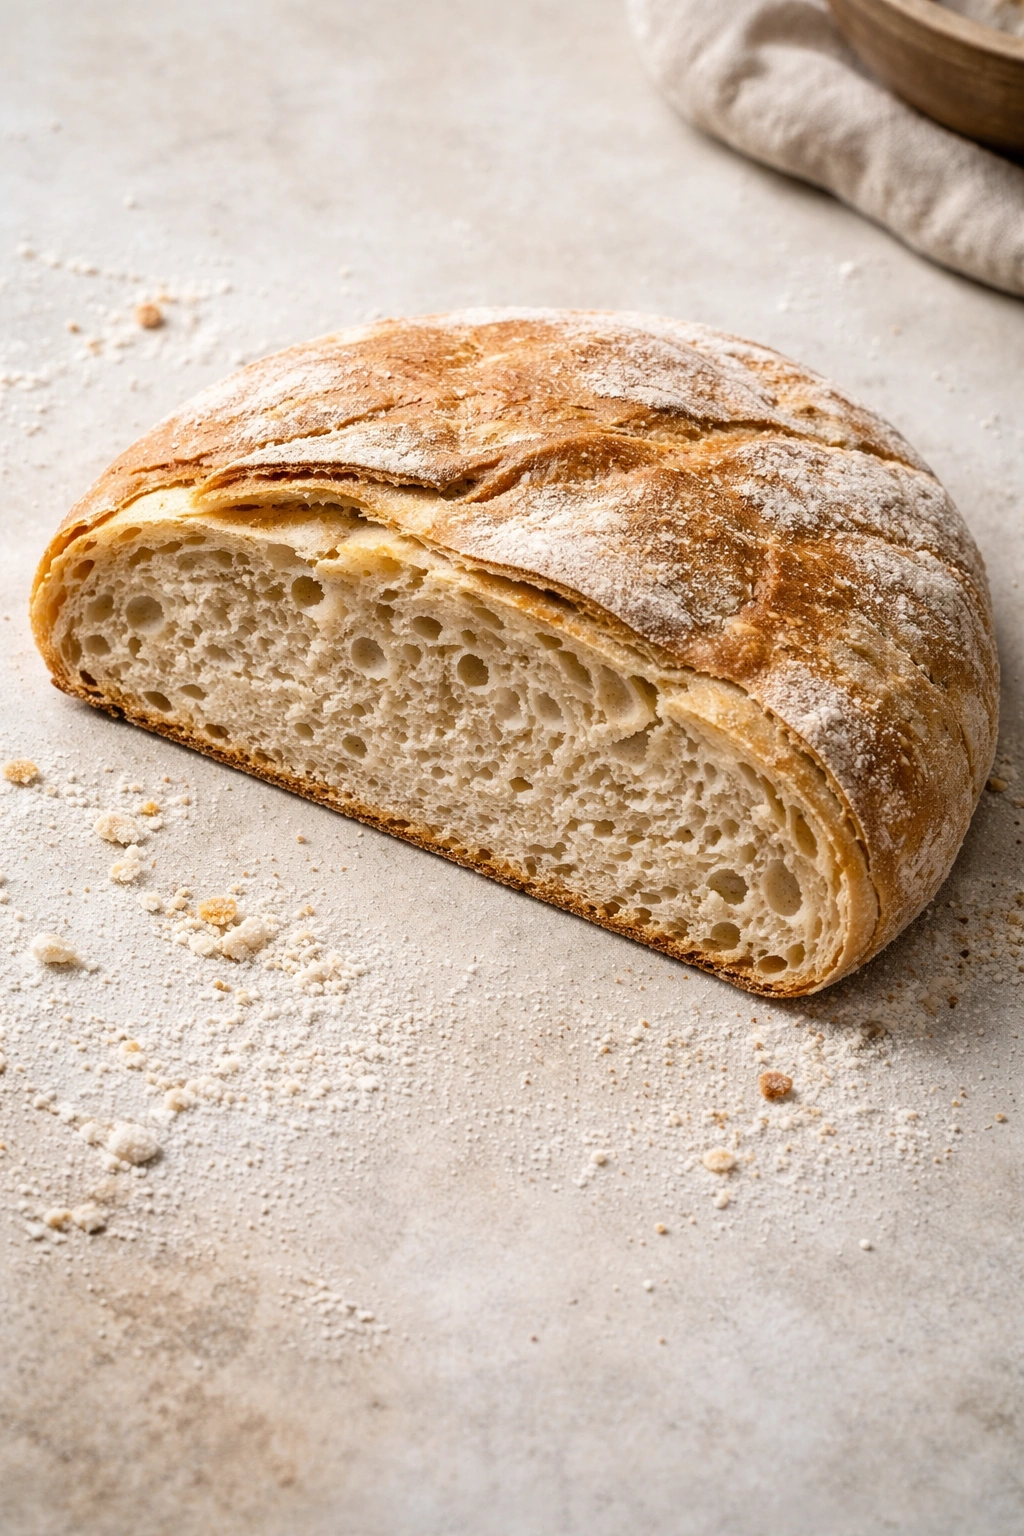
Remove the bread from the oven and turn it out onto a cooling rack. Do not slice into it for at least 1 hour. The inside is still cooking through steam redistribution during this resting period. If you cut too early, the interior will be gummy and underbaked-looking.
-
Once fully cooled, you can slice it with a serrated bread knife using a gentle sawing motion. The inside should have an open crumb structure with irregular air pockets (not uniform small bubbles like sandwich bread — irregular is what you want) and a golden-tan color throughout.
Troubleshooting Common Beginner Mistakes
The most common issue beginners encounter is the dough rising too much before baking, collapsing into a dense, flat loaf. This usually happens because the kitchen was warmer than expected or the dough fermented longer than eighteen hours. The fix is simple: set a timer for sixteen hours, and check the dough at that point. If it’s visibly risen substantially and has large bubbles just under the surface, it’s ready to shape and bake right then, even if it hasn’t been the full eighteen hours.
Another frequent mistake is adding too much flour during shaping. The dough is supposed to be slightly sticky — that’s what creates the open crumb. If you flour it heavily or work it too much, you end up with a tighter, denser crumb. Use just enough flour to prevent sticking while you shape, then move forward.
Some beginners also rush the baking step, not preheating the Dutch oven sufficiently. The Dutch oven absolutely must be screaming hot when the dough goes in. If it’s only lukewarm or not fully preheated, you won’t get the beautiful crust. Thirty minutes of preheating at 450°F is the minimum — forty-five minutes is better if you want maximum browning.
Underbaking is rare but does happen. The loaf should be deep golden brown on all visible surfaces, including the bottom (carefully tip it over and look). If it’s pale, it needs more time. Overbaking is nearly impossible with this method — even very dark brown bread will still taste great and won’t be dry.
Tips That Make the Difference

Room temperature matters more than you’d think. The fermenting dough doesn’t care if it’s 68°F or 72°F, but those five degrees affect how fast it rises. A warmer kitchen means faster fermentation (ready in 12 hours), while a cooler kitchen means slower fermentation (ready in 18 hours). This isn’t a problem; you’re just checking the dough around hour 12 and baking when it looks right rather than sticking to a rigid timetable.
Use a scale, not volume measurements, if at all possible. A digital scale costs almost nothing and removes the single biggest source of variation in beginner baking. If you don’t have a scale, spoon flour into your measuring cup and level it off rather than scooping directly from the bag, which compacts the flour and throws off your ratio.
Let the dough come to room temperature before shaping. If you’ve been fermenting in a cool corner of your kitchen and you pull the dough out and immediately shape it, the inside will still be cold. Give it fifteen to thirty minutes at room temperature after you remove it from its resting spot.
Don’t be afraid of scoring. A single confident slash across the top is all you need. It doesn’t have to be fancy or deep — just a ¼-inch cut is plenty. This small gesture creates a professional-looking ear and gives the bread room to expand.
Expect variation in your first few loaves. Even when you follow the recipe exactly, factors like humidity, barometric pressure, and your specific kitchen’s temperature will cause slight variations in how fast the dough rises. This is completely normal and part of what makes bread-baking interesting. You’re learning to read the dough, not just following numbers.
Variations to Try Once You’ve Mastered the Basics
Once you’ve successfully made the basic no-knead loaf a few times, the world of bread variations opens up. Whole wheat bread is the most obvious variation — replace about 25-30 percent of the all-purpose flour with whole wheat flour. Whole wheat absorbs more water, so increase the water from 350 grams to 365 grams, and expect slightly longer fermentation (the dough may be ready in 14-20 hours instead of 12-18).
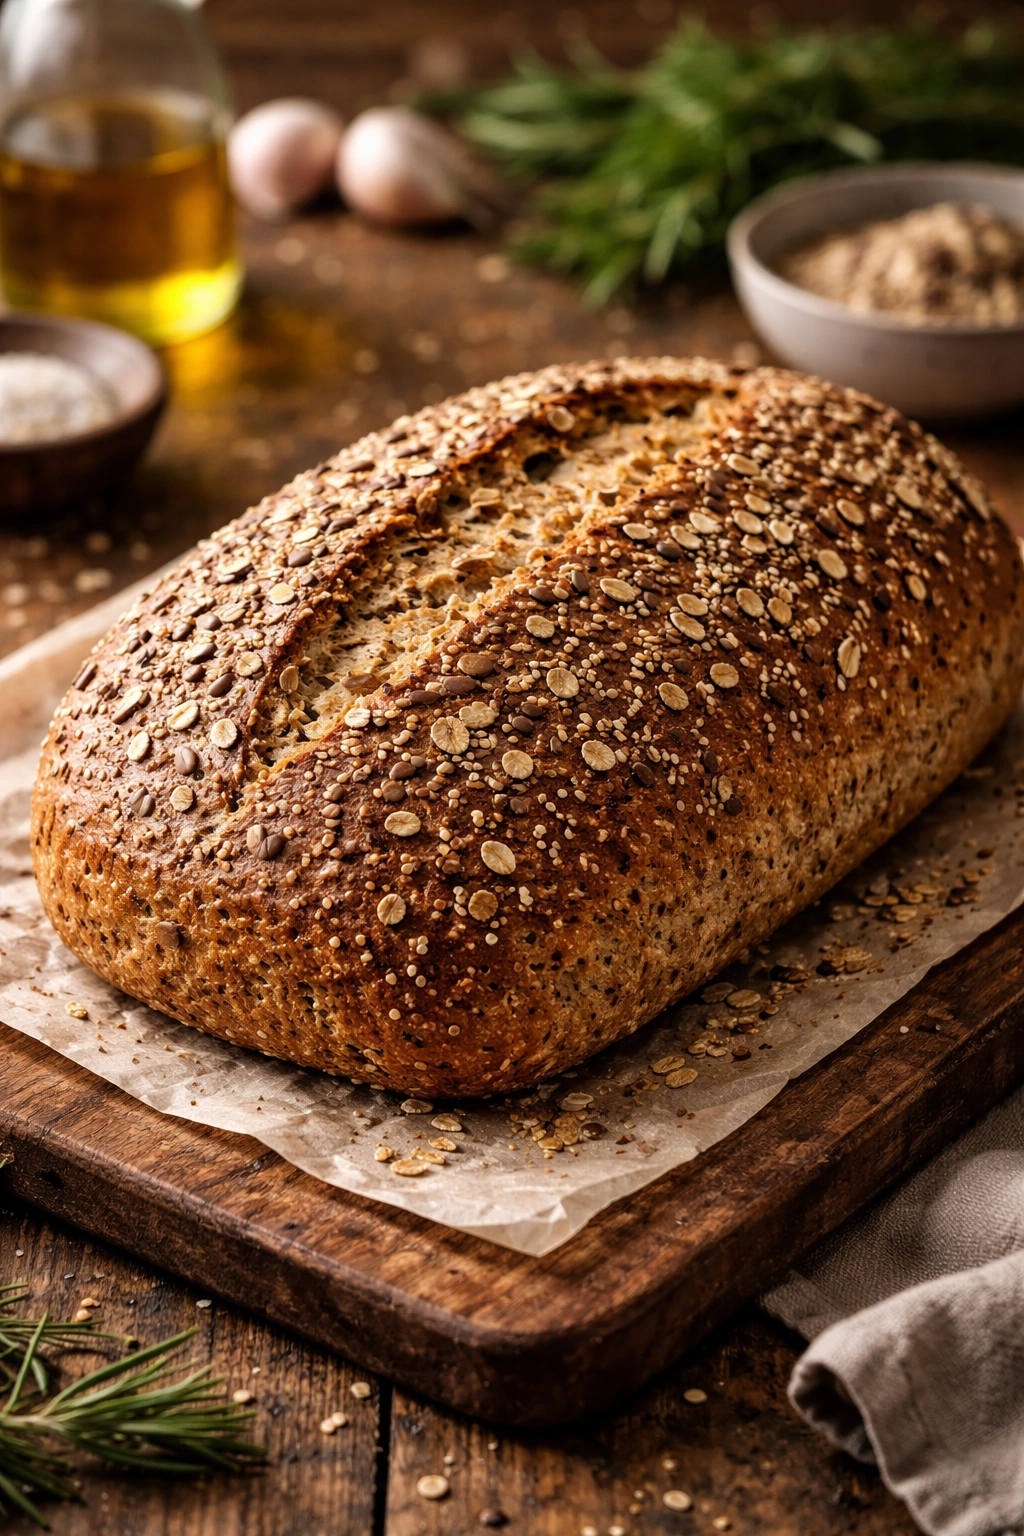
Seeded bread works beautifully. Mix one-quarter cup of combined seeds (sunflower, sesame, flax, poppy, or pumpkin) into the dough during the initial mixing. These add nutritional value, flavor, and texture without complicating the process.
Focaccia-style bread uses the same dough but is shaped into a rectangular sheet pan instead of a boule, dimpled before baking, and drizzled with olive oil and herbs (rosemary, thyme, or just salt and olive oil). Bake uncovered in a standard oven at 425°F for about 25-30 minutes until golden.
Flavor additions like herbs, garlic, or olives can be stirred into the dough during the initial mixing. Use about two to three tablespoons of finely minced fresh herbs or one tablespoon of dried herbs. Garlic should be minced very finely or garlic powder (about one teaspoon). These don’t change the fermentation or baking time significantly.
Sourdough conversion is possible if you have an active sourdough starter. Replace the ½ teaspoon instant yeast with one cup of fed sourdough starter (which contains wild yeast), and reduce the water to 300 grams. Everything else remains the same. Sourdough takes longer to ferment — usually 18-24 hours — but the results are exceptional once you’ve gotten comfortable with the basic method.
Storing and Reheating Your Homemade Bread
Homemade bread stays fresh at room temperature for about three days if kept in a paper bag or bread box. Don’t wrap it in plastic while it’s still warm, which traps steam and makes the crust soggy. Once it’s completely cool, you can wrap it in plastic or foil if you want to keep the crust soft (though this does sacrifice some of that crispy texture).
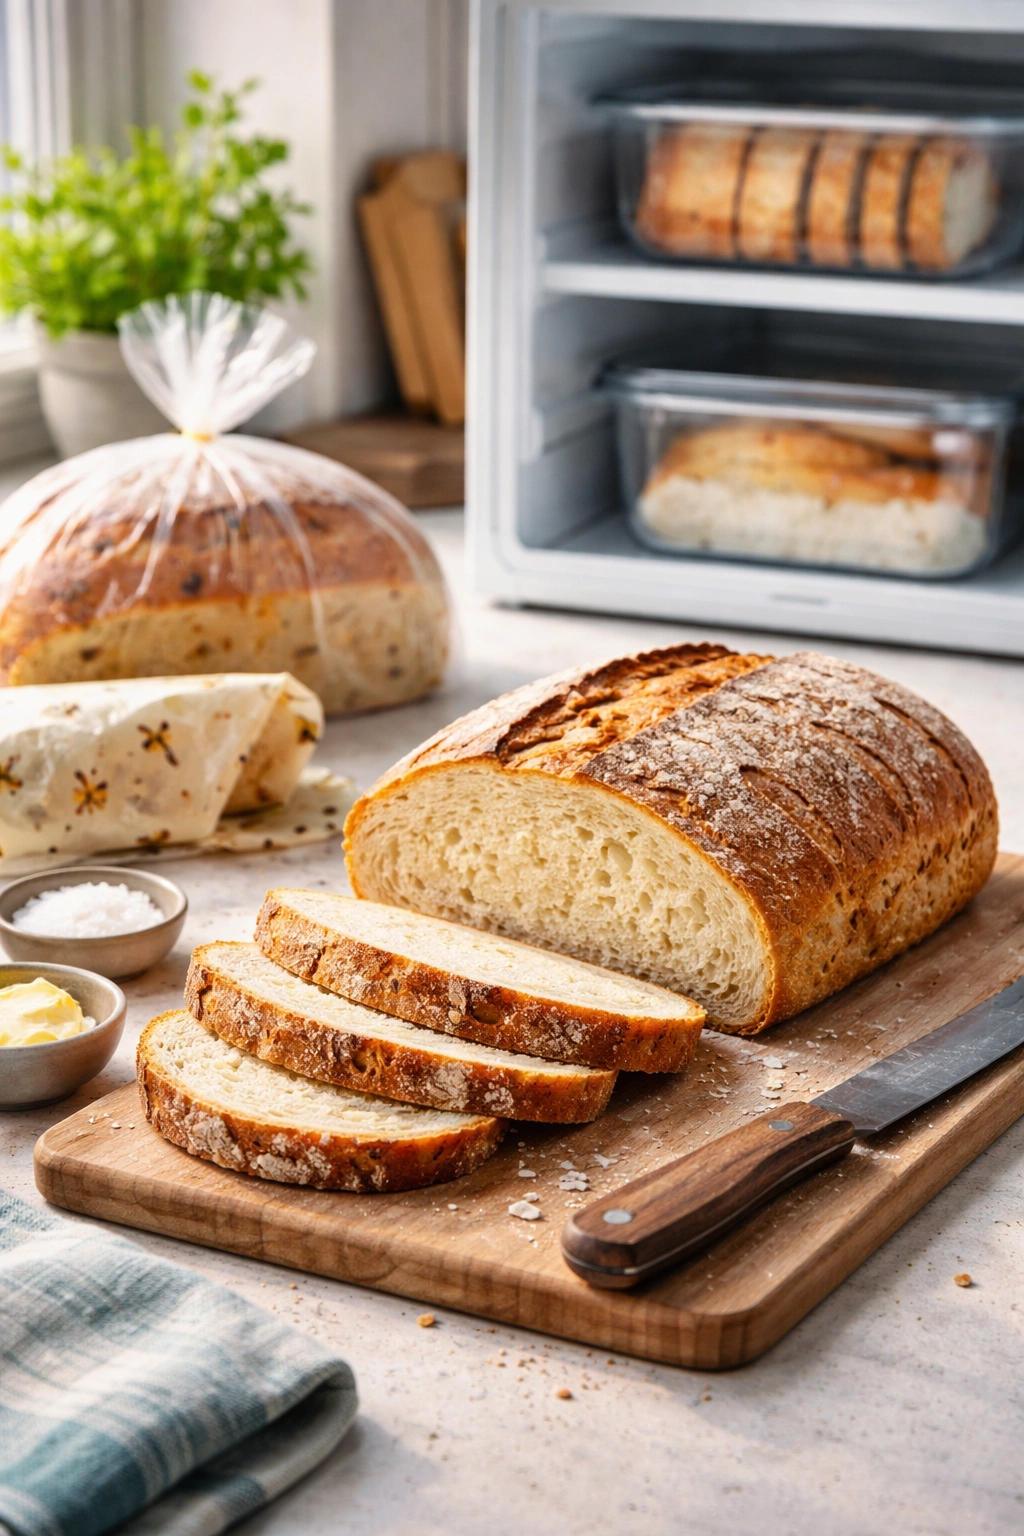
Refrigerator storage extends the life to about a week. Cool the bread completely, wrap it tightly in plastic wrap or a plastic bag, and store it in the fridge. Refrigeration actually slows staling slightly, which is counterintuitive. Cold bread also slices more cleanly than room-temperature bread.
Freezer storage is where bread truly shines. Wrap a completely cooled loaf tightly in plastic wrap, then in foil or a freezer bag, and freeze for up to three months. The bread won’t taste any different when thawed — freezing basically puts the staling process on pause.
Reheating frozen bread takes about 35-40 minutes. Remove the plastic and foil, wrap the frozen loaf loosely in foil, and place it in a 350°F (175°C) oven. The foil protects the crust from over-browning while the interior thaws and warms through. For day-old bread that’s lost some softness, this same method restores it almost completely.
Sliced bread can be frozen individually by laying slices on a baking sheet, freezing them solid (about two hours), then transferring them to a freezer bag. You can toast these directly from frozen without thawing. They’ll be perfectly crispy in a toaster.
The Best Ways to Serve Your Fresh-Baked Loaf
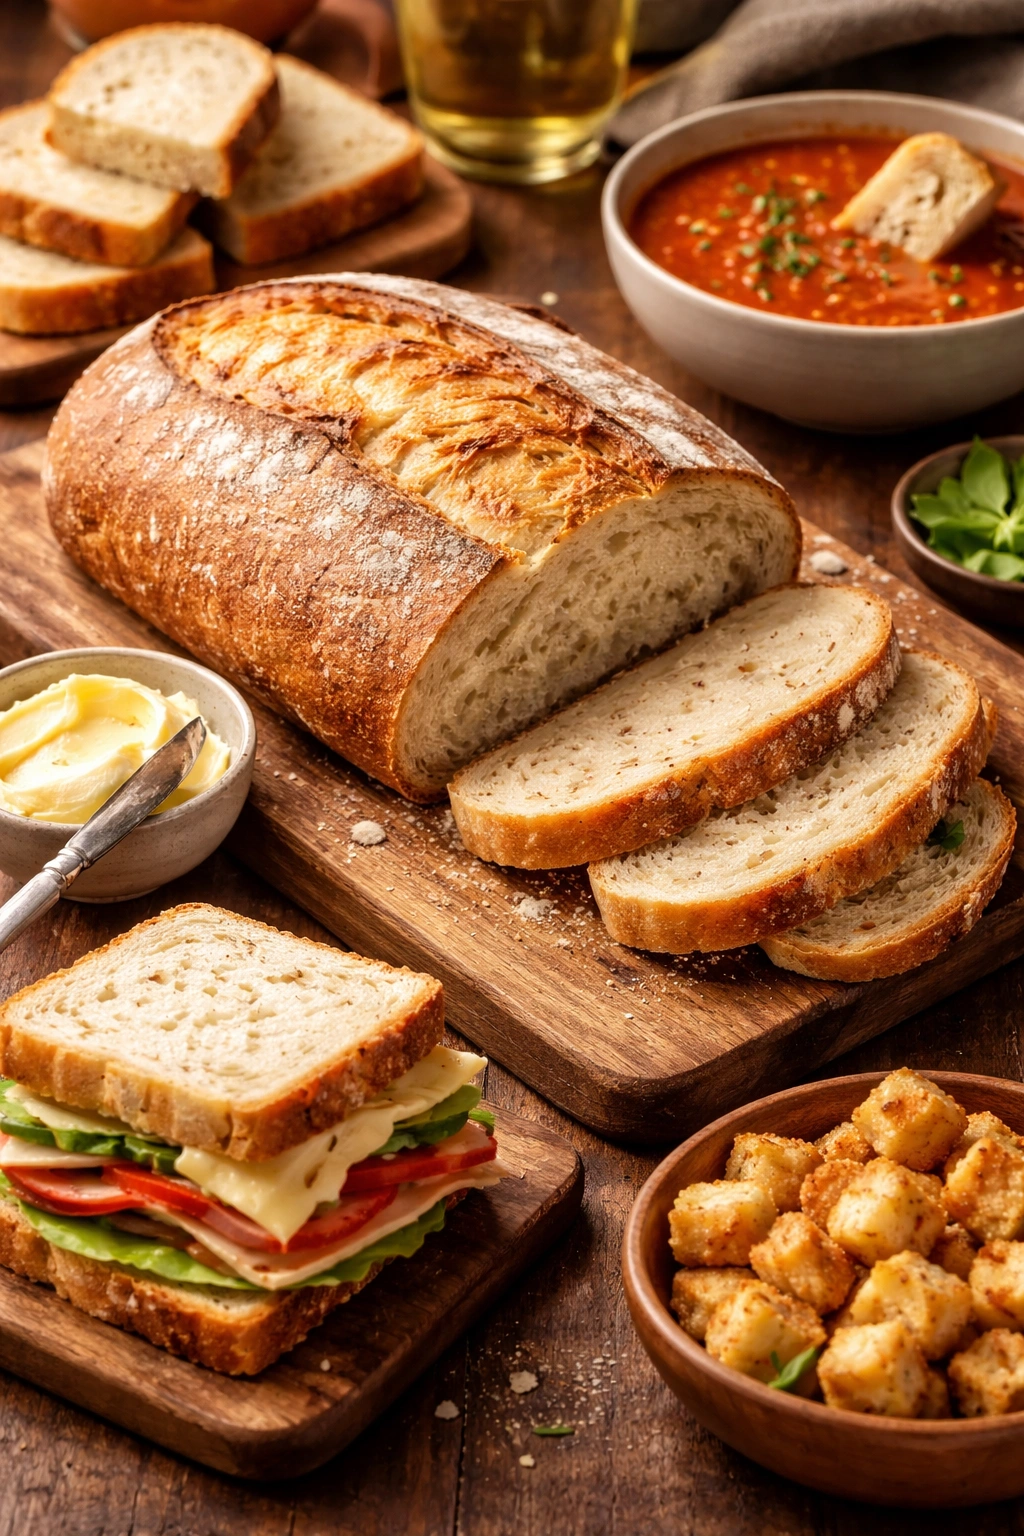
The simplest serving is the best: a thick slice, still slightly warm, with nothing more than good butter. The contrast between the crispy crust, the soft warm interior, and melting butter is genuinely perfect. Some people add a pinch of fleur de sel or maldon sea salt on top of the butter.
As bread for a meal, tear or slice the loaf into chunks and serve alongside soups, stews, or braises where the bread can soak up all those rich flavors. Homemade bread is infinitely better at this than commercial loaves because the open crumb structure absorbs liquid beautifully without falling apart.
For sandwiches, allow the bread to cool completely before slicing. Fresh warm bread will tear instead of slicing cleanly. Cut thick slabs (about ¾ to 1 inch) and fill with whatever you love — a great sandwich bread deserves quality fillings.
Breadcrumbs and croutons extend the life of bread that’s starting to get stale. Cut day-old bread into cubes, toss with olive oil and herbs, and bake at 375°F (190°C) for about 15 minutes to make croutons. Or pulse stale bread in a food processor to make fresh breadcrumbs for coating or topping dishes.
Bread salad (like panzanella) is a wonderful way to use bread that’s two to three days old. Tear it into chunks, let it dry out slightly more in a low oven, then toss with tomatoes, fresh herbs, good olive oil, and vinegar.
Final Thoughts
Homemade bread isn’t actually complicated. What’s complicated is the mythology around it — the intimidation factor that makes people assume it requires years of practice or special knowledge. The truth is that most of the work happens through simple fermentation, and your job is just to start it, wait, and then bake.
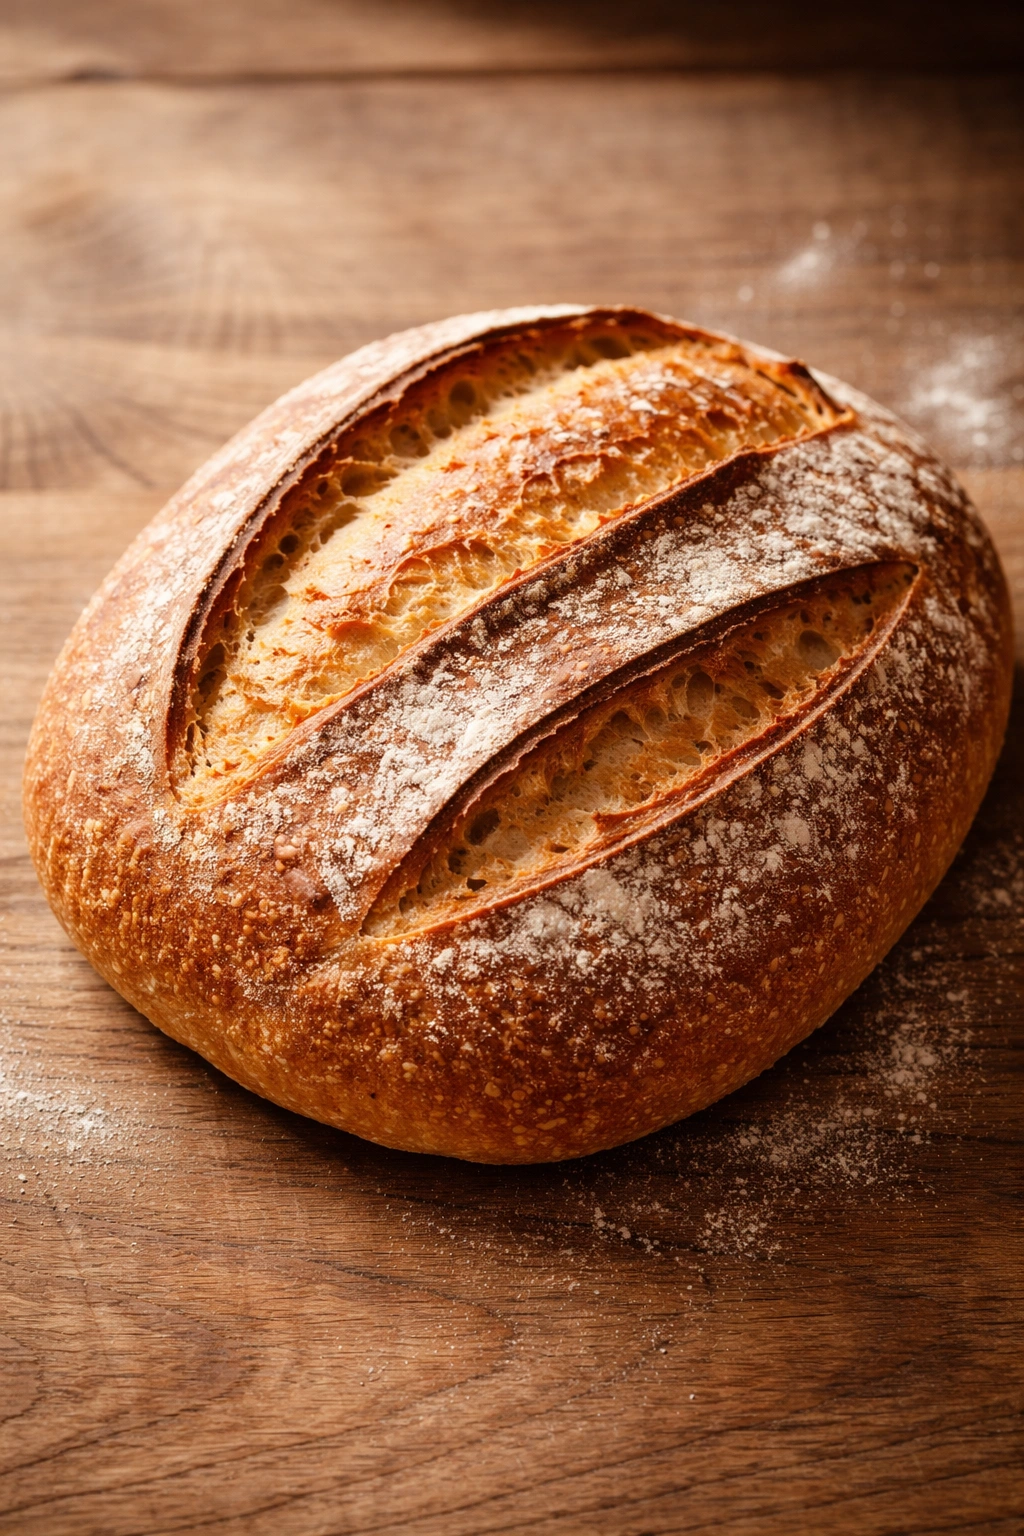
That first loaf you pull out of your own oven will taste so far superior to anything you can buy that you’ll genuinely wonder why you waited so long to try this. The flavor is deeper, the crust is crispier, the texture is more interesting — all because you gave real ingredients time to develop instead of relying on commercial additives to simulate that complexity.
Once you’ve made this basic loaf a few times and you understand how the dough behaves and looks at different fermentation stages, you’ll start developing your own instincts. You won’t need to follow the recipe exactly because you’ll understand what the dough is supposed to do. That’s when bread-making becomes genuinely enjoyable instead of just following instructions.
The beautiful part is that this skill compounds. The first loaf teaches you the second, the second teaches you the third, and by the fifth or sixth loaf, you’re confidently making adjustments, trying variations, and creating bread that reflects your own taste and style. That’s the real magic of making bread at home — not just the better flavor and the professional-looking results, but that you’re building actual skills that improve naturally over time.