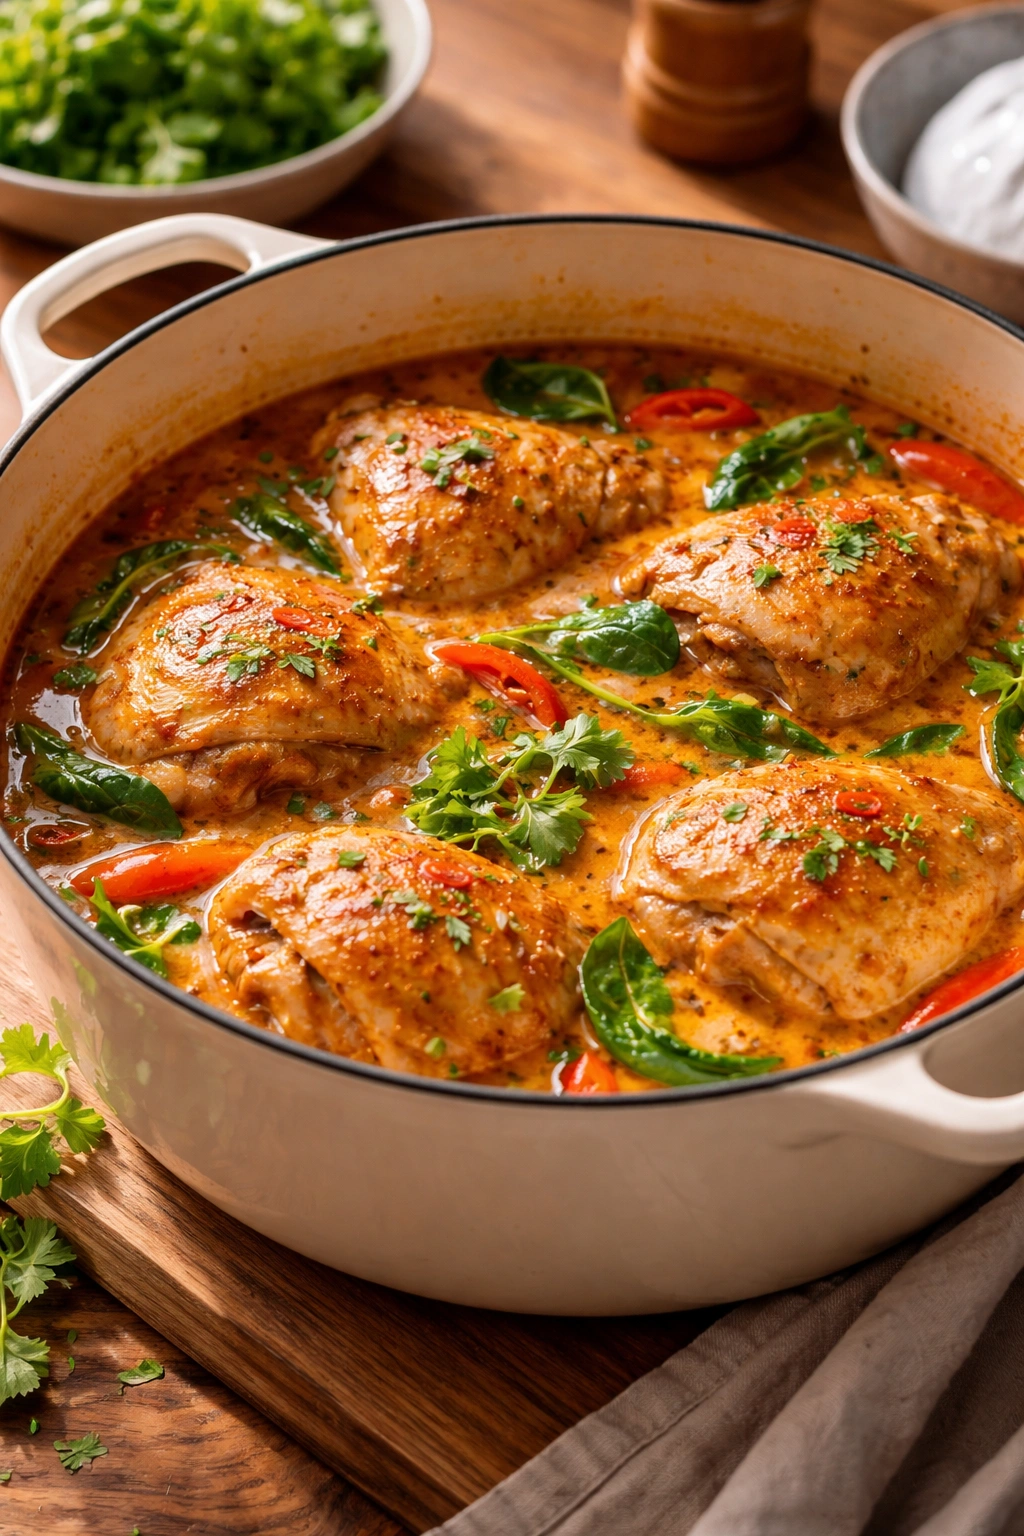
There’s nothing quite like coming home from a long day and realizing you can have an authentic-tasting Thai curry on the table in less than an hour—without any exotic ingredients or complicated techniques. The secret? You don’t need to brown your chicken, you don’t need a dozen specialty items, and you definitely don’t need to spend your evening stressed about timing. A simple one-pot Thai curry with creamy coconut milk, aromatic curry paste, and tender chicken or vegetables is one of the most forgiving, delicious, and genuinely impressive weeknight dinners you can make at home.
What makes this approach different from traditional Thai curry preparation is its radical simplicity. Instead of searing meat on the stovetop (which adds time and dishes), seasoning everything separately, and managing multiple pans, you’re going to throw your main ingredients into a pot with a flavorful sauce and let the oven or stovetop do the work. The result? Fall-off-the-bone chicken, deeply flavored sauce, and a meal that tastes like you spent hours in the kitchen when you actually spent 15 minutes prepping and the rest was hands-off cooking.
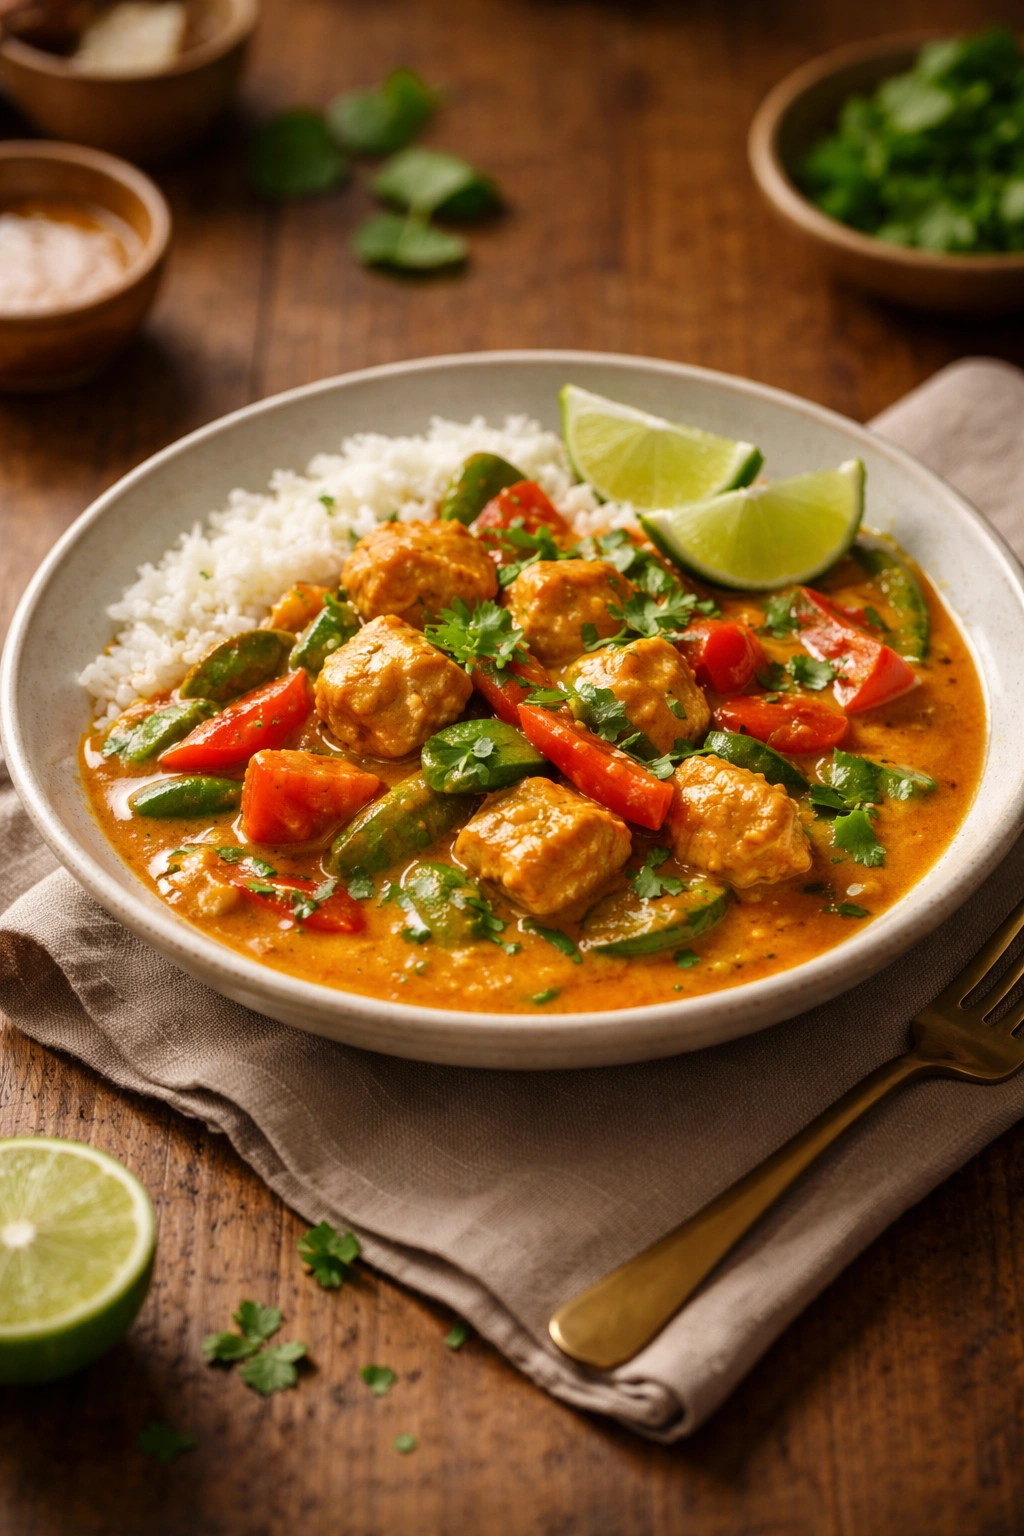
The beauty of this recipe lies in how it captures the essence of Thai flavors—the balance of spicy, sweet, salty, and sour—without requiring you to source hard-to-find ingredients. Full-fat coconut milk is the backbone here, creating that luxurious, creamy sauce that distinguishes Thai curry from other chicken dishes. Red curry paste does the heavy lifting flavor-wise, providing heat, depth, and complexity in one ingredient. When combined with simple aromatics (onion, garlic, ginger), warm spices (turmeric, coriander, curry powder), and a pinch of brown sugar and fish sauce for balance, you’ve got a sauce that tastes like it came from a Bangkok restaurant but arrived on your table in under an hour.
Why Skip Browning the Chicken?
Traditional curry recipes often call for browning chicken before braising. The reasoning behind this approach, taught in professional kitchens for generations, is that browning removes excess surface fat and creates appealing color and flavor through the Maillard reaction. But here’s the thing—all of those benefits can be achieved in the oven without the extra step, the extra heat, and the extra pan to wash.
When you transfer your curry directly to the oven after building the sauce, something remarkable happens. The chicken skin browns beautifully as it braises, absorbing all the aromatic curry flavors while the meat becomes incredibly tender. The oven’s gentle, surrounding heat cooks more evenly than searing on the stovetop, and you’ll actually end up with crispier, more flavorful skin than you would from a quick pan sear.
The real advantage, though, is simplicity. Skip the browning step, and you’ve eliminated one of the most common reasons home cooks find curry-making intimidating. You don’t have to manage high heat, worry about the meat sticking, or time a browning stage. You simply build your sauce in one pot, add the chicken, and slide the whole thing into the oven. It’s genuinely foolproof, even for a first-time curry maker.
If your chicken looks particularly fatty before cooking, trimming any excess overhanging skin is worth doing. This single step ensures your final sauce won’t taste overly rich or greasy. For the most part, though, quality chicken with good skin will reward you with incredible results.
Yield: Serves 4 to 6
Prep Time: 15 minutes
Cook Time: 50 minutes
Total Time: 65 minutes
Difficulty: Beginner — The steps are straightforward, no special equipment is required beyond a large pot that can go in the oven, and the recipe is forgiving if your timing isn’t perfect.
Complete Ingredient List for One-Pot Thai Curry
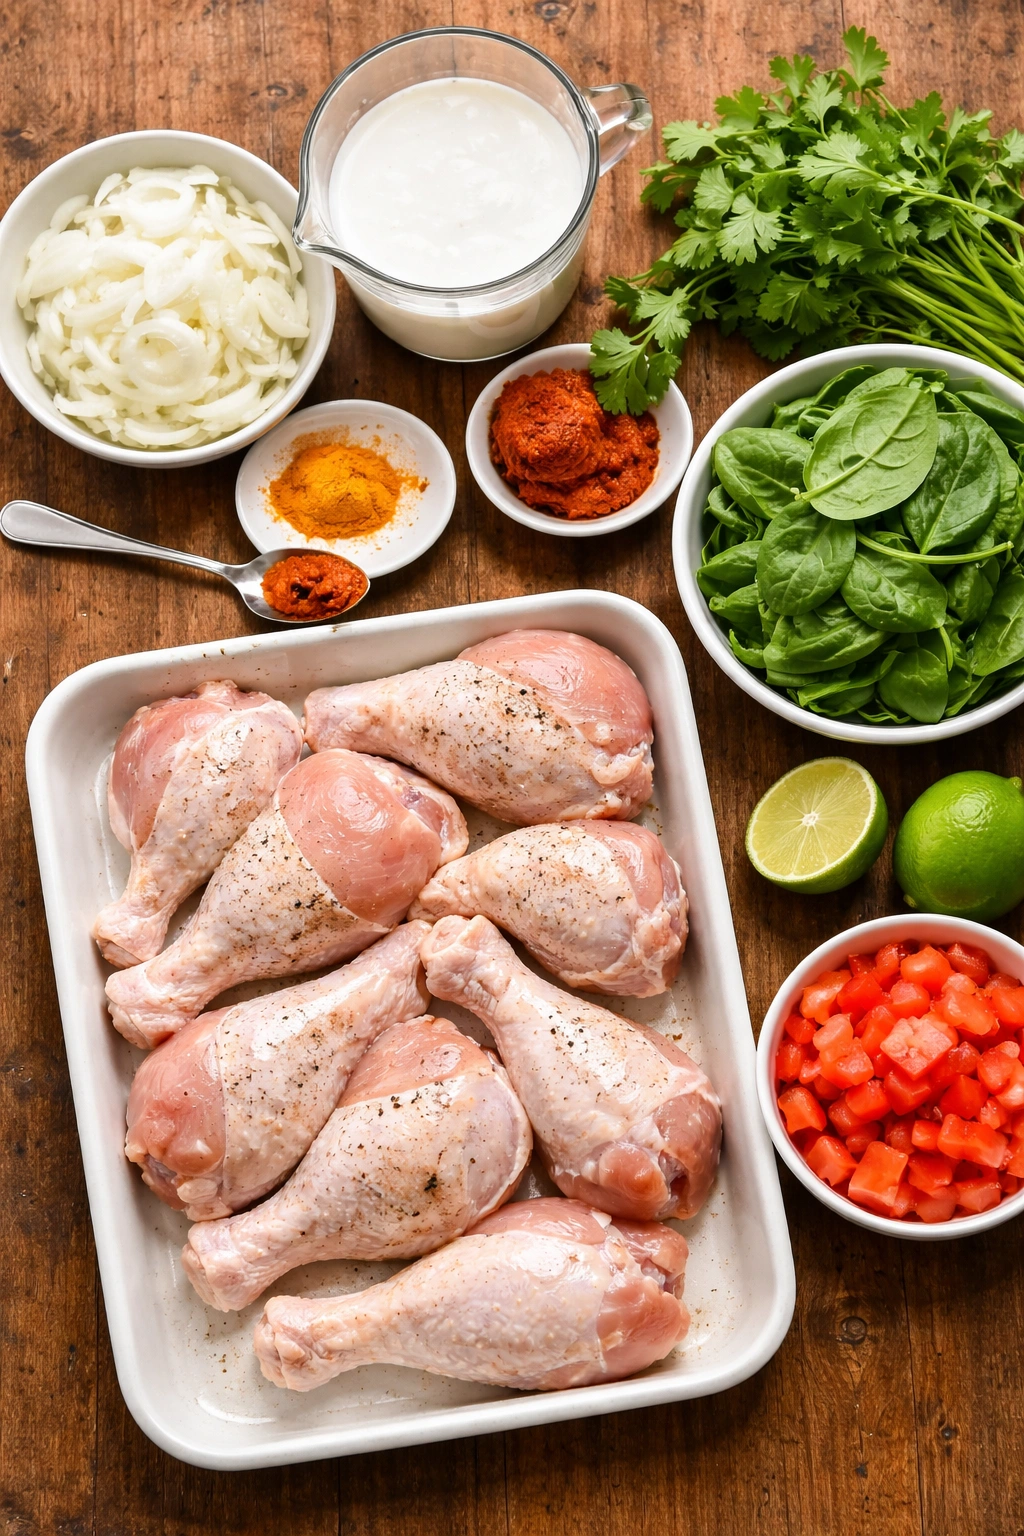
For the Curry Base:
- 1 tablespoon coconut oil or olive oil
- 1 large onion, thinly sliced (about 1½ cups)
- Kosher salt to taste
- 2 teaspoons ground turmeric
- 2 teaspoons curry powder
- 2 to 3 tablespoons Thai red curry paste (start with 2 if you prefer milder heat; adjust to taste; Maesri or Mae Ploy brands are recommended)
- 3 to 4 fresh plum tomatoes, chopped (or one 14-ounce can diced tomatoes if fresh aren’t available)
- 1 can (13.5 ounces) full-fat unsweetened coconut milk
- ½ cup water (start here; add more if the sauce seems too concentrated as it cooks)
- 1 tablespoon fish sauce (or soy sauce if you prefer; fish sauce adds authentic depth)
- 2 teaspoons brown sugar (adjust to taste)
For the Chicken:
- 8 bone-in, skin-on chicken thighs or drumsticks, or a mix of both (about 2.5 to 3 pounds total)
- Kosher salt and freshly ground black pepper
For Garnish and Finishing:
- ½ cup fresh cilantro, roughly chopped
- 3 to 5 ounces fresh spinach, roughly chopped (optional, but adds nutrition and color)
- Juice of 1 lime (add at the end for brightness)
- Thai basil leaves, torn (optional but lovely; regular basil works if you can’t find Thai basil)
- Sliced fresh red chilies, if you like more heat
For Serving:
- Cooked jasmine or basmati rice (about 2 to 3 cups cooked rice for serving)
- Extra lime wedges
- Extra cilantro leaves
- Optional: roasted cashews or peanuts for crunch
Building Flavor Without Fussing: The Sauce Foundation
The magic of this curry happens when you build the sauce before the chicken even touches the pot. This isn’t a complicated process—it’s actually the opposite—but understanding each step helps you feel confident in what’s happening.
Start by heating your oil in a large Dutch oven or ovenproof pot over medium heat. Slice your onion thinly and add it to the hot oil along with a good pinch of salt. You’re going to let these onions cook low and slow for about five minutes, stirring occasionally, until they soften and just barely begin to turn golden at the edges. This isn’t a hard sear or caramelization—it’s a gentle softening that builds sweetness without intensity.
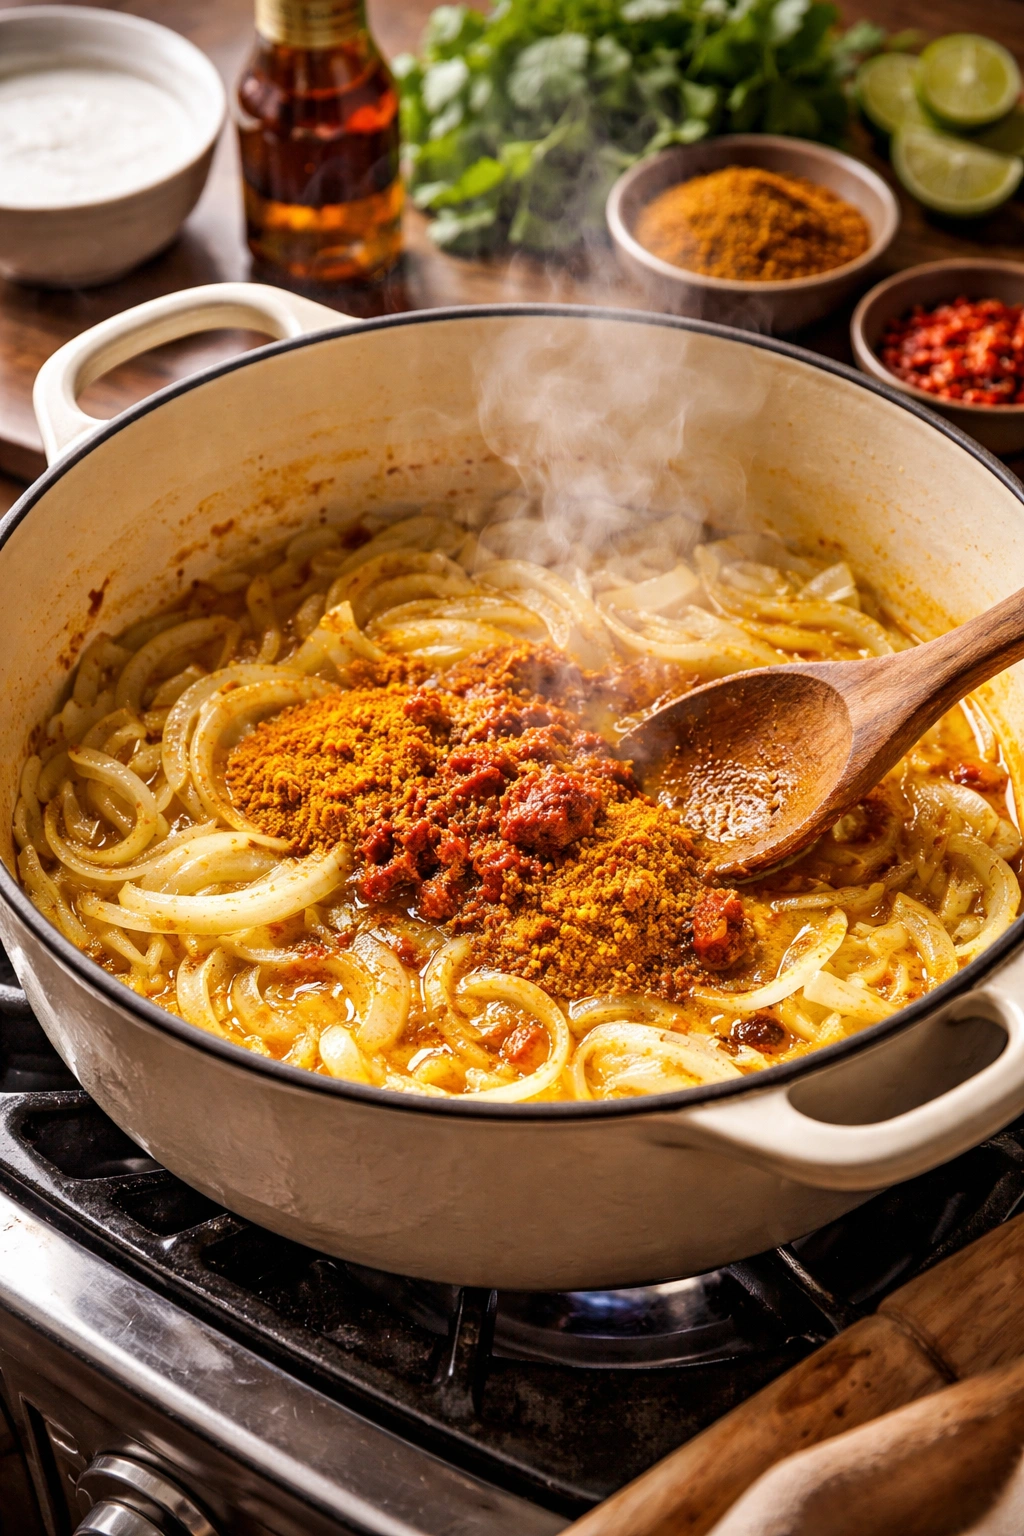
Once your onions are soft, you’re going to add the turmeric, curry powder, and Thai red curry paste all at once. This is called “blooming” your spices, and it’s one of the most important techniques in curry-making. The heat of the pan releases the oils in these seasonings, making them infinitely more flavorful than if you just dumped them in cold. Stir constantly for about a minute until everything smells absolutely amazing and the mixture looks lightly toasted.
Now add your chopped tomatoes and stir until they just barely begin to soften—this only takes a minute. The tomatoes add acidity, which brightens the final dish, and they’ll break down further as everything simmers. Add your entire can of coconut milk and the water, then season with fish sauce and brown sugar. Stir everything until smooth, then bring the mixture to a gentle simmer.
The sauce should smell incredibly complex at this point—spicy, aromatic, a little sweet, deeply savory. That’s exactly what you want.
Preparing Your Chicken for the Oven
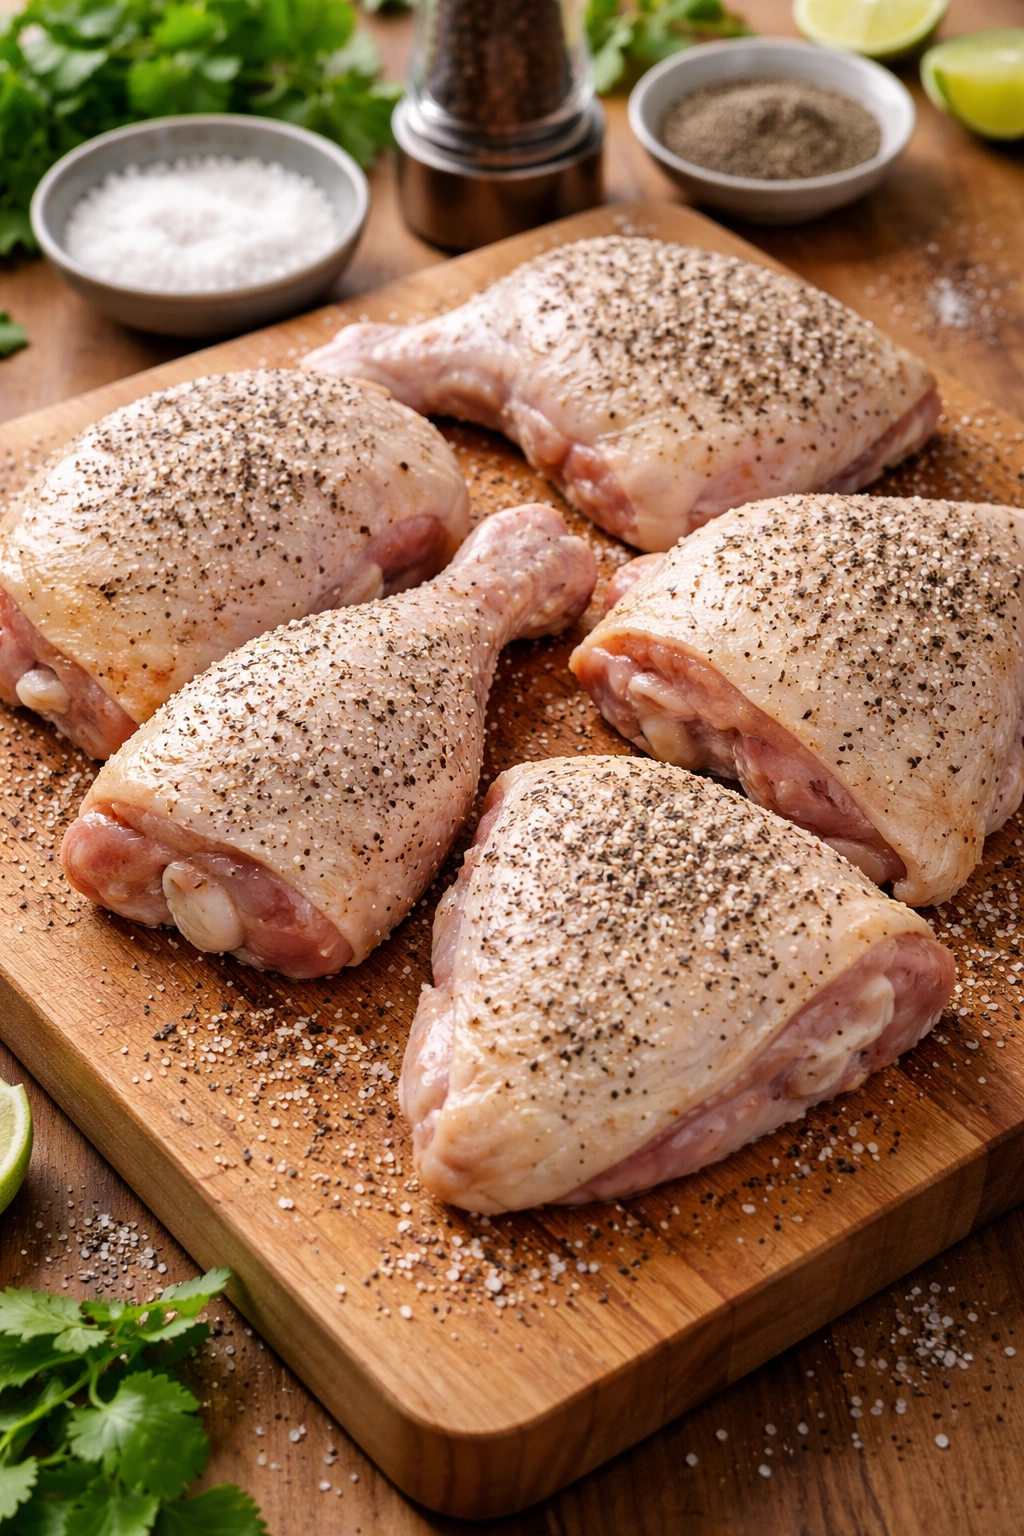
While your sauce is building, prepare your chicken. Pat the pieces dry with paper towels—this helps any browning happen naturally as they cook. Spread them out on a large plate or cutting board and season every piece generously with kosher salt and freshly ground black pepper. Use about 1 teaspoon of salt per pound of chicken as a guide, but remember that you’re seasoning the protein itself here, not relying entirely on the sauce to flavor it.
Don’t worry about the chicken pieces looking pale or uncooked. That’s normal and actually desirable. They’re about to go into a simmering curry where they’ll cook gently and absorb all those beautiful flavors while the skin gradually browns.
The Oven Method: Hands-Off Cooking at Its Best
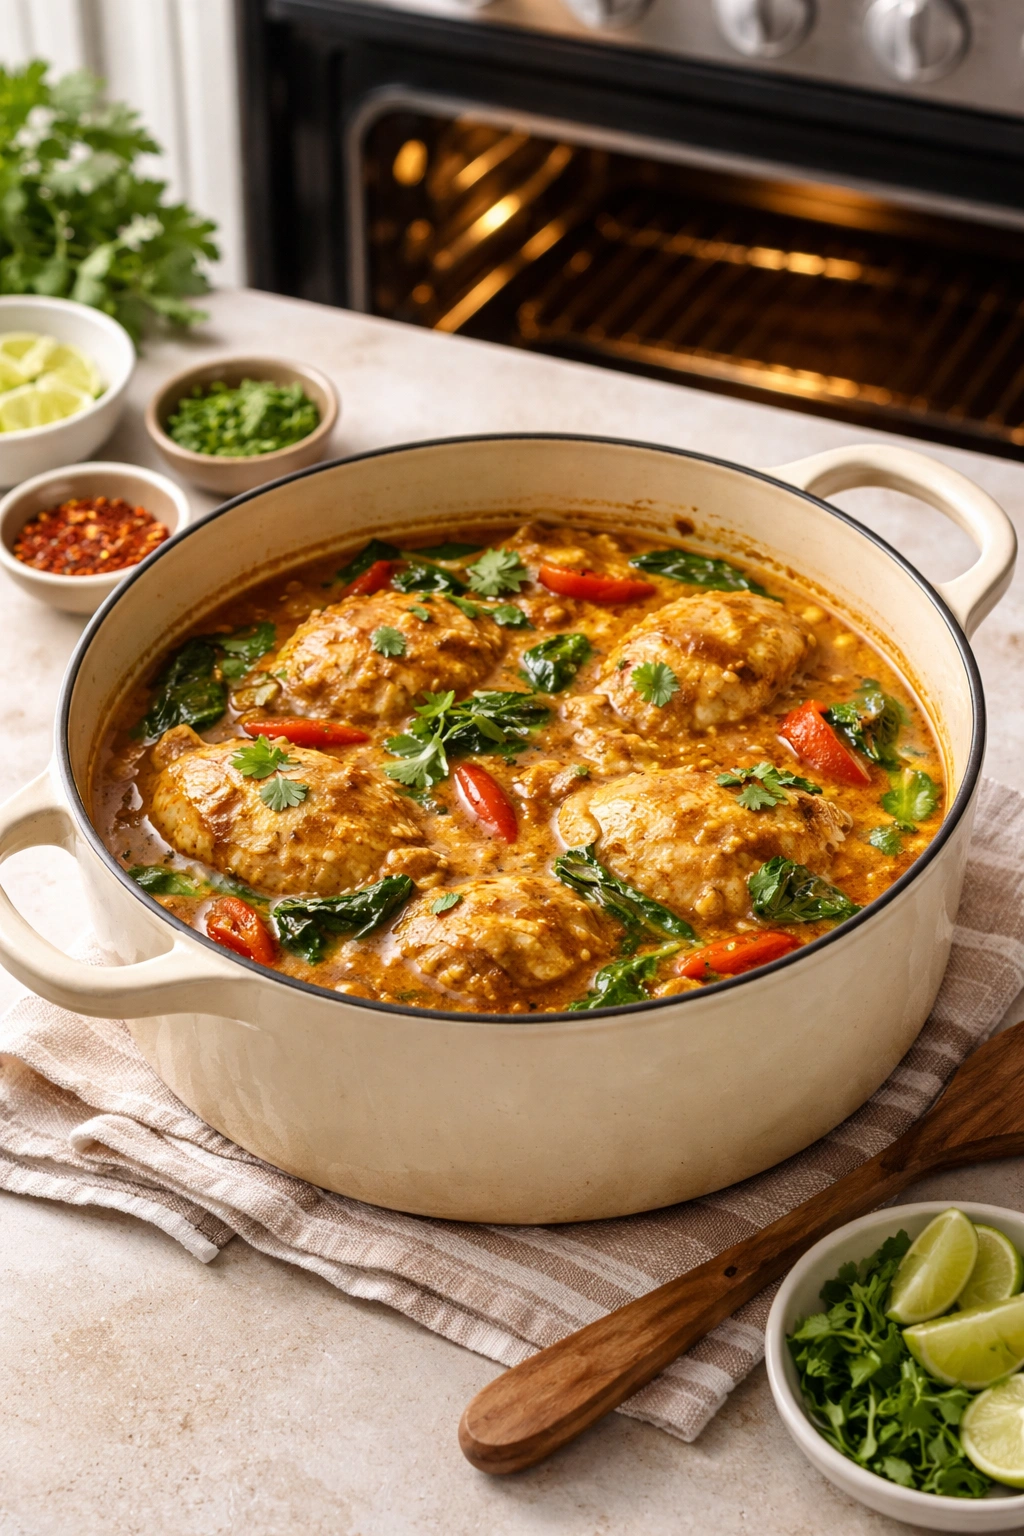
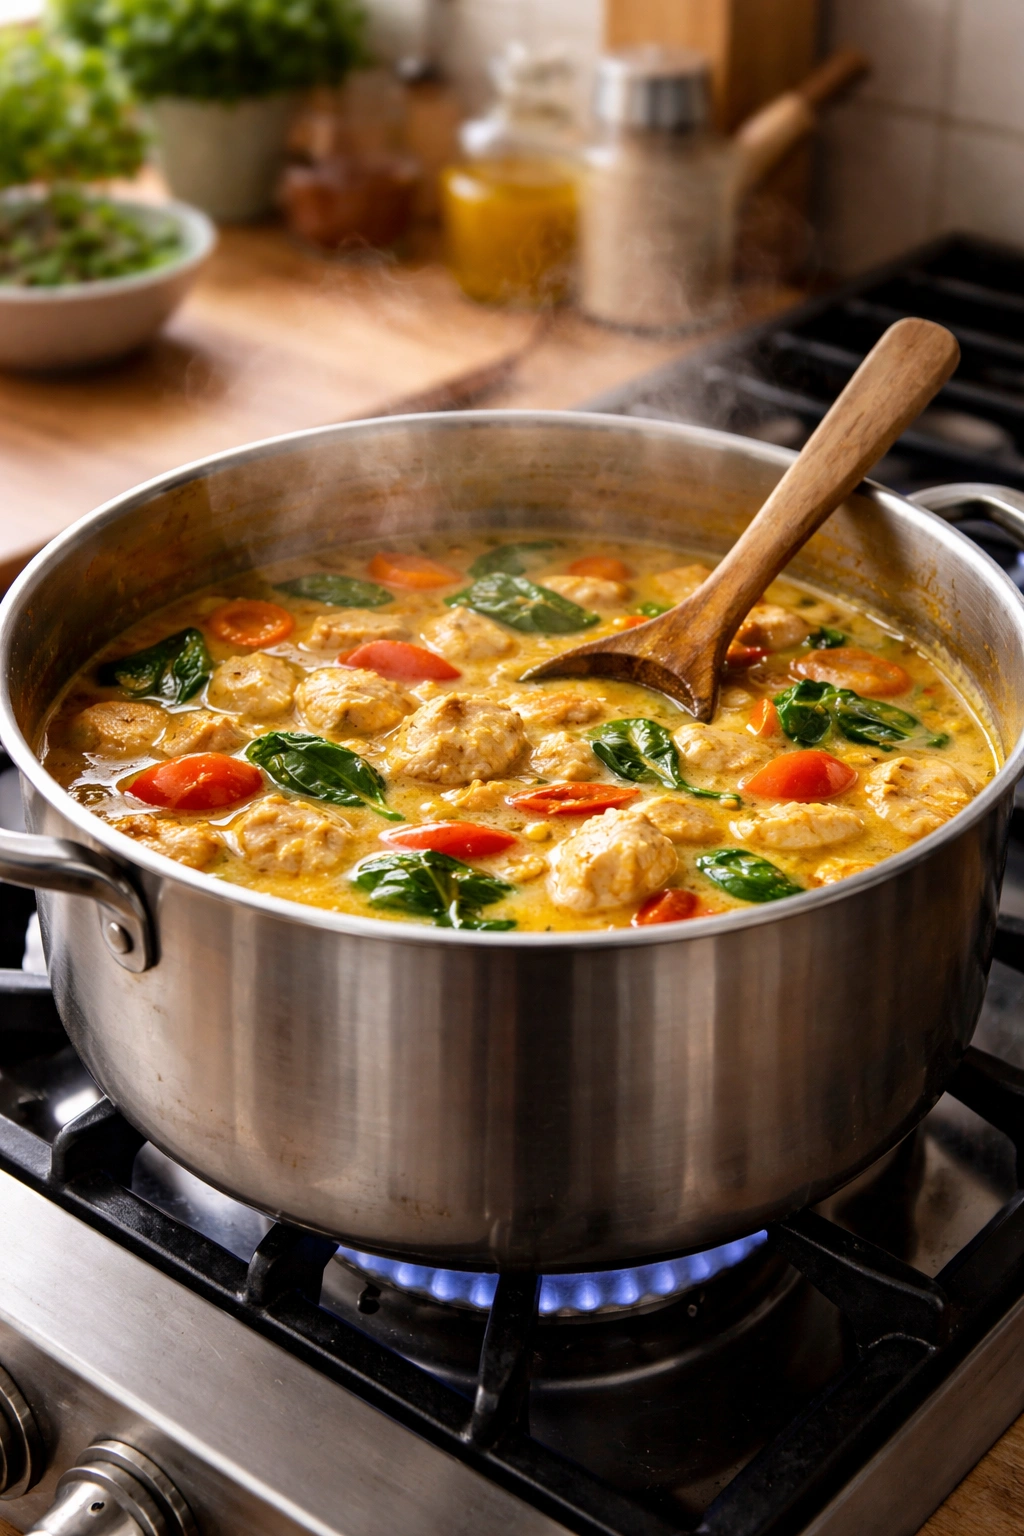
Once your sauce is simmering, add all your seasoned chicken pieces to the pot, turning each one to coat it thoroughly in the sauce. The chicken doesn’t need to be fully submerged—it will cook beautifully partly in the liquid and partly in the steam. Bring the sauce back to a gentle simmer on the stovetop (this usually takes just a couple of minutes), then transfer the entire pot, uncovered, to a preheated 400°F oven.
Set a timer for 50 minutes. This is your hands-off window. The oven’s even, surrounding heat will cook the chicken gently and evenly, allowing the meat to become incredibly tender while the skin gradually browns and crisps. The sauce will reduce, concentrating in flavor, and the whole thing will smell progressively more amazing.
At the 50-minute mark, check your chicken. The skin should be deeply golden brown, and the meat should be falling off the bone. If you pierce the thickest part of a piece with a fork, the meat should shred easily. If it’s not quite there yet, give it another 5 to 10 minutes.
Alternative Stovetop Method
If you don’t want to use the oven, this curry works beautifully on the stovetop as well. After adding your chicken to the sauce, reduce the heat to medium-low and cover the pot with a lid or even a heavy-duty foil. Simmer very gently for about 50 to 60 minutes, stirring occasionally and checking that the heat isn’t too high (you want a gentle simmer, not an aggressive boil). The cooking time might be slightly longer on the stovetop, but you’ll end up with equally delicious results.
Some cooks prefer a hybrid approach: sear the chicken over medium-high heat in the pot for a couple of minutes to add color, then add the sauce and finish in the oven. All of these methods work. Choose based on your preference and what feels easiest in your kitchen.
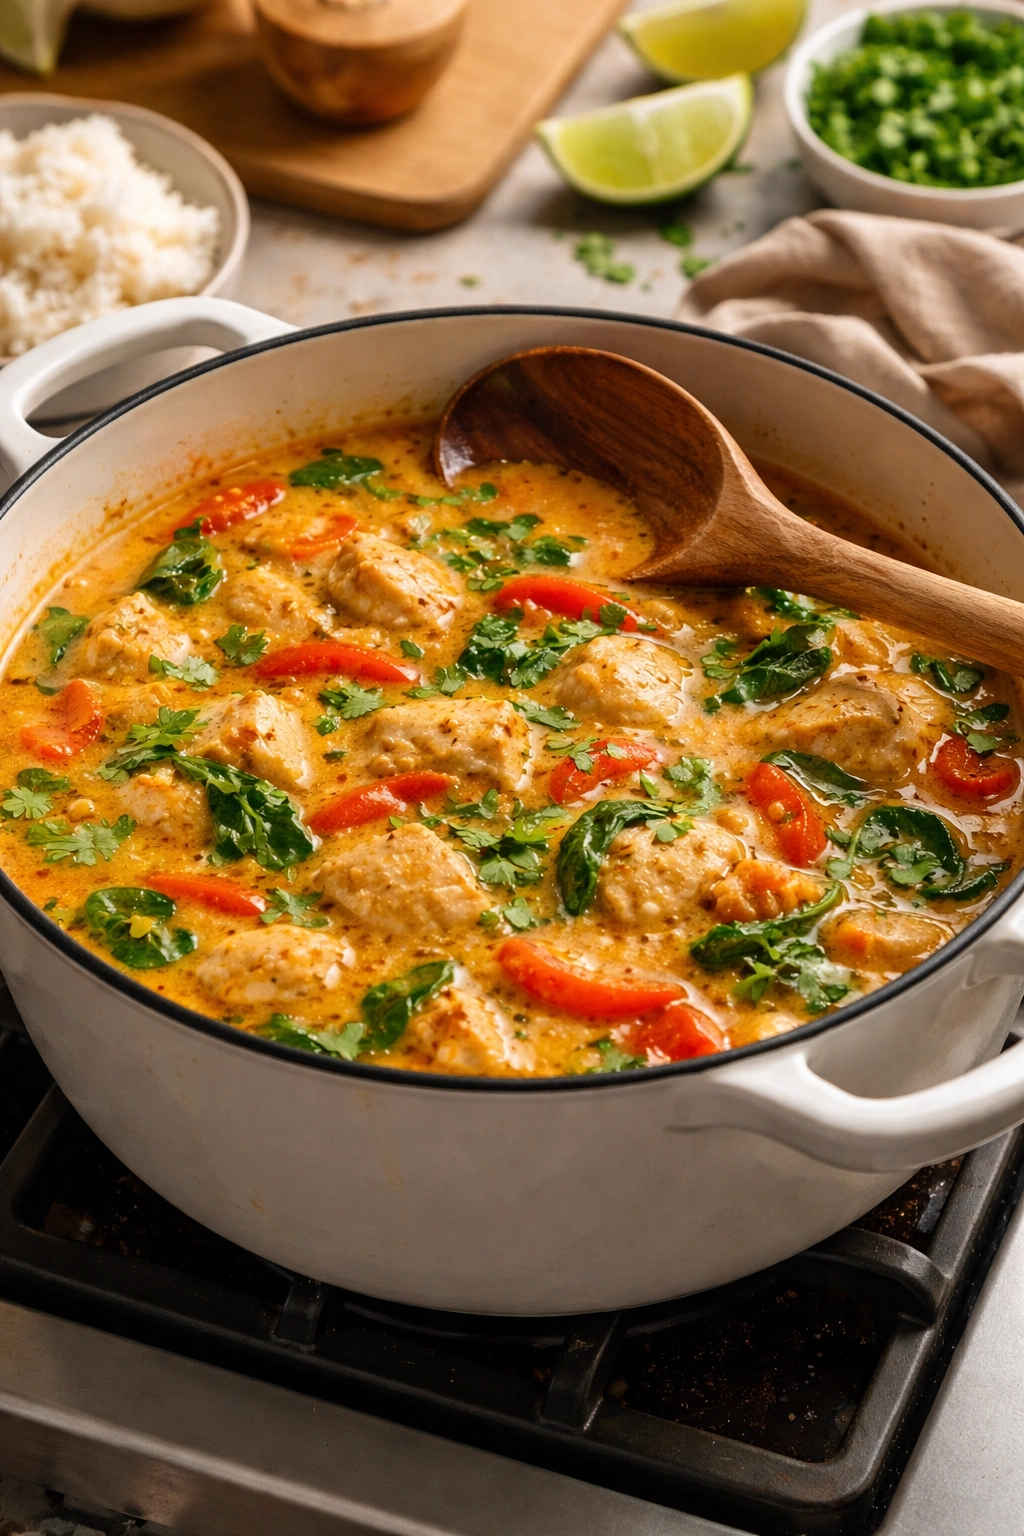
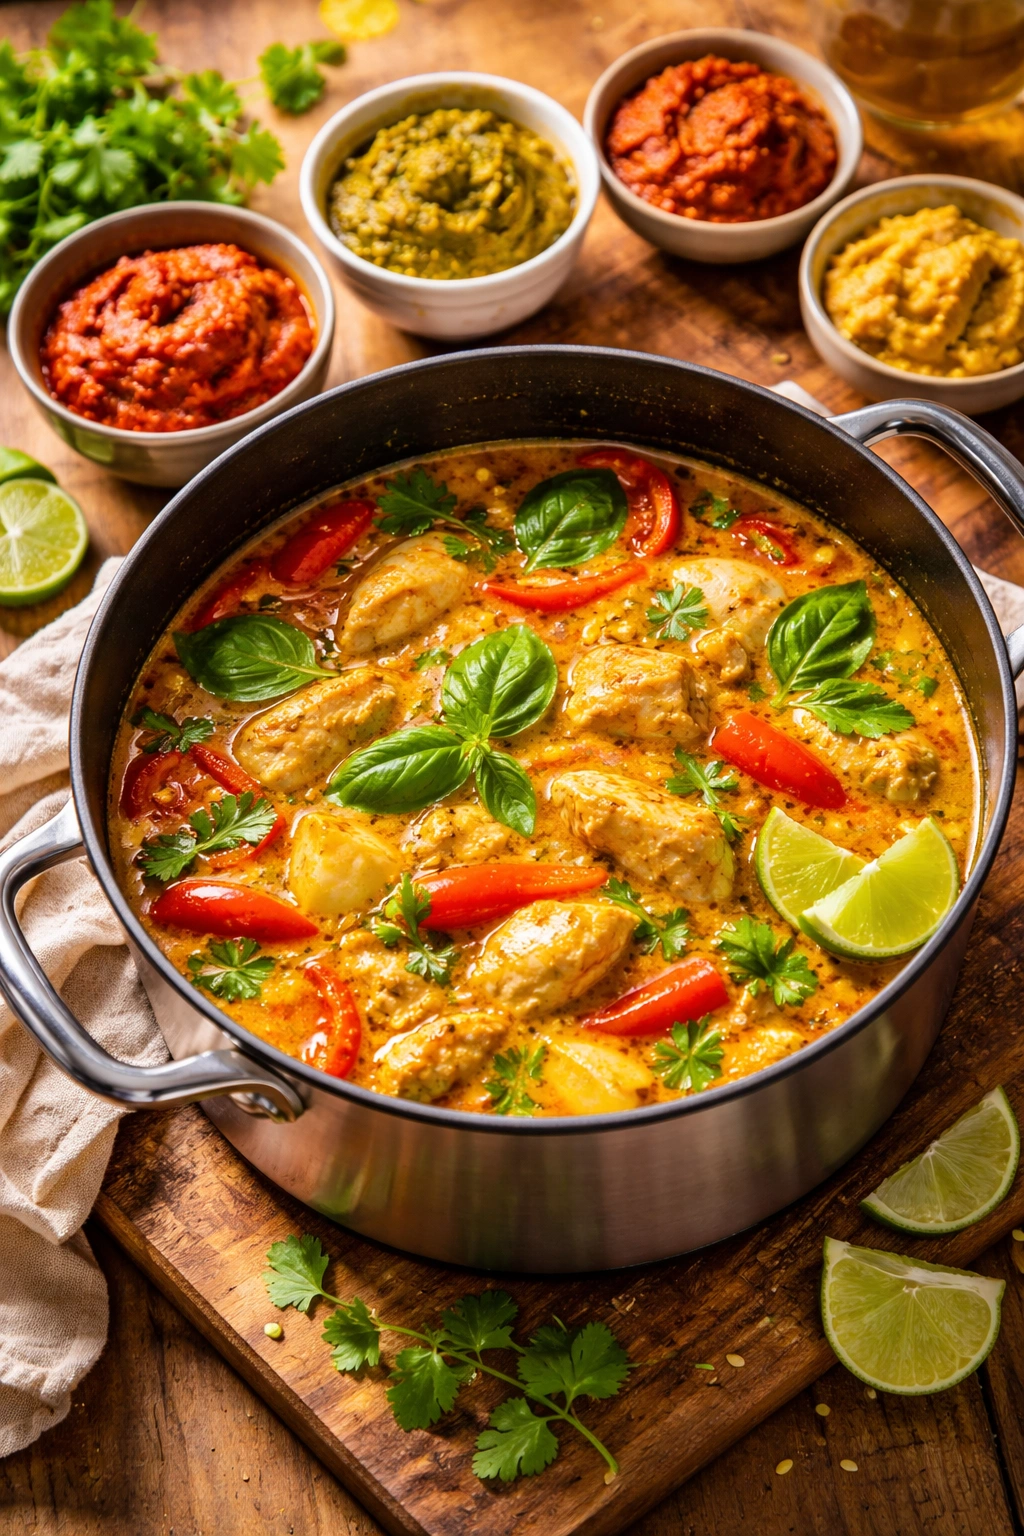
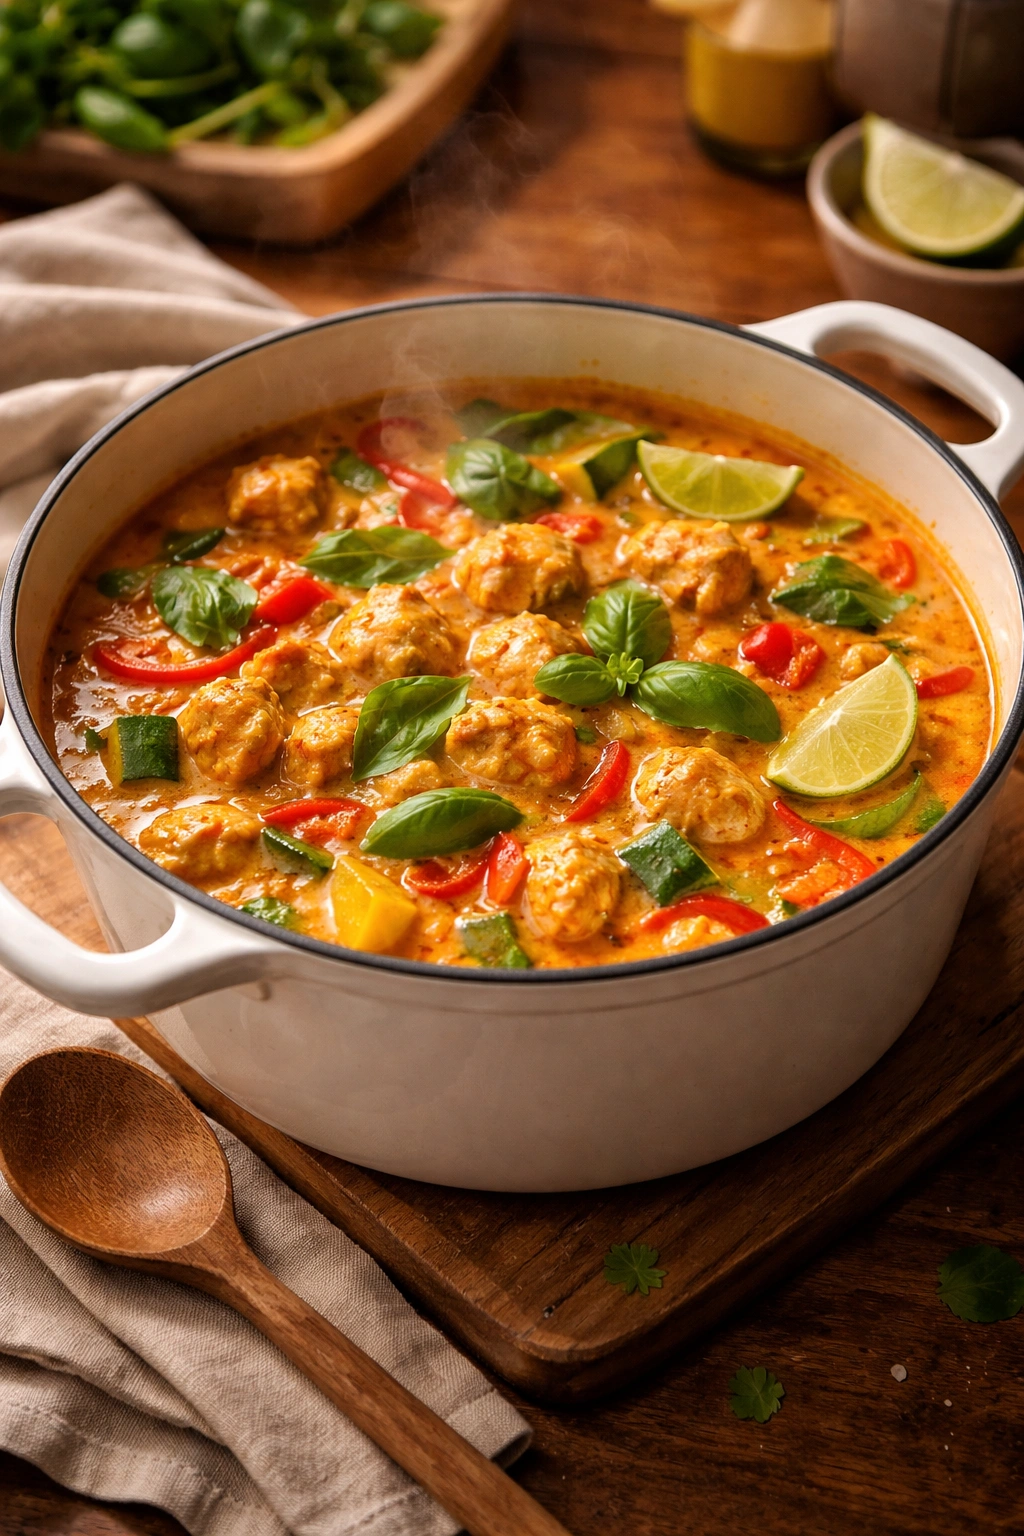
Finishing the Curry: Brightness and Balance
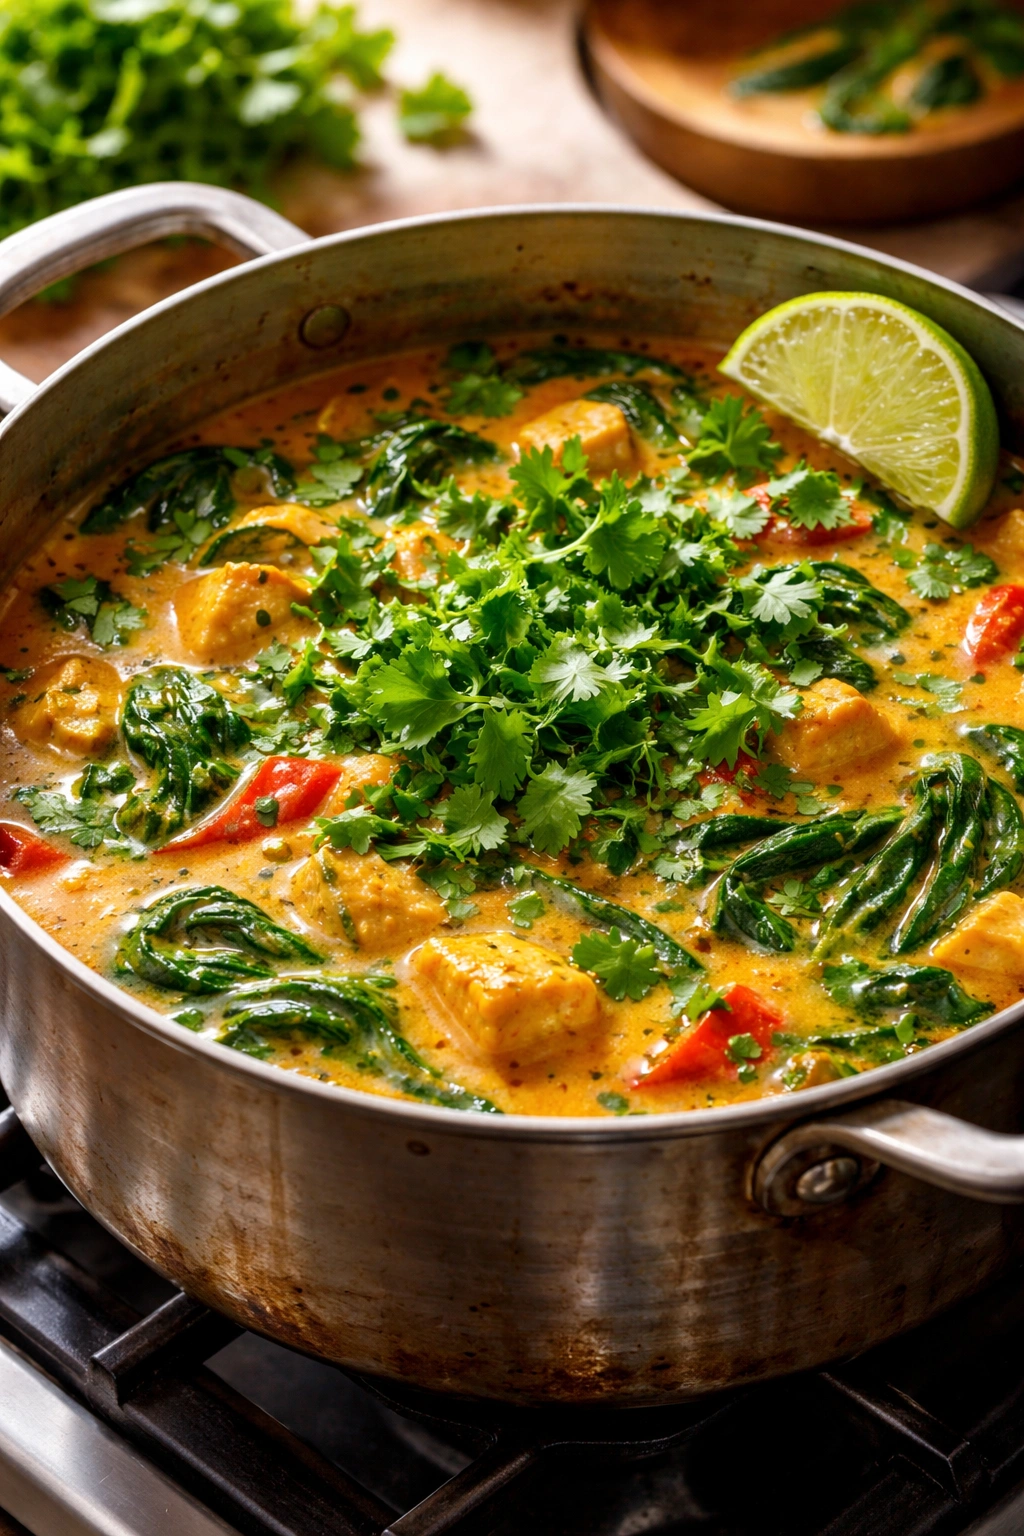
Once your chicken is cooked through and the sauce has reduced, remove the pot from the oven and stir in the fresh cilantro. If you’re using spinach, add it now—the residual heat will wilt it down beautifully. Taste your curry and add the lime juice, which should brighten everything immediately. This is your chance to adjust seasoning: if you want it spicier, add a bit more curry paste; if you want it sweeter, add a touch more brown sugar; if it needs salt, add a pinch more fish sauce or kosher salt.
The lime juice is non-negotiable. Even if you think you don’t like lime, add it anyway. What you’ll taste is not “lime-flavored curry” but rather a curry where all the other flavors suddenly pop into focus. It’s the difference between a good curry and a great one.
If you’re garnishing with Thai basil or regular basil, add it just before serving so it stays bright and fragrant. Fresh basil wilts quickly when exposed to heat, and you want to enjoy that herbal, slightly peppery flavor.
Choosing the Right Curry Paste: Why Brand Matters
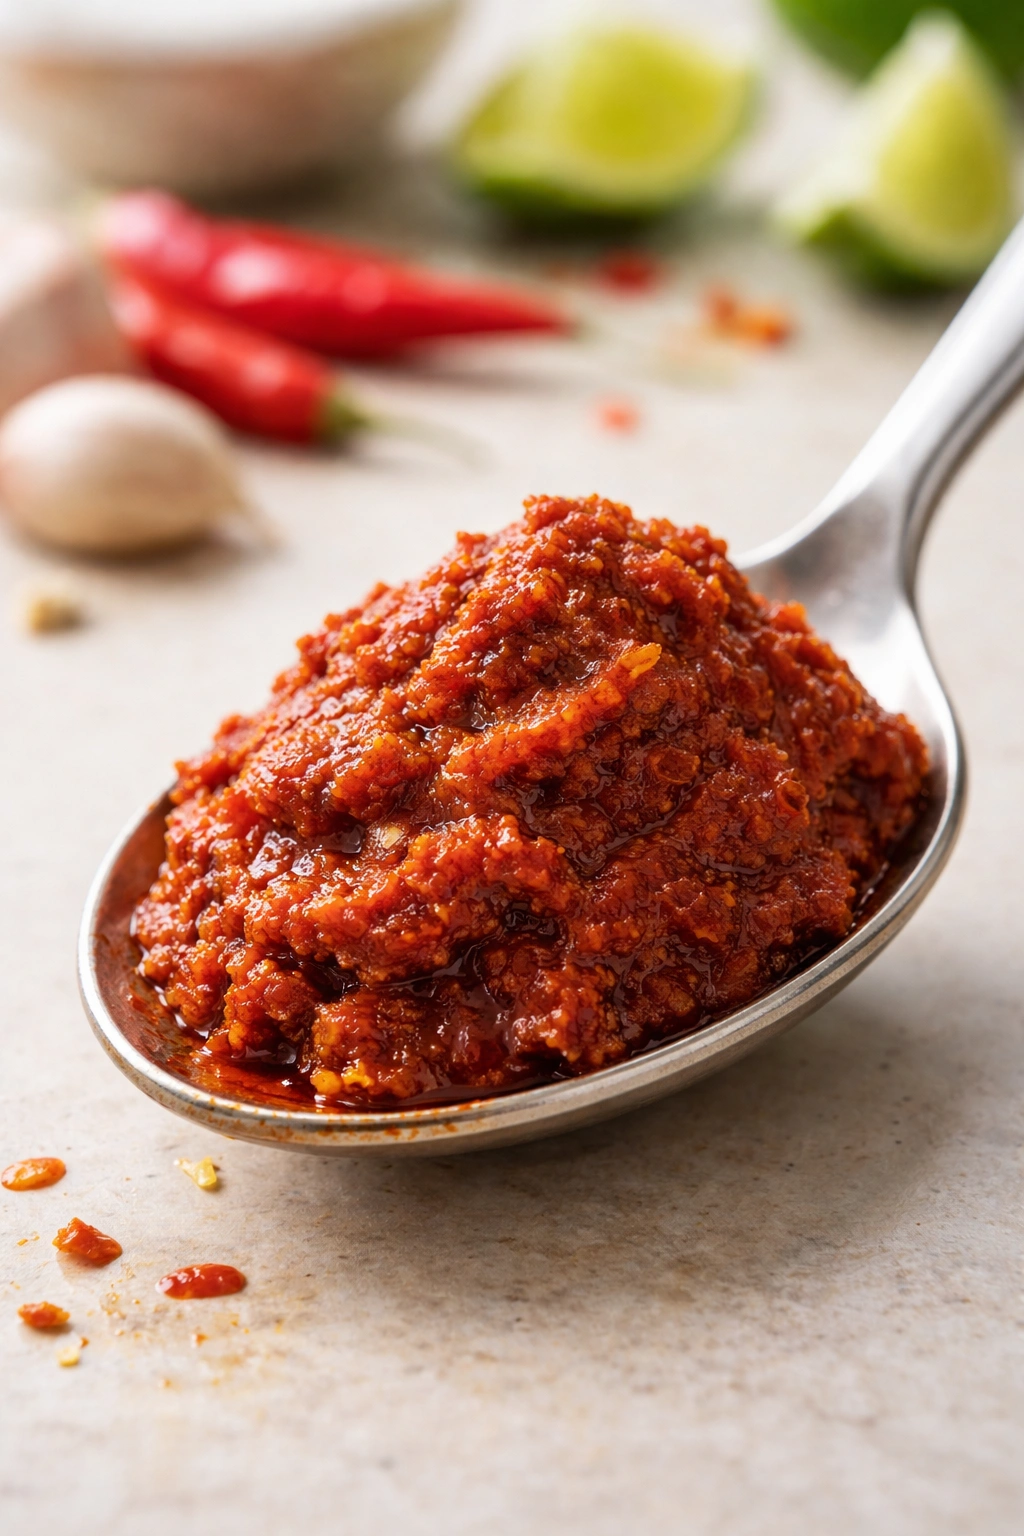
This might sound like overkill, but the brand of curry paste you choose genuinely impacts how good your curry tastes. Not all Thai red curry pastes are created equal, and the difference between a vibrant, complex curry and a flat, one-dimensional one often comes down to this single ingredient.
Maesri and Mae Ploy are the gold-standard brands that most Thai cooking enthusiasts recommend. Both are readily available at Asian markets and increasingly at mainstream grocery stores and online. Mae Ploy tends to be slightly spicier, while Maesri is a touch sweeter and milder. Whichever you choose, you’ll notice an immediate flavor difference compared to the Thai Kitchen brand that’s commonly found in regular supermarkets.
If you can only find Thai Kitchen brand at your local store, don’t skip the recipe—just start with a tablespoon of paste instead of two, taste as you go, and build up to the flavor level you enjoy. You might find you need to use closer to the full 3-tablespoon amount to achieve the depth of flavor you’re after.
Buy curry paste from the Asian section of your grocery store or, if that’s not available in your area, order it online. Once opened, store it in an airtight container in the refrigerator, where it keeps for several months. Some cooks even freeze it in ice cube trays for easy portioning.
Understanding Coconut Milk: Full-Fat Is Non-Negotiable
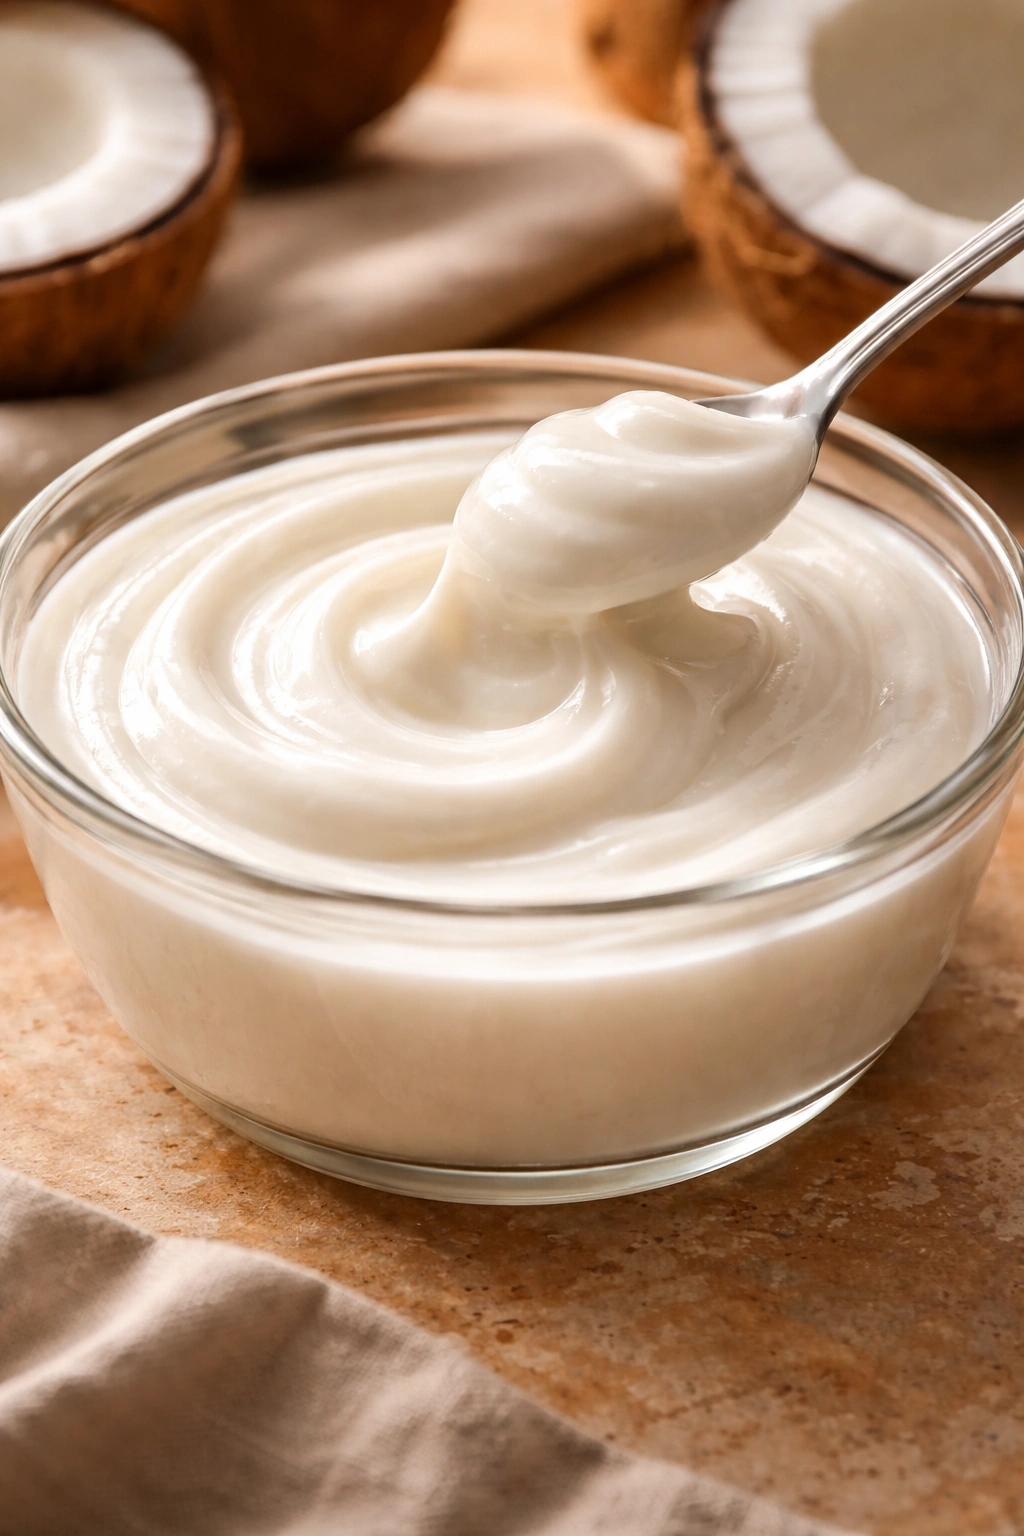
For this curry, you absolutely must use full-fat coconut milk. This isn’t about indulgence—it’s about texture and flavor. Full-fat coconut milk creates the silky, creamy sauce that defines a proper Thai curry. Light coconut milk won’t thicken properly, won’t develop the same richness, and will result in a watery, less satisfying dish.
The separation you sometimes see in a can of coconut milk is completely normal. The thick coconut cream naturally rises to the top, and the thinner liquid settles below. You can either give the can a good shake before opening (which blends them together) or stir the contents once you’ve opened it. Some cooks prefer to use the thick cream that rises to the top separately to create an extra-rich sauce, but mixing everything together works beautifully too.
Brands matter here as well. Aroy-D and Chaokoh are highly recommended by curry enthusiasts because they don’t curdle under heat or develop an unpleasant grainy texture the way some cheaper brands do. That said, Trader Joe’s full-fat coconut milk has many fans and is usually affordable and readily available.
Store unopened cans in your pantry—they last indefinitely. Once opened, transfer leftovers to an airtight container and refrigerate for up to 5 days, or freeze for up to 3 months.
The Importance of Fish Sauce: The Secret Weapon

Fish sauce is the ingredient that makes people pause. It’s pungent, it’s assertive, and it smells absolutely nothing like the final curry. But it’s also non-negotiable if you want authentic Thai flavor. Fish sauce provides umami—that savory depth that makes food taste richer and more complex than it should be possible with just a few ingredients.
You’re not adding fish sauce to make your curry taste fishy. You’re adding it to add depth, to round out flavors, and to make every other ingredient taste more like itself. It’s the same reason good chefs add anchovies to pasta sauce or miso to vegetable soups—not because they want the final dish to taste fishy, but because these fermented ingredients add a complexity that can’t be achieved any other way.
If you genuinely cannot find fish sauce or you have a strong aversion to it, soy sauce works as a substitute, though the flavor profile will be slightly different and more salty-forward. Some vegetarian cooks use a brand called Fysh, which is plant-based, though you may need to add a touch more to achieve the same depth.
Red Boat is the gold-standard fish sauce brand, though it’s more expensive than others. Tiparos is a solid mid-range option that’s widely available and affordable. Either one will produce excellent results.
Ingredient Flexibility: Make It Your Own
The beauty of a one-pot curry is how adaptable it is to what you have on hand and what you enjoy eating. The base formula—aromatic paste, coconut milk, protein, vegetables—is flexible enough to work with countless variations.
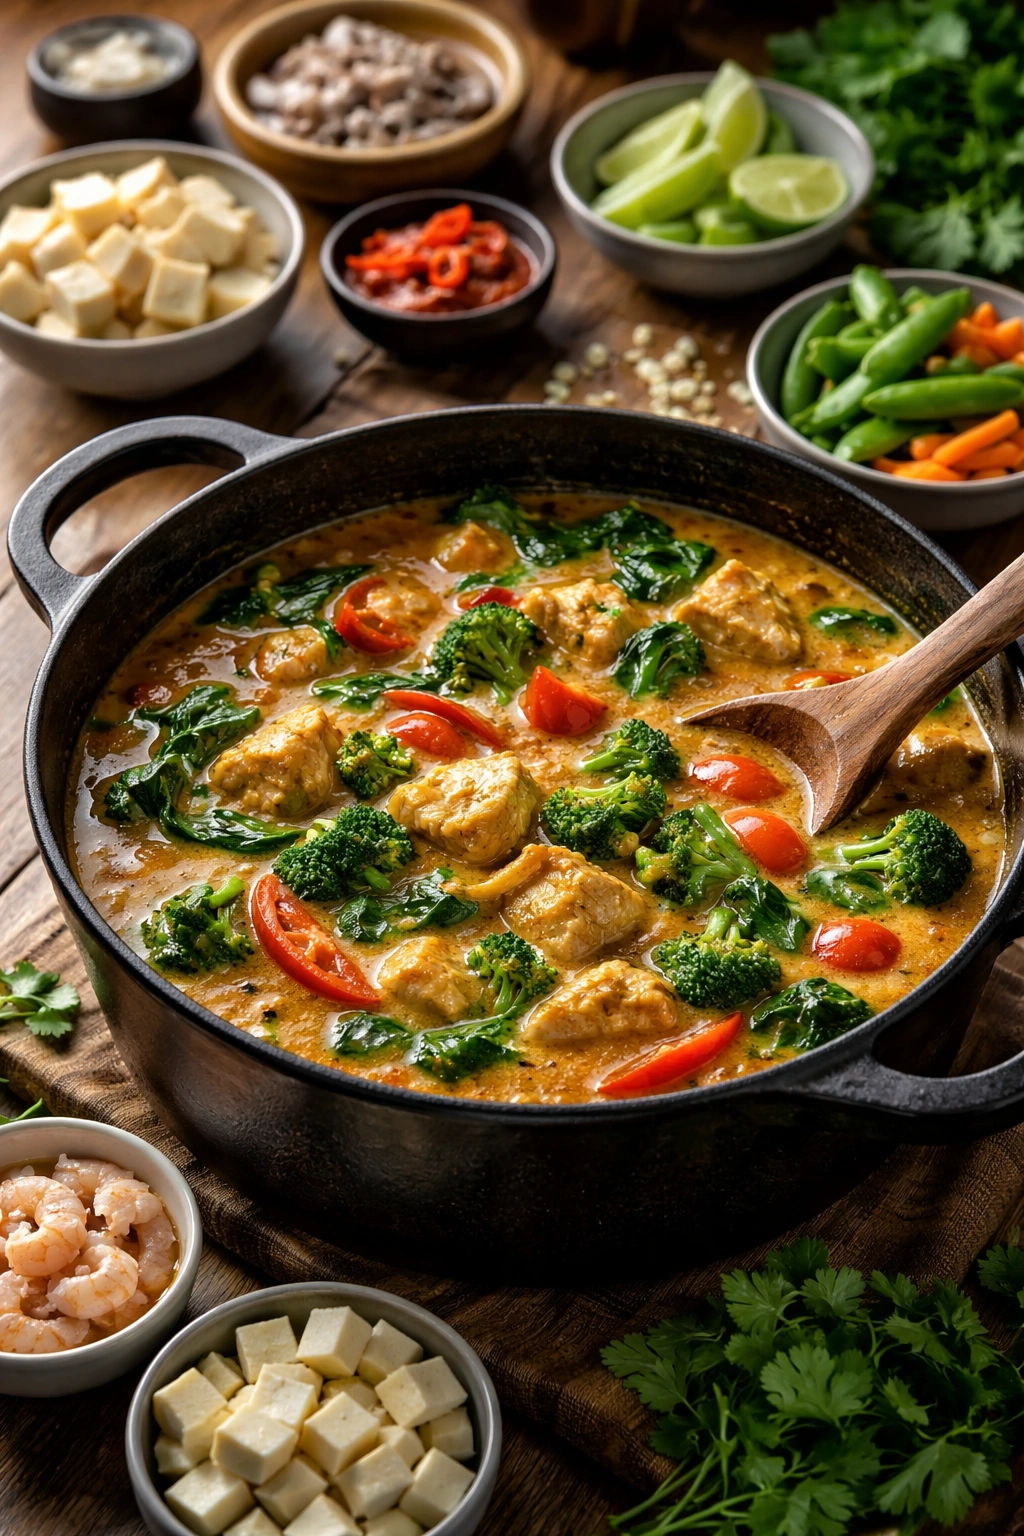
Protein Choices: Bone-in, skin-on chicken thighs and drumsticks are ideal because they stay moist and flavorful through the long cooking time. If you prefer boneless chicken breasts, reduce the oven time to 25 to 30 minutes and check for doneness earlier. Shrimp would work beautifully too—add them in the last 5 minutes of cooking so they don’t overcook. Firm tofu, pressed and cubed, makes an excellent vegetarian option. Even beef chuck, cut into chunks, transforms into something amazing with the same cooking method (increase oven time to about 1.5 to 2 hours).
Vegetable Additions: The spinach at the end is optional but wonderful. You can also add diced bell peppers, sliced carrots, cubed potatoes (these need to be added earlier to have time to cook through), green beans, broccoli, mushrooms, or peas. Add harder vegetables like carrots and potatoes at the same time as the chicken; add delicate vegetables like peas or spinach near the very end so they stay bright and don’t turn mushy.
Spice Level: Not everyone likes spicy food, and this curry is easily customizable. Start with 1.5 tablespoons of curry paste if you’re heat-sensitive, and build up from there. Add a touch more at the end if needed. Conversely, if you love heat, add an extra tablespoon of curry paste, or slice some fresh red chilies and add them to the pot.
Sweetness and Balance: Everyone’s palate is different. Some people love the richness and want a touch of extra brown sugar; others prefer less sweetness. Taste as you go. The final dish should taste balanced—you should taste the spice, the creaminess, the brightness of citrus, and a subtle sweetness. If any one element is overwhelming, adjust.
Common Mistakes and How to Avoid Them
Mistake: Using the wrong cut of chicken. Boneless, skinless chicken breasts are convenient, but they dry out easily during the long cooking time. Bone-in, skin-on thighs stay moist and flavorful. If you do use breasts, check them at 25 minutes and don’t let them cook longer than 30 to 35 minutes total.
Mistake: Skipping the seasoning step. Salt the chicken directly before it goes into the pot. Don’t rely on the sauce to season the meat. This extra step ensures every bite tastes fully seasoned and delicious.
Mistake: Using light coconut milk. I know I mentioned this, but it’s worth repeating because it’s the most common reason people end up with watery curry that doesn’t satisfy. Full-fat is essential. No substitutes.
Mistake: Not tasting and adjusting at the end. Every curry tastes a little different depending on the specific brand of curry paste you used, how much your sauce reduced, and personal preference. Always taste before serving and adjust salt, spice, sweetness, and lime juice. This 30-second step transforms an okay curry into one you’ll crave.
Mistake: Boiling the coconut milk vigorously. Coconut milk can break or separate if it boils too aggressively. Keep your heat at a gentle simmer, especially once the coconut milk is added. If you’re worried about this, remove the pot from the heat once the sauce is built and let the residual heat keep things warm while you prep the chicken.
Mistake: Adding the cilantro too early. Fresh cilantro’s bright flavor fades when heated. Add it right at the end, just before serving. The same goes for basil. Lime juice should also be added at the very end so its volatile aromatic compounds don’t cook off.
Variations: Adapt This Recipe to What You Love
Instant Pot Version: You can make this curry in an Instant Pot by using the sauté function to build your base, then pressure cooking the chicken for just 4 minutes before natural pressure release. This cuts total time down significantly, though the stovetop and oven methods produce equally good results—some cooks even prefer the deeper flavor development of the longer cooking.
Creamier Curry: Add an extra half-can of coconut milk if you prefer a more luxuriously creamy sauce. The trade-off is that the sauce won’t reduce and concentrate as much, so you might want to increase the curry paste slightly to maintain flavor intensity.
Green or Yellow Curry: Substitute green curry paste for red curry paste (or yellow for a milder version). The cooking method remains identical. Green curry tends to be more herbaceous, while yellow is often slightly sweeter and less spicy.
Panang Curry: If you can find Panang curry paste, it creates a slightly different flavor profile—usually a bit sweeter and sometimes with peanuts in the paste. It’s less spicy than red curry but deeply flavorful.
Coconut-Free Option: If you’re allergic to coconut or simply prefer not to use it, you can substitute half-and-half or heavy cream for the coconut milk. The flavor will be noticeably different—more Western and less authentically Thai—but it will still be a delicious, creamy curry.
Vegetarian or Vegan: Replace the chicken with extra vegetables, tofu, or legumes like chickpeas or lentils. Fish sauce can be replaced with soy sauce or omitted entirely. Some vegan cooks add a small amount of miso paste to replicate the umami that fish sauce would provide.
Storage, Make-Ahead, and Reheating
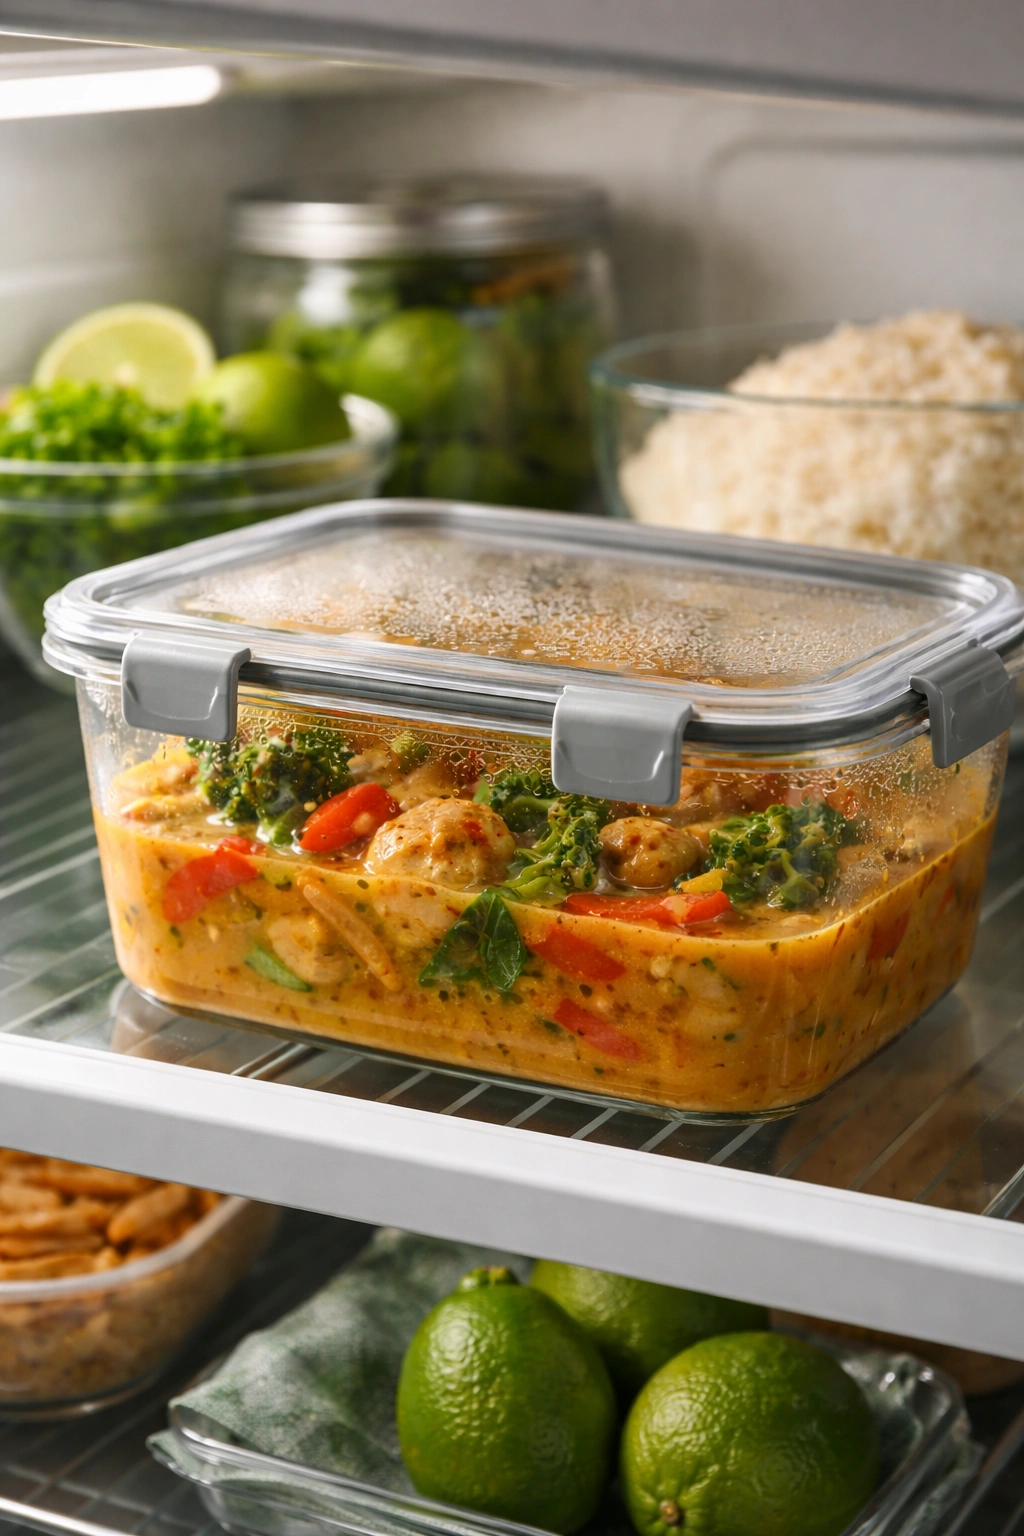
This curry actually improves overnight as the flavors meld and deepen. You can absolutely make it a day ahead and reheat it gently before serving.
Refrigerator Storage: Transfer leftover curry to an airtight container and refrigerate for up to 4 days. The chicken stays moist, and the sauce thickens slightly as it cools.
Freezing: Thai curry freezes beautifully for up to 3 months. Let it cool completely, then transfer to freezer-safe containers in meal-sized portions. Thaw overnight in the refrigerator before reheating.
Reheating: Warm gently on the stovetop over medium heat, stirring occasionally and adding a splash of coconut milk or water if the sauce seems too thick. Microwaving works too, though gentle stovetop heating produces better texture. Never boil—just warm through until steaming.
Make-Ahead Strategy: You can build the curry sauce 24 hours in advance, refrigerate it, and add the chicken when you’re ready to cook. This works wonderfully for busy weeknights. Alternatively, prep and measure all your ingredients (mise en place) the night before, then assemble and cook everything the next day.
Note on Fresh Herbs: If you’re making curry ahead to freeze, don’t add the fresh cilantro or basil before freezing. Add these garnishes fresh after reheating. The texture and flavor are much better this way.
What to Serve Alongside Your Curry
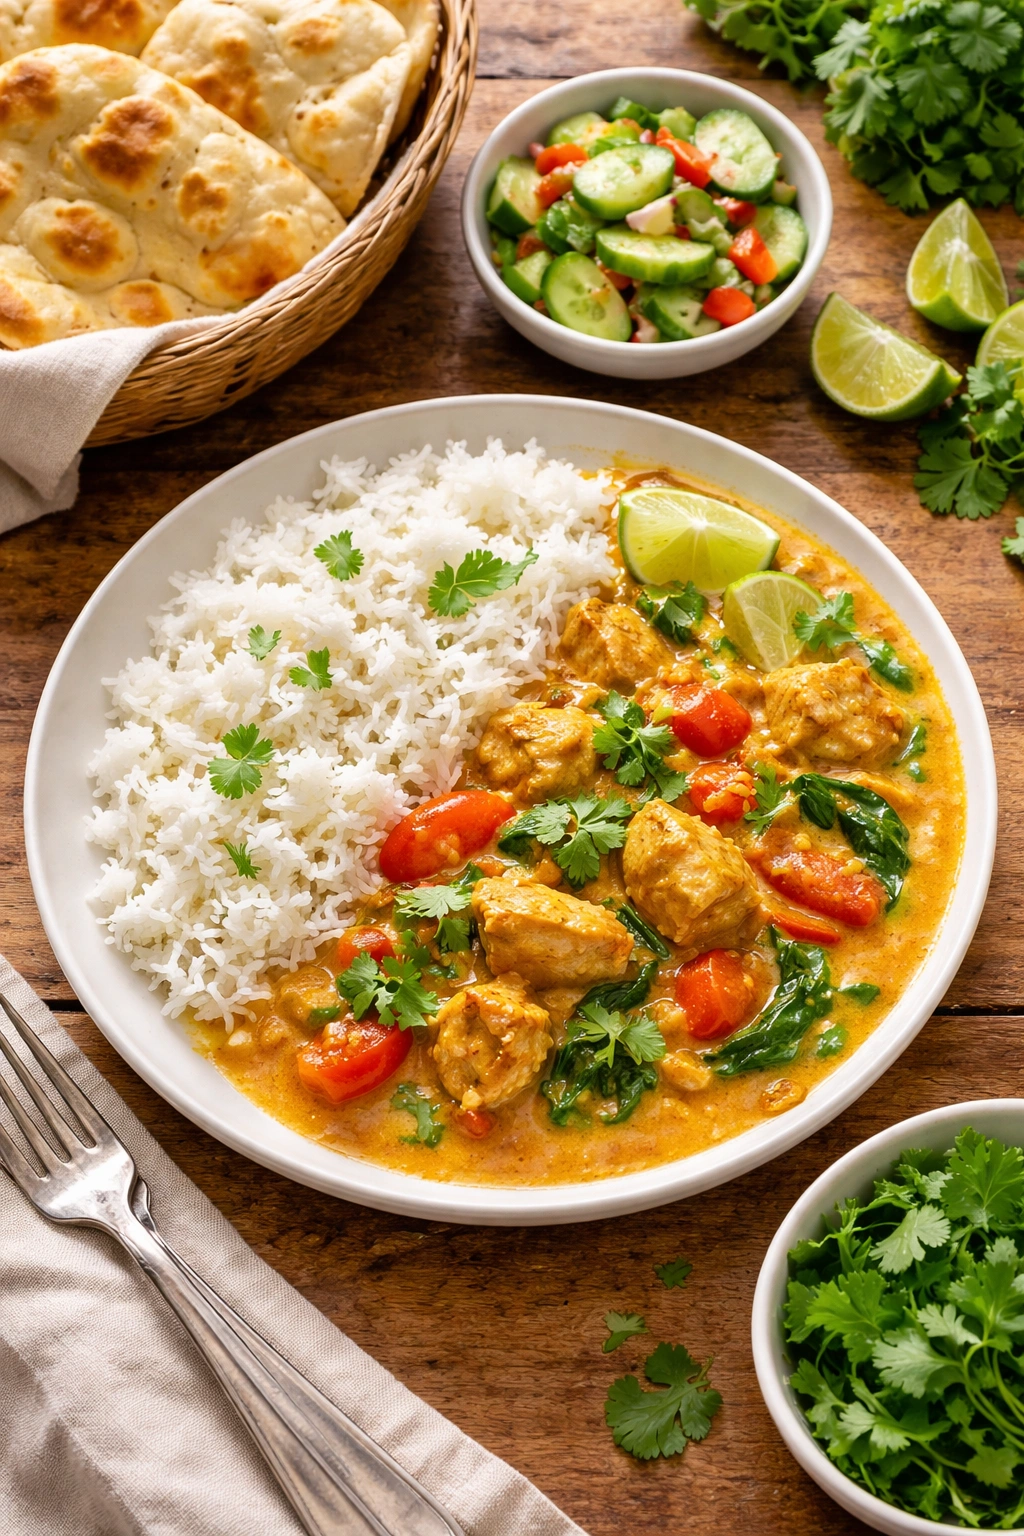
Thai curry demands rice. Jasmine rice is the traditional choice—its delicate floral notes and soft texture pair perfectly with the rich, spicy sauce. Basmati rice works well too if that’s what you have. White rice, brown rice, even coconut rice all work beautifully. The rice serves two purposes: it provides a neutral base that lets the curry shine, and it gives you something to soak up the incredible sauce.
Plan on about 1 cup of cooked rice per person, or a bit less if you’re serving other sides. Cook your rice while the curry is in the oven so everything finishes at the same time.
Beyond rice, consider these simple sides:
Naan or flatbread adds textural contrast and is wonderful for scooping up sauce. Warm store-bought naan in a dry skillet for 30 seconds per side if you want it soft, or toast it longer for crispier bread.
A simple vegetable side balances the richness of the curry. Roasted carrots, steamed broccoli, sautéed spinach, or a crisp cucumber salad all work. The brightness of a fresh salad is particularly nice—something with lime juice, cilantro, and a touch of fish sauce or soy sauce.
Lime wedges and extra cilantro should be on the table. People love to adjust their own plate, squeezing lime and adding more herbs to taste.
Optional garnishes: Toasted cashews or peanuts add pleasant crunch. Sliced fresh chilies provide heat and visual appeal. Fried shallots add complexity and crispness.
Flavor Customization: Tasting and Adjusting
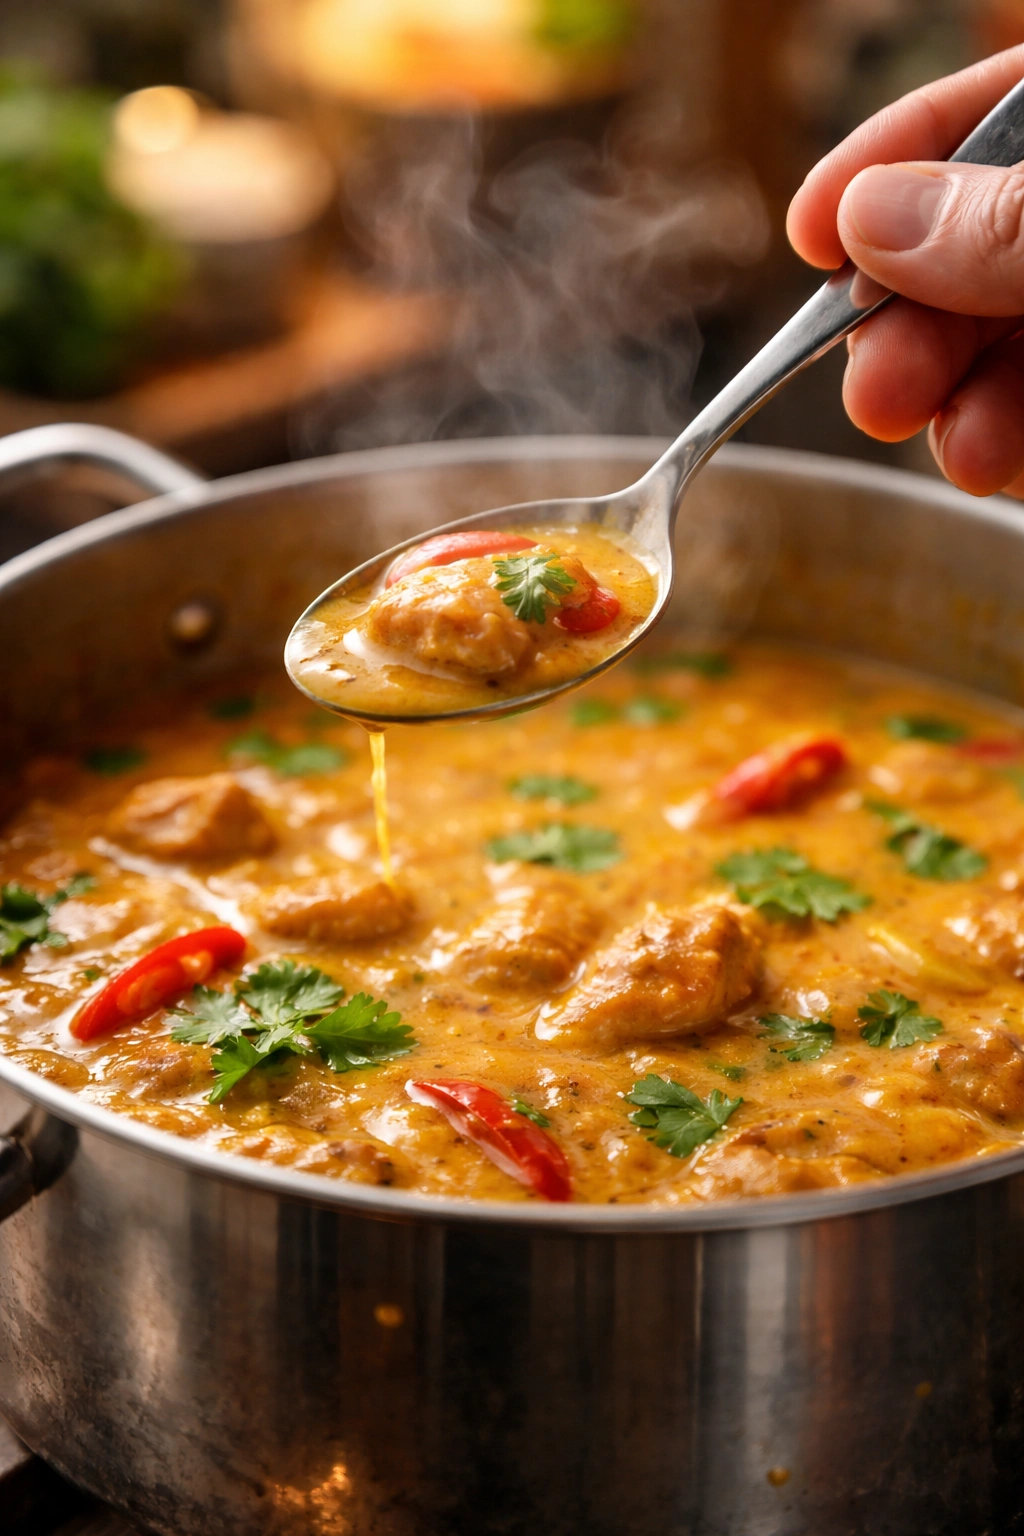
This is where confidence in curry-making comes from—understanding that there’s no single “correct” Thai curry, but rather infinite variations based on personal preference and what tastes good to you.
Taste your curry before serving. Use a clean spoon and take a small spoonful of sauce with a little chicken. What are you tasting? If the spice is overwhelming, add more coconut milk to dilute it. If it tastes flat or lacking depth, add more fish sauce or soy sauce—just a teaspoon at a time. If it needs sweetness, add a bit more brown sugar. If it tastes dull or one-dimensional, add lime juice—it opens up all the other flavors.
Remember that rice will dilute flavors slightly, so a curry that tastes assertive on its own will be perfectly balanced once you add rice. But you want to taste bold spice, savory depth, subtle sweetness, and brightness all working together. None should be overwhelming; all should be present.
The beauty of this approach is that once you make a curry or two, you’ll develop an intuitive sense for these adjustments. You’ll know whether you like it spicier, sweeter, or more savory. You’ll have preferences about which curry paste brand tastes best to you. You’ll discover whether you want more or less sauce. That’s when curry-making stops feeling like following instructions and starts feeling like cooking.
Why This Curry Works for Weeknight Cooking
After a long day, the last thing anyone wants is a complicated recipe with multiple pans, precise timing, and techniques that feel out of reach. This curry eliminates all of that friction. Fifteen minutes of actual prep—slicing an onion, mixing a sauce, seasoning chicken—and then the oven does the work. You can shower, answer emails, help with homework, or simply sit down with a cup of tea while your dinner cooks.
The result is a meal that tastes like you spent hours in the kitchen, that feels special enough for guests, and that’s genuinely better than most restaurant versions. It’s not because the technique is complicated—it’s because you’re using good ingredients, building flavor intentionally, and taking the time to taste and adjust.
Thai curry teaches a valuable cooking lesson: complexity doesn’t require complication. Some of the most impressive dishes are the simplest to execute. They just require a few quality ingredients, an understanding of flavor balance, and the confidence to adjust based on what tastes good to you.
Final Thoughts
A weeknight Thai curry isn’t a compromise meal you make when you don’t have time to cook properly. It’s a fully realized, deeply flavorful, genuinely impressive dinner that happens to be easy. Once you make it once, you’ll find yourself returning to it regularly—not because you’re stuck in a rut, but because it delivers everything you want from dinner: minimal stress, maximum flavor, and the kind of satisfaction that comes from eating something really, truly delicious.
Keep coconut milk, curry paste, and fish sauce in your pantry at all times. Buy chicken or vegetables from wherever you shop. Spend 15 minutes on a weeknight building a sauce. Slide everything into the oven. And within an hour, you’ll be eating food that makes you feel like both a home cook and someone with access to authentic Thai flavors. That’s the whole point—making something that feels luxurious and special without the complexity that would make weeknight cooking feel like a burden.
Your weeknight self will thank you every single time you make this.