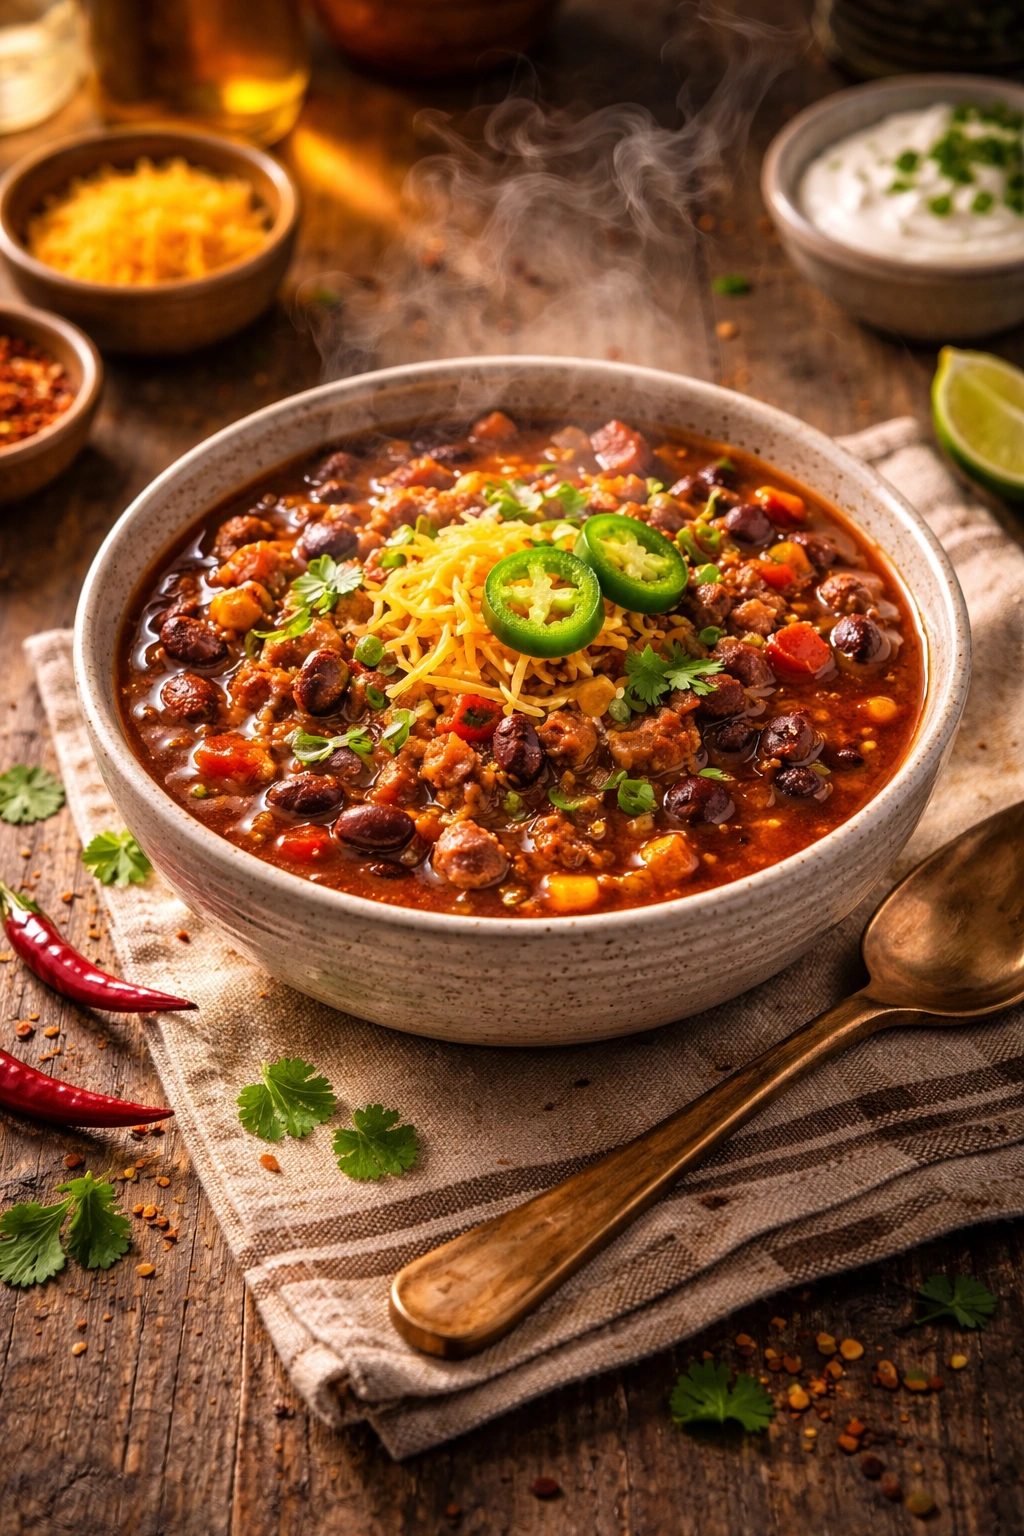
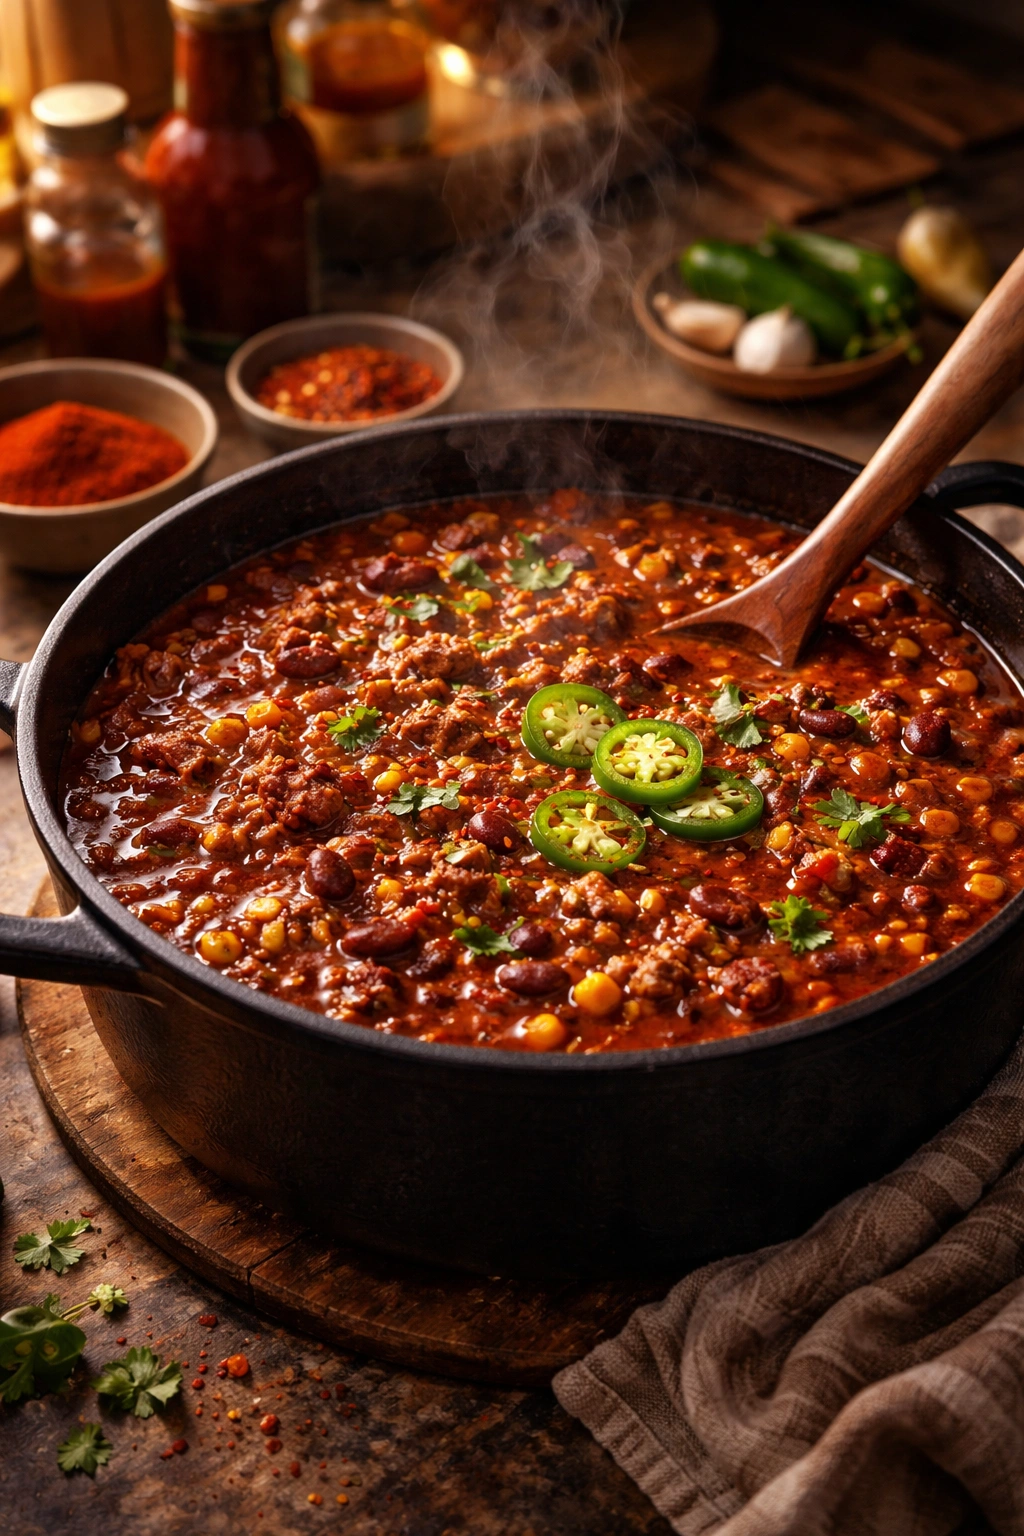
There’s nothing quite like the comfort of a steaming bowl of chili when cold settles in and temperatures drop. If you’re the type who craves bold flavors and doesn’t mind a little heat in your food, then spicy chili is your answer to those nights when you need something warm, substantial, and genuinely satisfying. This isn’t just any chili—it’s the kind that builds heat gradually with each spoonful, creates a pleasant tingle on your lips, and leaves you feeling cozy from the inside out.
The beauty of spicy chili lies in its versatility. You can dial the heat up or down based on your preference, customize the meat and beans to match what you have on hand, and even make it a day or two ahead so the flavors deepen and blend together beautifully. Whether you’re feeding a crowd on game day, meal prepping for the week, or simply treating yourself to a warming dinner after a long day, this recipe delivers every single time.
Why Spicy Chili Is the Ultimate Cold-Weather Comfort Food
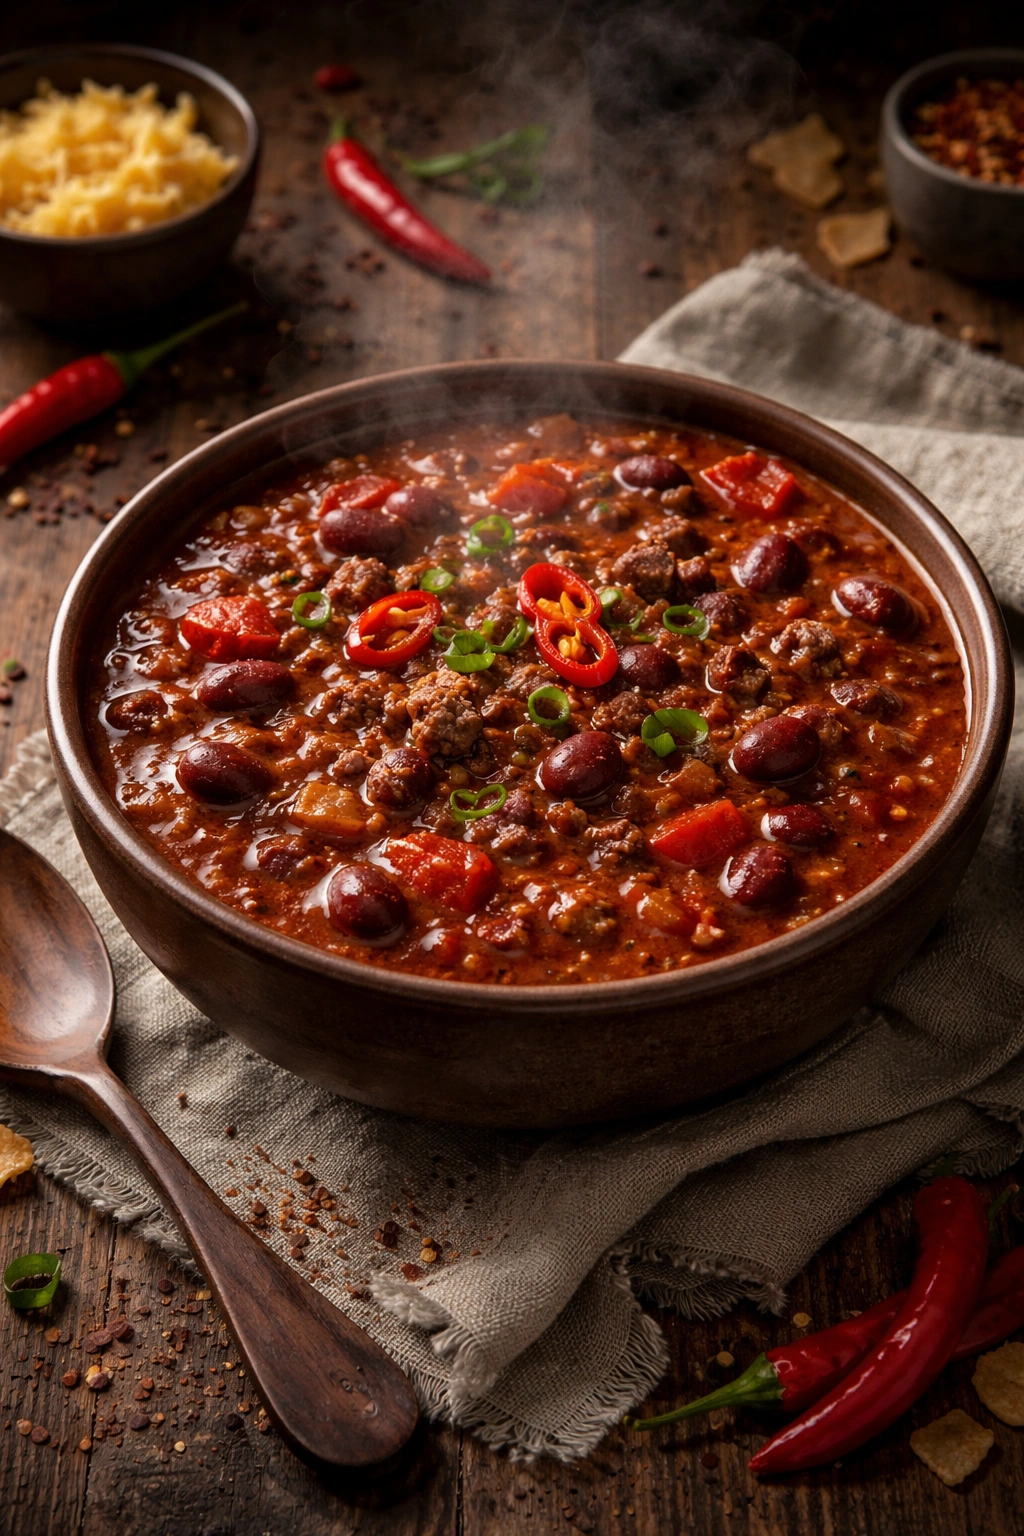
When the temperature drops, your body naturally craves warming foods that satisfy on both a physical and emotional level. Chili hits all those marks perfectly. The heat from spicy peppers and chili powder doesn’t just warm your mouth—it triggers your body’s natural cooling response, which actually helps regulate temperature and can make you feel more comfortable in cold environments. It sounds counterintuitive, but eating something hot and spicy on a cold night creates a genuinely cozy sensation.
Beyond the warmth, spicy chili offers incredible nutritional benefits. Ground beef provides high-quality protein and iron, while kidney beans and black beans add fiber and plant-based protein. Tomatoes deliver lycopene and vitamin C, and the various spices bring antioxidants and anti-inflammatory compounds to the bowl. You’re not just getting comfort food—you’re getting genuine nutrition packaged in something that tastes indulgent.
The adaptability is another reason spicy chili deserves a permanent place in your rotation. You can make it thick and stew-like, or keep it brothier if you prefer. You can load it with beans for extra heartiness or skip them entirely for a more traditional Texas-style approach. Some cooks add unexpected ingredients like chocolate or cinnamon to deepen the flavor, while others keep it straightforward and simple. The foundation is flexible enough to work with whatever you have available.
Understanding Heat and Spice in Chili
Not all heat is created equal in the chili world, and understanding the difference between various spicy elements helps you build a chili that delivers the perfect level of fire for your preference. Many home cooks make the mistake of thinking that more of everything equals more heat, but that’s not quite how it works.
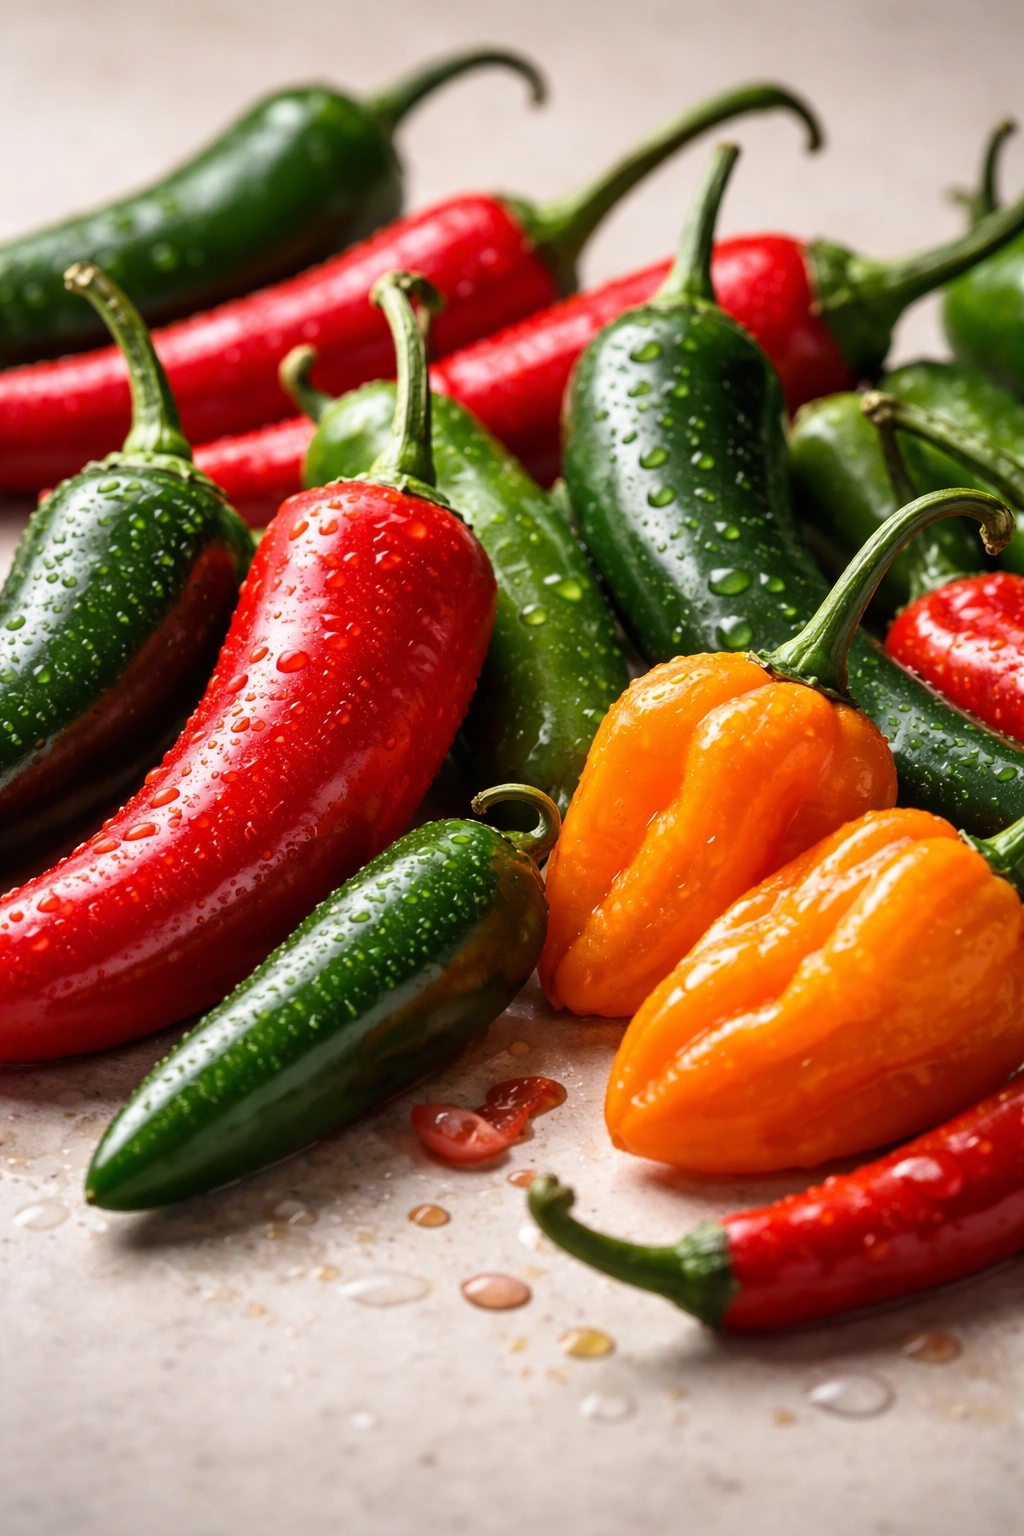
Chili powder forms the backbone of spicy chili’s heat profile. This is actually a blend of dried chili peppers with garlic, cumin, and other spices, so when you add chili powder, you’re not just adding heat—you’re adding a complex flavor foundation. Ground cayenne pepper brings pure, straightforward heat with less flavor complexity. Jalapeño and serrano peppers add fresh, bright heat along with herbaceous notes. Habanero peppers deliver fruity undertones alongside their significant spice level. Understanding these nuances means you can build layers of heat rather than just creating something painfully hot.
The timing of when you add spicy elements matters tremendously. When you “bloom” spices in oil or in the hot meat mixture, you unlock their essential oils and intensify their flavors. This happens in the first few minutes after browning the meat and before you add the wet ingredients. This step makes a dramatic difference in the final result—it’s the difference between a flat, one-dimensional heat and a rounded, complex spiciness that builds as you eat.
Heat tolerance varies wildly from person to person, and it’s influenced by genetics, past experience, and even your mood. A good approach is to start conservatively with the hot elements, then add more as you taste, rather than dumping everything in at once and having no way to dial it back. You can always add more habanero or sriracha, but you can’t remove it once it’s in the pot.
Building Your Signature Spice Blend
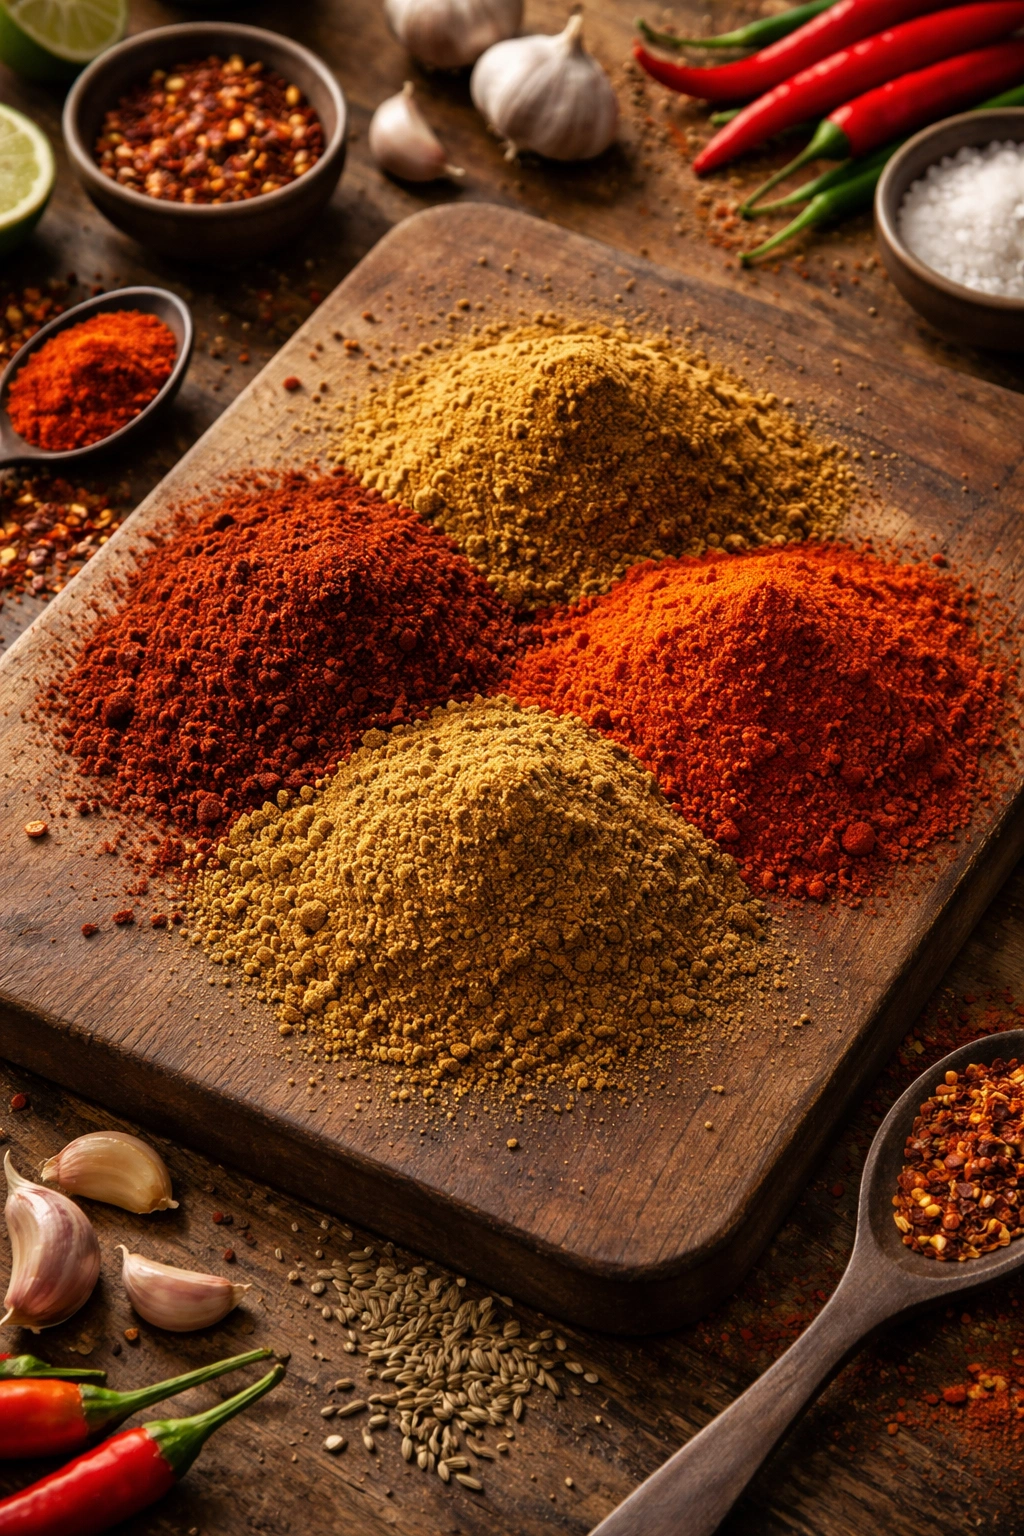
Creating a spicy chili that’s genuinely crave-worthy means balancing heat with depth and complexity. The best spicy chili recipes include at least three different sources of heat, which creates layers rather than just one-note fire. A combination of chili powder (which brings warmth and some earthiness), cayenne pepper (which brings pure heat), and fresh peppers (which bring brightness and fresh flavor) works beautifully together.
Start with the foundation: 2-3 tablespoons of quality chili powder mixed with 1-2 teaspoons of ground cumin, 1 teaspoon of smoked paprika, and 1/2 teaspoon of cayenne pepper creates a solid base. From there, you can adjust based on your heat preference. If you want it mild-to-medium, stick with these amounts. If you want genuine heat, add another 1/2 teaspoon of cayenne and include 1-2 fresh jalapeños or serrano peppers diced and added to the pot.
The secret ingredient that makes spicy chili sing? A pinch of sugar or a tablespoon of brown sugar balances the heat and brings out deeper savory notes. This isn’t about making your chili taste sweet—it’s about creating complexity. Some recipes include molasses, honey, or even a touch of dark chocolate to achieve this balance. The sweetness doesn’t fight the heat; it makes the heat more nuanced and enjoyable.
Don’t overlook the power of Worcestershire sauce, hot sauce, or even a splash of lime juice to round out the flavor profile. These acidic and umami-rich additions make the spicy elements feel more rounded and complete rather than harsh.
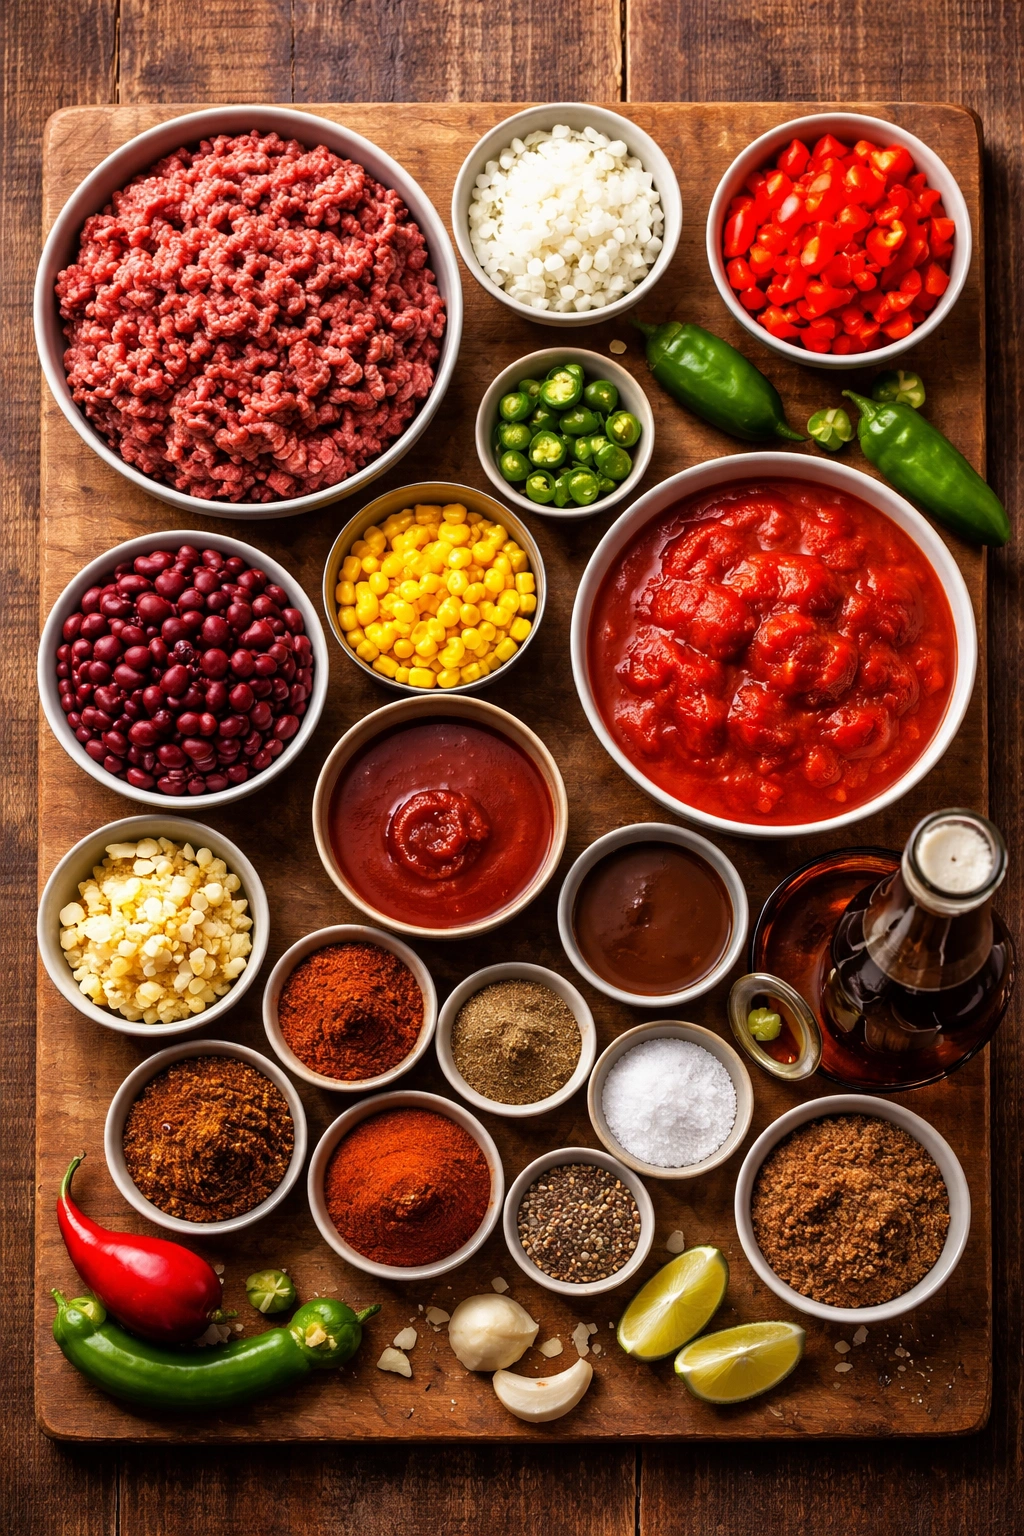
Essential Ingredients for Perfect Spicy Chili
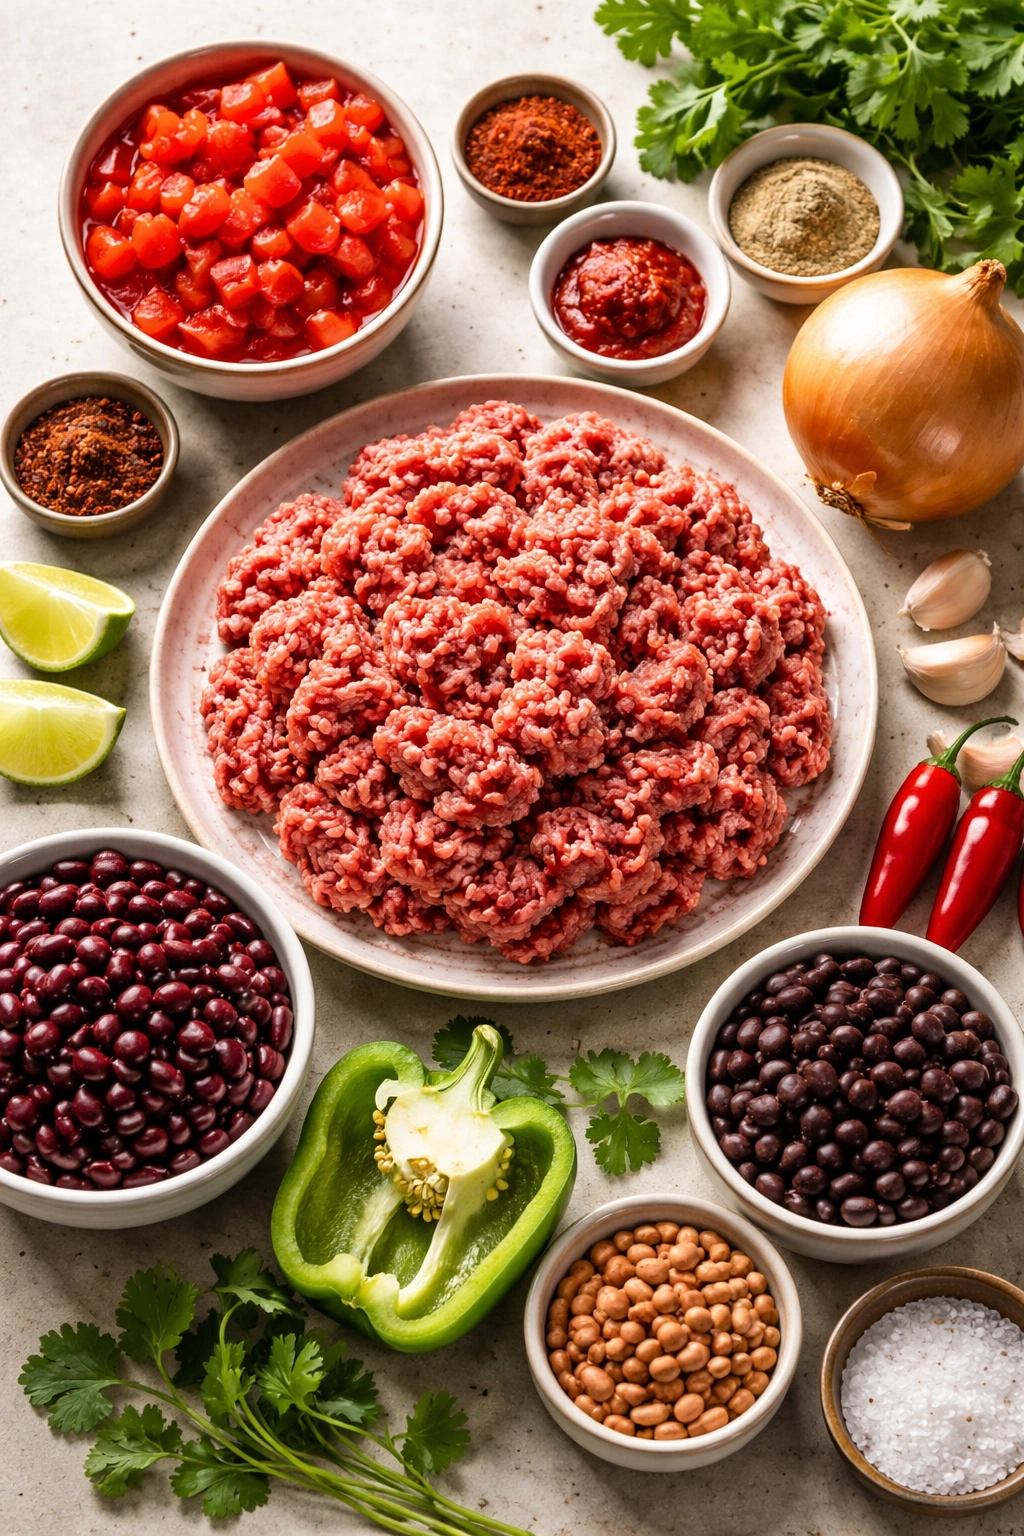
Getting the ingredient list right sets you up for success before you even turn on the stove. High-quality ground beef (80/20 blend is ideal) provides enough fat for flavor without making the chili greasy. If you prefer leaner meat, use 90/10, but you may need to add a bit more oil during cooking. Ground turkey or chicken work beautifully too—they just need slightly more seasoning to develop that rich, satisfying flavor.
Canned tomatoes are your friend in chili-making. One 28-ounce can of whole tomatoes that you’ll chop yourself (rather than pre-diced) tends to have better flavor because they haven’t been sitting broken down in liquid. However, pre-diced works perfectly well if that’s what you have. Tomato paste concentrates flavor—just a few tablespoons added early in the cooking process deepens and enriches everything. Some recipes use Rotel diced tomatoes with chilies and peppers, which adds a convenient layer of heat and flavor.
Beans are where personal preference really matters. Kidney beans are classic, but black beans, pinto beans, or a combination of several types all work. Some cooks prefer beans, others skip them entirely for a meat-heavy version. If you use canned beans, drain and rinse them well to reduce bloating and excess sodium. If you cook dried beans yourself, you have more control over the texture and can make them exactly as tender or firm as you prefer.
Flavorful broth (beef or chicken, depending on your meat choice) creates the liquid foundation. Never use the canned stuff you’d add to gravy—seek out quality broth with real meat and vegetable flavoring. Homemade is best, but quality store-bought broth makes a noticeable difference. The difference between thin, watery broth and rich, deeply flavored broth changes the entire character of your chili.
Onions and garlic are non-negotiable. Fresh chopped onion and minced garlic cook down and create a flavor foundation that no seasoning packet can replicate. One large onion (or two medium) and 3-4 garlic cloves minimum provide the backbone for everything else.
Serving and Timing Information
Yield: Serves 6-8 people | Makes approximately 3 quarts
Prep Time: 20 minutes (active chopping and prep)
Cook Time: 45 minutes to 1 hour (stovetop) or 4-6 hours (slow cooker on low)
Total Time: About 1 hour active cooking time, plus optional resting time
Difficulty: Intermediate — The techniques are straightforward, but balancing multiple spice elements and getting the consistency right takes a bit of practice and attention.
This recipe produces enough to feed a group with generous portions, and it’s absolutely worth making extra because it freezes beautifully and tastes even better the next day.
Complete Recipe for Spicy Chili That Warms You Up
The Ingredients
For the Base and Aromatics:
- 2 tablespoons olive oil or neutral cooking oil
- 2 pounds ground beef (80/20 blend) or ground turkey
- 1 large yellow onion, finely diced
- 4 garlic cloves, minced
- 1 large green bell pepper, diced (optional, but adds sweetness and body)
- Salt and freshly ground black pepper to taste
For the Spice Profile:
- 3 tablespoons chili powder
- 1½ teaspoons ground cumin
- 1 teaspoon smoked paprika
- 1 teaspoon dried oregano
- ½ teaspoon garlic powder
- ½ teaspoon onion powder
- ½ to 1 teaspoon ground cayenne pepper (depending on heat preference)
- ¼ teaspoon ground black pepper
For the Liquid Base and Beans:
- 1 (28-ounce) can whole tomatoes, drained and roughly chopped
- 1 (15-ounce) can tomato sauce
- 3 tablespoons tomato paste
- 2 cups beef or chicken broth
- 1 (15-ounce) can dark red kidney beans, drained and rinsed
- 1 (15-ounce) can black beans, drained and rinsed
- 1½ tablespoons Worcestershire sauce
For Depth and Balance:
- 1 tablespoon brown sugar (or 1 teaspoon honey)
- 1 to 2 fresh jalapeño peppers, seeded and finely diced (optional, for fresh heat)
- 1 to 2 teaspoons hot sauce, sriracha, or additional cayenne (add to taste)
For Serving:
- Shredded sharp cheddar cheese
- Full-fat sour cream
- Sliced green onions
- Fresh cilantro (optional)
- Diced red onion
- Tortilla chips or crushed Fritos
- Sliced fresh jalapeños
The Instructions
Prepare Your Ingredients:
-
Dice the onion and bell pepper into uniform ¼-inch pieces—this ensures even cooking. Mince the garlic finely. If using fresh jalapeños, wear food-safe gloves and carefully remove the seeds and white membrane, then dice finely—the oils from these peppers will cause a burning sensation if they touch your eyes or mouth, so work carefully and avoid touching your face.
-
Measure all your dried spices into a small bowl and stir to combine. This “mise en place” approach prevents you from forgetting a spice and ensures even distribution throughout the chili.
-
Open all your canned ingredients and have them ready. If using whole tomatoes, drain them in a colander and roughly chop them by hand—don’t blend them into mush.
Brown the Meat and Build Flavor:
-
Heat the oil in a large Dutch oven or heavy-bottomed soup pot over medium-high heat until it shimmers. This takes about 1-2 minutes. You want the oil genuinely hot so the meat sears rather than steams.
-
Add the ground beef (or turkey) and break it up with a wooden spoon or spatula as it cooks, working it into small, uniform crumbles. Cook for 5-7 minutes, stirring occasionally, until the meat is completely browned and no pink remains. This step develops depth of flavor that you absolutely cannot rush. The Maillard reaction—which creates the browned, caramelized flavor—requires adequate heat and time.
-
Drain the excess fat from the pot, leaving about 1 tablespoon. Some fat remaining adds richness to the final chili, so don’t drain it completely.
-
Add the diced onion and bell pepper to the hot meat, sprinkle with a generous pinch of salt and pepper, and cook for 3-4 minutes, stirring frequently, until the vegetables soften slightly and release their aroma. They should not be fully cooked yet—they’ll finish cooking during the long simmer.
-
Add the minced garlic and cook for another 30 seconds, stirring constantly, until fragrant. Do not let the garlic brown or burn—it should just release its aroma.
Bloom the Spices:
-
Sprinkle your measured spice blend over the meat and vegetable mixture. Stir constantly for about 1-2 minutes. This is crucial—blooming the spices in the hot fat unlocks their essential oils and intensifies their flavors, creating a much deeper, more complex taste than simply adding them to the wet ingredients. You should smell the spices becoming fragrant and toasty.
-
Stir in the tomato paste and cook for 1-2 minutes, stirring frequently, until it darkens slightly and clings to the meat. This deepens the tomato flavor significantly.
-
Pour in the Worcestershire sauce and stir well to combine.
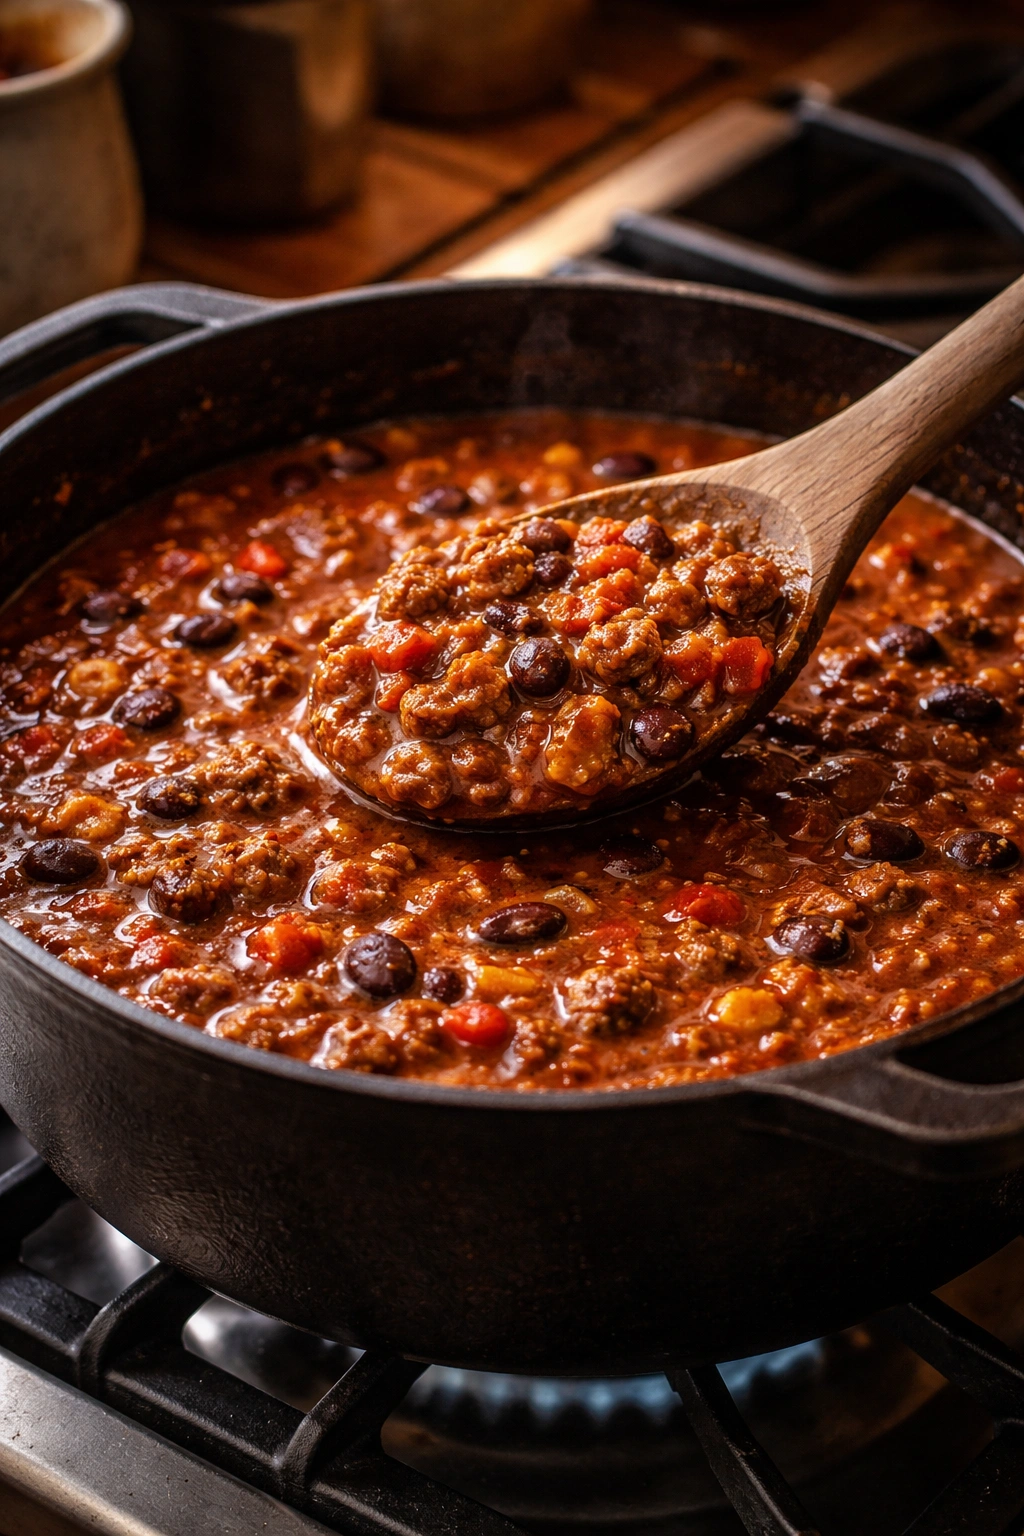
Build the Chili:
-
Add the chopped tomatoes (with any juices), tomato sauce, and beef broth. Use a wooden spoon to scrape up any browned bits stuck to the bottom of the pot—these flavorful fond bits are liquid gold and add incredible depth to your chili.
-
Stir in both cans of beans (kidney and black) along with the brown sugar. Mix well until everything is evenly distributed.
-
If using fresh jalapeños, add them now. If you’re adding hot sauce or additional cayenne, wait and add these in small amounts while tasting—you can always add more heat, but you can’t remove it.
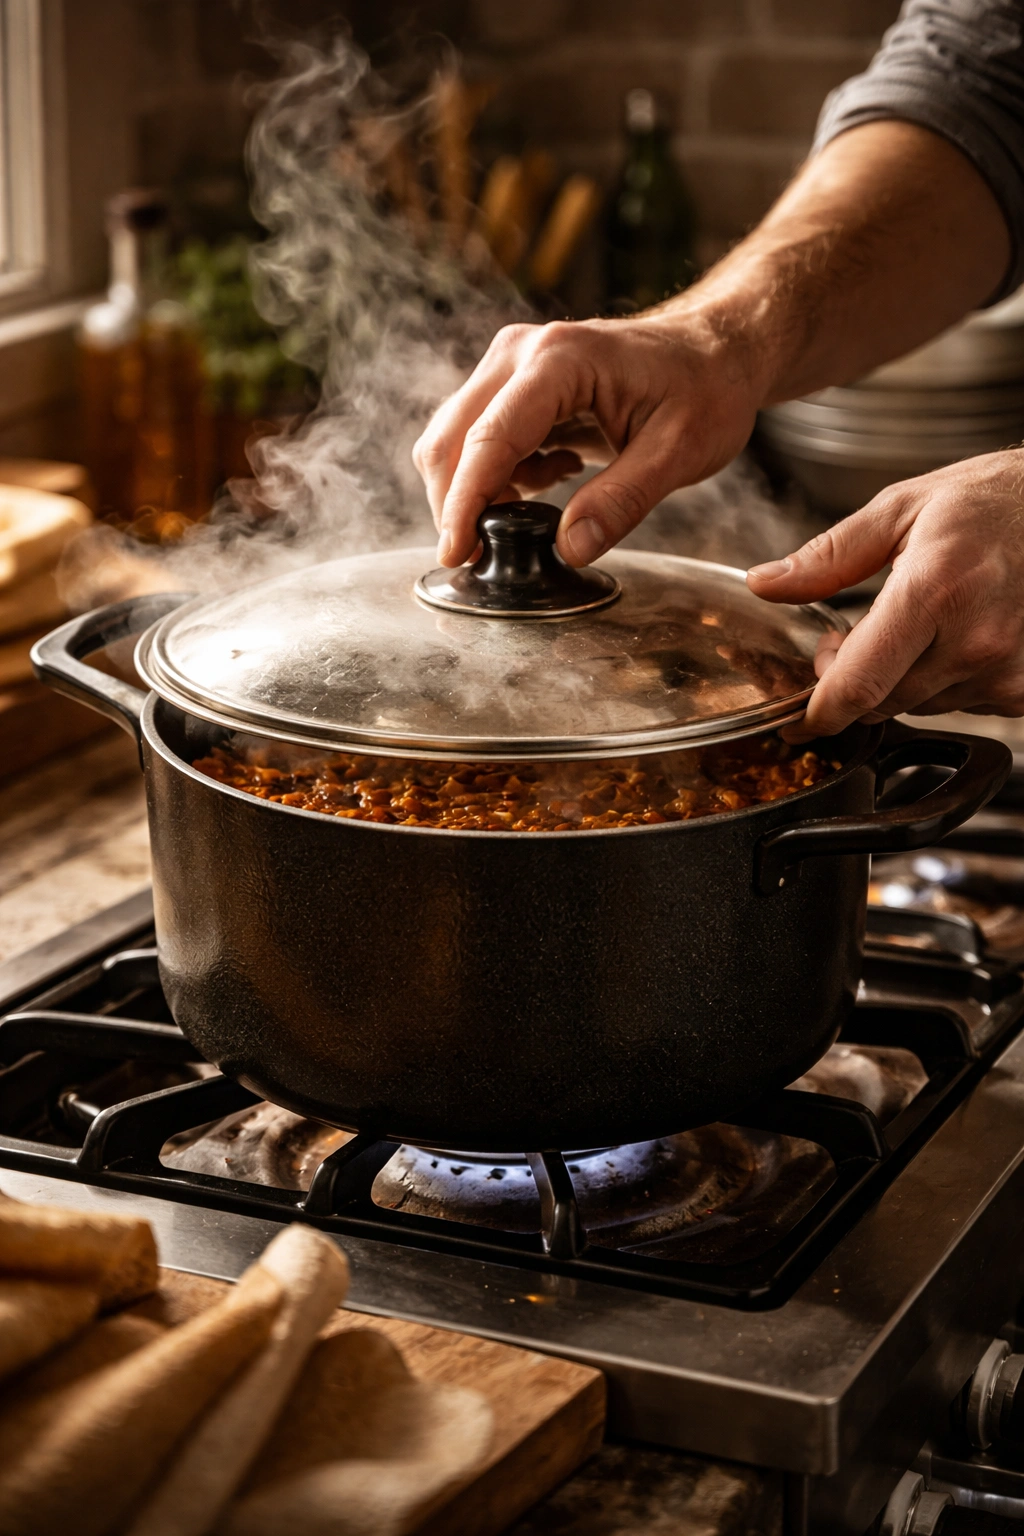
-
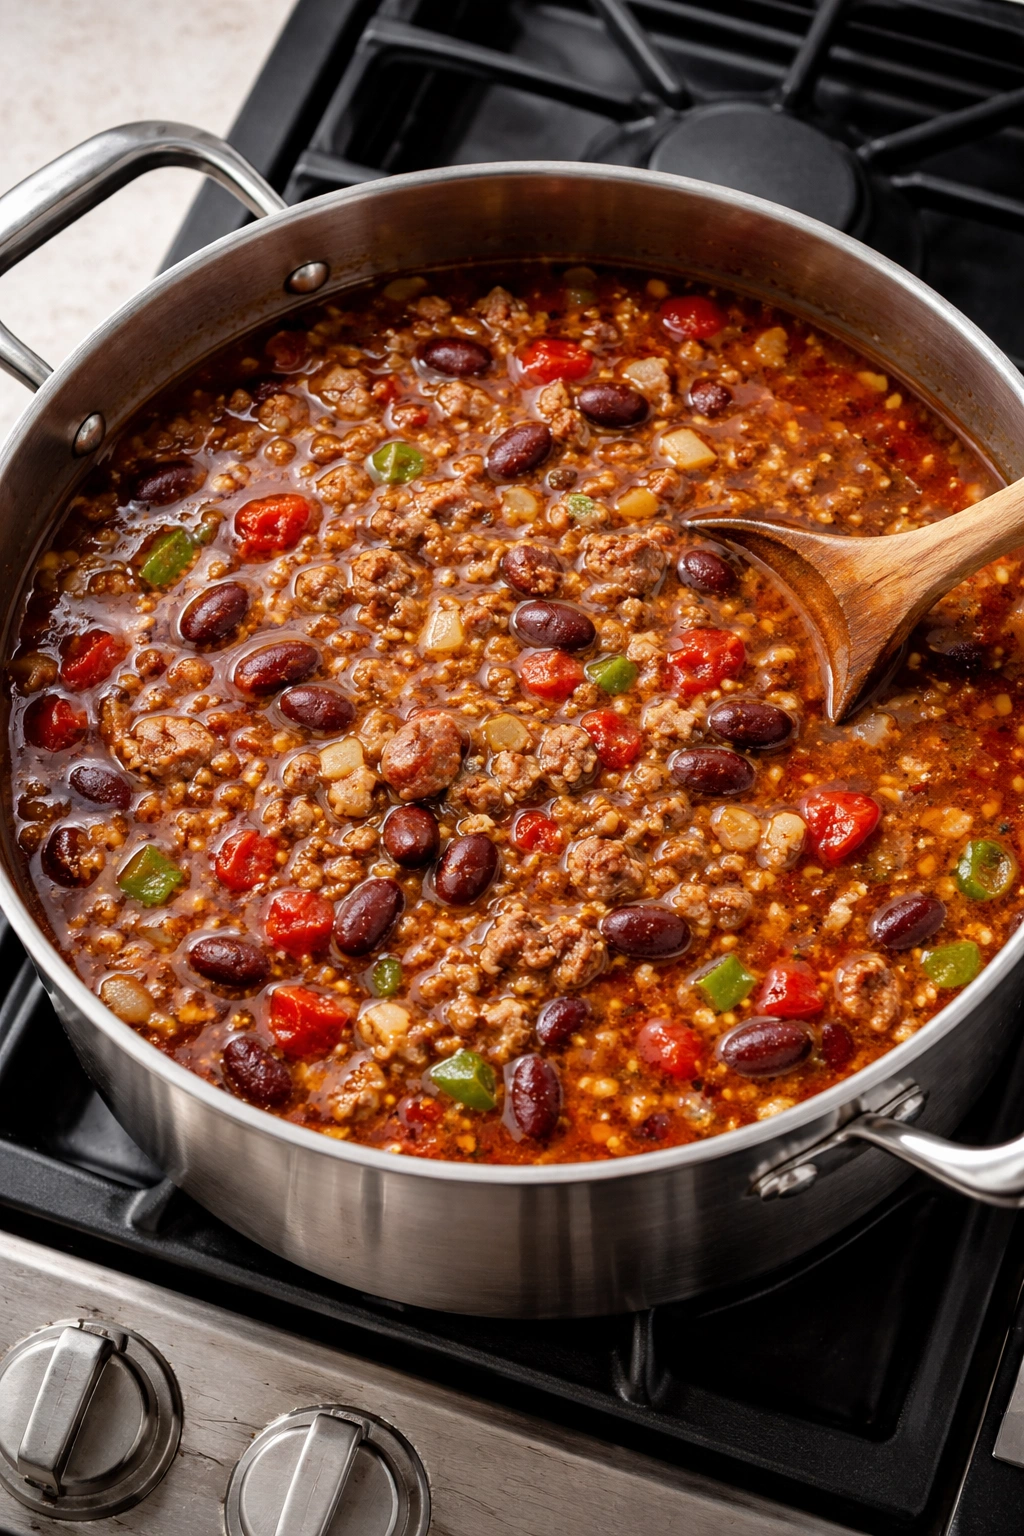
Bring the chili to a gentle boil, then immediately reduce the heat to low. Cover with the lid partially ajar and simmer gently for 45 minutes to 1 hour, stirring occasionally (every 15 minutes or so) to prevent sticking.
Finish and Taste:
-
After 45 minutes, taste the chili carefully. The spices should be fully incorporated and the flavors should taste rounded and complete. If the heat level is not where you want it, add hot sauce, additional cayenne, or more fresh jalapeños in small increments, stirring and tasting as you go. Remember that heat intensifies slightly as the chili continues to simmer and as it sits, so don’t overcorrect.
Advertisements -
If the consistency is too thin, continue cooking uncovered for another 10-15 minutes to allow some liquid to evaporate. If it’s too thick, stir in a bit more broth. The consistency should be thick enough that a spoon stands up in it, but not so thick that it’s more like a solid mass.
-
Taste for salt and adjust as needed. Sometimes the canned ingredients add enough sodium that you don’t need additional salt, but other times you’ll want another ½ teaspoon or so. Add salt gradually and taste between additions.
-
Let the chili rest for at least 15-20 minutes before serving. This resting period allows the flavors to settle and deepen, making the final result noticeably better. If you have time, refrigerate it overnight and reheat gently before serving—it will taste significantly more complex and flavorful.
Slow Cooker Method:
If you prefer hands-off cooking, brown the meat and sauté the vegetables in a skillet as described above (steps 4-11), then transfer everything to a 6-quart slow cooker. Add all remaining ingredients and stir well to combine. Cover and cook on low for 4-6 hours or on high for 3-4 hours. The longer cooking time on low develops better flavor, but high works if you’re short on time. Adjust heat and salt as needed near the end of cooking.
Practical Tips for Foolproof Spicy Chili
The texture matters more than you might think. Many people assume chili should be a thin soup, but the best versions are thick, hearty, and stick to your spoon. If yours ends up too watery, it means either you used too much liquid or you didn’t cook it long enough. Next time, use less broth or cook it uncovered for an extra 30 minutes to allow evaporation. You can also thicken a too-thin chili by mashing some of the beans against the side of the pot to release their starch, which naturally thickens the liquid.
Don’t skimp on the browning step. This is where most of your flavor comes from. Rushing through browning the meat or not cooking the vegetables long enough means your final chili will taste flat and one-dimensional. Give it the time it needs, even though it seems like you’re not doing much.
Taste constantly as you cook. The first time you make this recipe, you might find that your heat tolerance is different than expected, or that you prefer more oregano or garlic. By tasting and adjusting throughout the cooking process rather than only at the end, you build the chili exactly how you want it.
The spice blend works better when all the spices are fresh. If your chili powder or cayenne has been sitting in your cabinet for years, it will taste dull and weak. Buying fresh spices, even in small quantities, makes a noticeable difference. Ground spices stay fresher if stored in airtight containers away from heat and light.
Coffee or chocolate might sound odd, but either one adds depth. A ½ teaspoon of instant espresso powder or unsweetened cocoa powder stirred in near the end of cooking rounds out the flavors beautifully without making the chili taste like coffee or chocolate. These ingredients amplify the savory notes and add complexity that makes people ask what your secret ingredient is.
Common Mistakes to Avoid
Adding all the spices at once without blooming them first is the most common mistake. Cold spices mixed into cold liquid taste harsh and flat. Hot spices bloomed in fat taste deep and complex. Don’t skip this step.
Using old or poor-quality broth makes a significant difference. Thin, salty broth creates thin, salty chili. Invest in quality broth and your chili will be noticeably better.
Not cooking the meat thoroughly before adding liquid means the meat will steam rather than brown, and you’ll lose that deep caramelized flavor. Make sure the meat is completely cooked and lightly browned before moving on.
Cooking at too high a temperature causes the chili to bubble vigorously and can cause ingredients to break down too quickly. Maintain a gentle simmer—small, occasional bubbles are ideal. This keeps the flavors melding smoothly and prevents the meat from becoming tough and stringy.
Assuming fresh jalapeños are optional is a mistake if you want genuine spicy chili. These add fresh heat and bright flavor that dried spices alone cannot achieve. They’re worth seeking out.
Variations and Flavor Adaptations
The foundation of this recipe is flexible enough to accommodate many variations. For a smokier version, substitute smoked paprika for regular paprika and add ½ teaspoon of liquid smoke along with the Worcestershire sauce. This creates a deeper, more campfire-like flavor profile.
To make it Texas-style (no beans), simply omit both cans of beans. Instead, increase the ground beef to 3 pounds and reduce the broth to 1½ cups. This creates a thicker, more meat-forward chili that’s traditionally served with crackers or cornbread rather than toppings.
For a white chicken chili, use 2 pounds of ground chicken (or 3 cups of shredded cooked chicken) instead of beef, swap the kidney and black beans for two cans of white beans (cannellini or great northern), and replace the tomato sauce with 1 cup of chicken broth plus ½ cup of heavy cream or cream cheese. Reduce the chili powder to 1 tablespoon and replace it partially with 1 teaspoon of ground cumin and ½ teaspoon of oregano. Use diced green chiles (fresh or from a can) instead of jalapeños. The result is creamy, milder in heat, and genuinely different from red chili while still satisfying.
To bump up the vegetables, add one diced medium sweet potato, a handful of fresh or frozen corn, or diced zucchini during the last 30 minutes of cooking. These add nutrition and subtle sweetness without changing the fundamental character of the chili.
For a quick weeknight version, use a chili seasoning packet (like McCormick Chili Seasoning Mix) instead of measuring individual spices. While homemade spice blends taste better, a quality seasoning packet gets you to the table faster with acceptable results, especially on nights when time is limited.
If you want it hotter, add ½ to 1 teaspoon of ghost pepper powder (extremely hot—use sparingly), include habanero peppers along with jalapeños, or stir in more hot sauce to taste. Some people add a pinch of chipotle powder for smoky heat.
Storage, Make-Ahead, and Freezing
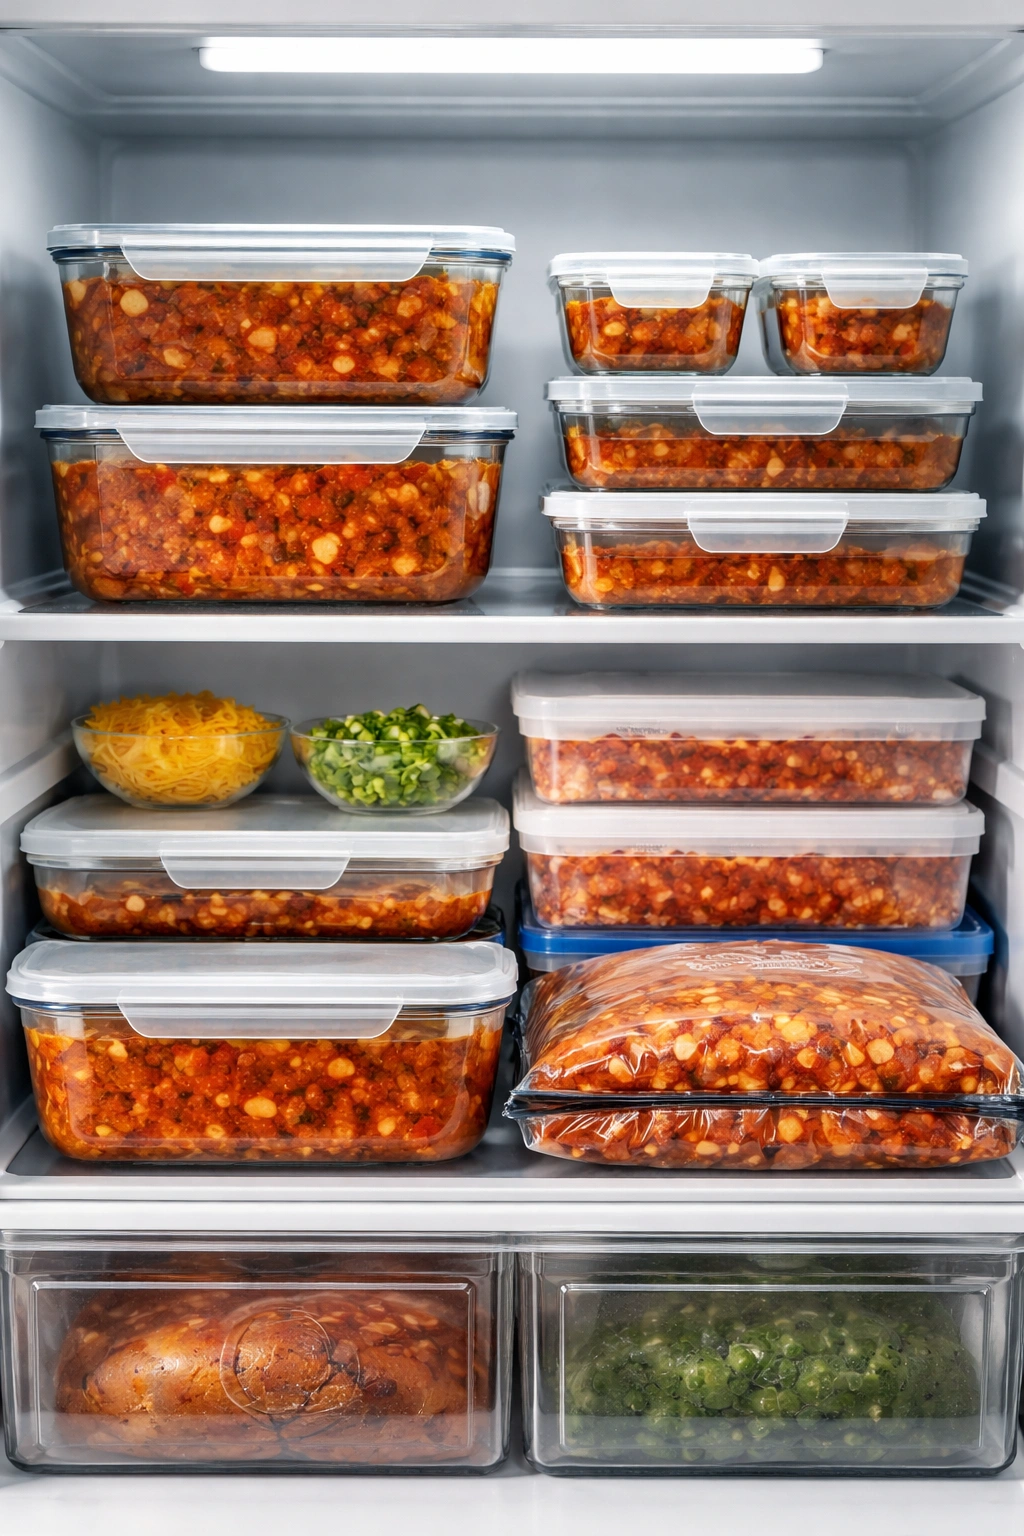
Spicy chili is one of those rare dishes that tastes better the next day or even two days later, as the flavors continue melding and deepening. Let the chili cool completely before refrigerating—never put hot food directly into the fridge, as it raises the internal temperature and can compromise food safety.
Store cooled chili in an airtight container in the refrigerator for up to 5 days. It actually stays good for longer—many people make chili specifically to have it on hand for quick meals throughout the week.
For freezing, portion the cooled chili into meal-sized amounts in freezer bags, containers, or even ice cube trays (great for single-serve portions). Flatten the bags before freezing so they stack neatly and thaw evenly. Label each container with the date and contents. Frozen chili keeps for up to 3 months, though it’s best within the first 6 weeks when flavors are most vibrant.
To reheat, thaw the chili overnight in the refrigerator, then reheat gently on the stovetop over medium-low heat, stirring occasionally. If it’s thickened during storage, add a splash of broth or water to reach your preferred consistency. You can also reheat from frozen in a pot on the stove—just stir frequently and allow extra time for it to thaw and heat through.
Never microwave chili if you can avoid it, as microwaves tend to create hot spots and can scald your mouth. Gentle stovetop reheating produces a much better result.
Serving Ideas and Ideal Pairings
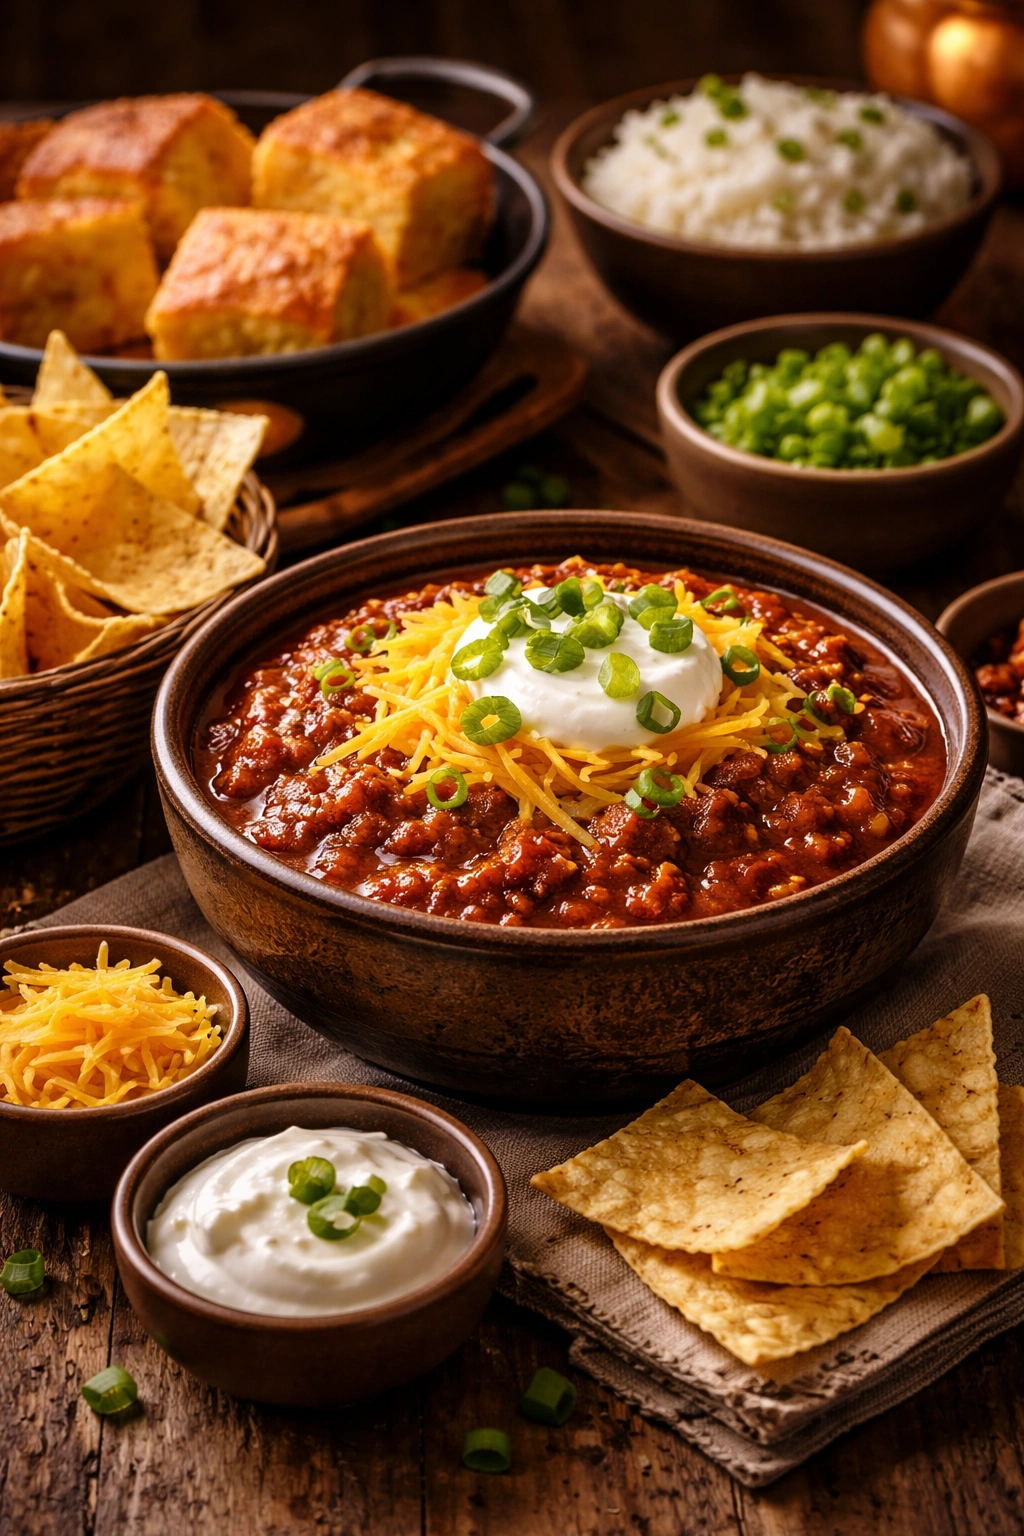
Spicy chili deserves toppings that enhance and complement its bold flavors. Shredded sharp cheddar cheese is classic for a reason—it melts into the hot chili and adds richness. Creamy toppings like sour cream or full-fat Greek yogurt cool the spice and add a luxurious texture contrast. Fresh green onions or cilantro add brightness that cuts through the richness.
Crunch is essential. Crushed tortilla chips, Fritos, or even crushed cornbread add textural contrast and make eating the chili more interesting. Some people top with diced red onion for sharpness, while others prefer diced jalapeños for additional heat.
The sides matter too. Cornbread (sweet or savory, potentially with jalapeños) is perhaps the most traditional pairing—something about the slight sweetness balances the spice perfectly. Steamed white or brown rice provides a neutral backdrop that absorbs the chili’s flavors. A simple green salad with a light vinaigrette cuts through the richness. Garlic bread is surprisingly good alongside spicy chili.
For a different presentation, serve chili over rice or pasta for a heartier, more filling meal. Chili mac—elbow macaroni mixed directly into the chili—becomes a completely different comfort food.
Chili serves beautifully at gatherings because you can prepare it ahead and keep it warm in a slow cooker, allowing guests to serve themselves and choose their own toppings. Set up a topping bar with all the options and let people customize to their preference.
Frequently Asked Questions About Spicy Chili

What type of ground beef is best for chili?
An 80/20 blend (80% lean, 20% fat) is ideal. The fat renders during cooking and keeps the chili moist and flavorful. If you use 90/10 or leaner, you’ll need to add a bit more oil during cooking and may find the final result drier. Ground turkey works beautifully as a leaner alternative—just brown it thoroughly and add extra seasoning since it’s milder than beef.
Do I have to use beans in chili?
No, absolutely not. Texas-style chili traditionally contains no beans at all. It’s purely meat, chiles, and spices. Some people are adamant about beans being essential, while others swear they don’t belong. Make the version that appeals to you. If you skip the beans, increase the meat to 3 pounds and reduce the liquid slightly, since beans provide bulk and liquid.
How do I make my chili less spicy if I’ve overdone it?
Add dairy. Sour cream, heavy cream, or even milk cools the heat and adds richness. You can either add it directly to the pot (about ¼ cup at a time, stirring well) or let people add it to their individual bowls. Adding a bit of brown sugar, honey, or even mashed beans also mellows the heat by adding bulk and sweetness.
Can I make this in an Instant Pot?
Yes. Use the Sauté function to brown the meat and sauté the vegetables exactly as described. Stir in the tomato paste and spices, then add all wet ingredients and beans. Lock the lid and set to high pressure for 20 minutes. Let the pressure release naturally for 10 minutes, then manually release any remaining pressure. Adjust seasoning and consistency before serving.
Why does my chili taste flat and one-dimensional?
The most likely culprit is skipping the spice blooming step or using old, stale spices. Fresh spices bloomed in hot oil create complexity and depth that you simply cannot achieve by dumping cold spices into cold liquid. Also make sure you’re using quality broth and taking adequate time to brown the meat.
How much longer does homemade chili last compared to canned?
Homemade chili actually has the same shelf life as canned—about 5 days refrigerated if stored properly in airtight containers. Homemade freezes just as well as commercial versions. The advantage is flavor and freshness, not necessarily longevity.
Wrapping Up
Spicy chili that warms you from the inside out doesn’t require fancy techniques or hard-to-find ingredients. It requires quality components, a willingness to spend a few minutes blooming your spices, and enough time for the flavors to meld and develop. The difference between mediocre chili and genuinely crave-worthy chili comes down to attention during the browning and simmering stages, not from miraculous ingredients or secret shortcuts.
Make this chili once and you’ll understand why people get passionate about their versions. The first batch might not be perfect, and that’s completely fine. Each time you make it, you’ll refine it slightly—maybe you’ll discover you like it a bit spicier next time, or you’ll add more garlic, or you’ll cook it an extra 15 minutes longer. Those adjustments are how you develop your own signature spicy chili that your family asks for repeatedly.
The real magic happens when you realize that chili tastes noticeably better the next day, which means you can make it on a Sunday afternoon when you have time, enjoy it that night, and then have several more meals waiting in your freezer or fridge. On a night when you’re exhausted and cold, being able to reheat something this warming and satisfying in just a few minutes feels like a gift to yourself. That’s when spicy chili stops being just a recipe and becomes part of your everyday life.