


Snack cravings don’t care about the time of day or what’s on your schedule. You could be mid-afternoon at work, winding down in the evening, or planning something special for guests, and suddenly you want something delicious and satisfying. The trick is having snacks ready that don’t require a culinary degree, a shopping trip, or an hour in the kitchen.
The best snacks are the ones you can actually make. Store-bought options are convenient, sure, but there’s something genuinely different about eating something you’ve prepared yourself — it tastes better, costs less, and you know exactly what’s going into it. The snacks in this collection work because they’re built on simple ingredients, straightforward techniques, and flexible timing. Most can be thrown together in minutes. Some you can prepare in batches and enjoy all week. All of them taste significantly better than the packaged alternatives sitting on grocery store shelves.
Whether you’re looking for something salty and crunchy, sweet and chewy, protein-packed, or refreshingly light, you’ll find exactly what you need here. These aren’t complicated recipes with long ingredient lists or finicky instructions. They’re the kind of snacks that work whether you’re a beginner cook or someone who’s spent years in the kitchen. Let’s get into the easiest, most delicious snack recipes you can make anytime hunger strikes.
1. Homemade Trail Mix
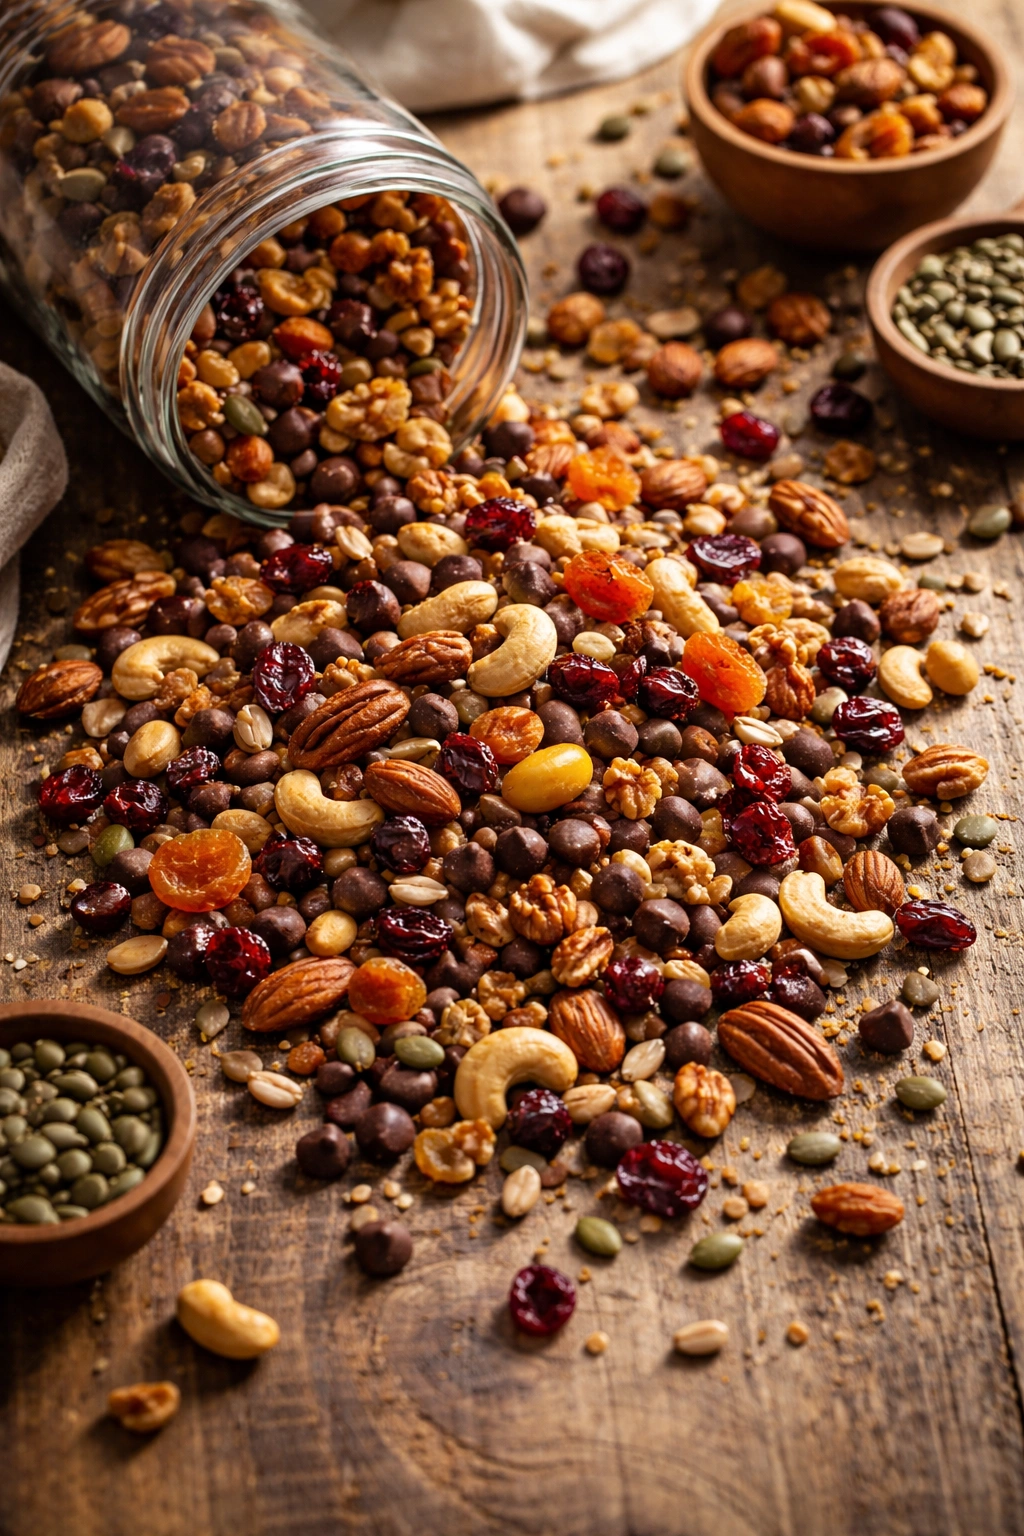
Trail mix is one of those snacks that seems almost too simple to make at home, yet somehow tastes dramatically better when you do. The moment you stop buying pre-packaged versions and start mixing your own, you realize how much more control you have over every component — the ratio of nuts to chocolate, the types of dried fruit, whether you want seeds for extra crunch, how salty things are. You can tailor it exactly to your preferences, and that’s the whole point.
The beauty of homemade trail mix is that it requires zero cooking and zero skill. You’re literally just combining ingredients in whatever proportions feel right to you. A simple base starts with roasted nuts (almonds, cashews, peanuts, or pecans work great), adds some dried fruit (cranberries, raisins, apricots, dates, or mango), throws in some chocolate chips or chunks, and maybe includes seeds or coconut flakes for variety. Mix everything together in a bowl, portion it into jars or bags, and you’ve got snacks ready to grab for the next week or more.
Why It’s Such a Smart Snack
Trail mix hits that sweet spot between satisfaction and convenience that makes it genuinely perfect for snacking. The combination of healthy fats from nuts, natural sugars from dried fruit, and a little chocolate makes your brain happy and keeps you satisfied between meals. Unlike single-ingredient snacks, the variety keeps things interesting — you’re getting different flavors and textures in every handful. It’s naturally portion-friendly too; you can grab a small cup or a small handful without feeling like you’re overdoing it.
Quick Mix Ideas
- Classic sweet and salty: Roasted almonds, dried cranberries, dark chocolate chips, and a pinch of sea salt
- Tropical vibes: Macadamia nuts, cashews, dried mango, dried pineapple, and shredded coconut
- Chocolate lover’s version: Mixed nuts, dark chocolate chunks, cacao nibs, dried cherries, and a sprinkle of cocoa powder
- Seeded crunch: Almonds, sunflower seeds, pumpkin seeds, dried apricots, and a handful of dark chocolate chips
- Spiced option: Roasted pecans, dried figs, dried apples, dark chocolate, and a light dusting of cinnamon
Pro tip: Toast your nuts lightly in a dry skillet for 3-4 minutes before mixing if you want to amp up the flavor and crunch. It takes five minutes and completely transforms the depth of the final mix.
Store your trail mix in airtight containers or mason jars at room temperature for up to two weeks. The mix stays fresh longest when you keep it away from humidity, so avoid storing it in damp kitchen cabinets near the sink.
2. Cheese and Crackers with Herb Dip
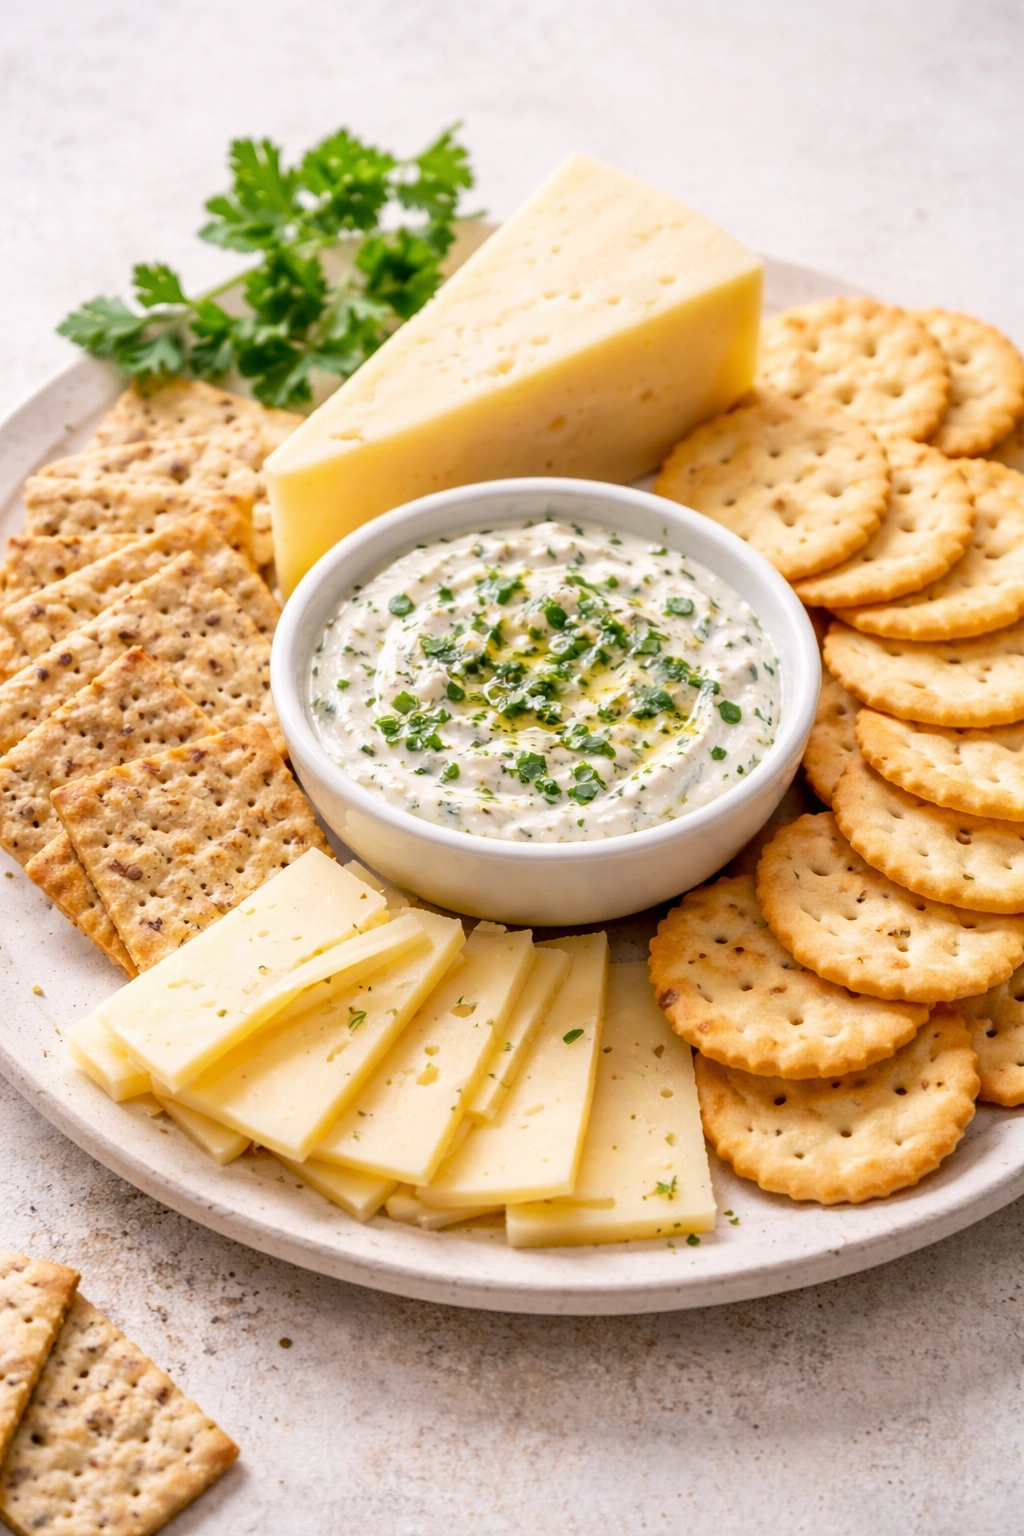
This snack feels fancier than it actually is. You’re putting together a simple board with quality cheese, crackers you like, and a homemade herb dip that takes about five minutes. What makes it special isn’t any complicated technique — it’s choosing good ingredients and putting them together in a way that tastes intentional and tasty.
The dip is where the magic happens. You’re essentially mixing sour cream or Greek yogurt with fresh or dried herbs, maybe adding garlic, lemon zest, and a pinch of salt. That’s it. The result tastes nothing like bottled ranch dressing, which is exactly the point. When you make it yourself, you can taste the herbs clearly. The flavors are bright and alive instead of muted by preservatives. You can adjust seasoning to your exact preference, adding more garlic if you’re bold, holding back if you prefer subtlety.
The Dip That Changes Everything
Start with one cup of Greek yogurt or sour cream (or a mix of both — yogurt keeps it lighter while sour cream makes it richer and tangier). Stir in two tablespoons of fresh minced herbs — dill and chives is a classic combination, but parsley, tarragon, basil, or oregano all work beautifully. Add one minced garlic clove (or half a clove if you’re sensitive to garlic), the zest of half a lemon, and salt and pepper to taste. Let it sit in the refrigerator for at least thirty minutes so the flavors can meld together. Taste it before serving and adjust the seasoning if needed.
Pairing Your Board
- Crackers: Choose at least two varieties — maybe one sturdy option for heavier toppings and one delicate option. Good choices include everything from simple butter crackers to seeded crackers, multigrain options, or herb-flavored varieties.
- Cheeses: Include at least two contrasting types — maybe a sharp cheddar alongside a soft goat cheese, or a creamy brie next to a crumbly blue cheese. Variety in texture and flavor makes the experience more interesting.
- Optional additions: Cherry tomatoes, apple slices, cucumber rounds, or sliced radishes add freshness and crunch. Fresh herbs as garnish (dill sprigs, parsley, chives) make the board look appealing.
Worth knowing: Make the dip up to two days ahead and store it covered in the refrigerator. This actually improves the flavor as the herbs infuse deeper into the cream base.
3. Roasted Chickpeas
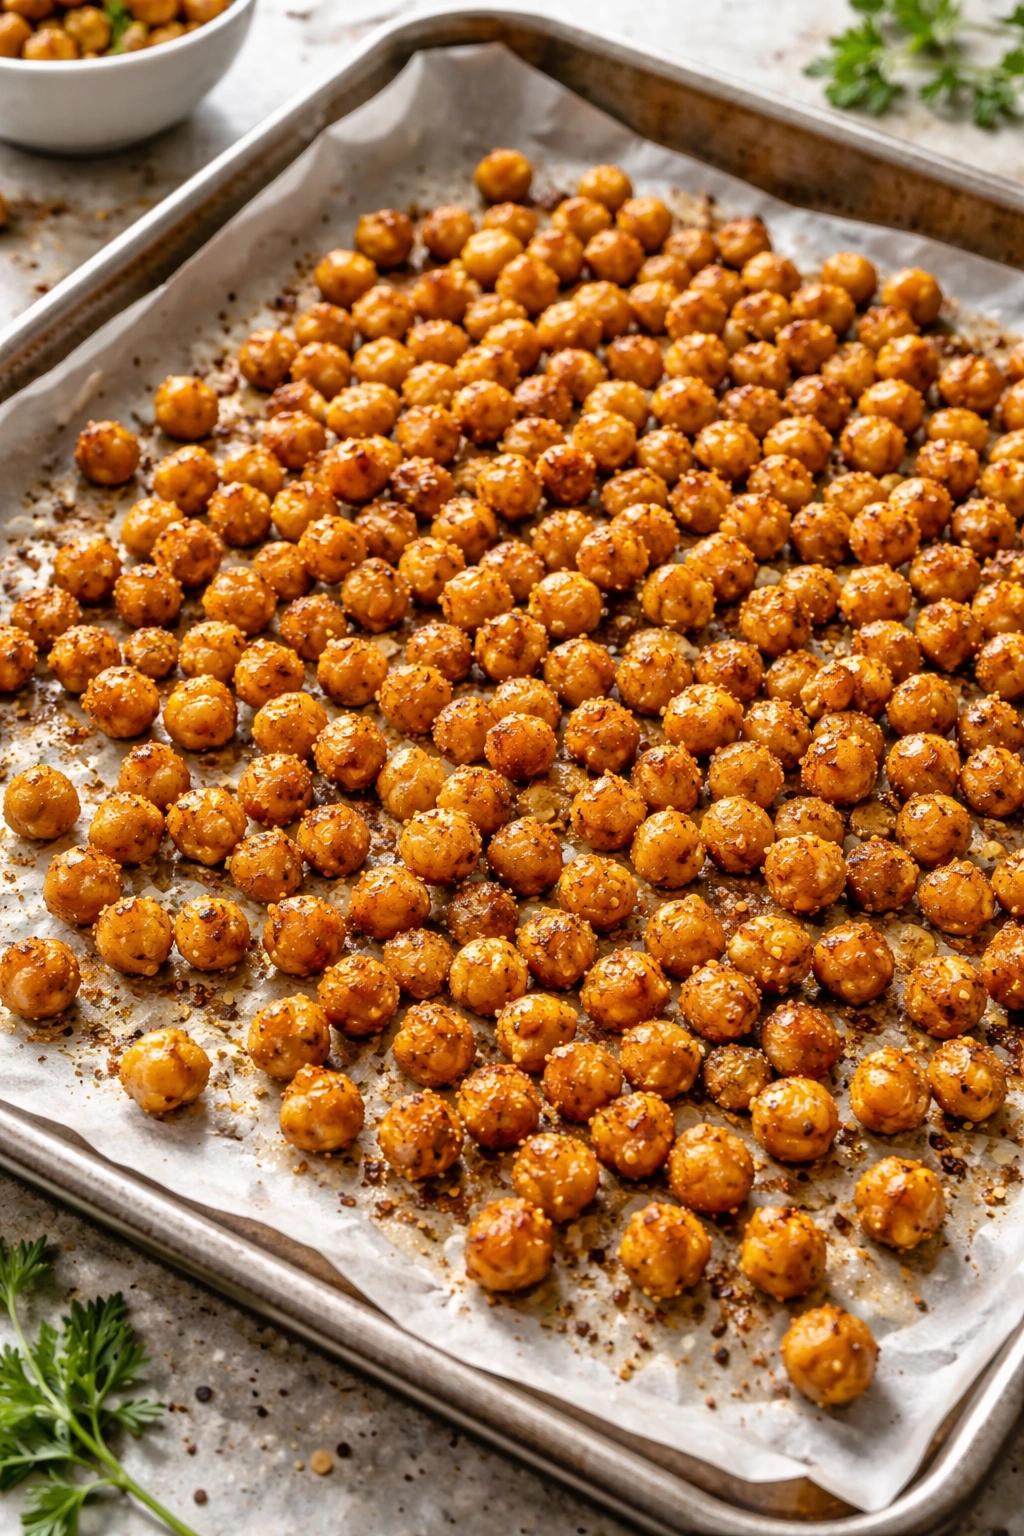
Roasted chickpeas are what happens when you take a humble pantry staple and transform it into something crispy, satisfying, and genuinely addictive. They’re one of those snacks that surprise people — they taste like they should be unhealthy because they’re so crunchy and flavorful, but they’re actually nutritious, protein-packed, and made from whole ingredients.
The process is straightforward enough that you can do it without thinking. Drain and rinse canned chickpeas (or use home-cooked ones if you have them), pat them completely dry with a kitchen towel, toss with olive oil and whatever seasonings appeal to you, spread them on a baking sheet, and roast until they’re golden and crispy. The drying step matters because it’s what lets them get crispy instead of steamed. That’s the only real technique involved.
Why Roasted Chickpeas Are Genius
These little crispy spheres are packed with fiber and protein, which means they keep you satisfied way longer than you’d expect from a snack. They’re also naturally gluten-free, vegan, and budget-friendly — a can of chickpeas costs less than two dollars and yields a whole batch of snacks. Once you understand the basic method, you can season them however you want. This means you can make savory versions one day and spiced sweet versions the next day using the exact same cooking technique.
Flavoring Combinations to Try
- Spicy chili lime: Chili powder, cumin, garlic powder, lime zest, and sea salt
- Mediterranean herb: Dried oregano, thyme, garlic powder, lemon zest, and a touch of red pepper flakes
- Sweet cinnamon sugar: Ground cinnamon, vanilla extract, a touch of maple syrup drizzled on, and sea salt
- Buffalo wing style: Frank’s hot sauce mixed into the oil, plus garlic powder and a tiny bit of ranch seasoning
- Smoky barbecue: Smoked paprika, garlic powder, onion powder, a pinch of cayenne, and a touch of honey
Start with a single fourteen-ounce can of chickpeas (or about two cups home-cooked). Spread the completely dried chickpeas on a baking sheet lined with parchment paper and toss with two tablespoons of olive oil and whichever seasonings you’re using. Spread them in a single layer and roast at 400°F for twenty-five to thirty minutes, shaking the pan halfway through. They’re done when they’re golden brown and completely crispy — they’ll continue to crisp slightly as they cool.
Pro tip: Let them cool completely on the baking sheet before storing. They might feel slightly soft when warm but will crisp up as they cool. Store in an airtight container for up to three days.
4. No-Bake Energy Balls
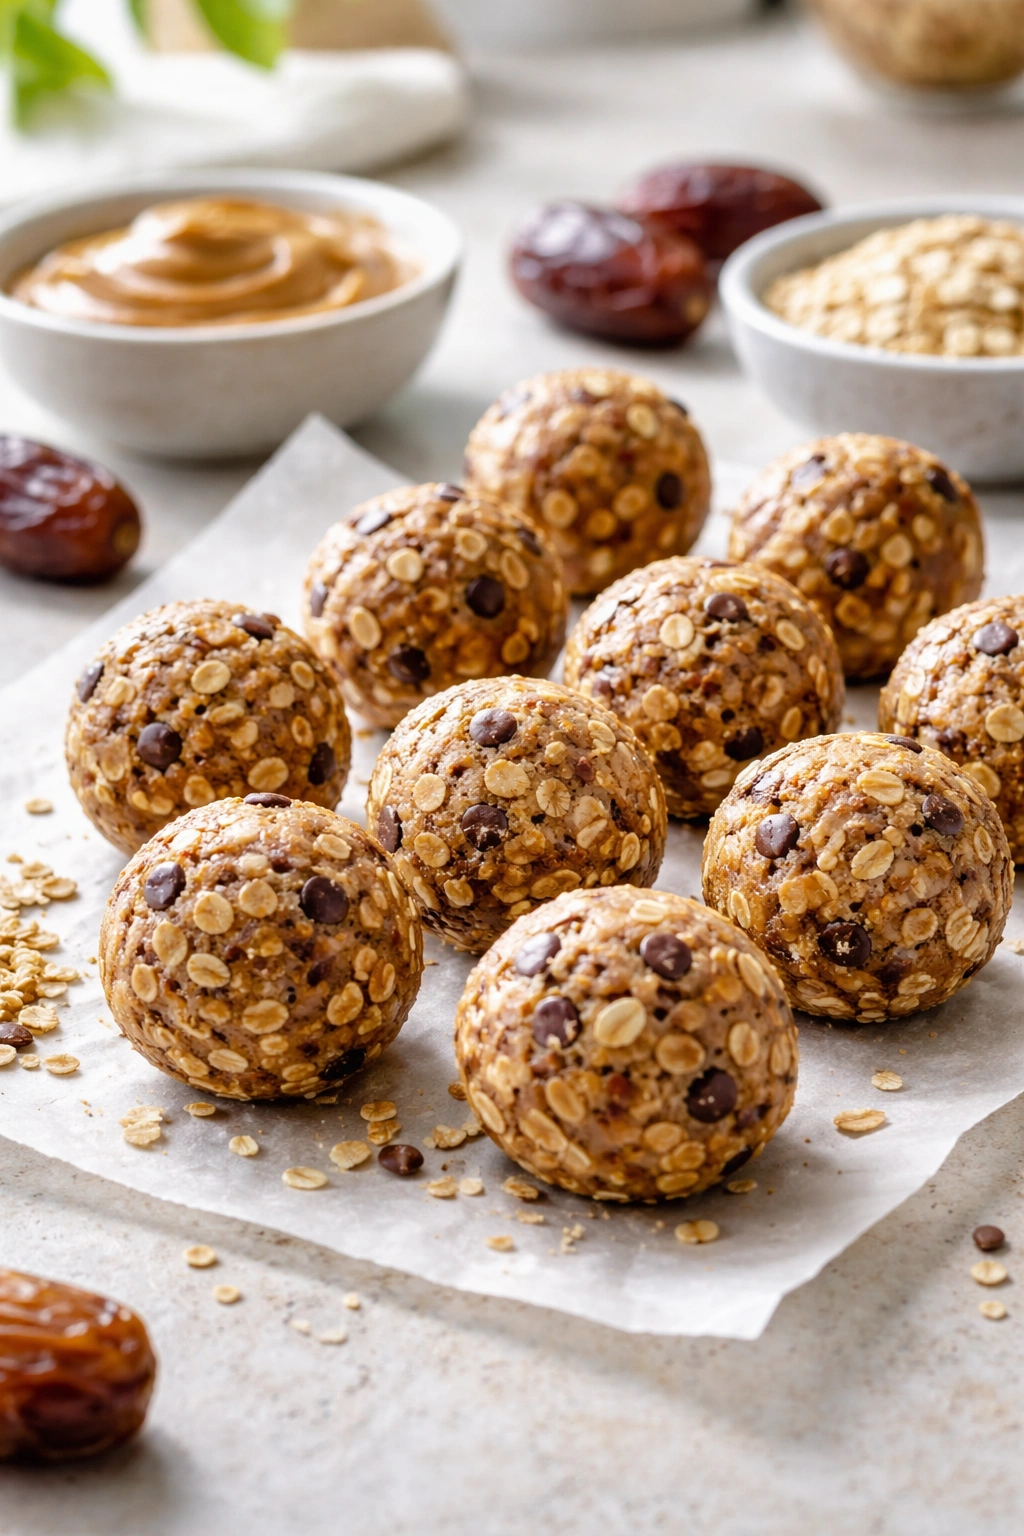
Energy balls are probably the easiest snack on this entire list. They’re no-bake, they come together in less than ten minutes, they require only a food processor (or mixing by hand), and you end up with something that tastes like a treat but is actually made from real food. They’re perfect for when you want something naturally sweet without firing up the oven.
The base formula is simple: nut or seed butter, something sweet (dates, honey, or maple syrup), and something to bind it all together (oats, coconut, or a combination). Mix it all together until it holds a shape, roll it into balls, and optional: coat them in cocoa powder, shredded coconut, or crushed nuts for extra flavor and texture. That’s the whole process.
The Most Reliable Base
Start with one cup of natural peanut butter or almond butter, add one cup of pitted dates (or half a cup of honey), combine with one cup of old-fashioned oats, and mix everything together with a pinch of salt. If you have a food processor, pulse until everything is well combined and holds together when squeezed. If mixing by hand, just stir everything together in a bowl until combined. The mixture should feel like a slightly sticky dough. Roll into balls about the size of walnuts, and that’s it.
Coating and Flavor Ideas
- Chocolate cocoa: Roll finished balls in unsweetened cocoa powder, shaking off excess
- Coconut coated: Roll in shredded coconut, pressing gently so it sticks
- Nutty crunch: Roll in finely chopped nuts (almonds, walnuts, or pecans work well)
- Chocolate dipped: Melt dark chocolate and dip the top half of each ball, let cool on parchment
- Sprinkle mix: Combine cocoa powder, shredded coconut, and finely chopped nuts; roll balls in the mixture
The beauty of energy balls is that you can customize them endlessly. Add vanilla extract, a pinch of cinnamon, a tablespoon of espresso powder for coffee flavor, or a splash of maple syrup for deeper sweetness. The base stays the same; you’re just adjusting seasonings.
Worth knowing: Store these in the refrigerator or freezer. They firm up when cold and become easier to handle. Keep them in an airtight container layered with parchment paper so they don’t stick together. They’ll keep in the fridge for up to a week and in the freezer for several weeks.
5. Fruit and Yogurt Parfait
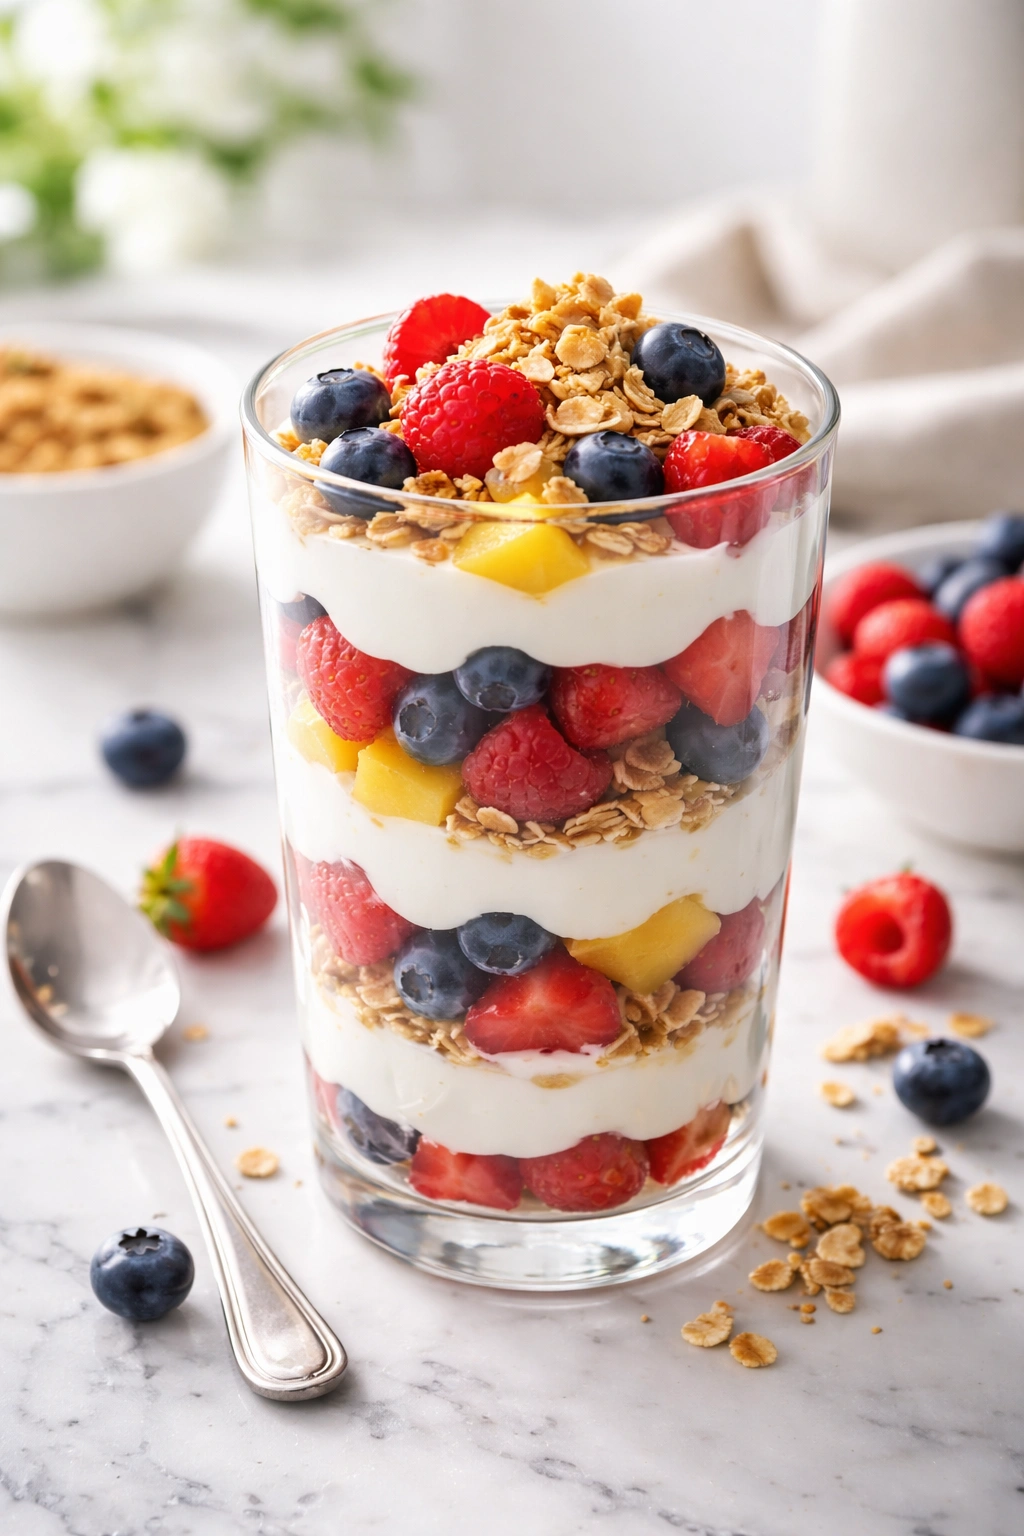
A parfait is technically just fruit and yogurt layered in a glass or cup, which means it’s less a recipe and more of an assembly. It’s refreshing, naturally sweet, feels like a treat, and you can have it ready in about two minutes. The magic is in choosing really good yogurt and really good fruit so that both flavors shine through.
The traditional approach is to layer thick yogurt with fresh fruit and maybe some granola for crunch. The yogurt provides creaminess and tang, the fruit provides brightness and natural sweetness, and the granola provides contrast. You can eat it as soon as you assemble it, or you can refrigerate it until you want to eat it. The only thing to watch is that if you let it sit too long, the granola will absorb moisture and lose some crunch — but honestly, that’s not a problem, just a different texture.
Choosing Components That Work
Yogurt: Full-fat Greek yogurt has the best texture and tang. Avoid overly sweet varieties; you’re adding fresh fruit for sweetness. A plain yogurt gives you the most flexibility to make the flavor profile however you want.
Fruit: This changes with the season and your preference, but think about balancing sweetness and tartness. Berries are classics because they’re tart and bright. Stone fruits like peaches and plums add sweetness. Tropical fruits like mango or pineapple bring intensity. Mix and match — a combination is usually better than a single fruit.
Crunch: Granola is the obvious choice, but crushed nuts, seeds, or even crushed cookies work. If you want to make it more substantial, a drizzle of honey or a swirl of nut butter adds richness.
Simple Assembly Formula
Start with about half a cup of yogurt, layer in about half a cup of fresh fruit cut into bite-sized pieces, top with a quarter cup of granola or nuts, add another small layer of yogurt if you want, and maybe a drizzle of honey. The exact amounts don’t matter — you’re just building layers of flavor and texture.
Pro tip: If you like your parfait cold, refrigerate the yogurt and fruit before assembling. If you like it slightly thinner and more drinkable, use a lower-viscosity yogurt. If you like it thick and spoon-able, use Greek yogurt straight from the fridge.
6. Cinnamon Sugar Popcorn
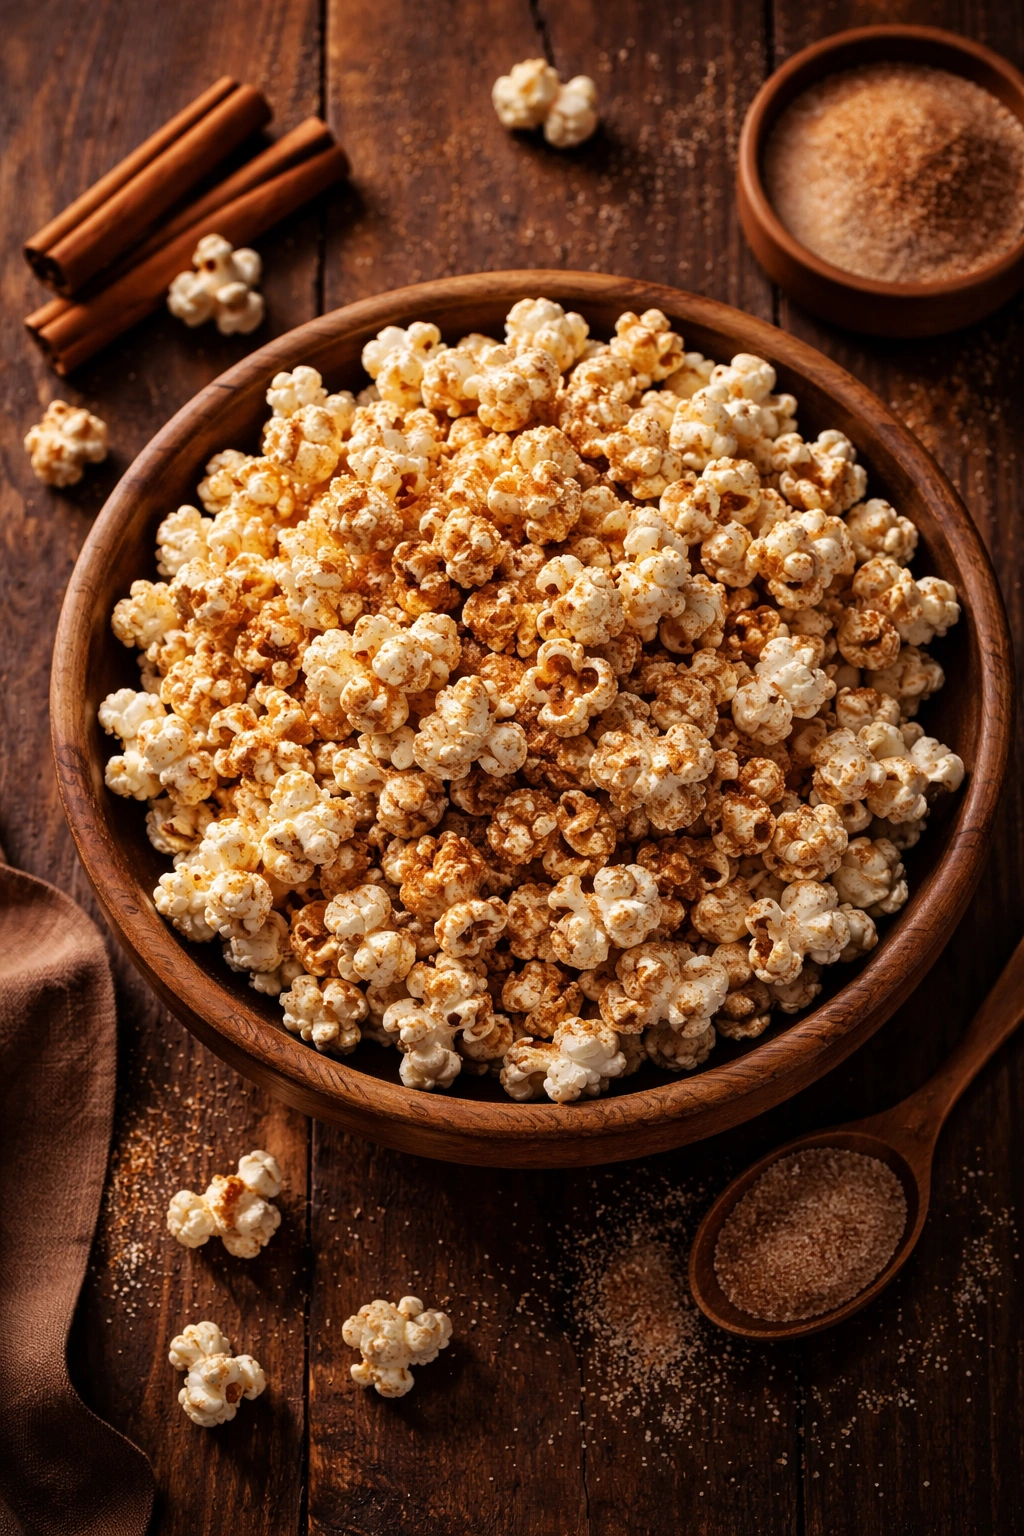
Popcorn is technically a healthy whole grain, which means you can snack on it guilt-free, especially when you make it at home where you control the added salt and sugar. Cinnamon sugar popcorn bridges the gap between salty and sweet — it’s got the crispy crunch you want from a snack plus the subtle warm sweetness of cinnamon.
The method depends on how you make your popcorn. If you use a stovetop method, you pop it with a small amount of oil, then toss it with melted butter and cinnamon sugar while it’s still warm. If you use an air popper, you pop the kernels dry, then toss with a tiny bit of melted butter and cinnamon sugar. Both approaches work; the stovetop method gives you slightly more buttery richness. The air popper method gives you a lighter result.
Stovetop Method (Best Flavor)
Heat two tablespoons of coconut oil or neutral oil in a large pot with a tight-fitting lid over medium-high heat. Add a third of a cup of popcorn kernels and cover. Shake the pot occasionally so kernels pop evenly and don’t burn on the bottom. Once the popping slows to several seconds between pops, remove from heat and pour into a large bowl.
While the popcorn is still warm, drizzle with two tablespoons of melted butter. Toss gently. In a small bowl, whisk together three tablespoons of granulated sugar, one tablespoon of packed brown sugar, and one and a half teaspoons of ground cinnamon. Sprinkle this mixture over the warm popcorn while tossing gently until evenly coated. Let cool for a few minutes — the coating will firm up as it sets.
Air Popper Method (Lighter Option)
Pop your kernels in an air popper according to the machine’s instructions. Transfer to a large bowl. Drizzle with one tablespoon of melted butter and toss to coat. In a small bowl, mix together two tablespoons of sugar, half a tablespoon of brown sugar, and one teaspoon of cinnamon. Sprinkle over the popcorn while tossing until evenly coated.
Worth knowing: Store cooled cinnamon sugar popcorn in an airtight container or paper bag for up to three days. It stays crispiest when kept dry, so avoid storing near steam-prone areas like the stovetop or dishwasher.
7. Guacamole and Veggie Platter
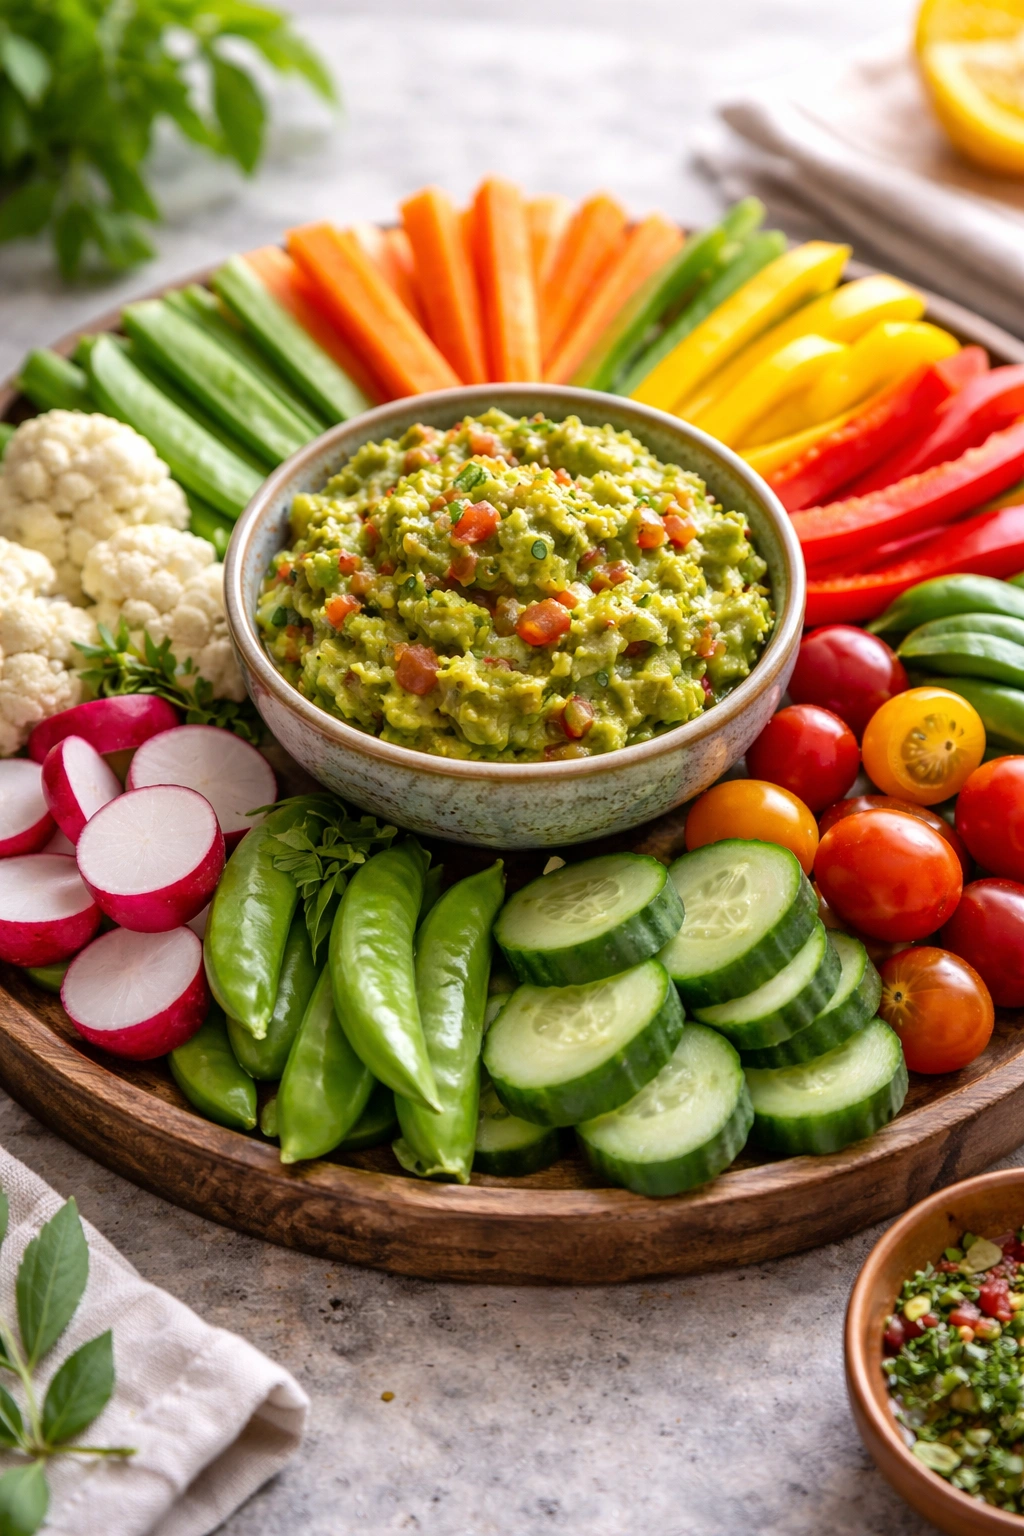
Guacamole is one of those snacks that feels decadent but is actually just mashed avocado with a few seasonings. Serve it with fresh vegetables and you have a satisfying snack that’s loaded with healthy fats and nutrients. The best part is that you can make the guacamole in the time it takes to chop the vegetables.
The guacamole formula is three ripe avocados, mashed to your preferred texture (some people like it smooth, some prefer it slightly chunky), mixed with the juice of one lime, a pinch of salt, a quarter cup of diced red onion, a handful of chopped cilantro, and maybe some diced tomato depending on how watery your tomatoes are and how much liquid you want in the guac. Taste it and adjust the lime and salt. That’s your whole snack right there.
Building the Platter
Arrange your guacamole in a small bowl in the center of a plate or board, then surround it with an array of fresh vegetables cut into easy-dipping pieces. Good choices include carrot sticks, bell pepper strips (red, yellow, or orange), cucumber slices, cherry tomatoes, radish slices, celery sticks, snap peas, or blanched broccoli florets.
The visual appeal matters here — the more colorful your vegetable selection, the more inviting the whole platter looks. Aim for at least four different colors and textures. You want some things that are crunchy and juicy, some things that are earthy, and some things that are slightly sweet.
Flavor Additions If You Want Complexity
- Garlic version: Add one minced garlic clove to the base guacamole
- Spiced version: Include a pinch of cumin and a tiny pinch of cayenne if you like heat
- Herby version: Use mostly cilantro, add some fresh parsley, maybe a small amount of fresh dill
- Tomatoey version: Dice a ripe tomato (drain off excess liquid first), fold it in gently at the end
Pro tip: Make guacamole right before you plan to eat it since avocado browns when exposed to air. If you need to make it ahead, press plastic wrap directly onto the surface of the guacamole so it’s not exposed to air, then refrigerate. This slows oxidation significantly.
8. Peanut Butter Apple Slices
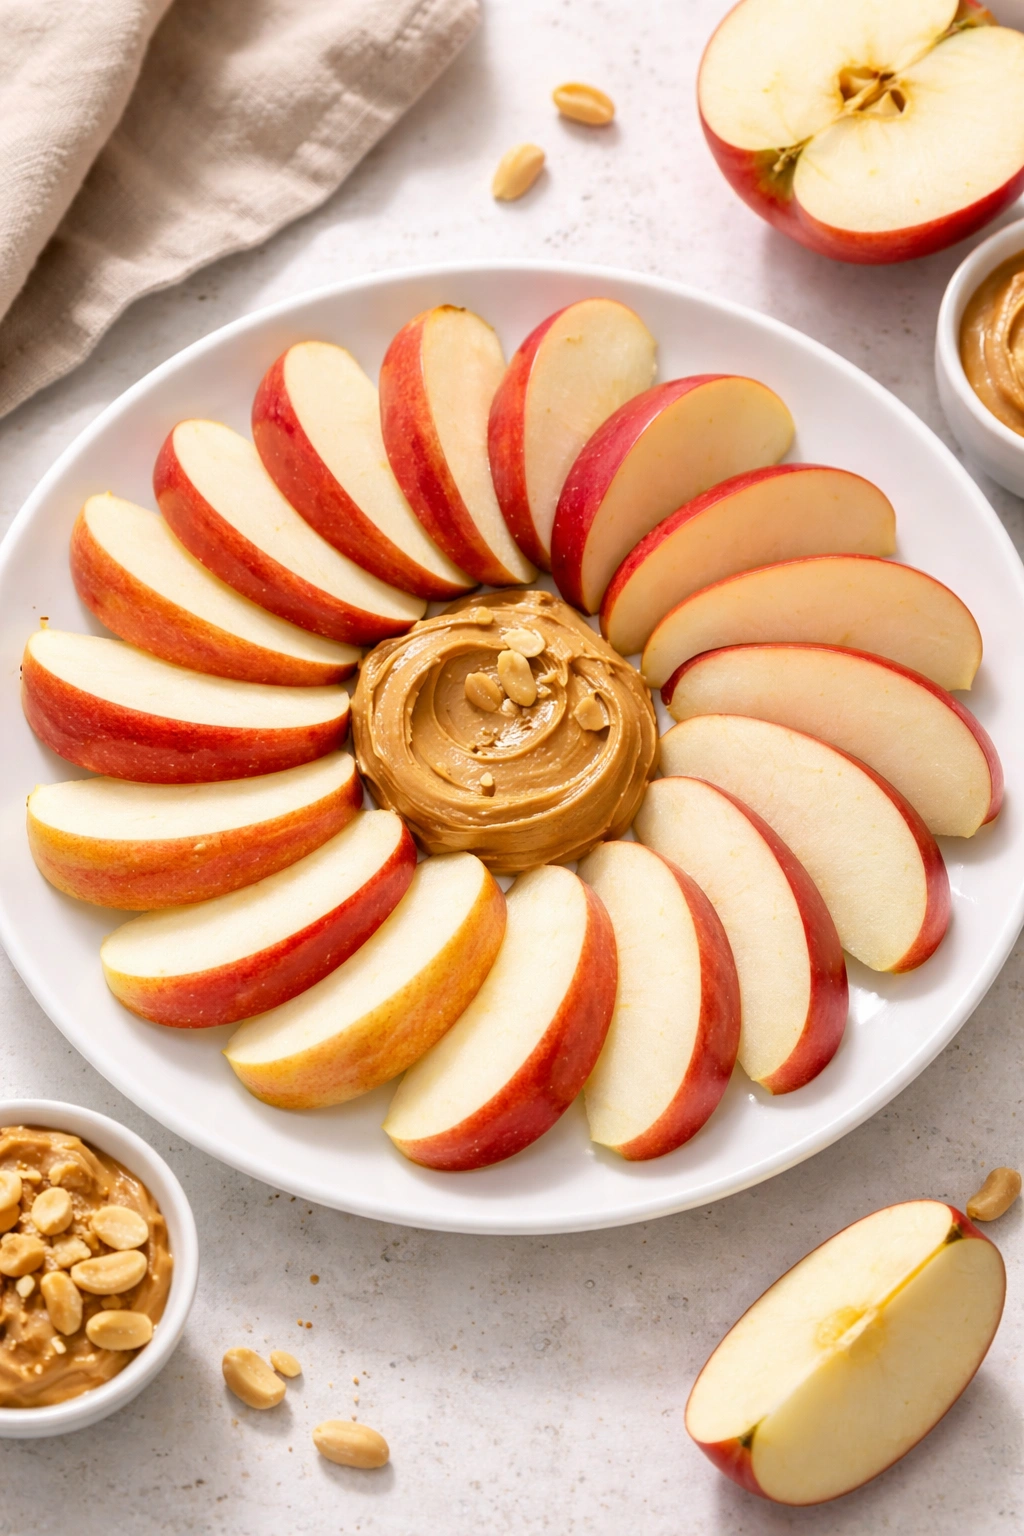
This is the kind of snack that’s so simple it barely qualifies as a recipe, but it’s so satisfying that everyone should know how to put it together. You’re slicing an apple and dipping it in peanut butter. That’s the whole thing. The reason it works so well is that you’re getting the crunch of the apple, the protein and richness of the peanut butter, and natural sweetness from the apple all in one bite.
The magic is in choosing good peanut butter — natural peanut butter with just peanuts and salt tastes dramatically better than heavily processed versions with added sugars and oils. It’s also got a more interesting texture. You want the apple to be firm and crisp, not mealy, so choose varieties like Honeycrisp, Granny Smith, Fuji, or Pink Lady. The tartness of a Granny Smith pairs beautifully with the richness of peanut butter, while a sweeter variety like Honeycrisp plays up the contrast between sweet and savory.
Variations That Add Dimension
- Chocolate peanut butter: Stir a teaspoon of cocoa powder into your peanut butter for a subtle chocolate note
- Honey drizzle: Swirl a tiny amount of honey into your peanut butter before dipping
- Sprinkle versions: Dip the peanut butter-coated apple slice into chopped nuts, shredded coconut, or cinnamon sugar
- Cinnamon swirl: Mix a quarter teaspoon of cinnamon into your peanut butter
- Maple version: Use maple peanut butter if you can find it, or mix a touch of maple syrup into regular peanut butter
Pro tip: Slice your apple right before eating. If you need to prep ahead, toss the slices with a squeeze of lemon juice to prevent browning, then store in an airtight container. The lemon juice prevents oxidation without affecting the flavor noticeably.
9. Mozzarella Stick Bites
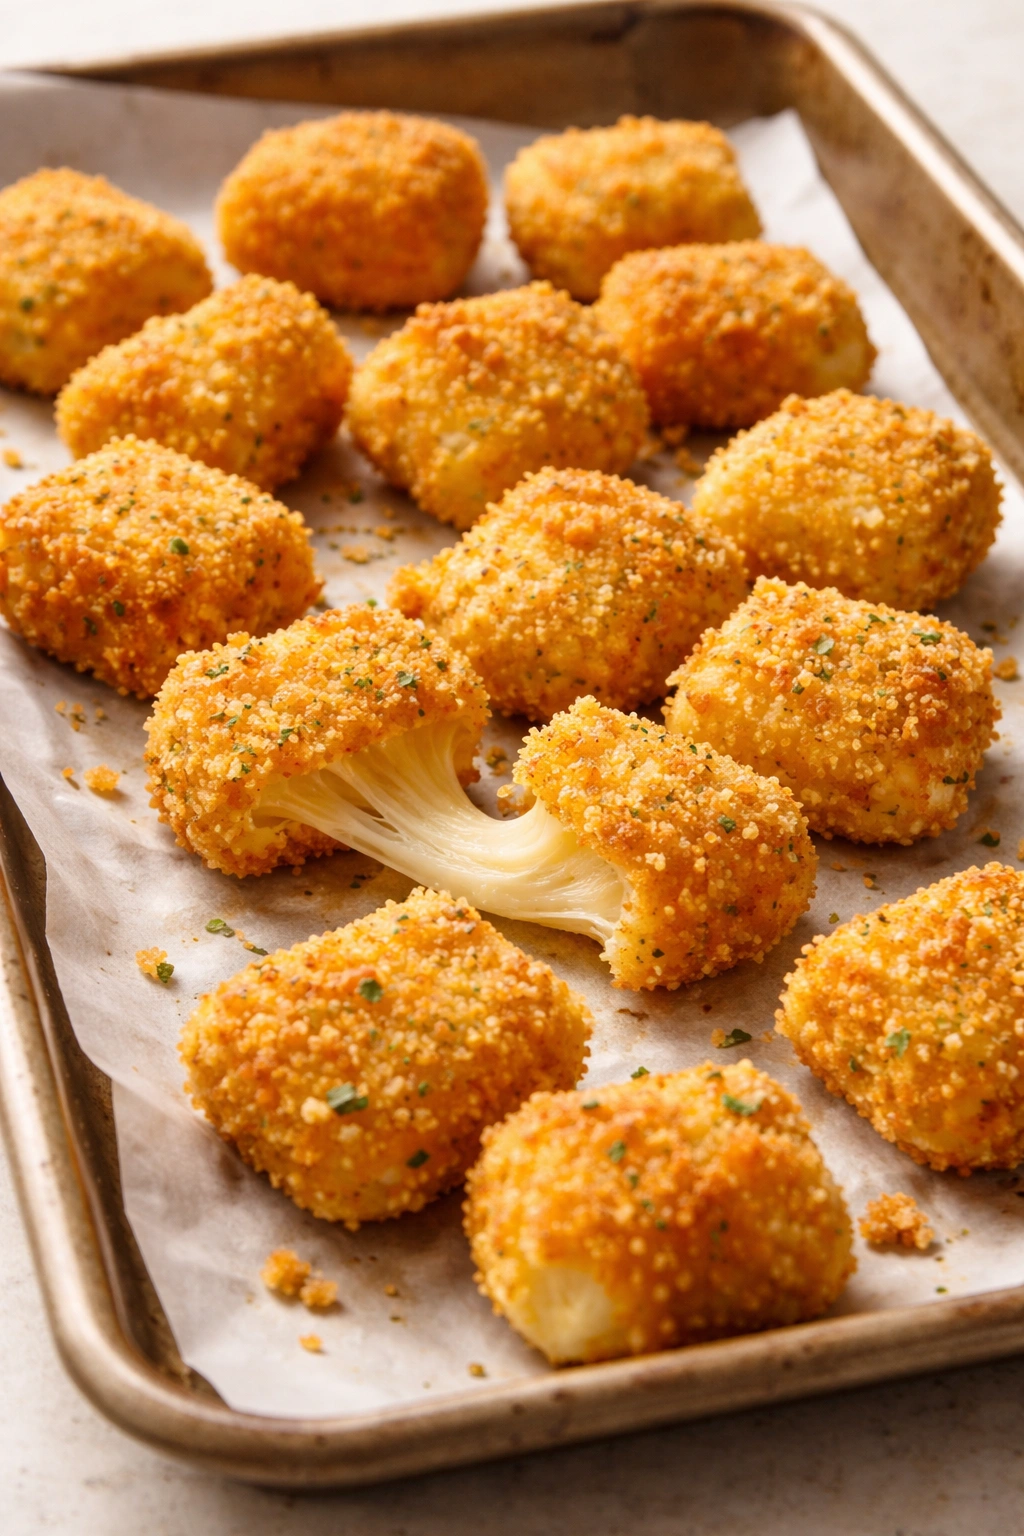
Homemade mozzarella sticks are crispier, less greasy, and way less expensive than the frozen grocery store versions. They’re also easier to make than you’d think. You’re essentially wrapping mozzarella in a simple breading and baking until it’s golden. The cheese gets warm and melty inside while the outside turns crispy and golden.
You can use low-moisture mozzarella cut into cubes, which is easier than the traditional stick shape and works just as well. The breading is just breadcrumbs mixed with a pinch of salt and pepper, and you’re binding everything together with beaten egg. Bake in a hot oven for about eight minutes, and the outside will be golden while the inside is melted and stretchy.
Foolproof Breading Method
Cut one pound of low-moisture mozzarella into cubes (roughly the size of dice). Set up a breading station: a small bowl with one beaten egg, and another small bowl with one cup of panko breadcrumbs mixed with a quarter teaspoon of salt and an eighth teaspoon of black pepper.
Working with one cube at a time, dip it in the beaten egg, then roll in the breadcrumb mixture, pressing gently so the coating sticks. Place on a baking sheet lined with parchment paper. Once all the mozzarella cubes are breaded, refrigerate for at least thirty minutes (this helps the breading stick and prevents the cheese from leaking out during baking).
Bake at 400°F for eight to ten minutes, until the breadcrumb coating is golden brown. The cheese should be melted inside but the coating should be crispy. Let cool for about two minutes before eating — melted cheese can burn your mouth, so patience here is worth it.
Dipping Sauce Ideas
- Marinara: Warm store-bought or homemade marinara for classic pairing
- Garlic parmesan aioli: Mix mayonnaise with minced garlic and grated parmesan
- Honey sriracha: Combine equal parts honey and sriracha with a pinch of garlic powder
- Herb yogurt: Use the herb dip from the earlier cheese and crackers snack
Worth knowing: You can prepare mozzarella sticks through the breading step and freeze them for up to two weeks. Bake directly from frozen, adding a couple extra minutes to the baking time.
10. Granola Clusters with Honey
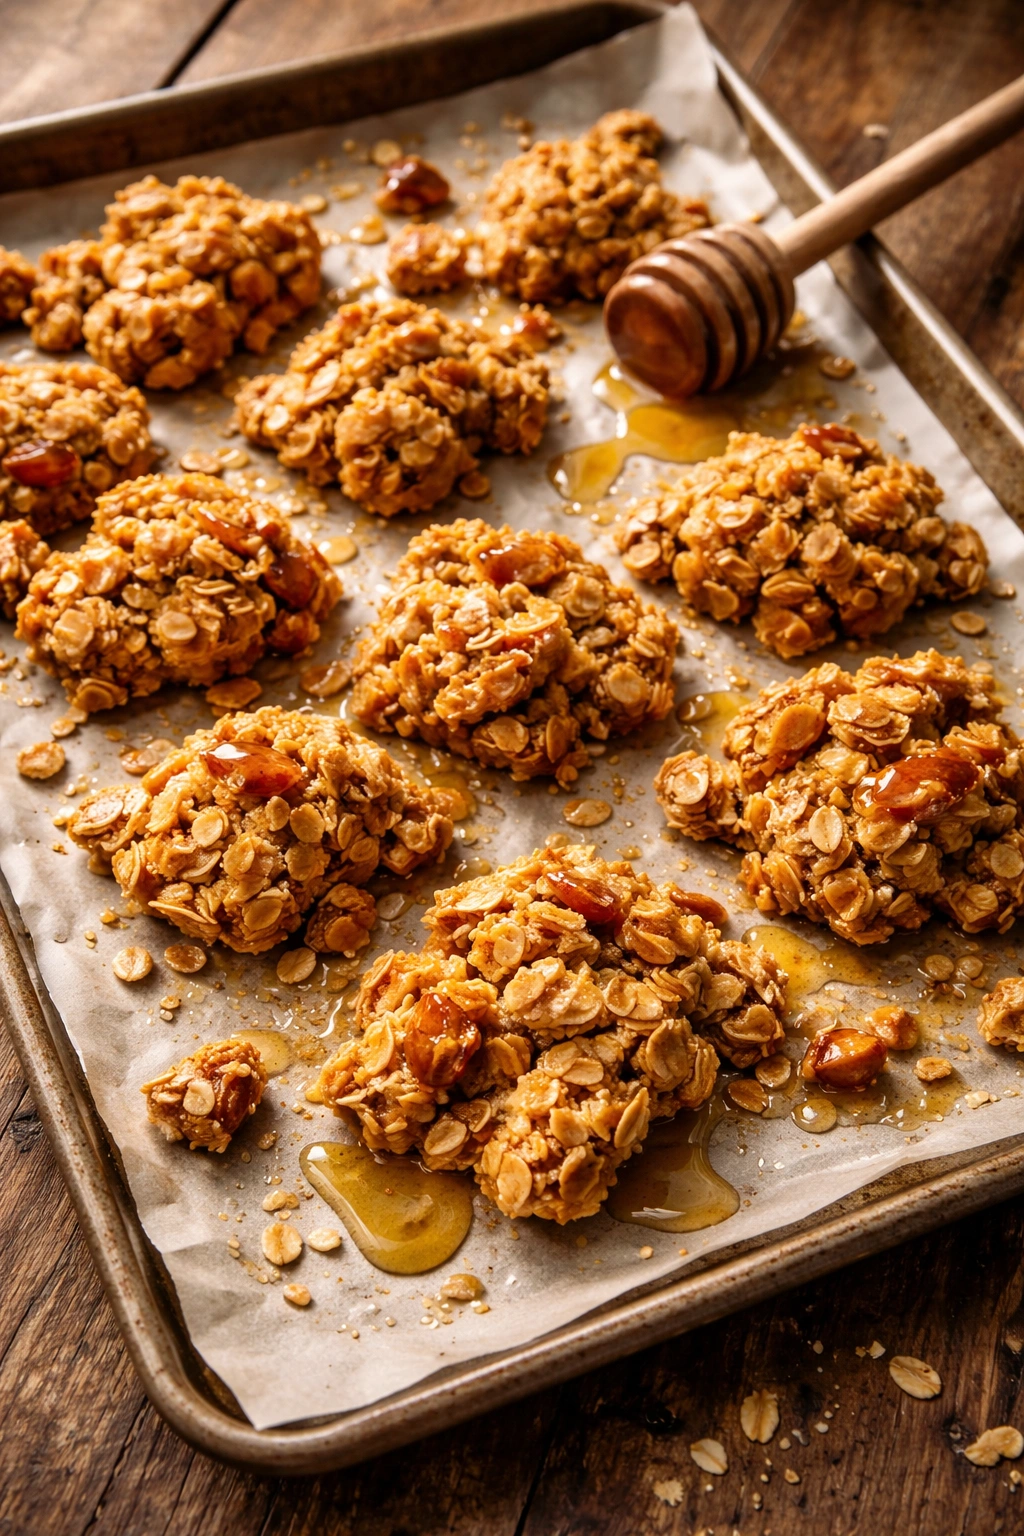
Homemade granola clusters are crunchy, naturally sweet, completely customizable, and they make your kitchen smell incredible while they’re baking. Unlike granola that you eat as a cereal or mixed into yogurt, these are big, chunky clusters that you can grab and eat by the handful as a snack. They’re the kind of thing that disappears quickly once people realize how good they are.
The basic idea is to combine oats, nuts, seeds, and whatever else you want with a binding mixture of oil and honey, spread it on a baking sheet, bake until it’s golden, and break it into clusters once it cools. The oil keeps everything moist and helps it brown evenly. The honey provides natural sweetness and helps everything stick together.
Simple Cluster Formula
Start with three cups of old-fashioned oats, add one cup of chopped nuts (almonds, pecans, walnuts, or a mix), half a cup of seeds (sunflower, pumpkin, or sesame), and any mix-ins you want (shredded coconut, dried fruit pieces, or dark chocolate chips if adding those later). In a separate bowl, whisk together a quarter cup of honey, a quarter cup of neutral oil, a teaspoon of vanilla extract, and a half teaspoon of salt. Pour the wet ingredients over the dry ingredients and stir until everything is evenly coated.
Spread the mixture on a large baking sheet lined with parchment paper and press it down slightly. Bake at 325°F for twenty-five to thirty minutes, stirring every ten minutes, until the whole mixture is golden brown. While it’s still warm, break it into clusters of varying sizes. Once completely cool, store in an airtight container.
Flavor Combinations Worth Trying
- Maple pecan: Use maple syrup mixed with honey instead of straight honey, add pecans and a splash of maple extract
- Coconut almond: Use shredded coconut as the primary add-in, toast lightly beforehand for more flavor
- Chocolate hazelnut: Add cacao nibs and chopped hazelnuts, maybe a teaspoon of hazelnut extract
- Spiced apple: Add chopped dried apple, cinnamon, nutmeg, and a touch of ginger
- Tropical: Macadamia nuts, shredded coconut, dried pineapple, and a touch of vanilla
Pro tip: The granola will continue to crisp slightly as it cools. Even if it feels slightly chewy when warm, it’ll be perfectly crispy once completely cool. Don’t overbake or you’ll end up with burnt clusters.
Final Thoughts
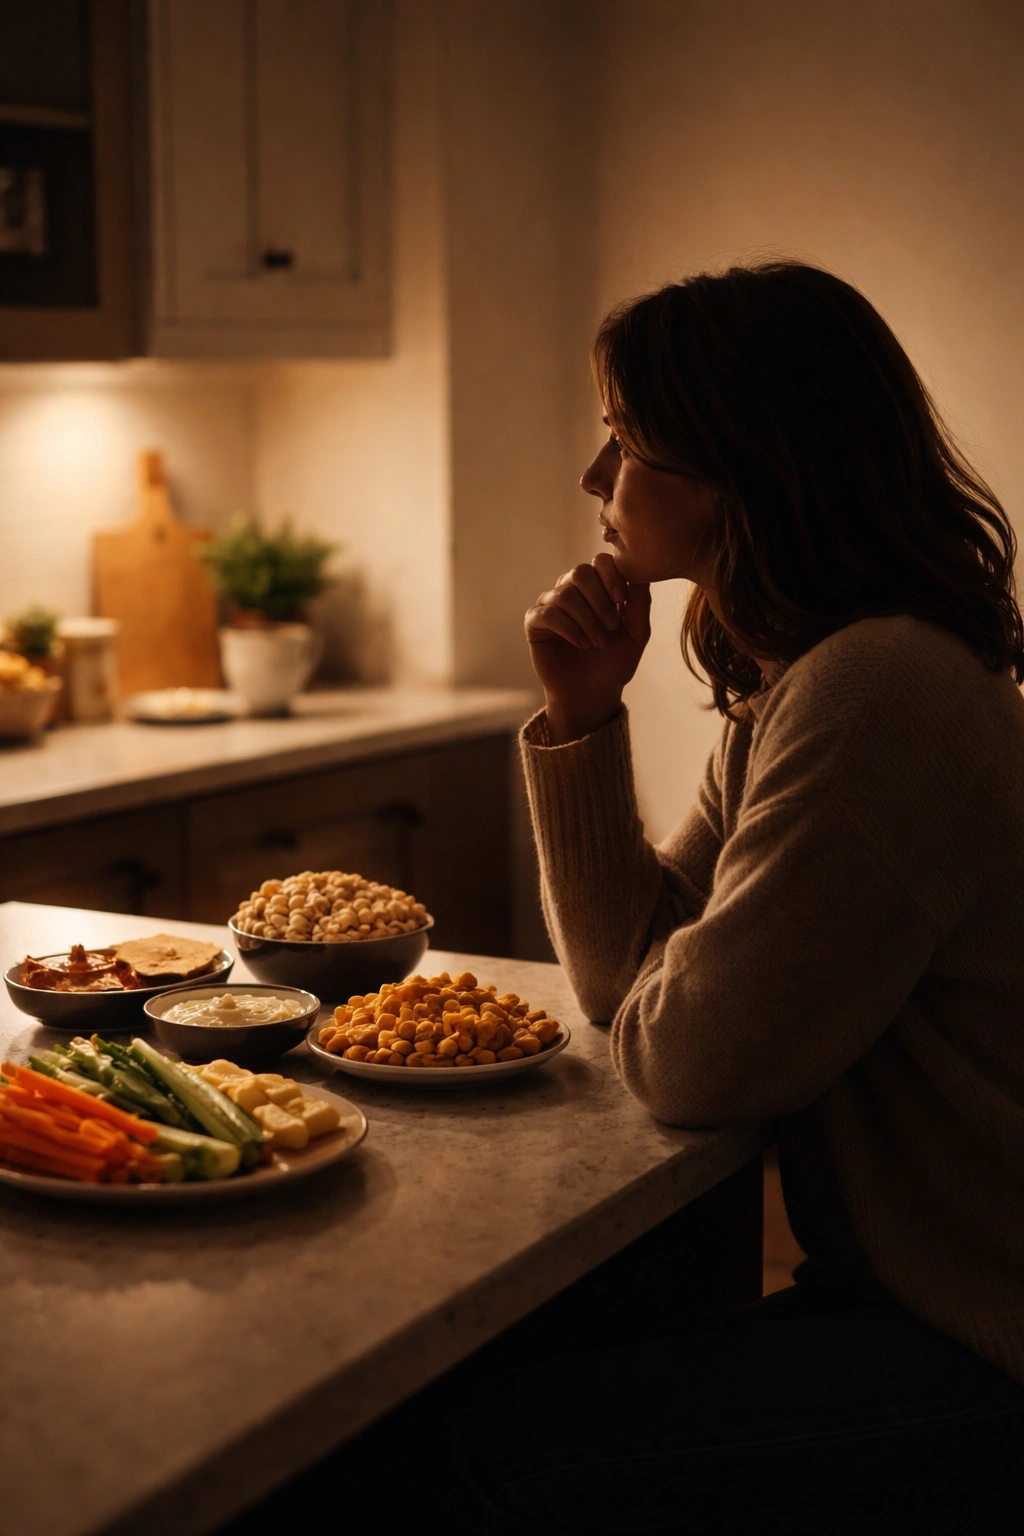
Making snacks at home doesn’t require special skills, fancy equipment, or exotic ingredients. It requires choosing a recipe that sounds good to you and spending maybe ten to fifteen minutes in the kitchen. The payoff is immediate — snacks that taste better, cost less, and come without all the preservatives and additives of store-bought options.
Start with whichever snack sounds most appealing to you. That might be the no-bake energy balls if you’re in the mood for something sweet and quick, or the roasted chickpeas if you want something savory and crunchy. Once you’ve made a couple of these, you’ll notice how much easier it is than you expected, and you’ll probably find yourself reaching for homemade snacks more often than packaged ones.
The beauty of these recipes is that they’re flexible. You can adapt them to whatever you have on hand, scale them up to batch-cook for the week, or customize the flavors to match your exact preferences. That’s something no packaged snack can offer you. Keep your pantry stocked with basics like nuts, oats, and nut butters, and you’ll always have the ingredients on hand to make something delicious whenever hunger strikes.
