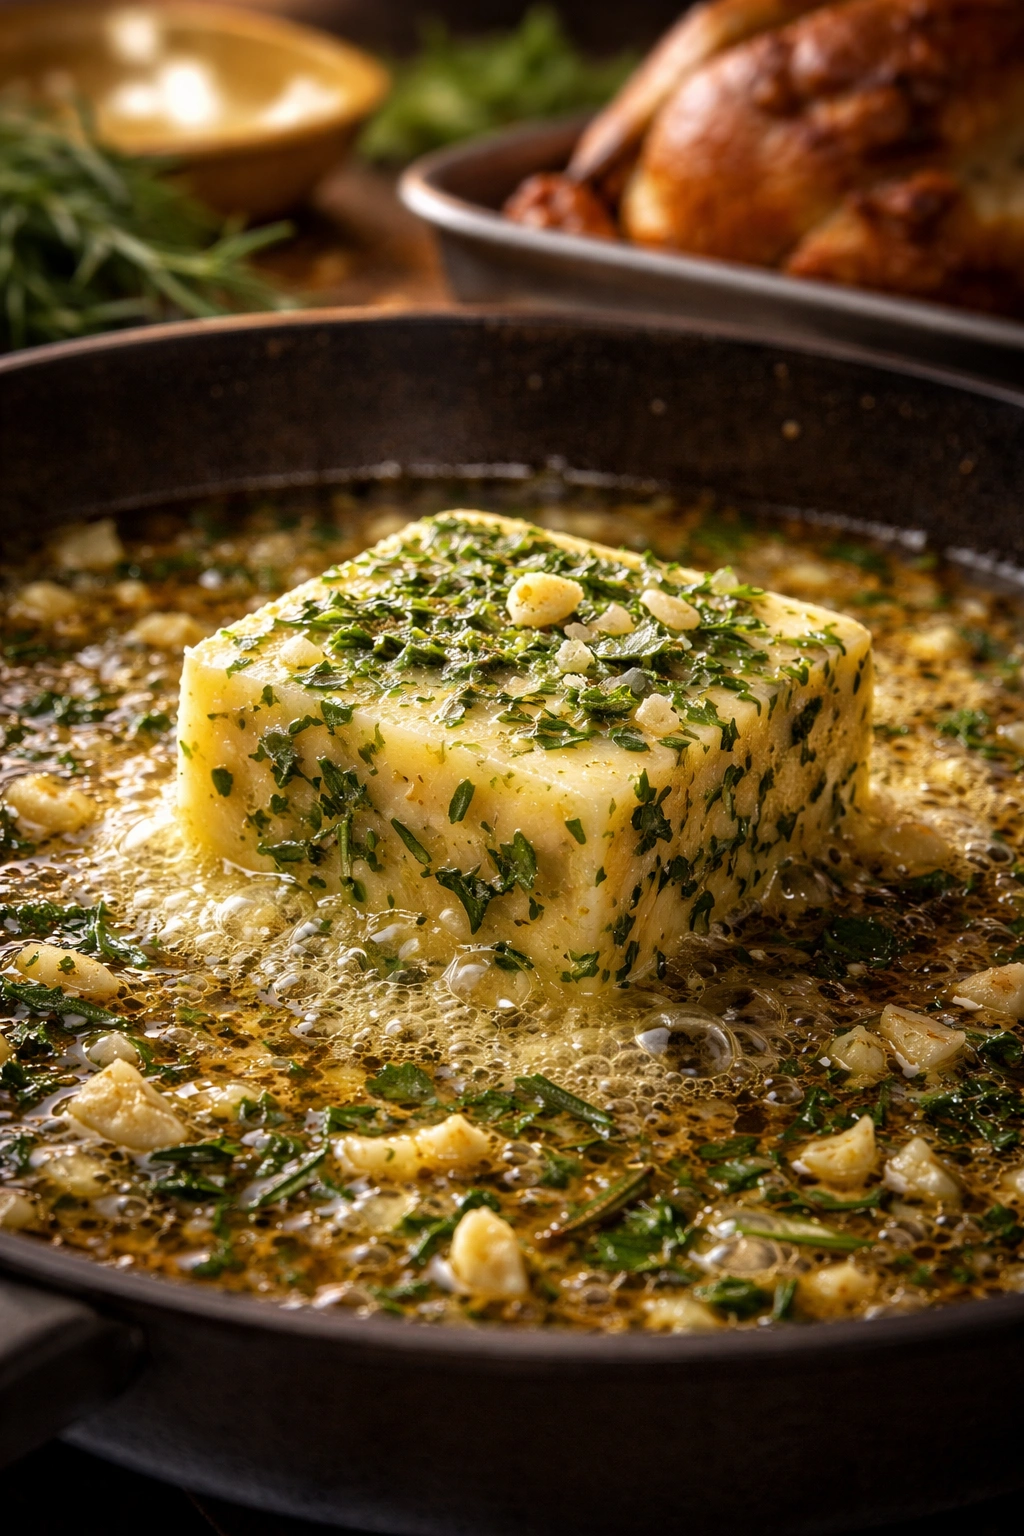
Homemade herbed butter is one of those kitchen secrets that transforms an ordinary roasted turkey into something absolutely unforgettable. Unlike store-bought basting liquids or plain pan drippings, a compound butter infused with fresh herbs, garlic, and lemon delivers layers of flavor that seep into every fiber of the bird—keeping the meat moist while the skin turns golden and crispy. The best part? This liquid gold takes less than 30 minutes to prepare, and it costs a fraction of what you’d spend on specialty ingredients. Once you understand how to make it and apply it during roasting, you’ll never baste your turkey any other way.
The beauty of herbed butter basting goes beyond simple flavoring. As the butter melts and drips down the turkey during roasting, it doesn’t just season the meat—it physically bastes the bird with richness, helping the meat retain moisture that would otherwise evaporate in the dry oven heat. The herbs under and over the skin create an aromatic shield that infuses the turkey with savory depth. Meanwhile, the garlic and lemon add brightness and subtle complexity that makes people ask what your secret ingredient is. It’s not a secret, though. It’s just butter, herbs, and knowing exactly how to use them.
Why Herbed Butter Basting Works Better Than Other Methods
Traditional basting with pan drippings alone leaves the turkey depending entirely on whatever juices have collected at the bottom of the pan—which can be minimal, especially early in the cooking process. Herbed butter, by contrast, provides a consistent, flavorful liquid throughout the entire roasting period. The fat in the butter helps the herbs and garlic flavors penetrate the meat more effectively than water-based broths ever could. Fat carries flavor, and that’s the fundamental principle that makes compound butter such a game-changer for poultry.
The method also addresses one of the biggest challenges in turkey cookery: keeping white meat moist while ensuring thighs cook through completely. By basting regularly with herbed butter, you’re adding extra moisture to the breast meat specifically, which tends to dry out faster than dark meat. The continuous basting keeps the surface from drying out while the interior continues to cook gently. This is why chefs and experienced home cooks have relied on basting for generations—it genuinely works, especially when you use a flavor-packed liquid like herb butter instead of plain stock.
Beyond functionality, the flavor compounds in the herbs create what cooks call “aromatic carry-over,” where the scent of roasting turkey infused with fresh rosemary, sage, and thyme fills your entire kitchen and signals to everyone that something incredible is happening. That sensory experience is part of the joy of cooking turkey, and it all comes from the herbed butter hitting the hot pan and the turkey’s skin.
The Compound Butter Advantage
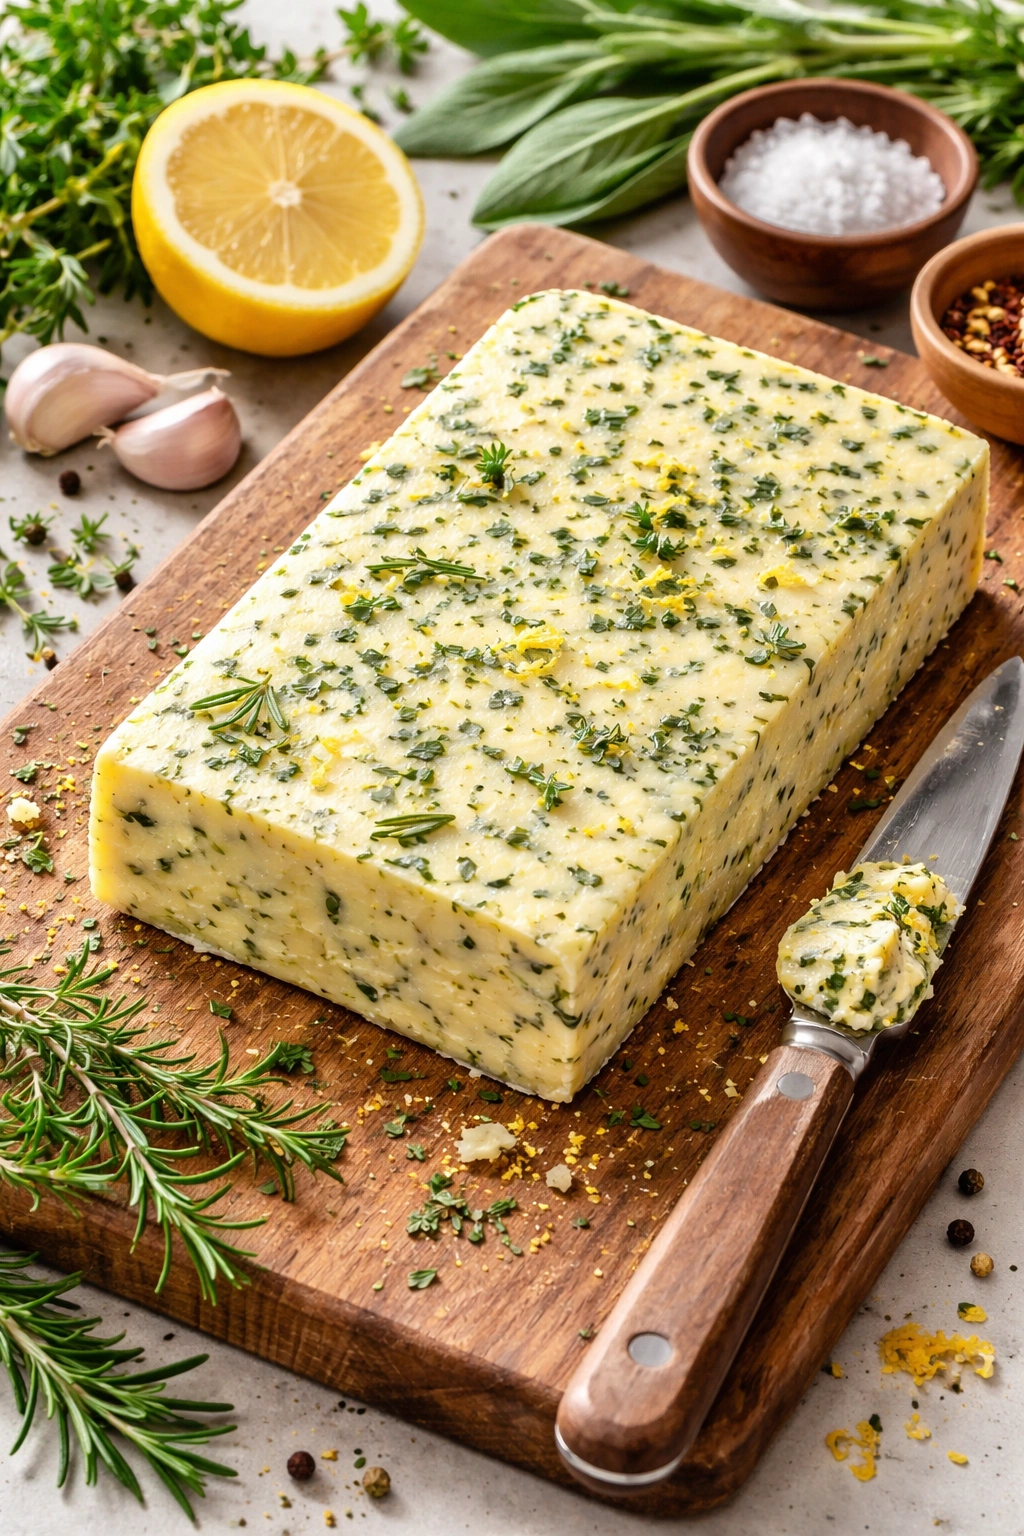
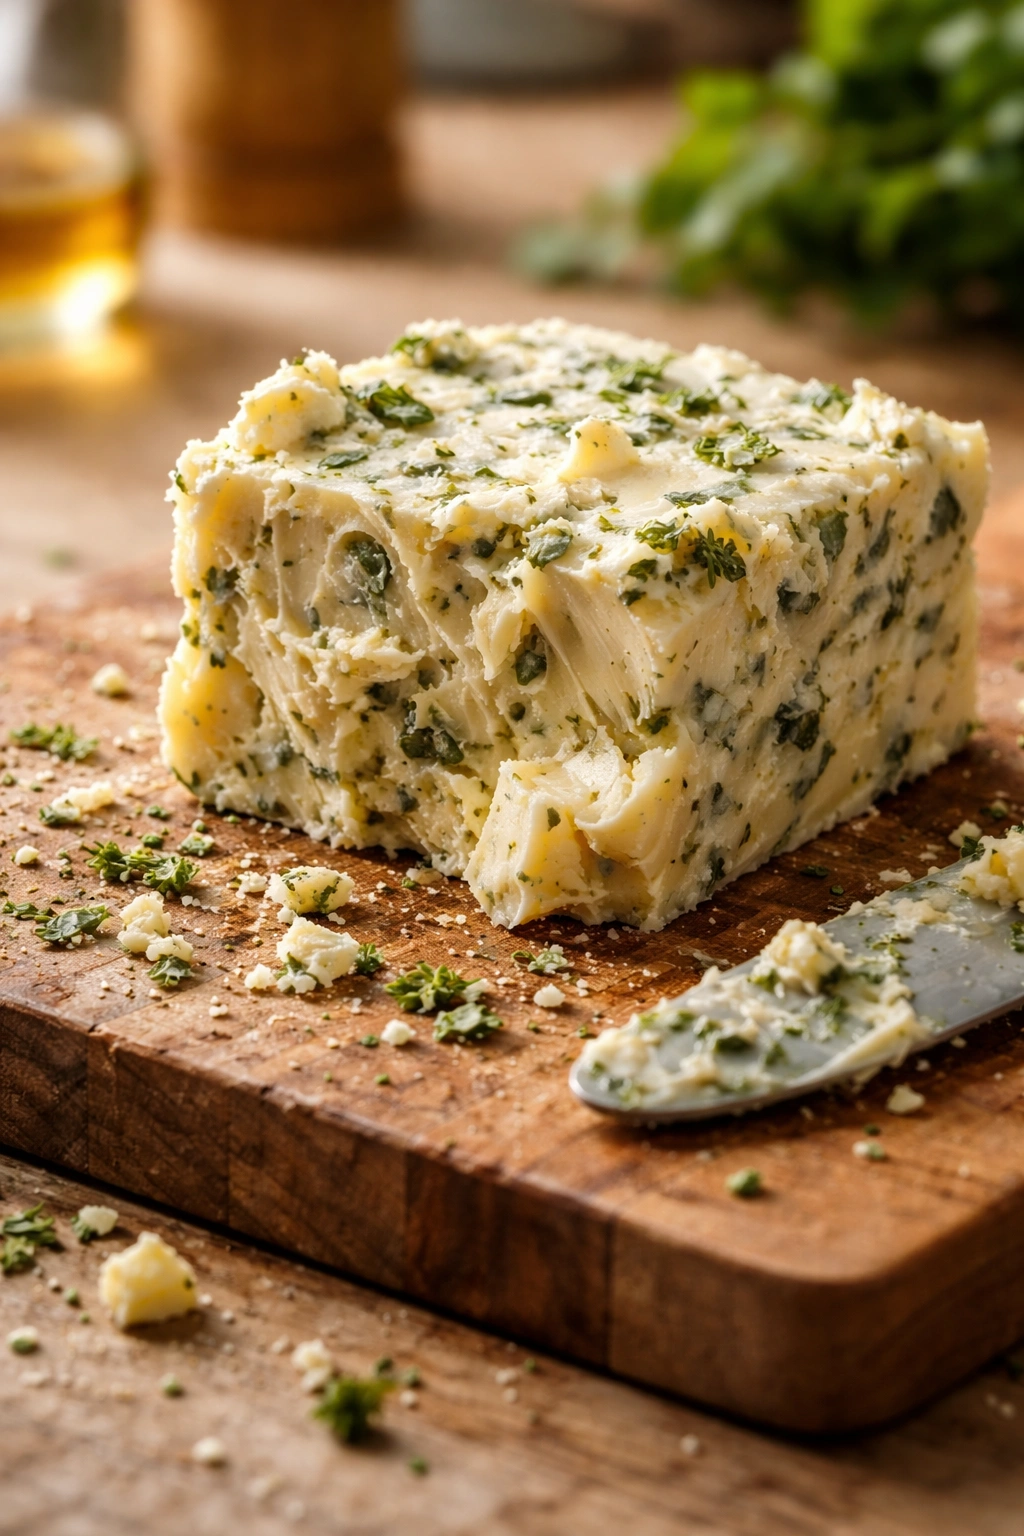
A compound butter—which is simply softened butter mixed with other ingredients—was perfected centuries ago for good reason. Unlike marinades that can sit on the surface, or dry rubs that might burn, a compound butter clings to the meat, melts slowly into the crevices, and provides continuous flavor delivery. Place some under the skin of the turkey, and it acts as a moisture barrier. Rub it over the outside, and the herbs toast slightly as the skin crisps, developing deeper, more complex flavors. Use it for basting every 30 minutes during roasting, and it becomes the foundation of an incredible pan sauce or gravy.
The reason Martha Stewart, Tom Colicchio, and countless food writers return to herb butter again and again is simply that it works. It’s reliable, it’s foolproof, and the results are noticeably better than turkeys prepared without it. Most importantly, making it requires no special skills or hard-to-find ingredients—just butter, fresh herbs, and maybe 10 minutes of your time.
What You Need to Make Herbed Butter for Turkey
The ingredient list is intentionally simple. You’re not building a complex sauce here; you’re creating a concentrated flavor vehicle that will melt, drip, and baste for hours. The best herbed butter for turkey uses unsalted butter as the base—this gives you complete control over the salt level and prevents the butter from becoming overly salty after you add herbs. Salted butter contains about a teaspoon of salt per stick, which can throw off your seasoning balance.
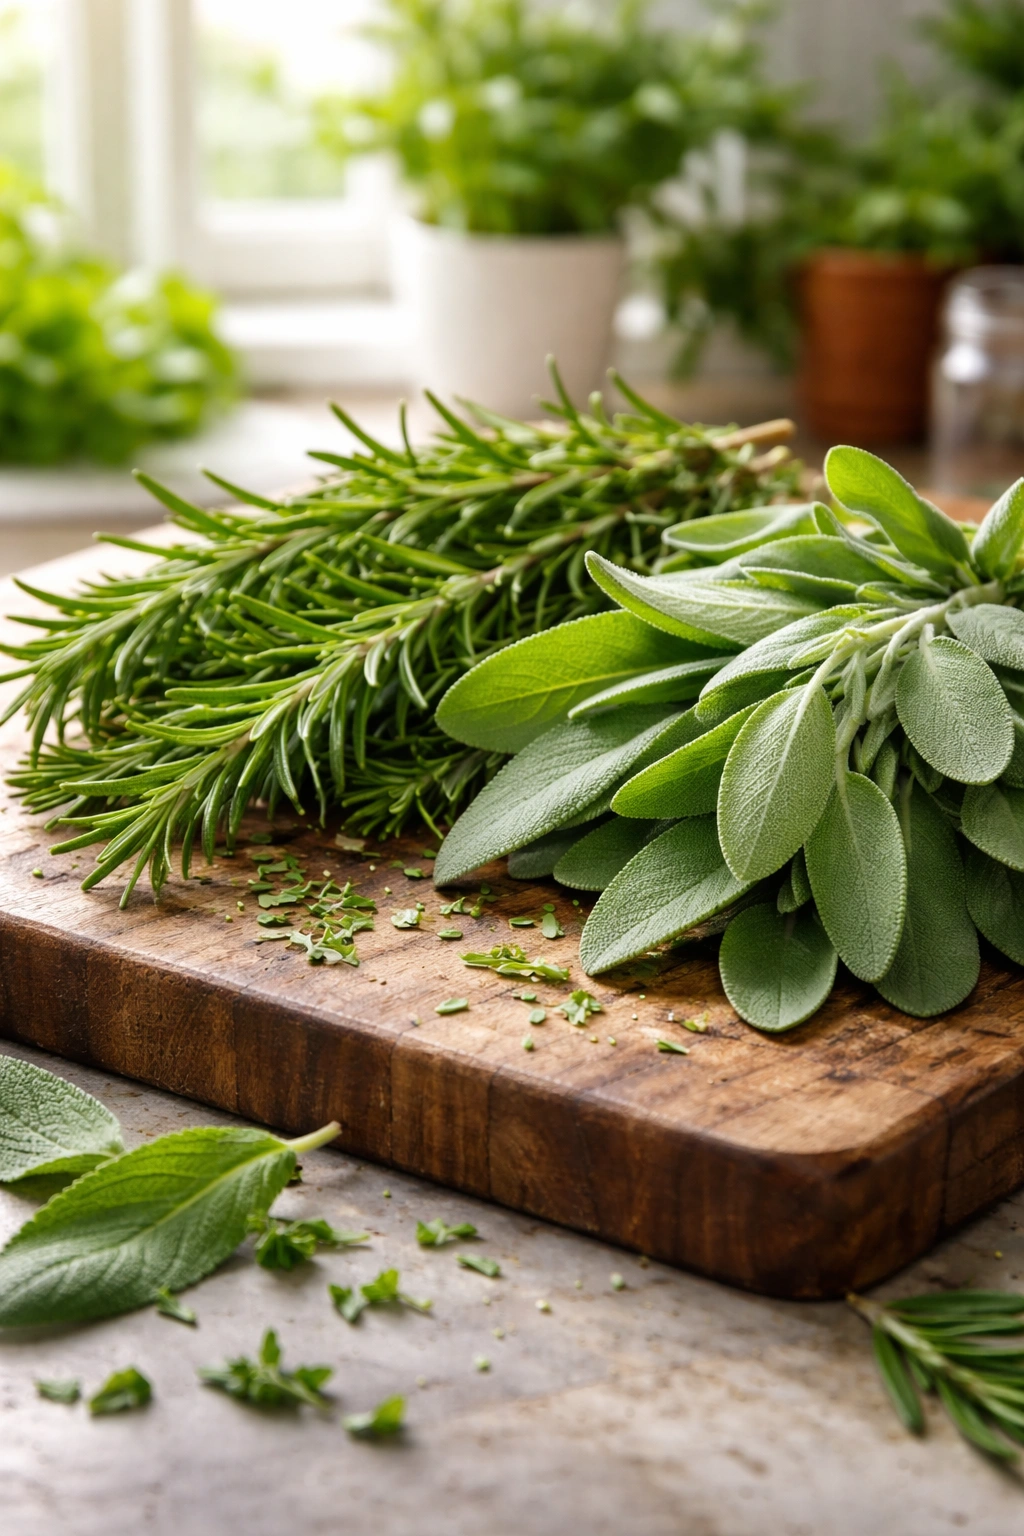
Fresh herbs are non-negotiable if you’re making this properly. Dried herbs can work in a pinch, but they won’t deliver the same bright, fresh quality that makes people stop mid-bite and ask what’s different about your turkey. Fresh rosemary, sage, and thyme are the holy trinity for poultry. They’re traditional, they pair beautifully together, and they each bring something distinct to the flavor profile. Rosemary adds a piney, slightly sharp note. Sage contributes earthiness and warmth. Thyme rounds everything out with subtle sweetness and delicate herbal complexity.
Garlic is your flavor amplifier. Fresh minced garlic creates a richer, more nuanced garlic flavor than garlic powder ever could, though you can substitute in a pinch. Lemon zest—not juice, specifically the colored part of the skin—adds brightness without adding moisture that might cause the butter to separate. The zest also contains powerful aromatic oils that provide complexity. Sea salt brings out the flavors of the herbs and butter without adding harshness. Black pepper should be freshly ground; pre-ground pepper loses aromatic compounds over time.
That’s genuinely all you need. Some recipes add honey, cream, or extra ingredients, but they’re unnecessary. Butter, herbs, garlic, lemon, salt, and pepper create the perfect balance. Everything else is decorative.
Yield: Makes approximately 1 cup (enough to baste a 12-16 pound turkey generously with leftover for serving)
Prep Time: 10 minutes
Chill Time: 15-20 minutes (optional, but recommended for easier handling)
Total Time: 30 minutes from start to use
Difficulty: Beginner — literally no cooking required, just mixing and letting flavors combine slightly.
Ingredients for Herbed Butter Baste
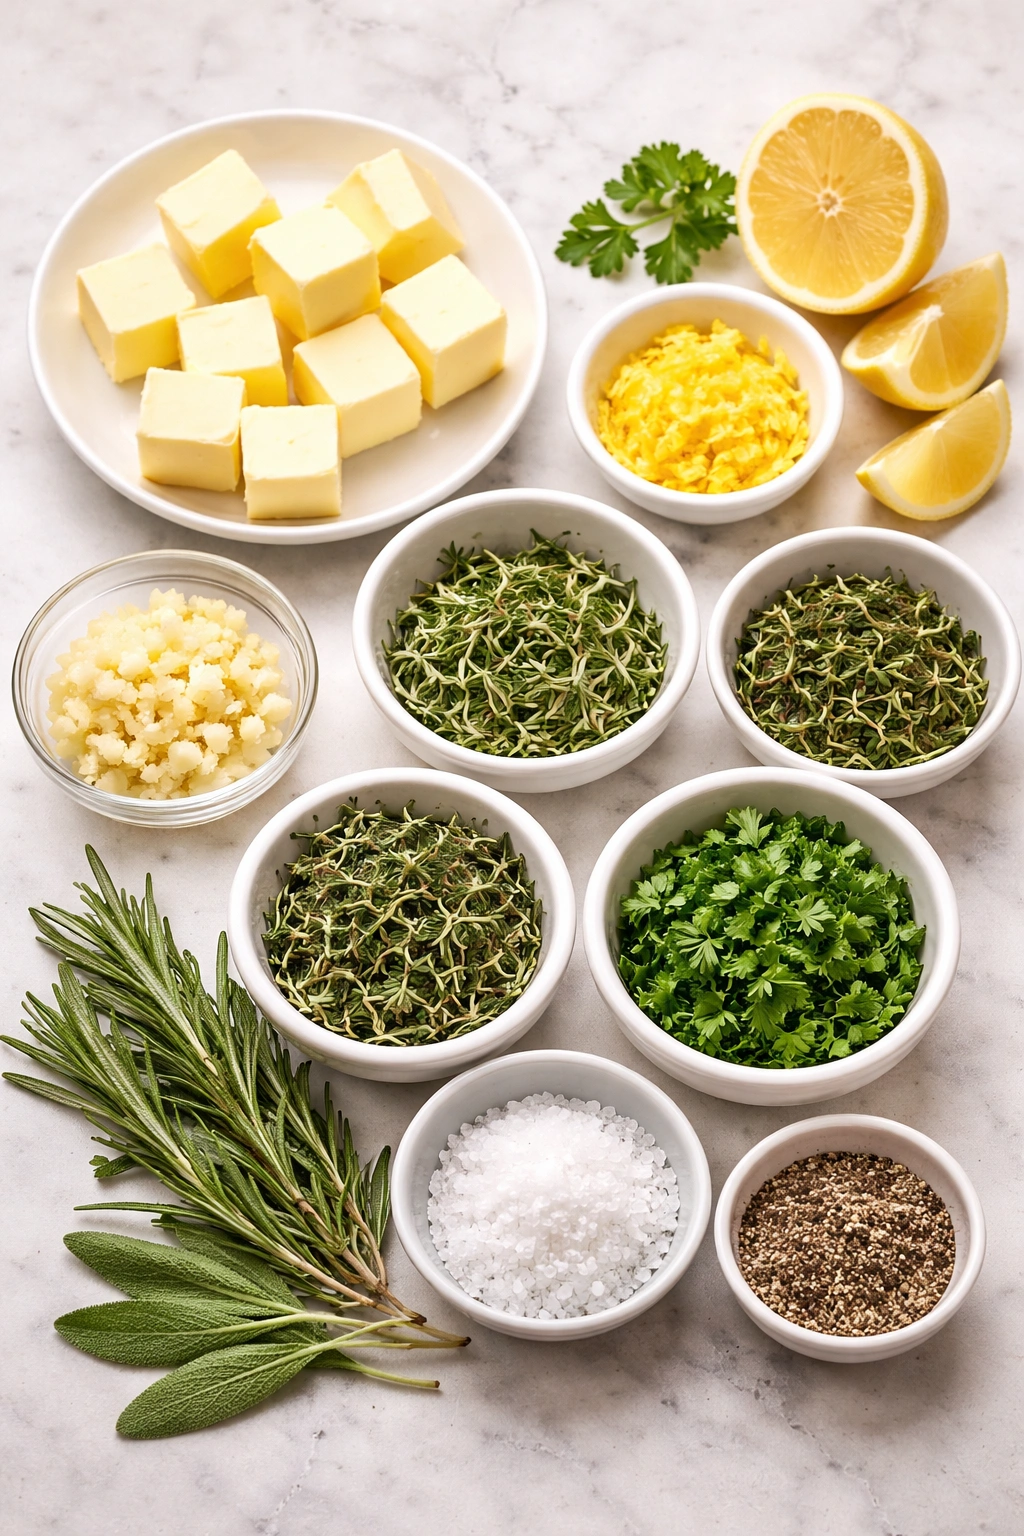
For the Compound Butter:
- 1 cup (2 sticks) unsalted butter, softened to room temperature
- 4 large garlic cloves, minced very fine
- 2 tablespoons fresh rosemary leaves, finely chopped
- 2 tablespoons fresh sage leaves, finely chopped (about 12-15 whole leaves)
- 1 tablespoon fresh thyme leaves, finely chopped (strip leaves from stems first)
- 1 tablespoon fresh parsley, finely chopped (optional but adds color and freshness)
- Zest of 1 large lemon or 2 small lemons (the colored part only, about 1½ teaspoons)
- 1 teaspoon kosher salt (adjust to ¾ teaspoon if using salted butter)
- ½ teaspoon freshly ground black pepper
- Pinch of fine sea salt for finishing (optional)
Optional Additions for Variation:
- ½ teaspoon red pepper flakes (for subtle heat)
- ¼ teaspoon ground coriander or fennel (for spice-forward version)
- 1 teaspoon Dijon mustard (for tangy depth)
- 1 anchovy fillet, minced (for umami boost—don’t skip this if you want restaurant-quality depth)
Making Herbed Butter Baste Step-by-Step
Prepare Your Ingredients:
-
Remove the unsalted butter from the refrigerator and set it on the counter for 15-20 minutes until it reaches room temperature. You want it soft enough to blend easily, but not melted or greasy. If your kitchen is cool, this might take longer; if it’s warm, watch carefully so the butter doesn’t soften too much.
Advertisements -
Mince the garlic cloves as fine as possible using a sharp knife or microplane grater. The smaller the pieces, the more evenly distributed the flavor will be throughout the butter. If you have a food processor, pulse the garlic separately first to ensure it’s uniformly tiny—uneven garlic distribution is the most common mistake in compound butter.
-
Strip fresh thyme leaves from their woody stems by holding the stem at the top and running your thumb and fingers downward, letting the leaves fall into a bowl. Discard the stems. Thyme stems are tough and woody and won’t break down in the butter, so this step matters.
-
Roughly chop the fresh rosemary and sage leaves. Don’t pulverize them into powder—you want small pieces that are visible in the finished butter. This provides visual appeal and gives you little bursts of concentrated herbal flavor when you eat the turkey.
-
Chop the fresh parsley finely. If you’re concerned about green color bleeding into the butter (chlorophyll can make white butter look gray), you can quickly rinse the minced parsley in cool water, then squeeze it dry in a paper towel before adding it. This is optional but appreciated by perfectionists.
-
Zest the lemon using a microplane zester or the smallest holes on a box grater, being careful to get only the colored part and none of the bitter white pith underneath. Set aside in a small bowl.
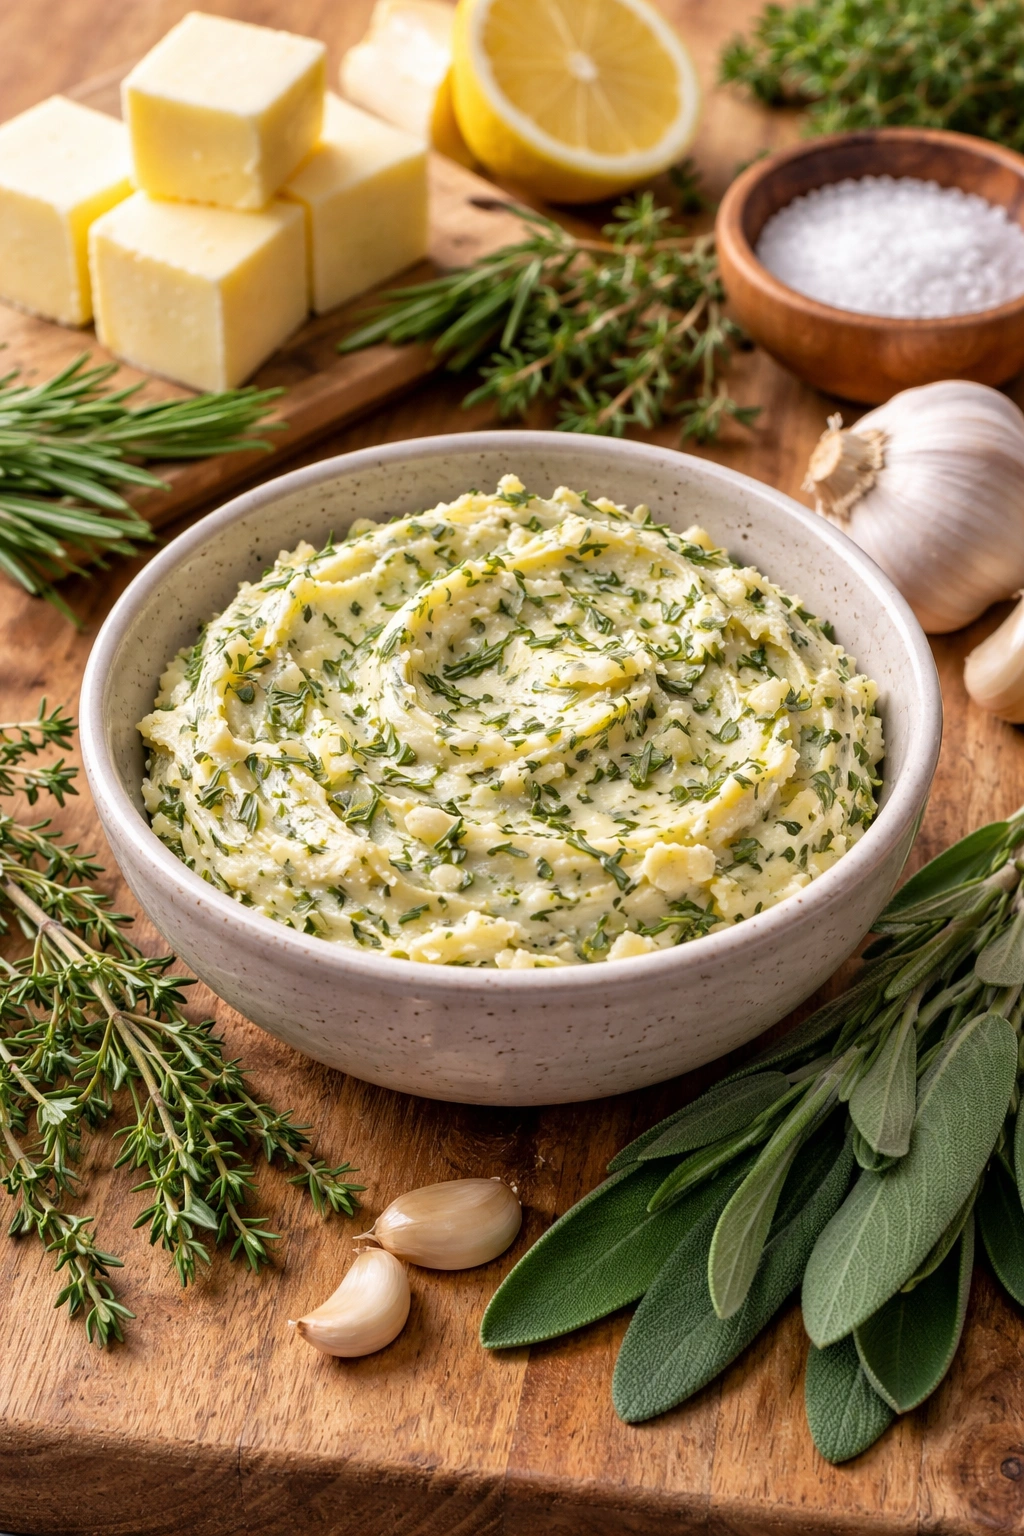
Combine Everything:
-
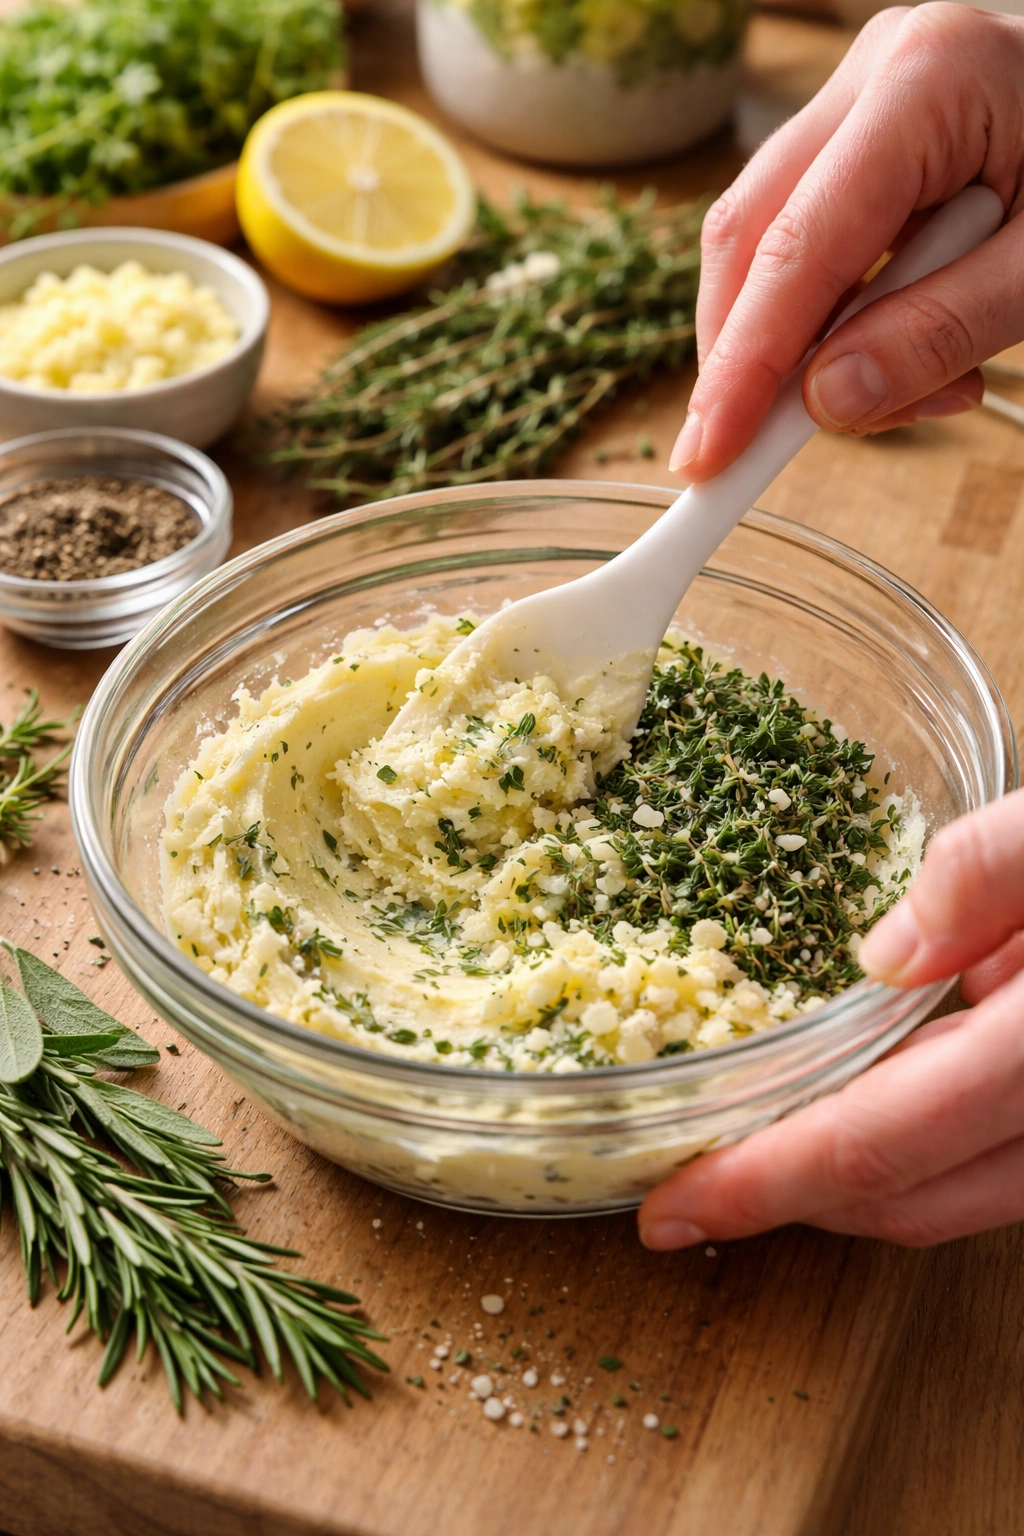
Place the softened butter in a medium mixing bowl. Using a rubber spatula or wooden spoon, begin mashing and stirring the butter against the sides of the bowl to break down any remaining firmness. You’re not whipping air into it; you’re just ensuring it’s completely pliable and ready to receive the other ingredients.
-
Add the minced garlic, chopped rosemary, sage, and thyme to the butter. Fold everything together using the spatula, pressing the herbs into the butter so they distribute evenly. This should take 1-2 minutes of gentle but firm folding. The butter will begin to turn slightly green from the herbs—this is exactly what you want.
-
Add the lemon zest, fresh parsley, salt, and black pepper. Fold again until everything is completely incorporated and the color is relatively even throughout. The butter should look flecked with herbs rather than lumpy or unevenly distributed.
-
Taste a tiny bit on your finger—stick your finger in and taste it directly. Adjust salt if needed. Remember that this butter will be applied to turkey, which is a mild-flavored meat, so the butter should taste noticeably herbaceous and flavorful on its own. If it tastes flat or dull, add another pinch of salt and mix again.
Advertisements
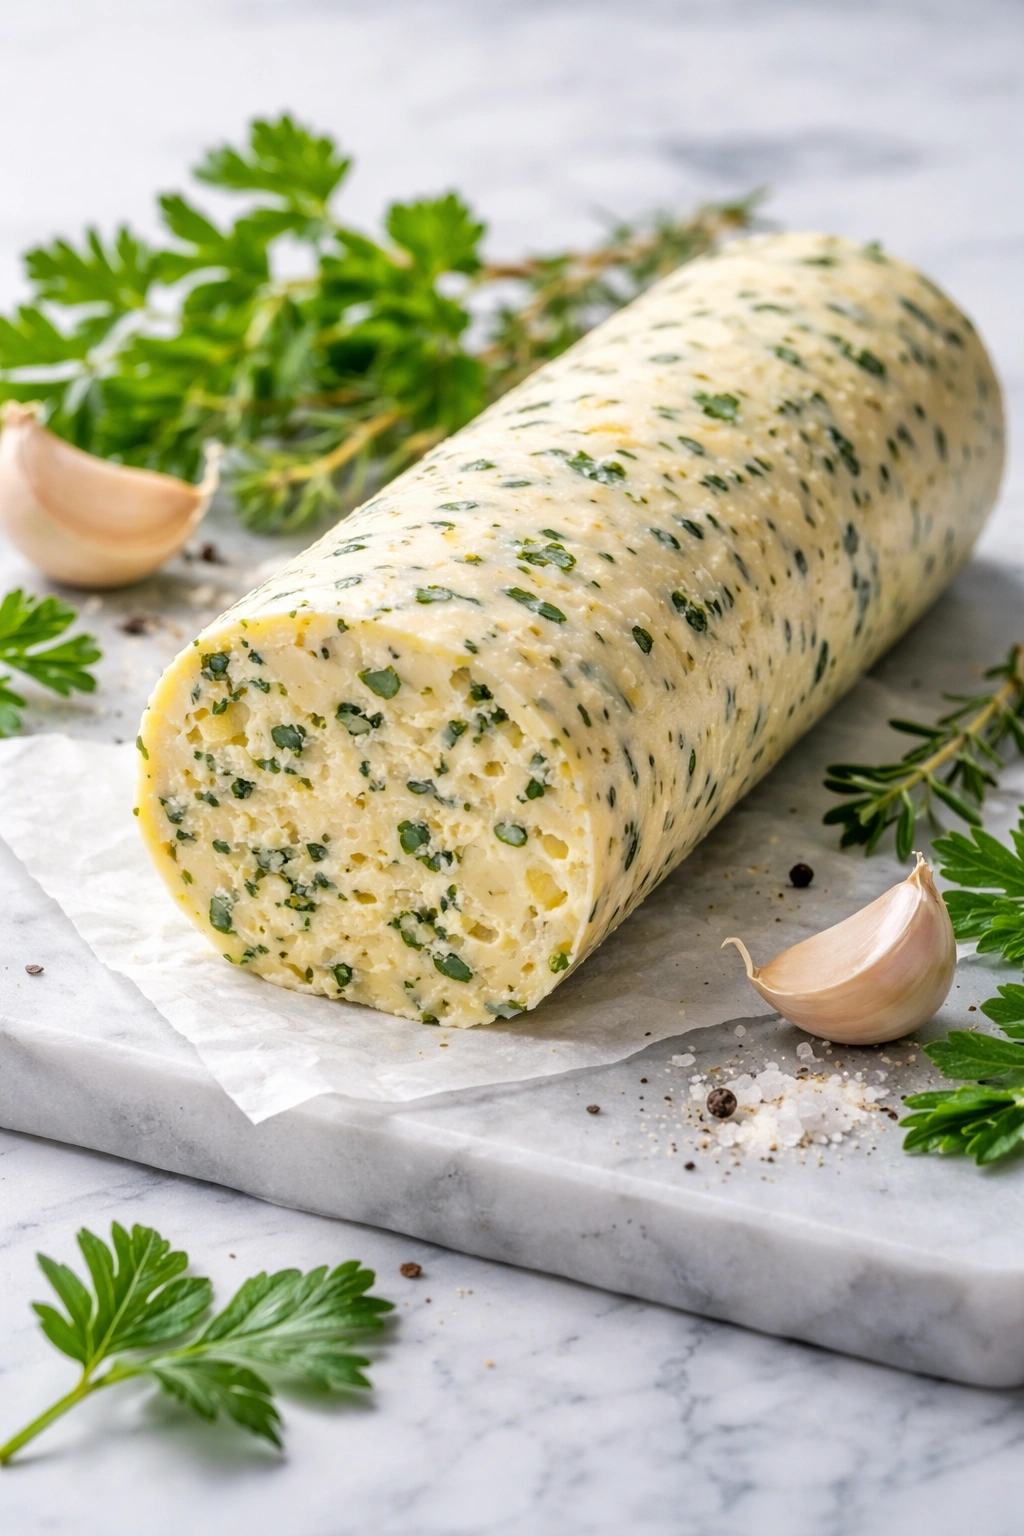
Optional Chilling:
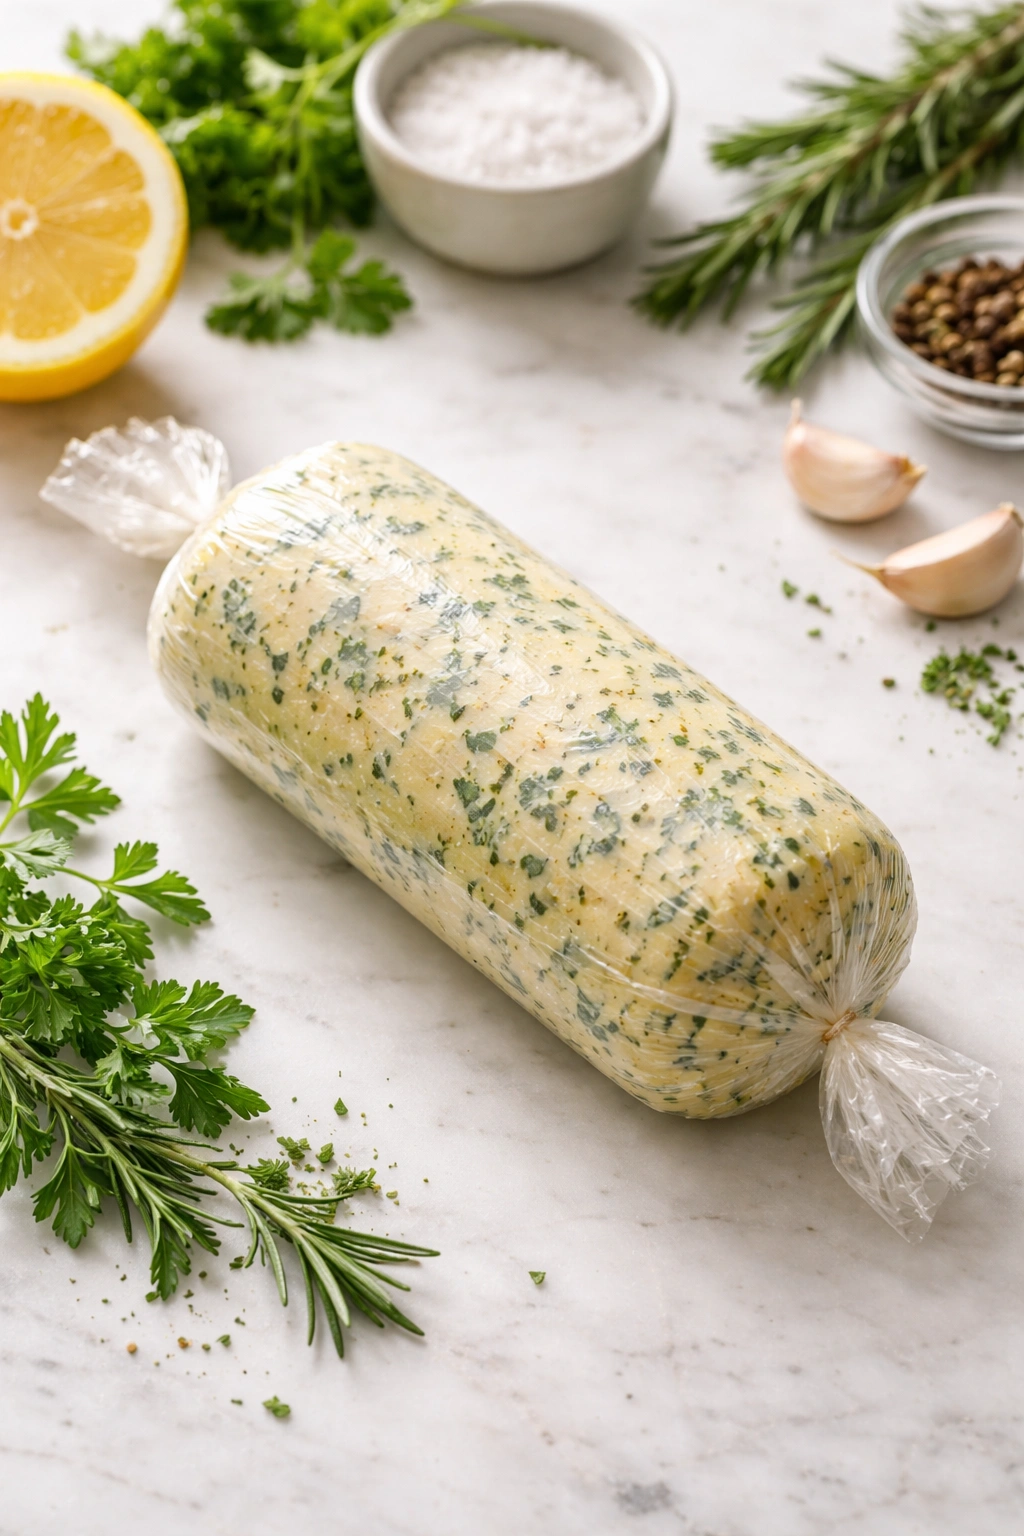
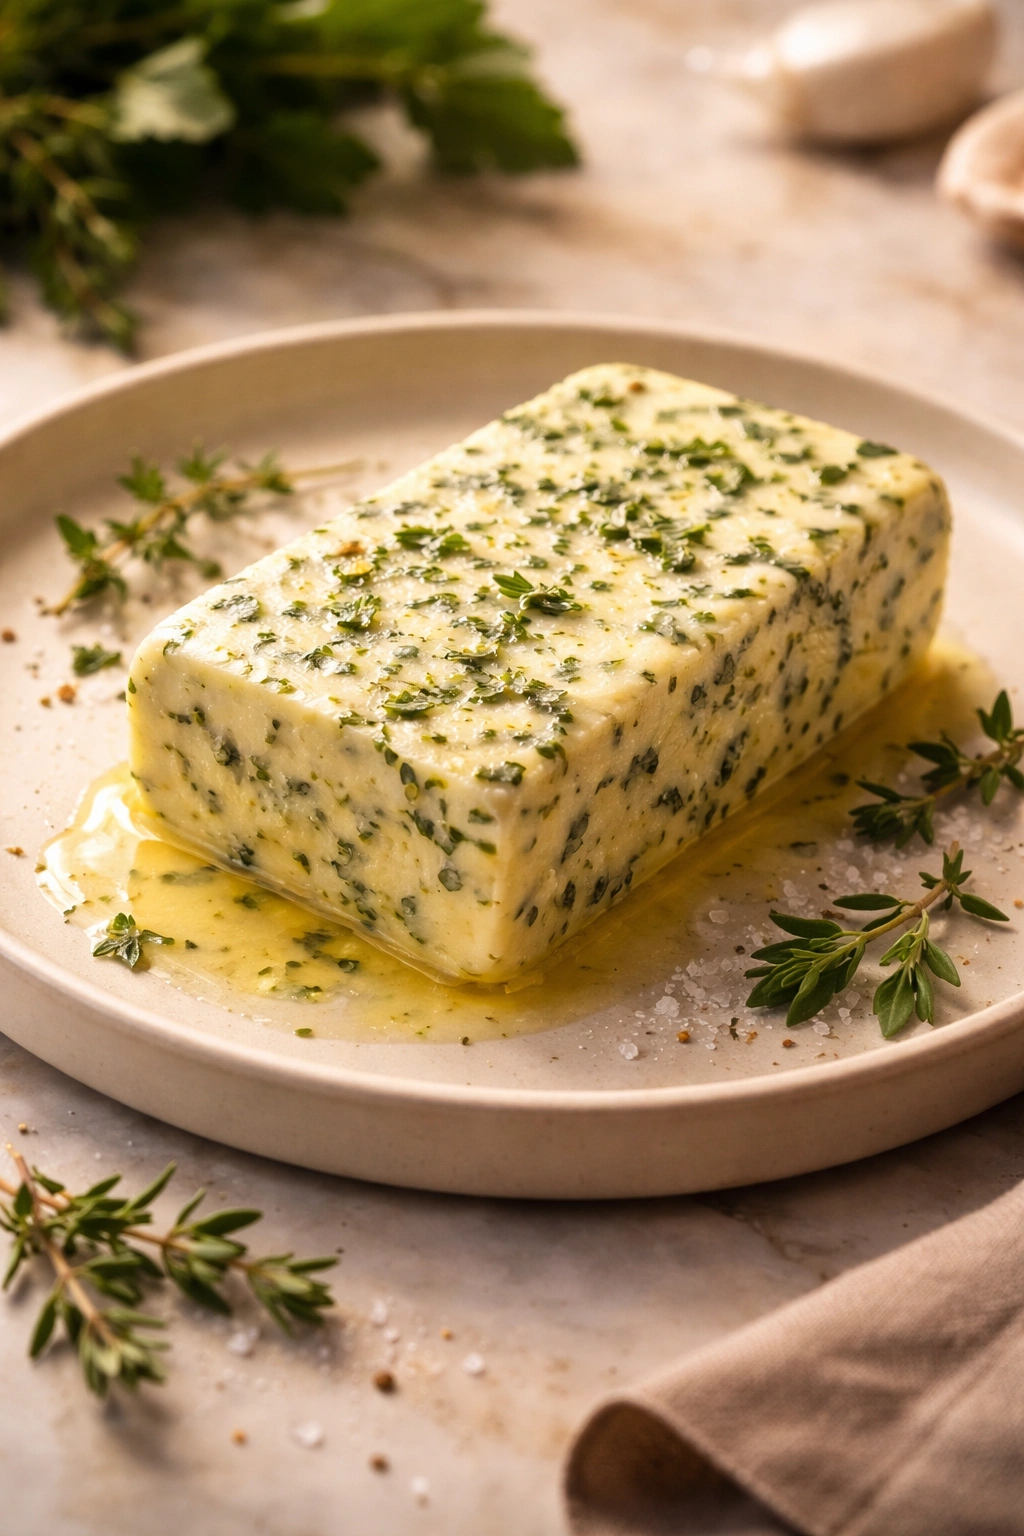
- If you have time, spoon the finished herbed butter into a small ramekin or form it into a log wrapped in parchment paper, then refrigerate for 15-20 minutes. This helps the flavors meld slightly and makes the butter easier to handle when applying it to the turkey. However, this step is completely optional—the butter works fine at room temperature for immediate use.
How to Apply Herbed Butter Before Roasting
The way you apply the herbed butter to the turkey is just as important as the butter itself. This is where the magic happens. You’ll use the butter in two ways: under the skin before roasting, and for basting throughout cooking.
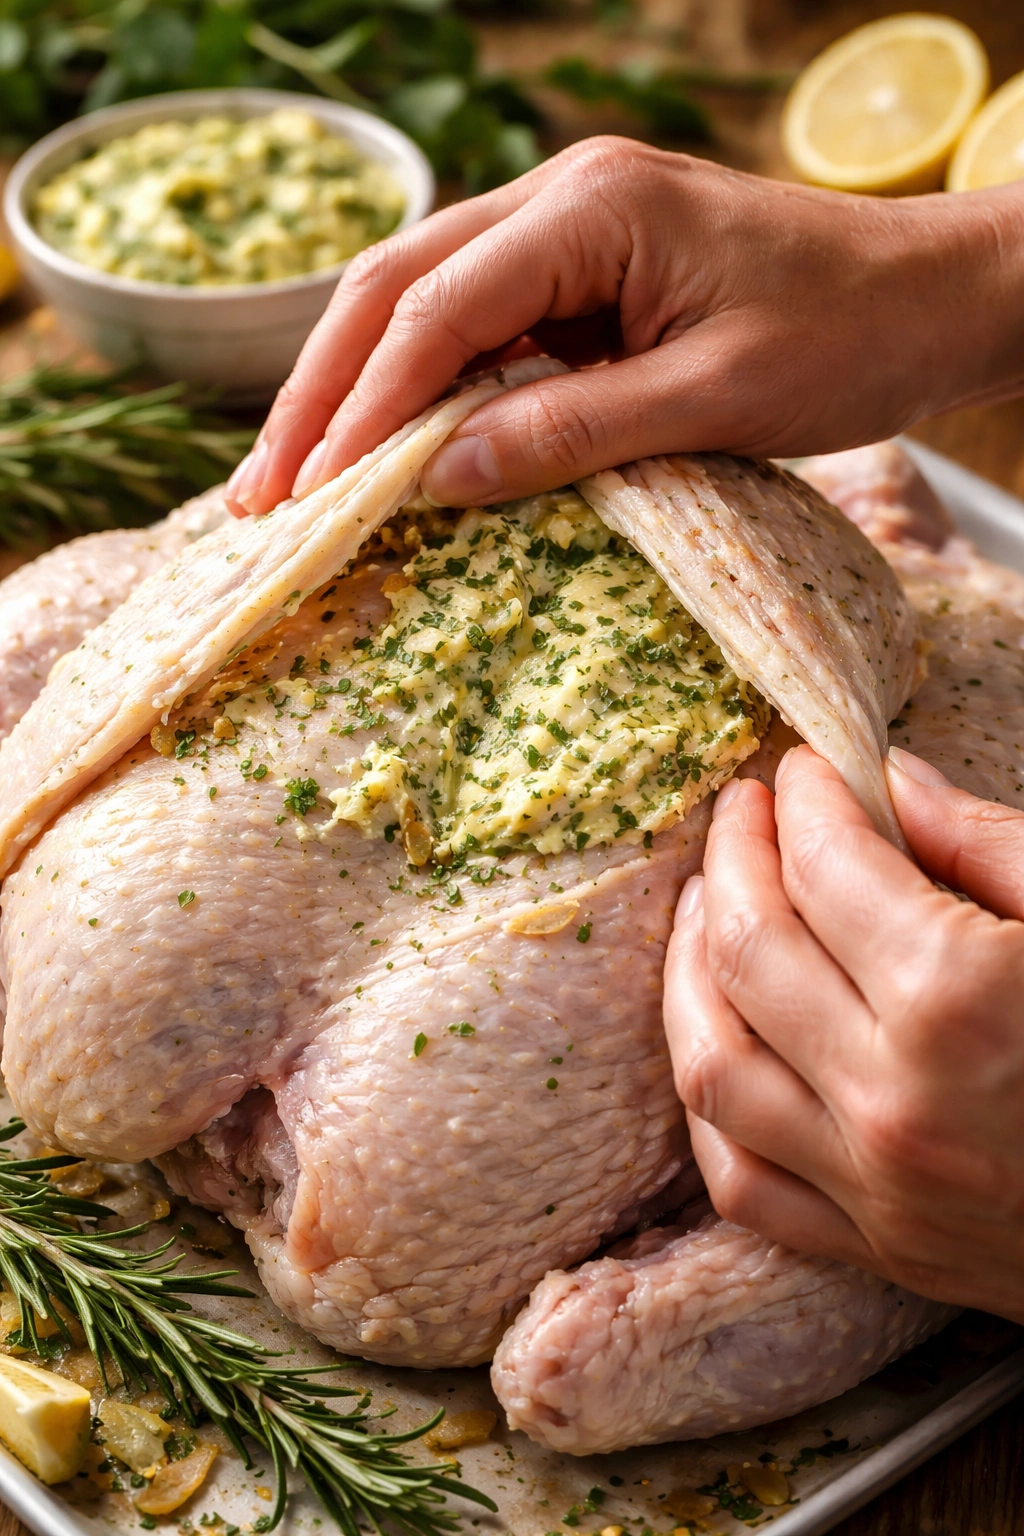
Getting Butter Under the Skin:
Working with cold or cool turkey is easier than working with room-temperature bird, so do this step first before the turkey warms up. Place the turkey breast-side up on a clean cutting board. Starting at the neck end, gently slide your fingers under the skin of the turkey breast, being careful not to tear the delicate skin. You’re creating a pocket between the skin and the breast meat. Once you’ve loosened the skin across the entire breast and down toward the thighs, use a small offset spatula or the back of a spoon to spread about one-third of the herbed butter under the skin on top of the breast meat. Try to distribute it as evenly as possible so every part gets some herb-infused butter directly touching the meat. This butter will slowly melt and baste the white meat from the inside, keeping it moist and flavorful.
For the underside of the turkey, flip it over carefully. Loosen the skin on the underside in the same way, and spread another portion of the herbed butter under that skin too. This two-sided approach ensures complete coverage and maximum flavor penetration.
Applying Butter to the Outside:
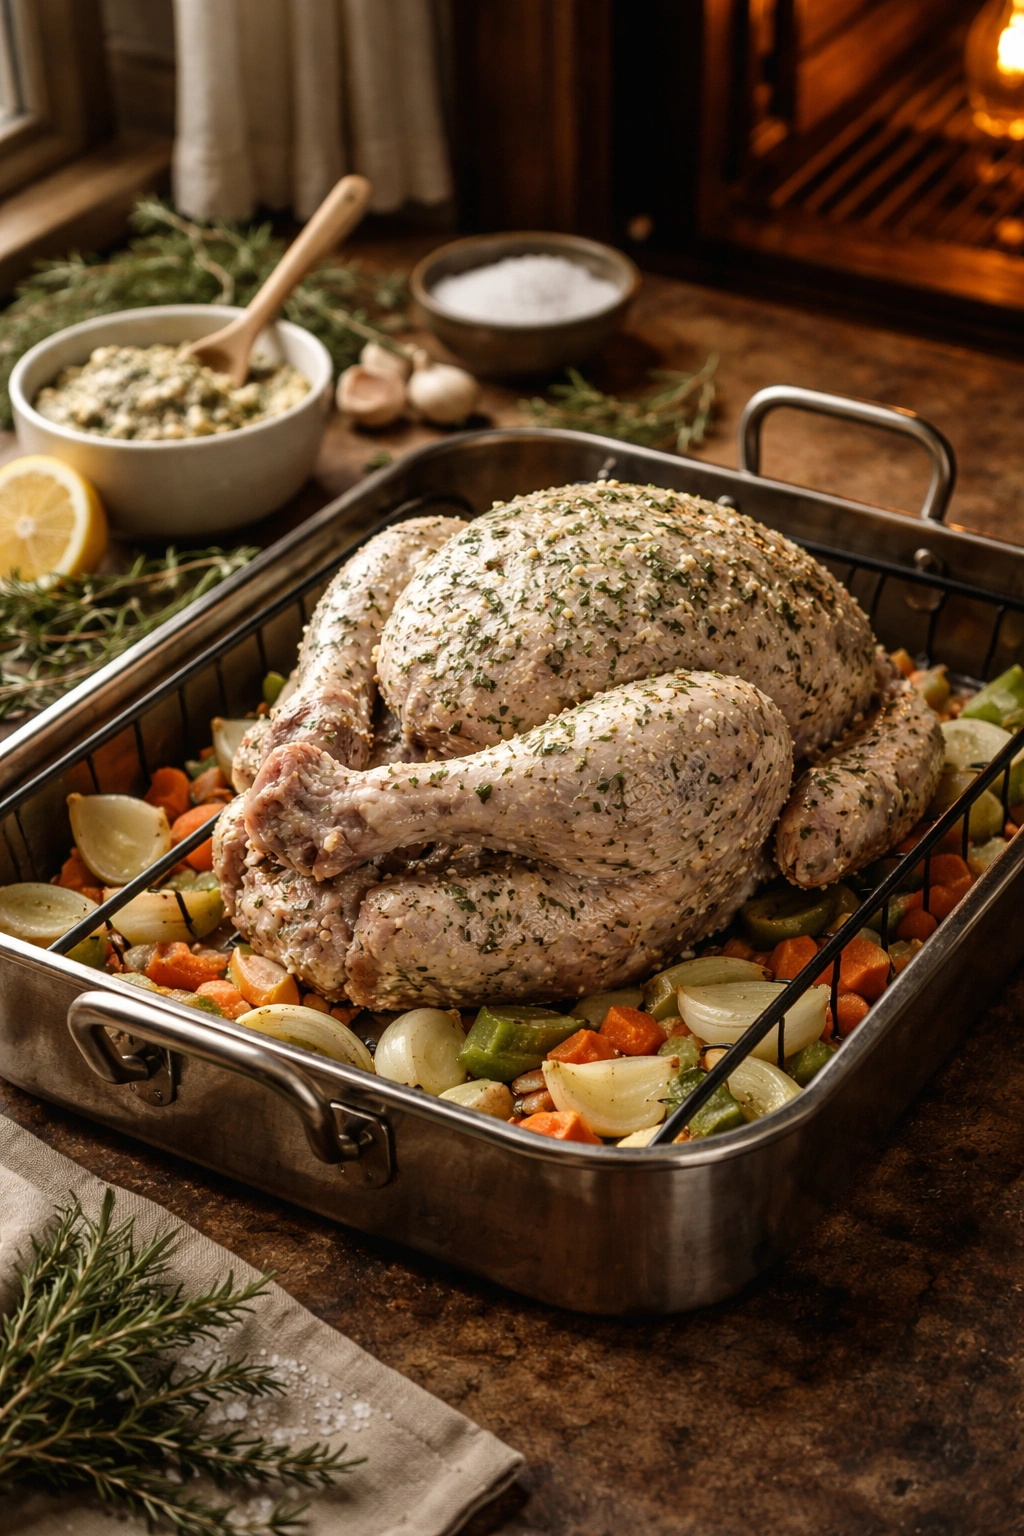
Once you’ve done the under-skin application, use the remaining herbed butter to coat the outside of the turkey generously. Pay special attention to the legs, thighs, and drumsticks—these are the areas that tend to dry out or cook unevenly, and extra butter helps them stay moist. Don’t bother heavily buttering the back or sides; most of that will run off into the pan, but you want plenty on the breast and thighs. Rub it all over, making sure the herbs are distributed visibly across the surface. This creates an herbal, buttery crust as the turkey roasts.
Setting Up for Roasting with Proper Basting
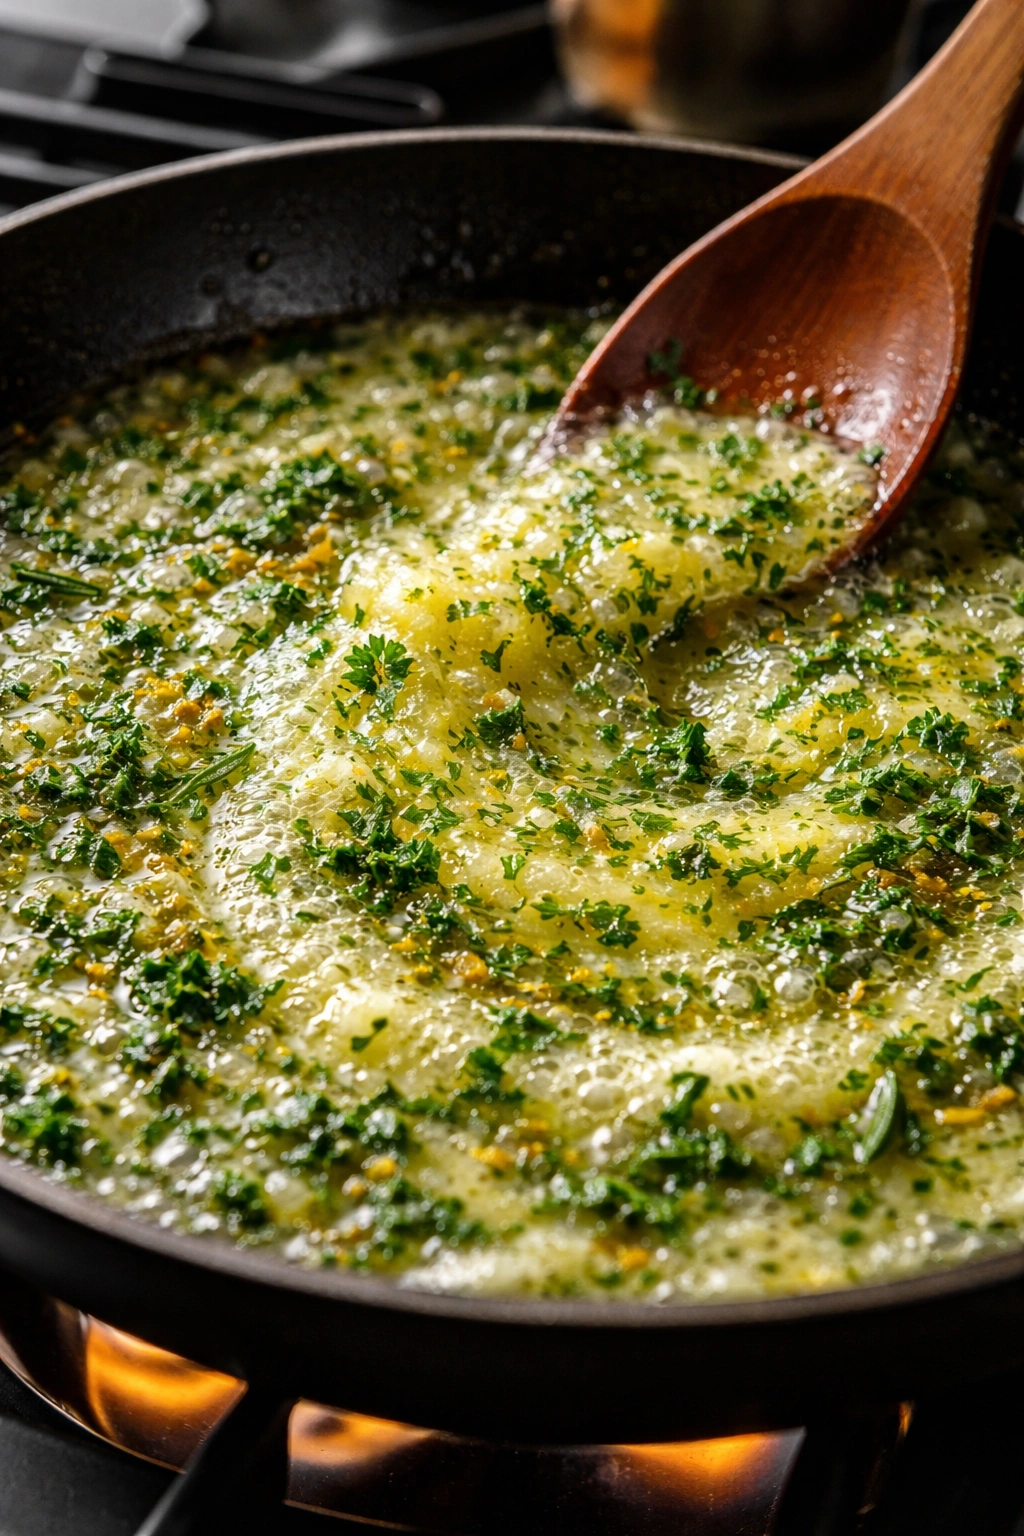
Once your turkey is dressed in herbed butter and ready for the oven, reserve any remaining compound butter in a small bowl. You’ll want this on hand during roasting for regular basting. If you’ve prepared the butter ahead of time and it has solidified, gently reheat it over low heat or in a warm water bath until it’s liquid but not hot. You want it warm and pourable, not smoking.
Position your turkey on a roasting rack inside a roasting pan. Many recipes call for placing the turkey directly in the pan, but a rack serves an important function: it elevates the bird above the bottom of the pan, allowing heat to circulate underneath and preventing the bottom skin from steaming or stewing. If you don’t have a rack, you can create one by placing crumpled aluminum foil or vegetable scraps in the pan to lift the turkey slightly off the bottom.
Arrange quartered onions, celery chunks, and carrot pieces around the turkey in the pan bottom. These aromatics will flavor the pan drippings and eventually become part of your gravy or turkey sauce. Their purpose is also to catch and distribute the drippings that fall, keeping them from burning on the hot pan floor.
Basting Your Turkey Every 30 Minutes
The Basting Rhythm:
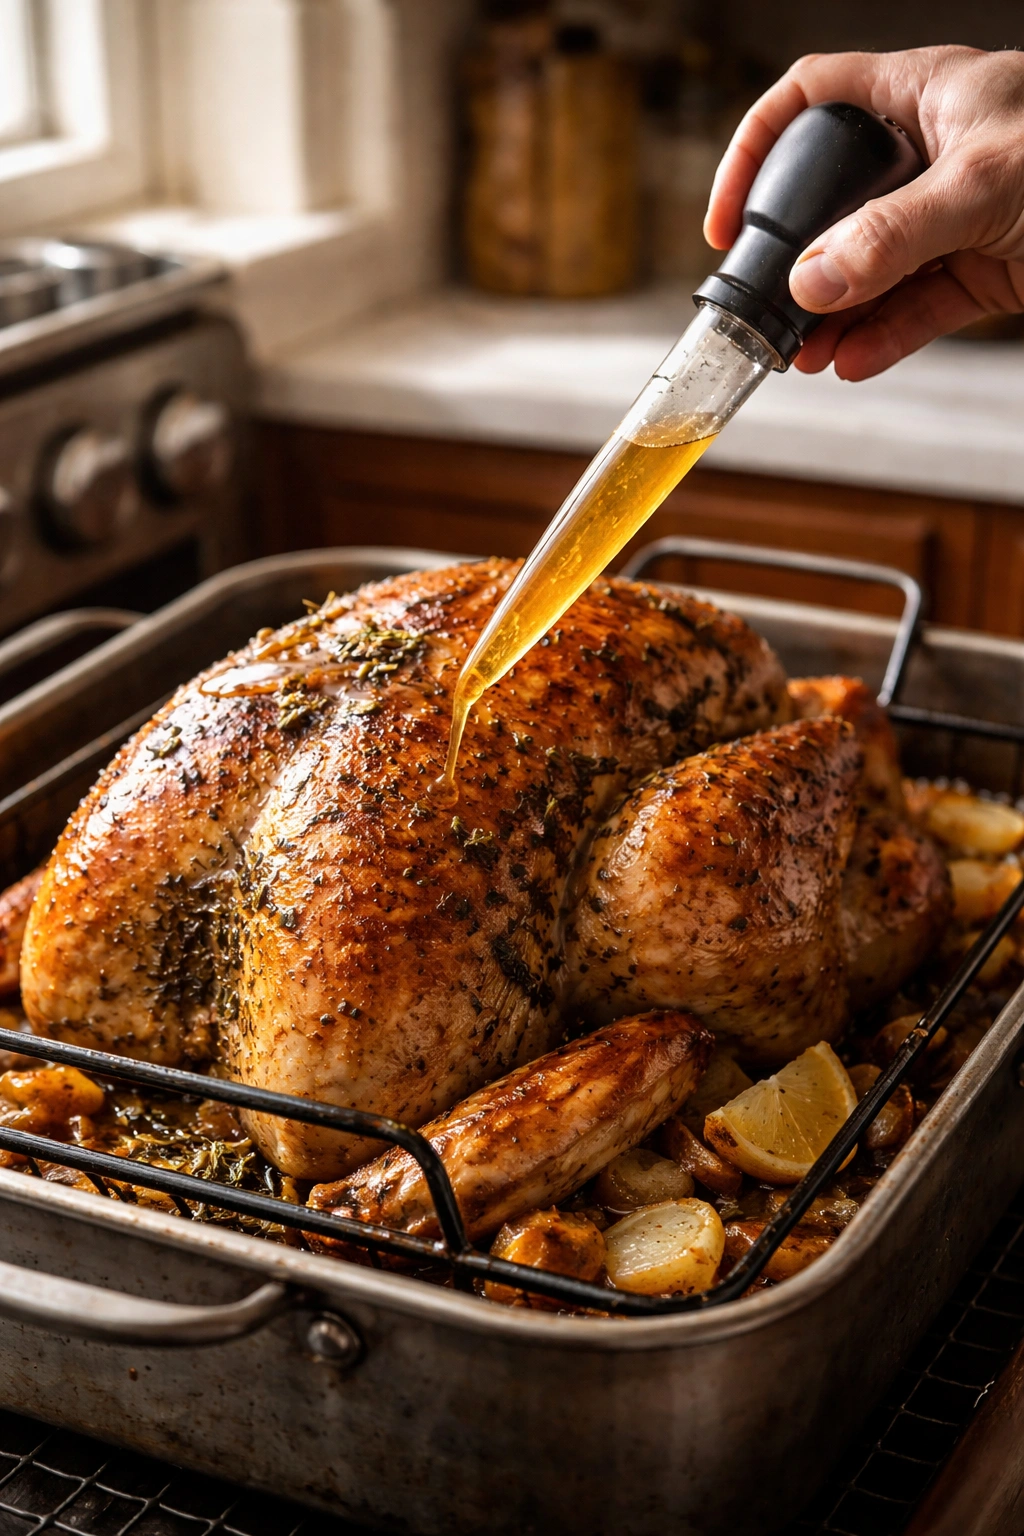
Start basting approximately 45 minutes to an hour into the roasting process, or when the turkey has warmed through enough that the oven has returned to its target temperature after the bird went in (the temperature drops when you open the door, but it recovers within about 20-30 minutes). Using a large spoon or turkey baster, pull the accumulated pan juices from the bottom of the pan and spoon them all over the turkey—especially over the breasts and thighs. Then, brush or drizzle the reserved herbed butter all over the surface, getting it into the crevices and grooves where it will melt and penetrate the meat.
Baste every 30 minutes for the first 2-2.5 hours of roasting, then reduce frequency to every 45 minutes if the skin is browning quickly. If the turkey is browning too fast, you can tent it loosely with aluminum foil after you baste—the foil reflects some heat and slows the browning while the interior continues to cook. Remove the foil during the final 30 minutes of cooking if you want the skin to finish crispy and golden.
Why the Final 30 Minutes Matter:
Do not baste during the final 30 minutes of roasting. This is a critical food safety step. Any liquid that drips onto the outside of the turkey during the last half-hour could carry surface bacteria into the pan, and if you then use those pan drippings for gravy or sauce, you risk cross-contamination. Stop basting, let the turkey finish cooking, and focus on monitoring the internal temperature instead.
The turkey is done when the thickest part of the thigh reads 165°F (74°C) on an instant-read meat thermometer. The breast will likely be cooler—around 160°F—at the same time, which is perfect because carryover cooking will raise it to 165°F as the turkey rests. Don’t wait for the whole bird to hit 165°F uniformly, or you’ll overcook the white meat.
Variations to Customize Your Herbed Butter
The classic combination of rosemary, sage, and thyme is timeless, but herbed butter is endlessly customizable. The framework stays the same—you’re still using butter, fresh herbs, garlic, and lemon—but you can swap or add ingredients based on your preferences or what’s available.
Citrus-Forward Version: Replace some of the lemon zest with orange zest, or add both. Orange brings sweetness that pairs beautifully with turkey and autumn spices. This works especially well if you’ll be serving a cranberry-based sauce alongside the turkey. You can also add a small amount of ginger or cinnamon to echo fall flavors.
Mediterranean Style: Add dried oregano, a pinch of fennel, and swap some of the thyme for basil. This version works if you’re planning to serve your turkey with Mediterranean-inspired sides like white bean salad or roasted vegetables dressed in olive oil and herbs.
Heat and Spice Version: Add red pepper flakes, cayenne pepper, or even a tiny amount of paprika to the butter. This is subtle rather than hot—you’re adding complexity and warmth, not making people reach for water. Fresh ginger or a hint of cayenne can make the herbed butter surprising and memorable.
Deep Umami Version: Add one minced anchovy fillet and a teaspoon of Dijon mustard. This sounds unusual if you’re not familiar with umami ingredients, but the anchovy dissolves completely into the butter and provides savory depth that makes people ask what the secret is. The mustard adds tang and complexity. This is a restaurant-grade move that elevates the entire dish.
Compound Butter with Truffle: If you have access to truffle oil or fresh shaved truffle, a tiny amount mixed into the herbed butter creates an incredibly luxurious version. This is overkill for most home cooks, but it’s worth mentioning for special occasions.
Making Herbed Butter Ahead of Time
One of the best advantages of compound butter is that it can be made days in advance, which means less to do on the day of cooking. You can prepare the herbed butter up to 3 days before roasting the turkey, though fresh herbs are brightest when the butter is used within 1-2 days.
To make ahead, prepare the compound butter exactly as described in the recipe, then transfer it to a small airtight container or ramekin and refrigerate. Cover tightly with plastic wrap or a lid to prevent the butter from absorbing odors from the refrigerator. When you’re ready to use it, remove the butter from the refrigerator 30-45 minutes before you plan to apply it to the turkey. It will soften to a spreadable consistency at room temperature—exactly what you need for getting it under the skin and spreading it across the surface.
If you form the herbed butter into a log using plastic wrap or parchment paper and freeze it, it will keep for up to 2-3 months. Frozen herbed butter is harder than refrigerated butter, so let it sit at room temperature for 10-15 minutes before trying to use it, or slice it while still partially frozen and let the slices rest on the warm turkey to melt. You can also shave frozen herbed butter directly onto hot roasted turkey at the table as a finishing touch.
Storage and Make-Ahead Strategies
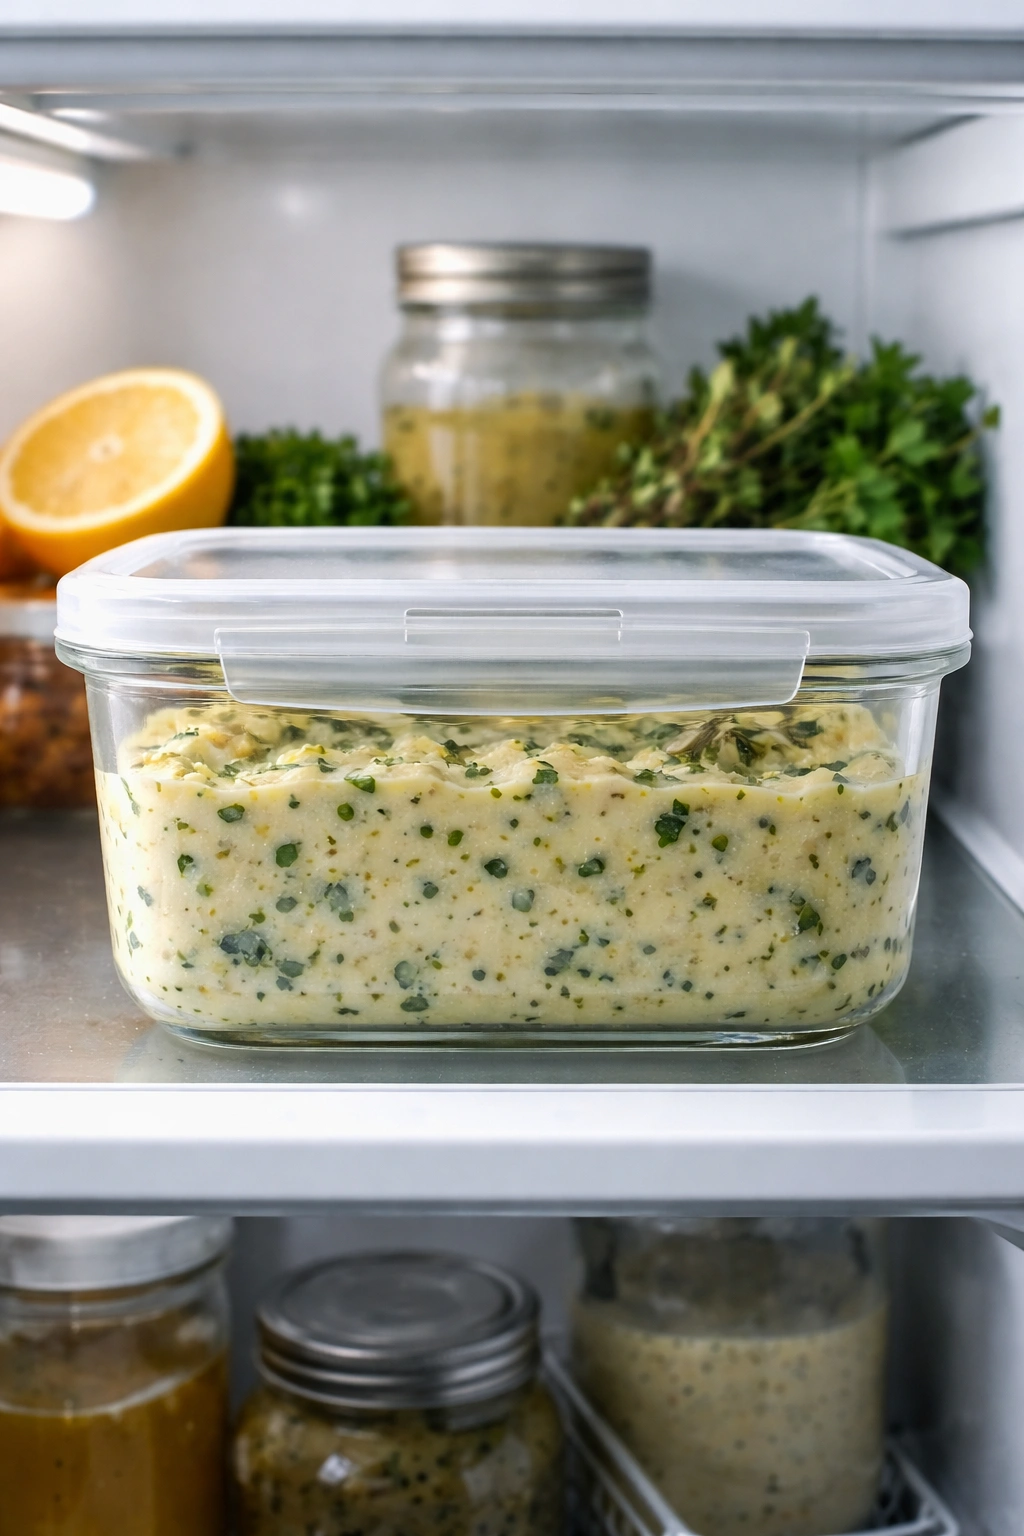
Leftover herbed butter can be refrigerated for up to 5 days in an airtight container, or frozen for up to 3 months. After the turkey is roasted, you’ll have both the compound butter you prepared and the herbed butter that dripped into the pan during roasting—both of which are treasures.
Save every bit of pan drippings and the melted herbed butter from roasting. Strain this mixture through a fine-mesh sieve into a clean container to remove any small debris or herb pieces. You’ll have a liquid gold that’s perfect for making gravy, serving alongside carved turkey, or finishing vegetables. This liquid has all the flavors you spent time carefully building, and it would be wasteful to discard it.
To separate the fat from the pan drippings if you want a lighter sauce, pour the pan juices into a tall narrow glass or a special fat-separating pitcher. Let it rest undisturbed for 5 minutes. The fat floats to the top, while the darker, flavorful juices settle below. You can either pour off the flavorful juices from the bottom using a turkey baster or ladle, leaving the fat behind, or use a spoon to skim the fat off the top. Alternatively, refrigerate the pan juices overnight—the fat will solidify on top and can be easily lifted off and discarded if you prefer a leaner sauce.
Serving the Herbed Butter
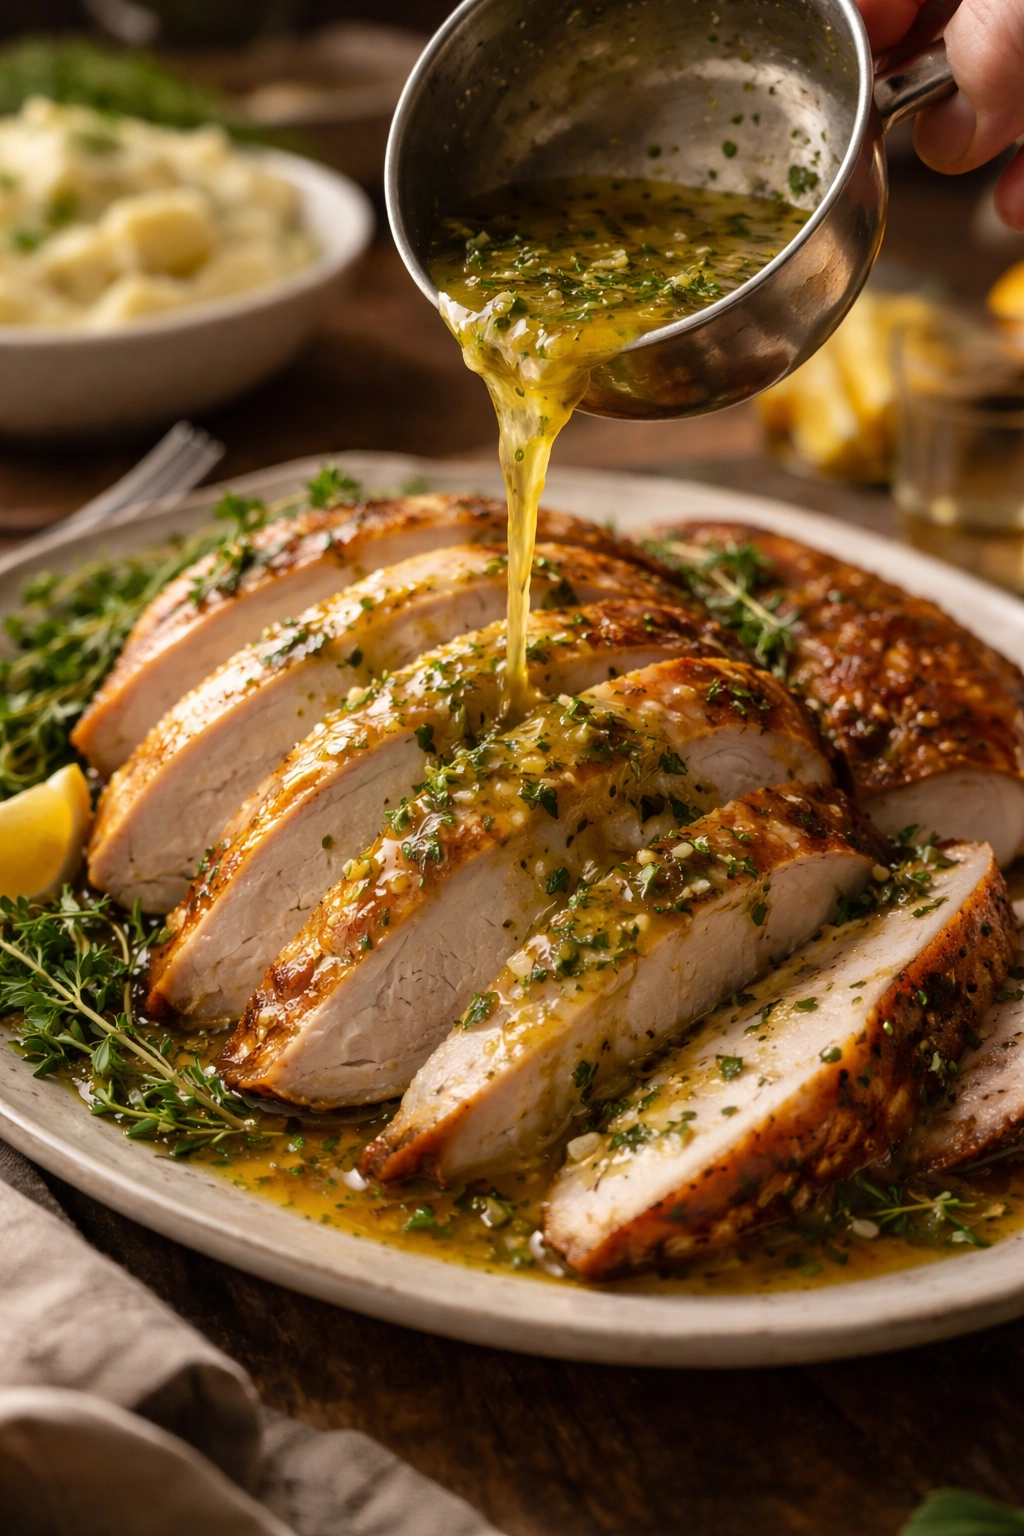
The herbed butter can be served in multiple ways. The simplest is to drizzle it warm over sliced turkey just before serving—the residual heat of the meat will melt the butter slightly, and the flavors will carry into every bite. You can also thicken the pan juices and reserved herbed butter with a small amount of flour to create a quick, elegant butter sauce that’s served alongside the turkey in a small boat or pitcher.
Some cooks like to serve cold pats of herbed butter alongside warm turkey, letting guests top their own slice. This is visually appealing and gives people control over how much herb flavor they want. Other cooks fold the herbed butter into warm mashed potatoes for incredible richness and flavor—turkey juice-soaked herbed butter mashed potatoes are genuinely life-changing.
Leftover herbed butter can be melted and brushed onto fresh bread, whisked into vegetable dishes, or topped onto steamed asparagus or roasted green beans. It elevates any side dish from ordinary to special.
Common Mistakes to Avoid
The most common mistake is using cold butter straight from the refrigerator without letting it soften. You’ll end up with lumpy, unevenly distributed herbs, and the butter won’t blend smoothly with the other ingredients. Always let butter come to room temperature first—this usually takes 20-30 minutes on the counter depending on your kitchen temperature.
Another frequent error is using dried herbs instead of fresh without adjusting quantities. Dried herbs are concentrated, so if you substitute dried herbs at a 1:1 ratio with fresh, the butter becomes overwhelmingly harsh and bitter. If using dried herbs, use about one-third the amount called for in the recipe. Dried thyme and sage actually work better than fresh in some situations because they become more intense, but fresh rosemary and parsley are irreplaceable.
Don’t over-process the herbed butter if you’re using a food processor. A quick pulse to combine ingredients is fine, but overworking it can warm the butter, separate it slightly, and make the texture grainy rather than creamy. Mixing by hand with a spatula is actually superior to any appliance here.
Some cooks make the mistake of basting with such heavy-handed enthusiasm that they remove the turkey from the oven constantly, causing temperature fluctuations that extend cooking time and promote uneven browning. Baste efficiently—in and out of the oven in less than a minute. You don’t need to baste more frequently than every 30 minutes.
Finally, don’t forget to save the pan drippings after roasting. So many home cooks toss out all that liquid gold without thinking. Those drippings combined with the herbed butter create the most flavorful base for gravy or sauce you could possibly want.
Why Fresh Herbs Make All the Difference
There’s a reason that Martha Stewart, Tom Colicchio, and professional chefs universally insist on fresh herbs for herbed butter: they simply taste better. Fresh rosemary has a brightness and complexity that dried rosemary can’t match. Fresh sage is grassy and subtle where dried sage becomes dusty and one-dimensional. Fresh thyme provides delicate, almost floral notes that entirely disappear in dried form.
The difference isn’t subtle—it’s profound. When guests taste turkey prepared with fresh herb butter, something registers as special and different from what they’ve had before. They might not be able to identify exactly what makes it better, but they know it’s better. That’s the power of fresh herbs.
If fresh herbs genuinely aren’t available in your area, dried herbs can work—just reduce quantities to about one-third of what the recipe calls for, and add them to the butter with slightly more salt to brighten the flavors. But honestly, fresh herbs are so easy to find at supermarkets, farmers markets, and even grocery stores year-round that there’s little excuse to skip them. A small bunch of fresh rosemary and sage costs less than a fancy coffee and makes an enormous difference in the final result.
The Science Behind Why This Works
Understanding the mechanism helps you appreciate why herbed butter basting is so effective. Butter is an emulsion of water and fat, with about 80% fat and 20% water when it’s unsalted. That fat carries flavor compounds beautifully. The aromatic molecules in herbs are lipophilic, meaning they dissolve and travel through fat rather than water. When you melt herbed butter over hot turkey, those fat molecules carry the herb flavors deep into the meat where water-based broths or pan juices never could.
The herbs themselves are small enough that they can permeate the meat’s surface through osmosis and diffusion. As the butter melts and the turkey’s surface heats, the herb flavors move into the meat continuously. This is why basting every 30 minutes matters—you’re not just adding moisture, you’re continuously refreshing the flavor layer at the meat’s surface, creating deeper penetration of flavor over time.
The salt in the herbed butter also plays a role. As you baste, the salt dissolves into the turkey’s surface, which triggers osmosis that draws the meat’s juices outward slightly, then re-absorbs them along with all the herb and butter flavors. It’s a subtle but real flavor-binding mechanism that’s been understood for centuries, which is why basting with salted liquids works better than basting with plain water.
Final Thoughts
A compound herbed butter is one of the most useful skills any home cook can develop. It takes 10 minutes to prepare, costs just a few dollars, and transforms a turkey from something competent into something memorable. Once you make this herbed butter and experience how much it improves your turkey, you’ll find yourself making compound butters for roasted chicken, fish, vegetables, and steaks. It’s a technique that travels beautifully across the cooking world.
The most important thing to remember is that this isn’t a complicated, fussy technique. You’re just mixing soft butter with herbs, and then you’re using that butter to flavor turkey. There’s no mystery here, no special training required. Anyone can do this successfully on the first try. So if you’ve ever wondered how professional cooks and experienced home cooks create turkey that makes people ask for the recipe—this is part of the answer. It’s thoughtful preparation, quality ingredients, and a simple technique executed consistently. That’s where the magic happens.