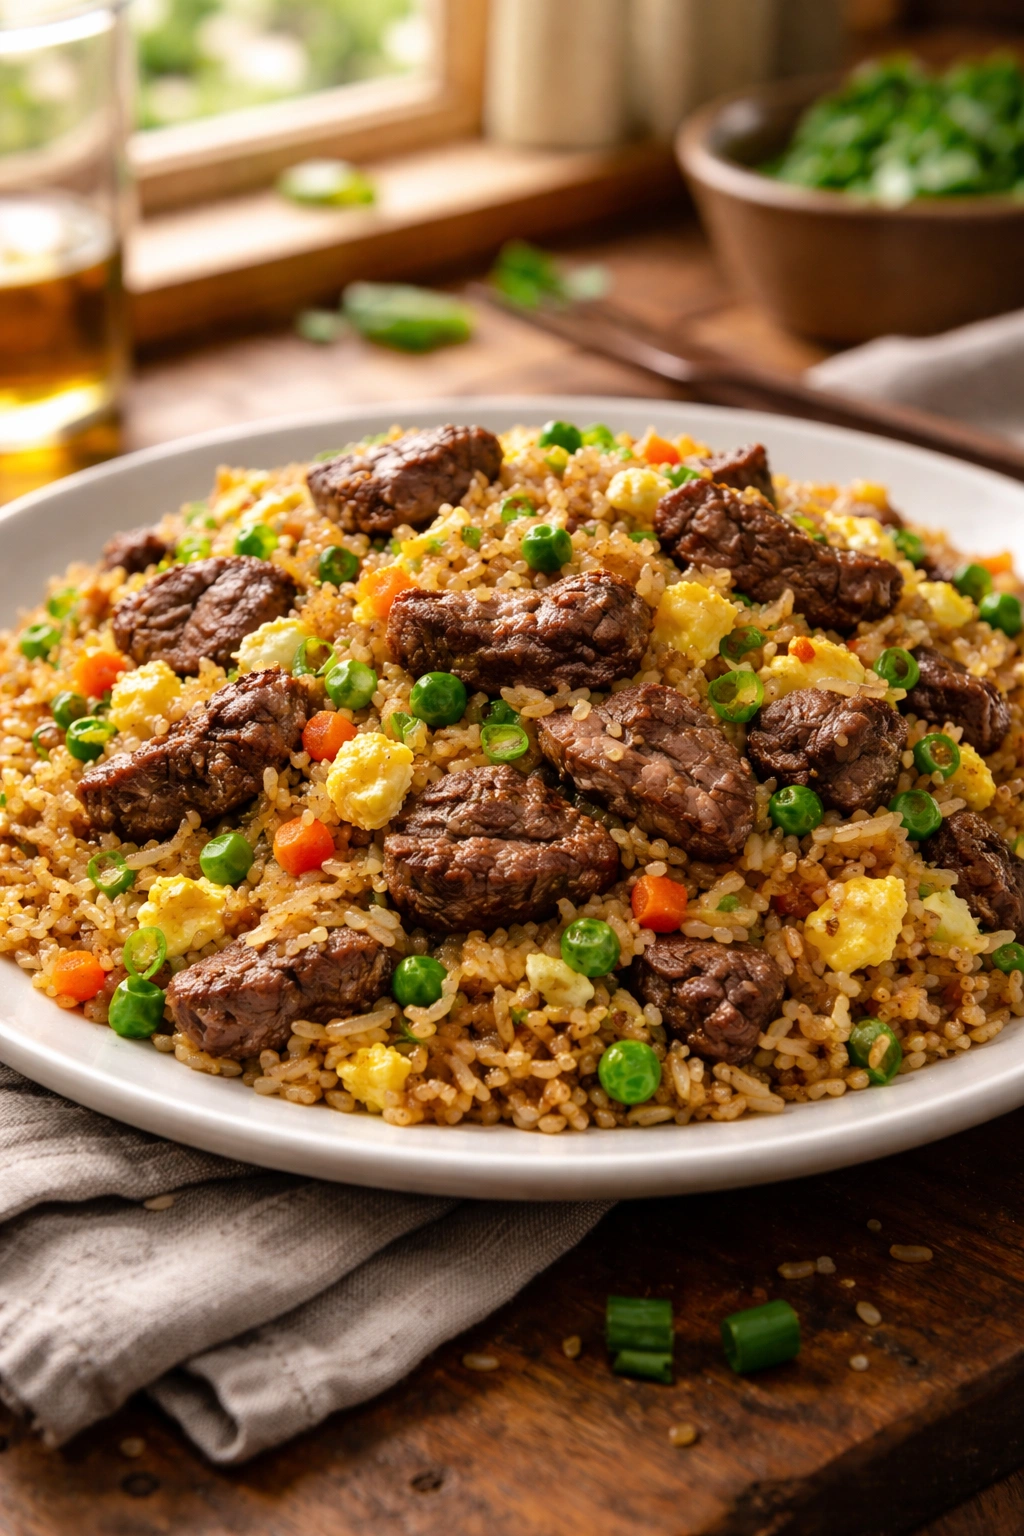
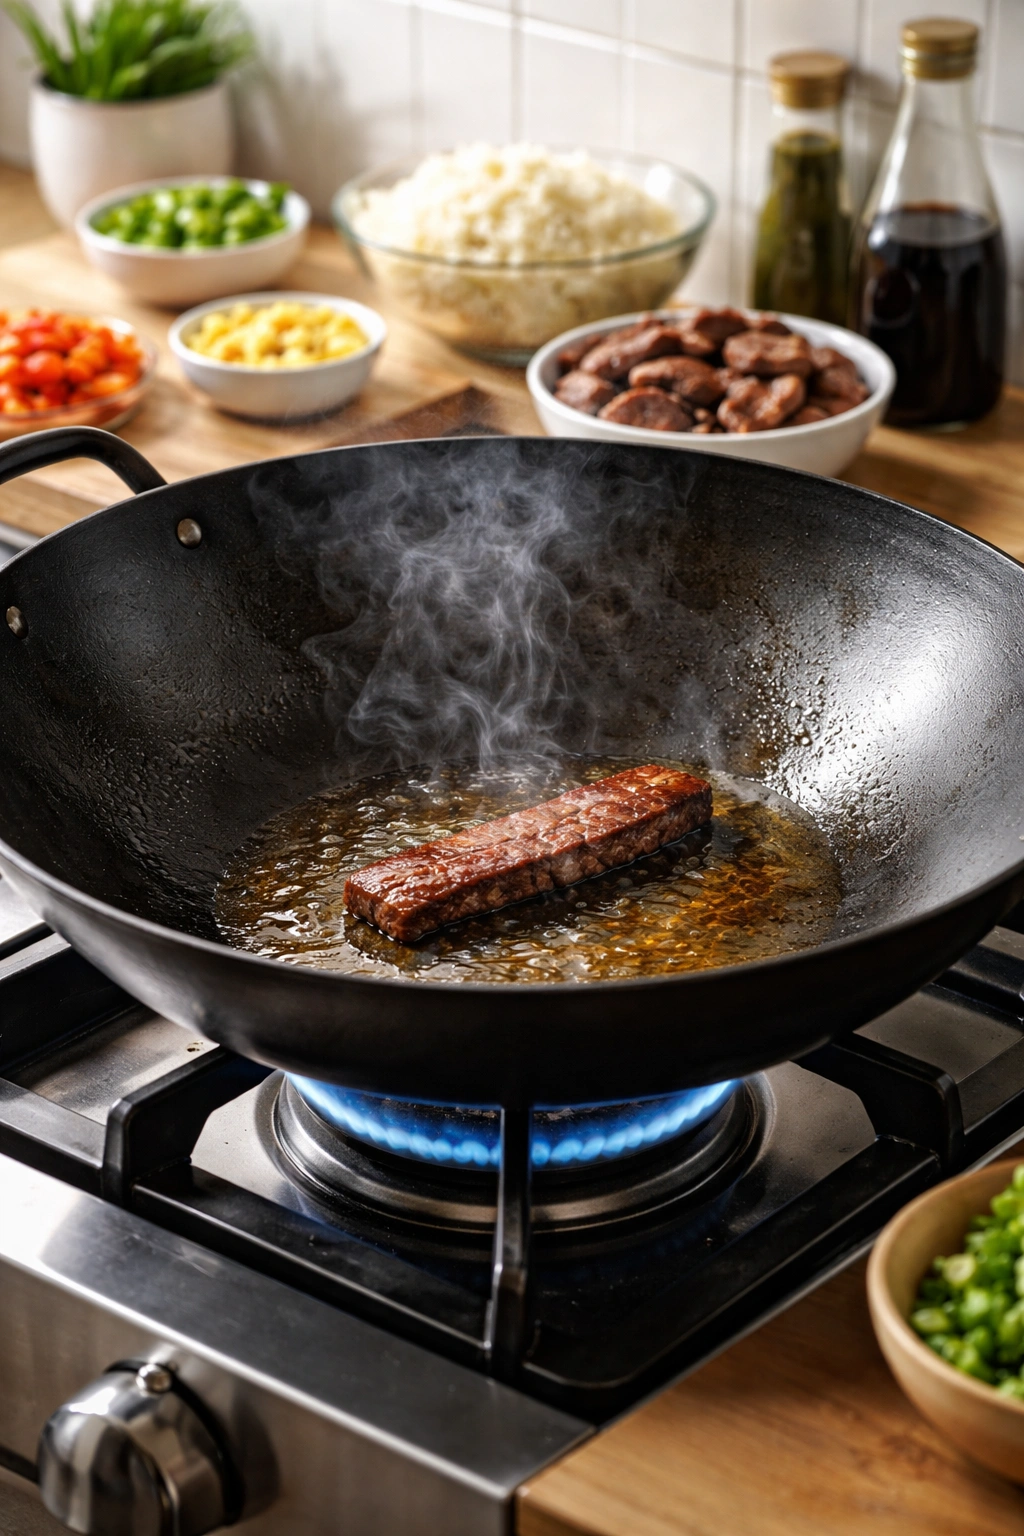
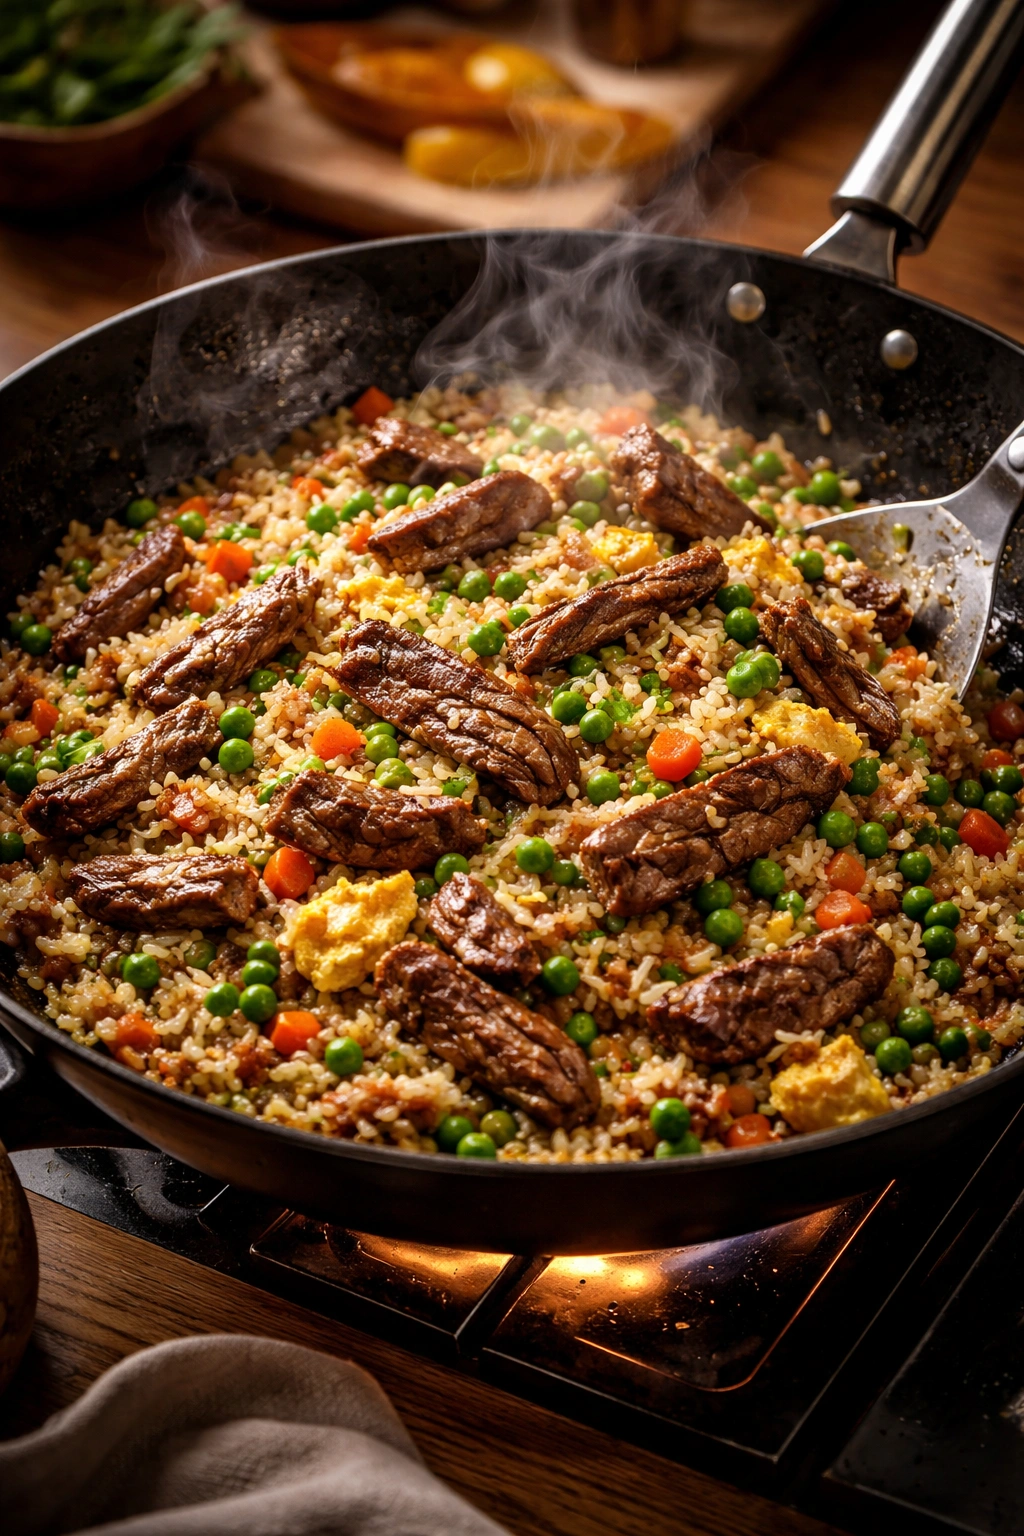
There’s something almost magical about the moment a sizzling wok hits high heat and a plume of savory steam rises into the kitchen. If you’ve ever ordered beef fried rice from a Chinese takeout restaurant, you know that intoxicating aroma—the one that makes your mouth water before the container even opens. Here’s the truth that’ll change your dinner rotation: making restaurant-quality beef fried rice at home isn’t just possible, it’s easier than calling for delivery, and it tastes significantly better. The beef is always more generous, the rice never feels greasy, and you control every single element that goes into the dish.
Most home cooks shy away from making fried rice because they believe it requires special equipment, hard-to-find ingredients, or years of wok-tossing practice. None of that’s true. What fried rice actually requires is understanding a handful of fundamental techniques and refusing to skip the prep work. Once you grasp these foundations, you’ll have a weeknight dinner solution that’s faster than waiting for takeout, costs a fraction of the price, and tastes like you’ve been cooking professionally for years. This isn’t an exaggeration—it’s the difference between following random steps and actually understanding why each step matters.
Why Homemade Beef Fried Rice Beats Takeout Every Time
The gap between takeout fried rice and homemade fried rice comes down to one brutal reality: restaurants cut corners to maximize profits, and it shows. That grease-slicked rice at your favorite Chinese place? It’s the result of using too much oil to speed up the cooking process. Those mysterious bits of protein you hunt through the rice looking for actual pieces of beef? That’s because takeout uses minimal meat to stretch the dish further.
When you make beef fried rice at home, you control the beef-to-rice ratio entirely. You’re not rationing an expensive ingredient—you’re using a generous amount because it’s your dinner and you deserve better. The vegetables stay crisp instead of turning into mush because you’re cooking them in batches at precise moments, not dumping everything in at once and letting it steam into submission. The rice stays light and separated instead of clumping into sticky masses because you’re using the right type of rice, prepared the right way, in a properly heated pan.
Beyond the quality upgrades, there’s the economics of it. A serving of beef fried rice from takeout costs $12 to $16. The ingredients for a homemade batch that feeds four to six people cost roughly $8 to $12 total. You’re not just eating better—you’re paying half the price and getting three times the beef. That’s the kind of win that makes cooking feel genuinely worthwhile, especially on nights when you’d normally be scrolling through delivery apps.
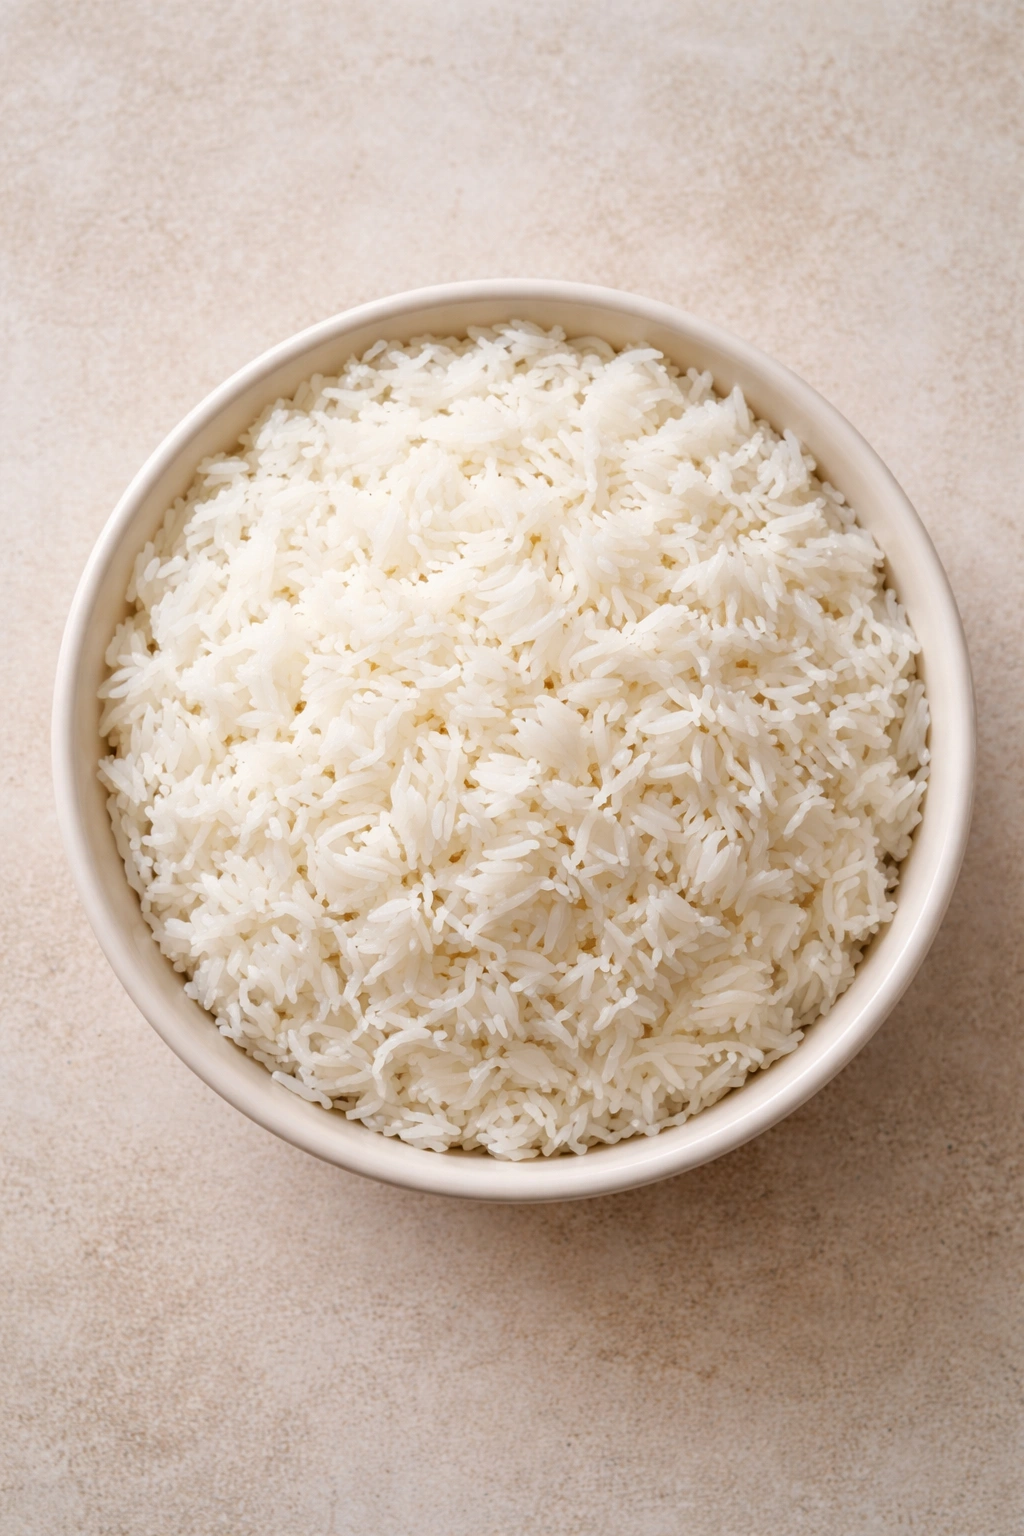
The Single Most Important Thing: Using Day-Old Rice
If there’s one secret that separates mediocre fried rice from the kind that makes people ask for your recipe, it’s using rice that’s been refrigerated overnight. This isn’t a suggestion—it’s the foundation everything else rests on. Fresh, warm rice contains moisture that turns it mushy and causes it to steam instead of fry. Day-old rice has had time to dry out, and those drier grains stay separate and crispy when they hit the hot wok.
The science here matters. When you cook rice, the starch granules absorb water and swell, which is what creates that tender, fluffy texture we want in a side dish. But when you’re frying rice, you need the opposite—you want those starch molecules to have released some water so the individual grains can brown and develop flavor without sticking together. Cold rice also cooks faster and more efficiently in the wok, which means the heat stays high and the vegetables don’t start steaming.
Here’s the practical reality: plan your fried rice for the next night. Cook your rice in the evening, spread it on a baking sheet to cool quickly, then transfer it to an airtight container and refrigerate overnight. By the time you’re ready to cook the next evening, the rice is cold, dry, and absolutely primed for frying. If you absolutely must make fried rice on the same day you cook the rice, spread it on a baking sheet and freeze it for 20 to 30 minutes to drive off some of the moisture—it’s not perfect, but it works in a pinch.
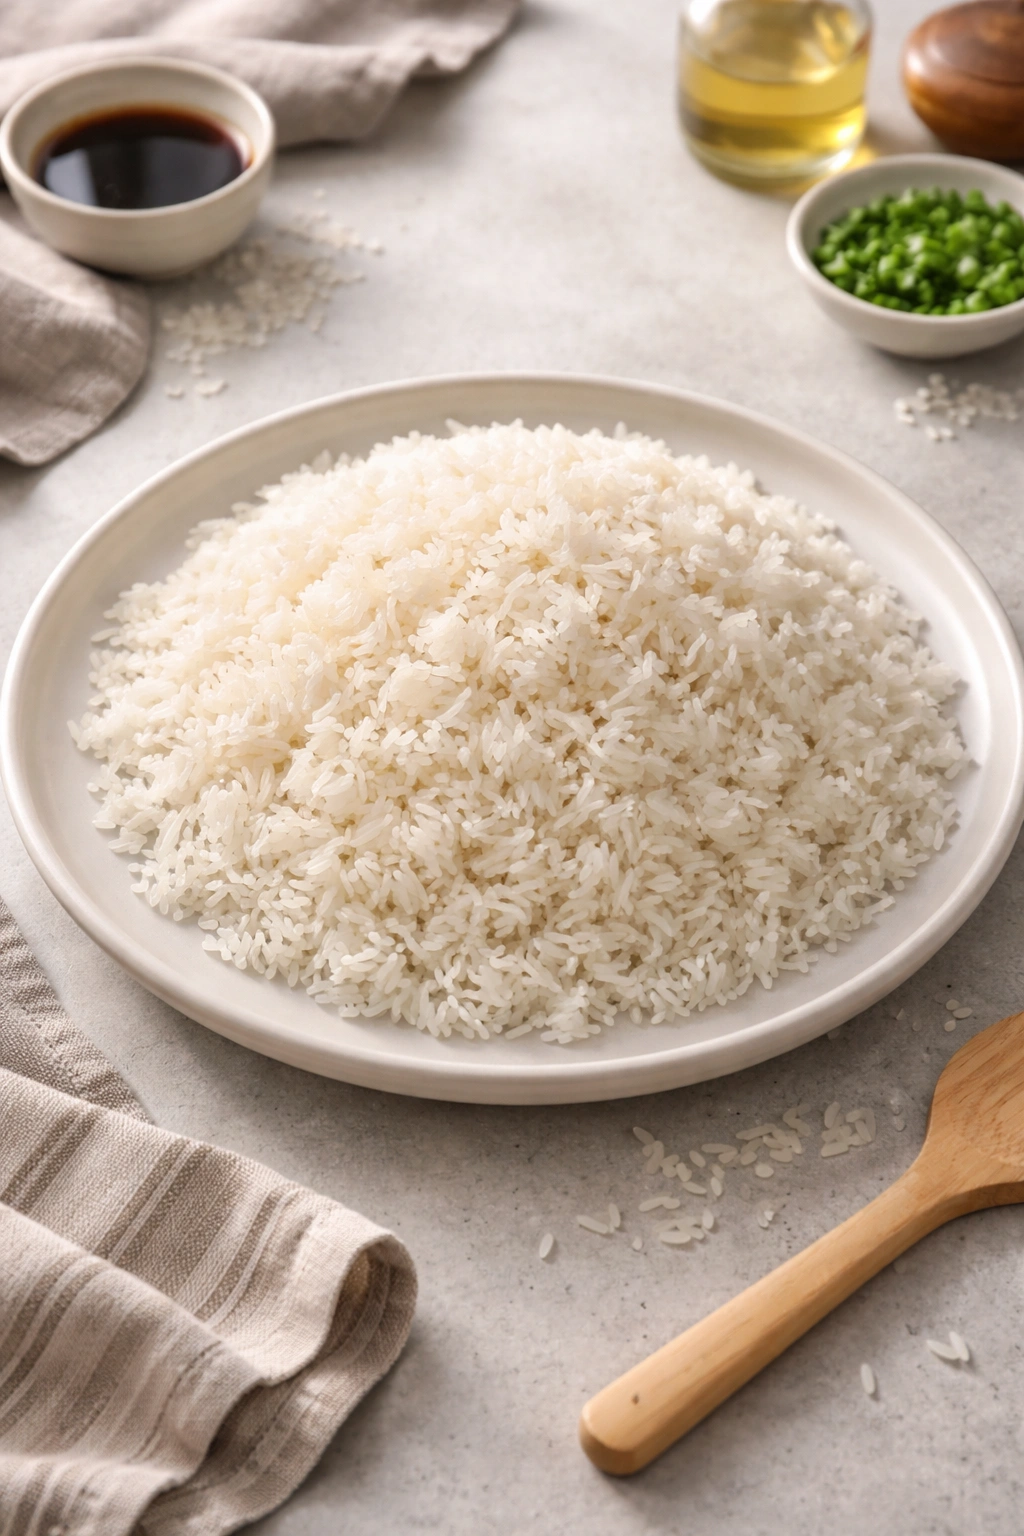
The Right Rice: Long-Grain, Not Sticky
Not all rice behaves the same way when fried. Long-grain white rice like jasmine or basmati is non-negotiable because the grain structure stays firm and doesn’t collapse into mush the way short-grain or sushi rice does. Medium-grain rice can work, but it tends to clump more readily and requires more careful handling during the cooking process.
Jasmine rice is the classic choice for Asian fried rice because the grains are inherently separate and have a subtle floral aroma that complements the savory sauce beautifully. Basmati works equally well and has a slightly firmer bite. Skip instant rice entirely—those quick-cook grains are already partially gelatinized and simply won’t fry properly. Brown rice is fine if you’re seeking a nutritional upgrade, but it needs a touch more oil and slightly longer cooking time since the bran layer is still intact.
The general rule is simple: use 2½ to 3 cups of cooked, chilled rice for a batch that serves four to six people. This creates the right ratio of rice to vegetables and protein without the dish feeling either starchy or sparse.
The Beef: Choosing and Cutting It Right
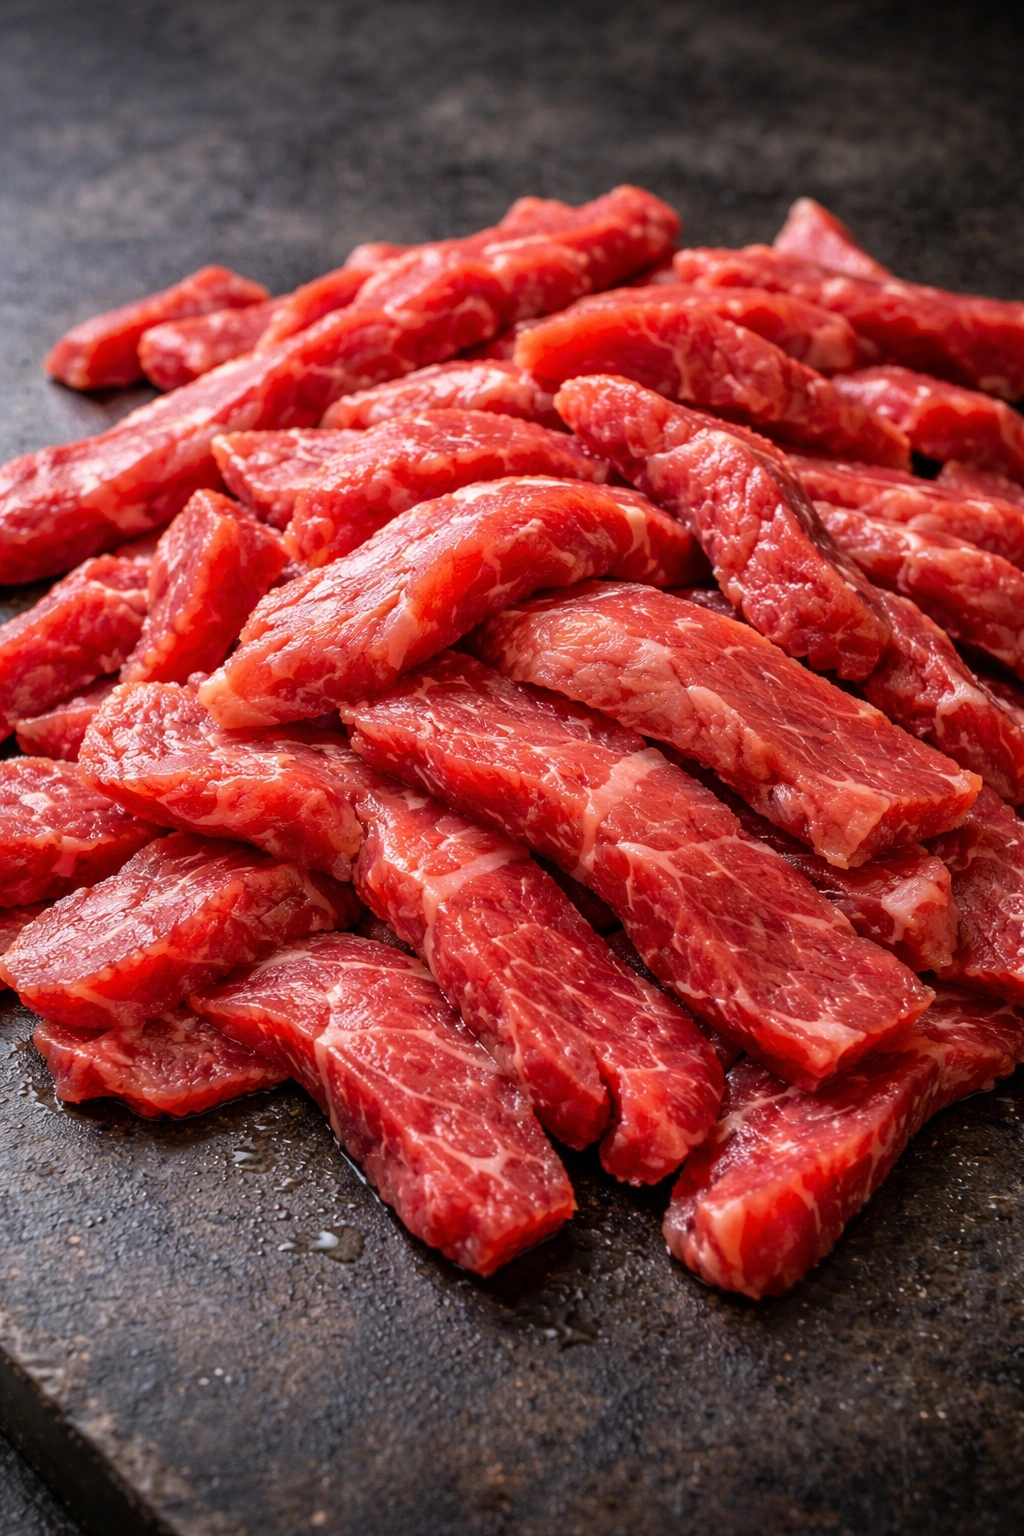
Sirloin, flank steak, and skirt steak are the three best cuts for fried rice because they’re tender enough to cook quickly without being expensive or oversized. Ribeye works beautifully too if you’re feeling generous—the higher fat content means more flavor and a juicier final result. The key is choosing something tender enough to eat after just a few minutes of cooking.
The thickness matters just as much as the cut. You want to slice the beef into thin strips—roughly ¼ inch thick—so it cooks through in just 60 to 90 seconds over high heat. If your beef comes in larger pieces, pop it in the freezer for 30 minutes until it’s partially frozen. Partially frozen meat is infinitely easier to slice thinly and evenly. A sharp knife is essential here; a dull blade will bruise the meat fibers and make everything tear instead of slice cleanly.
A generous ½ to ¾ pound of beef per batch ensures you get real bites of protein in every forkful. This isn’t a sprinkle of beef scattered through the rice—it’s an actual protein-forward dish where beef is a star ingredient, not an afterthought. If you’re using ground beef, brown it separately and drain it well before adding it to the wok so the finished dish doesn’t taste greasy.
Understanding the Sauce: Umami Layers That Make It Sing

The magic of restaurant-style beef fried rice lives in the sauce—specifically, in building layers of umami that make your palate say “yes, that’s exactly what fried rice should taste like.” Generic soy sauce alone tastes one-dimensional. The best beef fried rice combines multiple sources of savory depth.
Soy sauce comes in several varieties, and they each serve a purpose. Regular soy sauce (sometimes labeled “light” even though it’s darker than you’d expect) is your workhorse seasoning, providing saltiness and the fundamental salty-savory backbone. Dark soy sauce, if you can find it, is thicker, sweeter, and more complex because the soybeans fermented longer. It adds color and a deeper umami note that makes the rice look restaurant-worthy. If you can’t find dark soy sauce—and honestly, many people can’t—regular soy sauce does the job perfectly fine, just with slightly lighter color.
Oyster sauce is the secret weapon most home cooks skip. It adds a subtle sweetness and an incredible depth of savory flavor without making the dish taste fishy or overly oceanic. Just a tablespoon or two transforms the sauce from “nice” into “why does this taste so restaurant-quality?” Sesame oil in small amounts—usually ½ to 1 tablespoon—adds a fragrant, toasted aroma that feels authentic and sophisticated. Too much sesame oil overwhelms everything else, so start conservatively and adjust up if needed.
For an extra layer of complexity, some recipes add a splash of rice wine vinegar or Shaoxing wine. The acidity brightens everything and prevents the sauce from feeling heavy. A pinch of white pepper or black pepper adds a subtle heat that you won’t necessarily identify as “spicy” but that makes all the other flavors pop more vividly.
The ideal sauce ratio is roughly 2 tablespoons soy sauce, 1 tablespoon oyster sauce, ½ tablespoon sesame oil, and ½ teaspoon rice wine vinegar per batch. Mix it all together in a small bowl before you start cooking—the wok gets hot fast, and you won’t have time to measure mid-stir-fry.
Equipment: You Probably Have What You Need
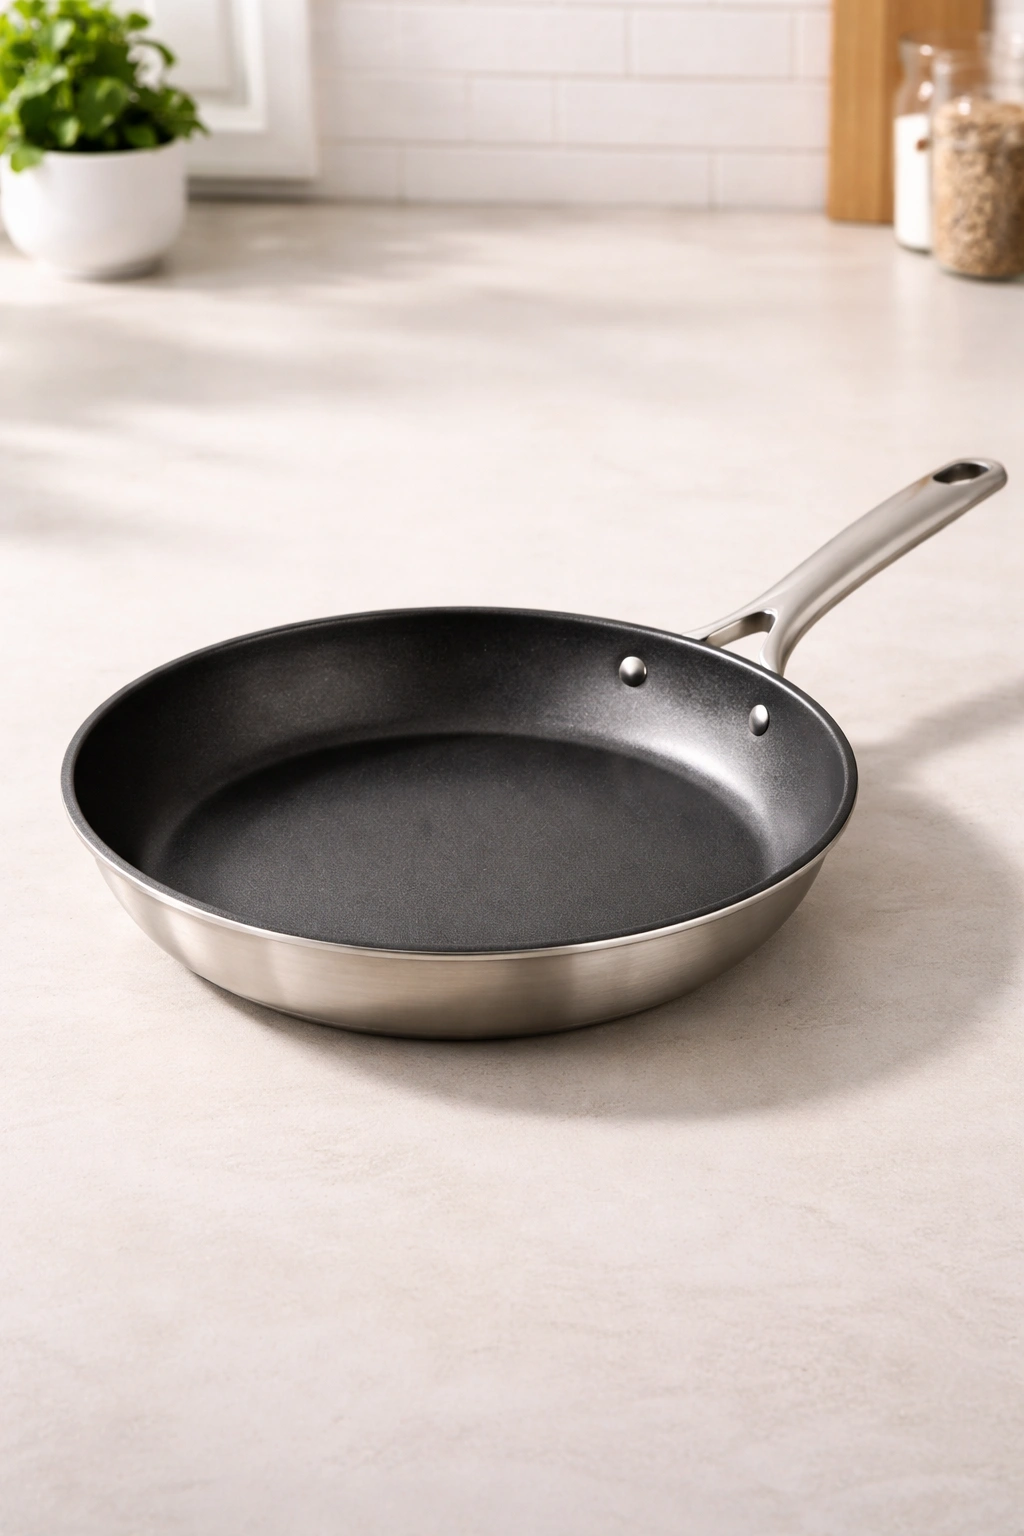
Here’s where the equipment myth gets busted: you don’t need a wok. Yes, a wok is designed specifically for stir-frying and it does conduct heat beautifully, but a large (10-inch) high-sided skillet works almost as well. The important part is having a pan that heats evenly, retains heat well, and has enough surface area that you’re not crowding your ingredients.
A nonstick skillet is actually preferable for many home cooks because it requires less oil and the food is less likely to stick while you’re learning the technique. Cast iron is phenomenal if you’re comfortable with it—the heat retention is incredible. Stainless steel works but requires more careful attention and higher oil to prevent sticking. Whatever you choose, make sure the sides are high enough that you can toss without flinging rice onto your stovetop.
Beyond the pan, a long wooden spoon or silicone spatula for stirring, tongs for handling the beef, a knife sharp enough to slice meat easily, and small bowls for prepping ingredients are genuinely all you need. That’s it. No special equipment, no mysterious tools, just the basics that most kitchens already have.
The Technique: Why Order and Speed Matter
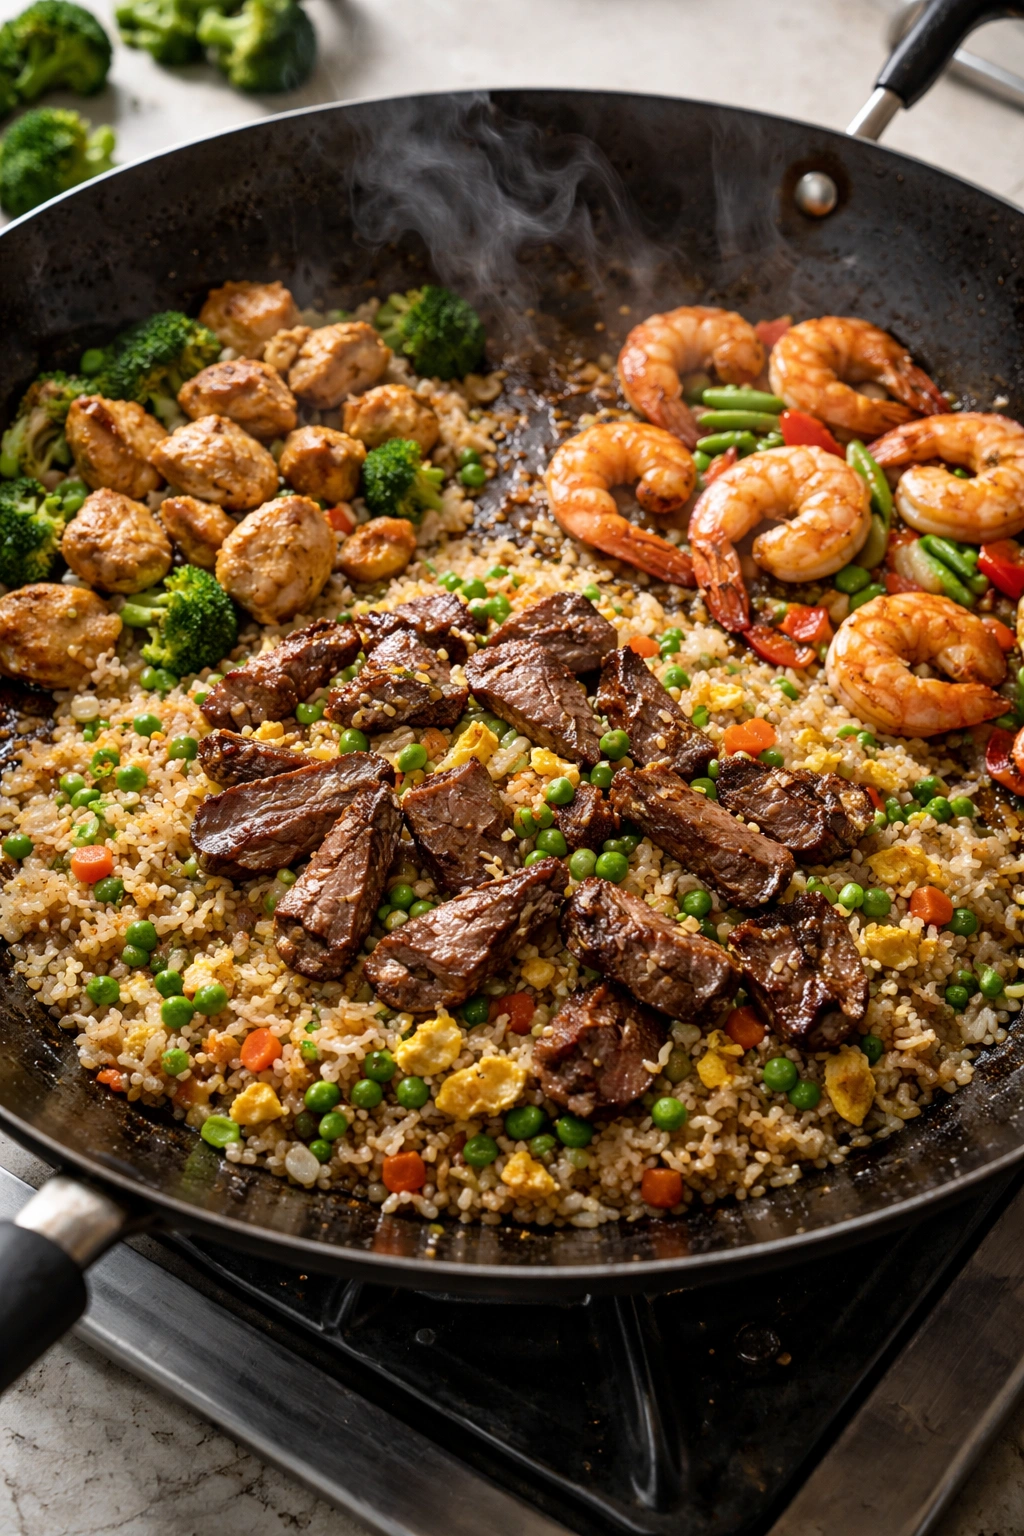
The reason beef fried rice feels like it requires special skill is actually about sequence and heat management, not raw technique. Everything must be prepped before you turn on the heat because once the wok is hot, you move quickly. There’s no time to chop garlic or hunt for soy sauce while your beef is cooking.
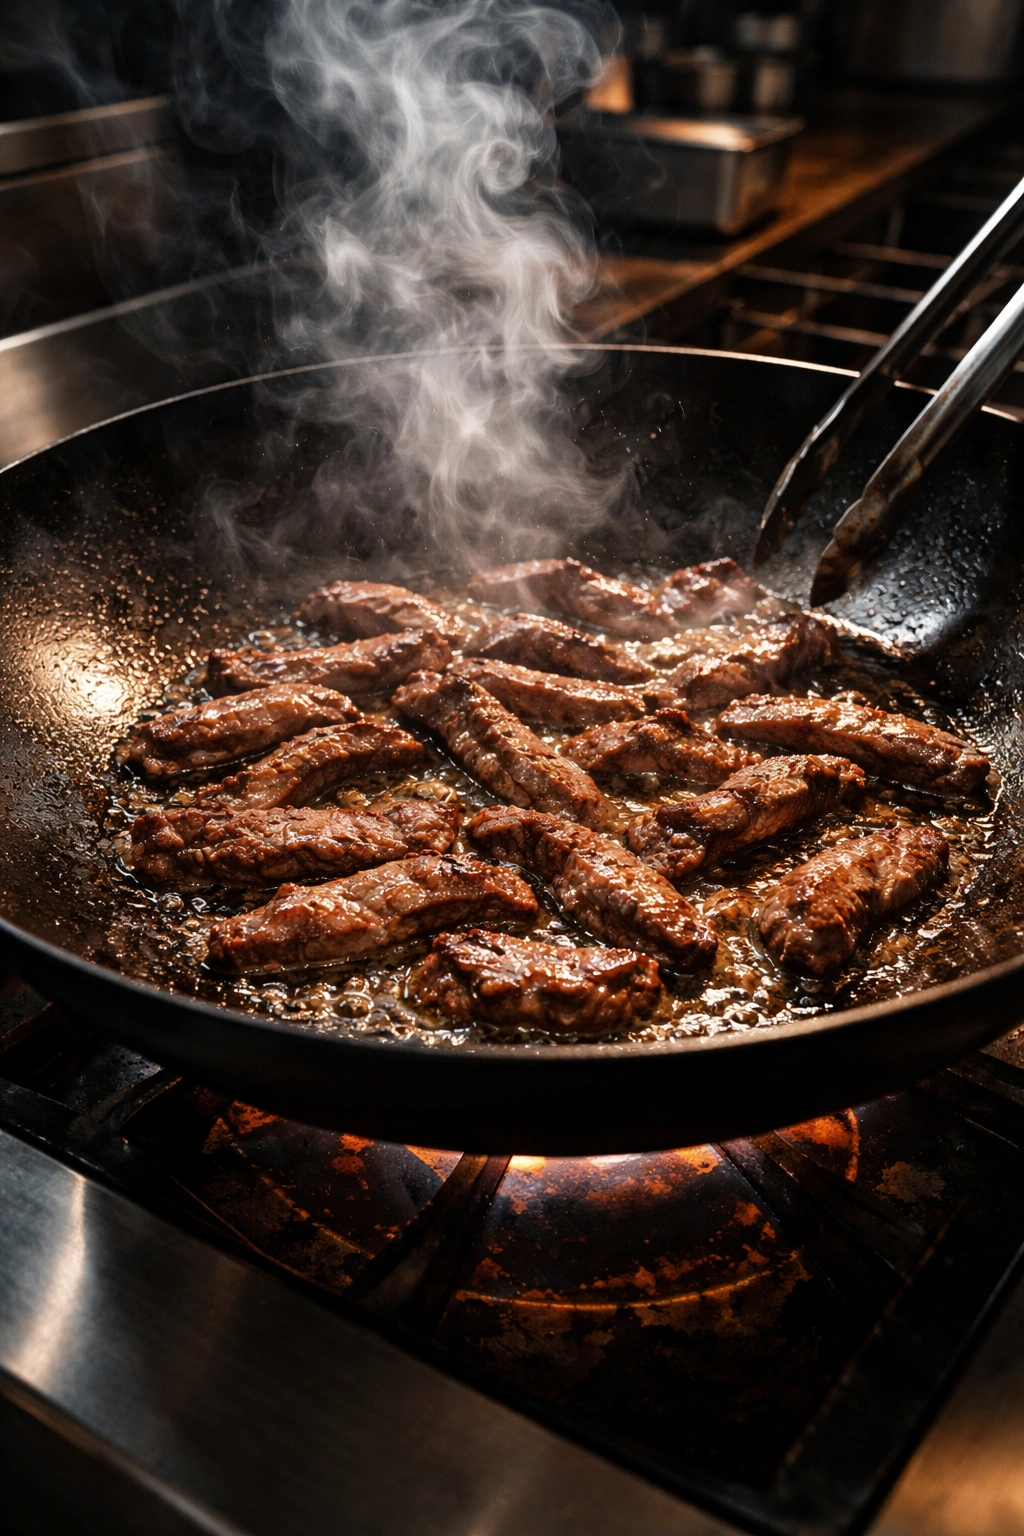
Start with the beef. Heat the oil until it shimmers, then add the beef strips in a single layer and let them sit for 60 to 90 seconds without touching them. This creates a beautiful brown crust through a process called the Maillard reaction—the beef’s proteins and sugars interact with heat to create hundreds of new flavor compounds. Once that side is golden, flip the strips and cook the other side. Remove the beef to a plate. Don’t worry about it being fully cooked through; it’ll finish cooking when you add it back to the wok with the rice.
Next comes the aromatics. Add minced garlic and ginger—just 30 seconds, watching carefully so they don’t burn. Burnt garlic tastes acrid and bitter; fragrant garlic smells like heaven. Immediately add your onions and harder vegetables like carrots, cooking for another 1 to 2 minutes until they start softening but still have a little resistance when you bite them.
Now the rice. Push the vegetables to the side, add a bit more oil if needed, and add the cold rice. Let it sit for 1 to 2 minutes—yes, really, don’t stir it. This gives the bottom of the rice a chance to brown and toast slightly, developing toasted grain flavors that fresh rice never gets. Then stir and break up any clumps that formed during storage. Cook for another minute or two, getting the rice hot and breaking up anything that’s still stuck together.
The sauce goes in next. Pour it over the rice and stir constantly for about a minute so every grain gets coated. Add the beef back in, along with any last-minute vegetables like peas or green onions, and stir for 30 seconds to reheat everything. Taste, adjust seasonings—fried rice is very forgiving to tweaking at the end—and serve immediately.
Recipe: Homemade Beef Fried Rice
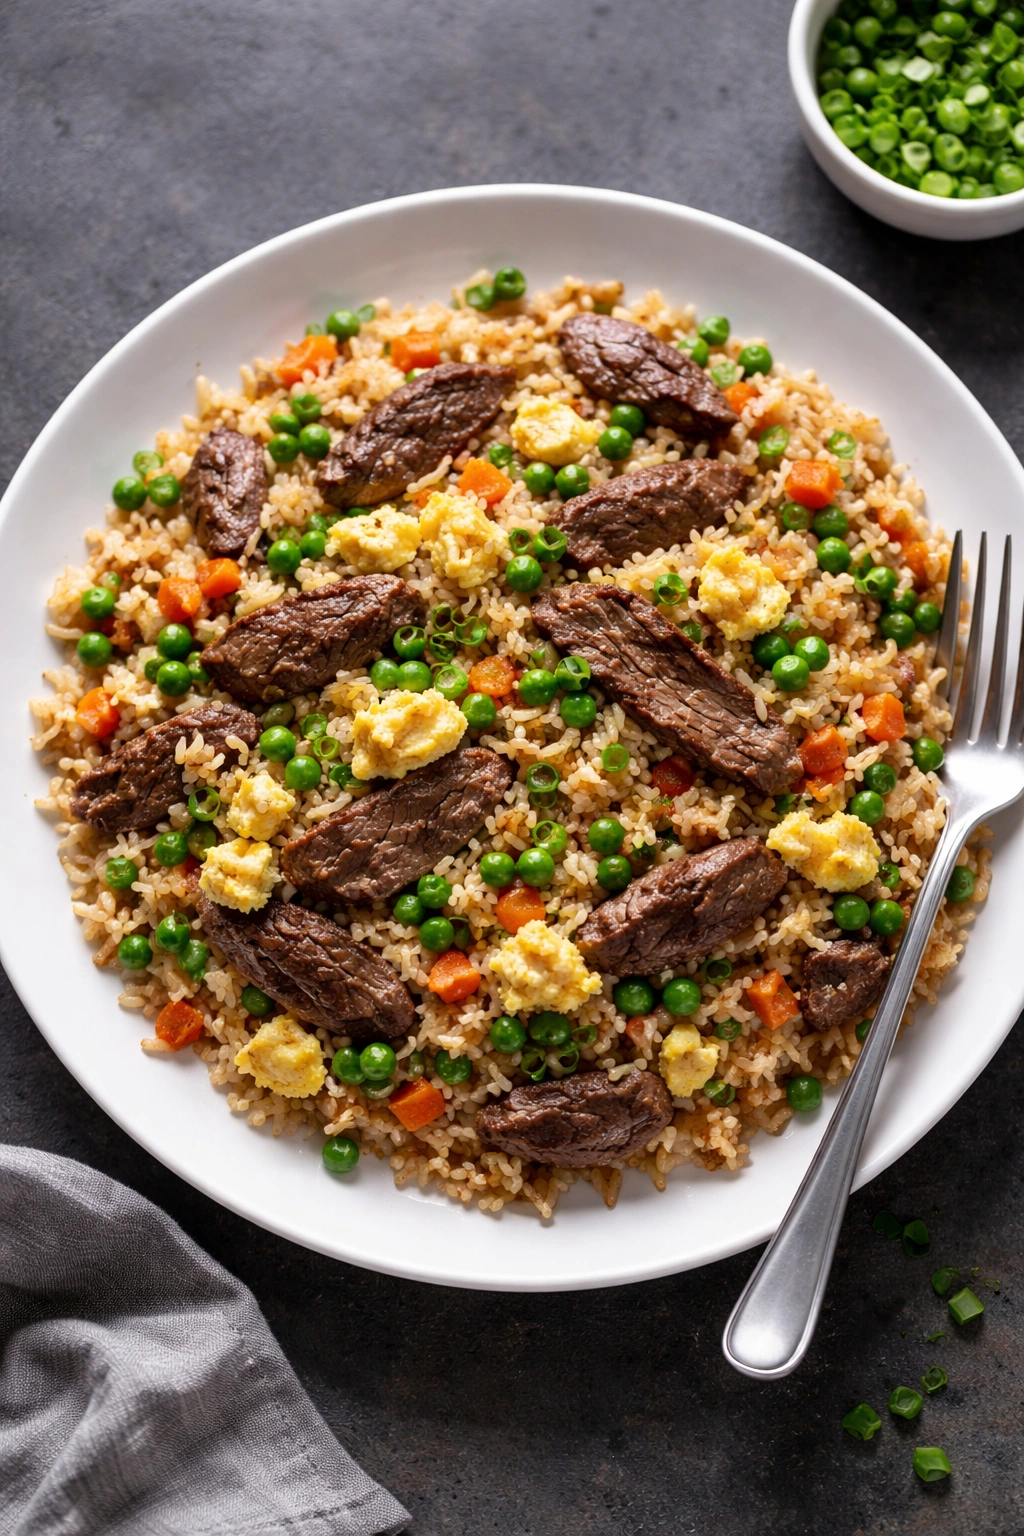
Yield: Serves 4 to 6 | Makes approximately 6 cups
Prep Time: 20 minutes (assumes rice is already cooked and chilled)
Cook Time: 12 to 15 minutes
Total Time: 32 to 35 minutes active + overnight rice chilling
Difficulty: Beginner — The technique is straightforward once you understand the sequence of steps, and there’s no special equipment required. Even a first-time fried rice maker will get excellent results by following this method.
For the Beef
- ¾ pound sirloin, flank, or skirt steak, thinly sliced (¼ inch thick) and cut into 2-inch pieces
- 1 tablespoon dark soy sauce or regular soy sauce
- 1 teaspoon sesame oil
- ½ teaspoon cornstarch
- Pinch of white pepper
For the Fried Rice
- 3 cups cooked, chilled white rice (preferably jasmine or basmati, prepared the day before)
- 3 tablespoons vegetable or canola oil, divided
- 1 medium yellow onion, finely diced
- 1 cup carrots, cut into small dice (about 3 medium carrots)
- 3 cloves garlic, minced
- 1 tablespoon fresh ginger, minced
- ¾ cup frozen peas and carrots (or use fresh peas and add them at the end)
- 3 large eggs, lightly beaten
- 4 green onions, thinly sliced (white and green parts separated)
For the Sauce
- 3 tablespoons soy sauce
- 1 tablespoon oyster sauce
- 1 tablespoon dark soy sauce (or use 2 tablespoons regular soy sauce total)
- 1 teaspoon sesame oil
- ¾ teaspoon rice wine vinegar
- Pinch of white pepper or black pepper
- ½ teaspoon brown sugar (optional but recommended)
Instructions
Prepare Everything Before Cooking:
-
In a small bowl, combine the beef marinade ingredients (dark soy sauce, sesame oil, cornstarch, and white pepper). Add the beef strips and toss to coat evenly. Set aside at room temperature while you prep the remaining ingredients.
-
In another small bowl, whisk together all the sauce ingredients until the brown sugar dissolves. Set aside.
-
Prepare all vegetables and have them ready in separate small bowls or piles on a cutting board within arm’s reach of the stove. This is crucial—once cooking begins, you won’t have time to chop.
-
Lightly beat the eggs in a separate bowl and set aside.
Cook the Beef:
-
Heat a large (10-inch) skillet or wok over medium-high to high heat until very hot—this takes about 2 to 3 minutes. The pan is ready when a drop of water sizzles and evaporates immediately upon contact.
-
Add 1 tablespoon of the oil and roll or tilt the pan to coat the surface evenly. The oil should shimmer and move smoothly across the bottom.
Advertisements -
Add the beef strips in a single layer—work in two batches if necessary rather than crowding the pan. Let the beef sit undisturbed for 60 to 90 seconds so it develops a golden-brown crust.
-
Flip each strip and cook the other side for another 60 to 90 seconds until lightly browned. Do not fully cook the beef all the way through; it will finish cooking when you add it back to the wok. Transfer the beef to a clean plate and set aside.
Cook the Vegetables and Rice:
-
Add another ½ tablespoon of oil to the wok. Once hot, add the diced onion and carrot, stirring constantly. Cook for 1 to 2 minutes, until the vegetables begin to soften but still have some resistance—they should smell fragrant and look slightly caramelized at the edges.
-
Add the minced garlic and ginger, stirring constantly for about 30 seconds. Watch carefully to prevent burning; burnt garlic tastes bitter and unpleasant. The garlic should smell sweet and fragrant.
-
Push all the vegetables to the side of the wok. Add the remaining 1 tablespoon oil to the open side of the pan and let it heat for 10 seconds.
-
Add the chilled rice, breaking up any clumps with your spoon or spatula as you add it. Let the rice sit undisturbed for 1 to 2 minutes—this allows the bottom layer to toast slightly and develop deeper, more complex grain flavors. You should hear it starting to sizzle against the hot pan.
-
After 1 to 2 minutes, begin stirring and breaking up any large clumps. Toss and stir constantly for another 1 to 2 minutes, mixing the rice with the vegetables and oil until everything is heated through and evenly coated. The rice should look separate and slightly brown.
Finish and Serve:
-
Pour the prepared sauce evenly over the rice and vegetables. Stir constantly for about 1 minute, making sure every grain of rice gets coated with sauce and the flavors distribute evenly.
Advertisements -
Add the cooked beef back to the wok, along with the frozen peas (if using fresh peas, add them now and cook for 30 seconds). Stir gently to combine and heat the beef through, about 30 to 45 seconds.
-
Push the rice to the sides of the wok. Pour the beaten eggs into the center and let them sit for about 15 to 20 seconds until they just start to set on the bottom.
-
Begin scrambling the eggs with your spoon, breaking them into small pieces, and mix them throughout the rice as they cook. This should take another 30 to 45 seconds. You want soft, slightly creamy scrambled egg pieces distributed throughout, not overcooked egg bits.
-
Remove from heat and add the green onion greens (save some white parts for garnish if desired). Toss everything together gently.
-
Taste a spoonful and adjust seasoning. You can add more soy sauce if needed, a pinch more sesame oil, or a tiny splash of rice wine vinegar if it needs brightness. Season carefully and taste as you go—it’s easy to add more salt but impossible to remove it.
-
Transfer to serving bowls or plates and serve immediately while piping hot. Optionally garnish with additional sliced green onions, sesame seeds, or fresh cilantro.
Why Each Step Exists: Common Mistakes and How to Avoid Them
Not marinating the beef: A 15-minute marinade at minimum—even better if you can do it while you’re prepping vegetables—tenderizes the meat and starts building flavor from the inside out. The cornstarch creates a slight coating that helps the beef brown faster and more evenly. Don’t skip this.
Using hot rice instead of cold: Warm rice releases steam that makes everything soggy and mushy. Cold rice absorbs the sauce while staying crispy. There’s really no workaround here—plan ahead.
Crowding the pan: When you pile too much beef or vegetables into the wok at once, the temperature drops and everything steams instead of frying. You get gray, boiled-looking beef and soft vegetables. Cook in batches if you need to; it takes 30 extra seconds and results in infinitely better texture and color.
Stirring too early: Let the rice sit for a minute or two when it first hits the wok. This is where the magic happens—the grain gets a chance to toast and develop flavor. Stirring constantly from the moment it hits the pan prevents this from happening and results in bland-tasting rice.
Oversaucing: You want the rice coated with sauce, not swimming in it. If your finished fried rice looks wet or glossy, you’ve used too much sauce. The rice should look slightly shiny but not damp. Start with the amount I’ve listed and taste before adding more.
Overcooking the eggs: Add eggs at the very end, scramble them quickly, and stop cooking the moment they’re just set. Overcooked eggs become rubbery and hard; the goal is soft, slightly creamy pieces mixed throughout.
Variations That Actually Work
With different proteins: Ground beef cooks slightly differently—brown it in the wok, breaking it into small pieces as it cooks, then drain off any excess fat before adding vegetables. Chicken works beautifully if you cut it into small dice and cook it until just done. Shrimp should be added at the very end, cooked just until pink.
Vegetable customization: Frozen pea-carrot-corn blends are convenient and work perfectly. Fresh vegetables like bell peppers, snap peas, broccoli, and green beans can replace frozen options, but add them at different times based on cooking time. Carrots take longest, so add them first; snap peas go in near the end.
Spice additions: A teaspoon of Sriracha or chili garlic sauce stirred into the sauce mixture adds heat without overwhelming other flavors. Fresh jalapeños minced finely and cooked with the aromatics add fresh heat and brightness. Start with less than you think you need—you can always add more.
Different rice varieties: Brown rice works but requires a bit more oil and slightly longer cooking. Cauliflower rice can replace regular rice for a lower-carb version, but add it with the vegetables and cook until tender before adding the sauce. Short-grain white rice works but will clump more—just be prepared to break it up more during cooking.
Sauce variations: Add a tablespoon of hoisin sauce for slightly sweeter flavor. A splash of fish sauce adds authentic umami depth (use sparingly—just ¼ teaspoon). A teaspoon of soy paste or miso mixed into the sauce creates a more complex, fermented flavor. White miso is particularly good because it adds depth without overpowering saltiness.
Storage, Reheating, and Make-Ahead Guidance
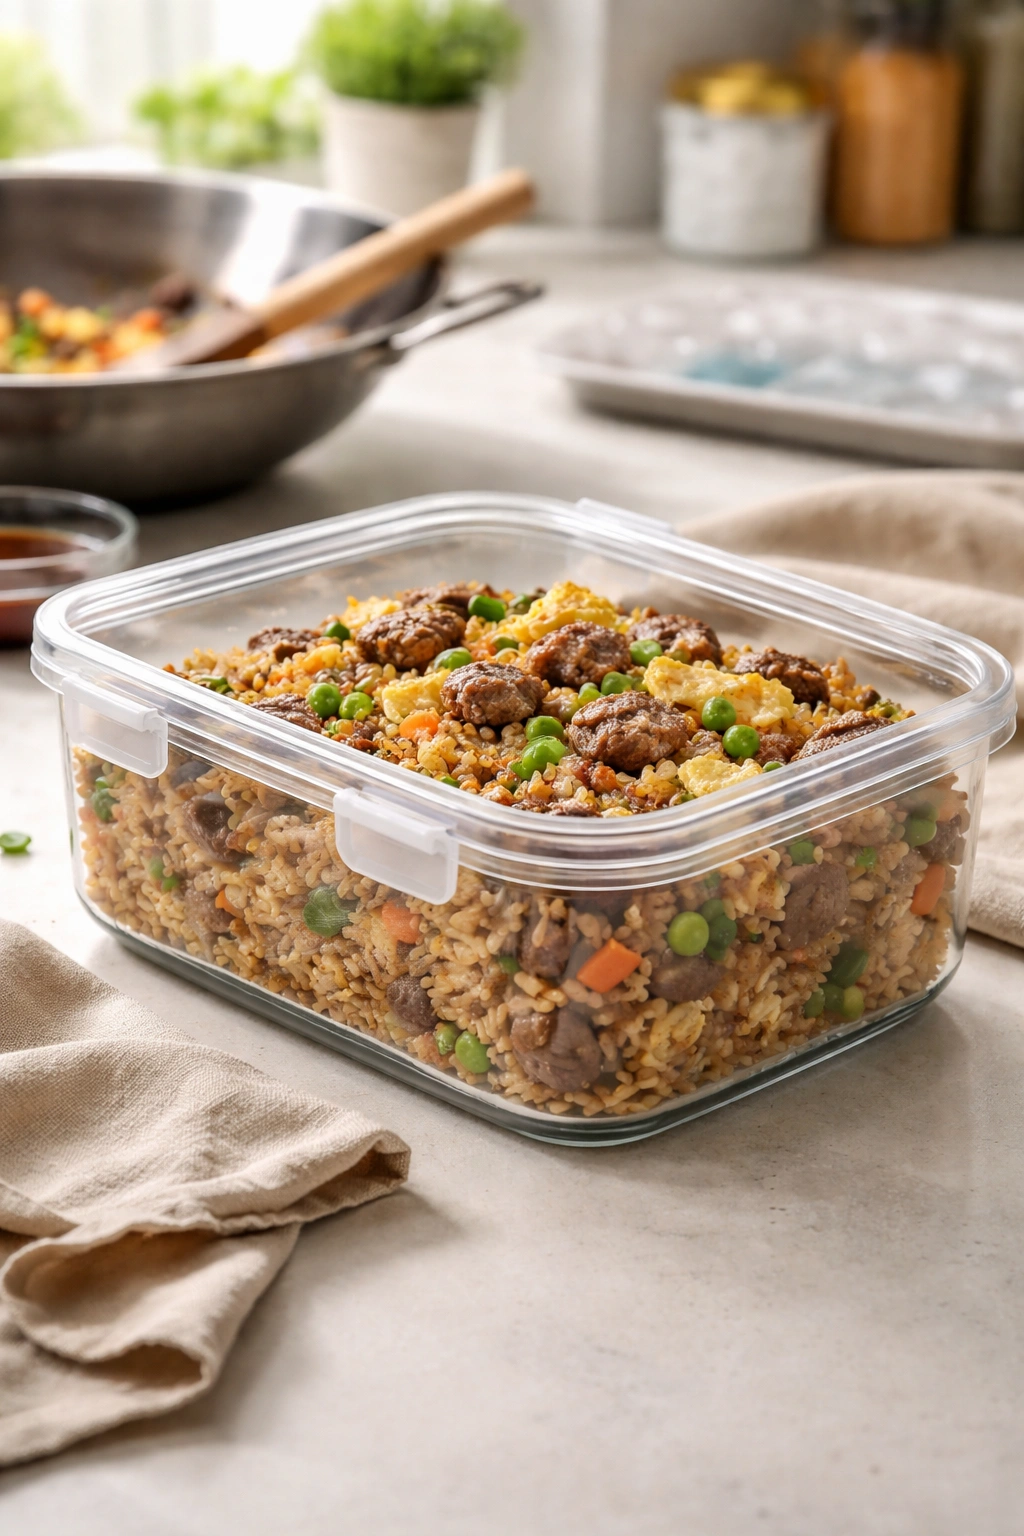
Beef fried rice stores beautifully and reheats even better, making it an excellent choice for meal prep or leftovers. Once cooled completely, transfer to an airtight container and refrigerate for up to 5 days. The rice actually tastes better the next day as flavors meld and deepen. It also freezes remarkably well for up to 3 months—portion it into individual containers or freezer bags for easy grab-and-go meals.
To reheat from refrigerated, warm it in a large skillet over medium heat with a splash of water or broth, stirring occasionally until heated through—about 5 to 7 minutes. Alternatively, microwave it in a covered bowl for 2 to 3 minutes, stirring halfway through. If the rice seems dry during reheating, a tablespoon of water or broth brings it back to life.
Frozen fried rice should thaw overnight in the refrigerator before reheating, though you can reheat it directly from frozen if you’re in a rush—just add an extra minute or two to the cooking time and a splash more liquid. The texture remains excellent either way.
Serving Suggestions and Pairings
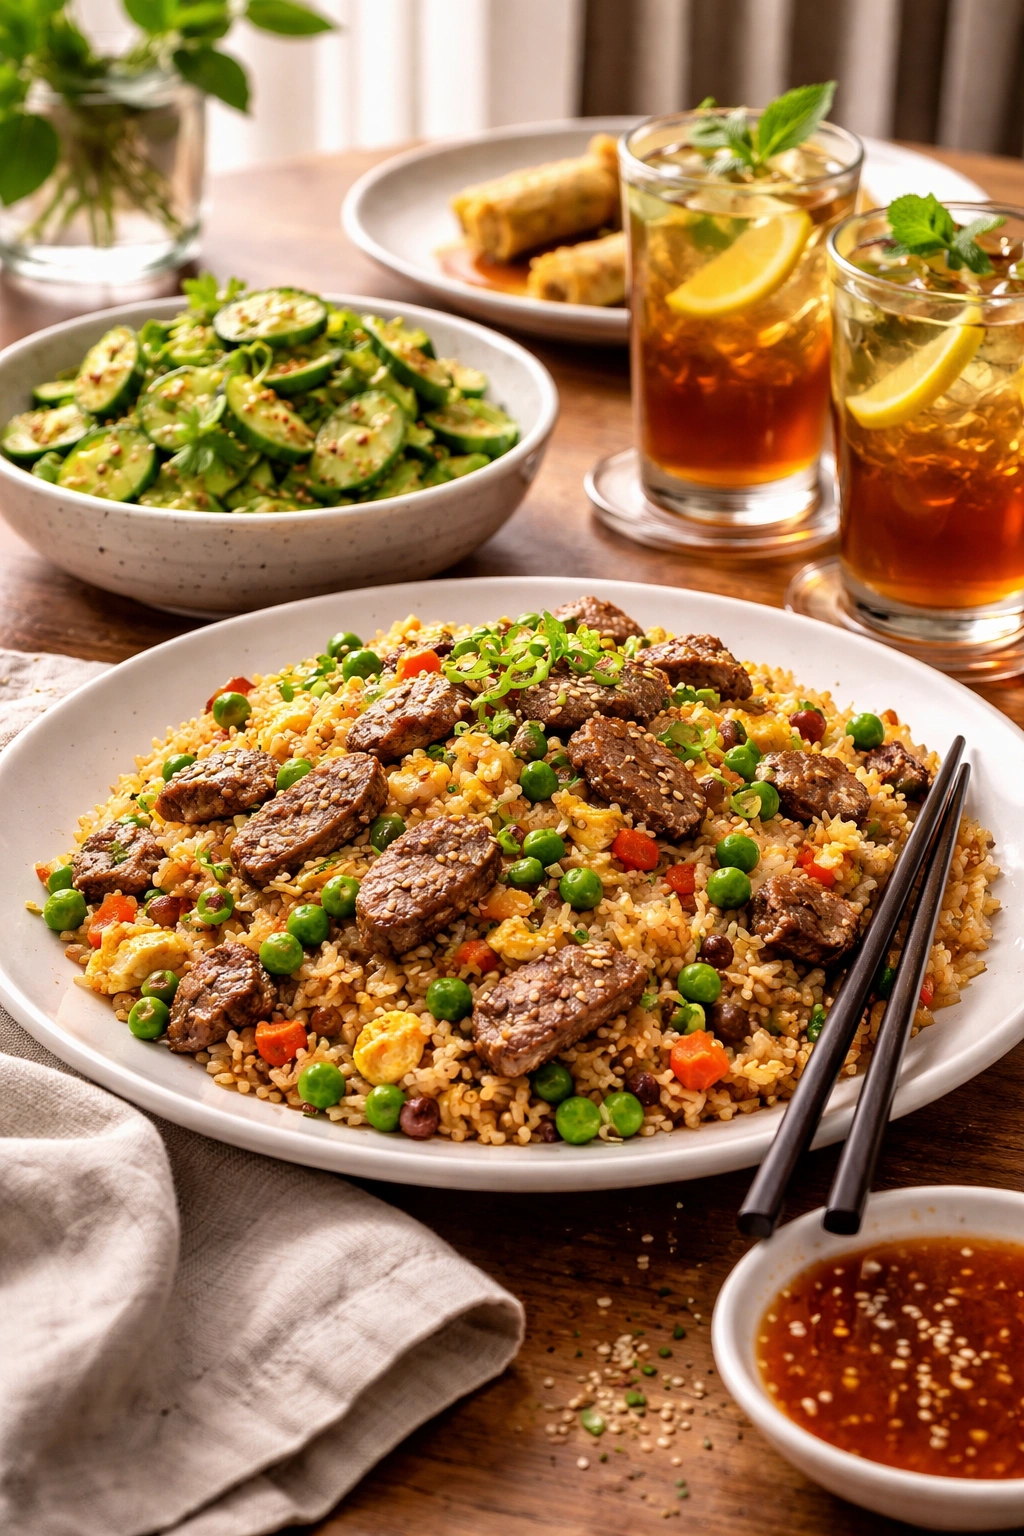
Beef fried rice is genuinely a complete meal on its own—protein, carbohydrate, and vegetables all in one dish. That said, a few complementary sides elevate it into something special. A crispy egg roll or spring roll adds textural contrast beautifully. Quick-pickled cucumbers or a simple cucumber salad with rice vinegar and sesame oil provides brightness and cuts through the savory richness. A drizzle of chili oil or Sriracha on the side lets people adjust heat level to their preference.
For beverages, jasmine tea or green tea pairs traditionally and beautifully, providing aromatic contrast without competing for flavor attention. If you’re serving alcohol, a crisp white wine like Sauvignon Blanc or Pinot Grigio complements the beef and soy sauce wonderfully. Beer is always a safe choice—the carbonation and slight bitterness refresh the palate between bites.
Garnishing with toasted sesame seeds, fresh cilantro, sliced green onions, or crispy fried shallots adds visual appeal and flavor complexity. Even just a sprinkle of chopped peanuts on top creates a pleasant textural element that changes every bite slightly. These finishing touches are simple but transform the dish from “dinner” into “restaurant meal.”
Why This Is Worth Making Again and Again
The magic of mastering beef fried rice is that it becomes dinner solution you’ll return to constantly. It’s faster than delivery, tastes exponentially better, costs half as much, and works with whatever vegetables you have on hand. More importantly, once you understand the technique, you own it—you’re not dependent on a recipe or takeout restaurant. You can adjust heat levels, vegetable combinations, and sauce intensity based on your mood and cravings.
This is the kind of dish that changes how people think about home cooking. It proves that restaurant-quality food isn’t some mystical skill reserved for professionals—it’s just understanding technique, respecting your ingredients, and being willing to spend 30 minutes creating something genuinely better than what you’d get paying three times the price. That’s not just dinner; that’s confidence in the kitchen.