There’s a reason chicken thighs have become the go-to protein for home cooks who refuse to serve another dry chicken breast. Unlike the lean white meat that requires careful attention to avoid overcooking, bone-in skin-on thighs practically cook themselves into tender, juicy perfection while developing gorgeously crispy skin that rivals anything you’d get from a fryer. The beauty of this simple oven method is that it requires minimal prep—just a few seasonings, a hot oven, and about 45 minutes—yet delivers restaurant-quality results every single time.
If you’ve been hesitant about cooking chicken thighs because they seem more complicated than breasts, this recipe will change your mind. Once you taste the difference that bone-in, skin-on thighs can make compared to boneless chicken, you’ll understand why so many experienced cooks have made this their default dinner choice. Dark meat from the thigh contains significantly more fat than white meat, which means it’s nearly impossible to dry out, even if you accidentally leave it in the oven a few minutes longer than intended. That same fat renders during cooking to create the most satisfying, crackling-crispy skin that you won’t achieve with any other chicken cut.
Why Bone-In Chicken Thighs Deliver Superior Flavor and Texture
The difference between bone-in thighs and boneless ones is genuinely night and day. When you cook chicken with the bone intact, the bone itself contributes depth and richness to the meat, keeping it incredibly moist throughout the cooking process. The bone acts as an insulator that helps the meat cook more evenly, preventing the outer portions from drying out while waiting for the center to reach safe temperature.
Beyond just moisture retention, the fat content in dark meat renders slowly as it cooks, seasoning the entire thigh from within. This is why restaurants and experienced home cooks consistently choose thigh meat when they want juicy, forgiving chicken. You could theoretically cook a bone-in thigh to 200°F internal temperature and it would still taste tender and succulent, thanks to all that fat and connective tissue that breaks down with heat.
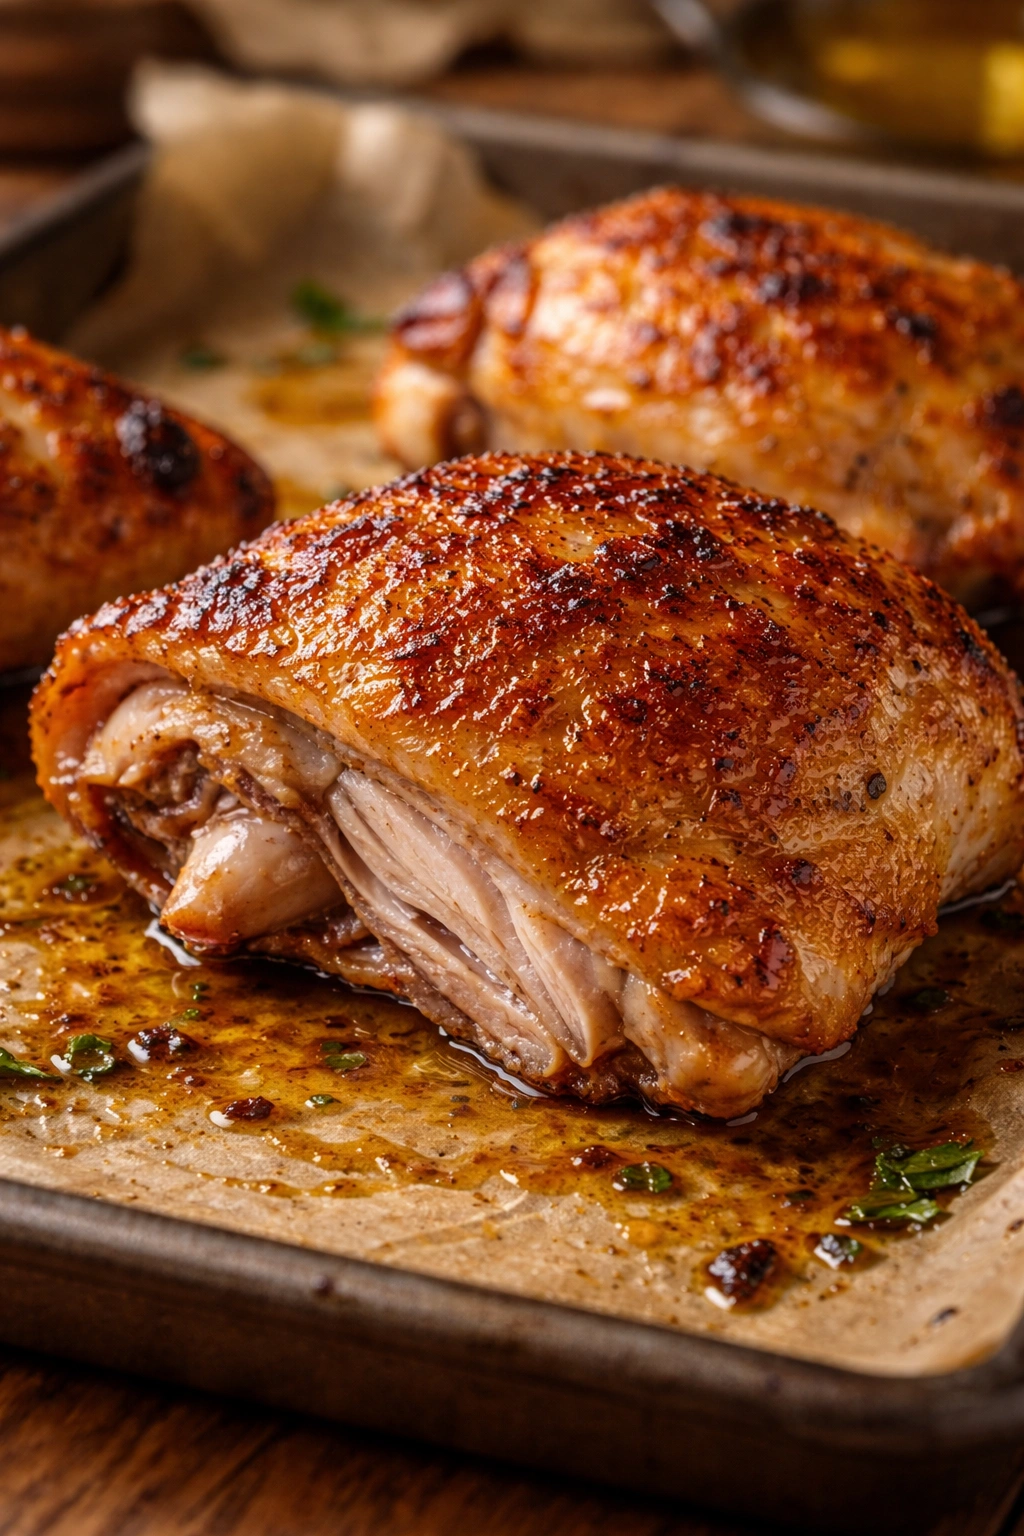
The skin is where the magic truly happens. Unlike boneless thighs, which often come without any skin at all, bone-in thighs arrive wrapped in a layer of fat and skin that transforms into crispy, crackling perfection in a hot oven. This skin isn’t just delicious—it’s a textural contrast that makes every bite more interesting. Some people actually save the crispy skin from leftover chicken to snack on, because it’s that good.
Understanding the Secret to Perfectly Crispy Skin
Achieving crispy skin isn’t mysterious or complicated, but it does require understanding what moisture does to skin during cooking. The number one enemy of crispy skin is moisture. If your chicken thighs are wet when they go into the oven, that surface water will steam away before it can get hot enough to crisp the skin. This is why the first and most critical step is thorough drying with paper towels.
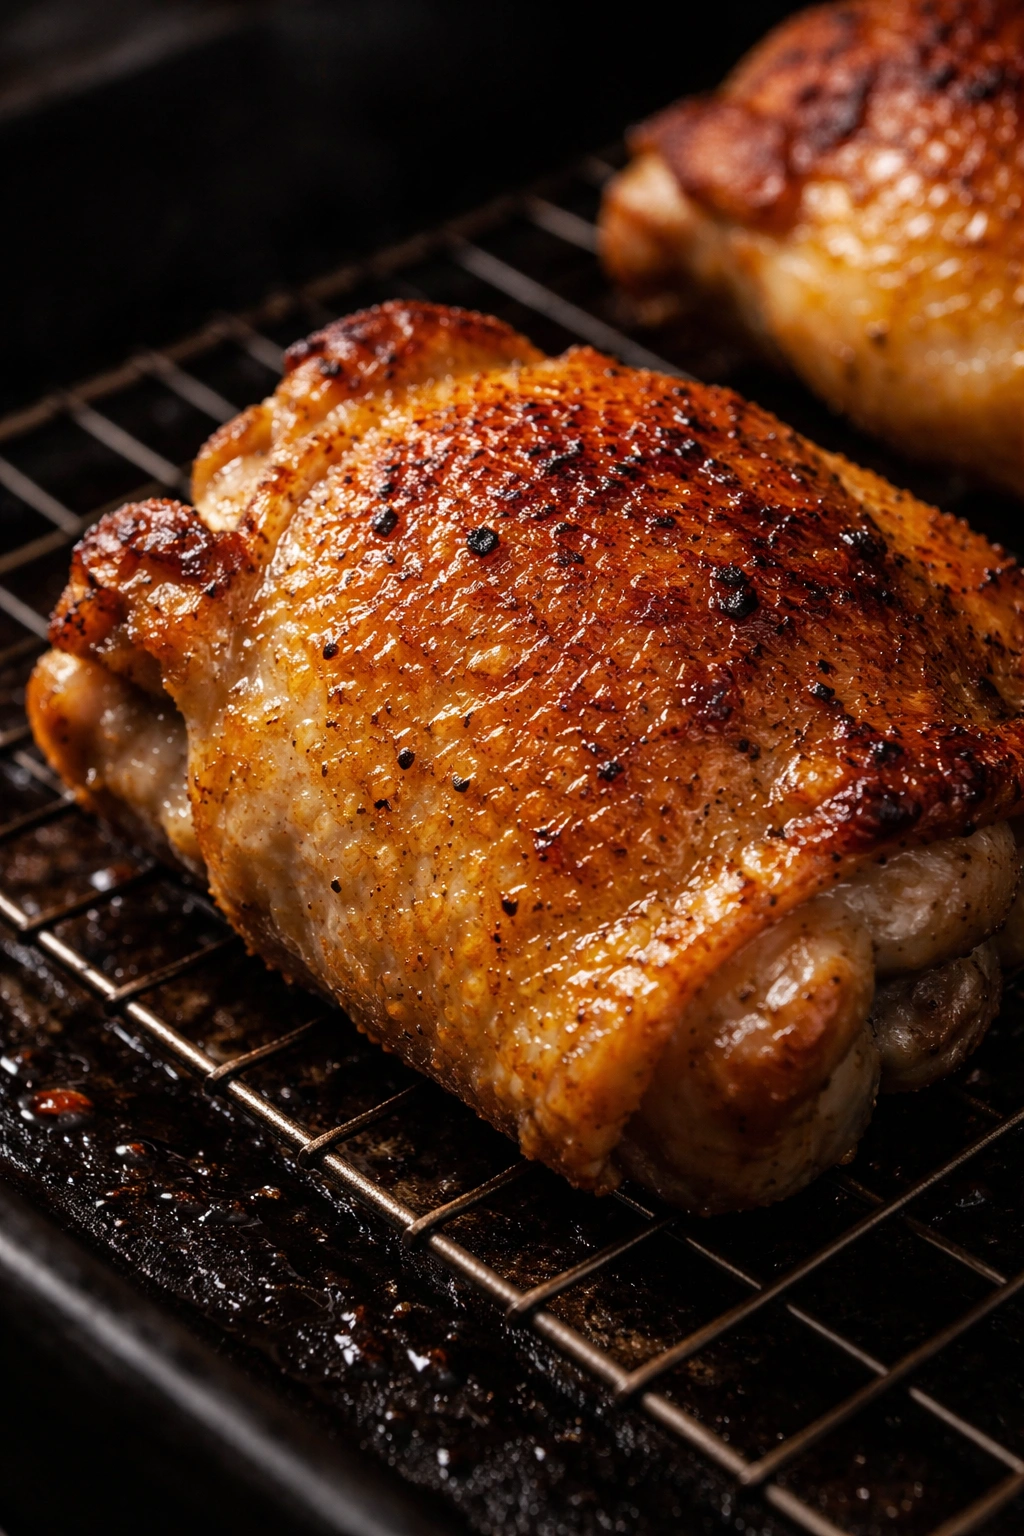
The second key to crispiness is ensuring the skin makes direct contact with dry heat. If thighs sit in puddles of rendered fat and juices, the skin softens rather than crisps. Using a wire rack allows hot air to circulate around the entire chicken, preventing it from steaming itself. The rack keeps the chicken elevated above the pan, so the fat drips away and the skin stays dry and crispy.
Temperature also matters significantly. A 400°F oven will crisp the skin adequately, but 425°F to 450°F gets you crispier, more golden-brown results in slightly less time. Higher temperatures cause the exterior to brown faster before the interior can overcook. The exact temperature you choose depends on your oven—ovens vary, and a 50-degree difference between what your dial says and what your oven actually runs can be meaningful.
What You’ll Need for Success
For the Chicken:
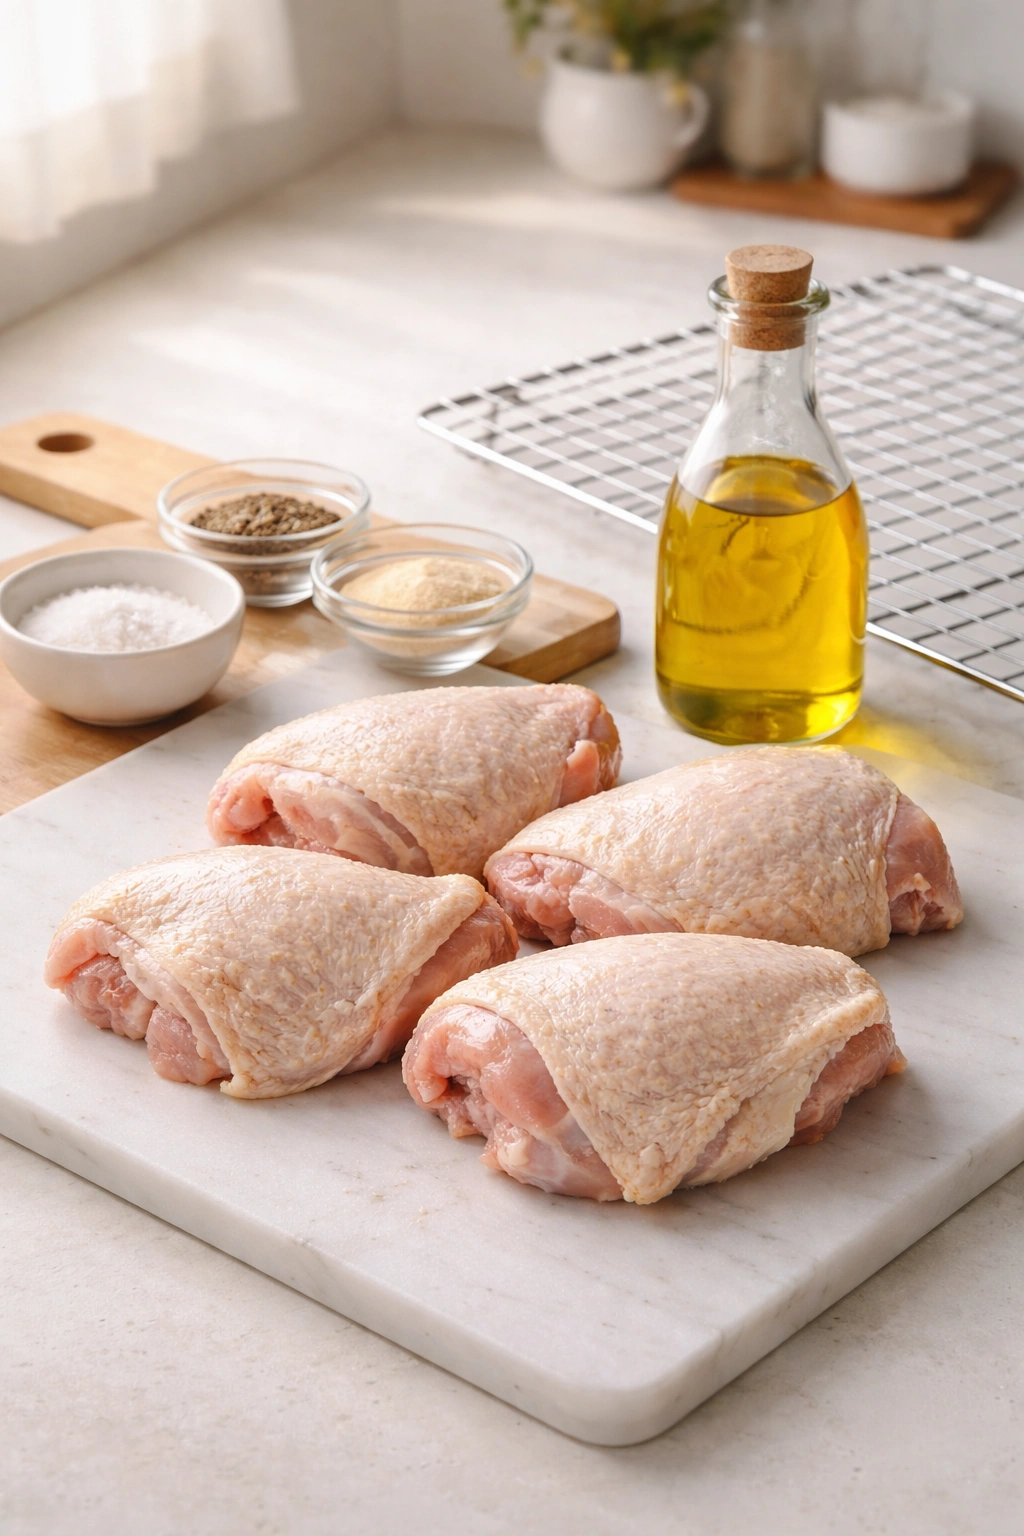
- 8 bone-in, skin-on chicken thighs (approximately 6-8 ounces each)
For the Seasoning:
- 2 tablespoons extra virgin olive oil
- 1½ teaspoons kosher salt
- 1 teaspoon garlic powder
- 1 teaspoon paprika (sweet or smoked, your choice)
- 1 teaspoon onion powder
- ½ teaspoon freshly ground black pepper
- ½ teaspoon dried Italian seasoning (optional, but adds nice herbal notes)
Equipment:
- One large rimmed baking sheet
- One wire cooling rack (optional but highly recommended)
- Paper towels
- Meat thermometer (instant-read thermometer is ideal)
- Small mixing bowl
- Tongs
Yield and Timing

Yield: 4 servings (2 thighs per person)
Prep Time: 10 minutes
Cook Time: 35 to 45 minutes (depending on oven and thigh size)
Total Time: 50 minutes
Difficulty: Beginner — This recipe requires zero special cooking skills. The steps are straightforward, nothing can go seriously wrong, and the margin for error is genuinely forgiving. Even if you’ve never cooked chicken before, this will work.
Step-by-Step Instructions for Perfect Oven-Roasted Chicken Thighs
Preparing Your Equipment:
-
Position your oven rack in the center of the oven, then preheat the oven to 425°F (220°C). If your oven has a convection setting, now is the time to use it—convection circulates air around the food more efficiently, resulting in crispier skin and more even cooking.
-
If you have a wire rack, place it on top of your rimmed baking sheet. Line the baking sheet with parchment paper or aluminum foil for easy cleanup. If you don’t have a wire rack, just line the baking sheet—the chicken can still cook on the flat surface, though you may need to flip it halfway through for even browning if you prefer maximum crispiness on both sides.
-
Remove any clutter from your oven and ensure you have at least 3 inches of clearance above the baking sheet so heat can circulate freely.
Advertisements
Preparing the Seasoning Blend:
-
In a small bowl, combine the kosher salt, garlic powder, paprika, onion powder, black pepper, and Italian seasoning. Stir the mixture together until everything is evenly distributed. If you’re using a coarse salt like Diamond Crystal kosher salt, the grains are large enough that this blend will look somewhat chunky—that’s perfect and exactly what you want.
-
Taste a tiny pinch of the seasoning mixture before it goes on the chicken. This gives you a chance to adjust the flavors to your preference. If you want more garlic, add it now. If it tastes too salty (which depends entirely on your salt brand), you can reduce it. Much better to adjust now than after cooking.
Preparing the Chicken:
-
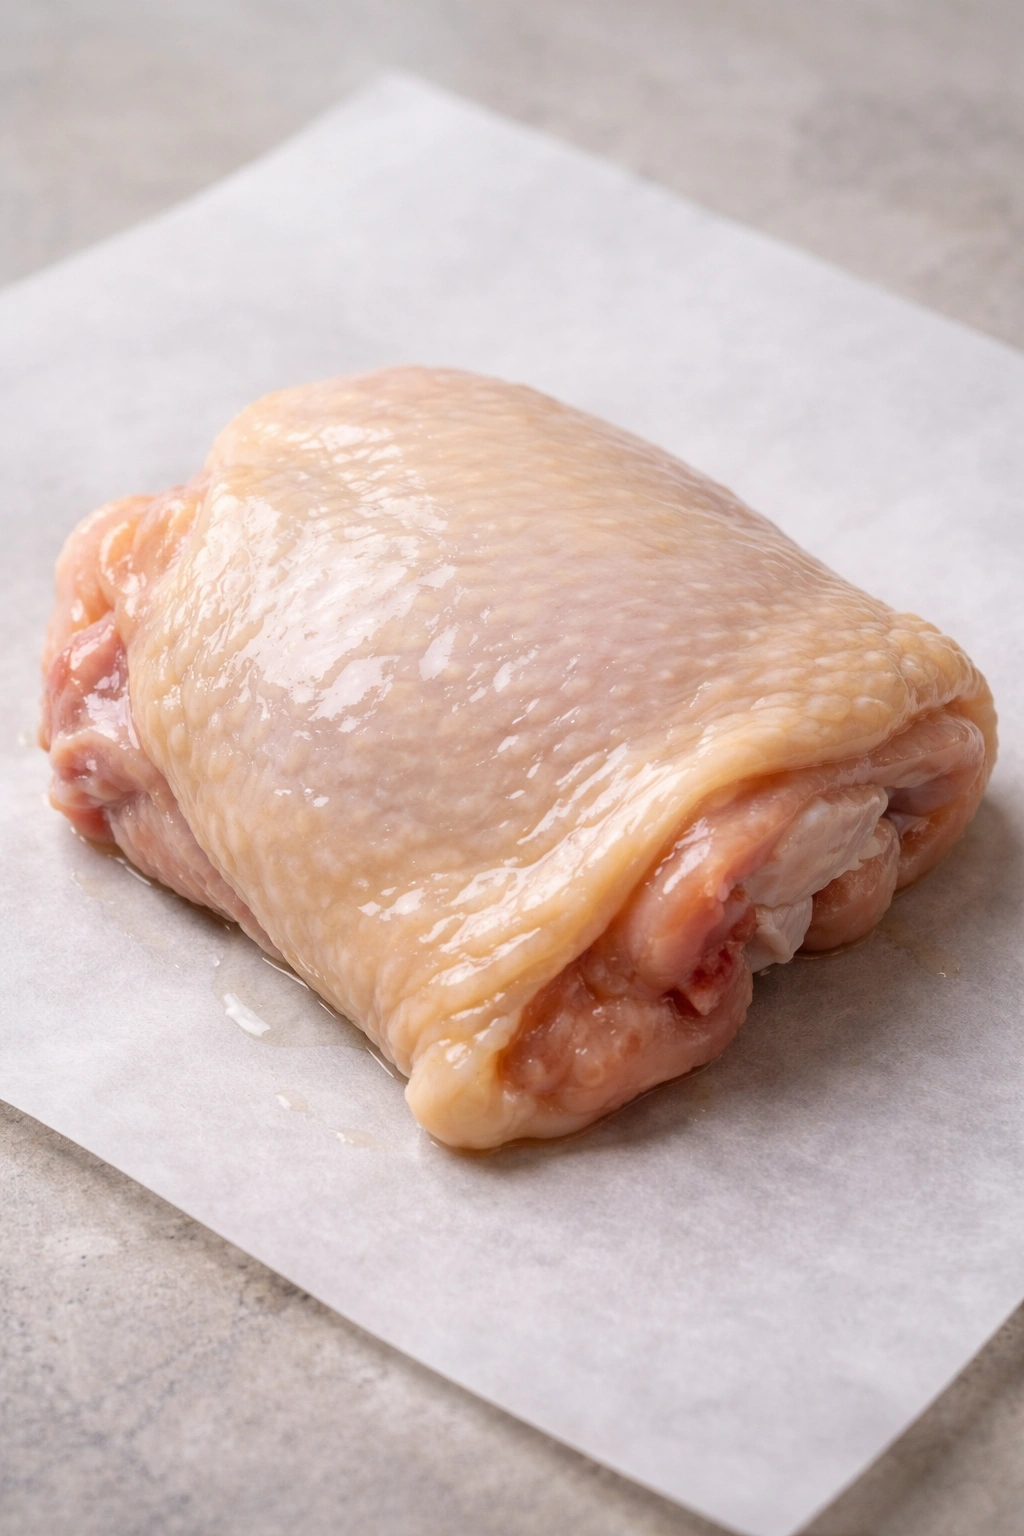
Remove the chicken thighs from their packaging and inspect them. Trim away any large pieces of excess skin that hang loose from the thighs—you want the skin covering the meat, not excess flaps that will burn. Leave the skin that actually covers the chicken intact.
-
Using paper towels (and yes, use several), pat the chicken completely dry on both sides. Pay special attention to any crevices where moisture tends to hide. Press down firmly as you dry—you’re not being gentle, you’re actively removing moisture. The drier the chicken, the crispier the final skin will be. Don’t skip this step just because it seems tedious. This single step is perhaps the most important one for achieving crispy skin.
-
Place all the chicken thighs skin-side up on your prepared wire rack (or directly on the baking sheet if not using a rack). Space them out so they’re not touching each other—if they touch, those touching areas won’t crisp properly. Depending on your pan size, you may need two baking sheets.
Seasoning and Oiling:
-
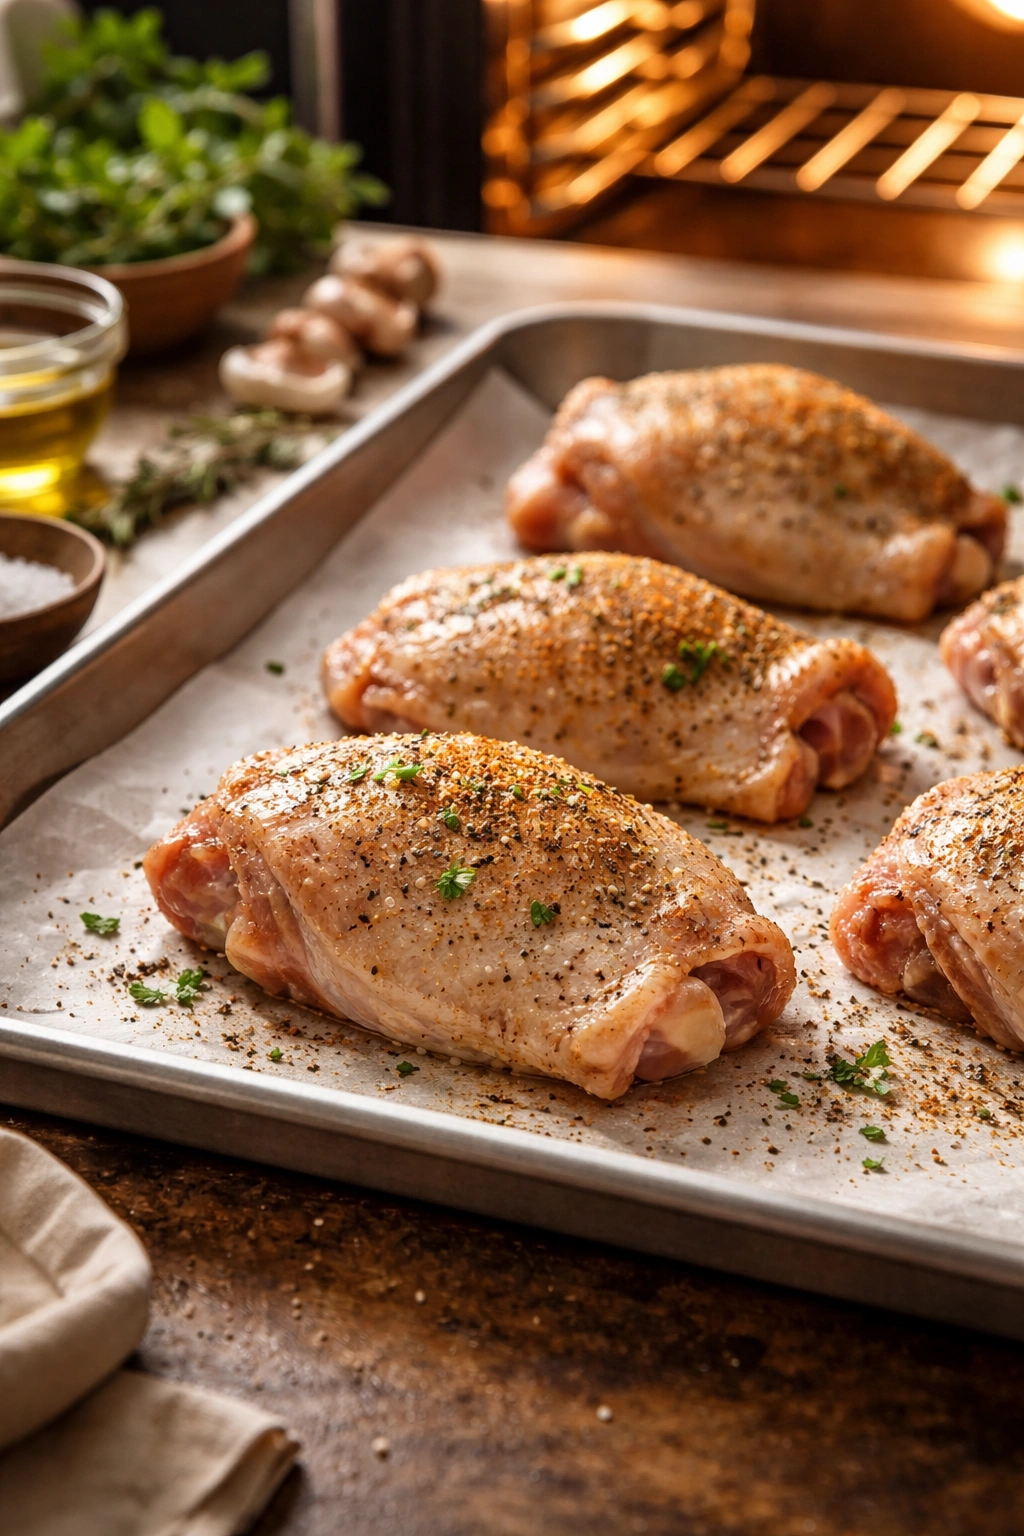
Drizzle the olive oil evenly over the top of each thigh. You want just enough oil to help the seasonings adhere and the skin brown—about ½ teaspoon per thigh. You don’t need much because chicken thighs contain plenty of fat that will render out during cooking.
-
Sprinkle the seasoning mixture generously over the top of each chicken thigh, covering both the skin and any exposed meat. Use your hands to gently rub the oil and seasonings into the chicken skin, making sure the seasonings are making good contact with the surface. If you’re feeling ambitious, gently lift up any accessible skin edges and rub seasoning underneath—this adds flavor throughout the meat.
Advertisements -
Make sure the chicken is positioned skin-side up before the pan goes into the oven. This is non-negotiable for crispy skin.
The Actual Baking:
-
Place the prepared baking sheet in the center of your preheated 425°F oven. Set a timer for 35 minutes and resist the urge to open the oven door to check on things. Every time you open the oven, you release heat and extend the cooking time.
-
After 35 minutes, check the chicken thighs with a meat thermometer inserted into the thickest part of a thigh, avoiding the bone. The thermometer should read at least 165°F for food safety (the USDA recommendation). However, dark meat becomes noticeably more tender and juicier when cooked to 175°F to 180°F, and because of the fat content in thighs, this higher temperature won’t dry them out. Plan on cooking until you reach 175°F minimum for best results.
-
If the thighs haven’t reached temperature yet, return them to the oven and check again in 5-minute increments. Larger thighs may take up to 45 minutes total.
-
Once the chicken reaches safe temperature and the skin is golden brown and crispy, you have two options. You can serve the chicken as is, enjoying the beautiful golden skin. Or, for extra-crispy, almost-crackly skin, turn your oven to broil and broil the chicken for 2 to 3 minutes, keeping a close eye to prevent burning. The broiler intensifies the crust dramatically in just a minute or two.
-
Remove the baking sheet from the oven using oven mitts. The pan will be extremely hot, and rendered chicken fat may be bubbling on the sheet—be very careful. Transfer the chicken thighs to a serving platter using tongs.
-
Loosely tent the chicken with foil and let it rest for 5 to 10 minutes before serving. During this resting period, the juices redistribute throughout the meat, making it even juicier when you bite into it. The skin will also finish crisping as it cools slightly.
Pro Tips for Restaurant-Quality Results
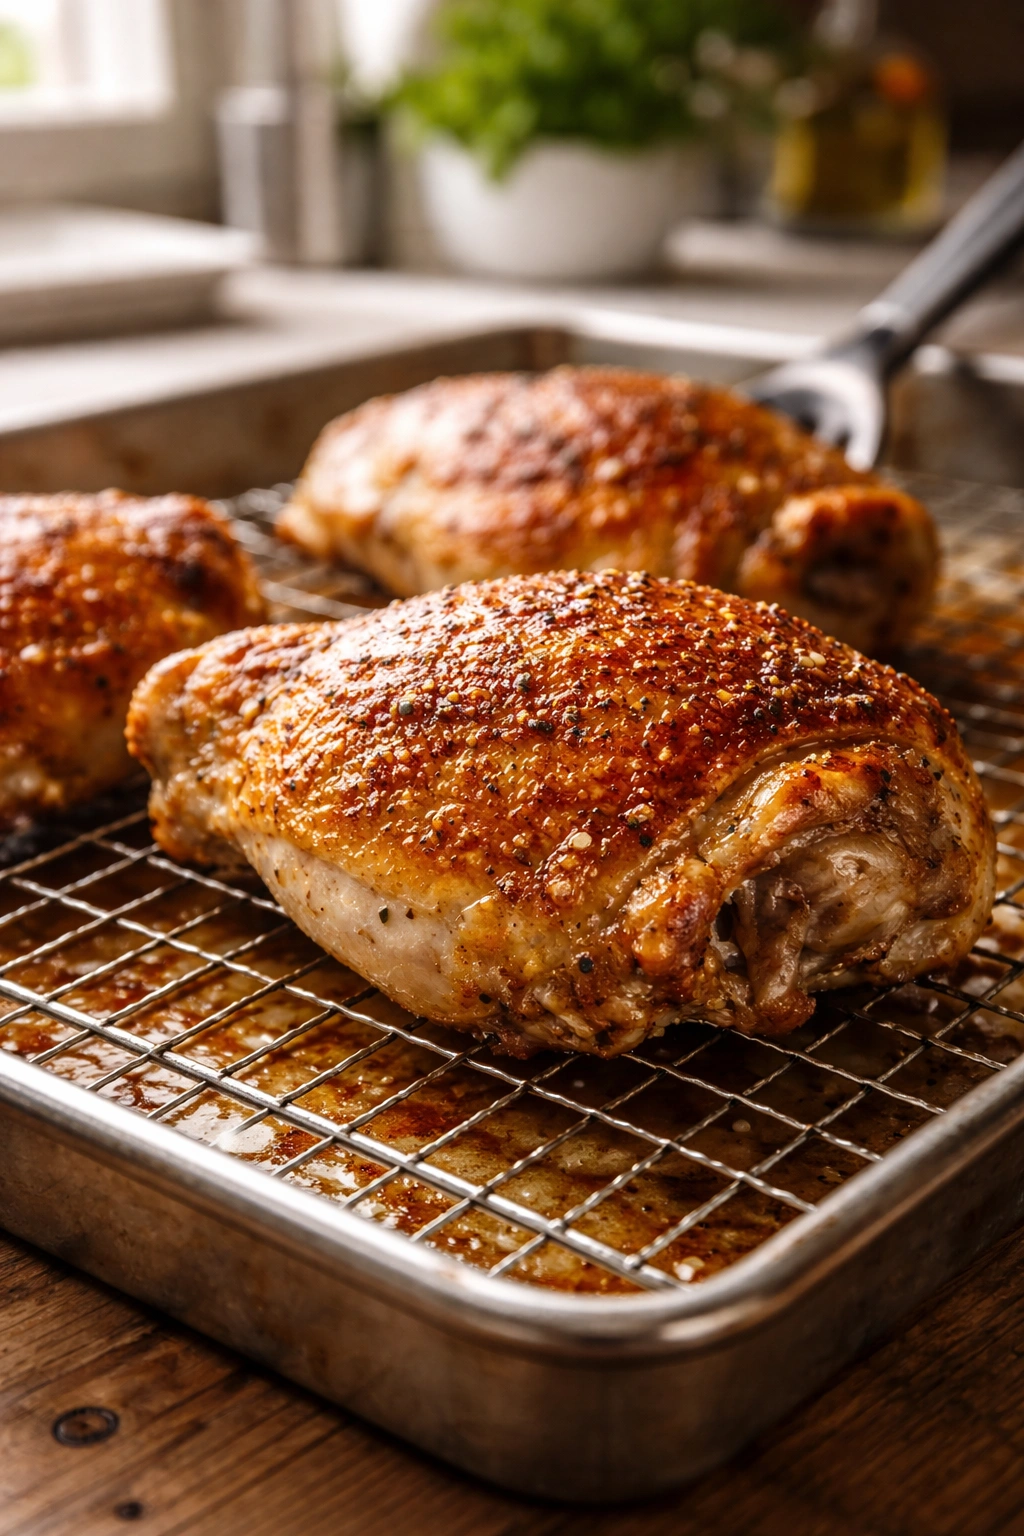
The wire rack truly makes a difference. If you’ve never cooked chicken on a rack before, try it once and you’ll understand why this simple tool is used in professional kitchens. The air circulation underneath the chicken is genuinely remarkable. The bottom side stays crispier, the fat drips away instead of keeping the skin soggy, and everything cooks more evenly.
Let the chicken sit at room temperature for 15 to 30 minutes before cooking. Thighs that start near room temperature cook more evenly than cold chicken straight from the refrigerator. Cold chicken takes longer to reach safe temperature, which increases the risk of the exterior overcooking before the interior catches up.
Use a reliable meat thermometer, and trust it. Invest in an instant-read thermometer if you don’t already have one—they’re inexpensive and eliminate all guesswork. When you trust the thermometer, you stop worrying about whether the chicken is done, and you can focus on enjoying perfectly cooked poultry.
Don’t coat the thighs in oil. This might sound counterintuitive, but many home cooks report that thighs develop crispier skin when they’re not heavily oiled. The fat in the skin itself renders out during cooking and provides all the oil you need. A light coating helps seasonings stick; anything more creates a barrier that prevents proper browning.
Flatten the thighs slightly if you want them to cook faster. If you gently press down on each thigh with the heel of your hand before seasoning, you’ll increase the surface area and decrease cooking time by several minutes. Flattened thighs cook in about 30 to 35 minutes instead of 40 to 45.
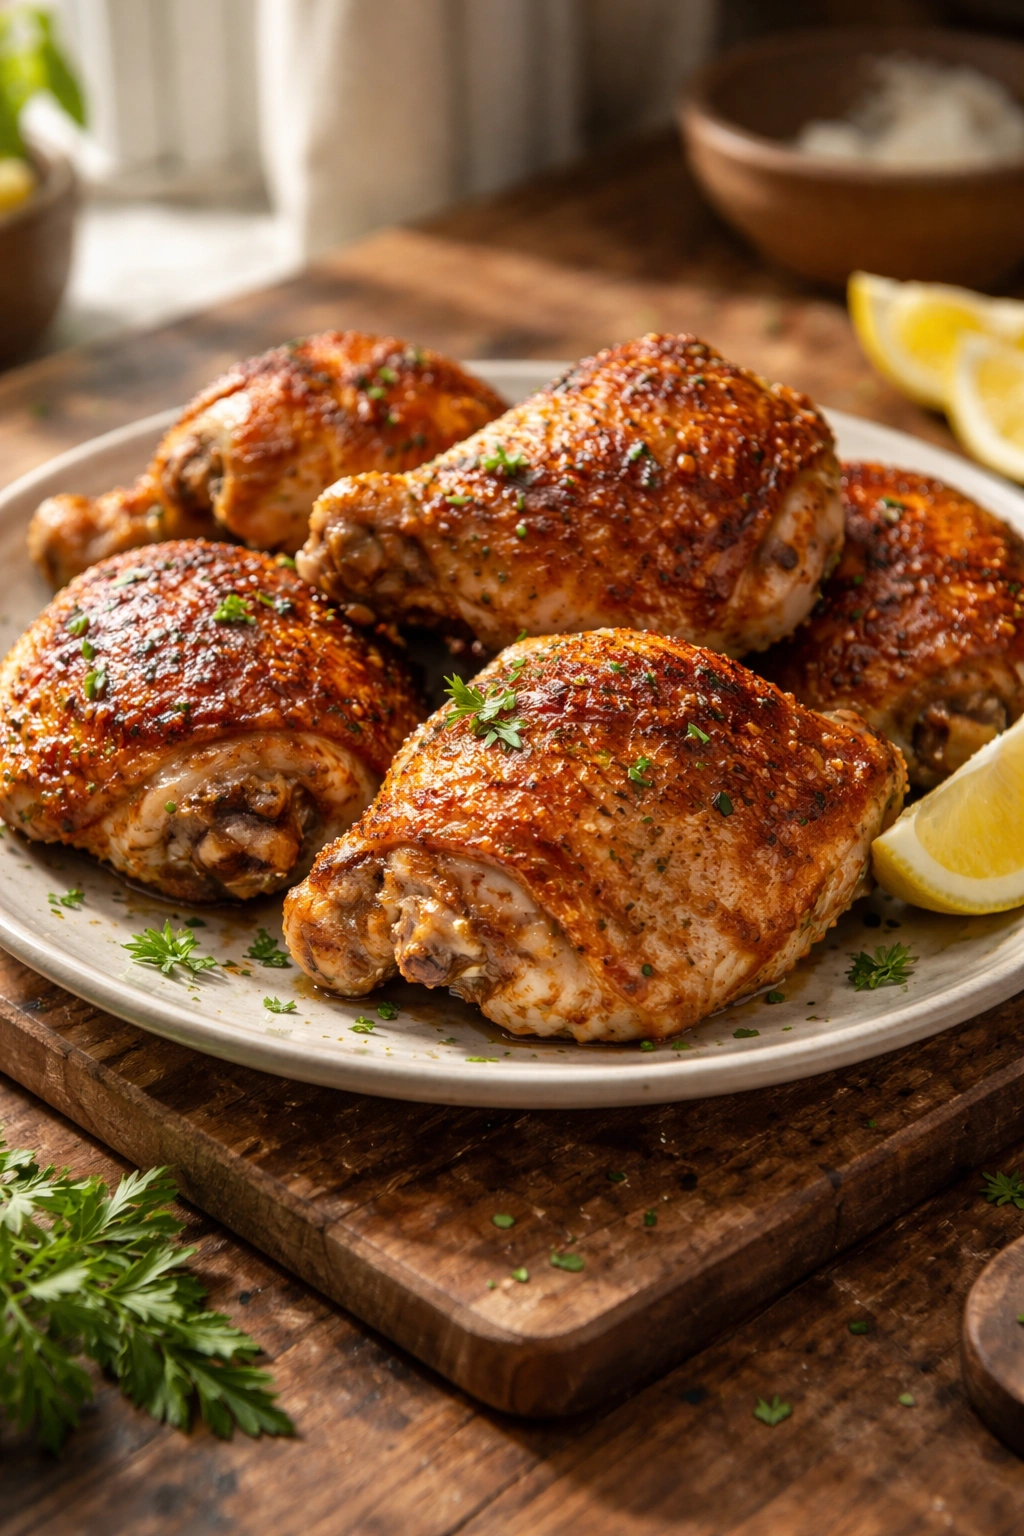
Understanding Doneness: Temperature and Visual Cues
The USDA standard for poultry safety is 165°F internal temperature, measured at the thickest part of the meat without touching bone. Once chicken reaches this temperature, it’s safe to eat. However, dark meat truly shines when cooked to 175°F to 185°F, where all the connective tissue and fat has fully rendered, creating meat that’s almost impossibly tender and juicy.
Some home cooks worry this higher temperature means dry chicken, but the opposite is true with thighs. Dark meat contains roughly five times more fat than white meat, which means you have a much wider window before it dries out. You could theoretically cook a bone-in thigh to 195°F and it would still taste moist.
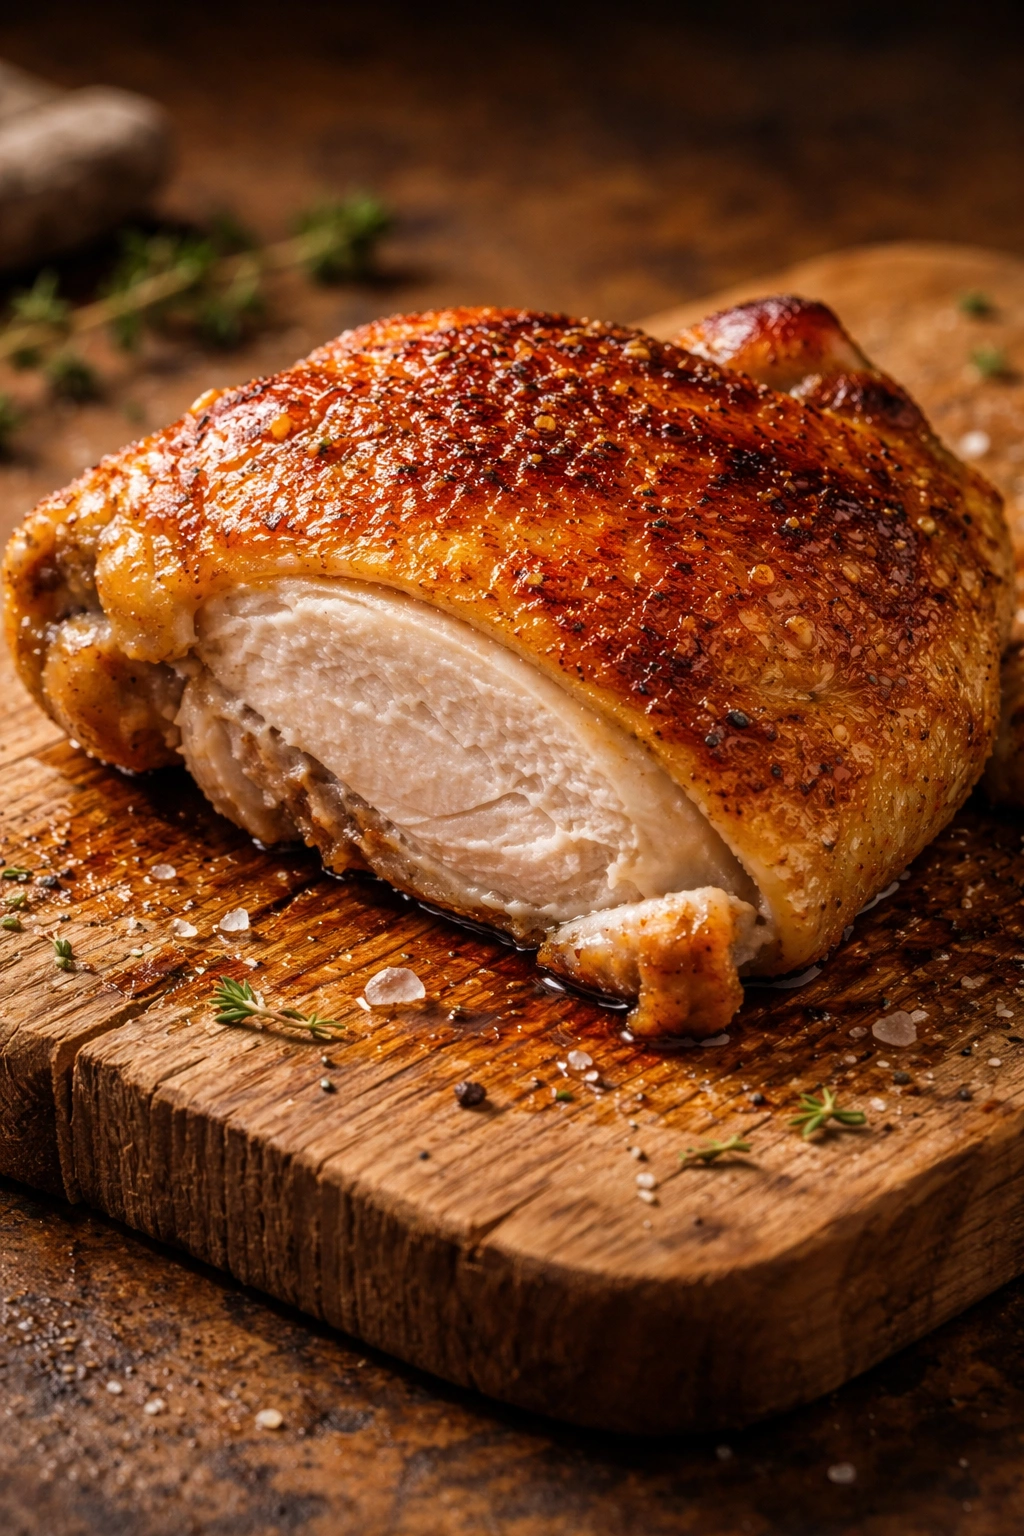
Visually, perfectly cooked chicken thighs will have skin that’s deeply golden brown or even caramel-colored. The skin should look crispy—you might even see some places where it’s started to curl or crisp up more intensely. Any exposed meat (where skin doesn’t cover the thigh) should be completely white with no pink whatsoever.
Flavor Variations: Making It Your Own
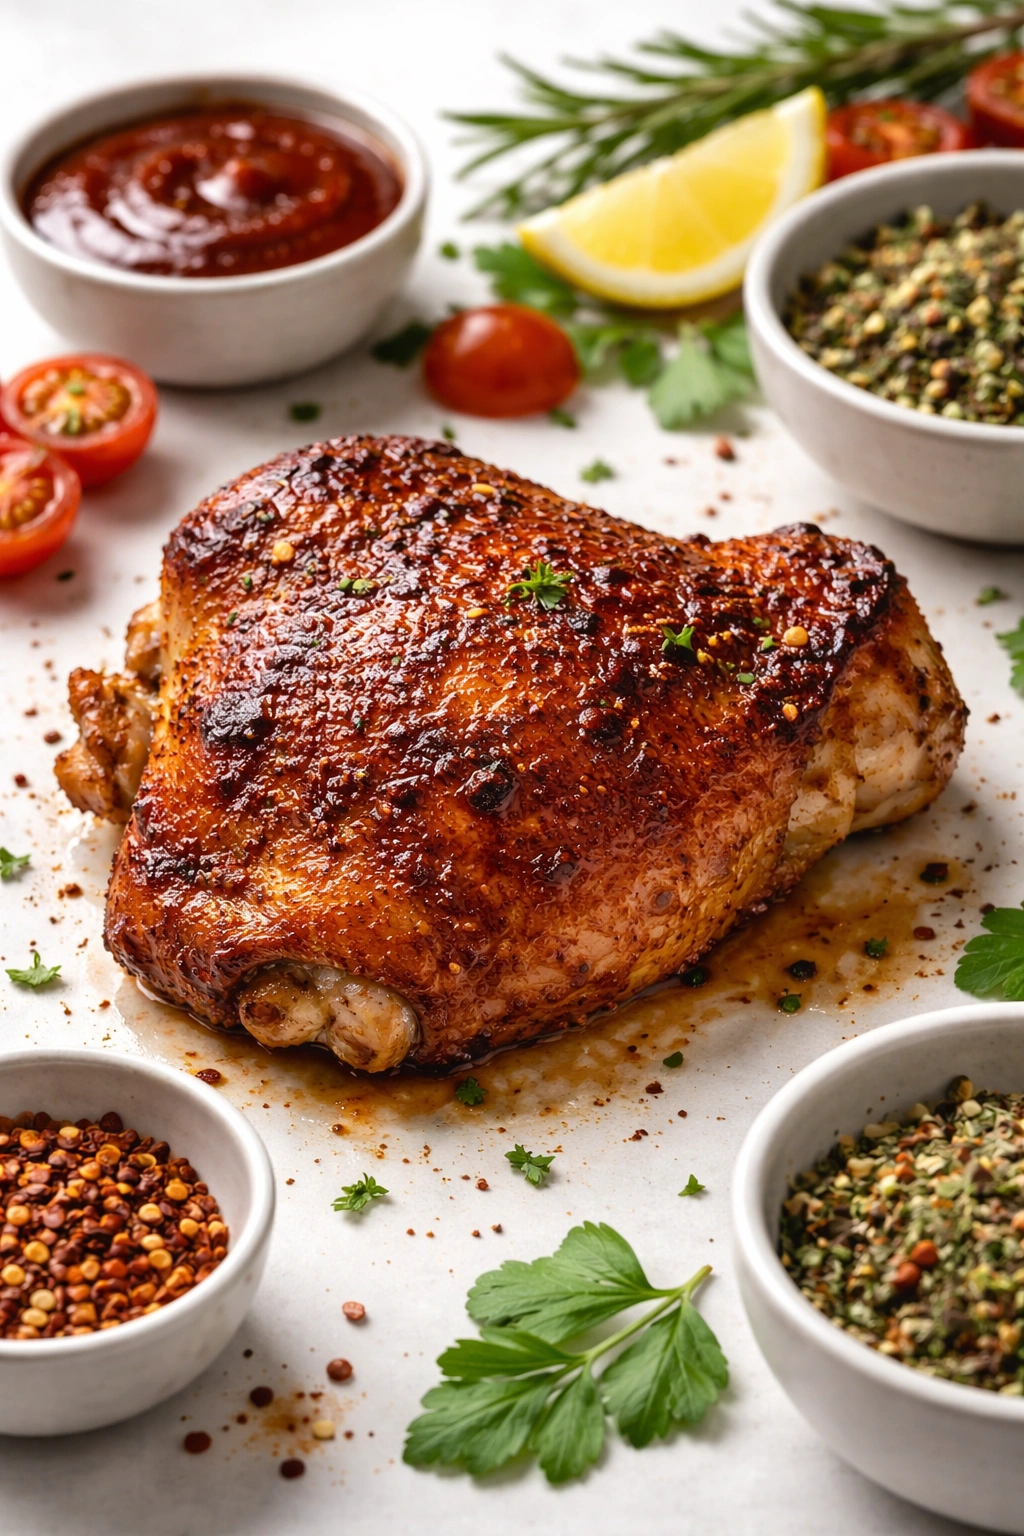
Once you master this basic method, the seasoning possibilities become endless. The technique stays exactly the same—the only thing that changes is what you sprinkle on top.
Smoky BBQ Version: Replace the paprika with smoked paprika and add ½ teaspoon of smoked salt and ¼ teaspoon of cayenne pepper for heat. Some people brush their favorite BBQ sauce over the thighs during the last 10 minutes of cooking for a sticky-spicy finish.
Mediterranean Greek Style: Swap the Italian seasoning for dried oregano and thyme. Add a light squeeze of fresh lemon juice right when the thighs come out of the oven. Serve with tzatziki sauce for dipping.
Spicy Cajun Heat: Add ½ teaspoon cayenne pepper, ½ teaspoon smoked paprika, and ¼ teaspoon of cayenne to create a blackening spice. Some people add a tiny pinch of dried thyme for authenticity.
Herb-Forward Italian: Triple the Italian seasoning, add ½ teaspoon dried basil, and finish with fresh basil right before serving. A squeeze of fresh lemon brightens everything up.
Simple Lemon Pepper: Skip most of the spices and rely on kosher salt, cracked black pepper, garlic powder, and fresh lemon zest rubbed into the skin before cooking. Drizzle with fresh lemon juice after cooking.
Everything Bagel Seasoning: Use an everything bagel seasoning blend instead of your seasoning mix. Many grocery stores sell premixed versions, or you can make your own with sesame seeds, poppy seeds, dried garlic, dried onion, and sea salt.
Storage and Make-Ahead Guidance
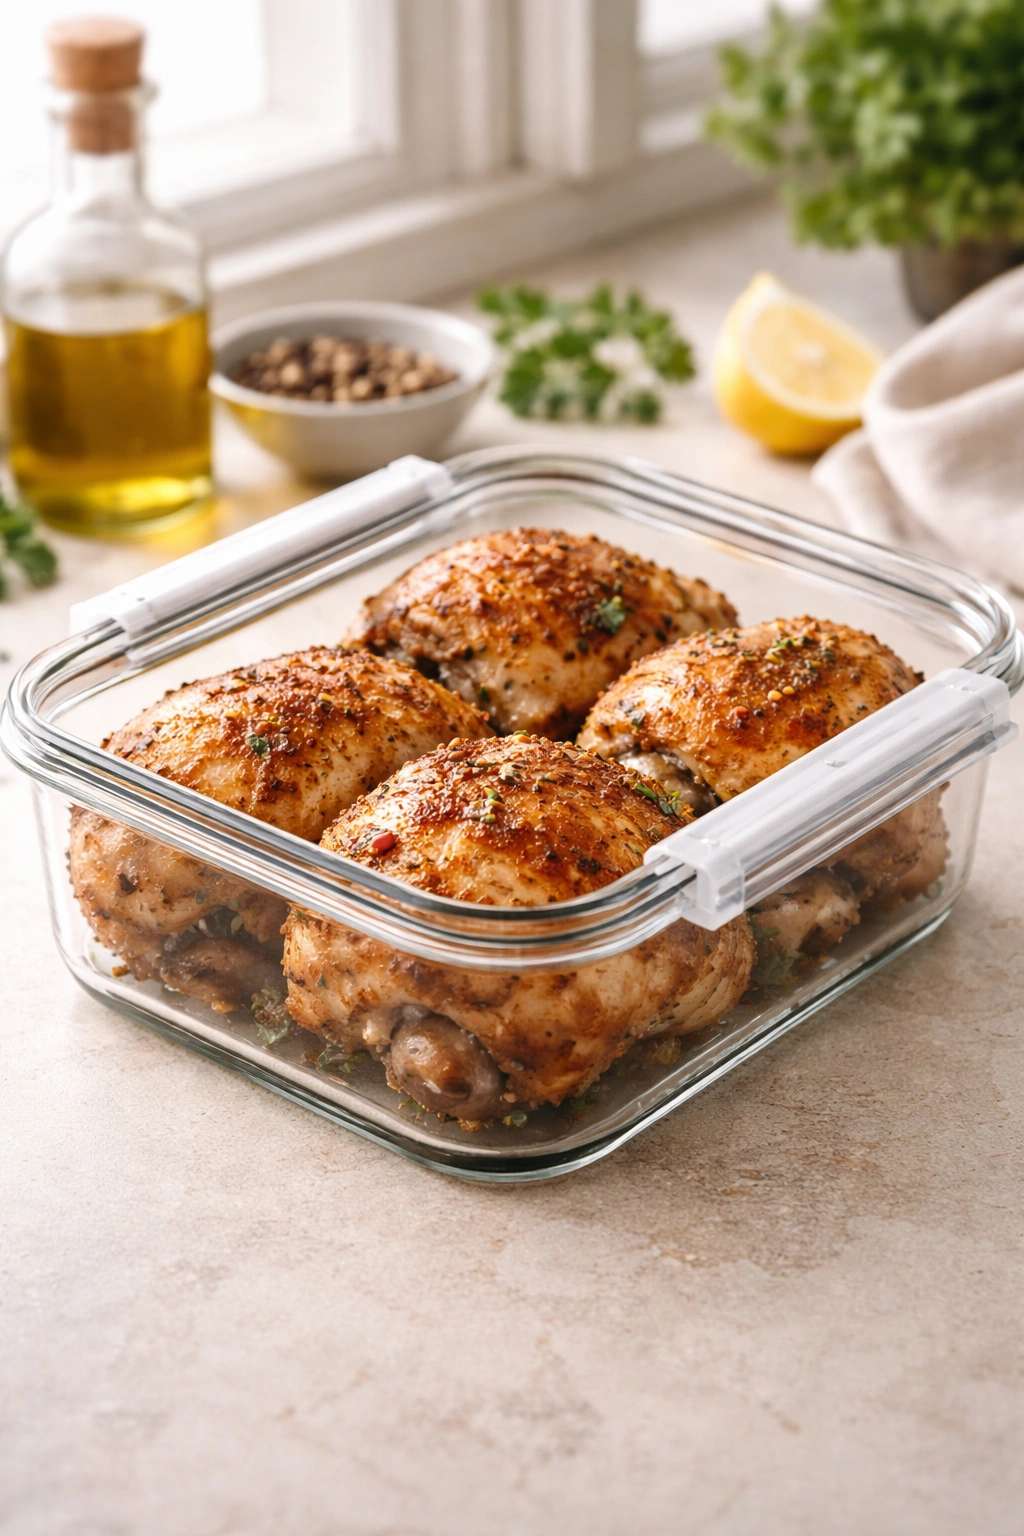
Refrigerator Storage: Leftover cooked chicken thighs keep for 3 to 4 days in an airtight container in the refrigerator. The skin will soften slightly over time, but the meat remains delicious and juicy.
Freezing: Cool the chicken thighs completely, then store them in a freezer-safe bag or airtight container for up to 3 months. For best quality, remove the meat from the bone before freezing—this saves space and makes the pieces easier to use in future recipes. Thaw overnight in the refrigerator before reheating.
Make-Ahead Preparation: You can season the chicken thighs up to one full day in advance. Pat them dry, season, cover with plastic wrap, and refrigerate until you’re ready to bake. The thighs will cook in the same amount of time, though you may need to add 2 to 3 minutes to account for them being cold.
Reheating: The oven is genuinely your best friend for reheating chicken thighs. Place them skin-side up on a baking sheet and reheat uncovered at 350°F until warmed through, about 10 to 15 minutes depending on whether the thighs are whole or you’re just warming individual pieces. Microwaving will make the skin less crispy, though it certainly works if you’re in a hurry.
Best Serving Suggestions and Pairings
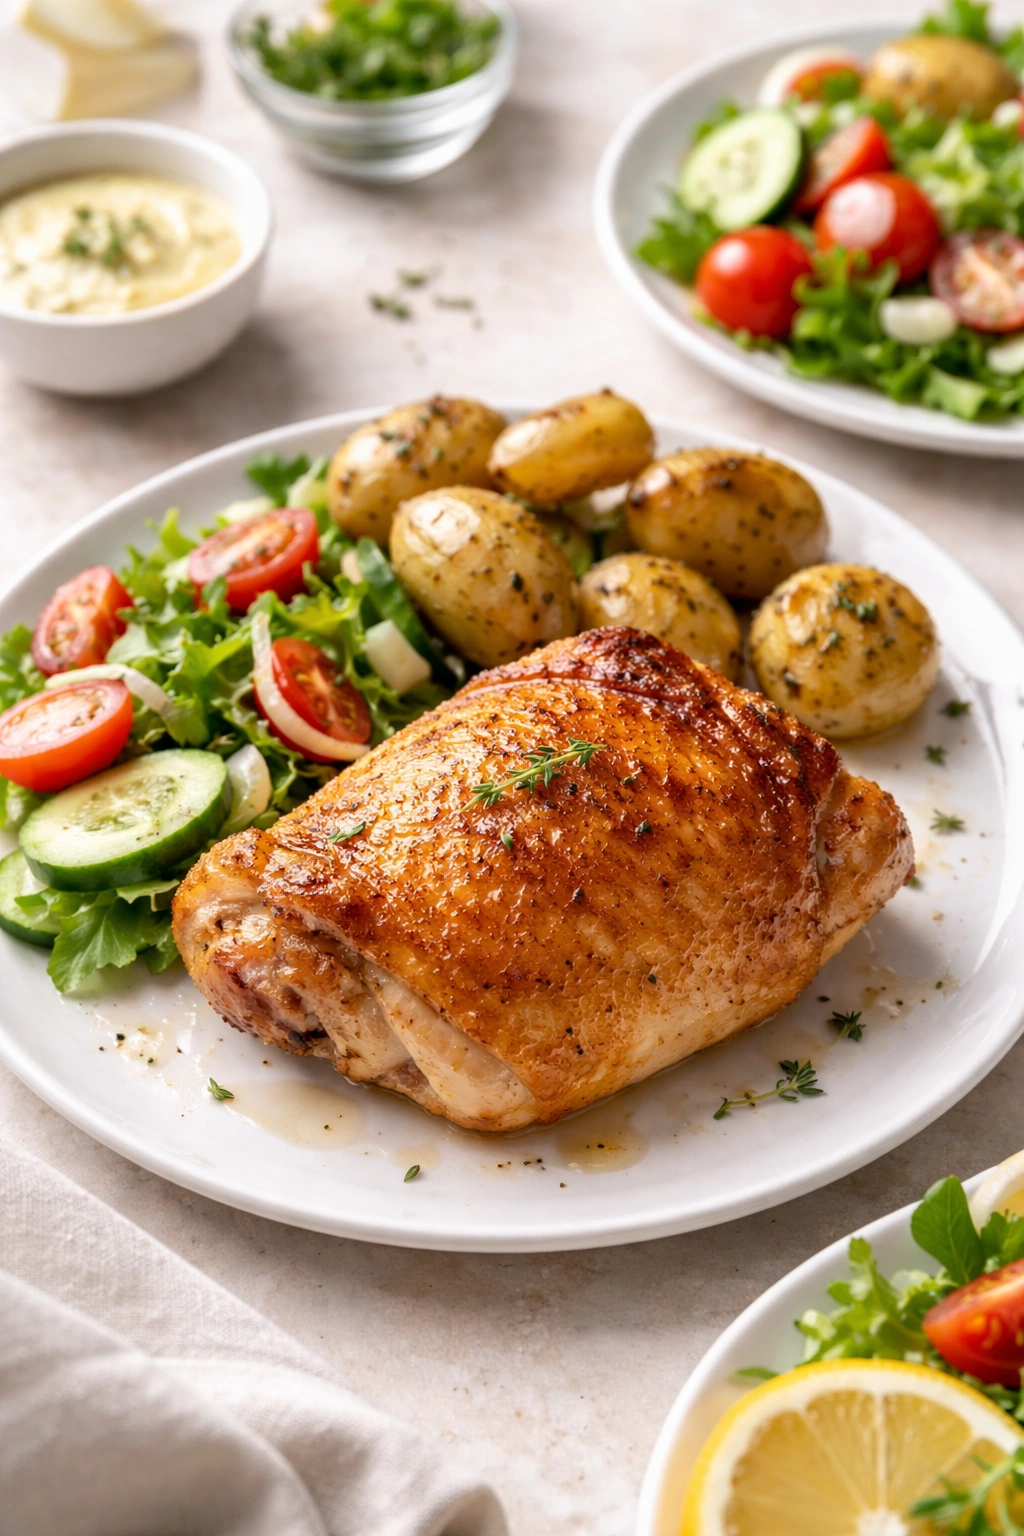
Crispy chicken thighs are genuinely versatile enough to work with almost any side dish. The rich, savory meat and flavorful skin pair beautifully with bright, acidic, or starchy components.
Roasted Vegetables: Since your oven is already at 425°F and the chicken takes about 45 minutes, you can roast vegetables on the same rack. Add hardy vegetables like carrots, potatoes, or Brussels sprouts about 15 minutes into the chicken’s cooking time so everything finishes together. Toss vegetables in the rendered chicken fat and pan juices for incredible flavor.
Salads: Shred the cooled chicken and pile it on top of a crisp green salad. The richness of the dark meat stands up beautifully to acidic dressings, vinaigrettes, or creamy ranch.
Potatoes: Serve with classic mashed potatoes, roasted potato wedges, baked potatoes, or garlic butter roasted baby potatoes. The potatoes absorb the flavorful pan juices from the chicken beautifully.
Fresh Vegetables: Simply cooked green beans, roasted asparagus, steamed broccoli, or a fresh garden salad rounds out the plate without competing with the chicken’s rich flavors.
Grains: Serve alongside rice pilaf, wild rice, couscous, or quinoa. These neutral bases allow the chicken to shine while providing textural contrast.
Bread or Starch: Cornbread, focaccia, or warm crusty bread is perfect for soaking up the flavorful pan juices.
Common Mistakes to Avoid
Starting with wet chicken is the number one reason skin doesn’t crisp. Yes, this is worth saying again. If you skip the thorough drying step, all the technique in the world won’t give you crispy skin. Pat those thighs dry until you truly think you’ve overdone it—you probably haven’t.
Crowding the pan prevents proper crisping. If your thighs are touching each other or jammed too closely together, they steam instead of roast. Those touching areas won’t crisp. Use two pans if necessary.
Opening the oven door repeatedly extends cooking time. The oven loses heat every time you open the door, which means everything takes longer. Set a timer and resist peeking until the time goes off.
Using boneless skinless thighs and expecting crispy skin. Boneless thighs are convenient and still delicious, but they typically don’t come with skin, so you won’t get that satisfying crispiness. If you want crispy skin, you must use bone-in, skin-on thighs.
Baking at too low a temperature. While you can bake chicken at 350°F, the higher temperature (400°F to 425°F) gets you better browning and crisper skin. If your oven only reaches 350°F, just add 10 to 15 minutes to the cooking time.
Forgetting to rest the chicken. That 5 to 10 minute rest after cooking allows the meat to reabsorb its juices. Cutting into it immediately will make it slightly less juicy. A little patience pays dividends.
Reheating Leftovers Perfectly

The challenge with reheating chicken is maintaining crispy skin while warming the meat through without drying anything out. The oven is genuinely your best method.
Oven Reheating: Place leftover thighs skin-side up on a baking sheet and reheat uncovered at 350°F until warmed through, about 10 to 15 minutes. The skin will re-crisp beautifully. This method preserves texture far better than any other option.
Stovetop Reheating: Place a skillet over medium heat and warm the thighs skin-side up for 3 to 5 minutes until heated through. This method also re-crisps the skin nicely while keeping the meat moist.
Microwave Reheating: While this works, it will soften the skin. If you absolutely must microwave, at least transfer the chicken to a microwave-safe plate (not a covered container, which traps steam) and reheat at 50% power to minimize texture loss.
Cold Serving: Honestly, leftover chicken thighs are delicious served straight from the fridge. The skin stays crispy, and the meat stays incredibly juicy. Shred it for salads, pile it on sandwiches, or simply eat it cold as a snack.
Final Thoughts
Crispy oven-roasted bone-in chicken thighs might be the single easiest way to prepare chicken that impresses everyone at the table. The technique requires almost no skill, the ingredient list is embarrassingly simple, and the results are consistently excellent. Unlike chicken breasts, which demand precise timing and attention to avoid drying out, thighs are forgiving and get better the more you cook them—more caramelized skin, more rendered fat, more tender meat.
Once you’ve made this recipe a handful of times, you’ll find yourself reaching for it regularly. On busy weeknights when you want something impressive but have limited time, bone-in thighs are there for you. When you’re cooking for guests and want to ensure everything turns out perfectly, thighs remove the anxiety. The dark meat impresses people who claim to dislike chicken because it tastes like actual food instead of bland protein. Serve it with your favorite sides, top it with flavorful pan drippings, and prepare for clean plates and requests for the recipe.