Easy Baked Tilapia That’s Ready in 15 Minutes
When you’re staring at the clock at 5:45 PM knowing dinner needs to be on the table by 6:30, tilapia becomes your best friend. This isn’t just another fish recipe—it’s your secret weapon for turning a weeknight panic into a victory. Tilapia bakes faster than almost any protein you can pull from the freezer, yet it tastes nothing like rushed cooking. The mild, delicate flavor means it doesn’t need much to shine, and the tender, flaky texture is pure comfort on a plate.
The real magic here is that you’re not sacrificing anything for speed. You get a dinner that looks restaurant-worthy, tastes absolutely delicious, and comes together in the time it takes to boil water. No special skills required. No exotic ingredients. Just honest, good food that actually works on a chaotic weeknight. That’s why families keep coming back to this recipe again and again—it delivers every single time, and it costs far less than takeout.
Why Tilapia Is the Perfect Quick Dinner
Tilapia has earned its reputation as the busiest cook’s best friend for solid reasons. This mild white fish has a flavor profile so gentle that it doesn’t intimidate anyone who’s nervous about cooking seafood, yet it’s versatile enough to take on bold seasonings without losing its delicate character. The texture is naturally flaky and tender, which means you can’t really go wrong even if timing isn’t perfect.
From a practical standpoint, tilapia is one of the most affordable fish options at the grocery store. You’ll find it frozen year-round in individually wrapped fillets, which means you can thaw exactly what you need in minutes and never worry about fish going bad in your fridge. Fresh tilapia is also readily available at the fish counter, and because of its mild taste, even picky eaters tend to accept it without complaint.
The real time-saver, though, is how quickly tilapia cooks. Unlike chicken breasts that need 20-25 minutes or salmon fillets that might take 15-18 minutes, tilapia reaches perfect doneness in just 10-12 minutes at a moderate oven temperature. Those thin fillets conduct heat so efficiently that you go from freezer to plate faster than you could order takeout. That’s not hyperbole—it’s genuinely the case when you keep frozen tilapia on hand.
What Makes This Recipe Foolproof
The brilliance of this baking method is that it removes the guesswork. You’re not standing over a hot stove with a spatula, worrying about whether the fish will stick or fall apart. You’re not timing something down to the second and second-guessing yourself. The oven does the work while you handle other tasks, and the fish practically can’t dry out because the butter and lemon juice keep everything moist throughout cooking.
The flavor combination is timeless for a reason. Butter, garlic, and lemon are a trio that works on virtually every white fish that exists, and they’re humble enough to let the fish itself shine through rather than overpowering it. You’re not masking anything or using tilapia as a vehicle for other flavors—this recipe celebrates what makes the fish good in the first place. That simplicity is what makes it so reliable.
What also makes this recipe foolproof is flexibility in temperature and timing. Fish is done when it flakes with a fork, and that visual cue is far more reliable than any timer. You can use a meat thermometer if you want absolute certainty (aim for 145°F at the thickest part), but honestly, the fork test is quick and works perfectly. This removes the anxiety of ending up with dry, overcooked fish.
About the Tilapia You Buy
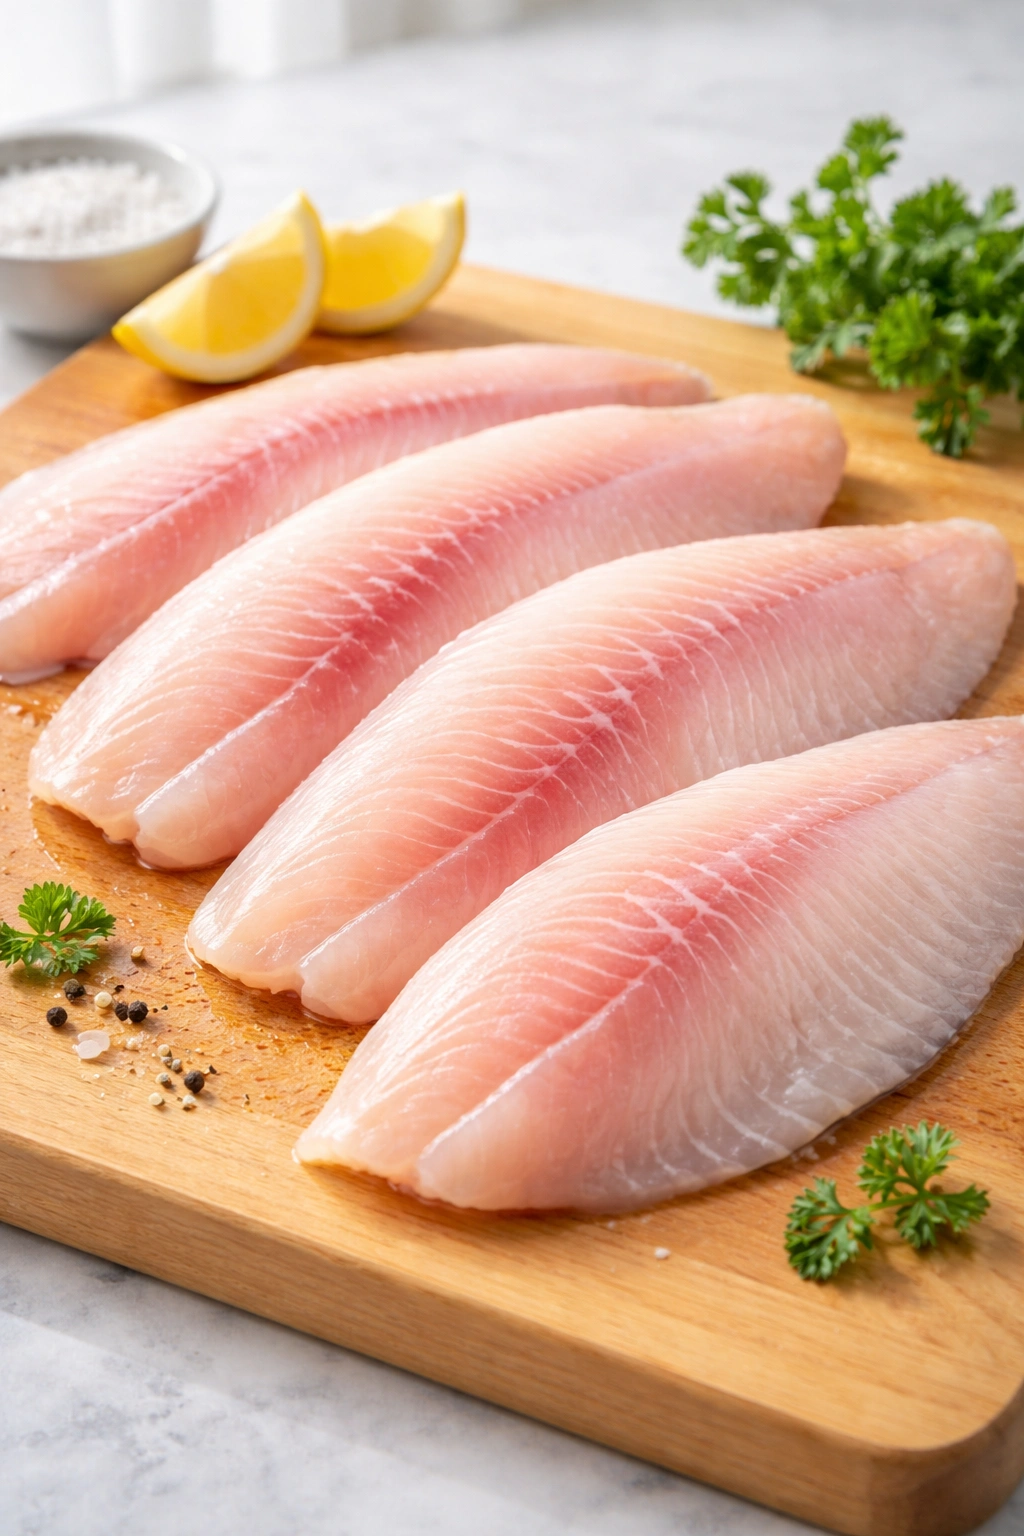
The tilapia you find at the grocery store is almost always farm-raised, and that’s perfectly fine—modern fish farming has improved dramatically, and responsibly farmed tilapia is genuinely a healthy, sustainable choice. When buying fresh tilapia at the fish counter, look for fillets that smell clean and fresh, not fishy or oceanic. The flesh should be firm and moist without any discoloration or browning at the edges.
Frozen tilapia is actually an excellent option and often just as good or better than the “fresh” fish at the counter (which has usually been frozen and thawed anyway). Look for solid, individually wrapped fillets without ice crystals in the packaging. The advantage of frozen is that it’s processed and frozen immediately after catching, which locks in quality. Just thaw it thoroughly in the refrigerator before cooking—it takes about 30 minutes in cold water if you’re in a hurry, though thawing overnight in the fridge is ideal.
Try to choose fillets that are roughly the same thickness so they cook at an even rate. If you end up with thinner pieces, you can fold the thin belly area underneath to create a more uniform thickness. This small adjustment prevents the thin parts from overcooking while the thicker parts catch up.
Yield: Serves 4
Prep Time: 10 minutes
Cook Time: 12 minutes
Total Time: 22 minutes
Difficulty: Beginner — This recipe requires no special equipment, no advanced cooking techniques, and almost nothing can go wrong. It’s genuinely one of the easiest fish recipes you can make.
Ingredients for Garlic Butter Baked Tilapia

For the Fish and Butter Base:
- 4 tilapia fillets (about 6 ounces each, roughly 1½ to 2 pounds total)
- 4 tablespoons unsalted butter
- 4 cloves fresh garlic, minced (about 2 teaspoons)
- 2 tablespoons fresh lemon juice (about ½ lemon)
- ¼ teaspoon lemon zest (optional but adds brightness)
- ½ teaspoon salt
- ¼ teaspoon ground black pepper
- ½ teaspoon smoked paprika (or regular paprika if you prefer)
For Garnish and Serving:
- 1 lemon, sliced into thin rounds
- 2 tablespoons fresh parsley, chopped (flat-leaf parsley looks nicer, but any fresh parsley works)
- Optional: red pepper flakes for a hint of heat
How to Bake Tilapia to Flaky Perfection
Prepare Your Oven and Pan:
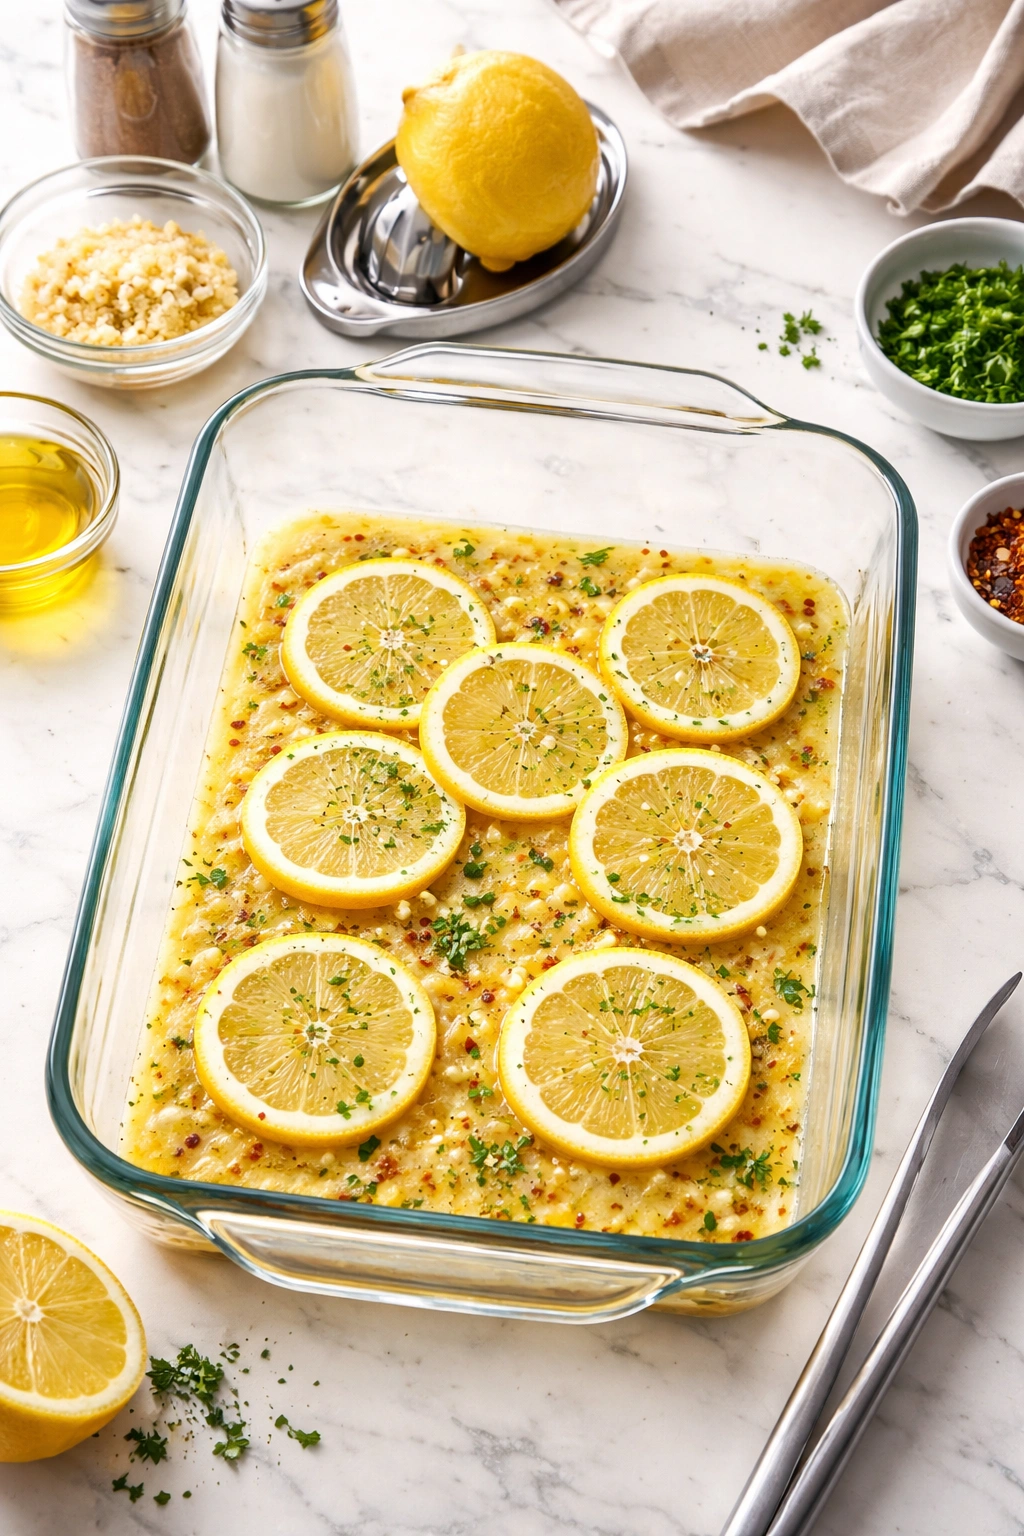
Start by preheating your oven to 400°F, positioning the rack in the center. While it heats, prepare a 9×13-inch baking dish or a large rimmed baking sheet. If you want effortless cleanup, line it with aluminum foil or parchment paper—this is my personal favorite step because it means zero scrubbing afterward.
Place the butter, minced garlic, lemon juice, and lemon zest into your prepared baking dish. You’re going to let the butter melt in the oven as it preheats, which saves you a step and creates a perfectly infused garlic butter right where you need it.
Season and Arrange the Fish:
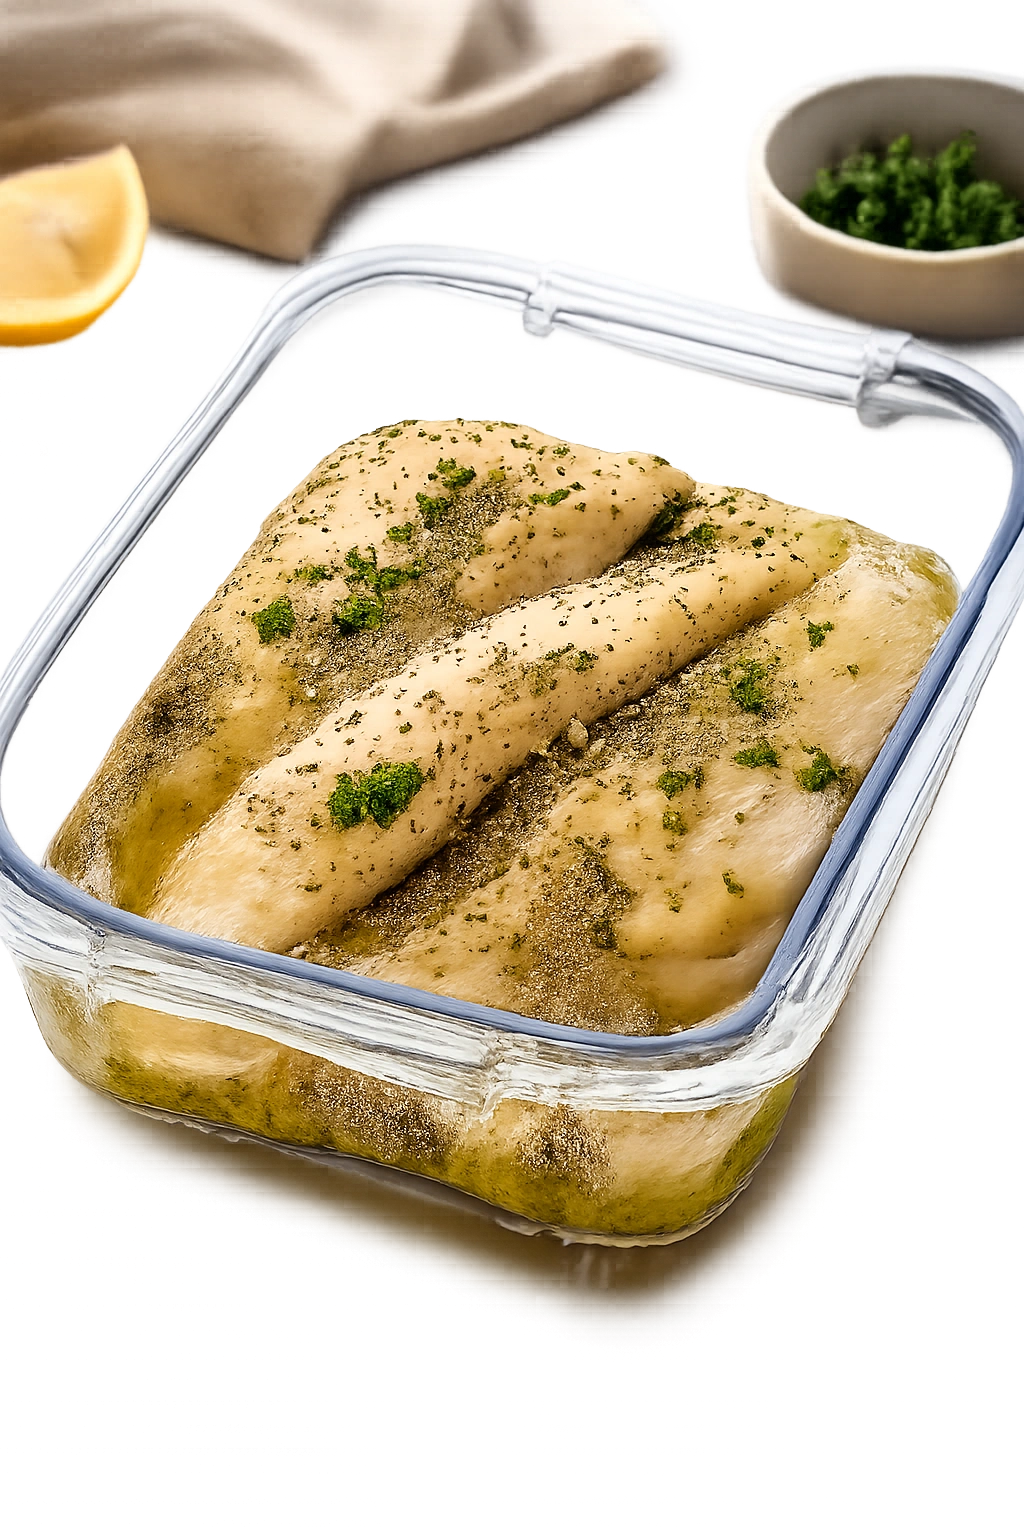
Once the oven reaches temperature and the butter has melted, carefully remove the baking dish. Pat the tilapia fillets dry with a paper towel—this isn’t strictly necessary, but it helps them brown slightly better and cook more evenly. Excess moisture prevents browning.
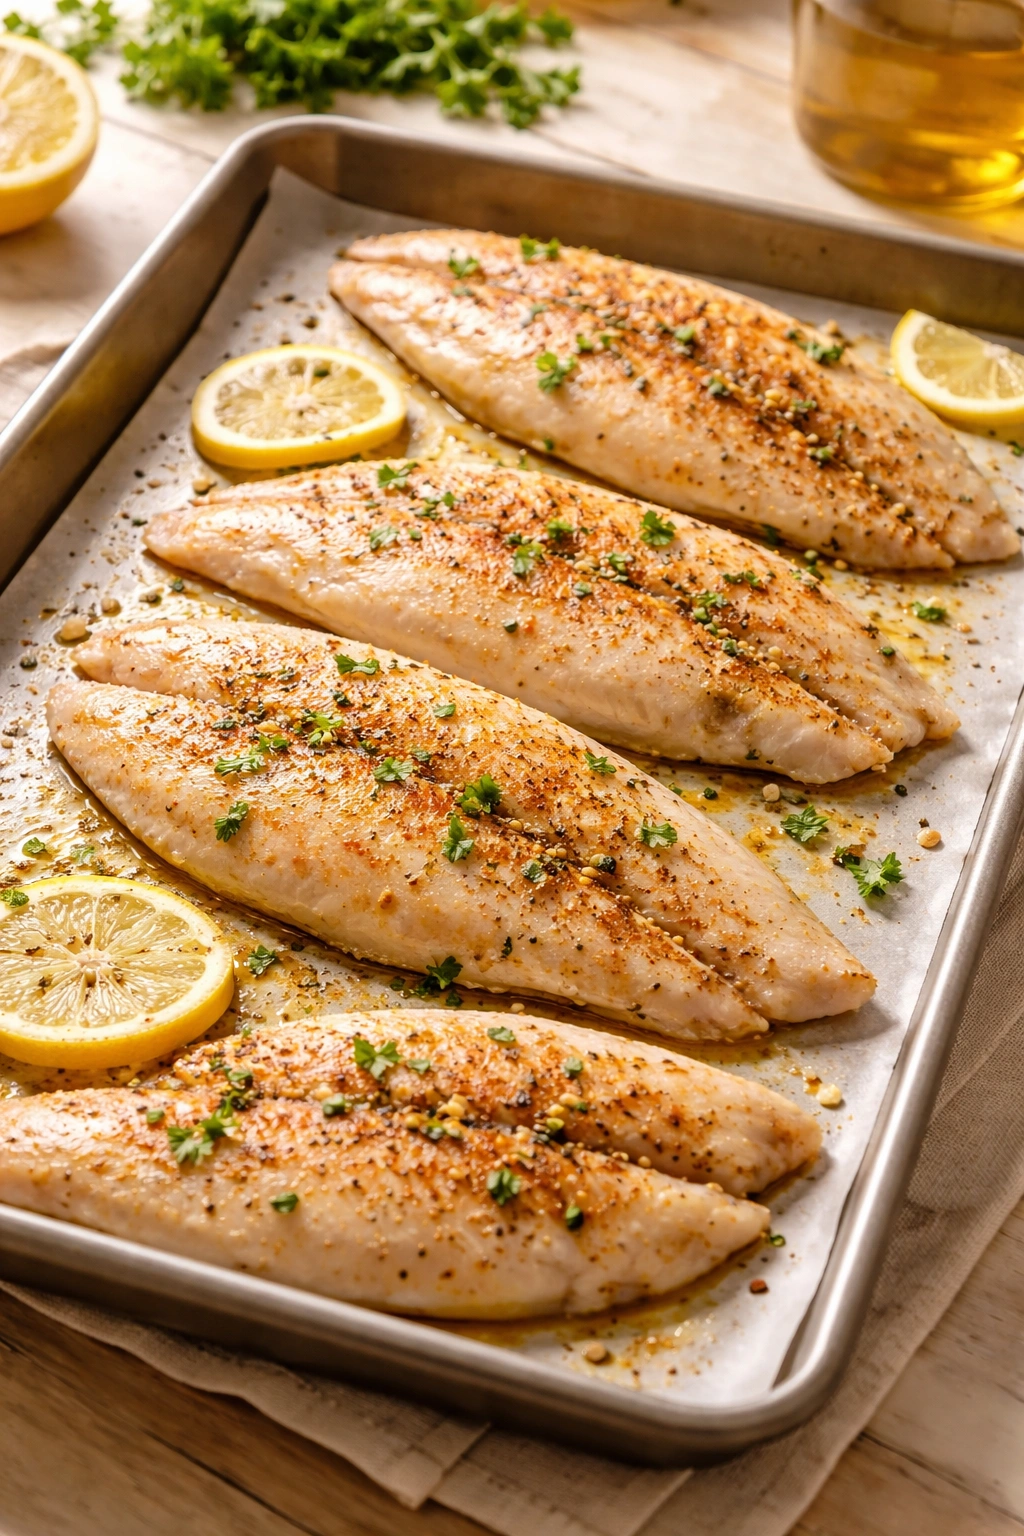
Lay the fillets directly into the melted garlic butter, arranging them in a single layer without overlapping. Season the top side generously with salt, pepper, and paprika. Flip each fillet over gently and season the other side with the same seasonings. Don’t be timid with the salt here—tilapia is mild enough that it needs a proper amount of seasoning to taste its best.
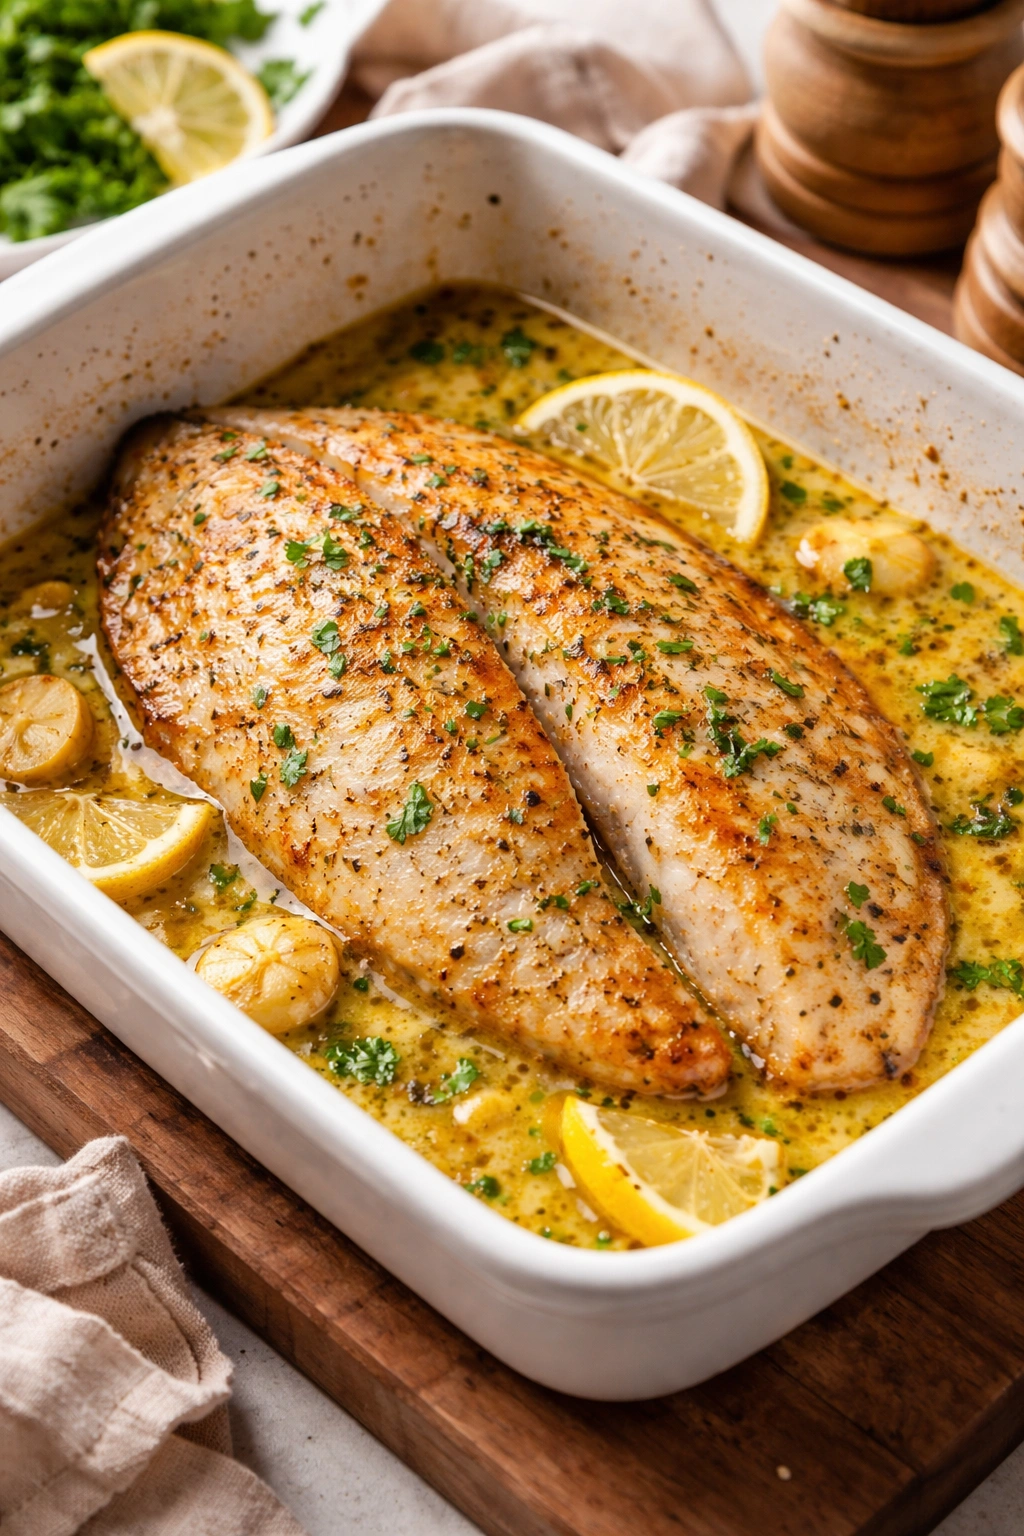
Arrange 3-4 lemon slices on top of each fillet. These will caramelize slightly in the oven and infuse the fish with bright lemon flavor as it bakes.
Bake Without Fussing:
Slide the baking dish into the preheated oven. Set a timer for 10 minutes and then don’t touch it. Resist the urge to poke at it or flip the fish. One of the greatest advantages of baking is that it’s hands-off cooking. The gentle, even heat surrounds the fish and cooks it beautifully from all sides.
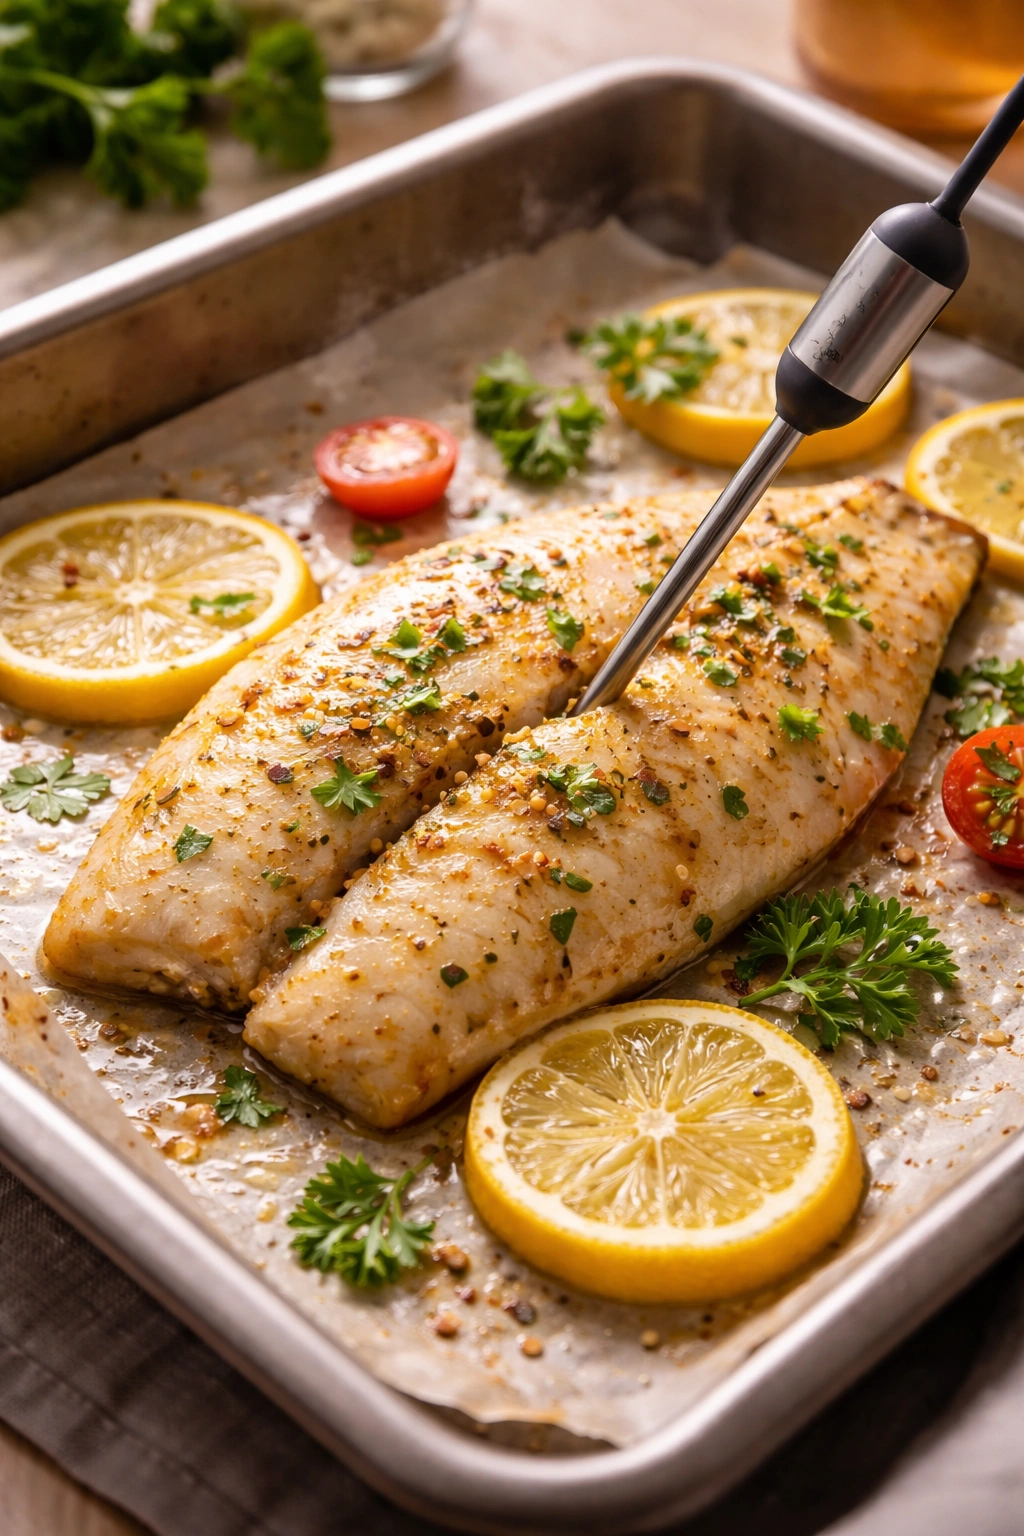
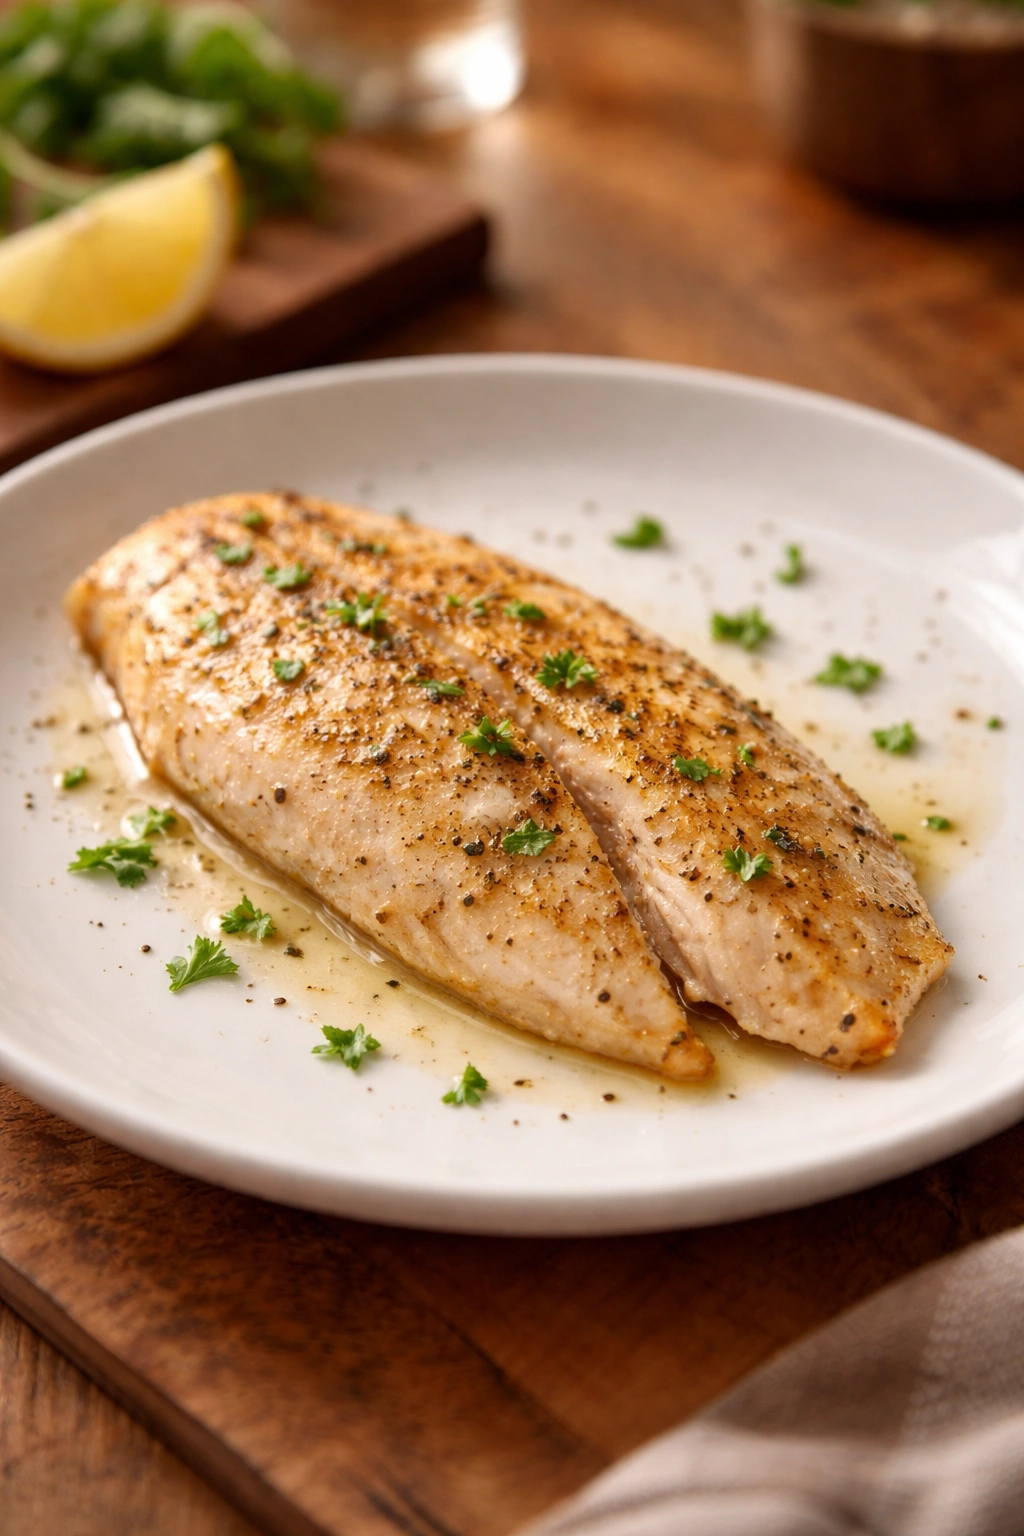
At the 10-minute mark, check for doneness. The fillets should be opaque and white throughout, not translucent. Press the thickest part gently with a fork—if it flakes easily and separates cleanly, it’s done. If it still looks slightly translucent or resists flaking, give it another minute or two. Tilapia is thin enough that 1-2 minutes makes a real difference, so don’t step away completely during the last few minutes.
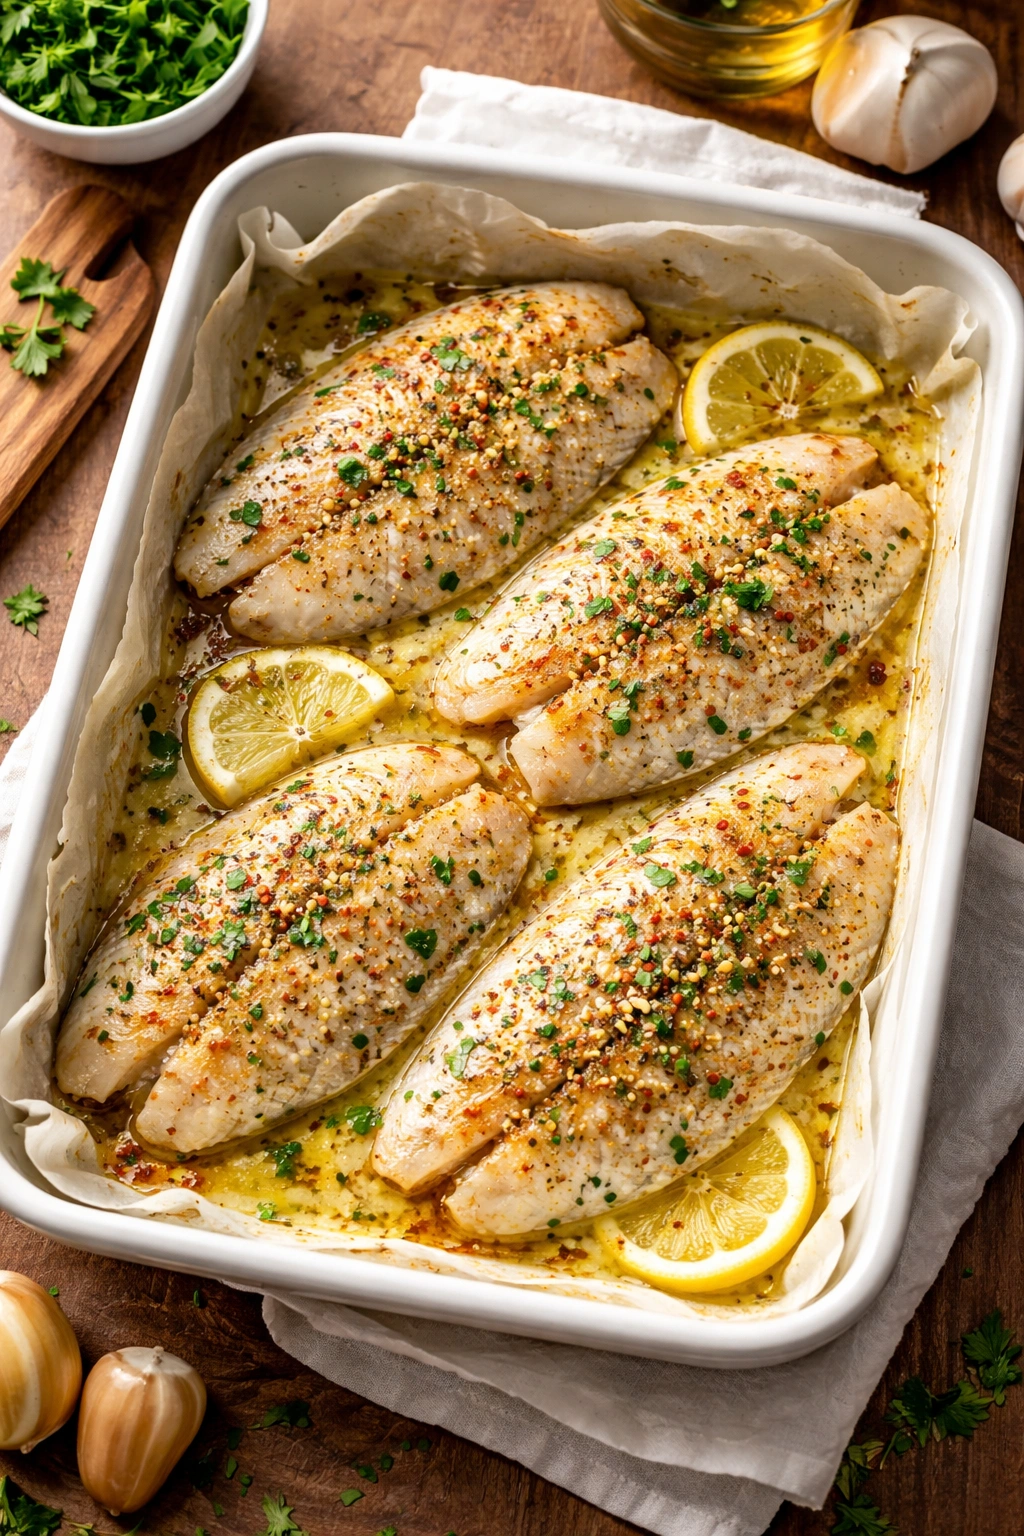
Finish and Serve:
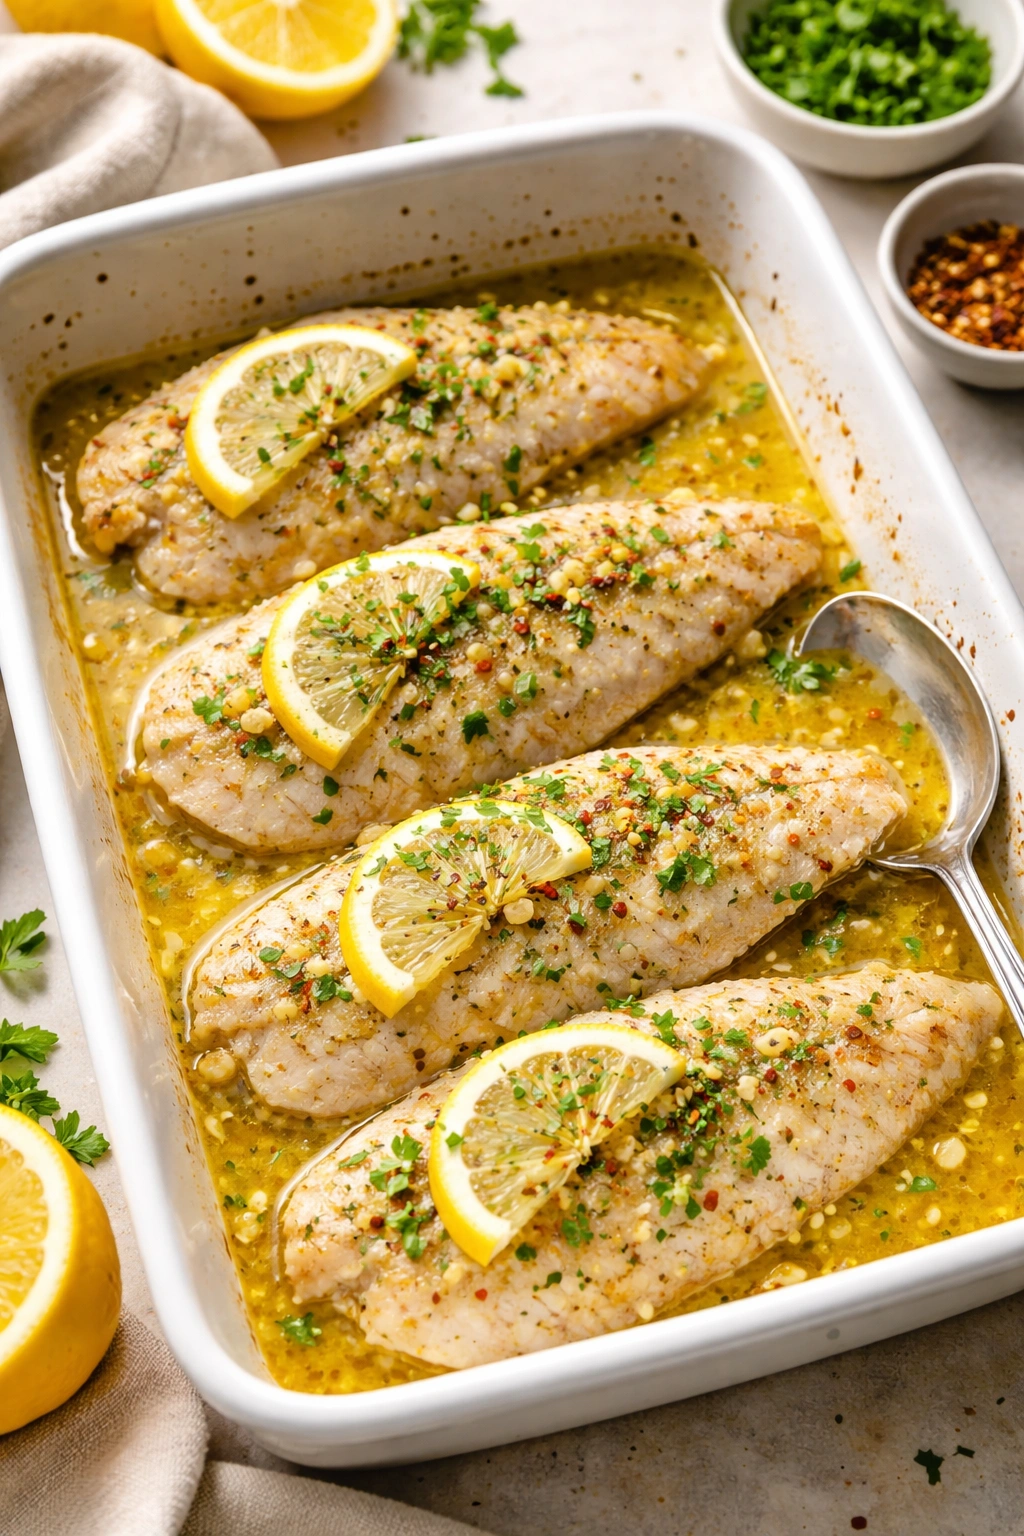
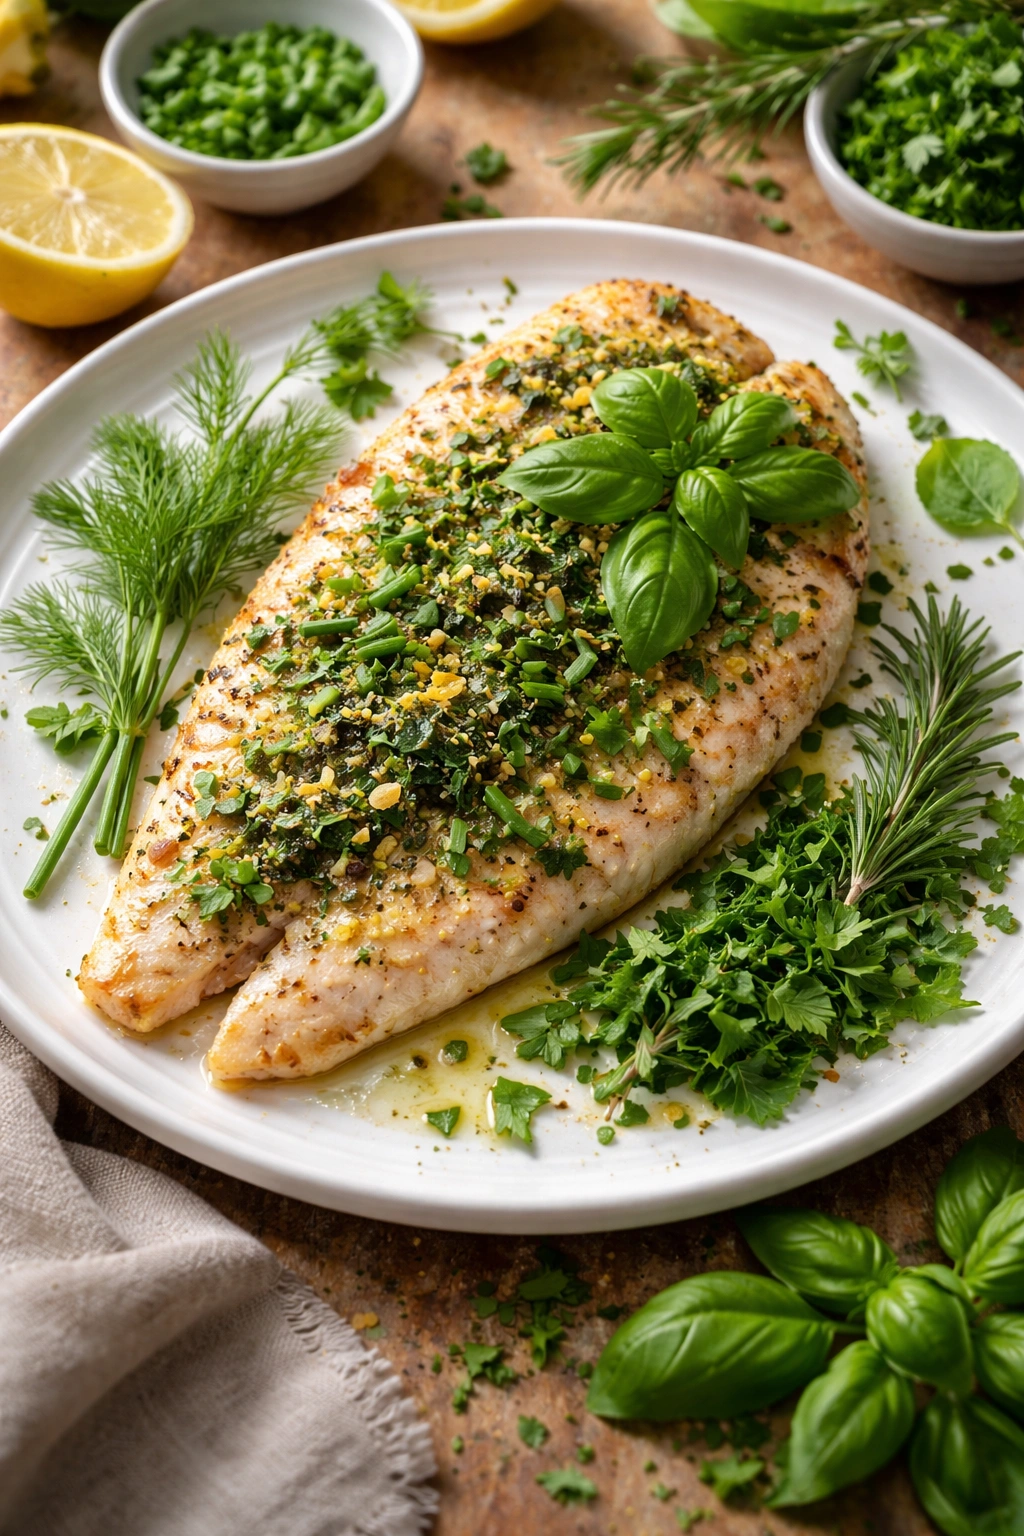
Remove from the oven and immediately sprinkle with fresh chopped parsley. If you want a beautiful presentation, arrange those caramelized lemon slices that were on top around the plate, or squeeze their juice over the fish for extra tartness. The garlic butter in the pan is precious—spoon some over each fillet and onto your plate to enjoy with sides.
Serve immediately while everything is hot and the butter is still melted. The tilapia won’t stay hot for long on its own, and part of the appeal is enjoying it fresh from the oven.
Pro Tips to Never Overcook Your Fish
The single biggest mistake people make with fish is overcooking it, and with tilapia’s thin fillets, it happens in seconds. The difference between perfectly cooked and dry is genuinely about one minute. Here’s how to nail it consistently.
Use a meat thermometer if you want absolute certainty. Insert it sideways into the thickest part of the fillet without touching the pan, and pull it out as soon as it reads 145°F. This temperature is just right—the fish is fully cooked and safe, but still moist and tender. A digital instant-read thermometer takes all the guesswork out and pays for itself on the first time you use it successfully.
If you’re using the fork test (which is perfectly valid), look for the moment when the fish turns from translucent to opaque white. Translucent means it’s still raw in the center. Opaque white means it’s cooked through. That transition happens fast. The fork should meet some resistance and then the flesh should separate into flakes without tearing. If it falls apart into mushy pieces, it’s overcooked. If it still clings together and looks slightly glossy inside, it needs another minute.
Start checking at 10 minutes consistently. Tilapia fillets of similar thickness will almost always be done right around that mark, but ovens vary and fillet thickness varies. Getting in the habit of checking at 10 minutes means you’ll rarely miss the perfect window.
Bring tilapia to room temperature before baking if possible, especially if it’s been in the freezer. Cold fish takes longer to cook and is more likely to be overcooked on the outside before the center catches up. Simply remove it from the fridge 10 minutes before cooking—that’s usually all the time you need.
Don’t skip drying the fillets before they go into the pan. Moisture prevents browning and heat conduction, which can lead to uneven cooking. A quick pat with a paper towel makes a noticeable difference in how evenly everything cooks.
Flavor Variations to Keep Dinner Exciting
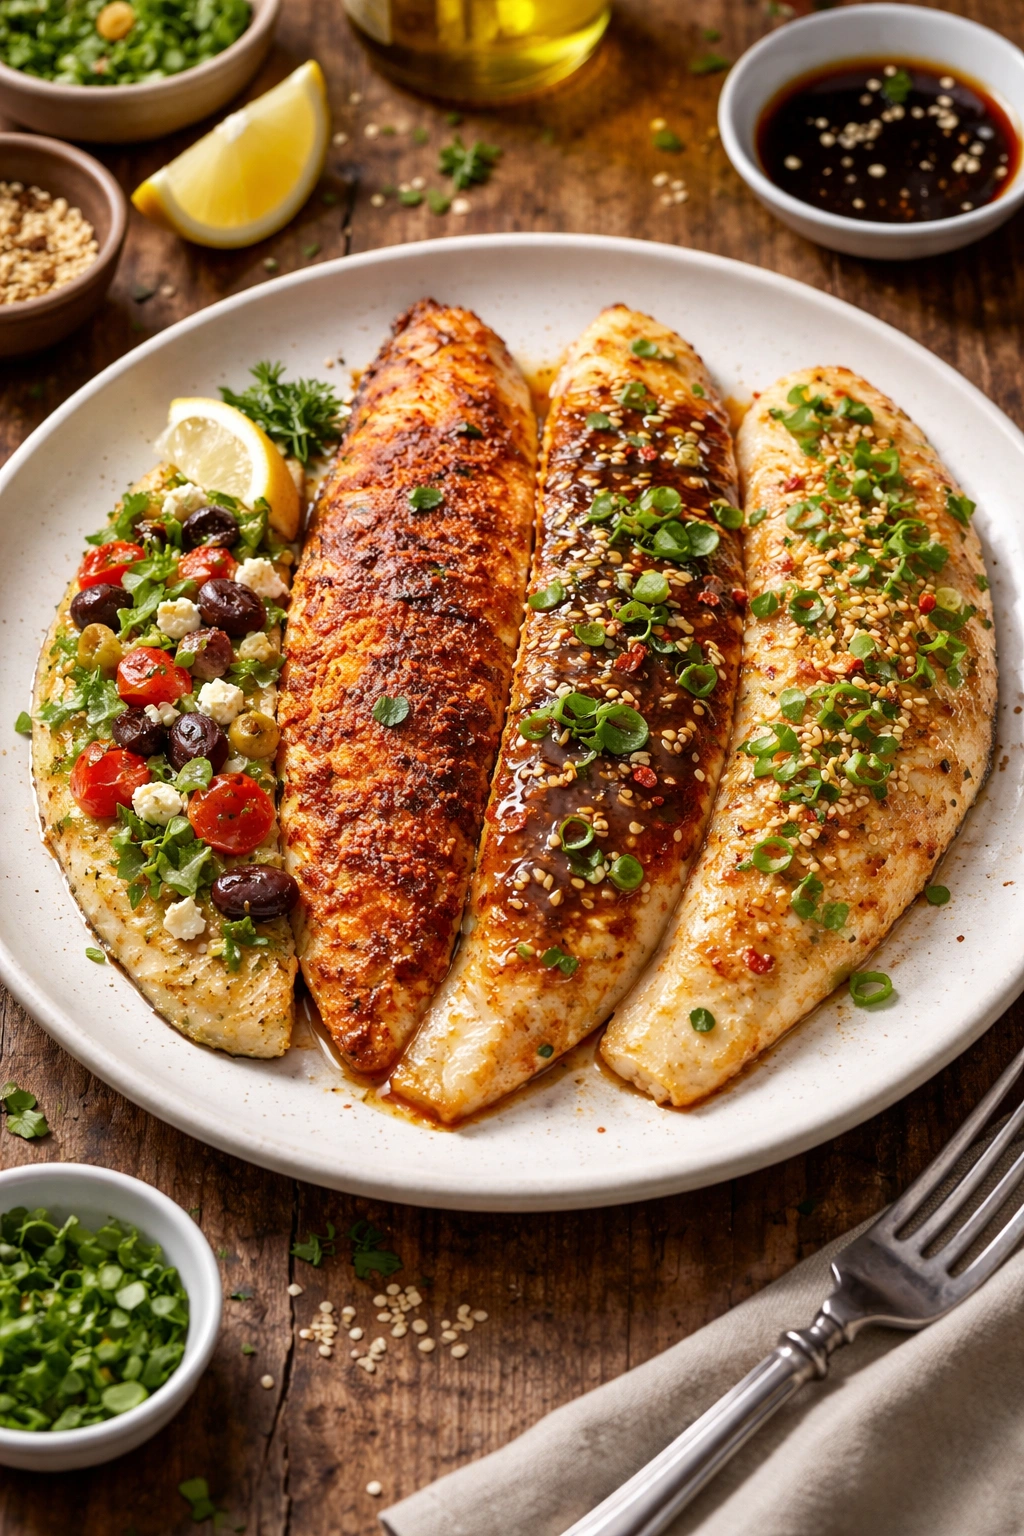
One of the beautiful things about tilapia is how well it accepts different flavor profiles. You can make this recipe five different ways without it ever feeling repetitive. The basic technique stays the same—only the seasonings change.
Mediterranean Version: Skip the garlic butter and instead melt 3 tablespoons of olive oil with 2 minced garlic cloves. Add 1 teaspoon dried oregano, ½ teaspoon dried thyme, and the lemon juice. Season the fillets and bake as directed. Before serving, top with diced fresh tomatoes, pitted Kalamata olives, and crumbled feta cheese. Add a handful of fresh basil if you have it.
Cajun Kick: Replace the paprika with 1 tablespoon of Cajun seasoning rubbed onto both sides of the fillets. Use lime juice instead of lemon. Proceed with the butter and garlic as written. This version is spicy, smoky, and absolutely delicious served with rice or corn.
Asian-Inspired: Use lime juice instead of lemon. Add 1 teaspoon of fresh ginger (minced) and 1 teaspoon of low-sodium soy sauce to the butter mixture. Top fillets with 1 tablespoon of sesame seeds before baking. Garnish with sliced green onions instead of parsley. Serve with steamed bok choy and rice.
Italian Herb: Keep the lemon and garlic but add 1 teaspoon of Italian seasoning (or a combination of dried basil, oregano, and thyme). After baking, top each fillet with fresh mozzarella and a few slices of fresh tomato. Broil for 2-3 minutes until the cheese melts slightly. Finish with fresh basil.
Blackened Style: Skip the butter sauce. Instead, mix together 1½ teaspoons of paprika, ½ teaspoon of cayenne, ½ teaspoon of garlic powder, ½ teaspoon of onion powder, ½ teaspoon of dried oregano, ½ teaspoon of dried thyme, and salt and pepper to taste. Rub this mixture all over both sides of the fillets. Melt 2 tablespoons of butter in a cast iron skillet over medium-high heat, sear the fillets for 2-3 minutes per side until a dark crust forms, then finish in the oven for 5-7 minutes. This creates a beautiful, flavorful crust.
Parmesan Crust: Proceed with the basic recipe but instead of just seasoning with paprika, mix together ¼ cup panko breadcrumbs, ¼ cup grated Parmesan cheese, 1 minced garlic clove, ½ teaspoon paprika, and 2 tablespoons melted butter. Press this mixture firmly onto the top of each fillet before baking. The crust gets golden and crispy while the fish underneath stays moist and tender.
Make-Ahead Options for Even Faster Dinners
If you want to shave even more time off on busy nights, you can prepare this dish ahead to the point where you just slide it into the oven. The night before, assemble everything in your baking dish except the fish itself: melt the butter (it will solidify in the fridge, which is fine), mince your garlic, squeeze your lemon juice, and arrange your lemon slices. Cover tightly with plastic wrap and refrigerate.
The next evening, simply lay the tilapia fillets into the prepared dish, season them, and bake as directed. The only caveat is that cold fish takes about 2-3 minutes longer to cook, so check for doneness at around 12-13 minutes instead of 10. Everything tastes exactly the same, but you’ve eliminated half the evening prep.
You can also freeze the entire assembled dish (minus the fish) in a freezer-safe baking dish. Thaw it in the refrigerator the morning of, then add the fish and bake that evening. This works beautifully for meal planning—you can prepare several dishes on Sunday and have them ready to go during the week.
Another hack: buy individually vacuum-sealed frozen tilapia fillets and keep them stocked. Thaw them in a bowl of cold water while you prepare the rest of the meal. By the time your garlic butter is ready, your fish is ready to go into the pan. This cuts your total time down to genuinely 15 minutes from start to plate.
The Best Sides to Complete Your Meal
Baked tilapia is mild enough to pair with almost anything, which is wonderful for flexibility but sometimes paralyzing when you’re trying to decide what else to make. Here’s a game plan for different dinner moods.
For a Light, Fresh Meal: Pair tilapia with a crisp green salad and crusty bread for soaking up the garlic butter. A simple arugula salad with lemon vinaigrette is particularly nice, or a classic Caesar. The brightness of the salad complements the richness of the butter perfectly. Add some roasted asparagus or green beans on the side for a vegetable component without feeling heavy.
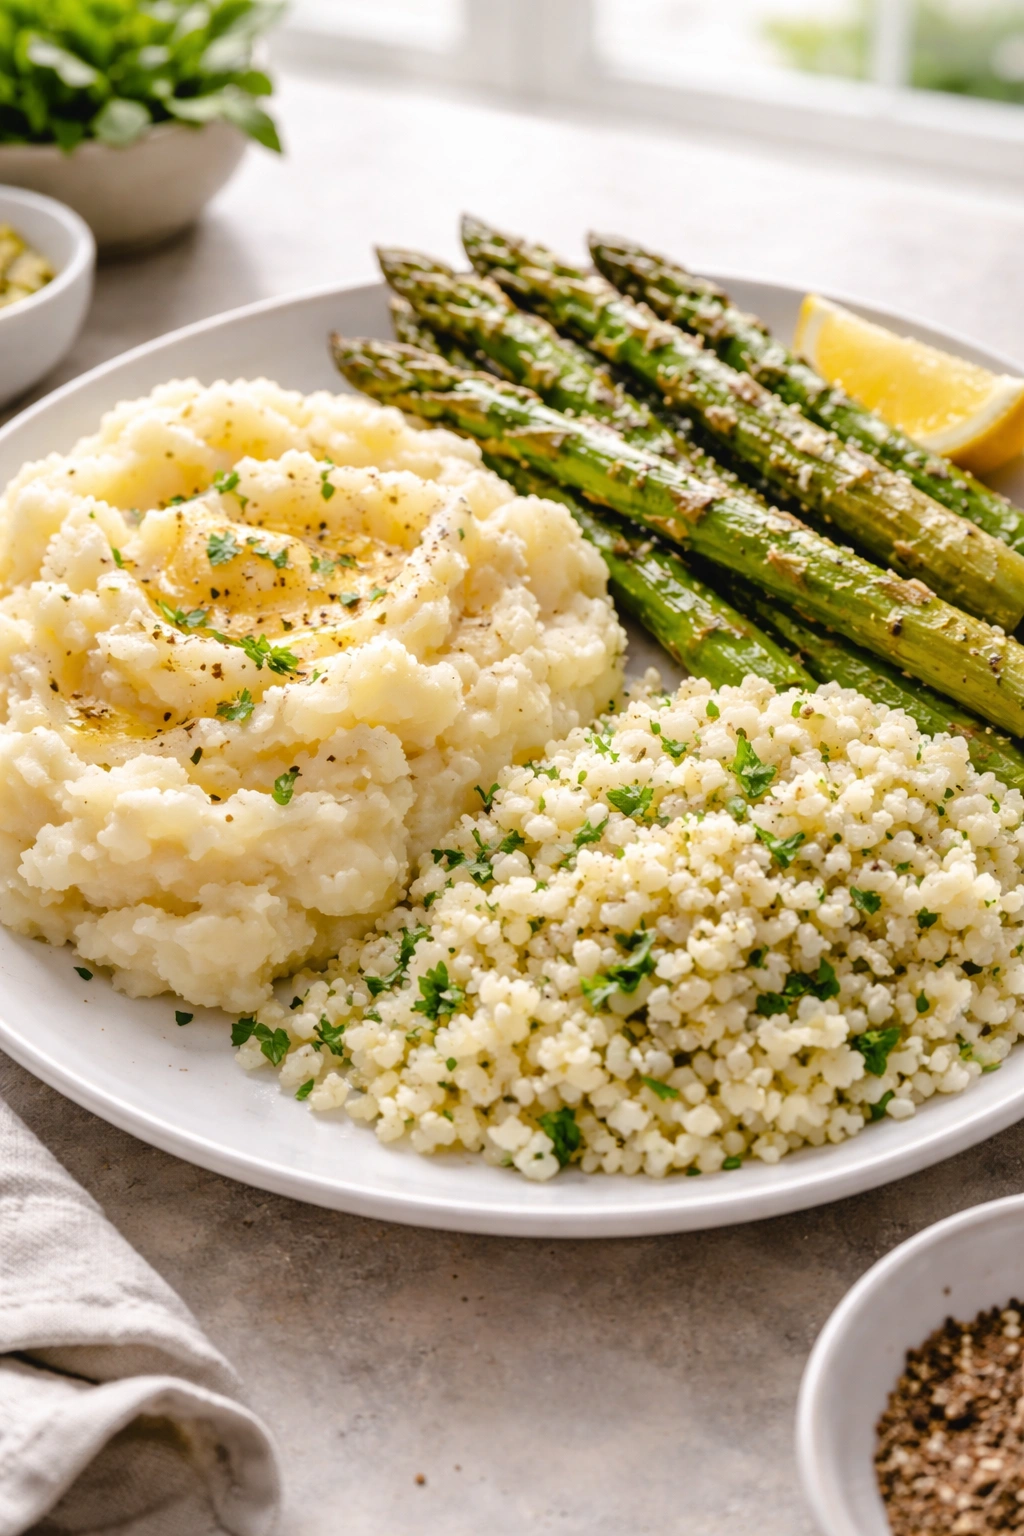
For Something Hearty: Mashed potatoes or creamy cauliflower mash are comfort food classics that work beautifully with the delicate fish. The buttery sauce from the fish can be spooned over the potatoes for extra flavor. Alternatively, crispy smashed or roasted potatoes satisfy that starch craving without being too much.
For a Lighter Carb Option: Cauliflower rice, regular white or brown rice, or even quinoa all work wonderfully. The garlic butter sauce tossed with rice is absolutely delicious. If you go the rice route, squeeze some fresh lemon juice into it while it’s still hot and stir in some fresh herbs for dimension.
For a Complete One-Pan Meal: Arrange tilapia in the center of your baking dish and surround it with vegetables that roast at the same temperature and time. Small broccoli florets, diced zucchini, cherry tomatoes, and red onions all work beautifully. Toss the vegetables with a bit of olive oil and season them separately from the fish (so they get seasoned with salt and pepper and maybe garlic powder instead of the fish seasonings). Everything finishes at once, minimizing dishes.
Vegetable Sides That Work Particularly Well:
- Roasted Brussels sprouts (toss with olive oil, salt, and pepper; roast at 400°F for 15-20 minutes)
- Steamed or roasted broccoli
- Sautéed spinach with garlic
- Grilled or roasted zucchini
- Roasted green beans
- Roasted cauliflower
- Sautéed mushrooms
- Steamed carrots
The beauty of pairing is that you don’t need to overthink it. Pick a vegetable you love, a starch if you want one, and call it dinner. The tilapia is flavorful enough to carry the meal, but humble enough not to demand anything specific alongside it.
Storage and Reheating Without Drying Out
Tilapia is genuinely best eaten the same day you cook it, while it’s fresh from the oven and the fish is still at its most moist and tender. That said, leftovers do keep and can be delicious if you store and reheat them properly.
Let cooked tilapia cool to room temperature, then transfer it to an airtight container with a tight-fitting lid. The garlic butter can go right in the container with it—don’t drain it away. Refrigerate immediately and use within three days. The butter helps preserve the fish and keeps it moist during storage.
To reheat, gently warm the tilapia in a 350°F oven on a baking sheet loosely covered with foil for 8-10 minutes. The foil prevents it from drying out further while the oven gently warms everything through. Alternatively, you can reheat it in a skillet over medium-low heat with a splash of water or a small pat of butter, covered, for 3-5 minutes. A microwave is quickest but can make the texture slightly mushier—use 30-second blasts at 50% power if you go that route, checking after each interval.
Freezing is also an option, though texture does change slightly. Cool the tilapia completely, place it in a freezer-safe airtight container with the garlic butter, label it with the date, and freeze for up to one month. Thaw in the refrigerator overnight before reheating using the oven method above. The texture won’t be quite as delicate as fresh, but it’s still perfectly acceptable and tastes good.
Honestly, the best approach is to make only what you’ll eat fresh. Tilapia cooks so quickly that you can have dinner on the table in the time it takes to reheat leftovers anyway. If you do end up with extra, turn it into tacos with cabbage slaw and lime crema, or flake it into a fresh green salad for lunch the next day—those applications work beautifully with leftover tilapia.
Seasonal Adaptations You’ll Love
The genius of this recipe is that you can adapt it to whatever produce is fresh and affordable in your area throughout the year, keeping your dinner rotation interesting without learning complicated new recipes.
During Warmer Months: Lean into fresh herbs and citrus. Use lime instead of lemon, add fresh cilantro for garnish, and toss with zucchini noodles or serve alongside a bright tomato and cucumber salad. Add a pinch of red pepper flakes for brightness. The flavors feel light and refreshing when the weather is warm.
During Colder Months: Keep the lemon but add warming spices like smoked paprika, cayenne pepper, or a pinch of cumin. Pair with hearty sides like creamy mashed cauliflower or roasted root vegetables. The same basic fish feels more substantial and comforting when the season changes.
Spring: Use fresh herbs aggressively. Add tarragon, chervil, or fresh dill to the butter. Pair with fresh spring vegetables like asparagus and peas. Use the brightest, most fragrant lemon you can find—spring lemons have an incredible flavor.
Summer: This is herb peak season. Use fresh basil, oregano, and thyme to change up the flavor profile. Pair with corn, zucchini, and heirloom tomatoes. You can even grill tilapia on foil packets during summer if you want to avoid heating up the kitchen.
Fall: Add dried herbs like rosemary and thyme. Use sage if you have it. Pair with roasted root vegetables like carrots, parsnips, and Brussels sprouts. A touch of apple cider vinegar in place of some of the lemon juice adds autumnal flavor.
Winter: Embrace rich, savory seasonings. Add paprika, garlic, and a touch of oregano. Pair with creamy sides and roasted vegetables. This is when the recipe feels most like comfort food rather than something light and fresh.
Common Mistakes and How to Avoid Them
Using Butter That’s Too Cold: If you skip melting the butter in the oven ahead of time and instead pour cold butter over the fish, the tilapia will start cooking before the butter has a chance to distribute and get hot. The fish nearest the hot pan will overcook before the cold spots catch up. Always melt your butter first, either in the oven as it preheats or in a small bowl in the microwave.
Overcrowding the Pan: If your fillets overlap in the pan, they won’t cook evenly. The overlapping parts will steam instead of baking, and you’ll end up with uneven texture. Arrange them in a single layer with a little space between each fillet if possible. If you’re cooking for more than four people, use two baking dishes.
Not Drying the Fish: Moisture is the enemy of even cooking and browning. A quick pat with a paper towel makes a real difference in how well the fish cooks and how nicely it browns. This is a genuinely worthwhile step, not something to skip.
Believing You Need to Flip the Fish: You don’t. One of the joys of baking fish is that you don’t flip it. The bottom cooks gently against the pan, and the top cooks via the oven heat. Flipping is unnecessary and risks breaking delicate fillets apart.
Using Bottled Lemon Juice: Fresh lemon juice makes a noticeable difference in brightness and flavor. Bottled juice tastes flat by comparison. Squeeze it fresh—it takes 30 seconds and genuinely improves the final dish.
Cooking Fish Straight from the Freezer: Cold fish takes longer and is more likely to be overcooked on the outside before the inside catches up. Thaw it first, even if just for 10-15 minutes at room temperature. This one change improves results dramatically.
Buying Pre-Packaged “Fresh” Fish That Smells Fishy: That strong fish smell is not normal and indicates age or improper storage. Fresh fish should smell clean and mild, almost like ocean water. If it reeks, skip it. Properly stored frozen fish is often fresher and will taste better.
Not Seasoning Adequately: Tilapia is mild, and mild fish need proper seasoning to taste interesting. Don’t be timid with salt and pepper. Use the amounts specified—they’re there for a reason. You can always add more salt at the table, but you can’t remove it if you overdo it.
Final Thoughts
This baked tilapia recipe works because it doesn’t try to be complicated. It respects what tilapia is—a quick-cooking, mild white fish that shines when paired with simple, bright flavors—and works with those qualities instead of against them. You’re not fighting the ingredient or the clock. You’re working together with both.
The 15-minute timeline is real and achievable. From the moment you preheat the oven to the moment you’re sitting down with a plate of tender, flaky fish and garlic butter, you’re looking at genuinely 15-20 minutes of total time. That’s faster than most delivery options and infinitely better than anything you’d get from a restaurant at that speed.
Keep frozen tilapia stocked in your freezer and garlic in your pantry, and you’ve always got emergency dinner covered. This recipe has saved countless weeknight dinners, delivered hot food to families with packed schedules, and proved to nervous cooks that fish isn’t actually intimidating. It’s just tilapia—humble, reliable, and ready whenever you need it.