The best gifts often come from a place of genuine thought rather than expense. When you hand someone a jar of homemade spiced honey or a box of dark chocolate truffles you made yourself, you’re offering something no store shelf can match — proof that you spent time thinking about them. The surprising truth is that many of the most impressive homemade food gifts require almost no special skills, expensive equipment, or advanced baking knowledge.
Here’s what makes homemade food gifts so compelling: they feel luxurious, they taste better than mass-produced alternatives, they work for nearly any dietary preference when you choose wisely, and most importantly, they’re genuinely easier to make than people assume. You don’t need to be a pastry chef or have a professional kitchen. A basic pantry, a few clear jars, and a couple of hours is often all it takes to create something memorable. Whether you’re shopping for coworkers during the holidays, bringing something to a dinner party, or thinking ahead to teacher gifts, the options are endless and almost all of them are simpler than you’d expect.
The best part? Making these gifts at home often costs a fraction of what you’d spend buying comparable items, which means you can make more of them without breaking your budget. You control every ingredient, so you can skip the preservatives, dial in the sweetness level, and avoid allergens that might affect your recipients. Let’s walk through the easiest homemade food gifts that always impress, starting with options that literally require zero cooking skills.
Infused Oils and Vinegars That Look Fancy and Taste Incredible
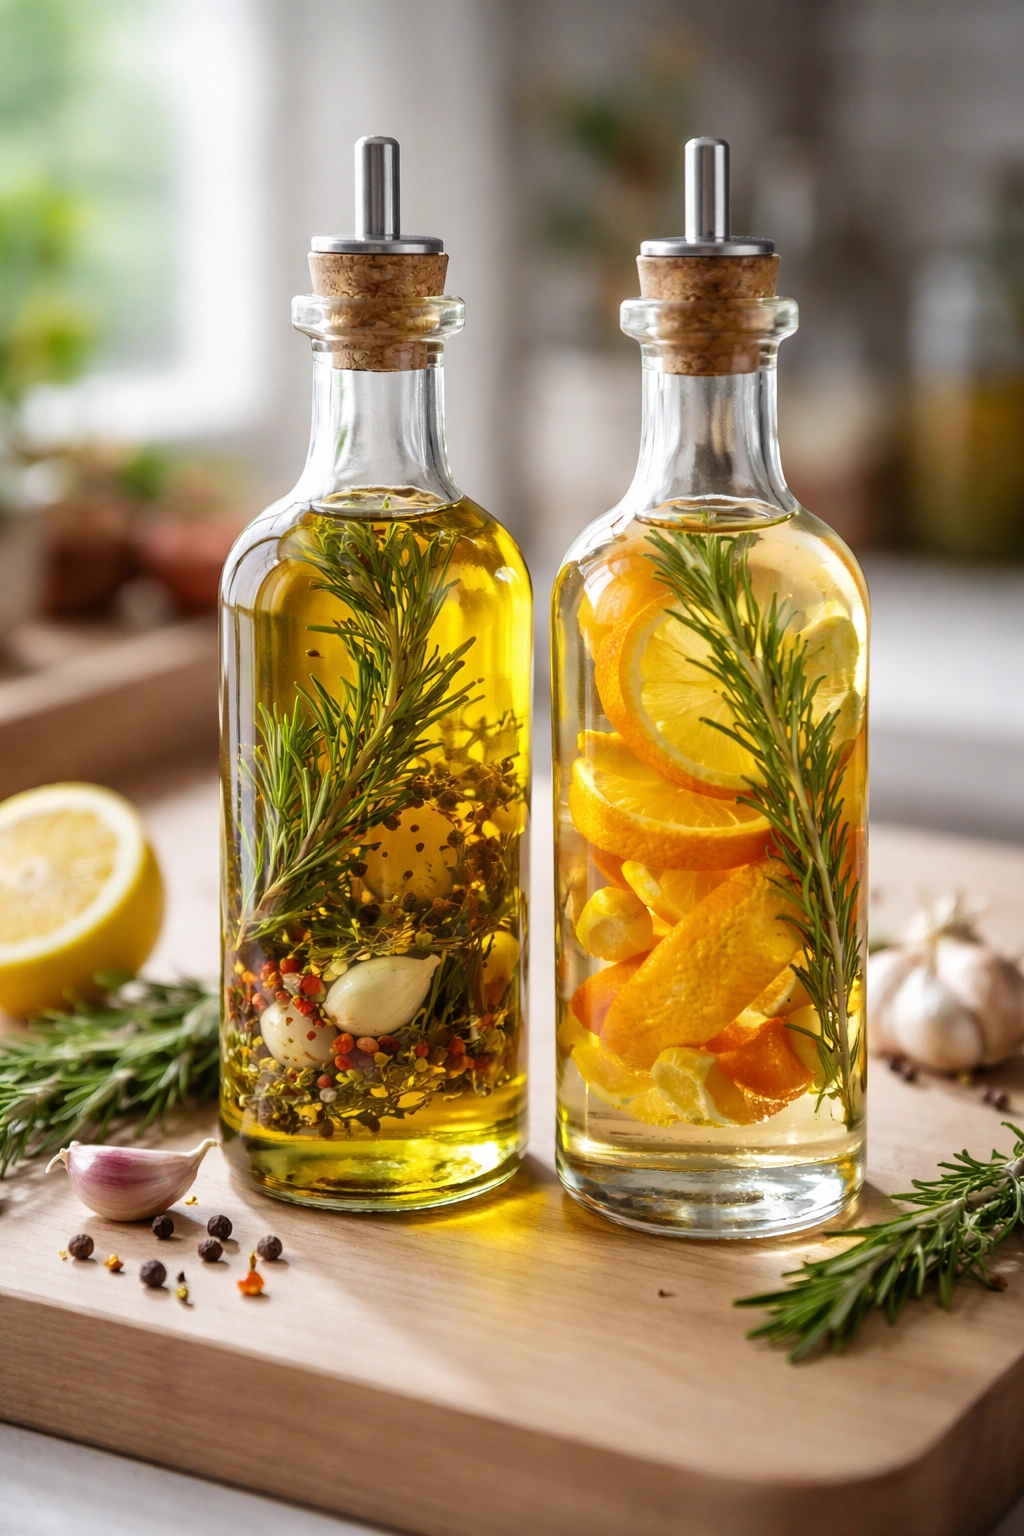
Infused oils and vinegars are among the absolute easiest homemade gifts to make, yet they feel incredibly luxurious when presented in a nice bottle. The entire process is passive — you combine ingredients, let time do the work, and bottle the results. No heat, no special equipment, no timing pressure.
The basic technique is almost embarrassingly simple: choose a high-quality oil or vinegar as your base, add flavorings like fresh herbs, garlic, chili peppers, or citrus peel, seal it in a clean bottle, and let it sit for one to two weeks while the flavors deepen. The longer it sits, the more complex the flavor becomes. You can taste it after a week to gauge whether the flavor is where you want it — if it needs more intensity, let it steep longer.
Garlic-infused olive oil is a no-brainer for anyone who cooks. Peel several garlic cloves, add them to a bottle of good olive oil along with a few dried red pepper flakes and perhaps a sprig of fresh rosemary, and let everything infuse for 10 to 14 days before straining out the solids. The result is perfect for drizzling over pasta, bread, or roasted vegetables. For vinegar lovers, try a fig-infused balsamic vinegar — add dried figs that you’ve halved to a bottle of quality balsamic, let it steep, and you’ve got something that would cost three times as much if you bought it at a specialty store.
The beauty of infused oils and vinegars is that they require no special skill or intuition — you simply follow a formula. They also have an exceptionally long shelf life when stored properly, so your recipients can enjoy them for months. Present the bottle with a small tag describing what’s inside, any herbs or ingredients visible in the bottle, and a suggested use (“perfect for salad dressings” or “drizzle over grilled fish”). The visual appeal of herbs and peppers suspended in oil looks impressive enough that recipients will assume you spent far more effort than you actually did.
Flavored Honey With Subtle Complexity
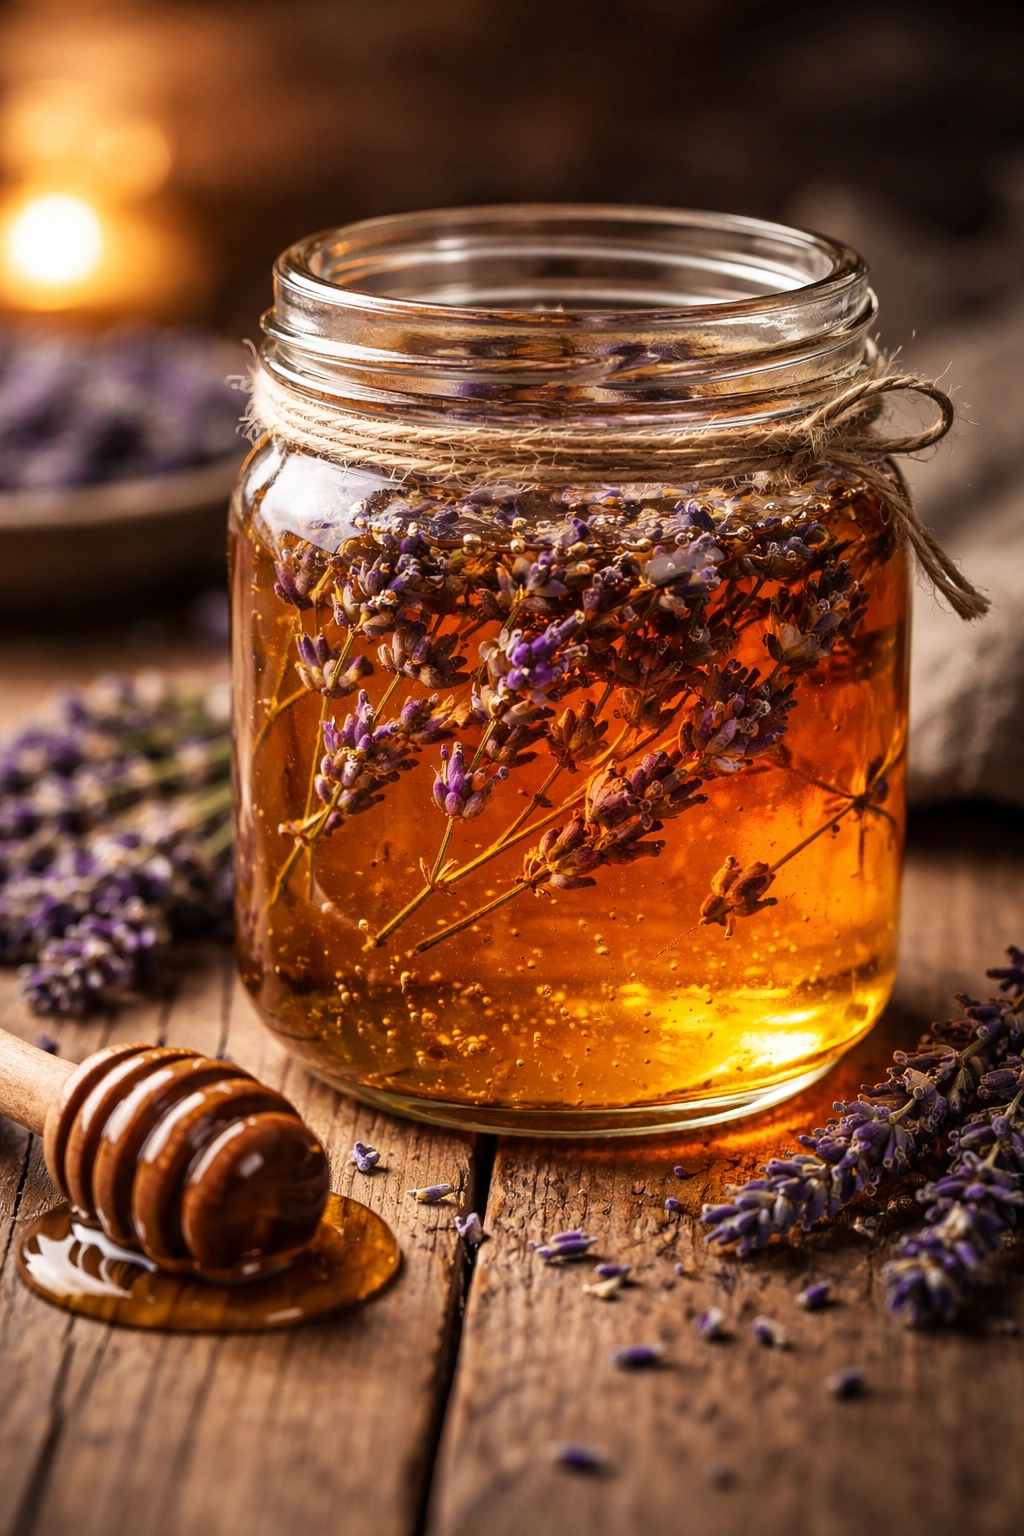
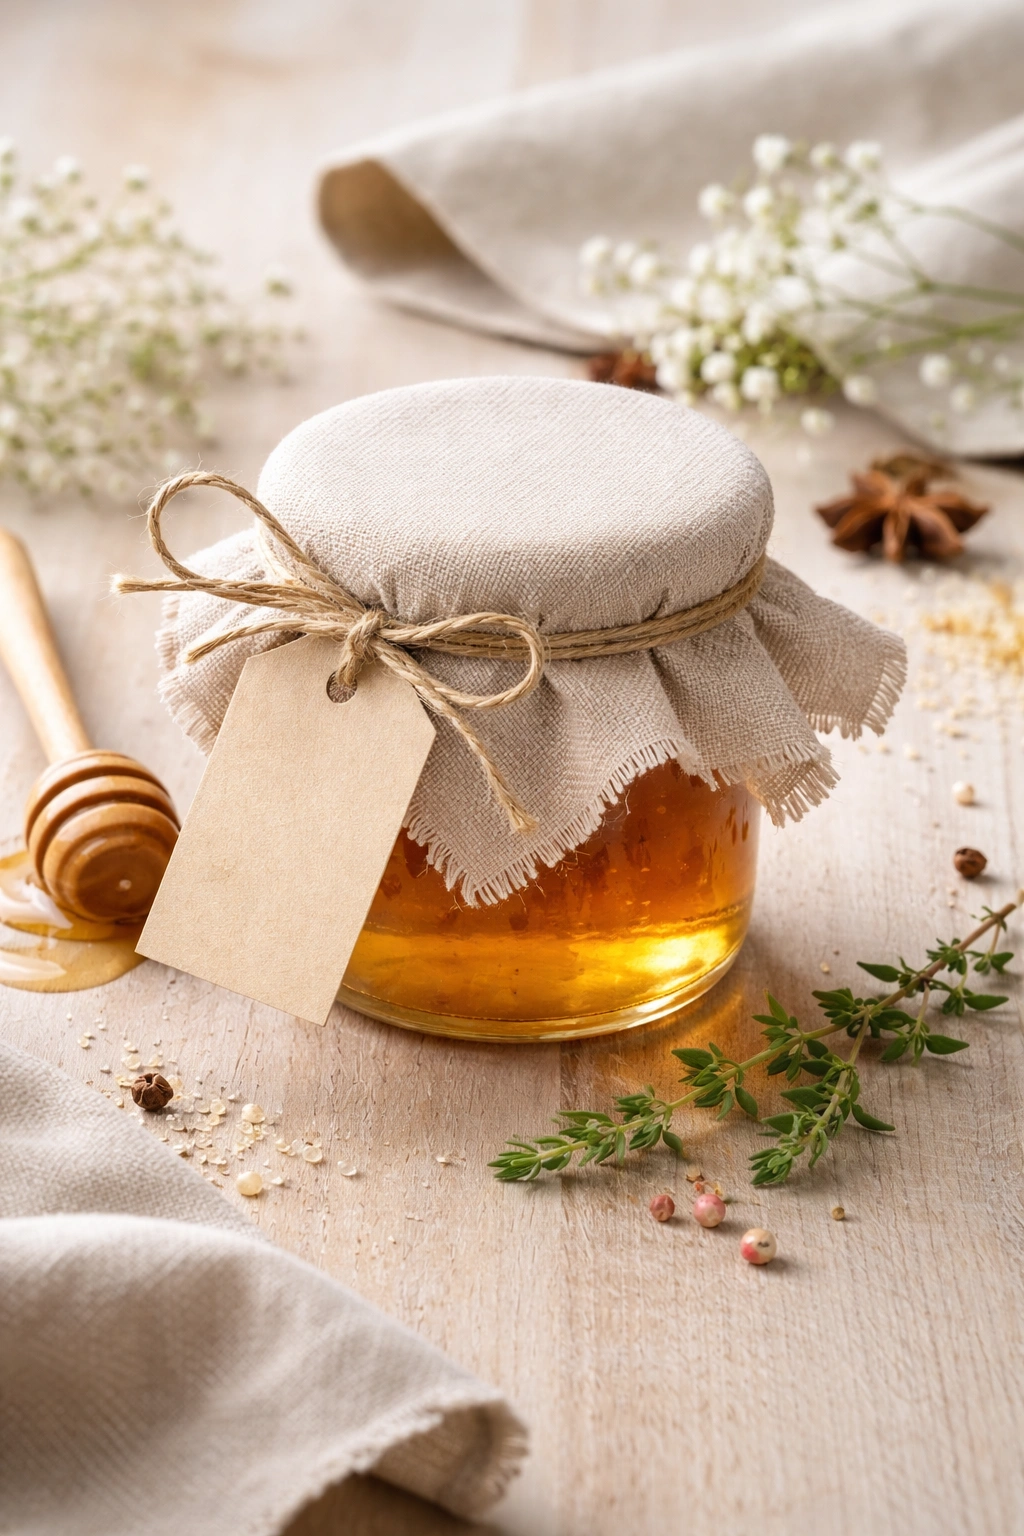
Honey is one of the easiest bases for a homemade gift because it’s already perfect on its own — you’re simply adding extra dimensions to it. Infused honey works beautifully as a gift for tea lovers, cheese boards, yogurt toppings, or spreading on warm toast and biscuits.
The process couldn’t be simpler: warm honey gently (never above 120°F, or you’ll damage the enzymes and delicate flavors), stir in your chosen flavoring, pour it into a sterilized jar, and let it cool. The honey will naturally preserve whatever you add to it, making this one of the safest preservation methods for a homemade gift. Unlike some infusions that need several weeks to develop flavor, honey picks up infused flavors relatively quickly — often within a few days to a week.
Lavender honey is remarkably popular and always feels special. Combine a cup of raw honey with about a teaspoon of dried culinary lavender (you want real lavender buds, not potpourri). Warm the honey slightly, stir until the lavender is evenly distributed, and let it cool completely. The lavender softens as it sits, and the honey takes on a subtle floral sweetness that pairs beautifully with tea, cheese, or Greek yogurt.
Chili-infused honey is the opposite end of the spectrum — sweet heat that works brilliantly on pizza, with cheese, or drizzled over vanilla ice cream. Add whole dried chilis or chili flakes to warm honey, let it infuse for a week or so, taste it, and adjust to your preferred heat level. Some infusions work better if you strain out the solids before gifting, while others — like lavender honey or rosemary honey — look more impressive with visible botanicals suspended in the jar.
The most important detail: use the highest-quality honey you can find for the base. Cheap honey will mute whatever flavors you’re adding. Raw, local honey has the best flavor profile and feels like a more premium gift. Present flavored honey with clear instructions on how to use it, especially for more adventurous combinations. A gift tag that says “drizzle over brie and serve with crackers” gives recipients permission to be creative.
Homemade Granola That Tastes Nothing Like Cardboard
Store-bought granola often tastes like pressed sawdust held together with minimal flavor. Homemade granola is completely different — crispy, intentional, loaded with actual flavor, and nothing like the dense, artificially sweet stuff from the grocery store.
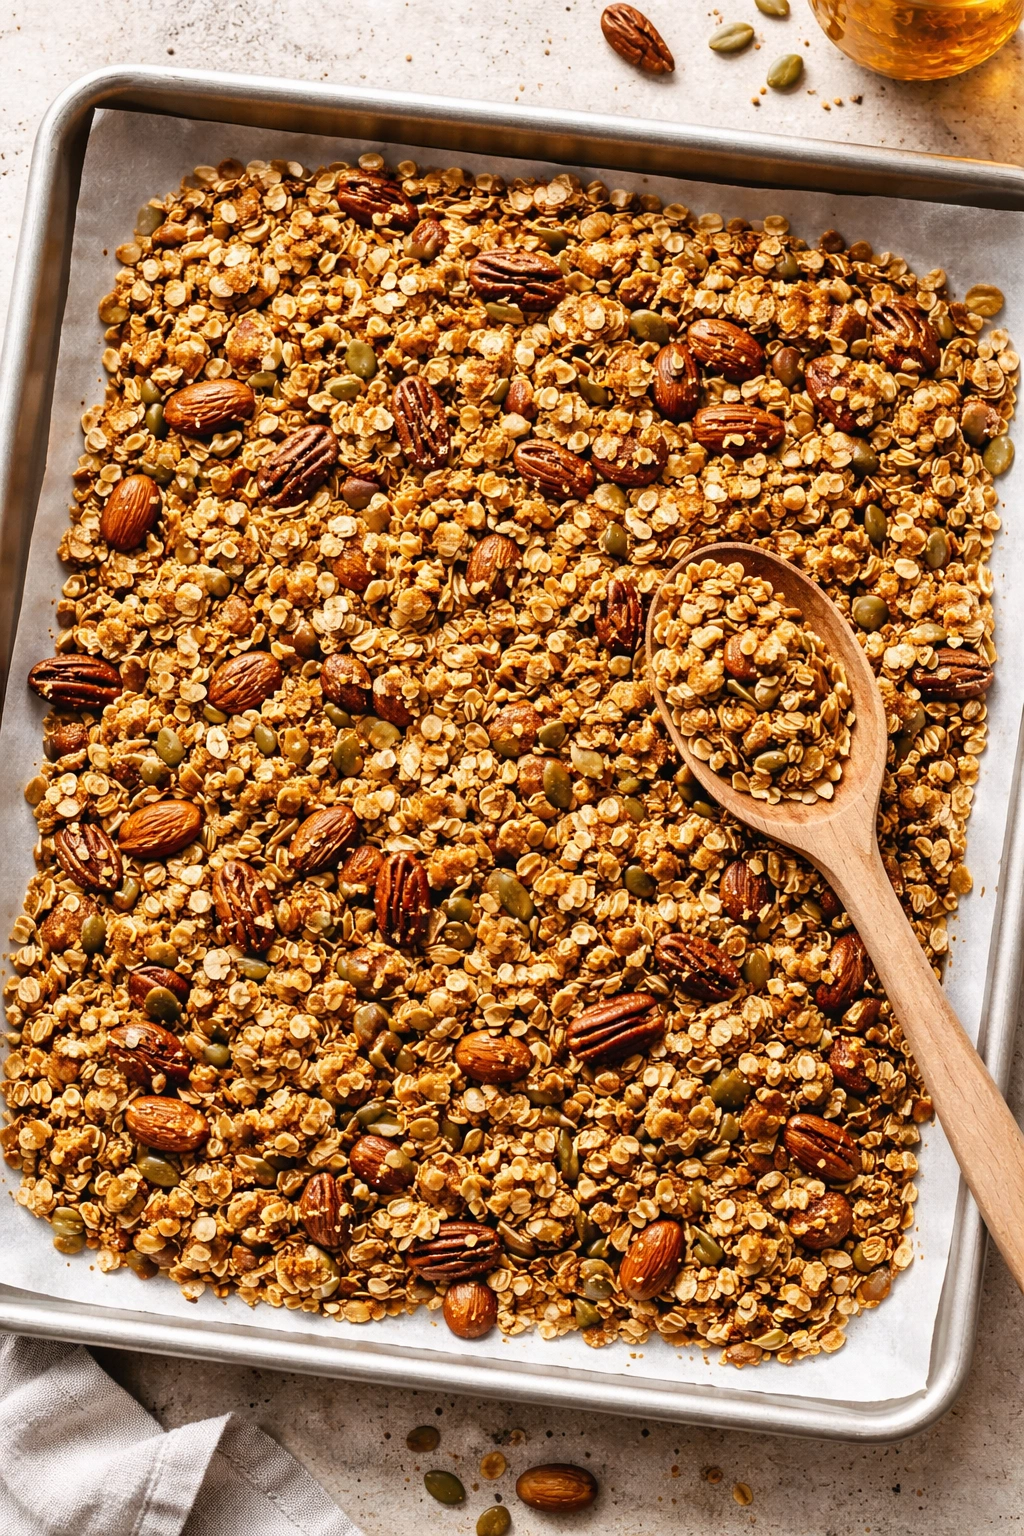
The basic formula is foolproof: combine rolled oats, nuts, seeds, oil, sweetener, and salt, spread it on a baking sheet, and toast until golden. That’s genuinely it. The toasting brings out nutty flavors in the oats and creates that satisfying crunch. Every recipe follows this same structure, which means you can experiment endlessly with different nut and seed combinations without worrying about getting the ratios wrong.
A brown-butter pecan and maple granola is a fantastic starting point. Toast pecans separately for about five minutes, then combine them with rolled oats, coconpped hazelnuts, pumpkin seeds, melted brown butter, maple syrup, and a pinch of sea salt. Spread it on a parchment-lined baking sheet and bake at 300°F for about 25 minutes, stirring every eight minutes so it toasts evenly without burning. The brown butter adds a sophisticated, almost nutty depth that elevates the whole thing beyond standard granola.
Once it’s completely cool and crispy, you can stir in dried fruit if you want — raisins, dried cranberries, or diced dried apricots work beautifully. Pack it into mason jars or small bags, and you’ve got a gift that looks thoughtful and tastes genuinely delicious. The toasted, caramelized edges at the bottom of the baking sheet are often the crunchiest, most flavorful parts — don’t discard those.
One important note: let the granola cool completely on the baking sheet before transferring it to jars. If you package it while it’s still warm, steam will soften it. Homemade granola keeps for two to three weeks in an airtight container, which gives your recipients time to enjoy it without worrying about it going stale or moldy.
Cookies and Brownies in Flavors People Actually Crave
Cookies and brownies feel like the classic homemade gift for good reason — they’re familiar, universally appreciated, and there’s something inherently warm about receiving something baked with care. The trick is choosing recipes that are genuinely easy but still taste significantly better than standard versions.
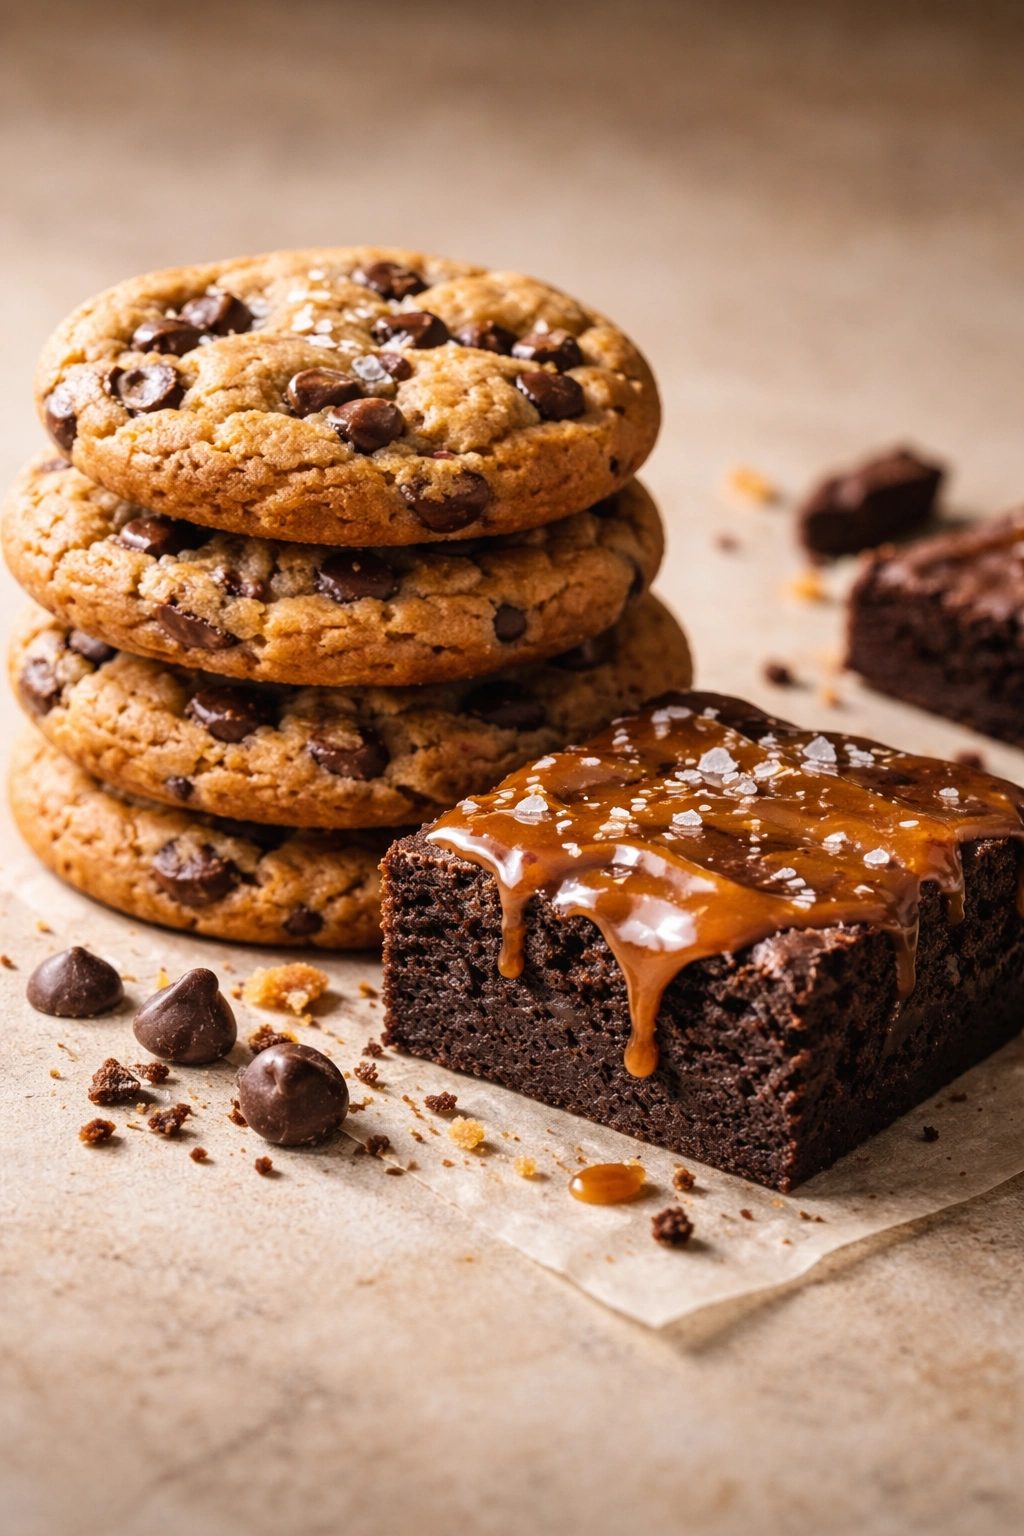
Brown butter chocolate chip cookies are a perfect example. They look like regular chocolate chip cookies, but brown butter adds a toasted, almost nutty depth that makes them taste far more sophisticated than the standard recipe. The process is identical to any cookie recipe, but browning the butter first (and watching carefully so it doesn’t burn) creates that extra layer of flavor. Sprinkle each cookie with fleur de sel before baking, and now you’ve got something that feels genuinely special.
Salted caramel brownies are another crowd-pleaser that sounds more impressive than it actually is to make. Use your favorite brownie base — scratch-made or a quality mix if that’s easier — and swirl in dulce de leche or homemade salted caramel before baking. The brownie itself handles all the work; the caramel just sits there adding richness and a salty-sweet complexity.
The key to successful baked gift-giving is choosing recipes with bold, intentional flavors rather than trying to recreate standard versions. Ginger snaps with actual ginger heat, almond cookies with a subtle hint of cardamom, triple-chocolate brownies with dark cocoa and espresso powder — these taste unmistakably homemade and far better than anything you’d find at a bakery.
Pack cookies and brownies in layers separated by parchment paper inside boxes or containers, which keeps them from getting jostled or squished during transport. They’ll keep for three to five days at room temperature in an airtight container, or you can freeze them for up to two weeks if you want to make them ahead.
Spice Blends and Seasoning Mixes for Cooks
A thoughtfully assembled spice blend is a gift that costs almost nothing but feels genuinely useful to anyone who cooks regularly. The magic is in choosing complementary flavors and proportions rather than throwing random spices together.
Everyday uses:
- Dukkah (Egyptian spice blend) with toasted hazelnuts, sesame seeds, and warm spices
- Za’atar seasoning for roasted vegetables and olive oil bread dipping
- Smoked paprika and garlic blend for quick weeknight cooking
- Everything bagel seasoning (sesame seeds, poppy seeds, flax, garlic, salt)
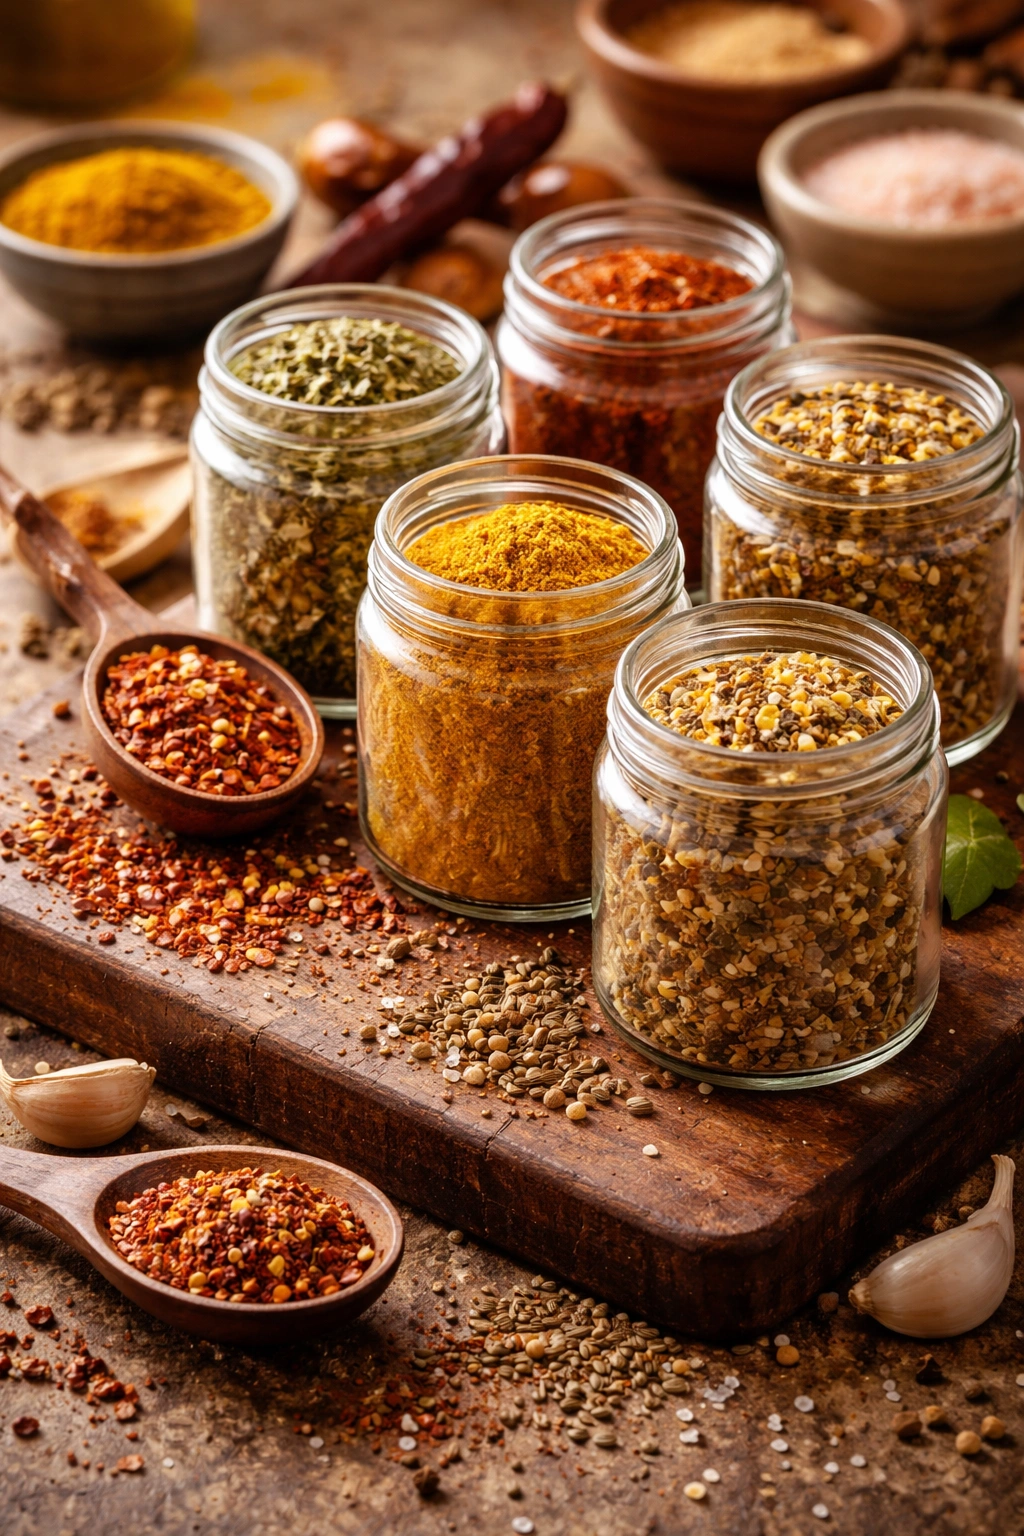
The most important detail is toasting whole spices before grinding them, which releases essential oils and creates far more vibrant flavor than using pre-ground spices. For dukkah, you’d toast hazelnuts, sesame seeds, coriander seeds, and cumin seeds separately (because they toast at different rates), let them cool, then combine and grind coarsely. It’s maybe 20 minutes of actual work, and the result tastes incomparably better than anything you’d buy pre-made.
Package spice blends in small glass jars with printed labels describing what the blend is, what it works best on, and how to use it. Include proportions if your recipient might want to remake it themselves. A note like “sprinkle over roasted sweet potatoes, eggs, or avocado toast” gives them immediate permission to experiment.
Spice blends don’t require any preservation — they actually improve slightly as the flavors meld over a few days. They last for months in airtight containers, and they cost a fraction of what you’d spend on equivalent products from specialty food shops.
Jams and Preserves Made Without Canning Equipment
Most people think making jam requires special equipment and tricky timing, but the simplest preserve method requires nothing beyond a saucepan and sterilized jars. No canning pot, no special knowledge, no risk of botulism if you follow basic food safety rules.
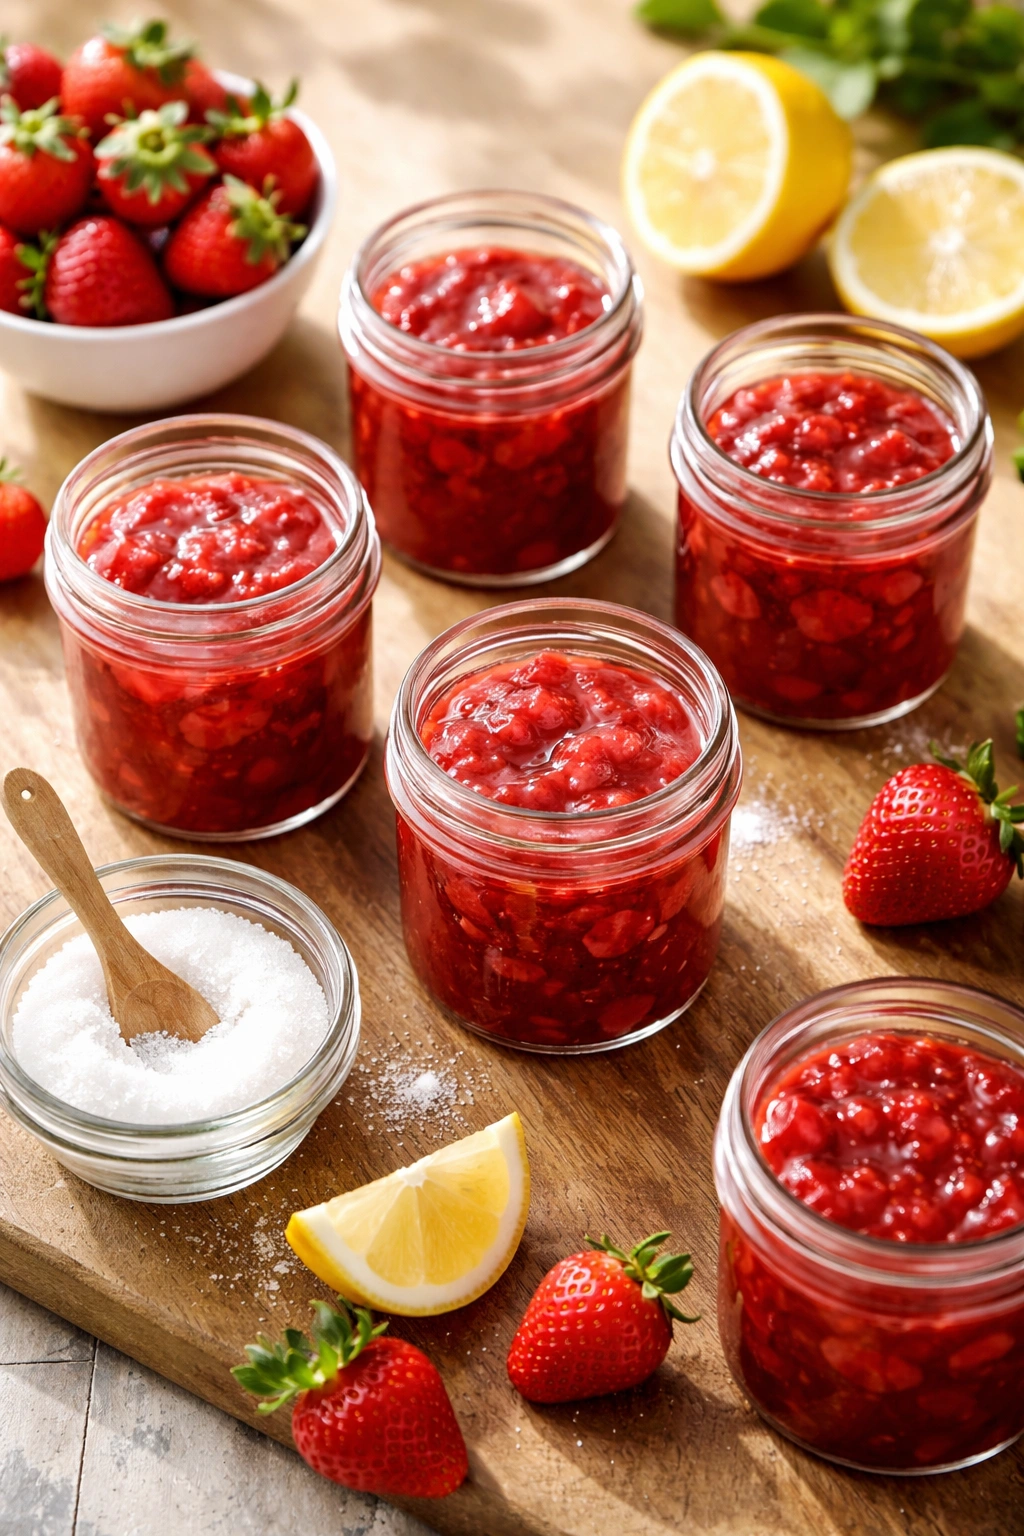
The easiest approach is the “quick jam” method: combine fruit, sugar, and a squeeze of lemon juice, cook until the mixture reaches a thick, spreadable consistency (usually 15 to 20 minutes), then pour into sterilized jars and let it cool. Since these jams don’t go through a formal canning process, they need to be refrigerated and will keep for about three to four weeks — plenty of time for your recipients to enjoy them before they need to be used up.
Strawberry jam is the obvious starting point, but consider more interesting flavors that cost little extra. Strawberry-balsamic-black pepper jam sounds complicated but requires only adding a splash of aged balsamic vinegar and a few cracks of fresh black pepper to the standard recipe. The balsamic adds depth and complexity, while the pepper provides a subtle bite that keeps the jam from tasting one-dimensional.
Raspberry-lemon jam is another brilliant option. Combine fresh raspberries with lemon juice and zest, sugar, and a tiny bit of vanilla. The lemon brightens the raspberries and creates a more sophisticated flavor profile than straight raspberry jam.
The testing for doneness is simple: drop a small spoon of jam onto a cold plate from the refrigerator. If it wrinkles when you push it with your finger, it’s ready. If it flows like syrup, it needs more cooking time. Underset jam is still delicious — it’ll just be more of a syrup you pour over yogurt or ice cream rather than a thick spread.
Sterilize jars by running them through the dishwasher on the hottest cycle right before filling them, or submerge them in boiling water for 10 minutes. The heat kills any bacteria and ensures your jam stays safe. Package them in nice jars with handwritten labels listing the contents and the date, and they become gifts that feel far more thoughtful than the effort required to make them.
Trail Mix and Savory Snack Combinations
Unlike store-bought trail mix, which often tastes like an afterthought made of cheap ingredients, homemade trail mix lets you control every component and create something genuinely snackable.
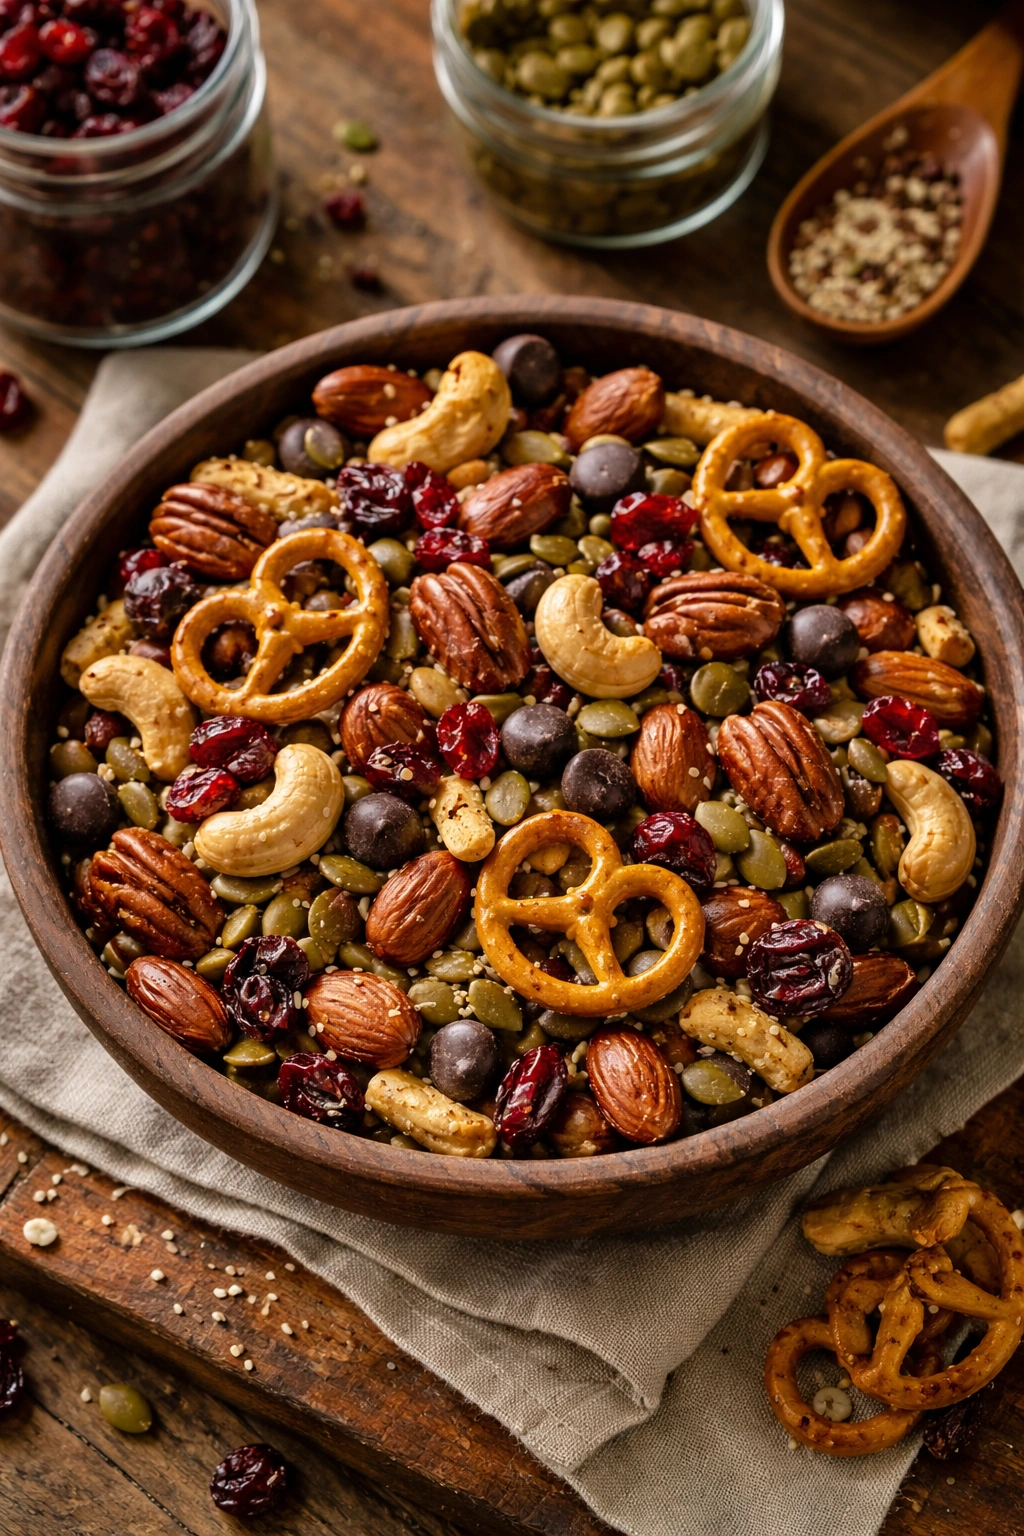
Start with a base of raw nuts — almonds, cashews, pecans — then add seeds (pumpkin seeds, sunflower seeds, or sesame seeds) and something crunchy like pretzels or homemade toasted chickpeas. From there, add dried fruit if desired (dried cranberries, apricots, or raisins), a small amount of dark chocolate chips, and finish with a light drizzle of melted coconut oil and a pinch of sea salt to help everything stick together.
The “everything” approach is one option, but more interesting mixes are often simpler. A spiced maple-pecan mix combines roasted pecans with pumpkin seeds, a pinch of cinnamon, a tiny drizzle of maple syrup, and sea salt. An Asian-inspired option includes roasted cashews, sesame seeds, nori (seaweed) strips, a light soy glaze, and wasabi peas for heat.
The key to homemade trail mix is avoiding heavy sweetness, which gets cloying quickly. A small amount of dark chocolate or a whisper of maple syrup is enough to make it special. Most of the flavor should come from toasting the nuts and seeds properly and choosing high-quality ingredients.
Package trail mix in clear cellophane bags or glass jars so people can see how appealing it looks. Include a note about storage — trail mix keeps for up to three weeks in an airtight container, longer if refrigerated. These are perfect for coworkers, housewarming gifts, or anyone who appreciates a thoughtful snack.
Compound Butter With Herbs and Seasonings
Compound butter is essentially butter mixed with seasonings — it’s absurdly simple yet feels like a genuinely luxurious gift. It melts over warm bread, roasted vegetables, grilled steak, or pasta, adding instant richness and flavor.
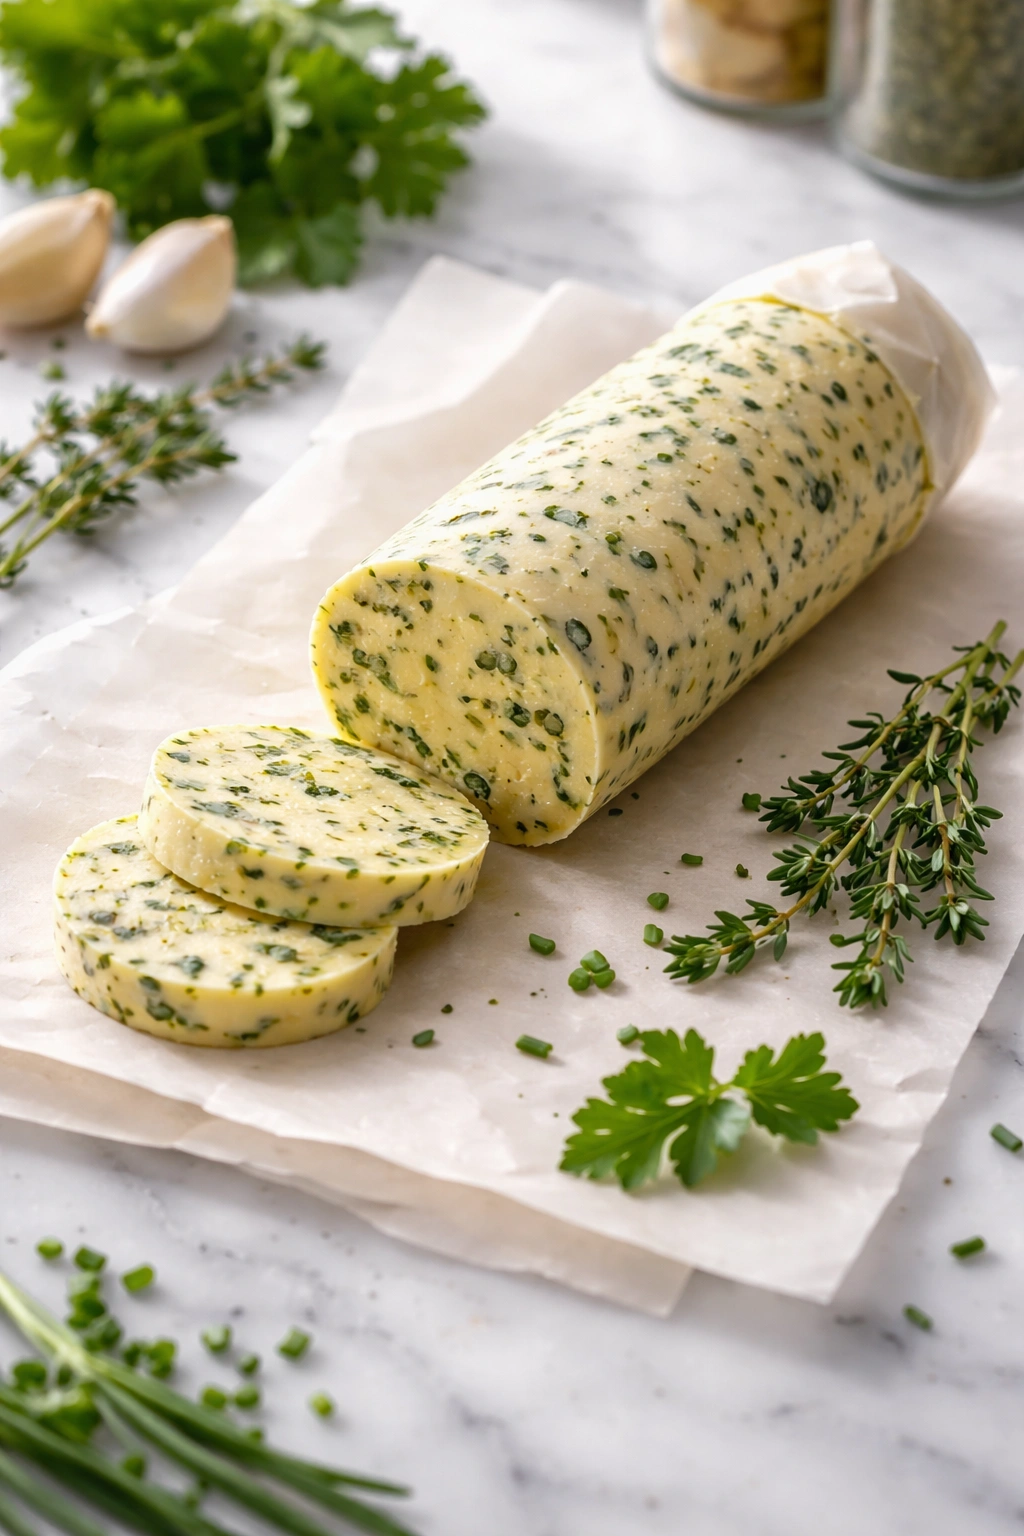
The basic technique: soften unsalted butter to room temperature, mix in your chosen seasonings (fresh herbs, garlic, lemon zest, spices), form it into a log wrapped in parchment paper, and refrigerate. That’s the entire process. No cooking, no timing pressure, just mixing and chilling.
Garlic and herb butter is the most straightforward version. Combine softened butter with minced garlic, fresh parsley, chives, and thyme, then season with lemon zest and a pinch of salt. Form it into a log, wrap it tightly in parchment or plastic wrap, and refrigerate. Your recipients can slice off rounds as needed and let them melt over hot food.
Honey-herb butter offers a different angle — combine butter with fresh rosemary, thyme, and a drizzle of raw honey. This is brilliant for spreading on warm bread or steaks. A spicy version might include chili powder, smoked paprika, and a pinch of cayenne for anyone who enjoys heat.
The presentation matters: slice the log into half-inch rounds, stack them on parchment in a small container, and tie it with twine. Include a card describing what’s in the butter and how to use it. Compound butter keeps in the refrigerator for about two weeks, or it can be frozen for several months.
Dark Chocolate Truffles That Taste Professional
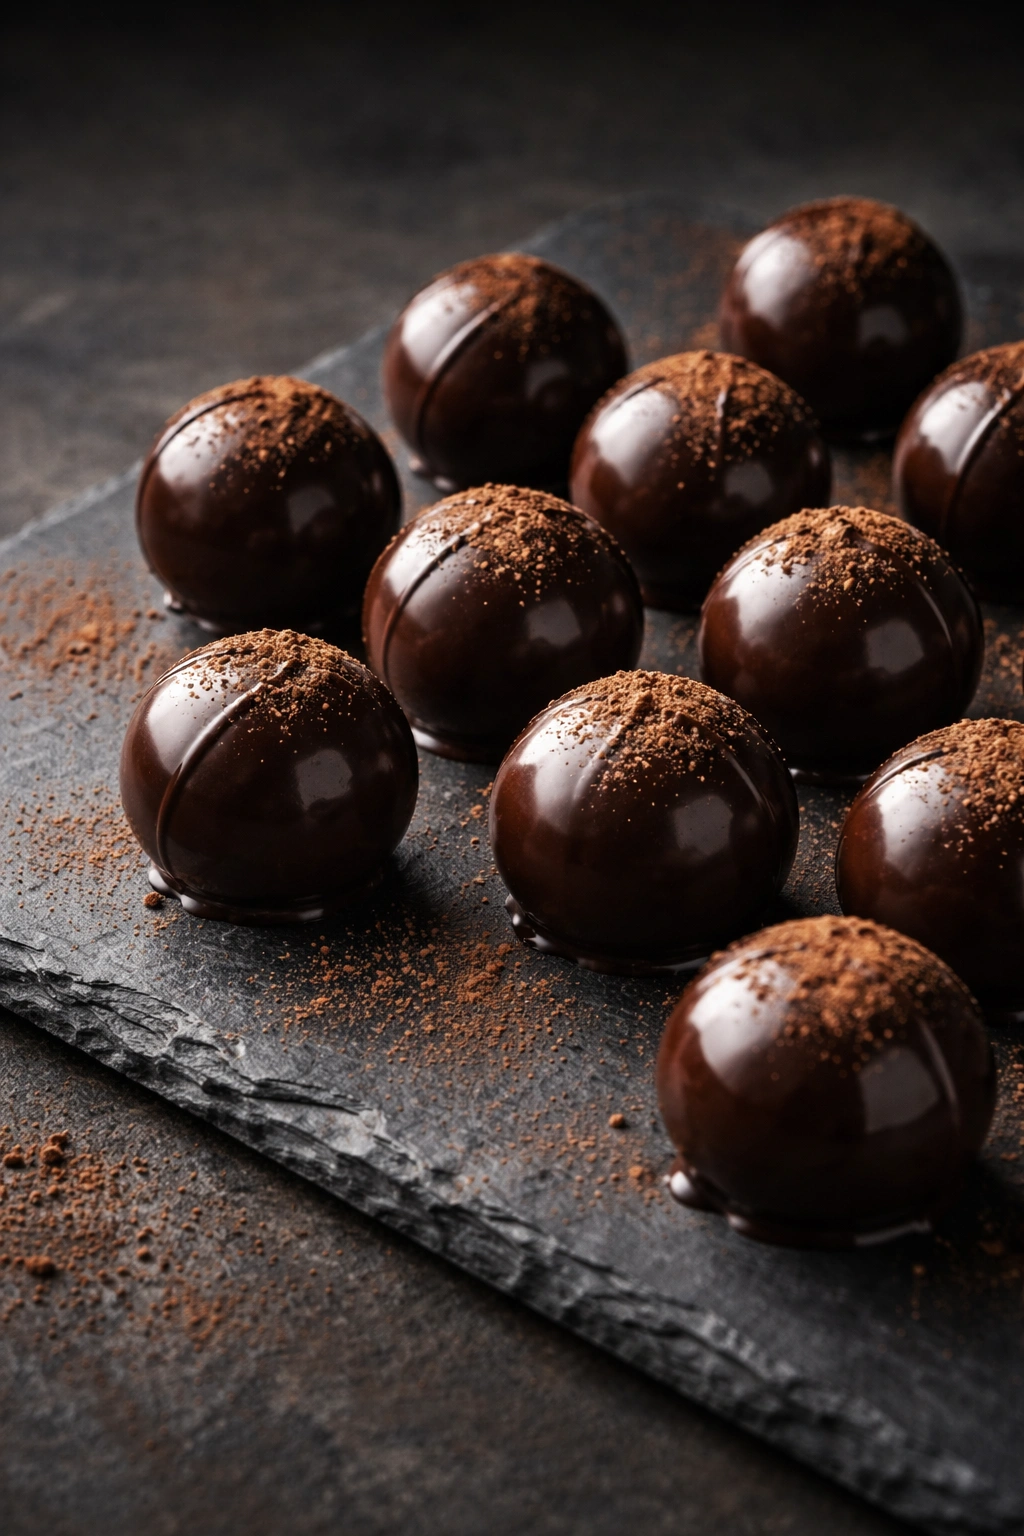
Homemade truffles seem fancy and intimidating, but they’re genuinely easier than most people expect. A truffle is essentially just ganache — a mixture of chocolate and cream — coated in cocoa powder, sprinkles, nuts, or tempered chocolate.
The basic process: heat cream until it’s steaming, pour it over chopped dark chocolate, let it sit for a minute, then whisk until smooth. Once it cools slightly, you can chill it, scoop it into small balls, and coat them in whatever you like. These truffles will impress without requiring tempering skills or special equipment.
A classic ganache uses equal parts chocolate and cream by weight — 8 ounces of dark chocolate and 1 cup of heavy cream. Some people add a tablespoon of butter for extra richness, or a splash of vanilla extract for depth. Pour the hot cream over the chopped chocolate, wait a minute for the heat to soften the chocolate, then whisk until completely smooth and glossy.
Once the ganache cools and firms up (usually 2-3 hours in the refrigerator or 30 minutes in the freezer), you’ll scoop it into small balls using a melon baller or small ice cream scoop, then coat them in your choice of finishing. Cocoa powder is the simplest approach — toss each truffle in unsweetened cocoa powder for an elegant, classic look. Chopped pistachios, crushed freeze-dried raspberries, or shredded coconut offer more visual interest.
Simple flavor variations:
- Add a pinch of espresso powder or instant coffee to the ganache
- Stir in peppermint extract for dark chocolate peppermint truffles
- Add a touch of orange extract or orange liqueur for dark chocolate-orange
- Mix in a small amount of sea salt for sophisticated salted chocolate truffles
Package truffles in small boxes lined with parchment, separating layers with paper to prevent them from sticking together. They keep in the refrigerator for up to two weeks or frozen for two months.
Nuts and Seeds Roasted With Custom Seasonings
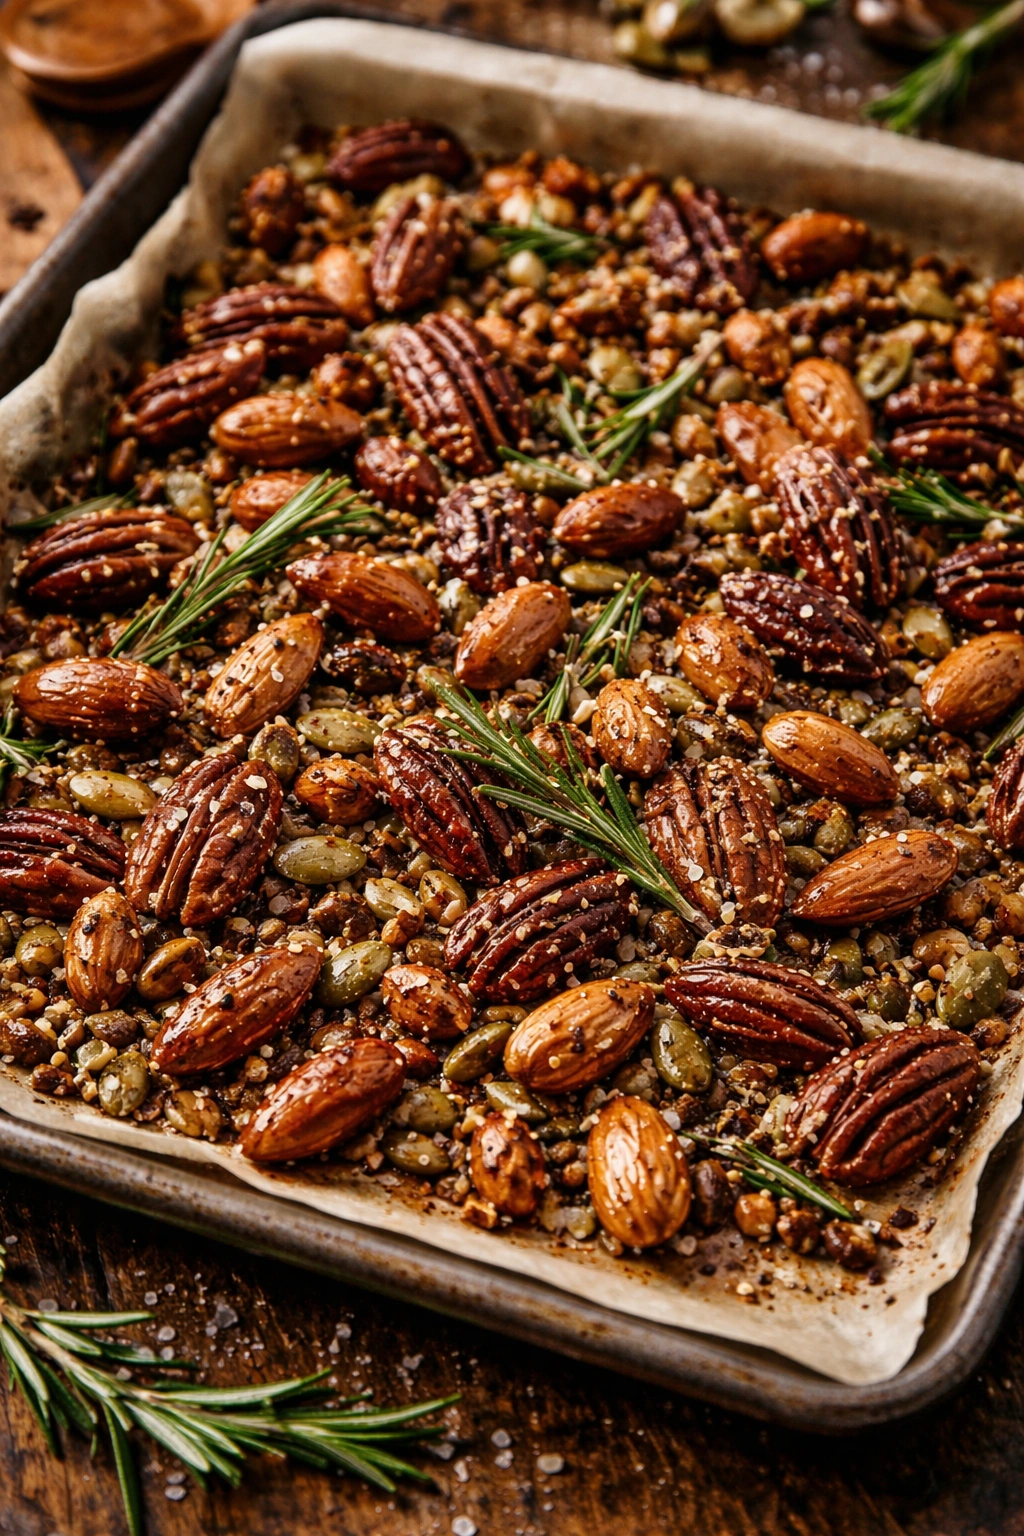
Roasted nuts and seeds are incredibly easy homemade gifts that feel far more thoughtful than store-bought versions because of the flavor combinations you can create.
The basic technique applies to all nuts and seeds: toss them with a small amount of oil, spread on a baking sheet, roast at 325°F until fragrant and lightly golden (10 to 15 minutes depending on size), then toss with seasonings immediately while they’re still warm.
A rosemary-sea salt combination is perfect for almonds. Toss raw almonds with a whisper of olive oil, spread on a sheet, roast until fragrant and lightly browned, then immediately toss with finely chopped fresh rosemary and fleur de sel. The warmth of the nuts helps the salt and rosemary adhere and release their flavors.
Spiced pecans work beautifully for cooler months — toss raw pecans with a tiny bit of melted coconut oil, spread on a sheet, roast at 325°F for about 12 minutes, then immediately toss with a mixture of cinnamon, nutmeg, a touch of cayenne, maple syrup, and sea salt. They’ll crisp up as they cool and become incredibly addictive.
Sesame seeds with soy and ginger: toast white sesame seeds in a dry skillet for a few minutes until fragrant, then toss with a tiny bit of sesame oil, soy sauce, fresh ginger, and a pinch of sea salt. These taste far more interesting than plain sesame seeds and keep for up to two weeks.
The most important detail is tasting and adjusting the seasonings immediately after roasting, while you can still tell whether you need more salt, spice, or flavor. Package roasted nuts and seeds in small jars or bags, and they’re gifts that people will actually finish rather than leave sitting around.
Flavored Popcorn Seasonings for Snack Lovers
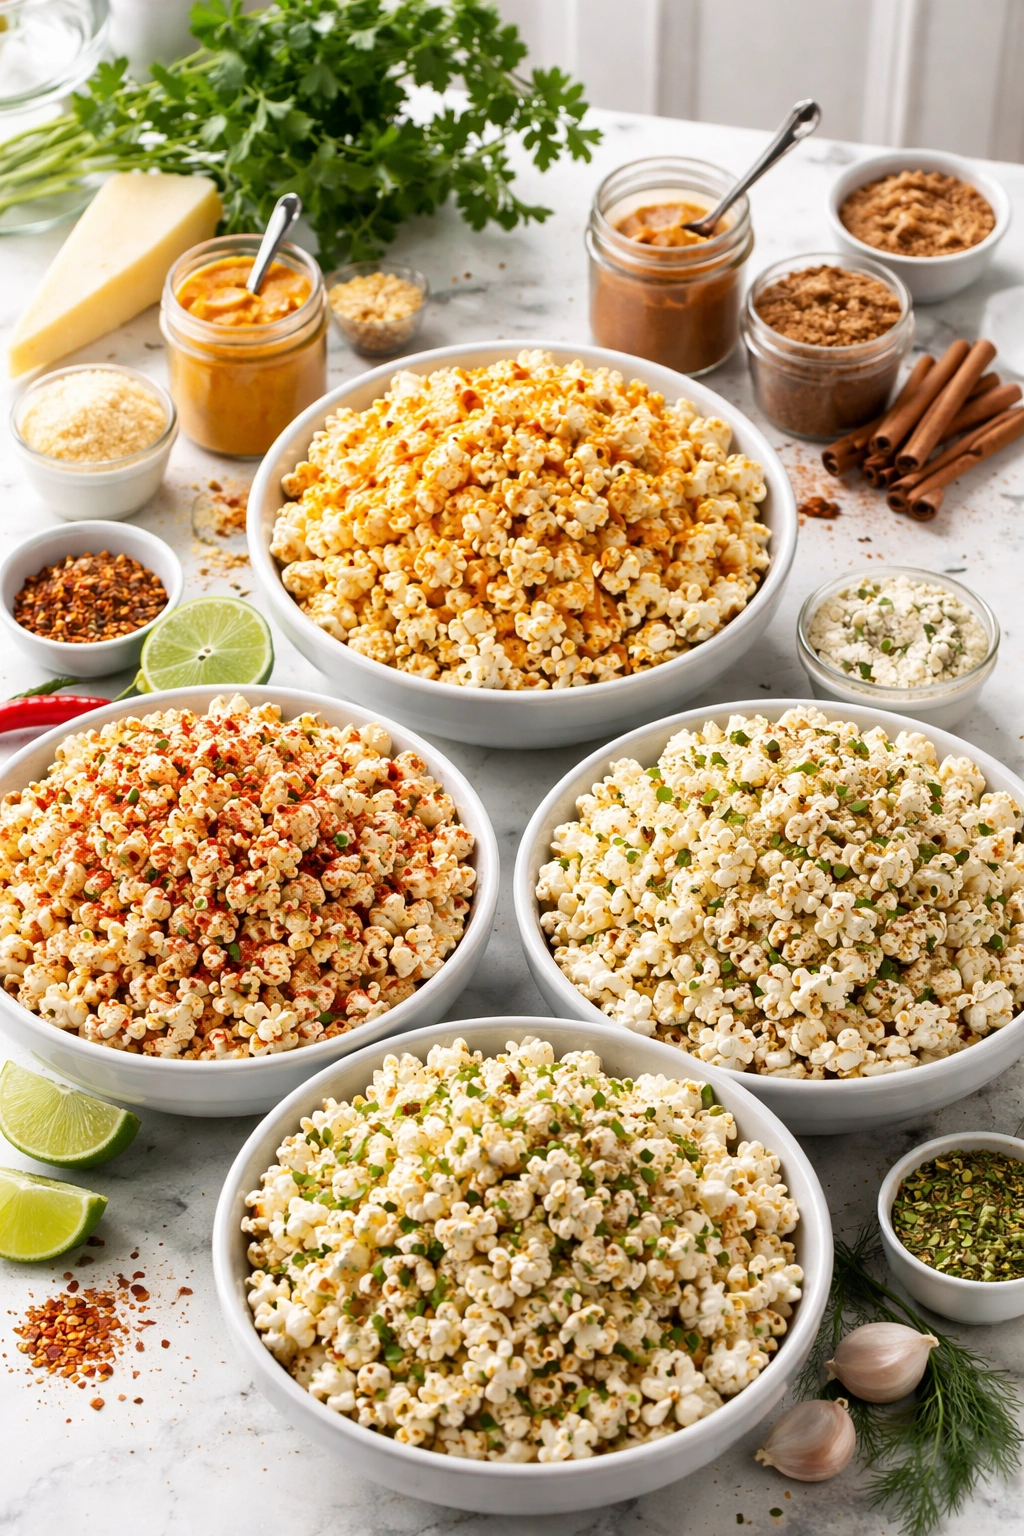
Popcorn is a gift that people genuinely appreciate and will actually consume — plus, homemade popcorn seasonings let you create flavors that don’t exist in commercial products.
The approach is simple: pop popcorn using whatever method you prefer, drizzle it with melted butter while still warm, then immediately toss it with your chosen seasoning mixture. The butter helps the seasonings adhere and prevents them from falling to the bottom of the bowl as people eat.
A white cheddar dill seasoning tastes both sophisticated and comforting. Mix nutritional yeast, finely grated parmesan cheese, dried dill, garlic powder, a tiny pinch of cayenne, and sea salt. Toss this over warm buttered popcorn and let people watch as they develop an instant craving for more.
Cinnamon sugar popcorn with a savory twist is another option — combine cinnamon, brown sugar, a tiny pinch of chili powder, and fleur de sel. The chili powder is barely noticeable but adds a layer of complexity that keeps it from tasting like pure candy.
A smoked paprika and nutritional yeast combination creates something that tastes almost cheesy without any dairy. Add a pinch of smoked garlic powder and sea salt, and you’ve got a savory snack that’s also vegan and incredibly addictive.
Package flavored popcorn in paper bags, mason jars, or sealed containers. Include instructions to pop fresh popcorn, melt butter, and toss with the seasoning mix. Or, if you prefer, pop the popcorn ahead of time, season it completely, and package it ready to eat. Homemade popcorn stays crispy for about three days in an airtight container.
Marshmallows That Taste Nothing Like Commercial Versions

Homemade marshmallows are a surprising gift that almost nobody makes themselves, yet they’re considerably easier than most people assume. Store-bought marshmallows taste artificial and stale; homemade versions are pillowy, cloud-like, and genuinely delicious.
The process requires only a stand mixer and basic ingredients: gelatin, water, sugar, corn syrup, vanilla, and a finishing coating of powdered sugar and cornstarch. The mixer whips the mixture into clouds of airy foam, which is then spread into a prepared pan, chilled, cut into squares, and dusted with the finishing mixture.
For vanilla marshmallows: Bloom gelatin in cold water for about five minutes, then whip heavy cream until soft peaks form. In a separate bowl, whisk egg whites until soft peaks form. In yet another bowl, heat sugar and corn syrup to 240°F (soft-ball stage), then slowly drizzle it into the egg whites while whisking continuously. Once the mixture cools slightly, fold in the whipped cream and gelatin, then pour into a prepared baking pan and let it set overnight.
This sounds complex written out, but once you’ve done it once, you’ll realize it’s mostly just waiting between steps. The actual hands-on work is minimal — maybe 20 minutes total.
Flavor variations are endless. Chocolate marshmallows use unsweetened cocoa powder mixed into the egg white mixture. Peppermint marshmallows add peppermint extract and crushed candy canes. Eggnog marshmallows incorporate a hint of nutmeg and a touch of vanilla extract during the holiday season.
Cut the set marshmallows into squares, dust heavily with the powdered sugar-cornstarch mixture, and package them in containers lined with parchment. They keep for two weeks at room temperature, staying perfectly fresh and cloud-like the entire time.
Thoughtful Gift Packaging That Makes Homemade Foods Shine
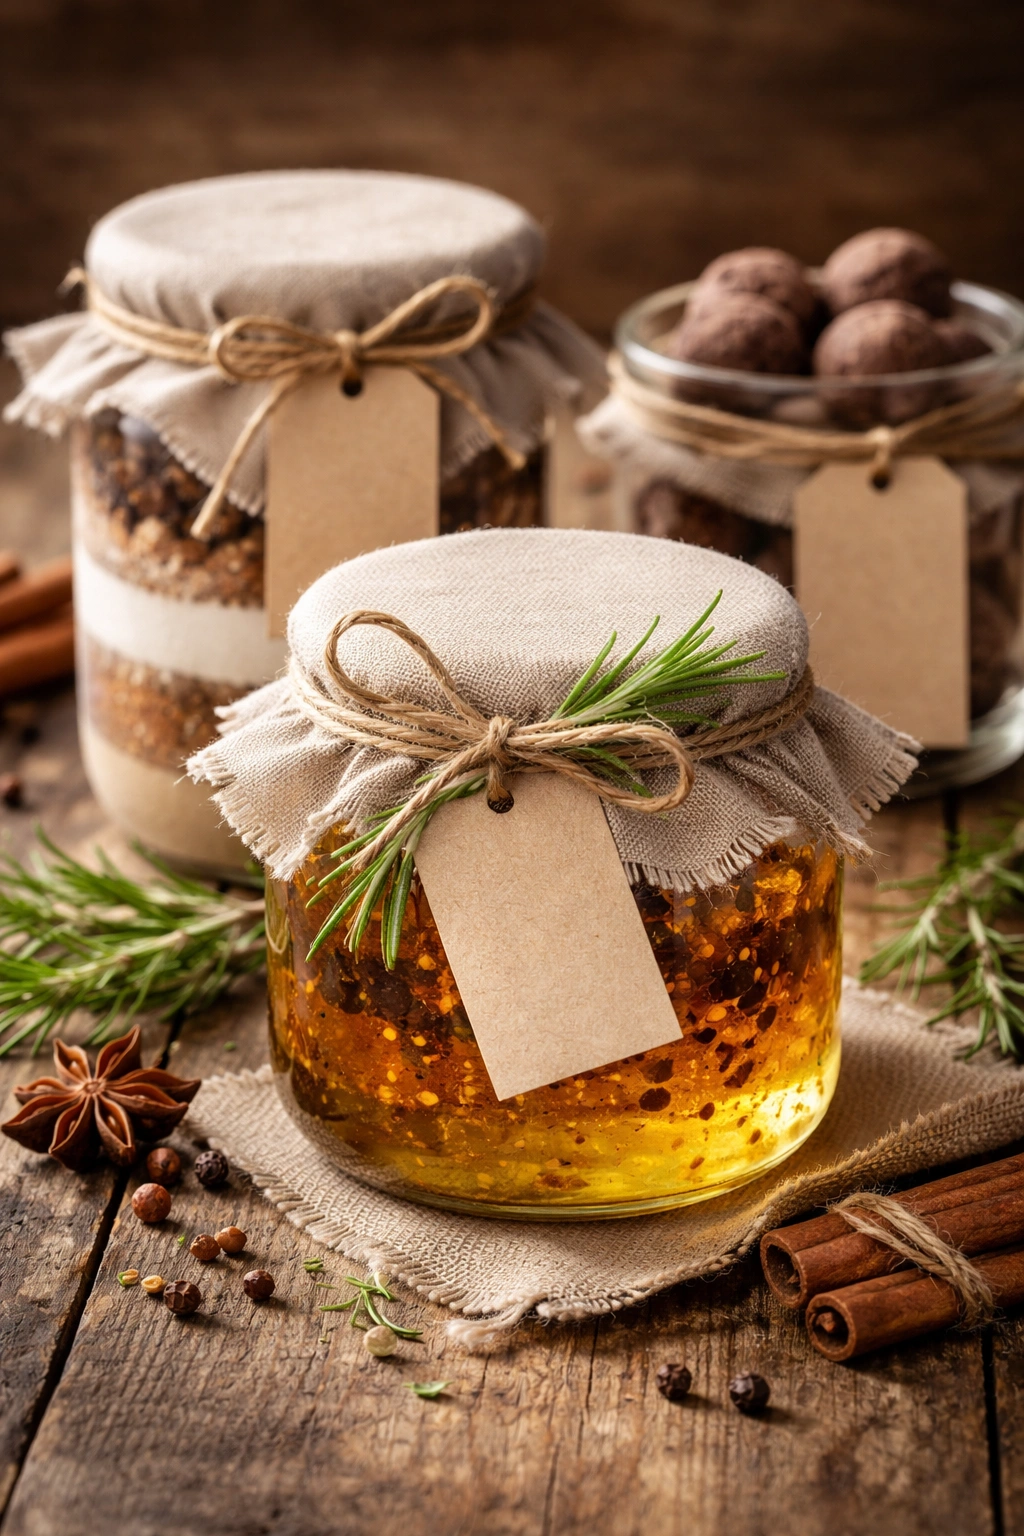
The presentation of a homemade food gift is just as important as the product itself. Thoughtful packaging transforms something you made in your kitchen into something that feels genuinely luxurious and intentional.
Clean glass jars are the foundation of good food gift packaging. Mason jars, vintage glass containers, or small glass storage jars create an instant impression of care and quality. Label them clearly with the contents, ingredients (especially important if your recipients have allergies), and the date made. A printed label looks more polished than handwritten ones, but a beautifully handwritten tag tied to the jar with twine has its own charm.
Layering different items or colors inside jars creates visual interest. For a spice blend or herbal tea, you might layer different herbs or spices so the jar shows off a variety of colors. For mixed nuts or granola, let the natural variety of ingredients show through the clear glass.
Fabric, twine, and ribbons are simple but transformative. Tie a piece of linen fabric around the jar’s lid, add a sprig of fresh rosemary or lavender, and suddenly the gift looks like something from a specialty food store. Even inexpensive twine looks intentional when wrapped neatly.
Custom labels or tags with your name or initials add a personal touch that makes the gift feel special and thoughtful. You don’t need expensive custom printed labels — simple white or kraft paper labels printed with your own design work beautifully. Include the contents, date made, and any storage instructions.
Shipping boxes, wooden crates, or fabric-lined baskets work perfectly for gifts containing multiple items. Group several items together — a jar of infused oil, some homemade herbs, and a loaf of crusty bread, for example — and tie it all together with a beautiful ribbon and a handwritten note. The combination feels far more generous than the sum of its parts.
Key Takeaways
Homemade food gifts succeed because they’re personal, thoughtful, and genuinely taste better than most commercial alternatives. The best part is that nearly every option requires only basic ingredients and minimal time, which means you can make them ahead of schedule without stress.
Start with whichever gift sounds most appealing or matches the preferences of your recipients. Infused oils work brilliantly for cooking enthusiasts, flavored honey suits tea and cheese lovers, and spice blends are always appreciated by anyone who spends time in the kitchen. Once you’ve made one homemade gift successfully, you’ll feel confident enough to experiment with others.
The packaging and presentation matter as much as the product itself. A beautiful jar, a clear label, and a thoughtful note transform something homemade into a gift that feels genuinely special and premium. Your recipients will appreciate not just the food itself, but the thought and care that went into creating something with your own hands — something you couldn’t buy at any price.