You walk into your kitchen after a long day, and the aroma hits you—that deep, rich, soul-satisfying smell of chili that’s been simmering for hours. Layers of spice, tender meat, and perfectly melded flavors fill the air. The thing is, you didn’t spend all day cooking. You spent 20 minutes prepping, another 20 minutes under pressure, and the rest of the time? The Instant Pot handled it while you got on with your life.
This is the magic of Instant Pot chili that tastes like it’s been slow-cooked all day. It’s the recipe that’s won chili cook-offs, earned five-star reviews from skeptical home cooks, and become a weeknight staple for families everywhere. And it’s not a trick or a shortcut that sacrifices flavor—it’s a real technique that works because of how pressure cooking actually works.
When you understand the science and apply the right methods, a 20-minute pressure cook can deliver the same depth, tenderness, and integrated flavors that would normally take hours on the stovetop. The sealed environment concentrates flavors, the heat breaks down proteins and releases umami, and the natural pressure release gives the chili those final precious minutes to settle and deepen. No waiting around, no constant stirring, and still that soul-satisfying, slow-cooked taste.
Why Instant Pot Chili Delivers Restaurant-Quality Flavor in Minutes

The secret isn’t magic—it’s pressure. Traditional slow-cooked chili spends hours at a low simmer, allowing spices to bloom, meat fibers to soften, beans to become tender, and flavors to meld into something greater than the sum of their parts. But here’s what most people don’t realize: the Instant Pot achieves the same transformation faster by working harder.
At high pressure, the temperature inside the pot rises to around 250°F (121°C), much hotter than a stovetop simmer. This accelerates the chemical reactions that break down tough muscle fibers and extract deep, complex flavors from your ingredients. The sealed environment means no evaporation of aromatics or seasoning—everything stays in the pot, building flavor intensity rather than diffusing into the air. When you then let the pressure release naturally (rather than quick-release), the chili continues to cook gently as the pressure drops, mirroring that final hour of a slow cooker where everything really comes together.
The result? A chili that tastes like it spent all day becoming delicious, but you’ve got it on the table in under an hour. It’s not a compromise—many cooks who’ve made both versions back-to-back say the Instant Pot version is actually richer and more cohesive, because the flavors integrate more completely under pressure.
The Ground Meat: Choosing Quality for Maximum Flavor
The meat is your foundation, and it deserves real thought. Most recipes will tell you that any ground beef works fine in chili, but that’s not quite true. The fat content and meat quality directly impact how much flavor and body your chili develops.
If you’re using regular ground beef from the tube (sometimes sold as “ground beef blend”), you’re working with inconsistent fat, unknown sources, and sometimes added fillers or binders. Those tubes often contain fat in all the wrong places—it’ll render out into your chili rather than staying bound to the meat, leaving you with a greasy, thin-tasting result.
Instead, ask your butcher for 80/20 or 85/15 ground beef. This means 80 to 85 percent lean meat and 15 to 20 percent fat. That fat percentage is what gives you richness and mouth-feel, and it’s high enough that you won’t end up with a greasy pot of chili. When the meat browns properly (not steams), it develops flavor through the Maillard reaction—that browned crust on each piece is where the deep, savory taste comes from.
You can absolutely use ground turkey for a lighter version, or ground bison for a slightly different flavor profile, but stick with 85/15 or higher fat content to get real flavor. Chicken is too lean and tends to make the chili taste thin unless you’re making a completely different style of white chicken chili.
Building Your Aromatics: The Foundation of Flavor
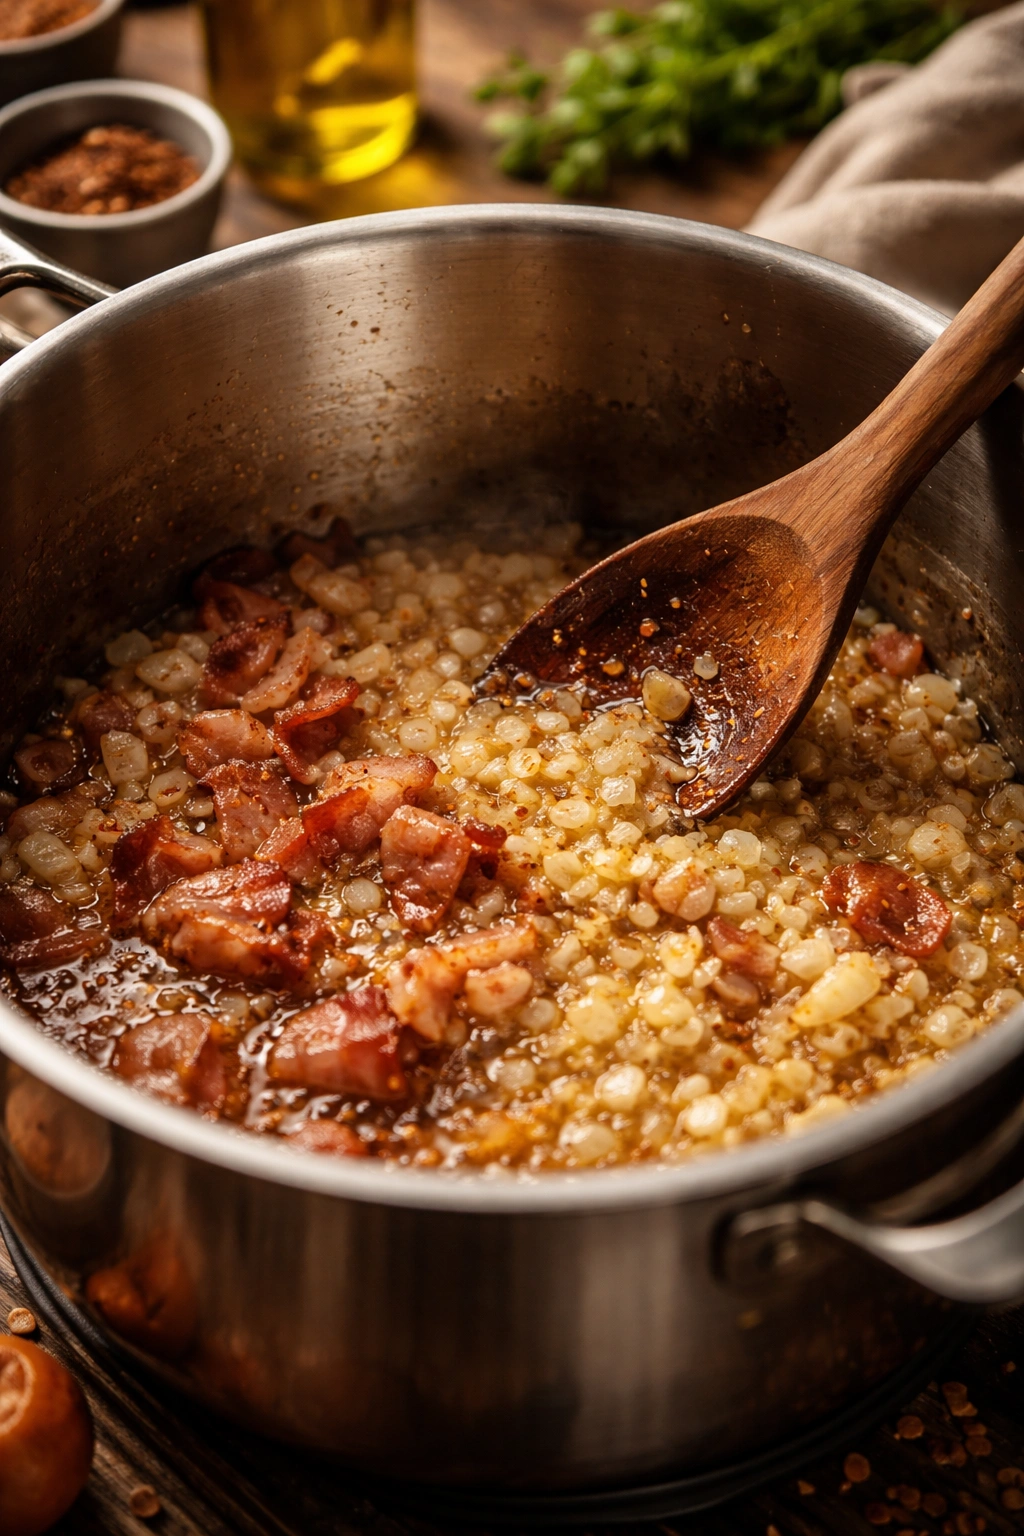
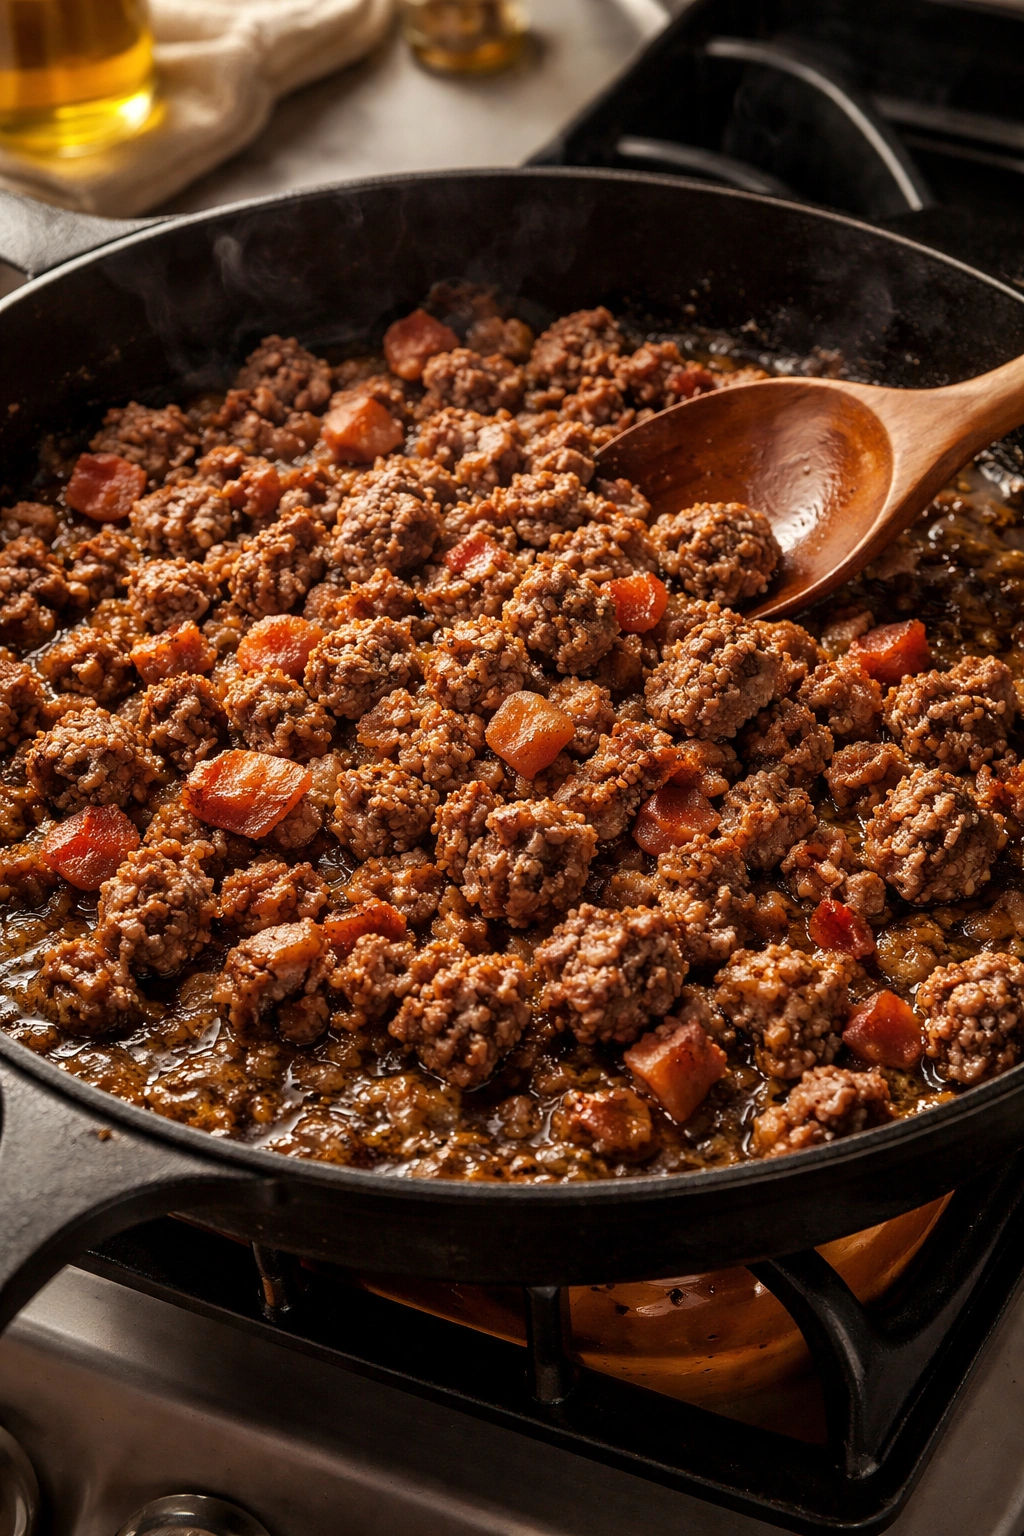
Every great chili starts the same way: you’re browning bacon and then cooking onions and garlic until they’re soft and golden. This isn’t just about making the meat taste good—you’re building layers of flavor that’ll carry through the entire pot.
Bacon is non-negotiable here. Use quality bacon (not the thin, flimsy kind), chop it up, and let it render its fat into the pot. Don’t drain it all out—those browned bits sticking to the bottom are pure flavor. Crisp the bacon first, remove it to a paper towel, and use the rendered fat to cook your meat. The smokiness of bacon integrates into every single bite of the finished chili, adding depth that you can’t quite identify but will absolutely taste.
Next comes your onion. One large yellow onion, finely diced, goes into the same pot. Yellow onions have a natural sweetness that becomes mellow and almost caramel-like as they cook. Don’t rush this part—let the onion soften for a few minutes, stirring occasionally. You’re not just cooking it; you’re releasing its sugars and letting them start to brown slightly. This is the beginning of complexity.
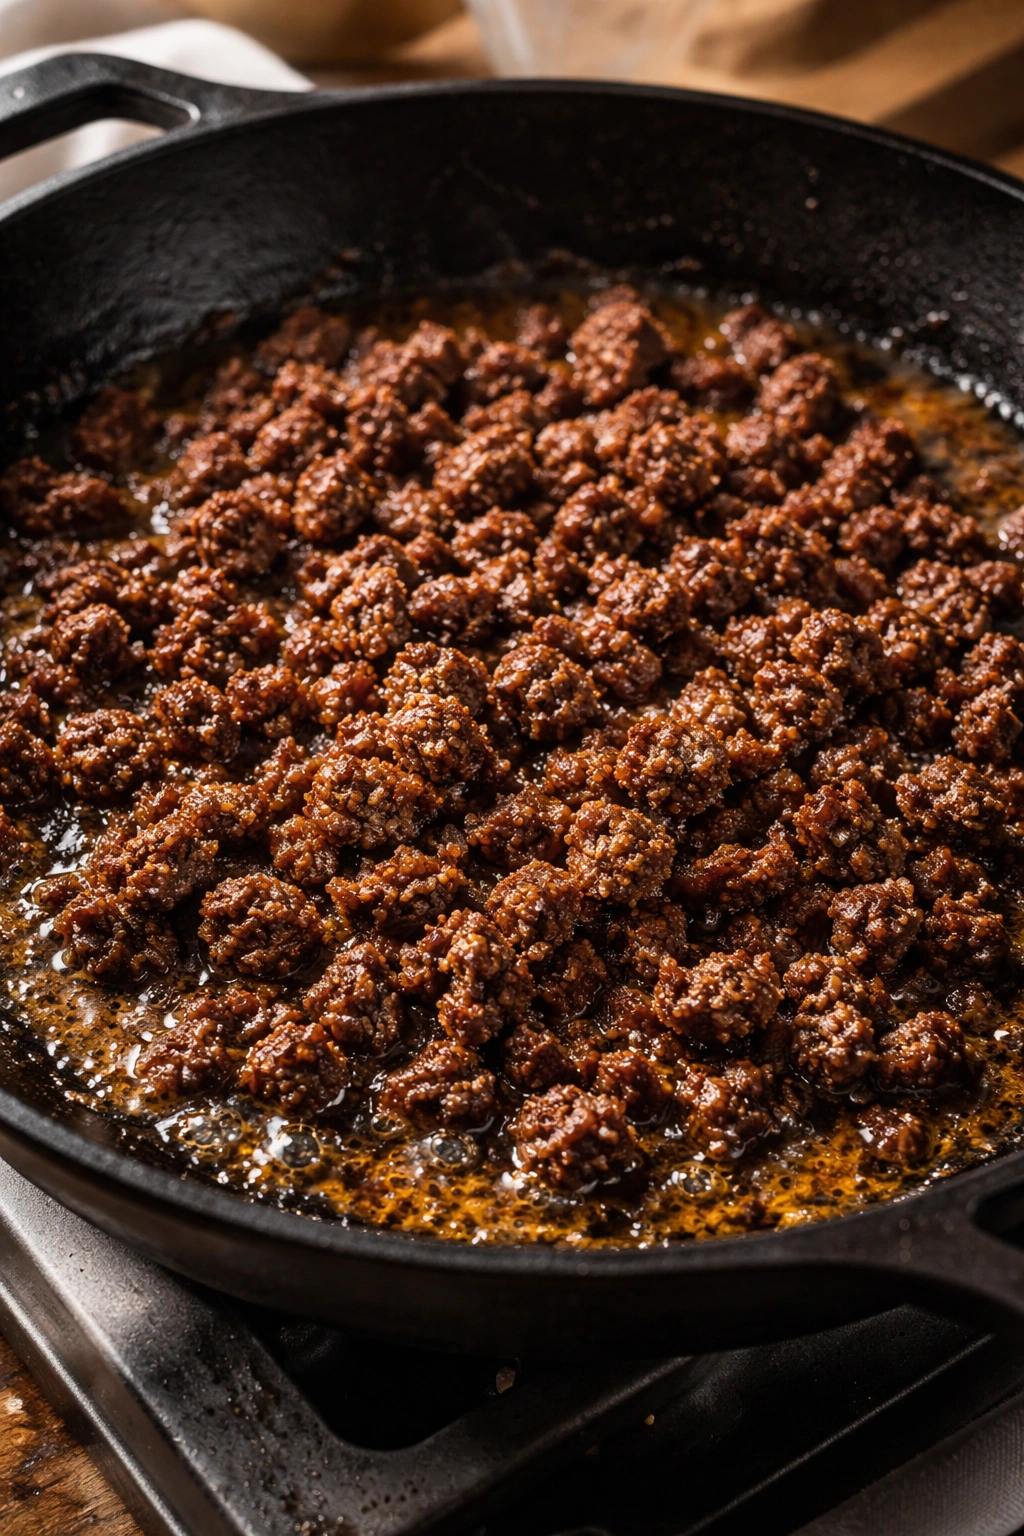
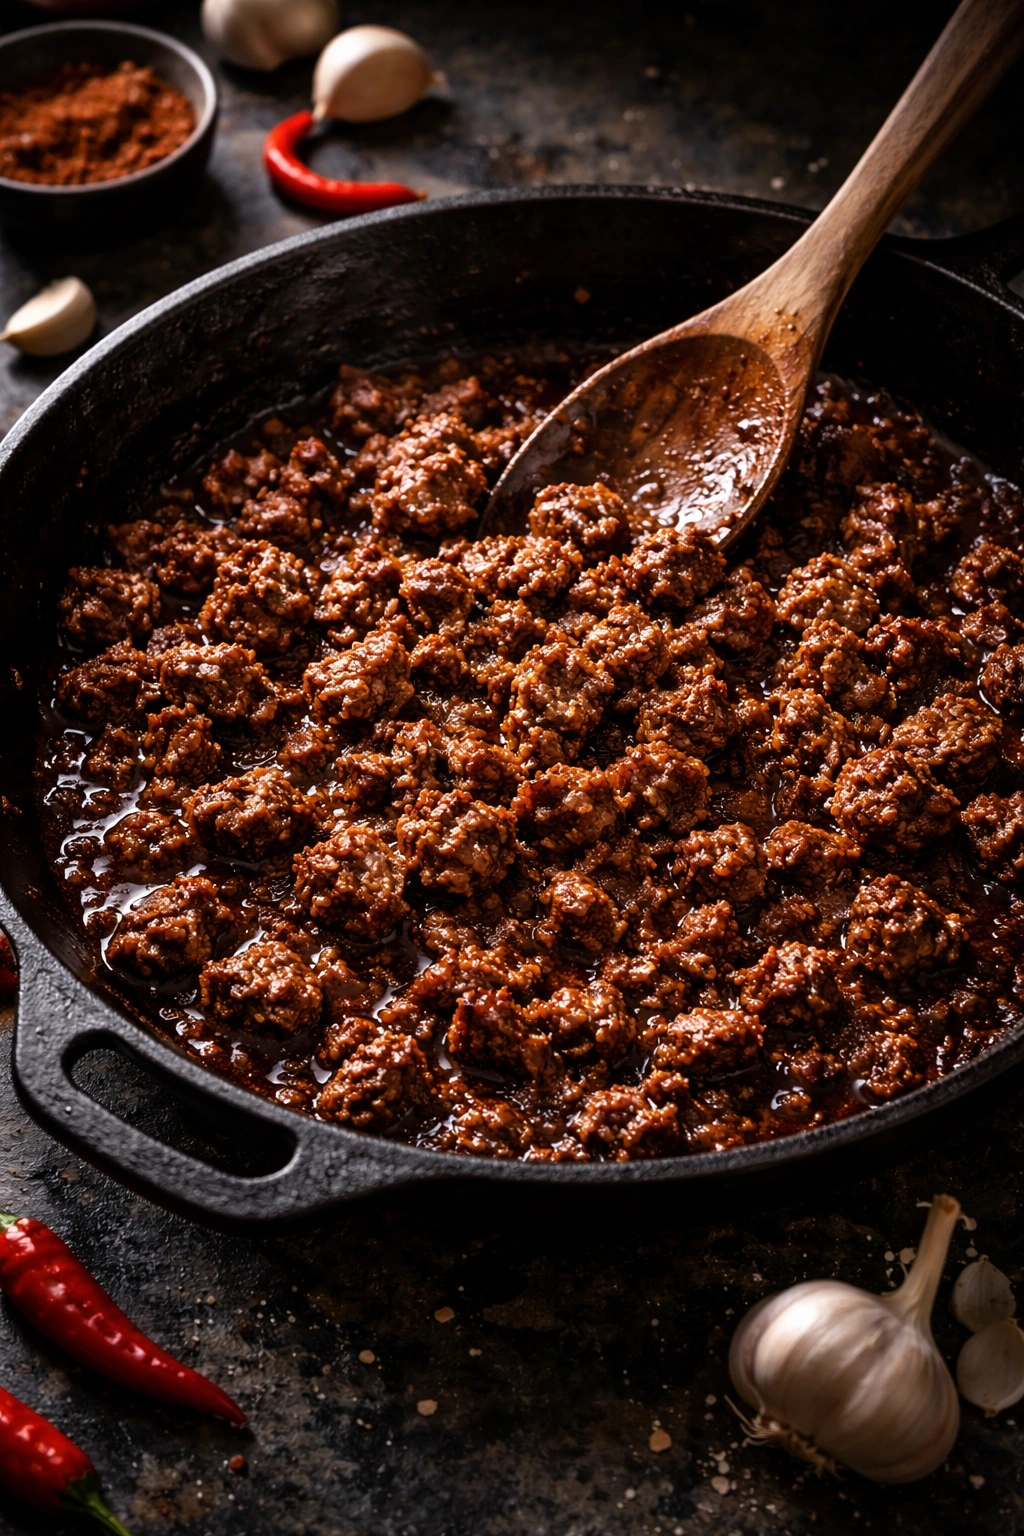
Once your onion is soft and has a slight golden edge, add your ground beef and let it brown. Don’t stir constantly—let it sit for a minute or two between stirs so the meat can develop that crucial browned crust. Break it up with your spoon as it cooks, but let each piece make contact with the hot pan. This browning step is where most of your savory, umami flavors come from.
Finally, add your minced garlic—about 4 to 6 cloves, finely minced. Add garlic last, not first. Raw garlic burns quickly, and burnt garlic tastes acrid and bitter, ruining an entire pot. Let it toast for just 30 to 60 seconds in the fat, stirring constantly. You want to release its oils and fragrance, not char it.
Selecting Beans: Variety, Texture, and How to Prepare Them
Most chili recipes use canned beans, and there’s nothing wrong with that. Canned beans are pre-cooked and tender, which is what you want in a finished chili. Don’t use dried beans in this recipe—they won’t soften properly under pressure, and you’ll end up with a pot of tough, mealy chili.
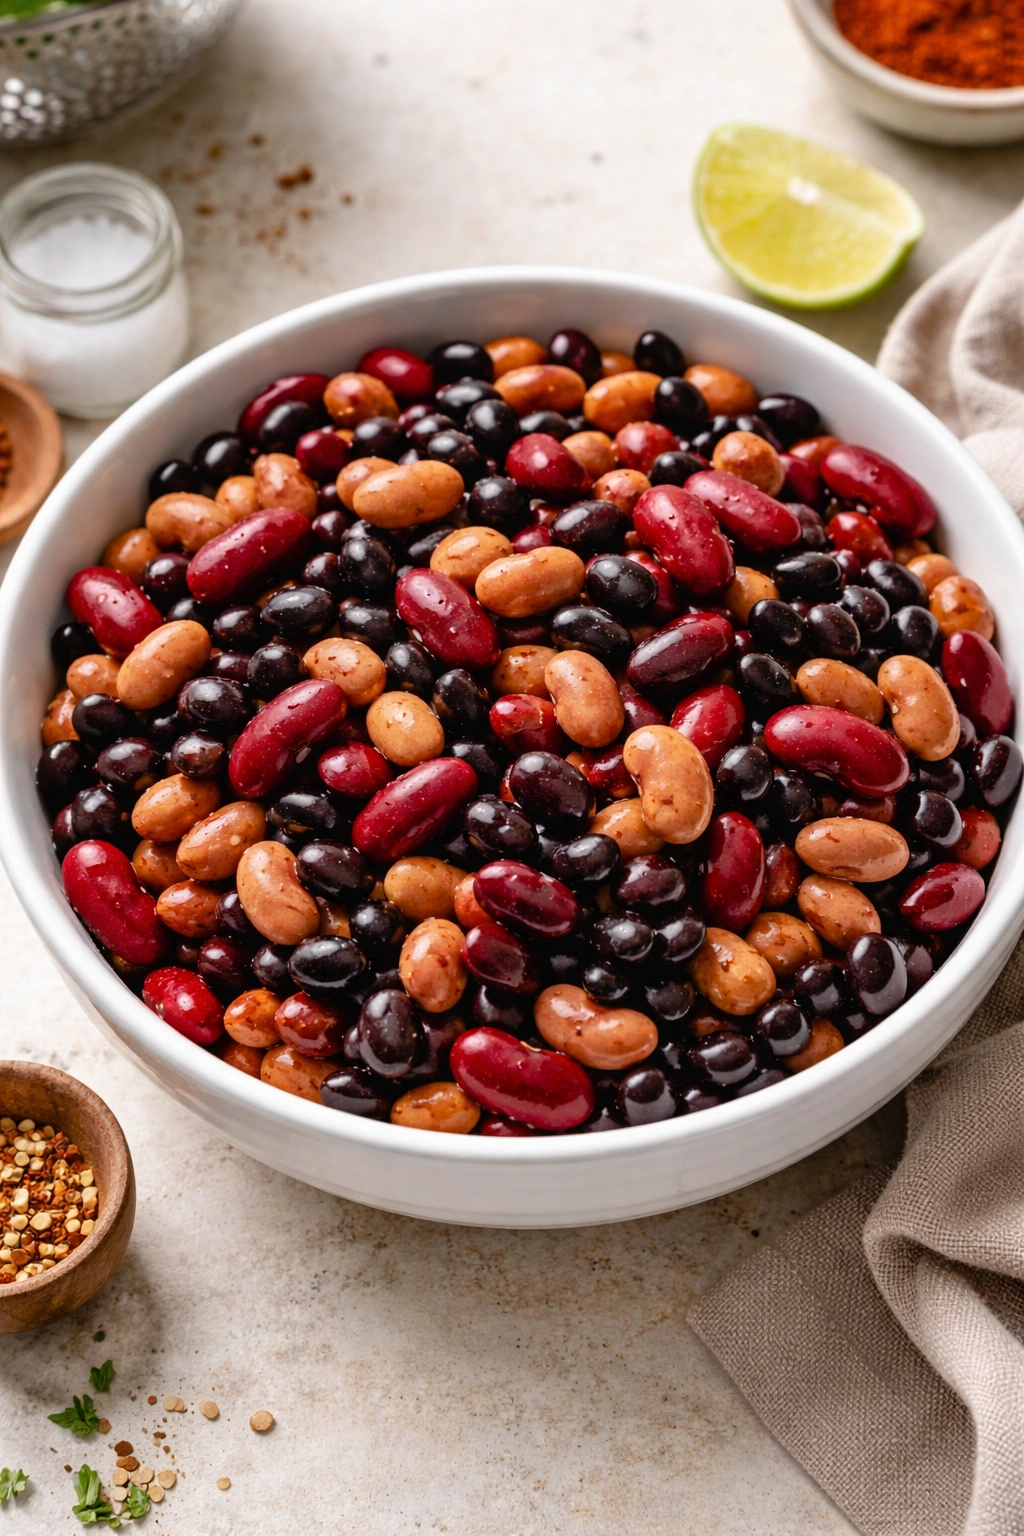
A classic combination is a mix of kidney beans, pinto beans, and black beans, using about one can of each. This gives you variety in color and a slight difference in flavor—kidney beans are a bit earthier, pintos are creamier, and black beans are more delicate. If you only want one type, dark red kidney beans are your best bet; they hold their shape well and have a classic chili taste.
Drain and rinse your canned beans before adding them. This removes the thick, starchy liquid (the “aquafaba”) that can make your chili sludgy and bland. A quick rinse under cold water is all you need—just run them through a colander and give them a gentle shake.
How many beans? This is personal preference, but most good chilis use about 3 to 4 cans total for 2 pounds of meat. This gives you about one part beans to two parts meat and sauce. If you like a brothier, more soup-like chili, use fewer beans. If you want something thick and hearty, with beans in almost every spoonful, use more. Just remember that adding more beans also means you’re adding more starch, which can push the Instant Pot toward throwing a “burn notice” if you’re not careful.
The Tomato Base: Depth and Complexity Through Smart Selection
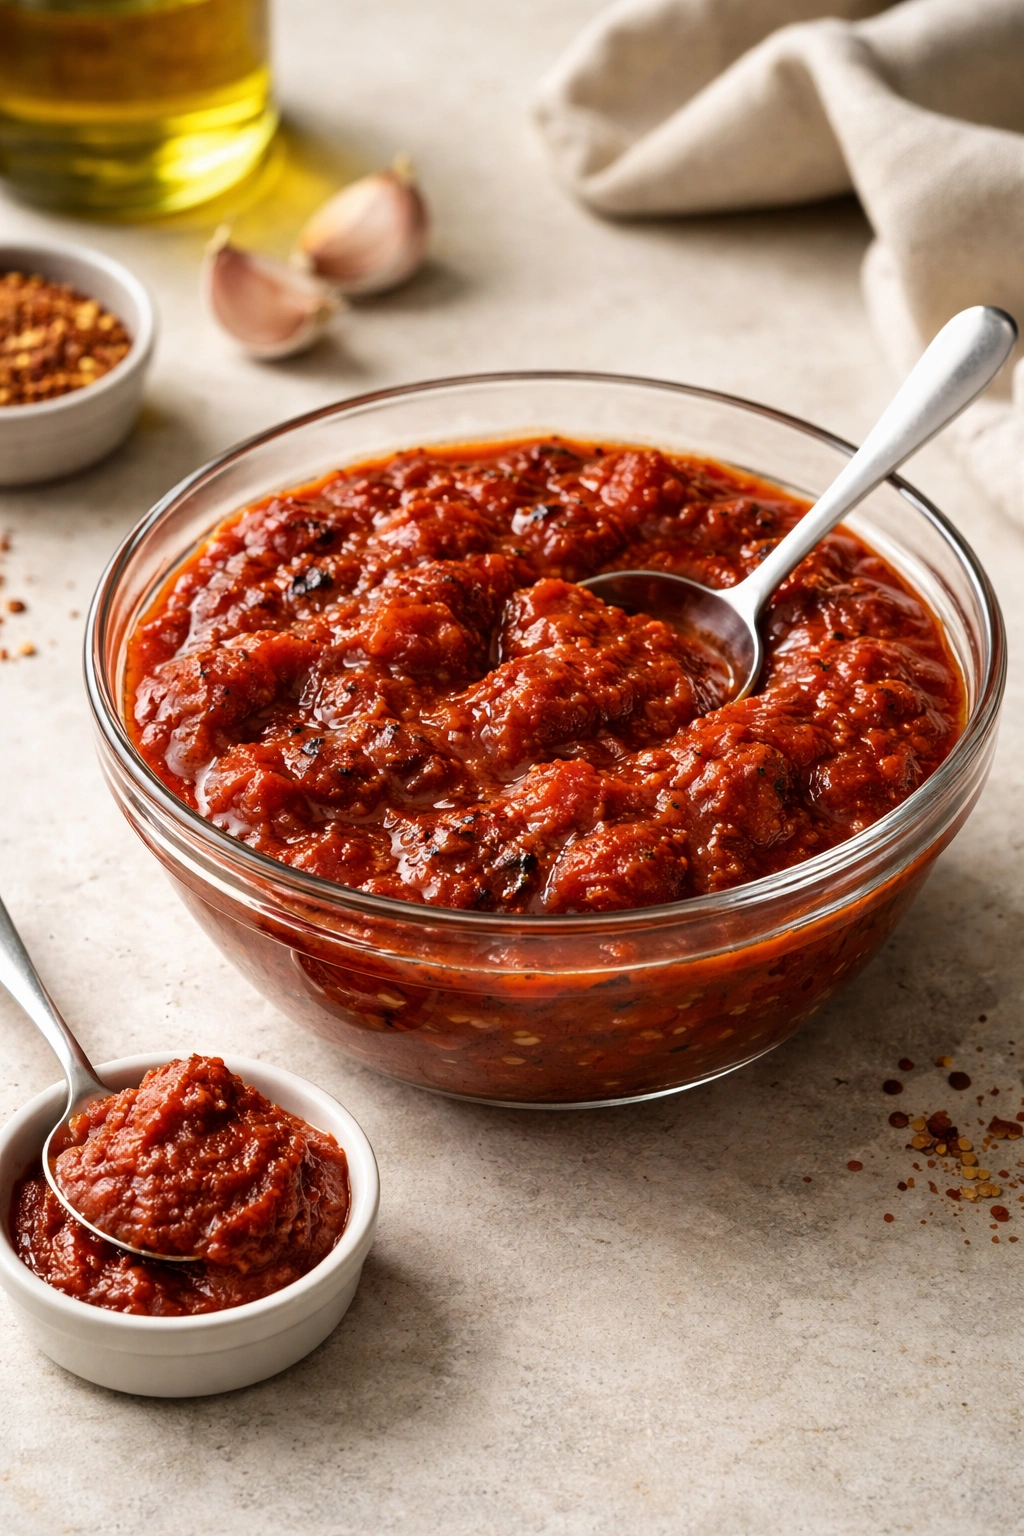
Tomatoes are the backbone of your sauce, and the type you choose matters far more than you’d expect. Fire-roasted crushed tomatoes are your gold standard here. They have a slightly smoky, deeper flavor than regular diced tomatoes, and the crushed texture breaks down into the sauce rather than sitting as chunks.
Use either one 28-ounce can of crushed fire-roasted tomatoes, or two 14-ounce cans. Some recipes add diced tomatoes on top of that, but crushed tomatoes are more important because they integrate completely into the sauce, creating body and thickness naturally.
You’ll also want tomato paste—about 6 ounces (a standard small can). Don’t skip this. Tomato paste is concentrated tomato flavor, and it adds a richness and depth that raw tomatoes can’t achieve. It’s cooked down to remove water and concentrate the solids, which means a little goes a long way. Stir it in during the initial browning phase, coating the meat and onions so it gets a chance to toast slightly and develop more complex flavors.
Many recipes also include a can of diced tomatoes with green chilies, like Ro-tel. This adds both heat and a fresh pepper flavor. If you can’t find it, you can substitute regular diced tomatoes plus a small can of diced green chiles (about 4 ounces), which gives you more control over the spice level.
Some cooks add a splash of red wine or beer. A pale lager like Corona adds brightness and tang without making the chili taste like beer. About ½ cup is right—you’re not cooking with wine here; you’re adding complexity. If you don’t want alcohol, substitute with more beef broth.
The Spice Blend: Where Slow-Cooked Depth Actually Comes From
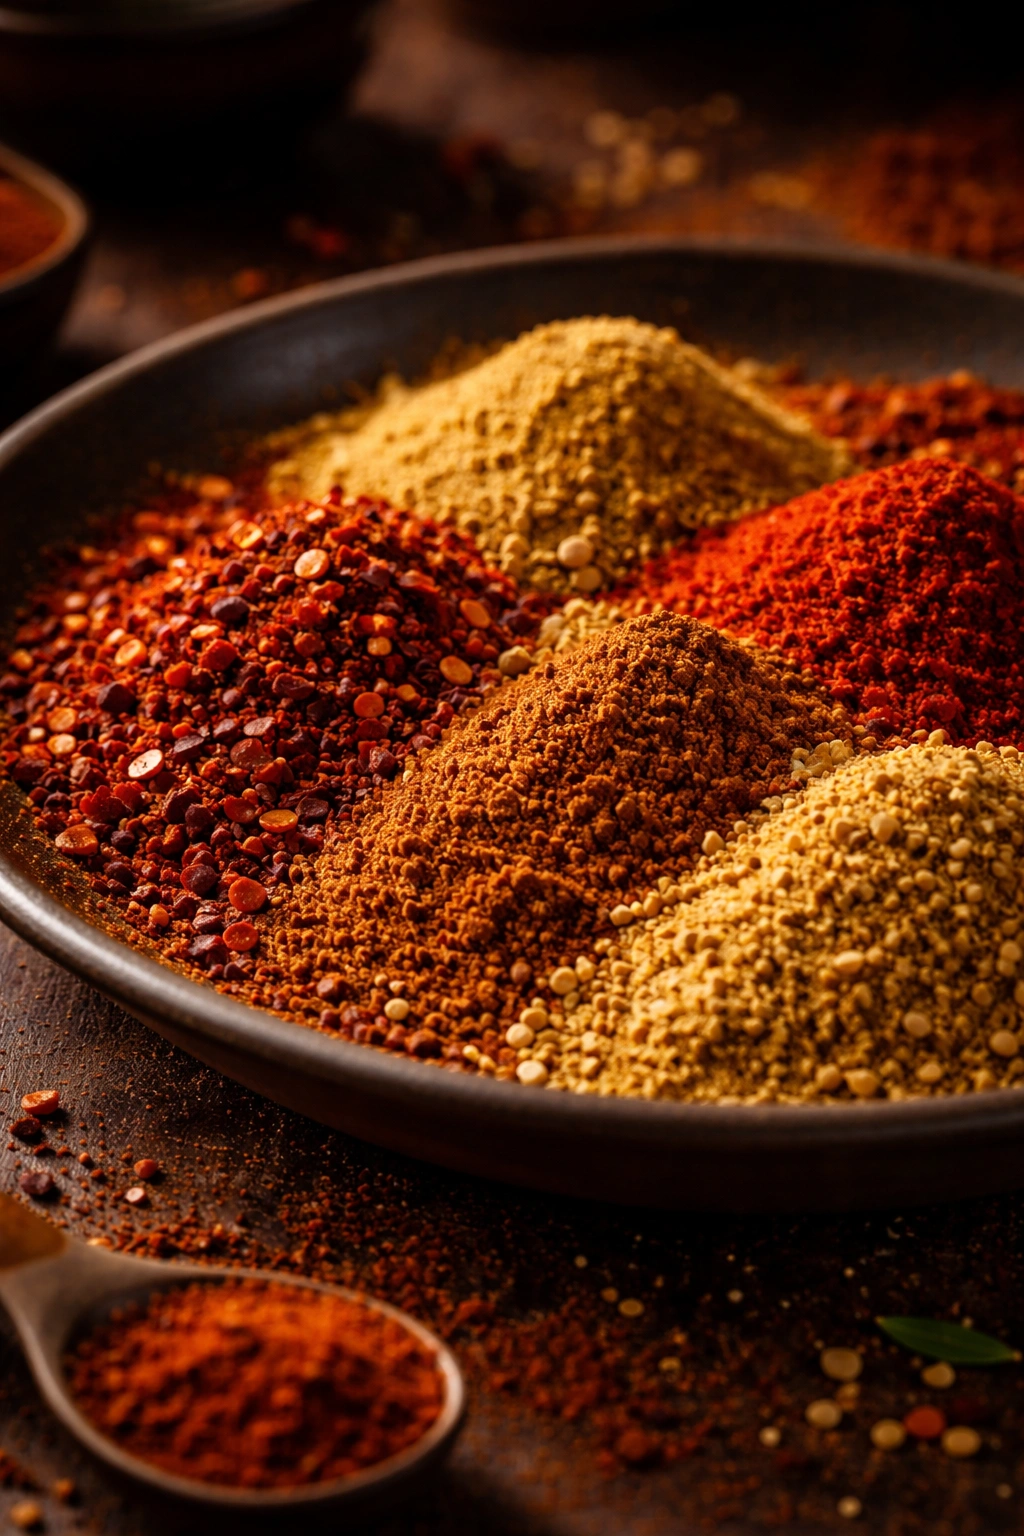
Here’s the truth that separates truly great chili from mediocre chili: your spice blend is where the slow-cooked taste actually comes from. You’re not using just one spice; you’re layering multiple flavors that build on each other and, over time, meld into something unified and complex.
Chili powder is the obvious starting point—about 2 to 3 tablespoons, depending on how bold you like your chili. But chili powder itself is a blend of dried chilies with other spices, so different brands taste completely different. Taste a tiny pinch of yours before committing to the full amount. Some chili powders are smoky, some are sweet, some are very hot. Know what you’re working with.
Cumin adds earthiness and warmth. Use about 1½ to 2 teaspoons of ground cumin. It’s that flavor you taste in all those restaurant-quality chilis, the one that makes people say “I can’t quite name it, but it’s delicious.” That’s cumin.
Smoked paprika (not regular paprika) brings smokiness without heat. About 1 teaspoon adds a subtle richness that makes people think your chili has been simmering for hours. It’s one of the secret weapons of quick chilis.
A pinch of coriander—maybe ½ teaspoon—adds a subtle citrus note that you won’t be able to identify but will absolutely taste. It rounds out the spice blend and keeps it from tasting one-dimensional.
Oregano, about 1 teaspoon of the dried herb, adds an herbal note and Mediterranean depth. Some recipes skip this, but it makes a real difference.
And here’s the one that shocks people: unsweetened cocoa powder, about 1 to 2 teaspoons. Not chocolate—cocoa. It adds depth and bitterness that balances the tomato acidity and makes the flavors feel more complex and layered. It’s not a dessert ingredient; it’s a flavor depth bomb.
Brown sugar or maple syrup, about 1 to 2 teaspoons, balances the acidity of the tomatoes and adds a subtle sweetness that makes all the other flavors come forward. You’re not making sweet chili; you’re using sweetness to enhance savory flavors.
Finally, Worcestershire sauce (about 1 tablespoon) adds umami—that savory fifth-taste quality that makes everything taste richer and more developed. It’s what makes people ask why your chili tastes so good.
Bloom these spices together when you add them. Don’t just throw them in raw. Stir them into the hot meat and onion mixture, let them toast for a minute in the fat, and you’ll smell the difference immediately. The spices become fragrant, more alive, and they distribute evenly throughout the pot rather than clumping up.
How to Avoid the Burn Notice and Still Get Deep Flavor
The Instant Pot’s “burn notice” is notorious, and chili is actually one of the recipes most likely to trigger it. This happens because chili is thick, and thick foods can stick to the bottom of the pot and scorch under pressure. The good news is that once you understand why it happens, preventing it is straightforward.
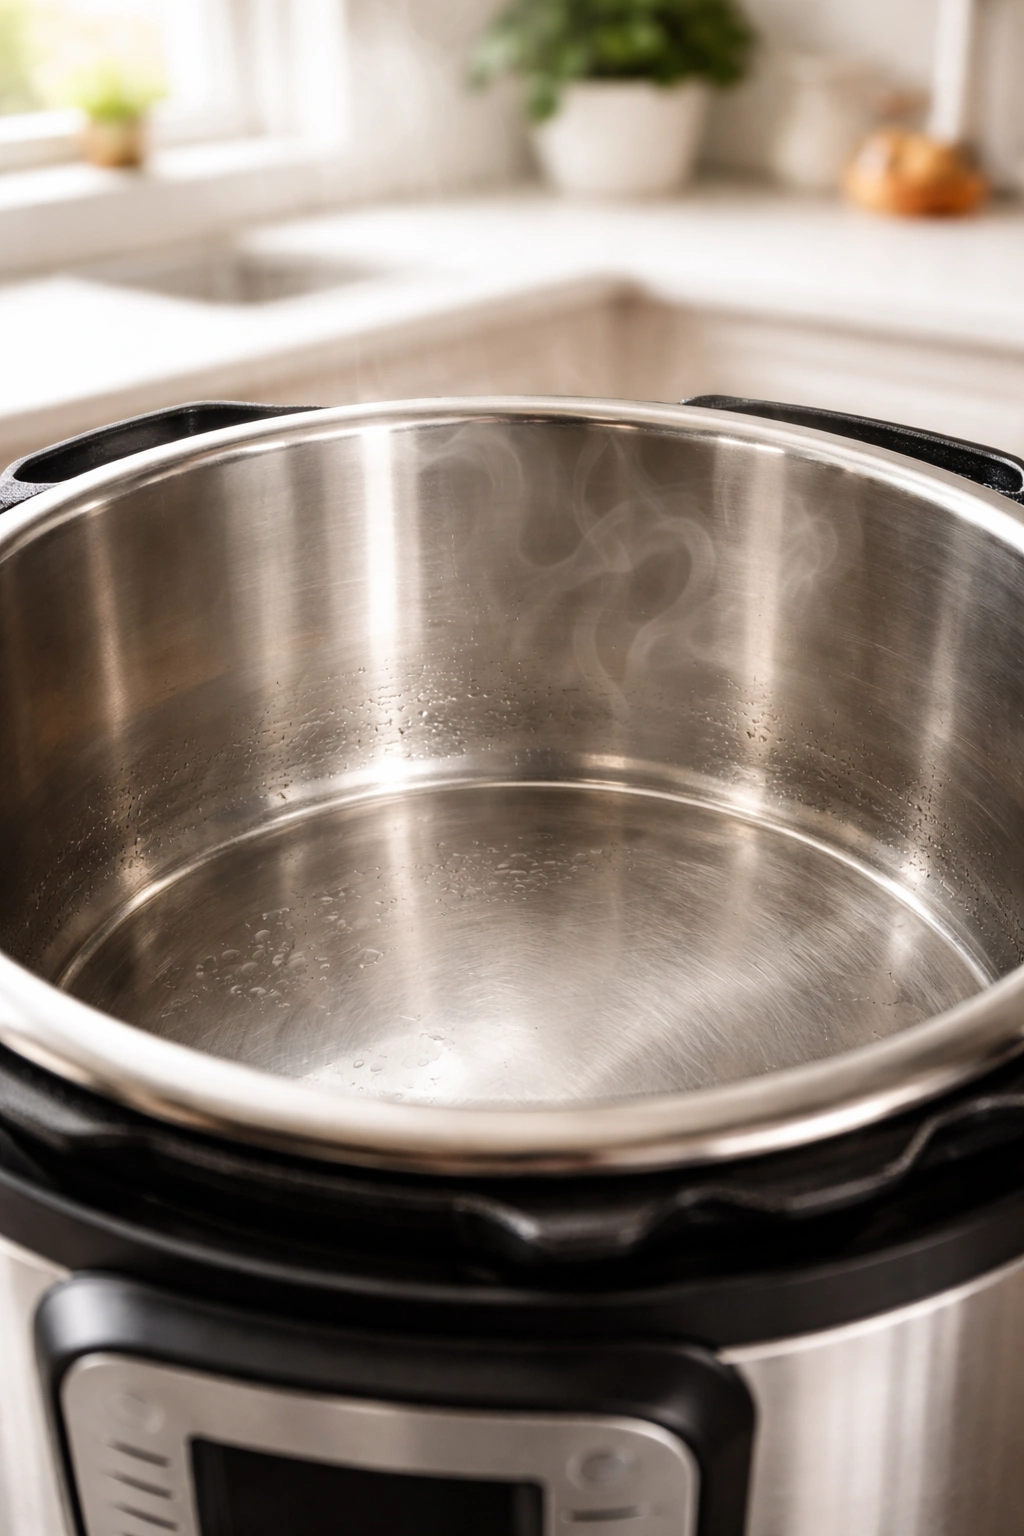
First, ensure the bottom of your pot is clean before you start. Any stuck-on food from a previous use will continue cooking and confuse the pressure cooker into thinking something is burning. Use a bottle of Bar Keeper’s Friend and a soft sponge to gently clean the inner pot after every use.
Second, deglaze the pot during the browning phase. After you brown your meat, pour in that beer, wine, or beef broth (about ½ cup), and use a wooden spoon to scrape up all the browned bits stuck to the bottom. These bits contain massive amounts of flavor, and the liquid releases them. Let this mixture bubble for a minute, then proceed. This is the single most important step in avoiding a burn notice.
Third, make sure you have enough liquid. The Instant Pot needs a minimum amount of liquid to build pressure safely. You should have at least 1 cup of liquid total (from broth, tomatoes, beer, etc.). If your chili seems too thick, add another ½ cup of beef broth.
Fourth, layer your ingredients carefully. After deglazing, add your beans, spices, sauce, and broth, and stir everything together. Then, top with your crushed tomatoes last, without stirring them in. Leaving them on top means they’re not in direct contact with the bottom of the pot. Once the pressure cooking is done and you stir, the tomatoes will distribute evenly.
Fifth, use the “chili” or “bean” setting if your Instant Pot has one, otherwise use high pressure for 15 to 20 minutes depending on your pot size and preferences. Don’t use the “soup” setting, which cooks longer. You’re not making soup; you’re making chili.
The Pressure Cooking Phase: Where the Magic Happens
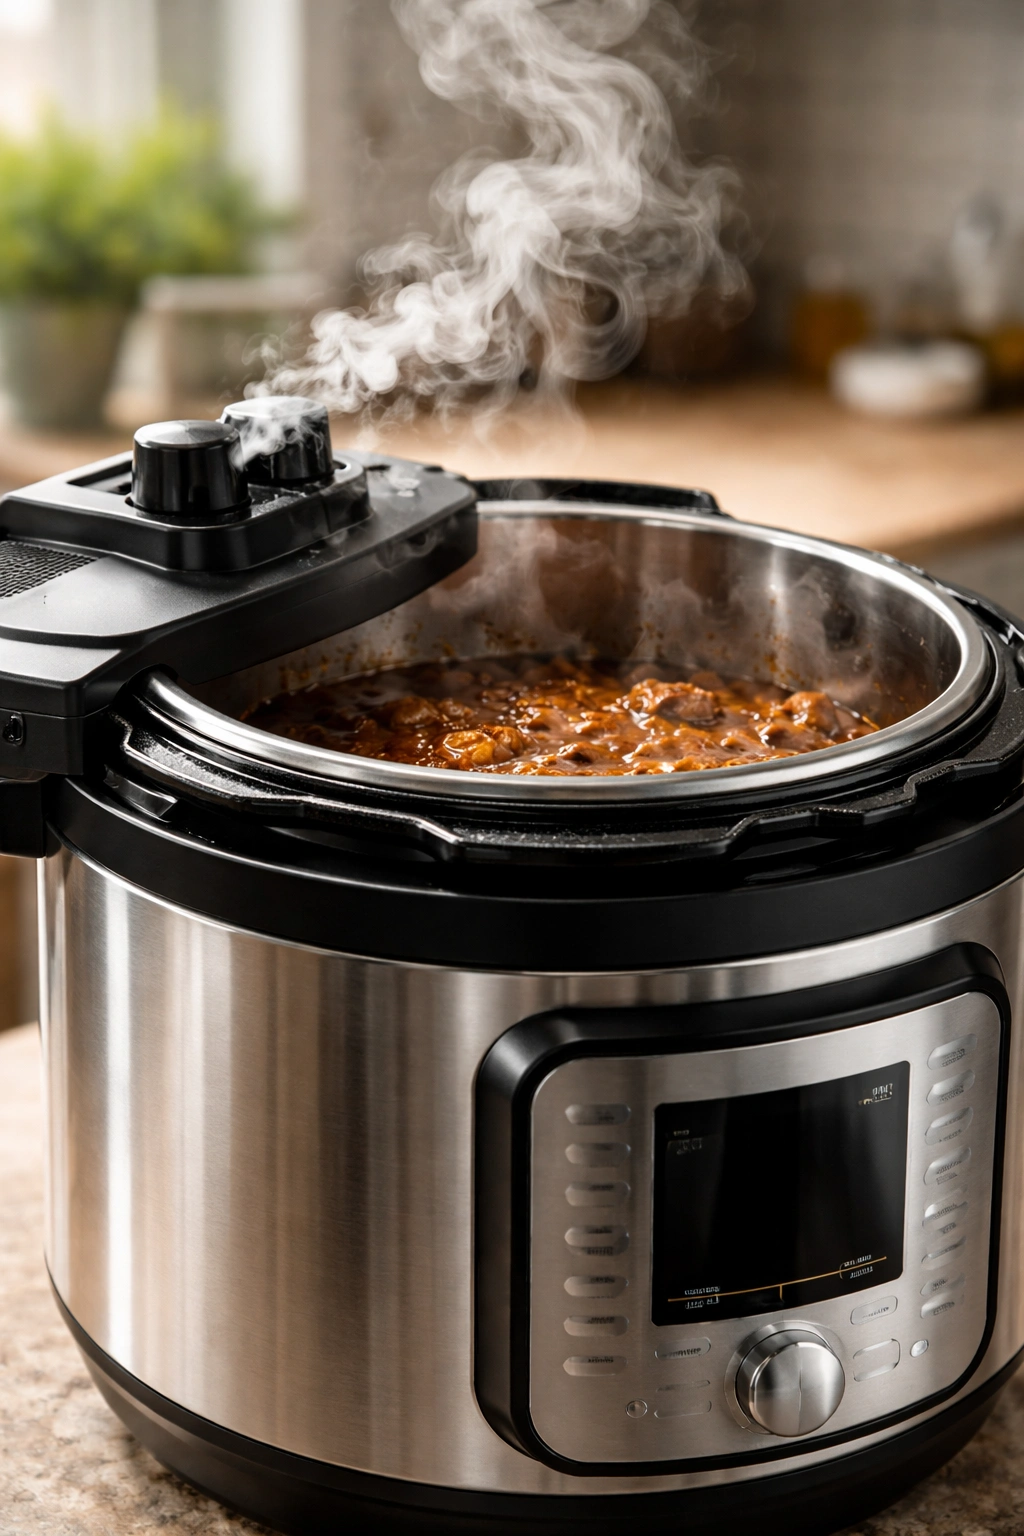
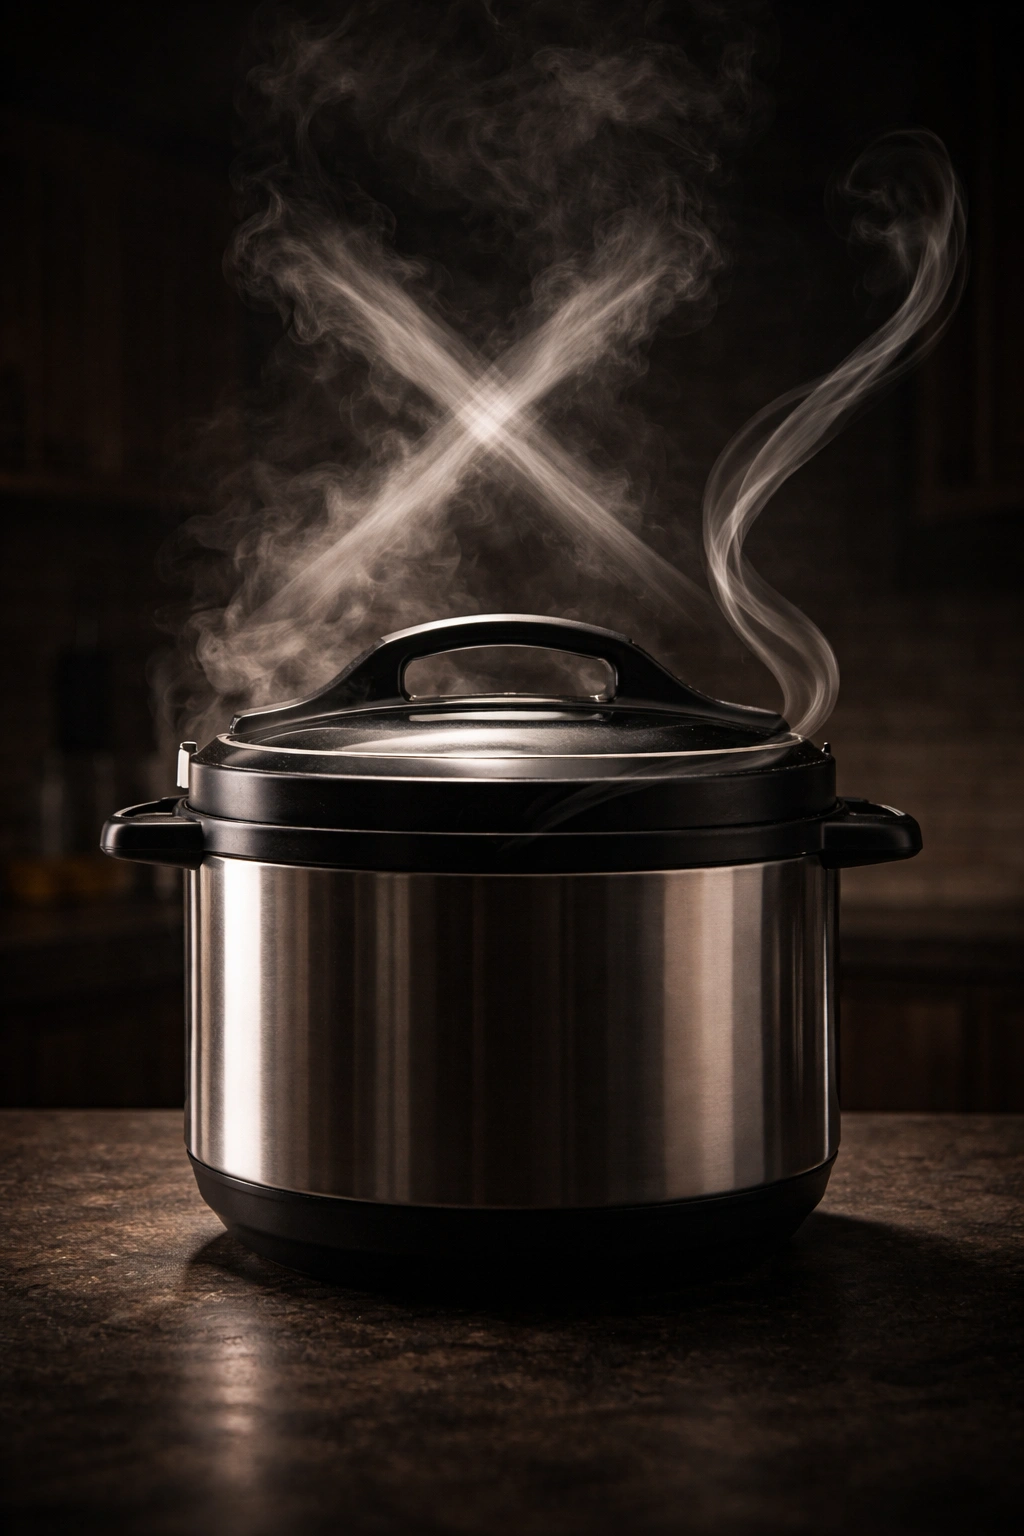
Once your ingredients are in the pot, place the lid on the Instant Pot, ensure the venting valve is set to “seal” (not “vent”), and select your cooking program. If your Instant Pot has a dedicated “chili” or “bean” setting, use that—it’s programmed to cook at the right temperature and time for this style of cooking.
If not, select manual or pressure cook on high for 15 to 20 minutes. Start with 15 minutes if this is your first time; you can always cook longer next time if you want even more tenderness. Most home cooks find that 18 to 20 minutes gives them that slow-cooked taste they’re after.
Don’t panic if the Instant Pot takes several minutes to come to pressure. This is called “pressure build-up,” and it’s completely normal. The pot is heating up and filling with steam, which takes time, especially when you have a thick chili full of ingredients. You’ll see the float valve (a small pin on the top of the lid) pop up once pressure is reached, and that’s when the timer officially starts counting down.
While the chili is cooking, don’t open the lid to peek. Every time you unseal the pot, you release pressure and add time to the cooking process. Trust the process—it’s working, and the aroma trapped inside is intensifying everything happening in there.
Natural Pressure Release: The Final Step That Tastes Like Hours

Here’s where a lot of home cooks mess up, and it costs them in flavor: they do a quick release as soon as the timer beeps.
A quick release means you move the venting valve from “seal” to “vent,” which instantly releases all the pressure. It’s fast—done in a minute—but your chili doesn’t get that crucial final window where the flavors integrate and the texture settles.
Instead, let the pressure release naturally for at least 10 to 15 minutes. During this time, the heat is dropping, but the chili is still cooking, still melding, still becoming more complex. It’s during this phase that ingredients truly integrate and the texture becomes silky rather than separated. Your chili goes from “cooked” to “slow-cooked.”
After the natural release, if there’s still pressure in the pot (you’ll see the float valve still raised), use a long wooden spoon handle to carefully knock the venting valve from “seal” to “vent,” releasing any remaining pressure. Do this slowly and carefully—there will be a burst of steam, and you don’t want it in your face.
Only then is it safe to open the lid.
Instant Pot Chili Recipe
Yield: Serves 8 to 10 | Makes about 12 to 14 cups
Prep Time: 20 minutes
Cook Time: 20 minutes under pressure
Pressure Build-Up Time: 10 to 15 minutes
Natural Pressure Release: 15 minutes
Total Time: About 1 hour
Difficulty: Intermediate — You need to understand the basics of sautéing meat and managing an Instant Pot’s pressure settings, but the recipe itself is straightforward. Even first-time Instant Pot users can succeed by following the steps carefully.
For the Chili Base:
- 6 slices good-quality bacon, chopped
- 2 pounds ground beef, 80/20 or 85/15 preferred
- 1 large yellow onion, finely diced
- 4 to 6 cloves fresh garlic, minced
- ½ cup pale lager beer (like Corona or Coors), or additional beef broth
- 1 cup low-sodium beef broth
- ½ cup beef broth (second addition, optional)
For the Tomatoes:
- 1 (28-ounce) can fire-roasted crushed tomatoes (or 2 (14.5-ounce) cans)
- 1 (6-ounce) can tomato paste
- 1 (14.5-ounce) can diced tomatoes with green chilies (like Ro-tel), or 1 (14.5-ounce) can diced tomatoes + 1 (4-ounce) can diced green chiles
For the Beans and Protein:
- 1 (15-ounce) can dark red kidney beans, drained and rinsed
- 1 (15-ounce) can pinto beans, drained and rinsed
- 1 (15-ounce) can black beans, drained and rinsed (optional; you can use all kidney beans if preferred)
For the Spice Blend:
- 2 to 3 tablespoons chili powder
- 1½ teaspoons ground cumin
- 1 teaspoon smoked paprika
- 1 teaspoon dried oregano
- ½ teaspoon ground coriander
- 1 to 2 teaspoons unsweetened cocoa powder
- 1½ teaspoons kosher salt
- ¾ teaspoon ground black pepper
- 1 tablespoon Worcestershire sauce
- 1 teaspoon brown sugar or pure maple syrup
Optional Add-Ins for Extra Flavor:
- 1 to 2 jalapeños, seeded and minced (for additional heat)
- 1 red bell pepper, seeded and diced (adds freshness and slight sweetness)
- 2 tablespoons beef stock (if the chili seems too thick before pressure cooking)
For Serving:
- Shredded cheddar cheese
- Sour cream or Greek yogurt
- Sliced green onions
- Fresh cilantro
- Sliced jalapeños or pickled jalapeños
- Diced avocado or fresh guacamole
- Lime wedges
- Tortilla chips or corn chips
- Diced red onion
- Hot sauce (for those who want extra heat)
Step-by-Step Instructions
Brown the Bacon and Meat:
-
Set your 6-quart or 8-quart Instant Pot to SAUTE mode and let it preheat. Once you see “HOT” on the display, add the chopped bacon to the inner pot.
-
Cook the bacon, stirring occasionally, for 5 to 7 minutes, until it’s browned and crispy. The rendered fat will pool in the bottom of the pot—this is exactly what you want.
-
Using a slotted spoon, remove the cooked bacon to a paper towel–lined plate and set aside. (You can save it for garnish or crumble it back into the chili before serving.)
Advertisements -
Return the inner pot to the Instant Pot while it’s still on SAUTE mode. Add the 2 pounds of ground beef and the diced yellow onion directly into the hot bacon fat.
-
Cook, stirring occasionally and breaking up the meat with a spoon, for 8 to 10 minutes, until the beef is completely browned and the onion is soft and beginning to turn golden at the edges. Don’t stir constantly—let the meat develop a browned crust for a few minutes between stirs. This browning is crucial for flavor.
-
Once the meat is cooked through and the onion is soft, add the minced garlic and stir constantly for 30 to 60 seconds, just until fragrant. Be careful not to let it burn—burnt garlic tastes bitter and will ruin the chili.
Deglaze and Build Flavor:
-
With the Instant Pot still on SAUTE mode, pour in the beer (or additional beef broth if you’re skipping alcohol) and use a wooden spoon to scrape up all the browned, flavorful bits stuck to the bottom of the inner pot. This step is essential for both flavor development and preventing a “burn notice.”
-
Let the mixture bubble and reduce for 1 to 2 minutes, stirring occasionally. You’ll notice the liquid reducing and the flavors concentrating. Then press the CANCEL button to turn off SAUTE mode.
Layer and Season Your Chili:
-
Stir in the 1 cup of beef broth first, then add the chili powder, cumin, smoked paprika, oregano, coriander, cocoa powder, salt, pepper, Worcestershire sauce, and brown sugar. Stir well to distribute the spices evenly through the meat and to “bloom” the spices in the hot fat. This toasting brings out their flavor compounds.
-
Add all three cans of drained beans (kidney, pinto, and black) and stir gently to combine. If you’re adding diced bell pepper or jalapeño, add them now and stir.
-
Pour in the 6-ounce can of tomato paste and stir until it’s completely incorporated and the meat is coated. The paste should darken the mixture and add richness.
Advertisements -
Now, very important: add the diced tomatoes with green chiles (or diced tomatoes plus green chiles), and the crushed fire-roasted tomatoes, but do not stir them in yet. Let them rest on top of the other ingredients. This prevents the tomatoes from sticking to the bottom of the pot and triggering a burn notice. Once pressure cooking is complete and you stir, the tomatoes will distribute naturally.
-
If your chili looks very thick (you should see a little liquid peeking through the tomatoes), add the optional second ½ cup of beef broth. You want to see some liquid for the pot to reach pressure safely.
Pressure Cook:
-
Place the lid on the Instant Pot, making sure the sealing ring is positioned correctly inside the lid. The lid should close with a click.
-
Check that the venting valve (the small knob on top of the lid) is set to “SEAL” position, not “VENT.” This is crucial—if it’s set to vent, the pot will never build pressure.
-
Select your cooking program: If your Instant Pot has a “CHILI” or “BEAN” setting, use that. Otherwise, select MANUAL or PRESSURE COOK on HIGH PRESSURE and set the time to 18 to 20 minutes. (First-timers should start with 18 minutes; you can always cook longer next time if you want more tenderness.)
-
Press the button to start cooking. The Instant Pot will now begin building pressure, which typically takes 10 to 15 minutes depending on how much food is in the pot. During this time, you’ll see the float valve (a small pin on the lid) rise up as pressure builds. Do not open the lid or attempt to release pressure during this time.
-
Once the float valve rises and stays up, the countdown timer will begin. The chili will cook under high pressure for the time you set (18 to 20 minutes).
Release Pressure (This Is Critical):
-
When the timer beeps and the cooking time is complete, do not quick-release the pressure. Instead, allow the pressure to release naturally for at least 15 minutes. This is where much of the slow-cooked flavor develops. During this time, the pot is still cooking gently as the pressure drops.
Advertisements -
After 15 minutes of natural release, check the float valve. If it’s still raised (indicating pressure remains), you can carefully use a long wooden spoon handle to knock the venting valve from “SEAL” to “VENT,” slowly releasing any remaining pressure. Do this cautiously—there will be a burst of steam.
-
Once the float valve drops completely and the venting valve is in the “VENT” position, the lid will unlock. It’s now safe to open it.
Finish and Serve:
-
Carefully open the lid and stir the chili thoroughly. The tomatoes will now distribute throughout, and everything will look unified and rich. Taste and adjust seasoning as needed—add more salt, pepper, chili powder, or cumin if you’d like.
-
If your chili seems too thin, select SAUTE mode again and let it simmer, uncovered, for 5 to 10 minutes to reduce the liquid and thicken it. The chili will also thicken as it cools.
-
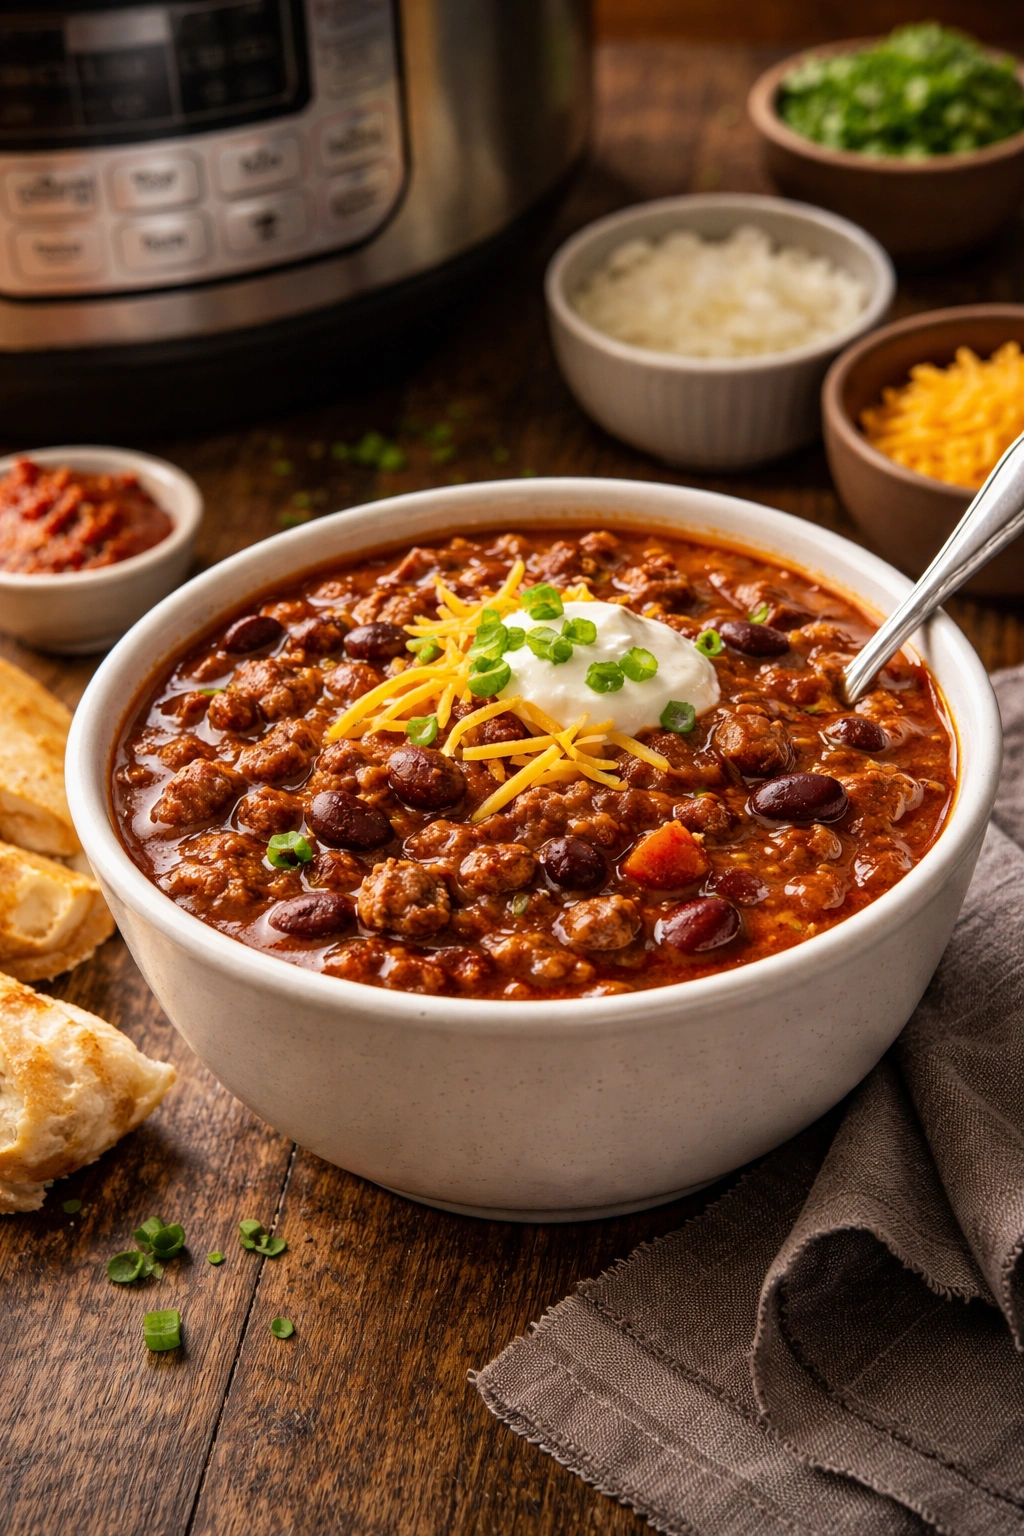
Crumble the reserved bacon back into the chili, or save it as a topping. Ladle into bowls and serve with your desired toppings.
Pro Tips for Award-Winning Results
Room temperature meat browns better than cold meat. If your ground beef has been in the fridge, pull it out 15 minutes before you start cooking. Cold meat releases moisture and steams rather than browning, giving you less flavor.
Don’t over-crowd the pan when browning meat. If you’re using a lot of meat, cook it in two batches. When the pan is too full, the meat steams instead of browns. A crowded pan will give you gray, tough meat instead of that caramelized, flavorful crust you’re after.
Taste the tomato products before committing. Different brands of tomato paste, crushed tomatoes, and fire-roasted varieties have different levels of acidity and sweetness. A quick taste lets you adjust your seasonings.
Save that bacon fat. The rendered bacon fat is pure flavor. If you’re concerned about the richness, drain about half of it, but leave some—it’s what makes this chili taste indulgent and deep.
Natural release is non-negotiable for best flavor. This is where impatient cooks lose points. That 15-minute natural release is where the magic happens. The ingredients continue to cook gently, flavors integrate, and the meat becomes supremely tender. Quick release gets you dinner fast, but natural release gets you slow-cooked tasting chili.
Don’t skip the spice blooming step. After you add the dry spices to the hot meat and fat, let them toast for a minute. You’ll immediately smell the difference—they become more fragrant and alive. This is the difference between chili that tastes like spice was dumped in and chili that tastes intentionally seasoned.
Common Mistakes and How to Avoid Them
Mistake: Adding garlic at the same time as the meat. Garlic burns faster than meat browns, and burnt garlic tastes acrid and bitter. Always add it at the end, just before deglazing, so it only toasts for 30 to 60 seconds.
Mistake: Skipping the deglaze step or not doing it thoroughly. Those browned bits on the bottom of the pot contain massive amounts of flavor, and they also trigger the burn notice if you don’t release them. Don’t skip this, and don’t half-do it—really scrape with a wooden spoon and let the liquid bubble for a minute.
Mistake: Stirring in the tomatoes before pressure cooking. This is the number-one cause of burn notices in chili. Tomatoes are acidic and thick; if they touch the bottom of the pot, they’ll stick and scorch. Leave them on top, and stir after cooking.
Mistake: Quick-releasing the pressure immediately when the timer beeps. This is the biggest flavor loss. You’re skipping the phase where everything integrates and becomes slow-cooked tasting. Give it those 15 minutes of natural release.
Mistake: Using 90/10 or leaner ground beef without adding extra fat. Lean beef is tough and dry in chili. Use 80/20 or 85/15 for the fat content that keeps the chili moist and rich. If you must use leaner beef, add a tablespoon of olive oil during the browning phase.
Variations and Adaptations

For a Spicier Chili: Add 1 to 2 seeded and minced jalapeños during the browning phase, or increase the chili powder to 4 tablespoons. You can also add ¼ to ½ teaspoon of cayenne pepper to the spice blend, or a splash of hot sauce to taste at the end.
For a Sweeter Chili: Increase the brown sugar or maple syrup to 1 to 2 teaspoons, or add 1 tablespoon of ketchup. Some cooks also like to add a pinch of cinnamon (about ¼ teaspoon) for hidden warmth.
With Added Vegetables: Dice a red or green bell pepper and add it during the browning phase along with the onion. You can also add diced red bell pepper for sweetness, or a diced poblano pepper for mild heat and depth. These vegetables will soften under pressure and add body to the chili.
Ground Turkey or Chicken Version: Substitute ground turkey or chicken for the beef, using the same 80/20 or 85/15 ratio. Cook it exactly the same way. The chili will taste slightly lighter but still rich and satisfying. Chicken sausage (bulk or removed from casings) also works beautifully—it adds distinct flavor while still being lean enough that the chili doesn’t become greasy.
Venison or Bison Chili: Wild game works beautifully in chili. Use the same weight and cooking method. Wild meats are usually leaner, so add an extra tablespoon of olive oil during browning, or cook some bacon and use the rendered fat.
Extra-Hearty Beef and Pork Version: Use 1 pound of ground beef and 1 pound of ground pork for a richer, more complex meat flavor. Cook exactly the same way.
No-Alcohol Version: Simply omit the beer and use an additional ½ cup of beef broth instead for deglazing. You won’t lose any flavor; the broth will develop the same browned-bit flavors during that deglazing step.
Gluten-Free: Ensure your Worcestershire sauce is certified gluten-free (many brands contain gluten). Use gluten-free beer if you’re using that ingredient. All other ingredients are naturally gluten-free.
Vegetarian Chili: Omit the bacon and beef, and instead sauté 1 to 2 tablespoons of olive oil with the onions and garlic. Use 4 to 5 cans of mixed beans (kidney, pinto, black, and cannellini), and add 2 to 3 diced bell peppers or a diced poblano for more vegetable substance. Add the same spices and tomatoes, but reduce the cooking time to 12 to 15 minutes under pressure since you’re not cooking meat.
Storage, Reheating, and Make-Ahead Instructions
Refrigerator Storage: Store leftover chili in an airtight glass or plastic container. It will keep for up to 5 days in the refrigerator. The flavors actually deepen as it sits, so day-two chili often tastes even better than fresh chili. Just give it a gentle stir before serving and reheat gently on the stovetop or in the microwave.
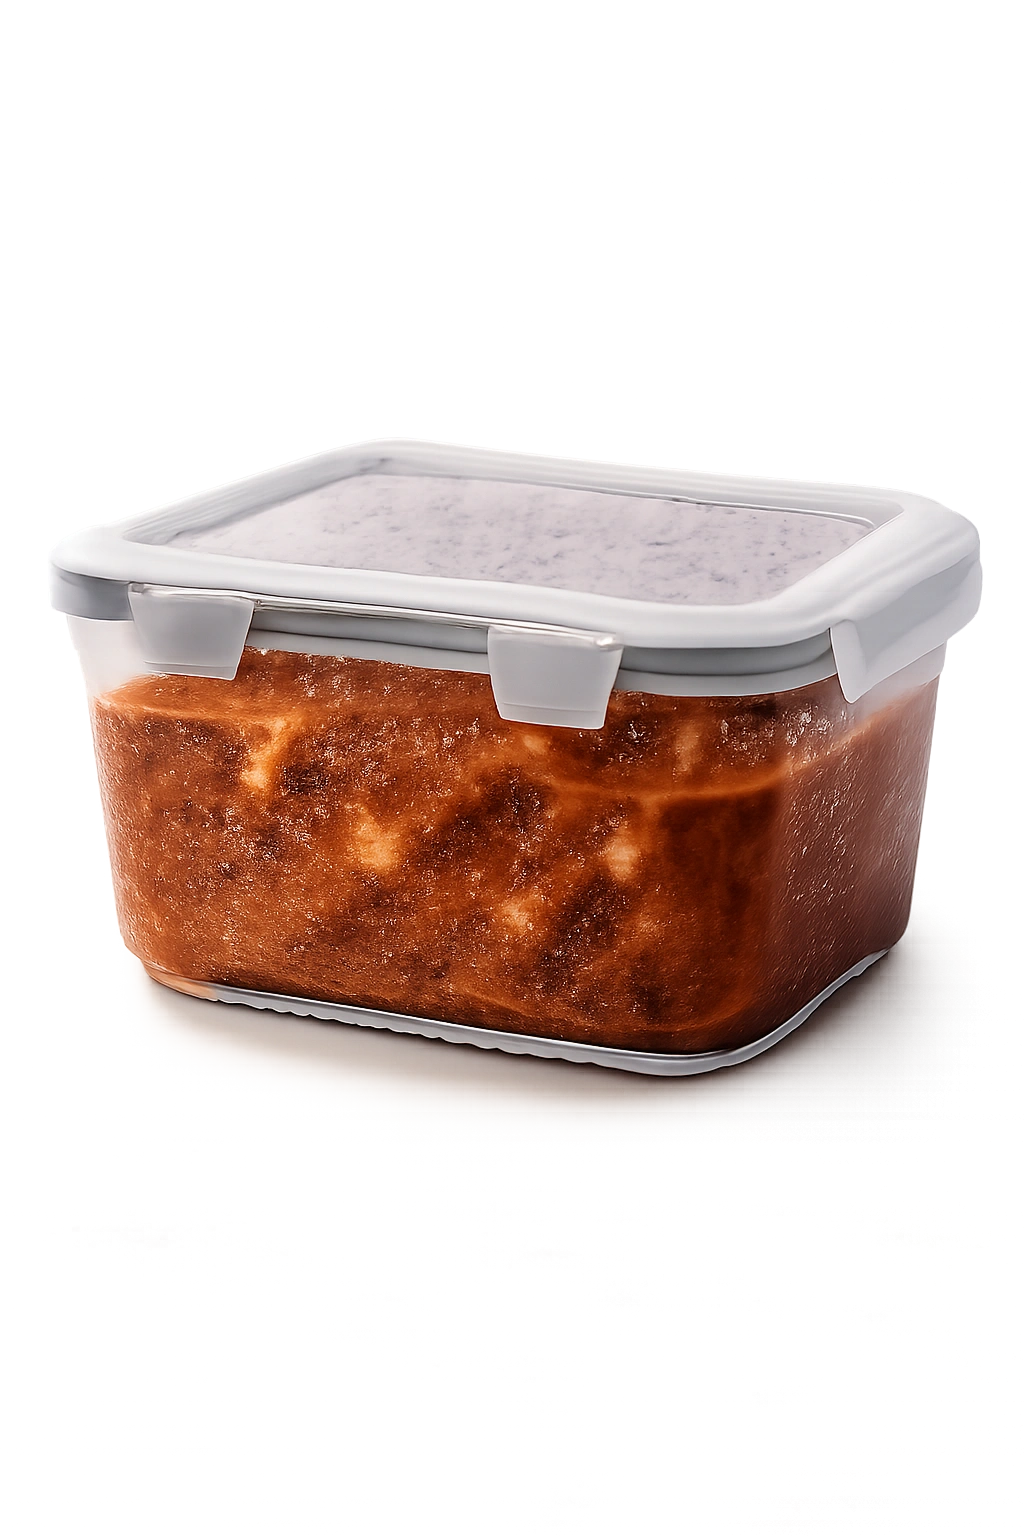
Freezer Storage: This chili freezes beautifully for up to 3 months. Cool it completely, then transfer to freezer-safe bags (flat-freezing saves space), freezer-safe containers, or ice-cube trays for portion control. When frozen flat, it thaws and reheats faster than when frozen in a clump.
Thawing: The best way to thaw frozen chili is in the refrigerator overnight. Remove from the freezer and let it sit in the fridge for 8 to 12 hours. If you’re in a hurry, you can thaw it in a bowl of cold water (about 1 to 2 hours, changing the water every 30 minutes), or reheat it directly from frozen on the stovetop over low heat, stirring frequently.
Reheating: On the stovetop is best—transfer the chili to a pot, cover it, and heat over medium-low heat, stirring occasionally, for 10 to 15 minutes until it’s steaming. This gentle reheating preserves the texture and allows flavors to warm evenly. In the microwave, transfer a portion to a microwave-safe bowl, cover with a paper towel, and heat in 2-minute intervals, stirring between intervals, until hot. One bowl (about 1.5 cups) takes about 3 to 4 minutes on medium power.
Make-Ahead Tip: You can prep everything the night before—chop your onion, mince your garlic, open and drain your cans of beans. Keep these in separate containers in the fridge. In the morning, you can have chili ready to eat by the time you get home from work.
Serving Suggestions and Pairings

Classic Sides: Serve chili with cornbread, jalapeño cornbread, or buttermilk biscuits on the side. A warm carb alongside a bowl of chili is traditional for good reason—it’s comforting, substantial, and the slight sweetness of cornbread plays beautifully against the savory chili.
Over Starches: Serve chili spooned over baked potatoes, sweet potatoes, cooked rice (brown or white), or pasta (elbow macaroni for chili mac, spaghetti for Cincinnati-style). Each approach gives you a different meal from the same pot of chili.
Appetizer Portions: Serve chili in small cups or shot glasses at a party, topped with a dollop of sour cream and a small sprig of cilantro. It’s elegant, warm, and impressive.
Chili Cheese Fries: Top crispy fries with a generous scoop of chili, shredded cheddar cheese, diced onion, and jalapeños. Serve with a fork and enjoy the loaded mess.
Chili Spaghetti Squash Boats: Roast spaghetti squash halves, then top with warm chili, a sprinkle of cheese, and fresh cilantro. It’s lighter than traditional chili-loaded carbs but still deeply satisfying.
Taco Salad or Frito Pie: Serve chili over a bed of shredded lettuce or crushed tortilla chips, then top with diced tomato, avocado, shredded cheese, sour cream, and jalapeños.
The Toppings Bar: Set out a spread of toppings and let everyone build their own bowl. Offer shredded cheddar, sour cream, sliced green onions, fresh cilantro, diced jalapeños, sliced avocado, lime wedges, tortilla chips, and hot sauce. Everyone gets the chili they love.
With Beverages: Serve cold beer, iced tea, or limeade alongside your chili. The acidity of lime and the coldness of the drink balance the richness of the chili beautifully.
Final Thoughts
The beauty of this Instant Pot chili is that it proves you don’t have to choose between convenience and quality. You can have a pot of chili that tastes like it’s been simmering for eight hours, ready in under an hour, without sacrificing anything in flavor or depth. That natural pressure release, that careful spice layering, that beautiful deglaze step—these aren’t fancy techniques. They’re just smart cooking.
Make this chili once, and you’ll understand why it wins cook-offs. Make it twice, and you’ll have internalized the technique well enough to adjust it to your exact taste—a little spicier, a little sweeter, a little thicker. By the third time, you won’t even need the recipe; you’ll just know how to make chili that tastes like slow-cooked gold.
The best part? You’ve got leftovers that freeze beautifully, taste even better the next day, and turn a regular weeknight into something special. That’s the definition of a recipe worth keeping.