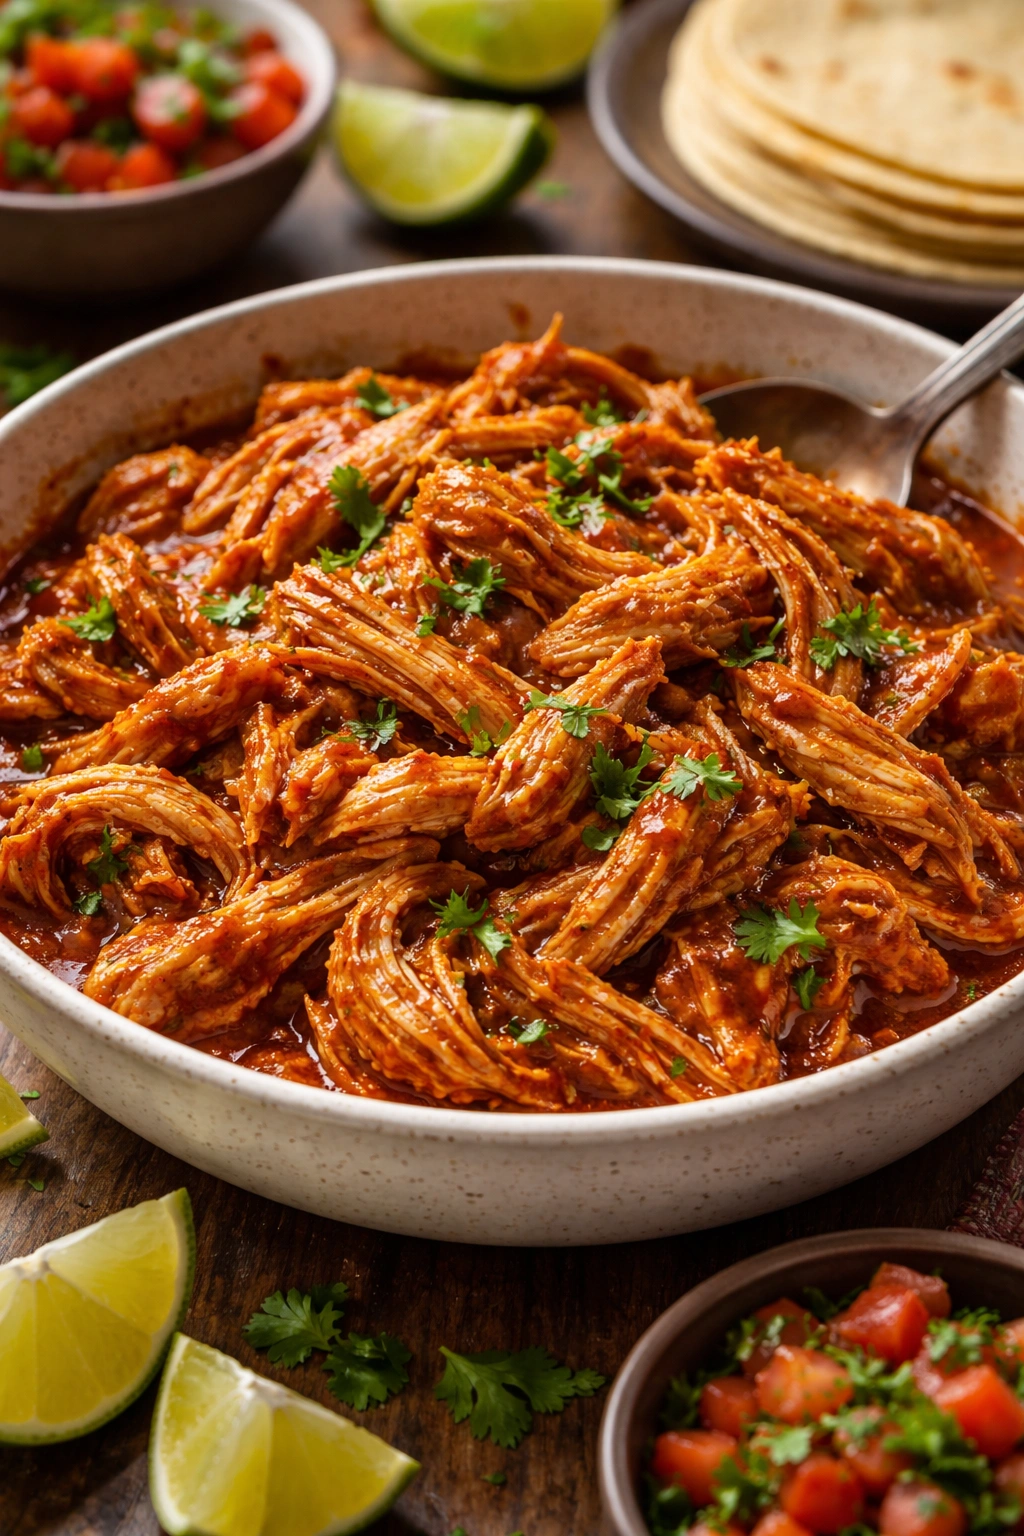
There’s something almost magical about a weeknight dinner that comes together in under an hour, tastes like you’ve been cooking all day, and practically begs everyone at the table to go back for seconds. Mexican shredded chicken for tacos is exactly that kind of recipe. It’s humble, forgiving, deeply flavorful, and endlessly customizable—the kind of dish that transforms a basic Tuesday into something worth remembering.
Whether you’re meal prepping for the week, throwing together a last-minute family dinner, or hosting a casual gathering, this one recipe opens up a world of possibilities. Tender, seasoned chicken that shreds apart at the gentlest pressure, coated in a sauce that’s balanced between savory, slightly spicy, and bright with citrus—it’s the foundation for everything from crispy tacos and soft wraps to burrito bowls, nachos, and even salads.
What makes Mexican shredded chicken so genuinely special isn’t the complexity of technique or some secret ingredient. It’s the combination of properly cooked chicken with bold Mexican spices, a sauce that clings to every strand, and the flexibility to prepare it however fits your schedule best. You can sear and simmer it on the stovetop in 30 minutes flat. You can use an Instant Pot to cut that time in half. Or you can throw everything into a slow cooker in the morning and come home to the most tender, juicy chicken imaginable.
The best part? Once you have a batch of this chicken made, dinner becomes almost effortless. You’re not deciding what to cook—you’re deciding how to serve what you’ve already prepared. That’s the kind of cooking advantage that makes weeknight stress disappear.
Why Mexican Shredded Chicken Should Be Your Weeknight Staple
This dish earns its place on your regular rotation because it solves multiple dinner problems at once. You get lean protein that’s lower in fat than ground beef, authentic Mexican flavors without any artificial seasoning packets required, and a result that’s genuinely tender and moist rather than dry or stringy.
Unlike ground beef tacos, which can feel heavy, shredded chicken has a lighter quality that doesn’t leave you feeling stuffed after eating. The chicken absorbs the flavors of whatever sauce or broth you cook it in, so it’s never bland or boring. Each strand gets coated in those savory, spiced juices, which means every single bite tastes seasoned and intentional.
The time investment is genuinely modest too. Even the slowest method—slow-cooking overnight—requires only about 10 minutes of active hands-on work. Everything else happens while you do something else, or while you sleep. The stovetop version takes maybe 35 minutes total from pulling out the pan to shredding the finished chicken. The Instant Pot cuts that down further.
Beyond the practical benefits, there’s something satisfying about having shredded chicken on hand. It’s like having a culinary ace up your sleeve. You can make tacos one night, use the leftovers in a burrito bowl the next day, mix it into soup the day after, and nobody’s getting bored because you’re literally using the same component in completely different ways.
Choosing the Best Chicken for Perfect Shredding
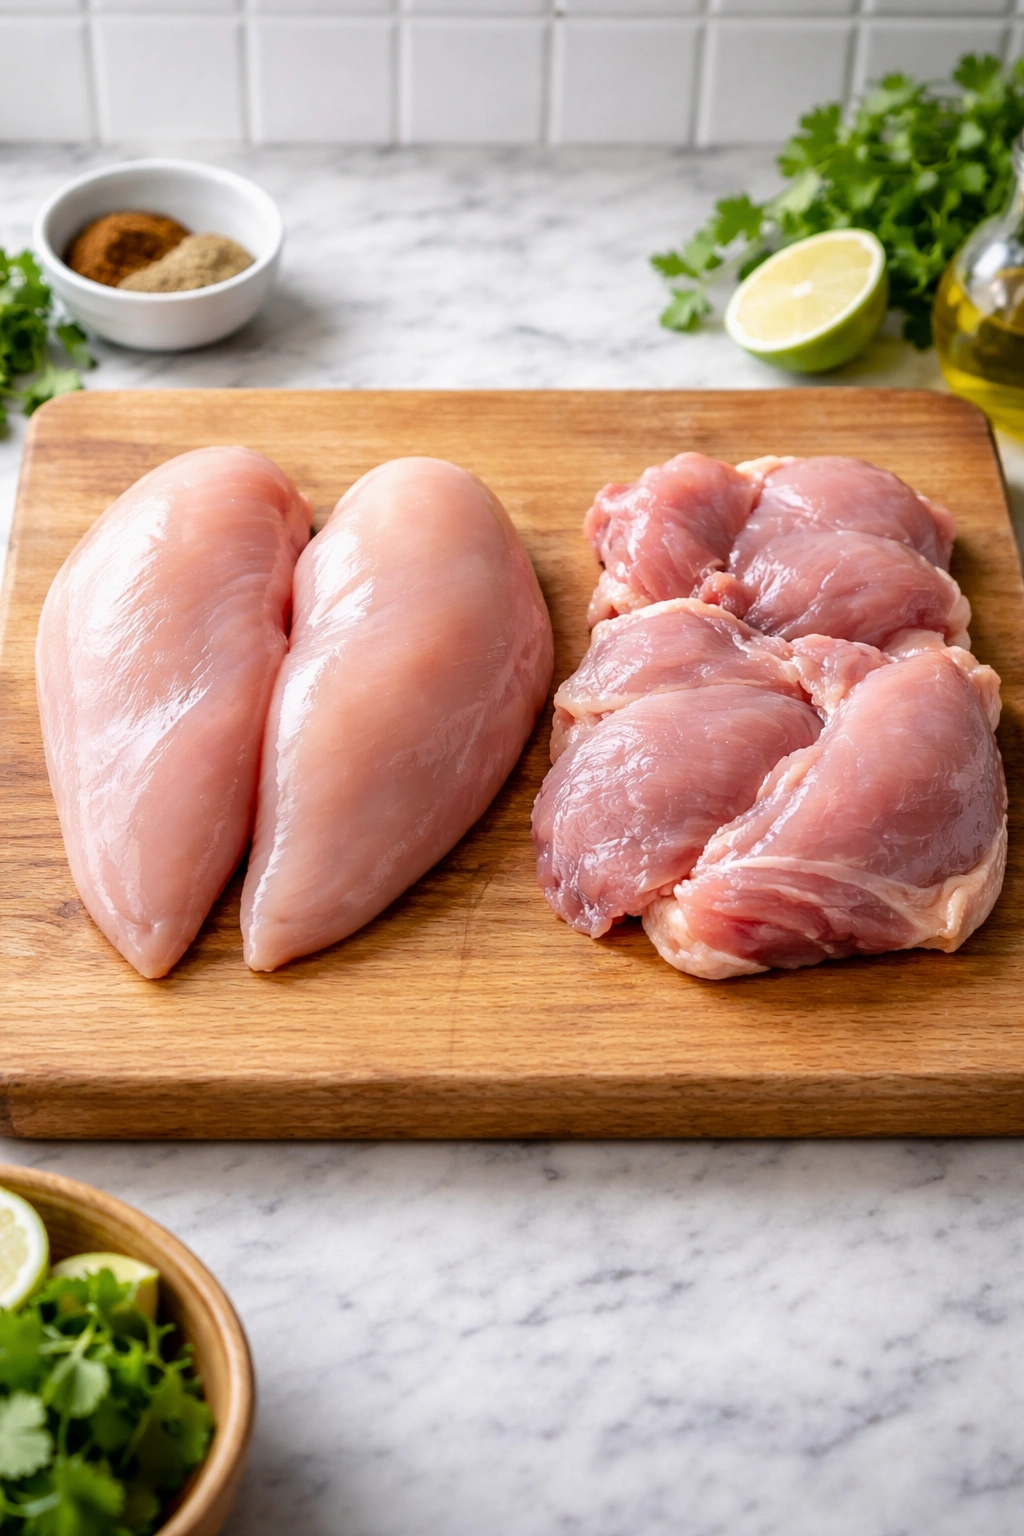
The foundation of excellent shredded chicken is, obviously, excellent chicken. But the choice between chicken breasts and thighs matters more than most home cooks realize.
Boneless, skinless chicken breasts are the leaner option and the traditional choice for shredded chicken tacos. They’re readily available, affordable, and cook quickly. A one-pound batch of breasts will shred into tender, fine pieces that work beautifully in tacos, enchiladas, and quesadillas. The catch is that breasts are less forgiving—overcook them even slightly and they become dry and stringy rather than moist.
Boneless, skinless chicken thighs are the richness-and-tenderness option. They contain more fat and connective tissue, which means they stay juicy and tender even if you cook them a bit longer than absolutely necessary. Thighs will produce slightly chunkier shreds than breasts, but that’s often preferable in dishes like nachos or burrito bowls where you want heartier, more substantial pieces. The downside is that thighs cost a bit more and take slightly longer to cook.
For this recipe, either works beautifully. If you’re budget-conscious or prefer lean protein, breasts are your answer. If you prioritize staying juicy and hate the stress of watching the thermometer, thighs will reward you with near-impossible-to-overcook results. Many experienced cooks recommend using a mix of both—breasts for lighter meals, thighs when you’re making a big batch and want insurance against dryness.
Whatever you choose, make sure it’s actually boneless and skinless. The skin won’t shred properly, and bones complicate everything. Also verify that you’re buying actual chicken breasts or thighs, not “chicken tenders” or other cuts—you need whole pieces that will cook evenly and shred into recognizable strands.
Essential Ingredients and Flavor-Building Components
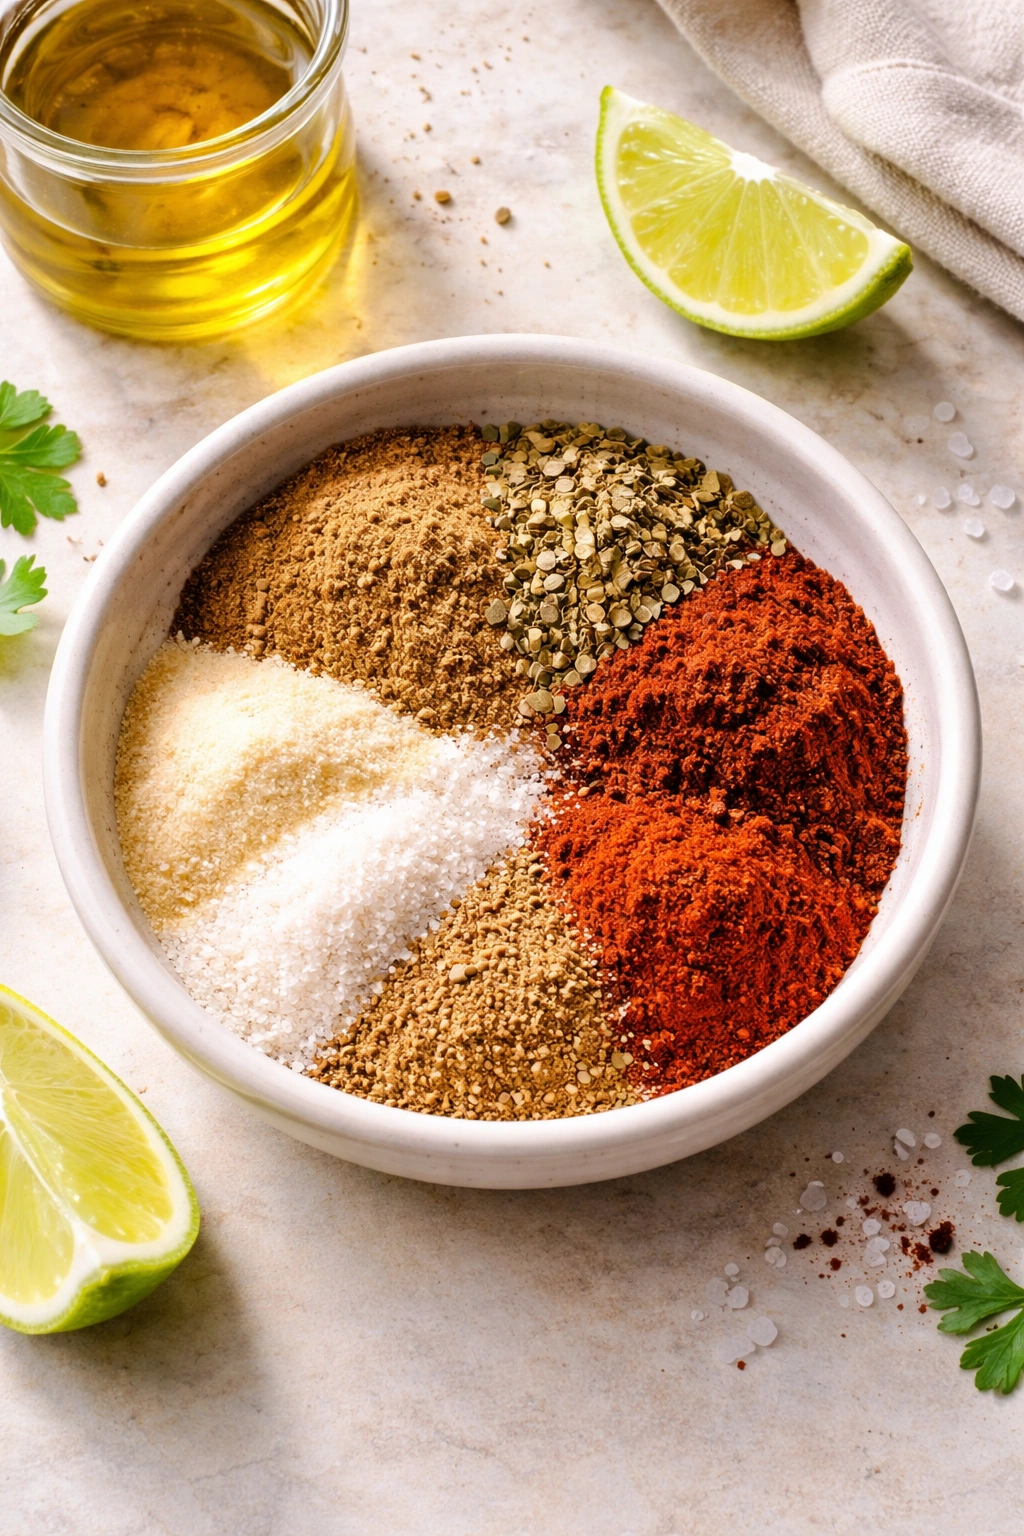
The spice blend is where this chicken transforms from simply cooked to genuinely delicious. You need ground cumin as your base spice—it’s earthy, warm, and unmistakably Mexican. Add chili powder for depth and mild heat, then bring in oregano for herbal brightness. Garlic powder, onion powder, paprika, and a pinch of salt complete the foundation.
Rather than rely on a store-bought packet full of ingredients you can’t pronounce, making your own spice blend takes two minutes and tastes infinitely better. You can measure everything right into a small bowl, mix it together, and coat your chicken. Or make a big batch and keep it in a small jar in your pantry for whenever the taco mood strikes.
Beyond the spice blend, you’ll need salsa, chicken broth, olive oil, and fresh lime juice. The salsa adds moisture, flavor, and a bit of natural tomato acidity that brightens everything. Chicken broth poaches the chicken gently, keeping it moist while allowing the spices to infuse. Olive oil is your searing medium and carries fat-soluble flavors. Fresh lime juice added at the end brings a final hit of brightness that ties everything together.
Some versions add fire-roasted tomatoes, roasted green chiles, or chipotle peppers in adobo sauce for complexity and smoky heat. These are genuine improvements if you have them on hand, but they’re not essential. The simplest version—just chicken, spices, salsa, and broth—is genuinely delicious and comes together faster.
Stovetop Method: Fast and Foolproof

This is the fastest way to get restaurant-quality shredded chicken into your kitchen, and it requires nothing fancier than a large skillet or stockpot.
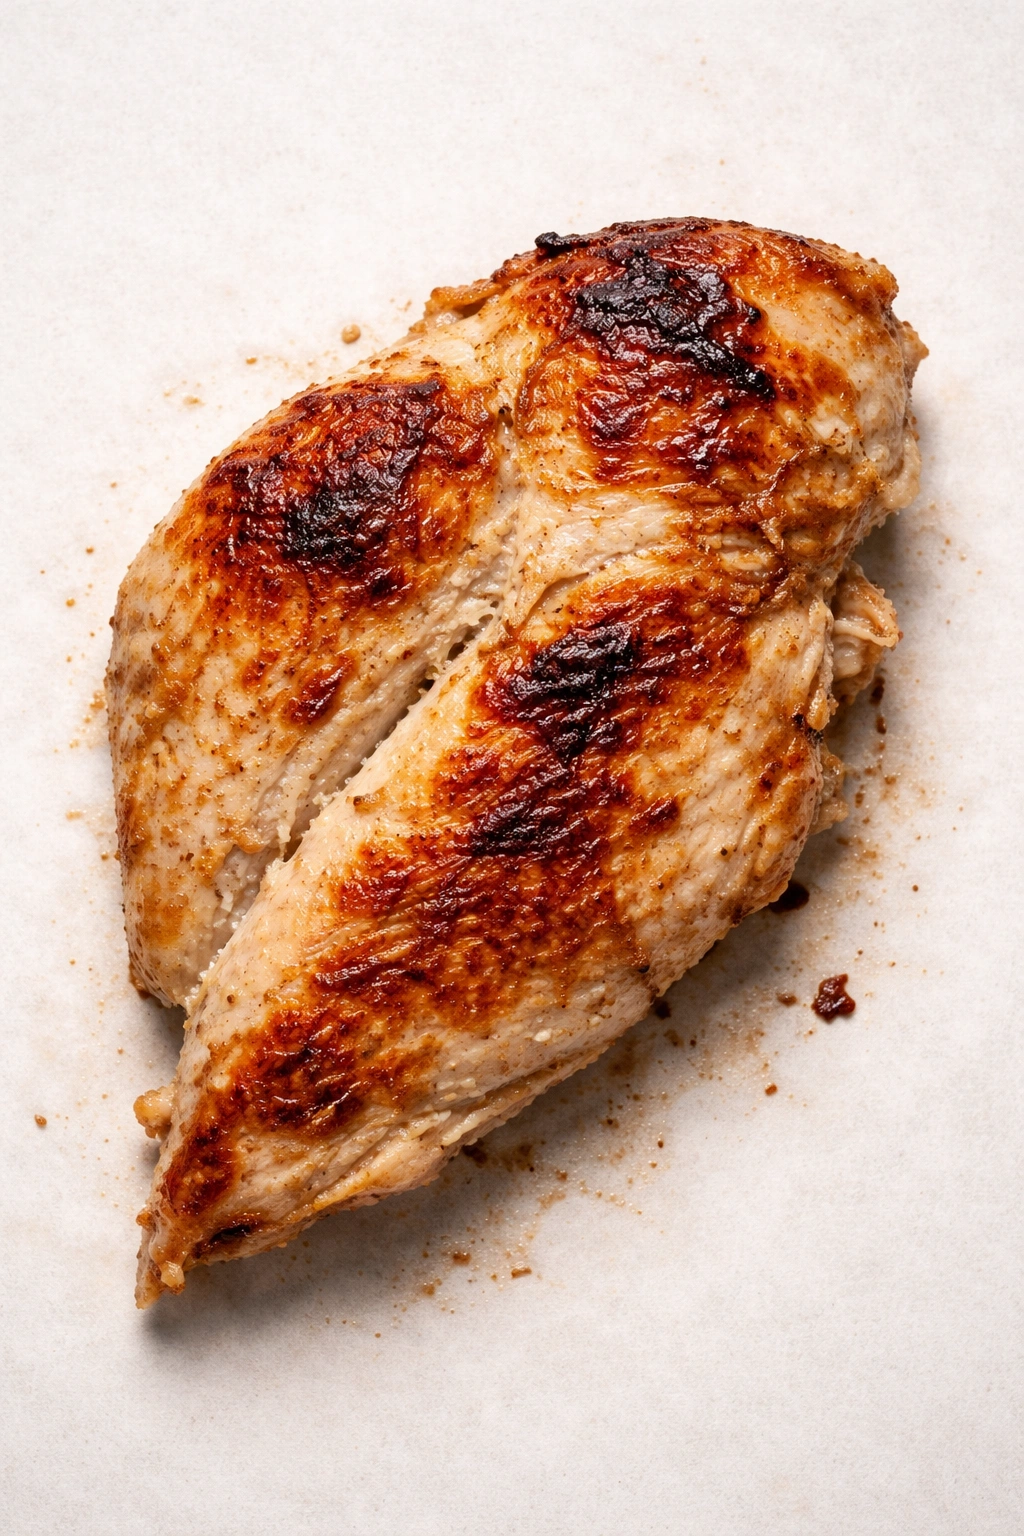
Heat 2 tablespoons of olive oil in your pan over medium-high heat. While the oil comes up to temperature, pat your chicken dry and season it generously with your spice blend, pressing the spices into both sides so they stick. Once the oil shimmers and just barely starts to smoke, add the chicken carefully.
Let each side sear undisturbed for 3 to 5 minutes, until you see a golden-brown crust forming. Don’t flip too early—that crust is flavor, and it needs time to develop. Once both sides are seared, you’re not trying to cook the chicken through yet; you’re building flavor through the Maillard reaction, which is the chemical process that creates those delicious browned bits.
While the chicken sears, combine your salsa with chicken broth in a separate bowl. Once both sides are golden, pour this mixture into the pan, bring it to a simmer, then reduce the heat to medium or medium-low, cover the pan, and let everything cook for 15 to 20 minutes. Check the internal temperature with an instant-read thermometer—you want it to reach 165°F (74°C) in the thickest part.
The residual heat continues cooking chicken even after you remove it from the pan, so don’t wait until it hits 165°F in the center. Pull it out at 160-162°F and let it rest for 5 minutes on a cutting board. This resting period is crucial—it allows the juices to redistribute throughout the meat rather than running out onto your board when you start shredding.
Once it’s cool enough to handle, use two forks to shred the chicken into bite-sized pieces. Hold one fork in each hand, place a chicken breast on a cutting board, and use the forks to pull the meat apart. You’re not looking for fine strings—aim for pieces about the size of a chickpea or slightly larger. Return the shredded chicken to the pan with the cooking liquid, stir well to coat every strand, and simmer for another 2 to 3 minutes so the chicken absorbs more flavor.
The entire process, from oil to pan to finished, shredded chicken ready to serve, takes roughly 30 to 35 minutes. That’s genuinely fast enough for any weeknight.
Using Your Instant Pot for Even Faster Results
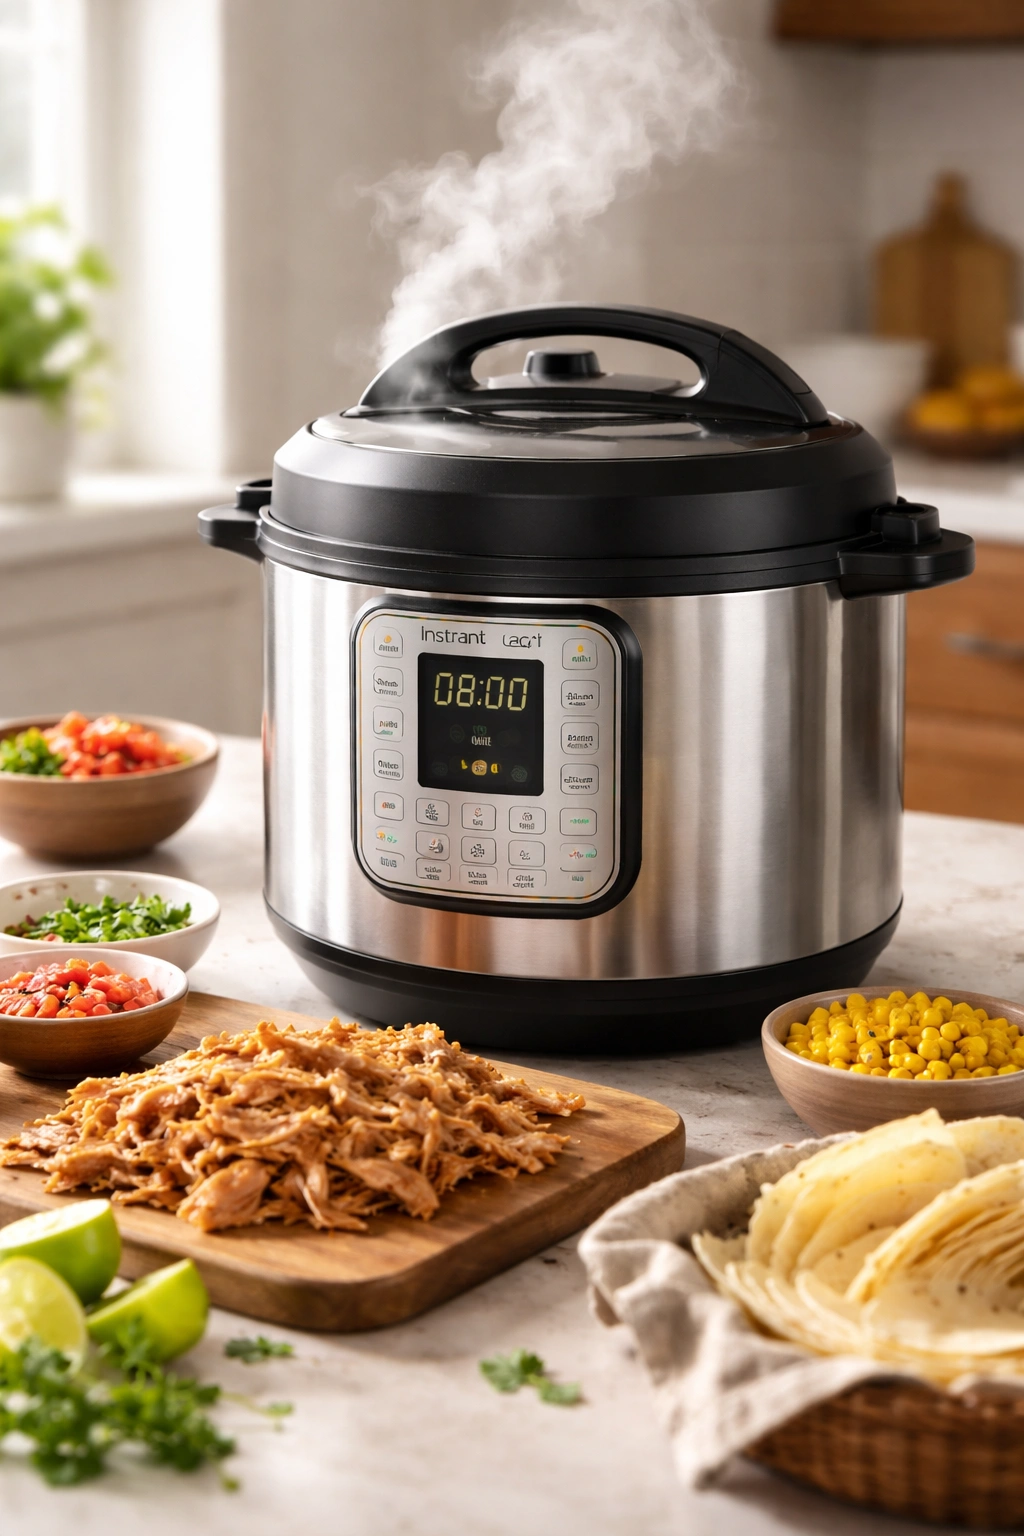
If you have an Instant Pot or similar electric pressure cooker, you can cut the cooking time nearly in half while arguably producing even more tender results.
Set the Instant Pot to Sauté and heat 1 tablespoon of olive oil. While it heats, season your chicken with the spice blend. Once the oil shimmers, carefully add the chicken and sear for about 2 to 3 minutes per side—you’re not trying to cook it through, just create that initial golden-brown crust for flavor.
Once both sides are seared, pour in your salsa and broth mixture. Use the trivet (the metal rack that comes with the pot) only if you prefer very pale chicken; I skip it and let the chicken sit right in the liquid, which creates more contact with the flavoring sauce. Lock the lid in place, make sure the valve is set to Sealing, and press the Manual or Pressure Cook button. Set the time for 8 minutes at high pressure.
Eight minutes might seem short, but that’s actually plenty—the pressure-cooking environment is much hotter than boiling water, so the chicken cooks faster and more evenly. Once the timer finishes, let the pressure release naturally for 5 minutes, then carefully turn the valve to Venting to release any remaining steam. Remove the lid, which will be hot, so use a kitchen towel.
Check the chicken with an instant-read thermometer—it should be well above 165°F, easily reaching 170-175°F. Remove it to a cutting board, let it cool just enough to handle (2 to 3 minutes), then shred using two forks. Return the shredded chicken to the pot, stir to coat it in the sauce, and you’re done.
This method takes roughly 20 to 25 minutes total from starting the sauté function to having shredded chicken ready to serve. The chicken comes out incredibly tender because pressure-cooking breaks down proteins differently than traditional cooking.
Yield: 6 servings | Prep Time: 10 minutes | Cook Time: 30-35 minutes (stovetop) or 20-25 minutes (Instant Pot) | Total Time: 40-45 minutes (stovetop) or 30-35 minutes (Instant Pot) | Difficulty: Beginner — no special cooking skills required, and the steps are straightforward whether you use a skillet or an electric pressure cooker.
The Slow Cooker Approach: Set It and Forget It
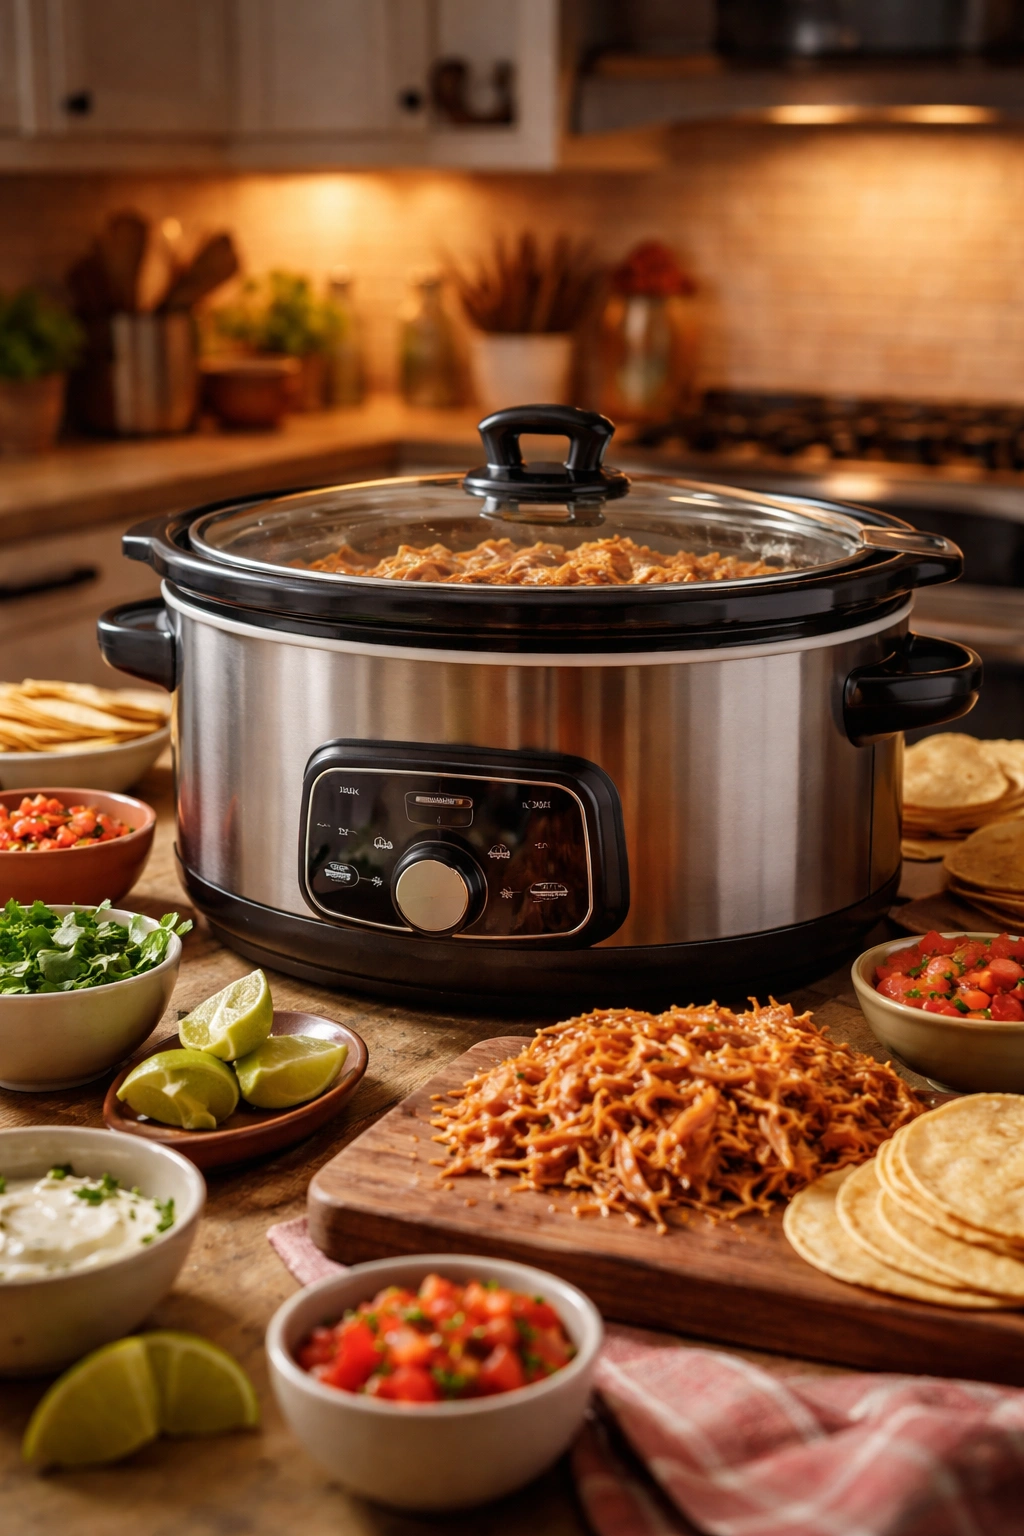
Sometimes you want to prep dinner in the morning and come home to something already finished and warm. The slow cooker is perfect for that scenario.
Place your seasoned chicken in the slow cooker along with your salsa and broth mixture. You can add extra flavor components here—roasted green chiles, fire-roasted tomatoes, black beans, corn, whatever sounds good. Cook on LOW for 6 to 8 hours or on HIGH for 2 to 3 hours if you’re in a time crunch. Low heat produces slightly more tender chicken because the gentle, extended cooking keeps meat moist.
The chicken is done when it reaches an internal temperature of 165°F and shreds easily with a fork. Remove it to a cutting board, shred it thoroughly, then return it to the slow cooker and stir it into the sauce. Let it sit in that sauce for 15 to 30 minutes before serving so the chicken absorbs maximum flavor.
The advantage of slow-cooking is that there’s virtually no way to overcook the chicken. The moist environment and gentle heat make it almost impossible to end up with dry meat. Slow-cooker chicken is often slightly more tender than stovetop versions because the extended cooking time breaks down more connective tissue.
The disadvantage is time. You need to plan ahead, and you’re committing to 6+ hours of slow cooking. That said, if you’re preparing dinner in a busy morning and want everything ready by evening, this is genuinely the easiest method.
Pro Tips for Tender, Moist, Flavorful Chicken
Completely submerge the chicken in cooking liquid. This is the single most important tip for preventing dry chicken. Any part of the chicken that sits above the liquid will cook differently and potentially dry out. Make sure salsa and broth fully cover the meat, or add a bit of water to ensure submersion.
Use an instant-read thermometer instead of guessing. Chicken is safe at 165°F internal temperature, but most people overcook it to 175-180°F because they’re nervous about food safety. This overcooking is what creates dry, stringy meat. Check the thickest part of the thickest piece—usually the center of a chicken breast—and pull the chicken off heat at 160-162°F. It will continue cooking as it rests, reaching that safe 165°F without going over.
Shred the chicken while it’s still warm. Hot chicken shreds more cleanly and easily than cold chicken. Once it cools, the muscle fibers set and become harder to separate. Aim to shred within 5 minutes of removing it from the pan.
Always rest the chicken before shredding. This 5-minute pause allows juices to redistribute throughout the meat rather than running out when you start shredding. It’s the difference between moist, tender shreds and dry ones.
Coat the shredded chicken in the cooking sauce and let it sit together for a few minutes. This allows every strand to absorb the savory, spiced liquid. A small amount of sauce clinging to the chicken makes a huge difference in final flavor. You’re not making a soup—just enough sauce to coat everything and keep it moist.
Common Mistakes and How to Avoid Them
Cooking chicken in too little liquid is the most common error. Without sufficient broth and salsa, parts of the chicken will cook dry while other parts are still raw. Make sure your liquid reaches at least halfway up the sides of the chicken pieces.
Not seasoning the chicken enough. The spice blend should be generous—don’t be shy. You’re seasoning raw chicken that will cook down, and some of that seasoning will cook off or be absorbed into the sauce. Aim to see flecks of spice visible on every surface of the chicken.
Flipping the chicken too early when searing. That golden-brown crust develops only if you leave the chicken undisturbed. Each time you flip or move it, you interrupt crust formation. Let it sit for at least 3 minutes per side before flipping.
Using ground beef seasoning instead of cumin-based Mexican seasoning. These are genuinely different flavor profiles. Taco seasoning for ground beef often emphasizes chili powder and paprika heavily, while Mexican chicken seasoning balances cumin, oregano, and garlic powder. If you only have ground beef seasoning on hand, add extra cumin to balance it out.
Shredding too finely. Some people shred their chicken into nearly thread-thin strands. For tacos, aim for pieces about the size of a pea or slightly larger. They’re easier to pick up with a tortilla, hold their texture better, and feel more substantial when you eat them.
Cooking the chicken and sauce together the entire time. The two-step process—searing the chicken first, then simmering in sauce—creates better flavor than dumping everything into the pan at once. The searing step develops a crust that carries flavor, and the sauce step keeps the chicken moist. Do both.
Versatile Variations to Keep Dinners Interesting
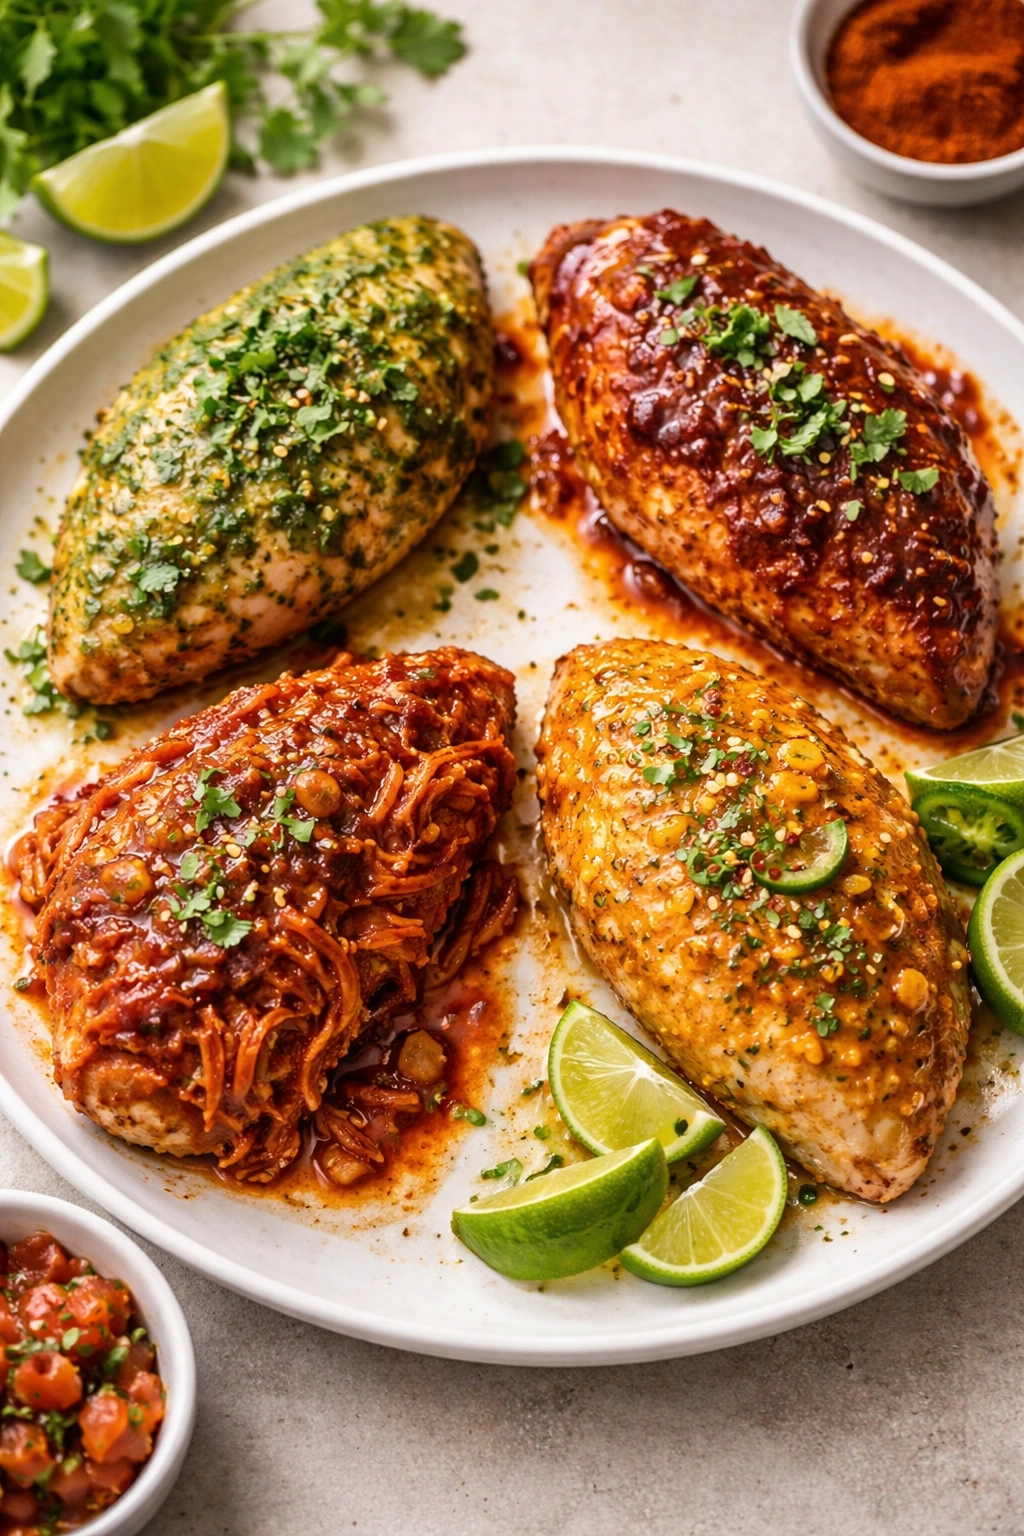
For spicier chicken, use hot salsa instead of mild, or add a canned chipotle pepper or two to the sauce. You can also stir in some cayenne pepper, a pinch of ground habanero, or jalapeño slices. The beauty of making this at home is controlling the exact heat level for your family.
For a cilantro-lime version, reduce the salsa slightly and add fresh cilantro and the zest and juice of one lime to the finished chicken. This brightens everything and creates an almost Chipotle-like flavor profile.
For fire-roasted depth, replace some of the salsa with canned fire-roasted tomatoes (drained), and add a teaspoon of smoked paprika. The combination creates a more complex, slightly smoky flavor.
For a verde version, substitute salsa verde (green salsa) for regular red salsa, and add roasted green chiles and a pinch of cumin. This creates a completely different flavor that’s slightly tangier and more herbaceous.
For a slow-cooker feast, add black beans, corn, and diced tomatoes to the slow cooker along with the base sauce. By the time the chicken is done, you essentially have a filling that’s halfway to a complete burrito or burrito bowl. Everything is seasoned and combined together.
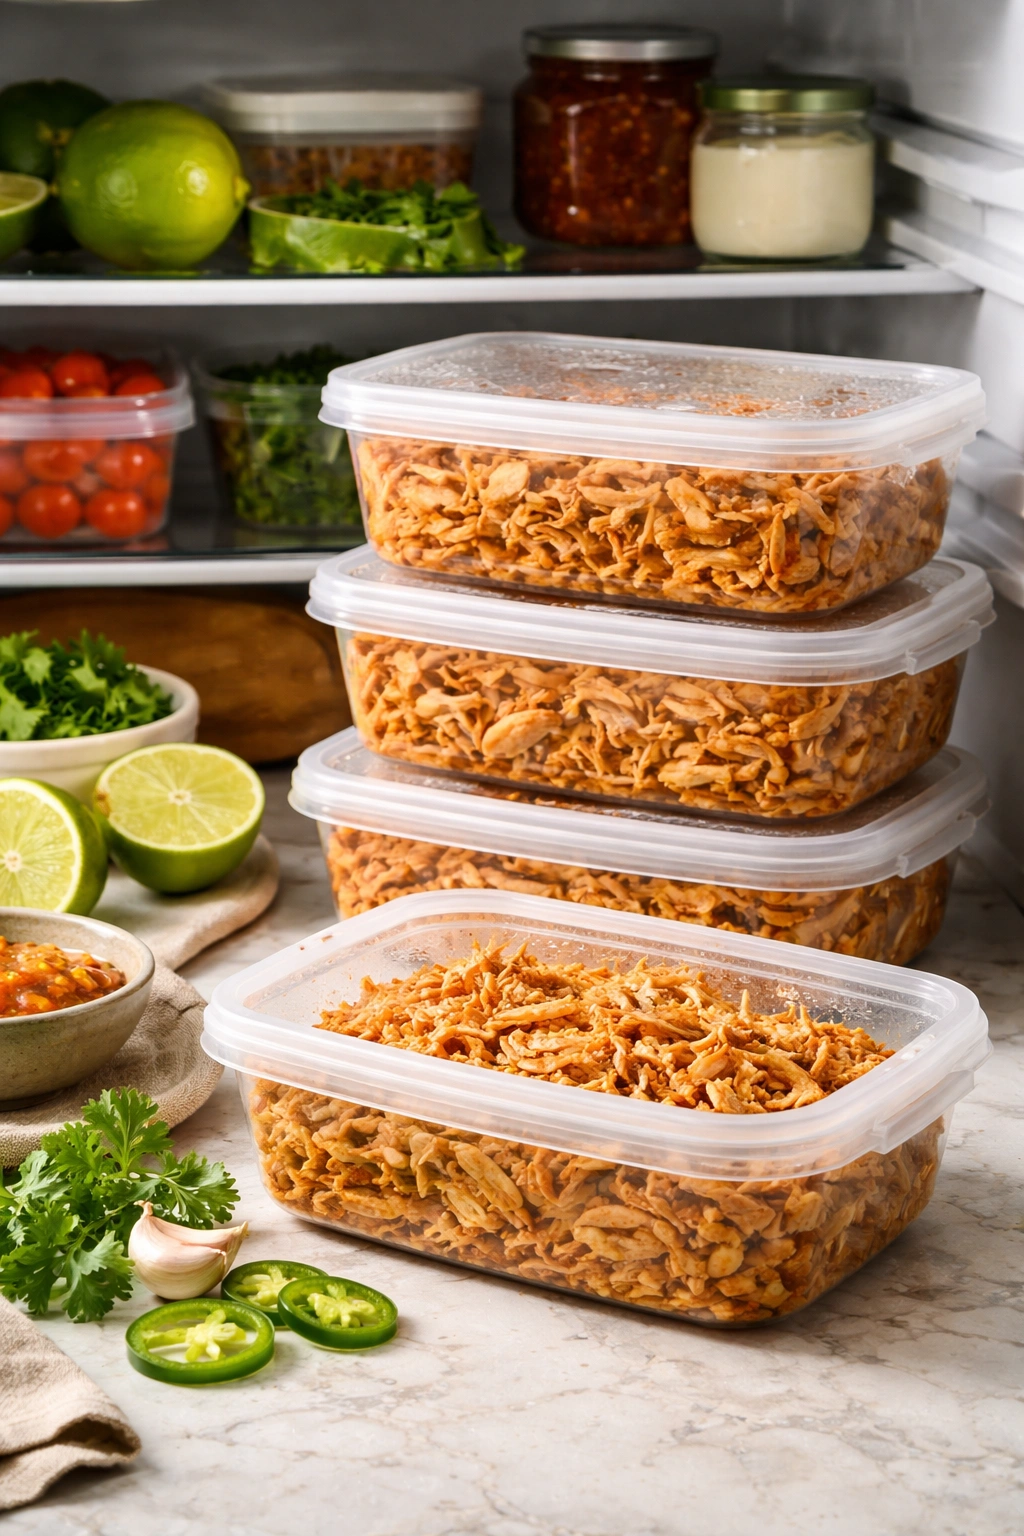
For meal prep freezing, make a double batch and portion the chicken into freezer bags. Shredded chicken freezes beautifully for up to 3 months and thaws quickly when you need it. You’re essentially building a library of pre-cooked components that turns dinner into assembly.
Storage, Freezing, and Meal Prep Strategy
This is where shredded chicken becomes a true weeknight superpower. Properly stored, you have dinner options ready whenever you need them.
Store finished shredded chicken in an airtight container in the refrigerator for up to 4 days. The sauce keeps it moist and flavorful throughout storage. Don’t drain it—those juices are valuable.
Freeze in gallon-sized zip-top freezer bags or airtight containers for up to 3 months. If using bags, lay them flat before freezing so they stack neatly in your freezer and take up minimal space. If using containers, fill them almost completely—less air means better quality and less freezer burn.
Thaw frozen chicken in the refrigerator overnight before reheating. This is gentler on the texture than thawing at room temperature or defrosting in the microwave. Once thawed, reheat gently—either in a skillet over medium heat, in a microwave in 30-second intervals stirring between each, or in a covered baking dish in a 325°F oven.
Add a splash of extra broth or salsa when reheating to prevent the chicken from drying out during the process. Heat only until it’s warm throughout, not piping hot—excessive heat can dry it out.
Make shredded chicken on Sunday and portion it for the week. Divide it into containers or bags for each dinner you’re planning. If you’re making burritos on Tuesday, nachos on Thursday, and tacos on Saturday, portion the chicken accordingly. This approach turns a single cooking session into multiple dinners’ worth of progress.
The Perfect Taco Assembly and Topping Guide

The chicken is ready, so now you get to play with the fun part—building tacos that taste amazing and look intentional.
Warm your tortillas first. Cold tortillas are fine, but warm tortillas are genuinely better. They’re softer, more pliable, and they taste fresher. Wrap flour tortillas in a damp paper towel and microwave for 30 seconds, or warm corn tortillas directly over a gas flame or in a dry skillet for about 20 seconds per side.
Start with a small handful of shredded chicken. You want enough to taste it in every bite, but not so much that it overwhelms the tortilla. About 3 to 4 tablespoons of chicken per taco is usually right.
Add cheese next—shredded cheddar, Mexican blend, cotija, or whatever you love. The warm chicken will start melting it slightly. About 2 tablespoons of cheese per taco is plenty.
Layer on fresh toppings. Shredded lettuce or cabbage adds crunch. Fresh diced tomatoes or pico de gallo add brightness. Sliced avocado or guacamole adds richness and creaminess. Jalapeños add heat. Red onion adds sharpness. You don’t need all of these—choose what you actually like.
Finish with a squeeze of lime juice and a sprinkle of fresh cilantro. Lime brings everything into focus, and cilantro adds an herbal freshness that ties the whole thing together.
Cold toppings on warm chicken is the magic formula. The temperature contrast is genuinely satisfying—warm, savory chicken against cool, crisp lettuce and fresh herbs. This is why assembling tacos right before eating is better than pre-building them and letting them sit.
Serving Ideas Beyond Tacos
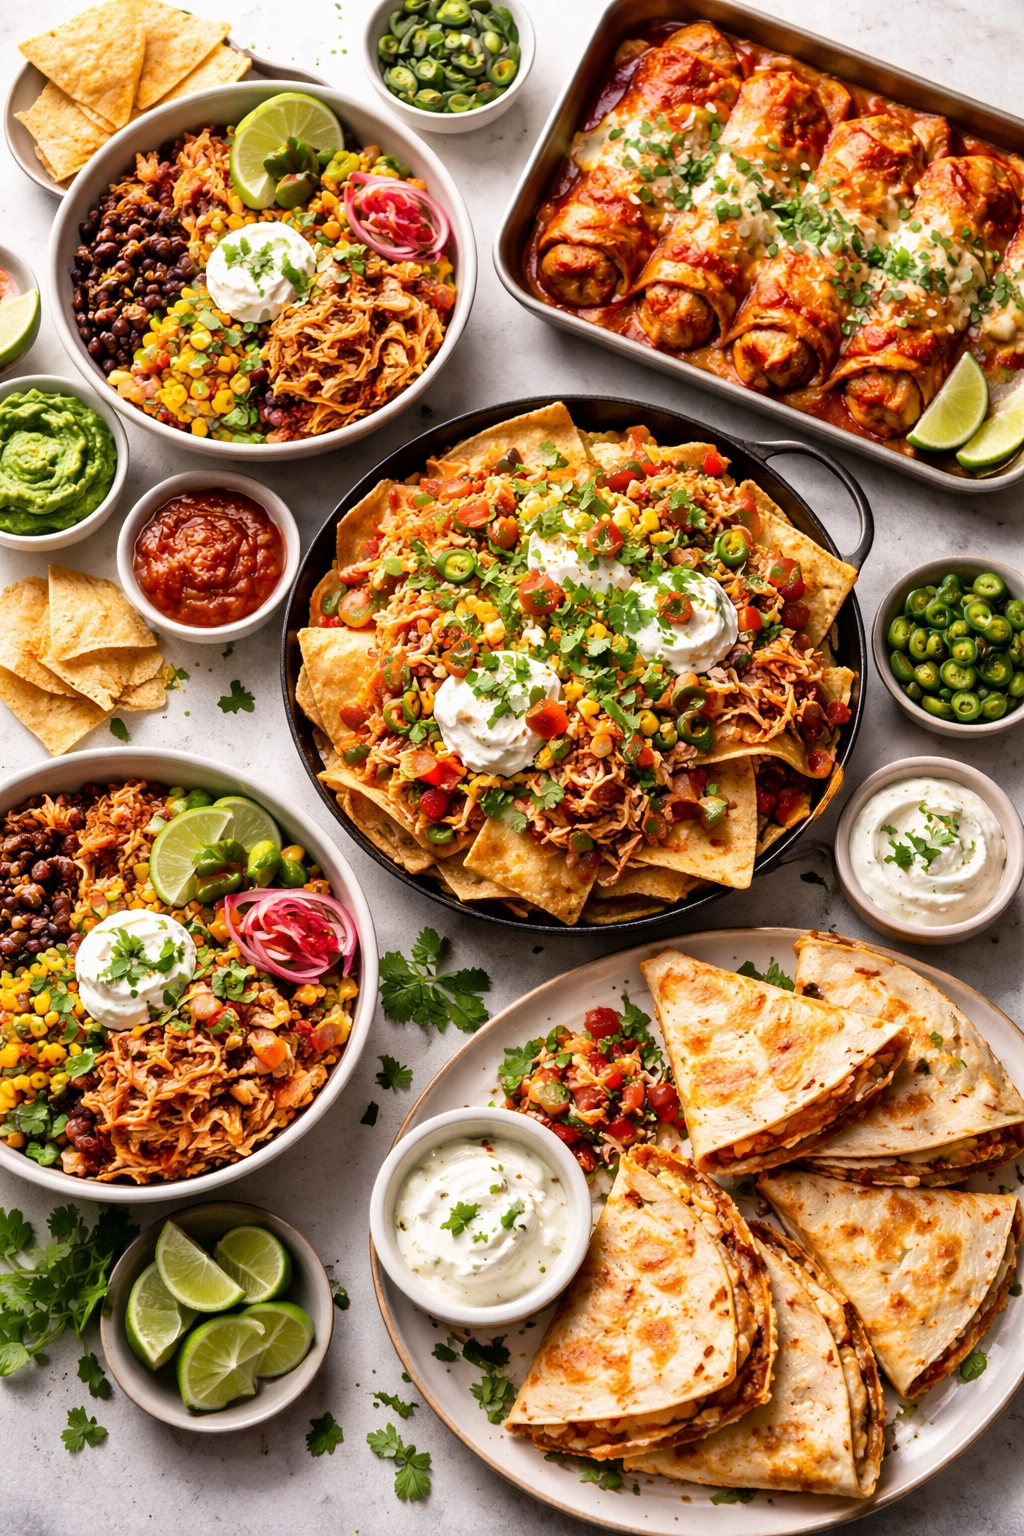
Once you have this chicken made, you’re not limited to taco night. The possibilities genuinely expand.
Burrito bowls are probably the second most popular use. Layer cilantro-lime rice on the bottom, top with shredded chicken, then add black beans, corn, roasted vegetables, diced tomato, avocado, cheese, and sour cream. It’s deconstructed burritos that you build exactly how you like them.
Nachos or loaded chips become a breeze. Layer tortilla chips on a baking sheet, scatter shredded chicken on top, add cheese, roasted jalapeños, and black beans, then bake at 350°F until the cheese melts. Top with sour cream, guacamole, and cilantro. You’ve got an impressive shareable dish in 10 minutes.
Chicken enchiladas come together quickly when you have shredded chicken ready. Fill soft corn tortillas with chicken and cheese, roll them up in a baking dish, pour enchilada sauce over the top, and bake until bubbly.
Quesadillas or crispy flautas use the chicken as filling. Fold shredded chicken with cheese in a tortilla, pan-fry until crispy, and serve with sour cream for dipping.
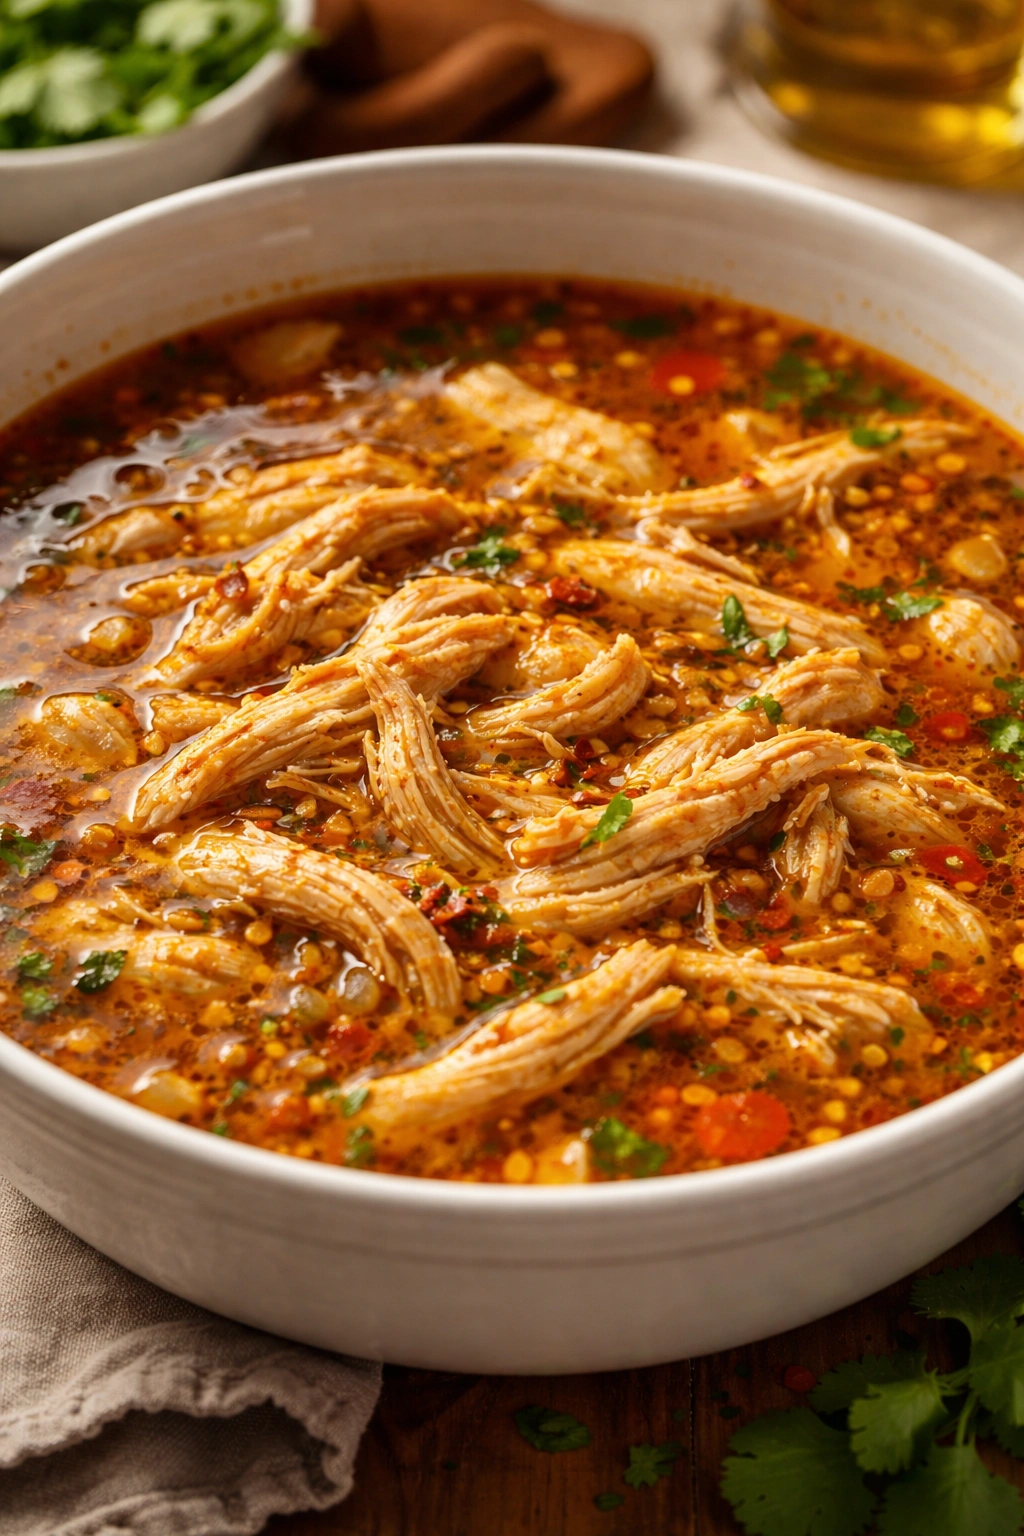
Soups and stews become heartier and more interesting. Add shredded chicken to tortilla soup, chicken and rice soup, or green chile chicken soup. You’re instantly upgrading from broth-based to genuinely satisfying.
Salads transform with this chicken. A simple green salad becomes a main course with a handful of warm shredded chicken on top. Add black beans, corn, avocado, and lime dressing.
Grain bowls work beautifully too. Serve the chicken over quinoa, farro, or brown rice with roasted vegetables.
Making Your Own Taco Seasoning
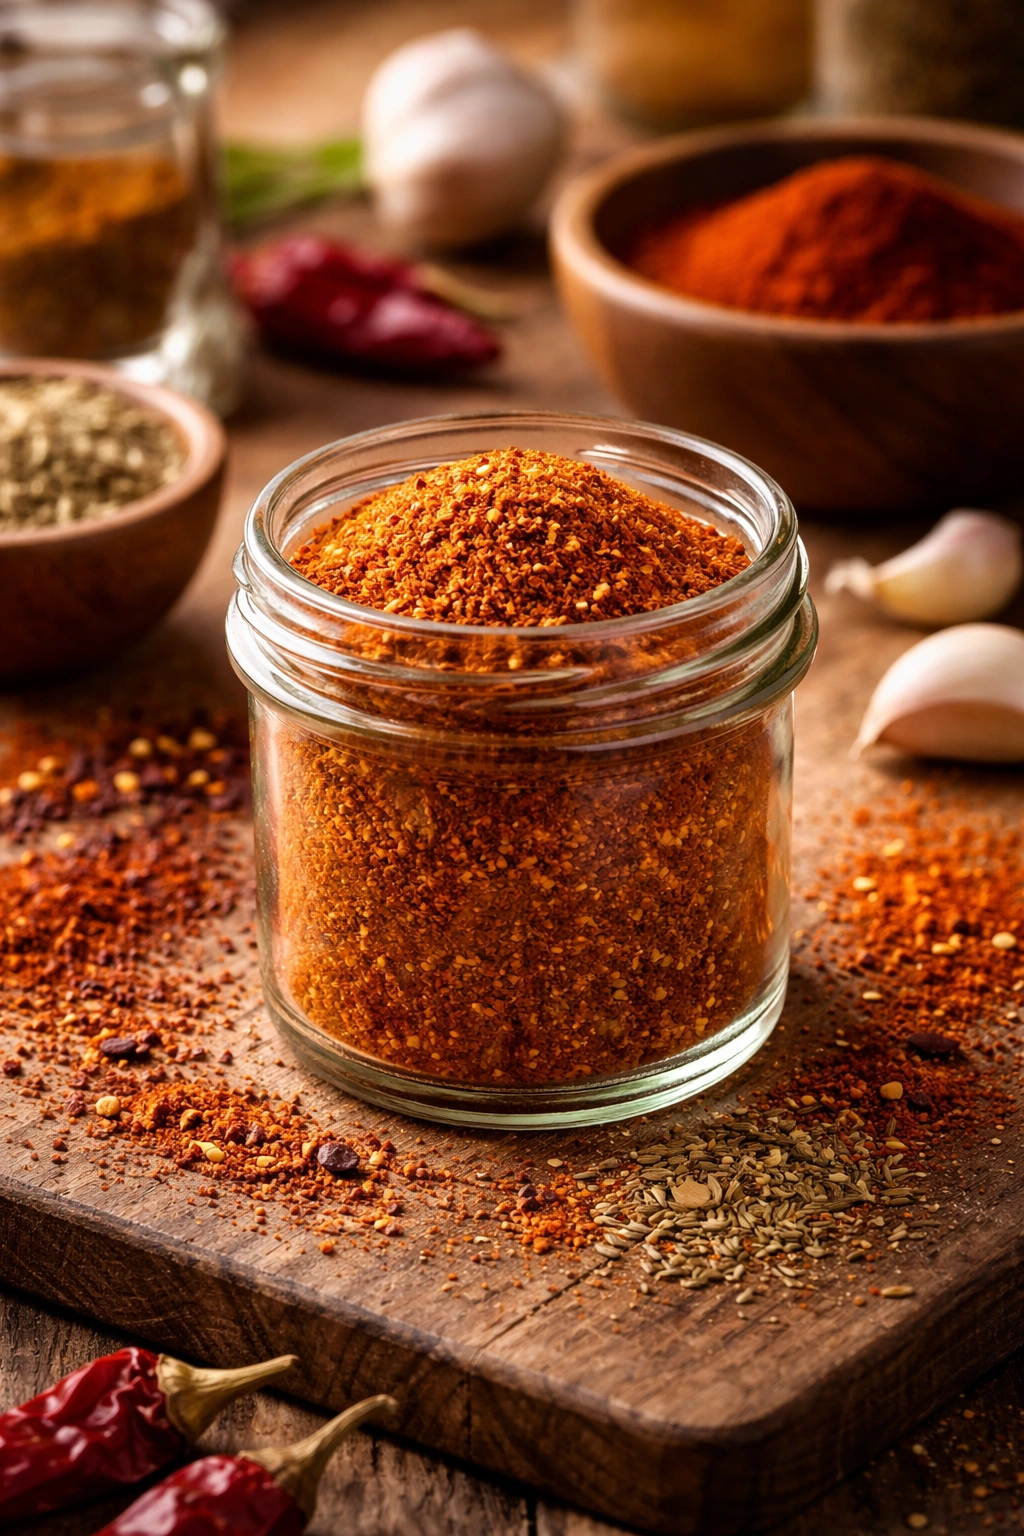
Store-bought packets work, but making your own spice blend gives you complete control over salt level, heat level, and ingredient quality. Everything is natural, nothing is mysterious, and the flavor is genuinely better.
Combine 1 tablespoon salt, 2 teaspoons chili powder, 2 teaspoons paprika, 2 teaspoons ground cumin, 1 teaspoon garlic powder, 1 teaspoon onion powder, ½ teaspoon dried oregano, and ¼ teaspoon cayenne pepper (if you like heat). Mix thoroughly and store in a small jar. This batch makes enough for several batches of chicken.
The seasoning is strong and concentrated, so use about 2 tablespoons per pound of chicken. You can adjust to taste—add more salt if your family likes it saltier, hold back on cayenne if you prefer mild, add more cumin if you want that flavor more pronounced.
Making your own also means you can prepare multiple jars in advance with different flavor profiles—one batch more cumin-forward for authentic Mexican flavor, one batch with more chili powder for earthier heat, one batch with smoked paprika for grilled flavor.
Frequently Asked Questions

Can I use frozen chicken? Yes, absolutely. Frozen chicken will take longer to cook—add about 50% more time for the stovetop method. The Instant Pot actually handles frozen chicken beautifully and will simply build pressure more slowly. The slow cooker also works fine with frozen chicken, just add an hour or two to the cooking time. Thaw overnight in the refrigerator if you have time, but it’s not required.
What salsa should I use? Any salsa you like will work. Red salsa, green salsa, mild, medium, hot—the chicken will taste like whatever salsa you choose. Taste the salsa before you buy it and pick one you actually enjoy eating. Chunky salsas create a thicker sauce; smooth salsas create more of a thin glaze. Both are delicious.
Can I use just water instead of broth? Water will work mechanically, but you’ll lose the savory depth that broth adds. Chicken broth costs the same as water and adds genuine flavor, so use it if you can.
How do I make this less spicy? Use mild salsa, skip the cayenne, remove the chiles if using them, and use less chili powder. The chicken will still taste great, just less fiery.
How do I make this more authentically Mexican? Add fresh cilantro at the end, use fresh lime juice instead of bottled, add roasted green chiles, and serve on warm corn tortillas with simple toppings like onion and cilantro. Authentic Mexican tacos are often simpler and let the chicken shine rather than loading up with lots of toppings.
Can I use chicken thighs instead of breasts? Yes—they’ll cook slightly longer (add 5 to 10 minutes to any method) and produce chunkier shreds, but they’ll be incredibly tender and flavorful.
Do I have to shred it with forks? No. You can shred chicken in a food processor using the shredding blade, or with a hand mixer or stand mixer on low speed. Forks are just the most gentle method and don’t require equipment. The mixer method is fastest if you’re processing a large batch.
Final Thoughts

Mexican shredded chicken has earned its place as a weeknight staple for good reason. It’s genuinely delicious, surprisingly versatile, faster to make than most people expect, and forgiving enough that even if you make a small mistake, the result is still excellent.
The best version for you is the one you’ll actually make. If stovetop speed matters more than anything, do the 30-minute skillet method. If you need something you can completely forget about until evening, go slow cooker. If you want the absolute fastest results and own an Instant Pot, pressure cooking is your answer.
The real secret isn’t some special ingredient or technique—it’s simply building flavor through seasoning, keeping the chicken moist through proper liquid ratios, and not overcooking it. That combination, repeated every time, produces shredded chicken that’s genuinely good enough to be the star of your dinner, not just a component.
Make a batch this week. Try it in tacos first, then see what else you can create with the leftovers. Within a few cooking sessions, you’ll understand why this recipe becomes a genuine staple, not just something you make occasionally. It’s the kind of cooking that makes weeknights easier and tastier at the same time.