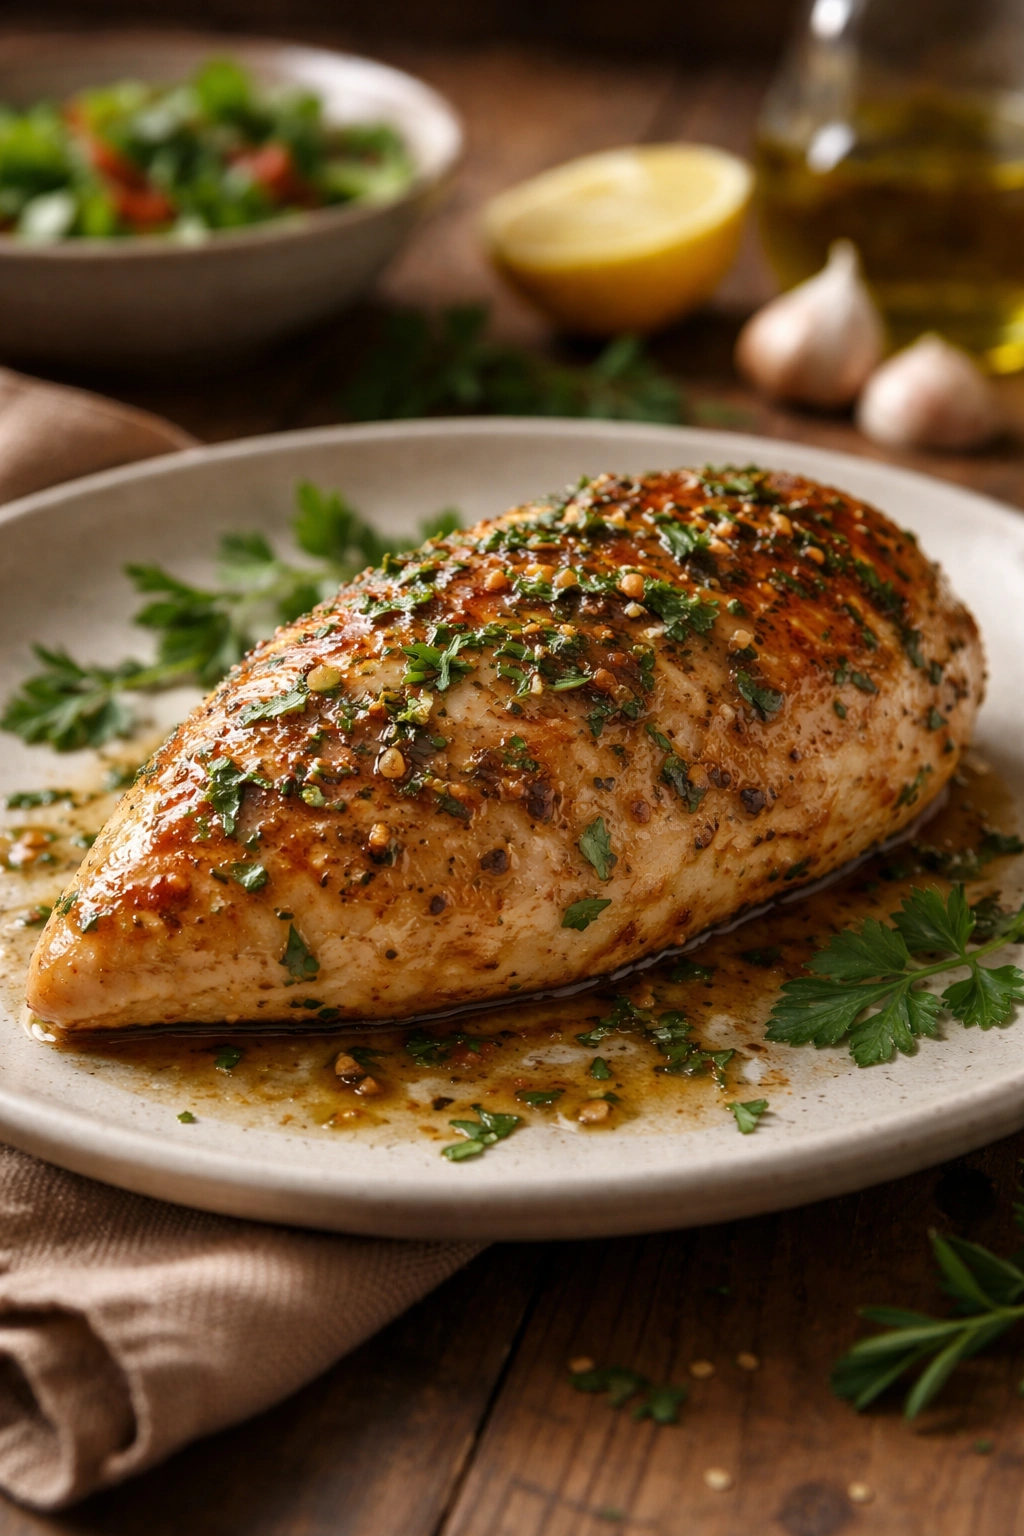
There’s nothing quite like the aroma of Italian herbs and garlic filling your kitchen while a home-cooked dinner comes together in the oven. Simple Italian baked chicken is the kind of meal that looks impressive enough to serve guests, yet requires so little effort that you won’t hesitate to make it on a busy weeknight. It’s the perfect marriage of convenience and genuine flavor—juicy, tender chicken infused with classic Mediterranean seasonings, ready in under an hour from start to table.
What makes this approach so powerful is its simplicity. You’re not wrestling with complicated techniques or hunting down specialty ingredients. Instead, you’re working with pantry staples and straightforward methods that deliver results every single time. The chicken stays moist and flavorful while the seasonings create a delicious exterior that tastes like you’ve been cooking all day. Best of all, cleanup is minimal and your oven does most of the work while you attend to other things.
Whether you’re feeding a family of four or preparing enough to cover several meals, this recipe adapts beautifully. The technique is forgiving—there’s a comfort in knowing that if dinner needs to happen quickly, you can have something genuinely delicious on the table without stress. This is the kind of chicken dinner you’ll return to again and again, tweaking it slightly based on what you have on hand, but never straying far from the core method that makes it work so well.
Why This Italian Chicken Recipe Delivers Every Time
The secret to consistently juicy, flavorful baked chicken lies in understanding what happens to the meat during cooking. Chicken breasts are notoriously easy to overcook because they contain less fat than other cuts, which means they dry out quickly if given even a few minutes too long in the oven. This recipe sidesteps that problem through a combination of smart techniques that work together to keep the meat tender and succulent.
Pounding the chicken to an even thickness is the first crucial step. When your chicken breasts have thick and thin sections, the thin parts cook long before the thicker parts are done. By gently pounding them to uniform thickness, every part of the breast cooks at the same rate, which dramatically reduces the window for error. You’re essentially giving yourself a larger margin for success—the difference between a dry, stringy chicken breast and one that’s perfectly cooked comes down to just a few minutes, and this technique buys you that precious buffer.
The marinade serves multiple purposes beyond flavor. The olive oil and acid in the marinade (whether from balsamic vinegar, lemon juice, or a commercial dressing) work together to tenderize the chicken from the outside in. This doesn’t happen overnight, but even thirty minutes makes a noticeable difference in how tender the final product feels. The fat from the oil also helps keep moisture locked into the meat during cooking, while the seasonings infuse every fiber with flavor that tastes intentional and carefully considered.
Covering the chicken with foil during the first part of the baking time is another game-changing technique. The trapped steam gently cooks the chicken from the inside while the heat from the oven does its work on the outside. Once you remove the foil, the surface can brown and crisp up, giving you that golden, appetizing appearance without the drying effect that uncovered cooking would cause. This two-phase approach—steam, then dry heat—is the professional technique that separates restaurant-quality chicken from disappointing home attempts.
Finally, letting the chicken rest for five to ten minutes after it comes out of the oven allows the muscle fibers to relax and reabsorb the juices that have been pushed toward the center during cooking. This resting period is non-negotiable if you want genuinely juicy chicken. It seems counterintuitive to take something hot out of the oven and then wait before eating it, but this small delay transforms the texture completely. The difference is so dramatic that once you experience it, you’ll never skip this step again.
What You’ll Need: Ingredients for Italian Baked Chicken
Yield: Serves 4 to 6 | Makes approximately 6 chicken pieces
Prep Time: 10 minutes
Cook Time: 18 to 20 minutes
Total Time: 30 to 35 minutes (plus optional marinating time)
Difficulty: Beginner — This recipe requires no special equipment beyond a meat mallet and an instant-read thermometer, and the steps are straightforward enough that even someone cooking chicken for the first time will succeed with confidence.
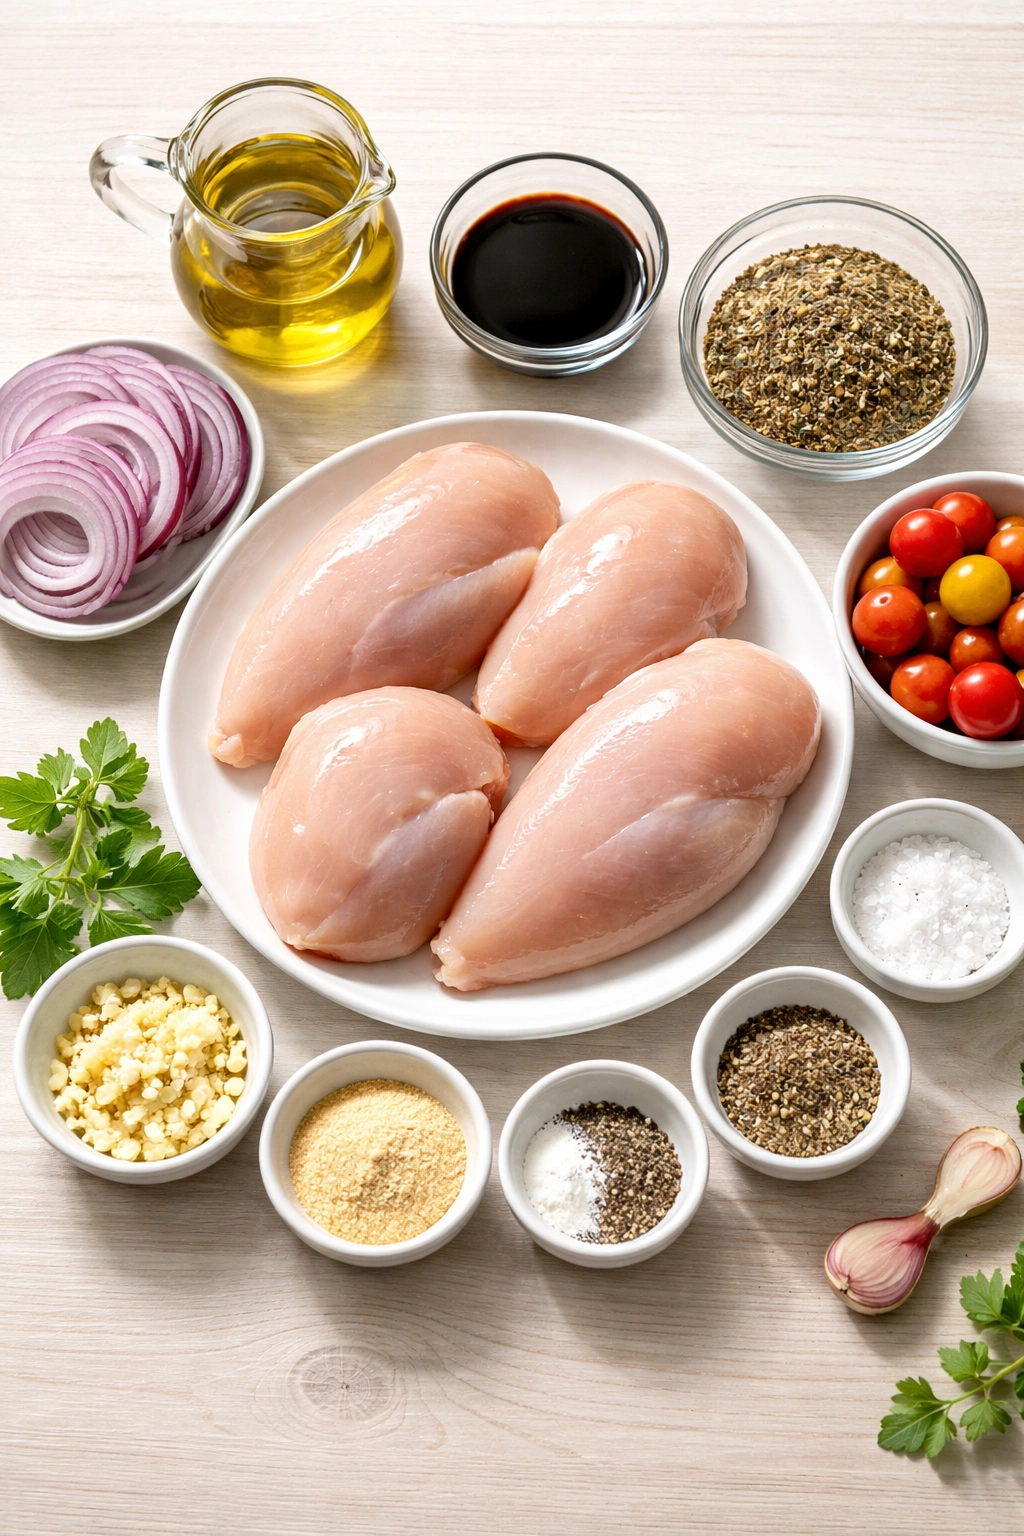
For the Chicken and Marinade:
- 2 pounds boneless, skinless chicken breasts (about 4 large breasts)
- ¼ cup extra-virgin olive oil
- ¼ cup balsamic vinegar (or white wine vinegar, or fresh lemon juice)
- 2 teaspoons Italian seasoning (dried oregano, basil, and thyme blend)
- 1½ teaspoons garlic powder (or 4 cloves fresh garlic, minced)
- ½ teaspoon kosher salt
- ½ teaspoon freshly ground black pepper
- 1 medium red onion, halved and thinly sliced (optional but recommended)
- 6 to 8 cherry tomatoes or small Roma tomatoes, halved (optional but adds brightness)
For Finishing:
- Fresh parsley, chopped (about 2 tablespoons for garnish)
- Fresh basil leaves, torn or chopped (about 1 tablespoon for garnish)
- Parmesan cheese, freshly grated (optional, about ⅓ cup)
Ingredient Notes and Substitutions:
The beauty of this recipe is its flexibility. If you don’t have balsamic vinegar on hand, fresh lemon juice works beautifully and brings a brighter, more Mediterranean flavor profile. Red wine vinegar is another excellent option that adds subtle depth. For a shortcut, you can use a store-bought Italian dressing in place of whisking together the oil, vinegar, and seasonings—it’s not quite as fresh-tasting, but it absolutely works and saves a step.
For chicken thighs instead of breasts: You can absolutely swap boneless, skinless chicken thighs (about 6 to 8 thighs) for the breasts. Thighs are more forgiving—they’re harder to dry out because of their higher fat content, and they’re often less expensive. The cooking time may extend by a few minutes, but the method remains identical. Many cooks actually prefer thighs for this exact reason.
For dairy-free and gluten-free: This recipe is naturally gluten-free as written. If you’re serving it with sides that contain gluten, there’s no issue with the chicken itself. There’s no dairy in the basic recipe either, unless you add the Parmesan cheese garnish.
For garden vegetables: If you have zucchini, green beans, or summer squash on hand, you can easily nestle them around the chicken on the pan. Just add them during the last ten minutes of cooking so they don’t become mushy, or give them a head start by adding them at the beginning if you prefer them more tender.
How to Prepare the Chicken: Step-by-Step Instructions

Prepare the Chicken Breasts:
-
Remove the chicken breasts from the refrigerator and pat them completely dry with paper towels—moisture on the surface prevents browning and even browning helps ensure even cooking throughout. Dry chicken is crucial for success here.
-
Place one chicken breast on a large cutting board and lay a sheet of plastic wrap on top of it. If you have a meat mallet, lay the plastic wrap directly over the chicken. Using the flat side of the mallet (or the bottom of a heavy skillet or measuring cup if you don’t have a mallet), pound the chicken gently but firmly to an even thickness of about ¾ to 1 inch. The goal isn’t to pulverize it but to flatten the thicker sections so every part is roughly the same thickness.
-
Repeat with the remaining chicken breasts. Don’t skip this step—pounding ensures even cooking and more tender, juicy results.
-
Transfer the pounded chicken to a large bowl or a gallon-size zip-top bag for marinating.
Make the Marinade and Marinate the Chicken:
-
In a small bowl or measuring cup, whisk together the olive oil, balsamic vinegar (or lemon juice), Italian seasoning, garlic powder, salt, and black pepper until well combined. The mixture should look emulsified and aromatic.
-
Pour the marinade over the chicken breasts, using tongs or your hands to turn each piece so that all sides are evenly coated with the mixture. If using a zip-top bag, seal it carefully and gently massage the bag to distribute the marinade. If using a bowl, stir occasionally.
-
Cover the bowl or seal the bag and refrigerate for at least 30 minutes, or up to 8 hours. Even 30 minutes makes a noticeable difference in flavor and tenderness. You can prepare this step in the morning and cook it for dinner, making this an excellent make-ahead meal.
Prepare the Pan and Vegetables:
-
Preheat your oven to 425°F (220°C) and position the rack in the center of the oven. Line a large rimmed baking sheet with parchment paper or foil for easy cleanup.
-
If you’re including the red onion, spread the thinly sliced onion across the bottom of the baking sheet in a single layer. The onion creates a flavorful bed for the chicken and caramelizes slightly as everything bakes. If you’re including tomatoes, set them aside for the moment—you’ll add them after the chicken has been on the pan for a few minutes.
Arrange and Bake the Chicken:
-
Remove the chicken from the refrigerator and let it sit at room temperature for about 5 minutes while the oven finishes preheating. This small step helps the chicken cook more evenly.
-
Arrange the marinated chicken breasts on the prepared baking sheet in a single layer, skin-side up if there’s any skin, or just in a comfortable single layer. Don’t crowd the pan—each piece should have at least a little space around it. If pieces are touching, they won’t brown evenly. Make sure the chicken is sitting on top of the onions rather than submerged in them.
-
If you’re using tomatoes, scatter them around the chicken at this point. They’ll add moisture and flavor to the pan, and they’ll caramelize slightly as everything bakes.
-
Cover the baking sheet tightly with foil—this traps steam and helps the chicken cook gently without drying out. Bake for 10 minutes covered.
-
After 10 minutes, carefully remove the foil. Be cautious when removing foil from a hot pan, as the steam released is very hot and can cause burns. Bake uncovered for another 8 to 10 minutes, depending on the thickness of your chicken breasts and your oven.
-
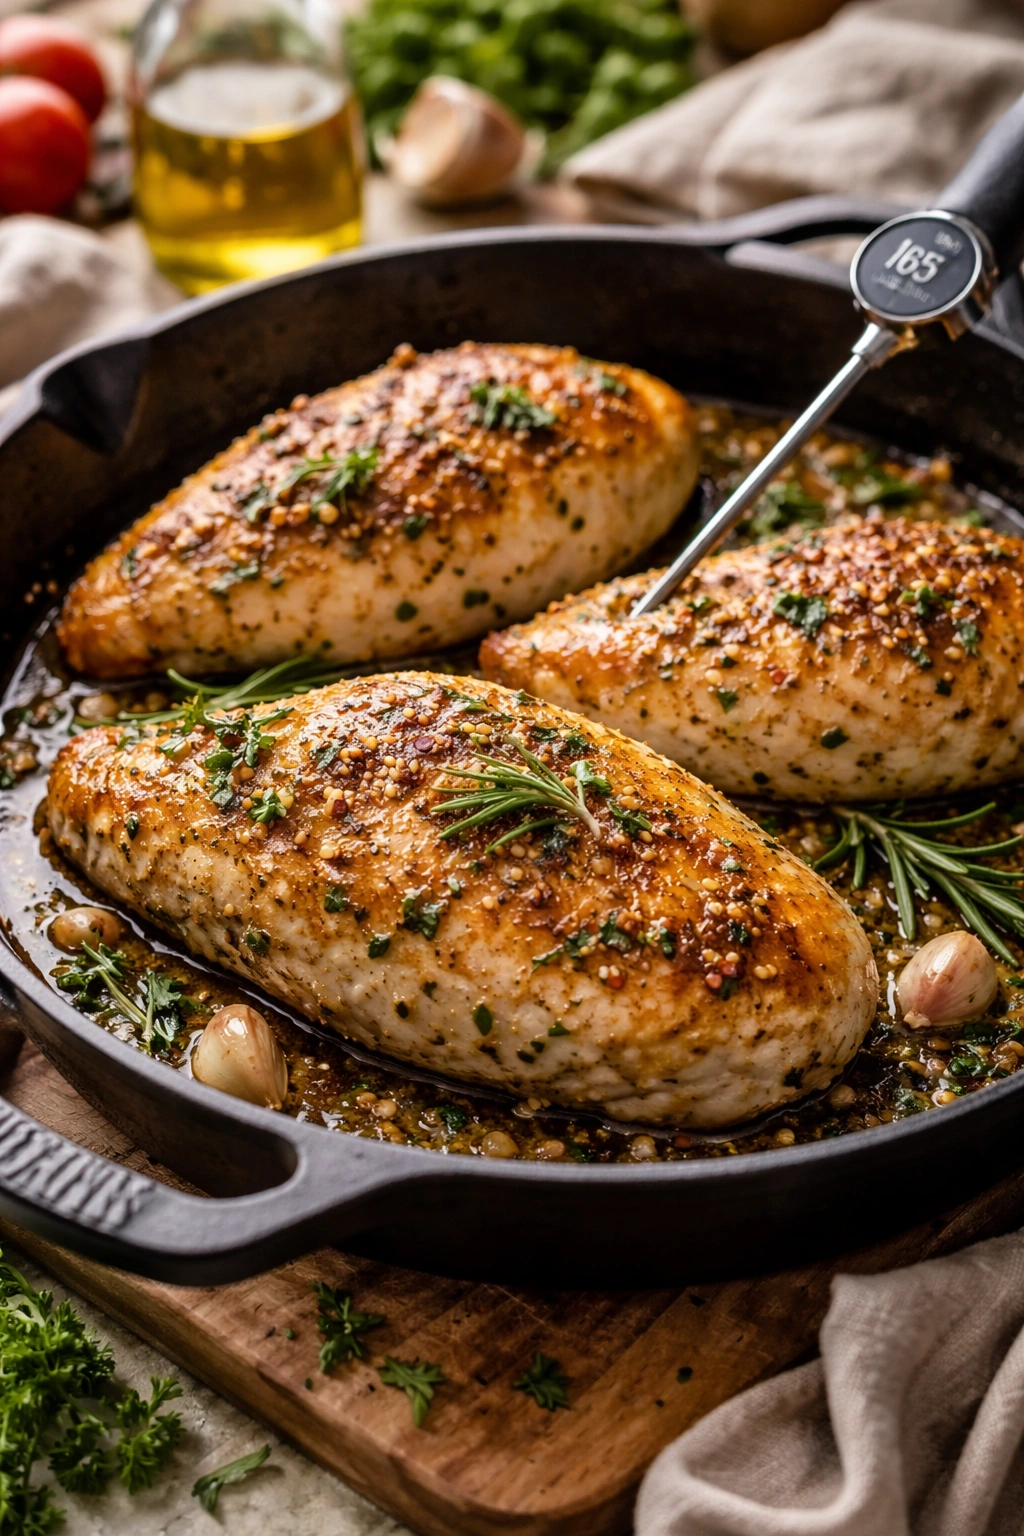
The chicken is done when an instant-read thermometer inserted into the thickest part of the largest breast reads exactly 165°F (74°C). This is the safe internal temperature for poultry. Don’t go above 165°F—overcooking by even a couple of degrees noticeably dries out the meat.
Rest and Finish:
-
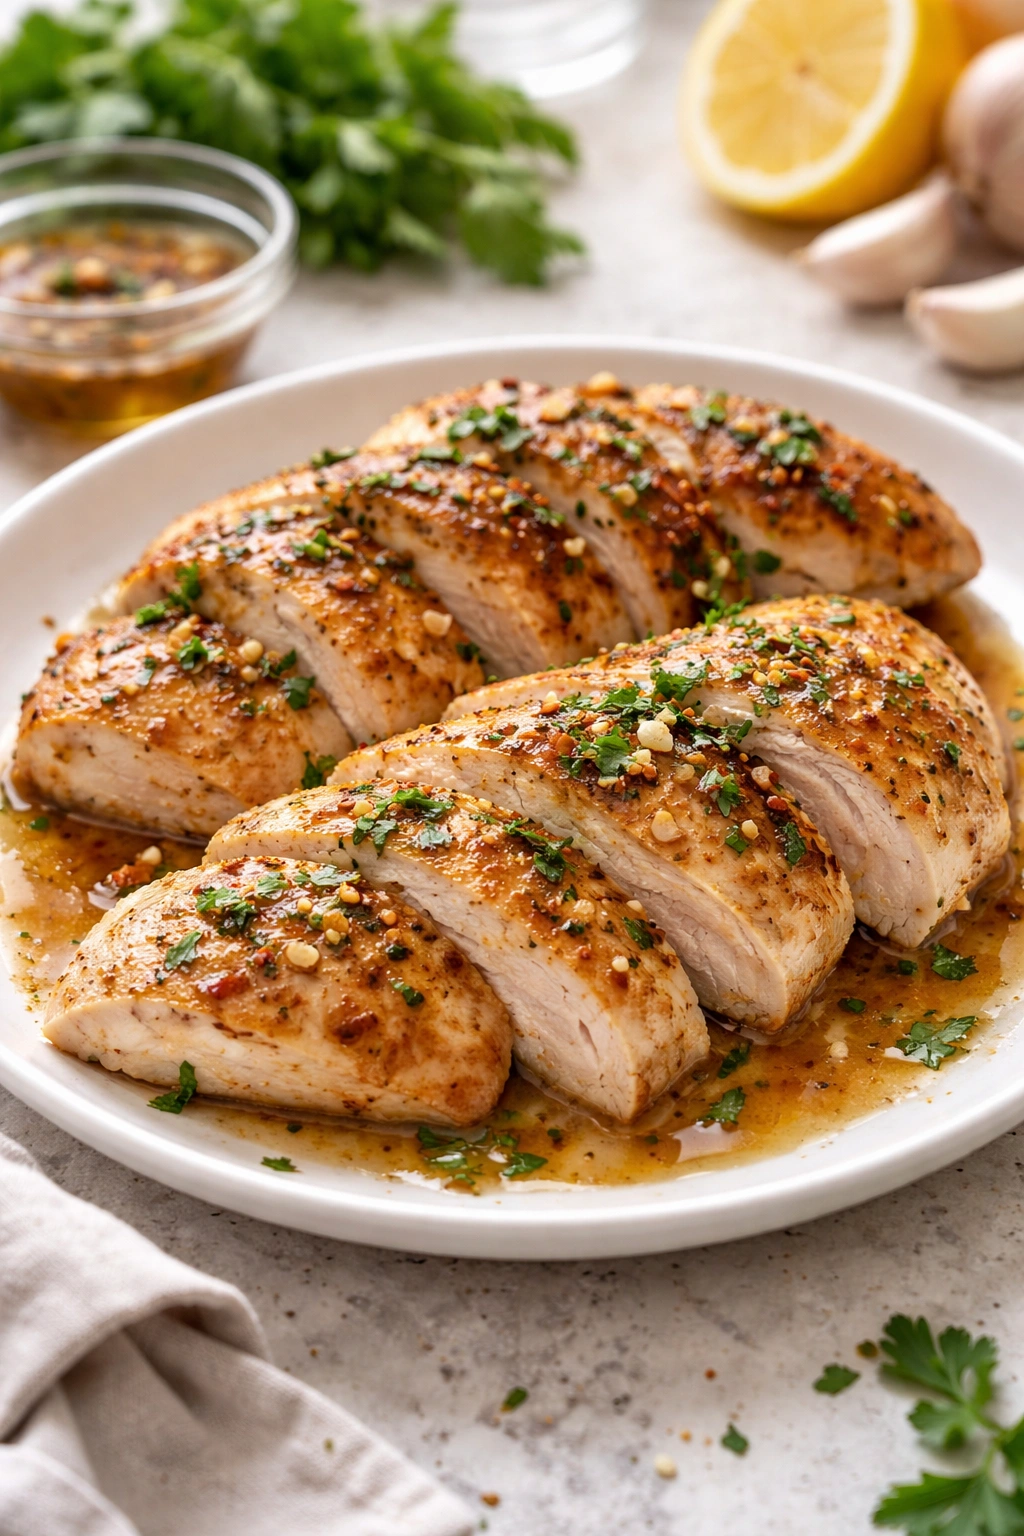
Remove the baking sheet from the oven and let the chicken rest on the pan for 5 to 10 minutes. During this time, the carryover heat will continue to cook the chicken slightly and, more importantly, the juices will redistribute throughout the meat. This makes each bite more tender and juicy.
-
Garnish the finished chicken with fresh parsley and basil for color, brightness, and fresh flavor that contrasts beautifully with the herbs used in the marinade. If you’d like, grate some Parmesan cheese over the top—the salty, umami richness complements the chicken and vegetables perfectly.
-
Serve immediately while the chicken is still warm. If any pan juices have accumulated, spoon them over the top of each piece before plating.
The Mistakes Most Home Cooks Make—And How to Avoid Them
Skipping the pounding step seems small, but it’s the number one reason home-cooked chicken comes out unevenly cooked. One section is overcooked and dry while another is barely cooked through. Take two minutes to pound the chicken flat, and you’ve solved half the potential problems right there. It’s worth the small effort.
Overcooking is the second most common issue. Chicken goes from perfectly juicy to dry in what feels like seconds. This is why an instant-read thermometer is non-negotiable equipment for chicken cooking. You can’t guess at doneness by looking at color or texture—you must check the internal temperature. The moment it hits 165°F, remove it from the oven. Not 166, not 167—165 is the target. Using a thermometer turns chicken cooking from guesswork into certainty.
Skipping the rest period is another missed opportunity. You’ve done all the work to keep the chicken moist, and then you cut into it immediately, allowing all those hard-earned juices to spill out onto the plate instead of staying in the meat where they belong. Those five to ten minutes of resting are as important as any step in the cooking process. Wrap the pan loosely with foil or a clean kitchen towel if you’re concerned about it cooling too much—it won’t, and the gentle retained heat actually helps the juices redistribute.
Not giving the marinade enough time is actually the least critical mistake on this list, because the chicken tastes good even with minimal marinating. However, if you have even just 30 minutes to let it sit, you’ll taste the difference. Two hours is better, and overnight is excellent if you’re planning ahead. But if you’re in a rush, coat it and bake it immediately—the results will still be delicious.
Using a baking dish instead of a baking sheet is a common choice that leads to uneven cooking and steaming rather than roasting. A rimmed baking sheet allows air to circulate around the chicken, which promotes even cooking and browning. A baking dish with high sides traps heat and moisture in a way that sometimes prevents proper browning. Stick with a baking sheet lined with parchment for the best results.
Variations and Adaptations to Make It Your Own
Lemon and Fresh Herb Version: Replace the balsamic vinegar with fresh lemon juice (from about one large lemon), add 1 tablespoon of fresh rosemary or thyme in addition to the Italian seasoning, and include 2 or 3 thin slices of fresh lemon alongside the chicken on the pan. The brightness of lemon is so different from balsamic that you’ll feel like you’re making an entirely different dish, even though the technique remains identical.
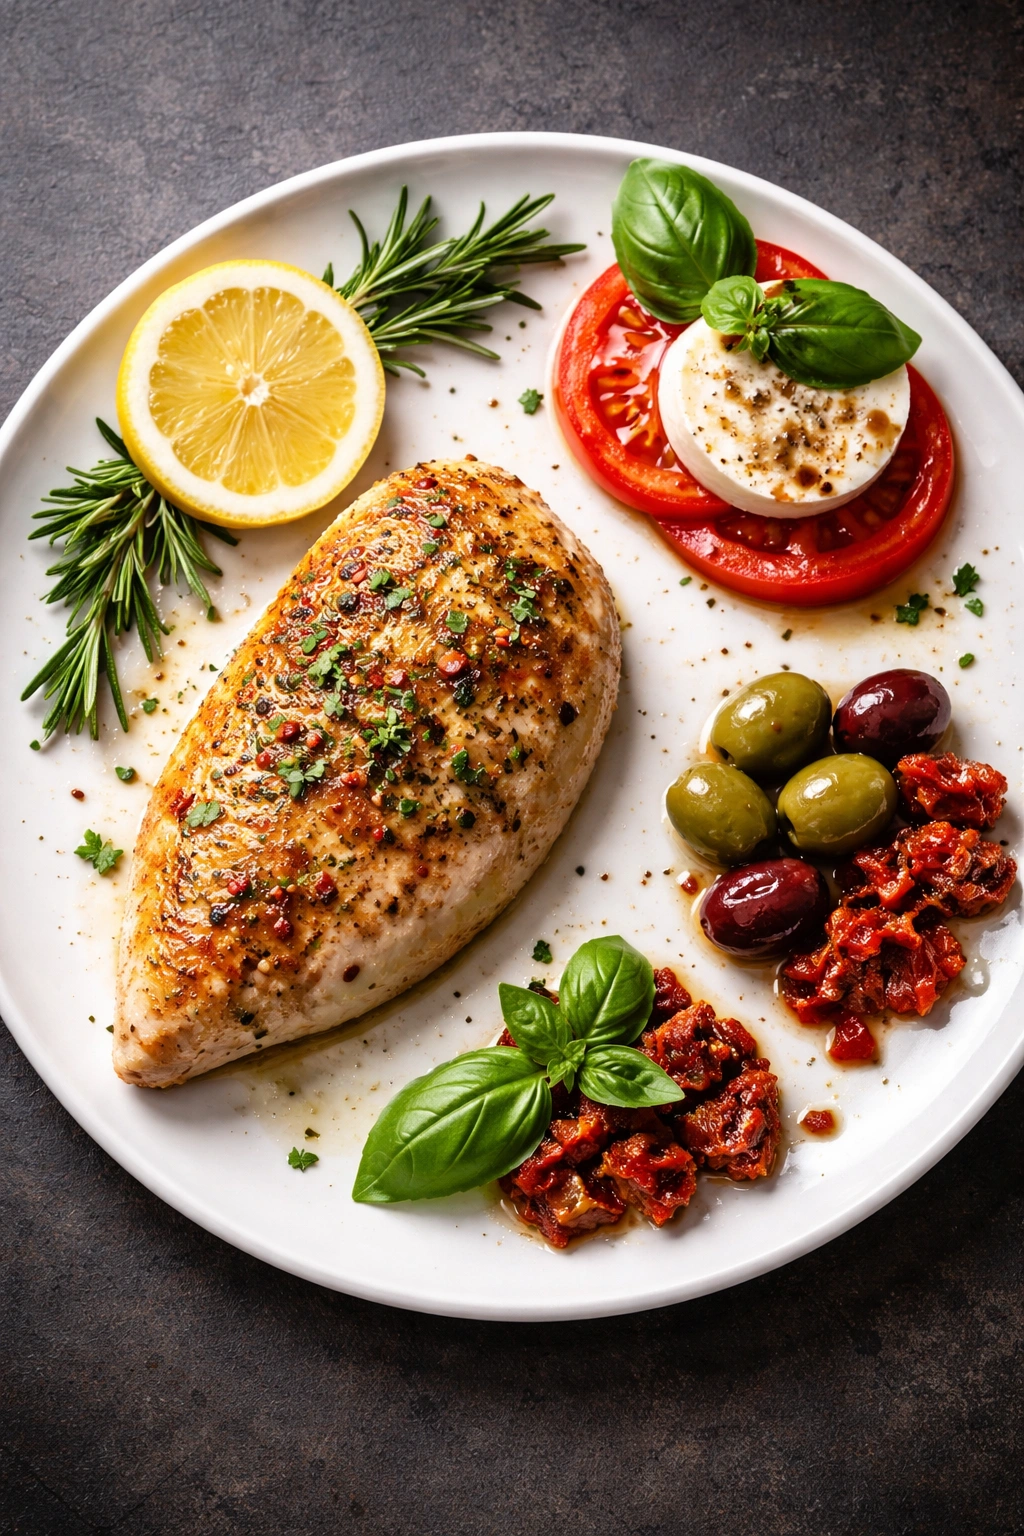
Caprese Style: Follow the basic recipe, but after the chicken has rested, top each piece with a slice of fresh mozzarella cheese, a thick slice of fresh tomato (or several cherry tomatoes), and a fresh basil leaf. Drizzle with good balsamic vinegar or balsamic reduction. The combination is restaurant-quality impressive, yet requires literally no additional cooking.
Olives and Sun-Dried Tomatoes: Mix ½ cup of pitted Kalamata olives and ⅓ cup of sun-dried tomatoes (the oil-packed kind, not rehydrated) into the marinade. The olives add briny depth, and the sun-dried tomatoes add concentrated tomato flavor and slight sweetness. This version tastes more complex and sophisticated, even though you’re just adding two more ingredients to the marinade.
White Wine and Garlic Version: Use ¼ cup dry white wine instead of balsamic vinegar, and replace the garlic powder with 4 to 5 cloves of fresh garlic, minced. Add ½ teaspoon of dried thyme. This creates a lighter, more delicate flavor profile that feels elegant and refined. Finish with fresh parsley and a squeeze of fresh lemon juice for brightness.
Harissa and Mediterranean: For a version with a bit more kick, stir 1 to 2 teaspoons of harissa paste (a North African spice blend with chile heat) into the marinade. Keep everything else the same. Serve with plain yogurt on the side—the cooling effect of the yogurt balances the heat beautifully, and the tanginess complements all the Italian herbs.
Chicken Thighs Instead of Breasts: Use 6 to 8 boneless, skinless chicken thighs instead of breasts. Thighs don’t need pounding because they’re already relatively thin and uniform. The cooking time remains the same or might be just a minute or two longer. Thighs are more forgiving, less likely to dry out, and often less expensive. Many people actually prefer them for this exact reason.
Sheet Pan Dinner Version: Add vegetables directly to the pan with the chicken. Red onions (already in the basic recipe), zucchini cut into thick rounds, green beans, bell peppers, or small potatoes all work beautifully. Cut harder vegetables like potatoes smaller so they cook in the same time as the chicken. Add softer vegetables like asparagus or spinach only during the last 5 minutes of cooking, or they’ll become mushy.
Tomato and Basil: This version mimics the flavors of Caprese and fresh tomato sauce. Include fresh cherry tomatoes in the pan (as in the basic recipe), and increase the fresh basil to 3 tablespoons. You can also add a splash of tomato paste (1 to 2 teaspoons) to the marinade for deeper tomato flavor. Top generously with fresh basil after cooking, and finish with a grating of Parmesan and a small drizzle of good olive oil.
Practical Tips for Success Every Single Time
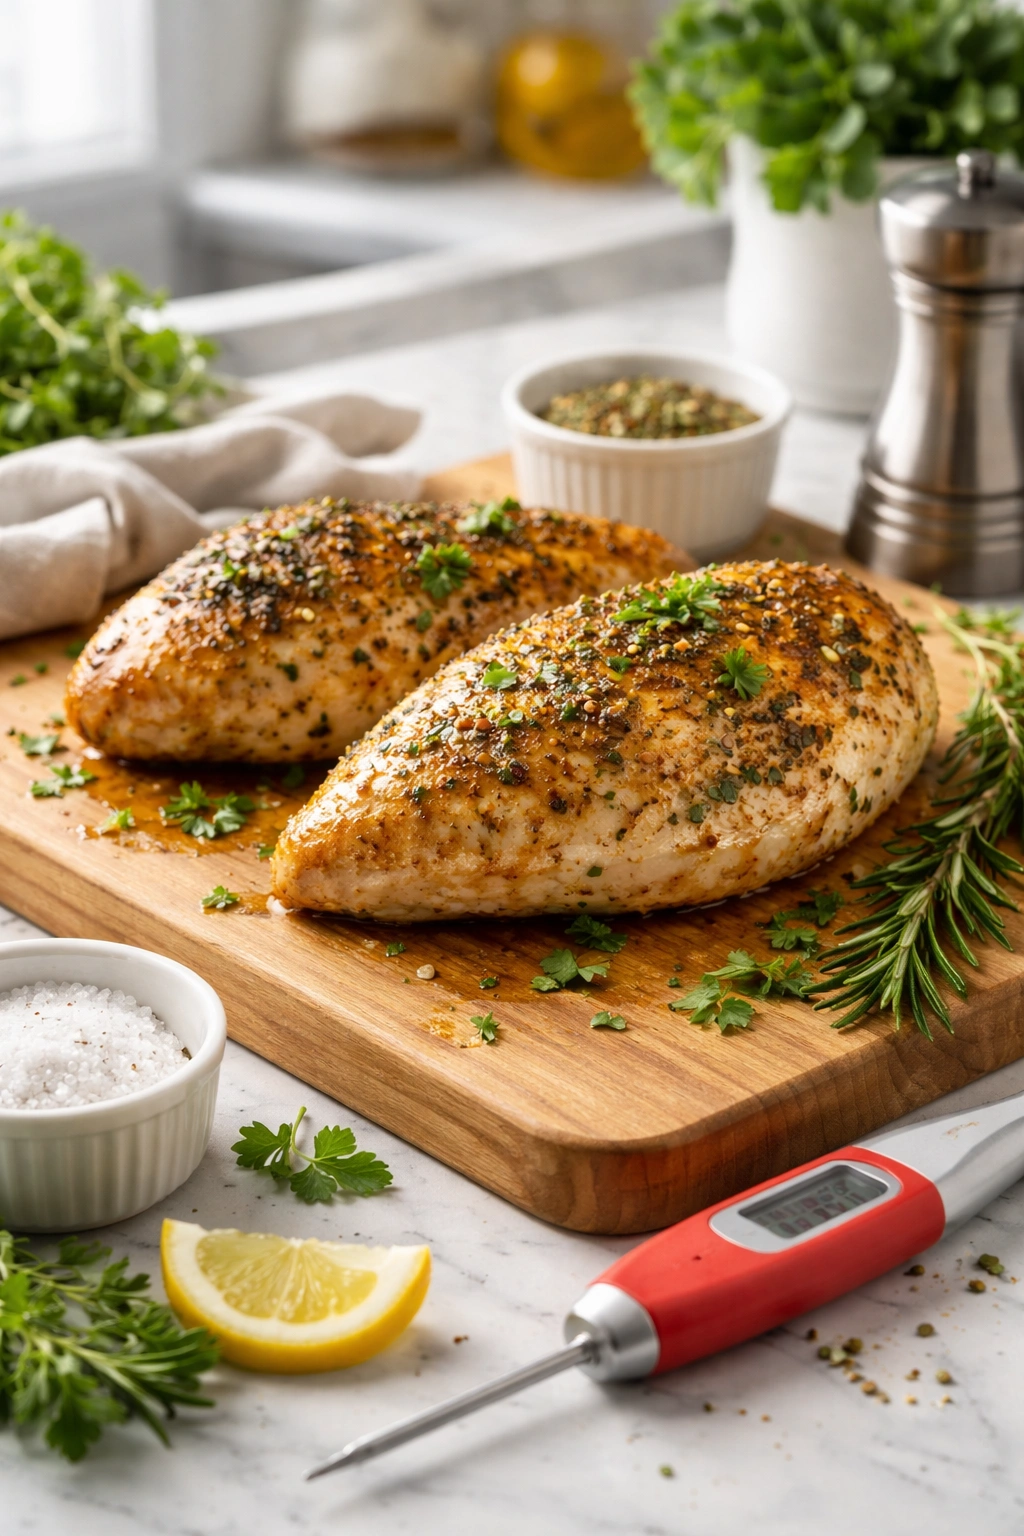
The instant-read thermometer is your best friend. Seriously, this single tool transforms chicken cooking from an anxious guessing game into reliable, reproducible success. Insert the thermometer into the thickest part of the largest chicken breast without touching bone (if there is any). The reading should come up quickly—if it takes more than a few seconds, your thermometer might need a new battery. Look for 165°F as your target.
Don’t open the oven door constantly. Every time you open it, heat escapes and cooking becomes less even. Resist the urge to peek. Instead, set a timer and trust your equipment. You can check on the chicken once you’ve removed the foil, or use the oven light to look in without opening the door.
Pat the chicken dry before marinating. Any excess moisture on the surface prevents the marinade from making good contact with the meat. Use paper towels to blot the surface until it’s just barely damp rather than wet. This small step makes a difference in how well the seasoning adheres and how evenly the chicken cooks.
Save some of the fresh herbs for garnish. Yes, you’re using dried herbs in the marinade for convenience and consistency, but the fresh herbs you add at the very end brighten the entire dish. The color and fresh aroma make it taste like a restaurant dish even though it was incredibly simple to make.
Use good olive oil. You don’t need the most expensive bottle, but avoid the cheapest options. The quality of the olive oil noticeably affects the final flavor, especially in a simple dish where it’s one of the main ingredients. Extra-virgin olive oil has the most robust flavor and is worth the small price difference.
Let the marinade come to room temperature slightly while the oven preheats. Cold marinade on cold chicken means the initial cooking is slower, which can affect evenness. It’s not a huge difference, but bringing everything closer to room temperature before it enters the oven helps ensure more even cooking throughout.
Don’t skip the salt in the marinade. Salt isn’t just about making food taste salty—it’s about enhancing all the other flavors. The herbs taste more vibrant, the chicken tastes more like chicken, the whole dish tastes more intentional when salt is present in proper proportions.
Have all your ingredients prepped and ready before you start. This doesn’t take much time, but having the marinade whisked, the chicken pounded, and the pan prepared means you’re not scrambling while the chicken sits around. Freshly cooked food tastes better than chicken that’s been sitting around waiting for you to find the parmesan grater.
How to Store and Reheat Your Leftovers
Storage in the Refrigerator: Let the chicken cool to room temperature, then transfer it to an airtight container along with any pan juices. The juices help keep the chicken moist and flavorful during storage. Refrigerate for up to 3 to 4 days. The chicken actually stays more moist and flavorful when stored in its own juices rather than alone in a container.
Storage in the Freezer: Italian baked chicken freezes well for up to 2 to 3 months. Transfer cooled chicken and its juices to a freezer bag, removing as much air as possible to prevent freezer burn. Label it with the date. The quality is best within the first month, but it remains safe and delicious for longer.
Reheating in the Oven: This is the best method for reheating and restores the most texture to the chicken. Preheat your oven to 350°F and place the chicken in a baking dish with a little of the pan juices. Cover loosely with foil and warm for about 10 to 15 minutes, until it’s heated through. The gentle heat preserves the texture much better than faster reheating methods.
Reheating in the Microwave: If you’re in a true rush, you can microwave individual portions for 1 to 2 minutes, but the texture won’t be quite as good. Cover the plate loosely with a paper towel to prevent splattering. The chicken may be slightly less tender than oven reheating, but it’s absolutely edible and still quite good.
Reheating on the Stovetop: Slice the chicken into pieces and warm them in a skillet over medium heat with a splash of the pan juices or a little olive oil. This method retains good texture and adds a slight crust from the heat, which some people prefer. It takes about 5 minutes total.
Best Served: Fresh and still warm from the oven is the ideal serving time. However, this chicken is also delicious at room temperature the next day, served over a salad or in a sandwich.
Creative Ways to Use Leftover Italian Baked Chicken

Over Pasta: Slice the cooled chicken and toss it with your favorite pasta, a little of the pan juices, fresh tomatoes, basil, and Parmesan cheese. It becomes a simple pasta dinner in minutes.
In a Salad: Chop or slice the leftover chicken and serve it over crisp greens with a simple vinaigrette, fresh tomatoes, red onion, and Parmesan. The Italian flavors already infused in the chicken make this a complete meal.
In a Sandwich: Layer sliced chicken on crusty bread with fresh mozzarella, tomatoes, basil, and a spread of pesto or aioli. Press it in a panini press if you have one, or just enjoy it as a cold sandwich.
In a Wrap: Fill a large tortilla or flatbread with sliced chicken, arugula, tomatoes, mozzarella, and a drizzle of balsamic reduction. It’s substantial enough for lunch and requires no reheating.
Chicken Soup: Shred the leftover chicken and add it to a simple broth with vegetables and pasta or rice for a comforting weeknight soup.
Chopped into Grain Bowls: Dice the chicken and layer it with cooked grains (rice, quinoa, farro), roasted vegetables, and a simple dressing for a customizable grain bowl.
What to Serve Alongside Italian Baked Chicken
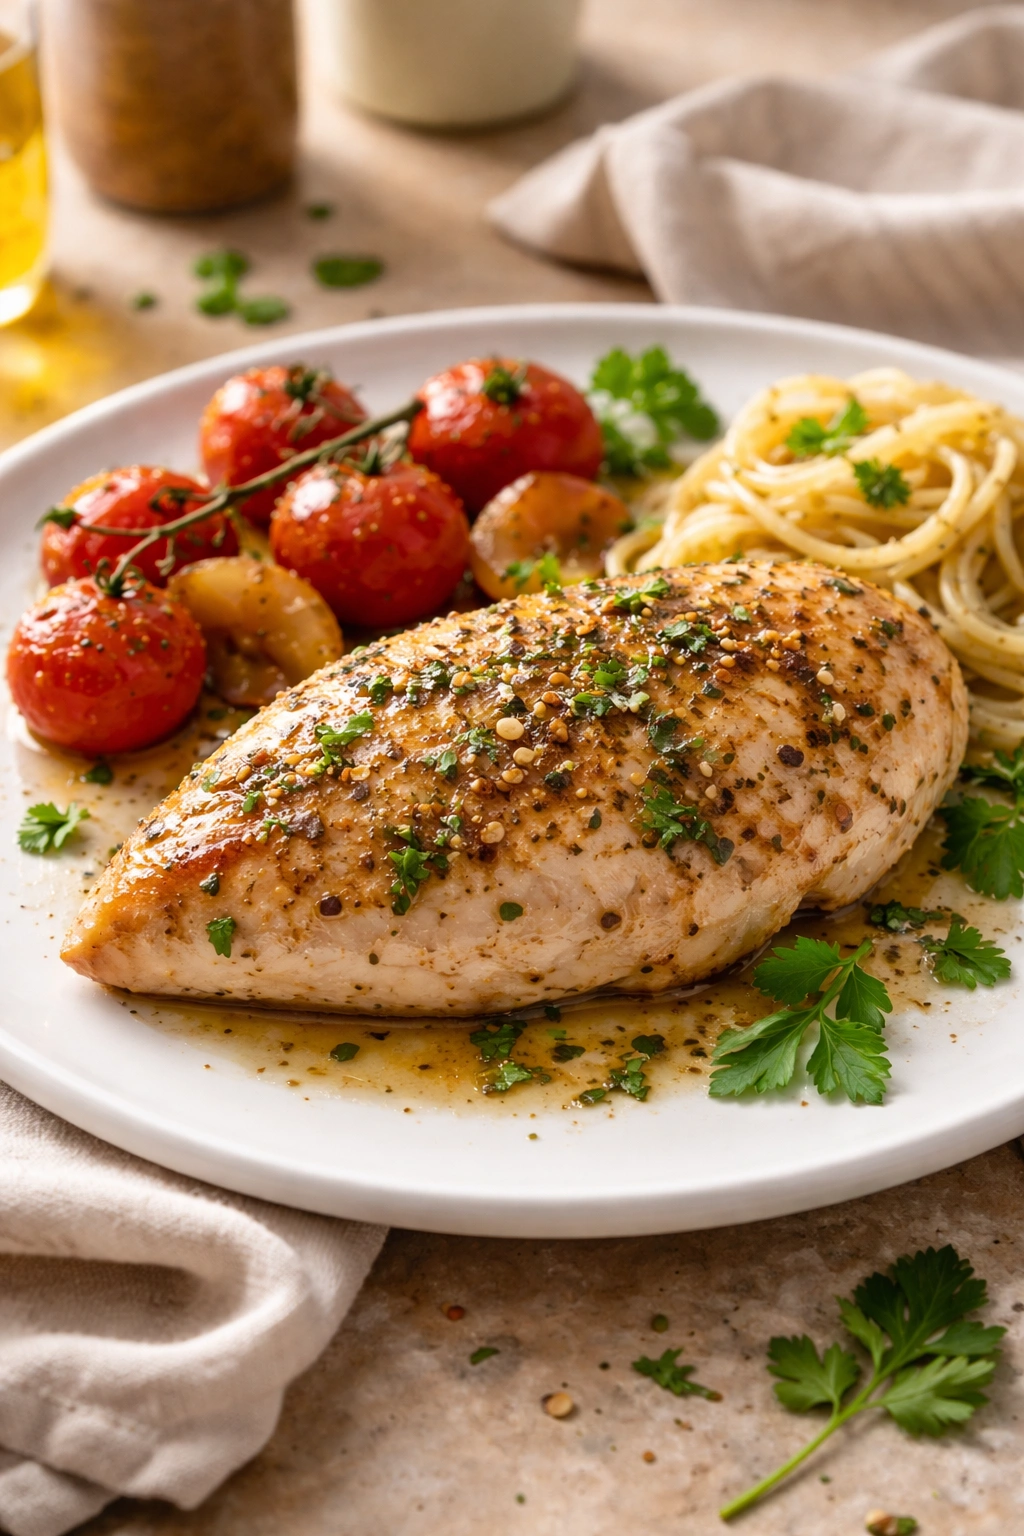
The beauty of this Italian chicken is that it pairs beautifully with virtually any vegetable side or starch. The key is choosing sides that complement the Mediterranean flavors without competing with them. You want your sides to feel intentional and cohesive, not random.
Vegetable Sides: Roasted vegetables are the natural choice—zucchini, bell peppers, green beans, asparagus, or summer squash tossed with olive oil, garlic, and Italian herbs all feel like they belong on the same plate. A simple green salad with a light vinaigrette provides freshness and brightness that balances the richness of the chicken. Sautéed spinach with garlic is elegant and requires minimal effort.
Starch Options: Simple steamed or roasted potatoes allow the chicken to shine without competing for attention. Creamy polenta offers richness and comfort. Pasta dressed with olive oil, garlic, and a touch of fresh herbs becomes a complete meal when served alongside the chicken. Brown rice or quinoa provides whole grains and a slightly nutty flavor that complements the herbs.
Bread: Crusty Italian bread or focaccia is perfect for soaking up any pan juices. Garlic bread feels indulgent but appropriate for an Italian-themed dinner.
Simple Preparations: Sometimes the best sides are the simplest. A squeeze of fresh lemon juice over everything, a handful of fresh herbs, and good olive oil are all you need to tie the meal together.
Make It a Complete Meal: If you’re serving this to guests or making it for a special occasion, combine a protein (obviously the chicken), a vegetable side, and a starch, then add a simple salad and bread. That’s a complete, impressive meal that required minimal effort from you.
The Timing: Getting Everything on the Table at Once
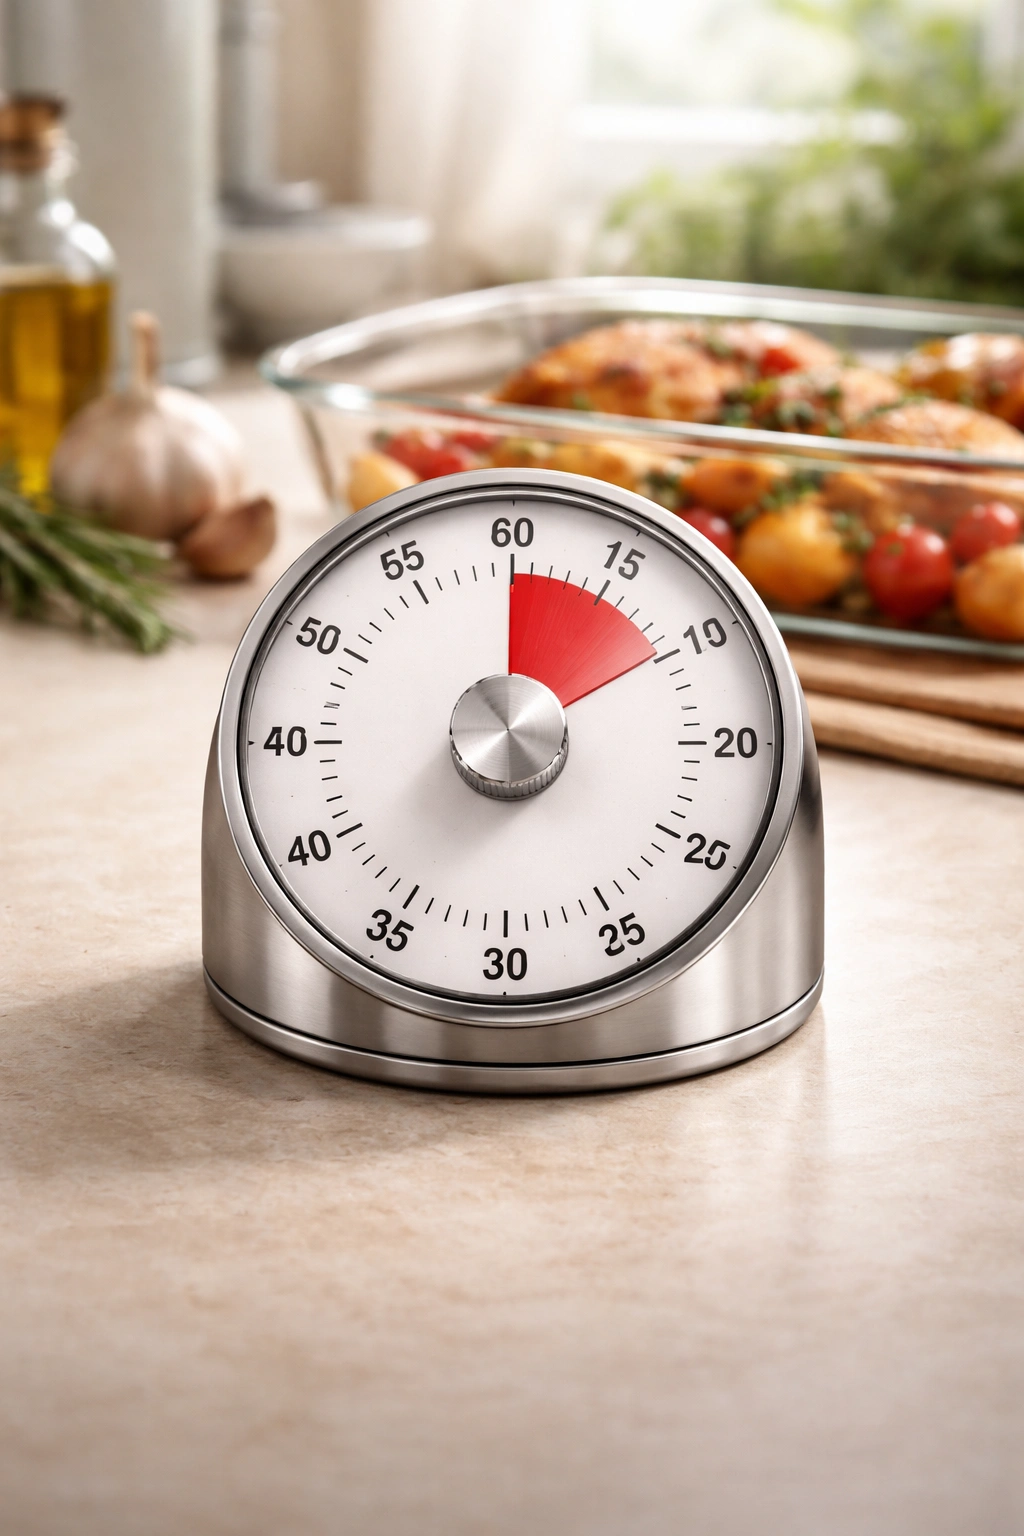
The beauty of this recipe is that it cooks in under an hour from start to finished table. Here’s how to time everything so everything arrives warm: Start your oven preheating about 15 minutes before you want to eat. While it heats, pound the chicken, make the marinade, and get everything on the pan. The total oven time is about 20 minutes once the chicken is in, plus 5 to 10 minutes of resting.
This means you have a window of about 30 to 35 minutes from the moment you start prepping. Plan any sides accordingly. Roasted vegetables can go in the oven at the same time as the chicken if they’re cut to similar sizes. Pasta water can come to a boil while the chicken is marinating. Rice takes longer, so start that first if you’re serving rice.
If you’ve prepped everything ahead of time (which is totally possible—the chicken can marinate all day), you literally just need to put the pan in the oven and finish simple sides while it cooks. This is a genuinely easy dinner, not just in terms of technique but also in terms of timing and multitasking.
Final Thoughts
This simple Italian baked chicken recipe has earned its place on regular dinner rotation in countless homes because it works. It works when you’re exhausted and don’t have energy for complicated cooking. It works when you need to feed a crowd without stress. It works when you want something that tastes intentional and carefully considered, without actually spending much time in the kitchen.
The ingredients are things most people already have—basic pantry staples and whatever fresh herbs you can find. The technique is straightforward enough that even nervous cooks gain confidence making it once or twice. And the results are genuinely delicious, not “good for how easy it was,” but actually legitimately delicious food that you’d be happy to serve at a dinner party or enjoy as a quiet weeknight meal.
Once you’ve made this a few times, you’ll find yourself adapting it naturally based on what’s in your kitchen and what you’re craving. That’s exactly the point. This isn’t a rigid formula to follow exactly; it’s a framework that works, a starting point from which you can build variations that suit your taste and your pantry. The confidence you gain from making a simple dish successfully carries over into your kitchen work in general—suddenly you’re not following recipes so much as using them as inspiration.
Keep this one close. Make it when you need a win in the kitchen, when you want something that tastes like you put in more effort than you actually did, and when you simply want really good chicken on your table with minimal fuss. It never gets old.