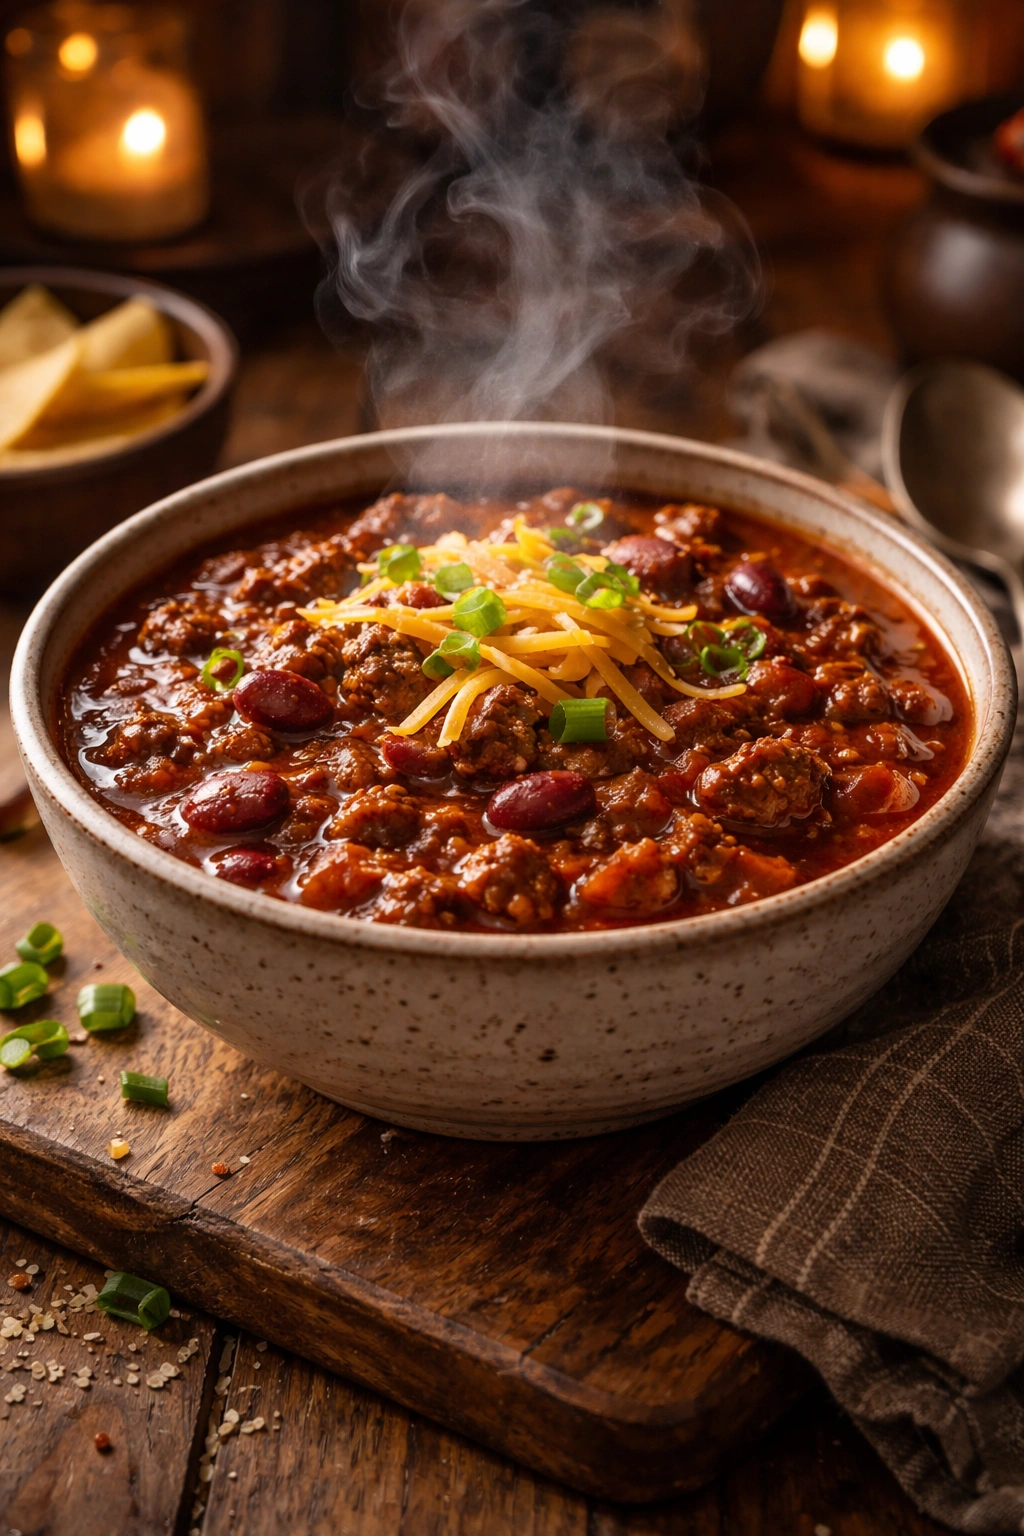
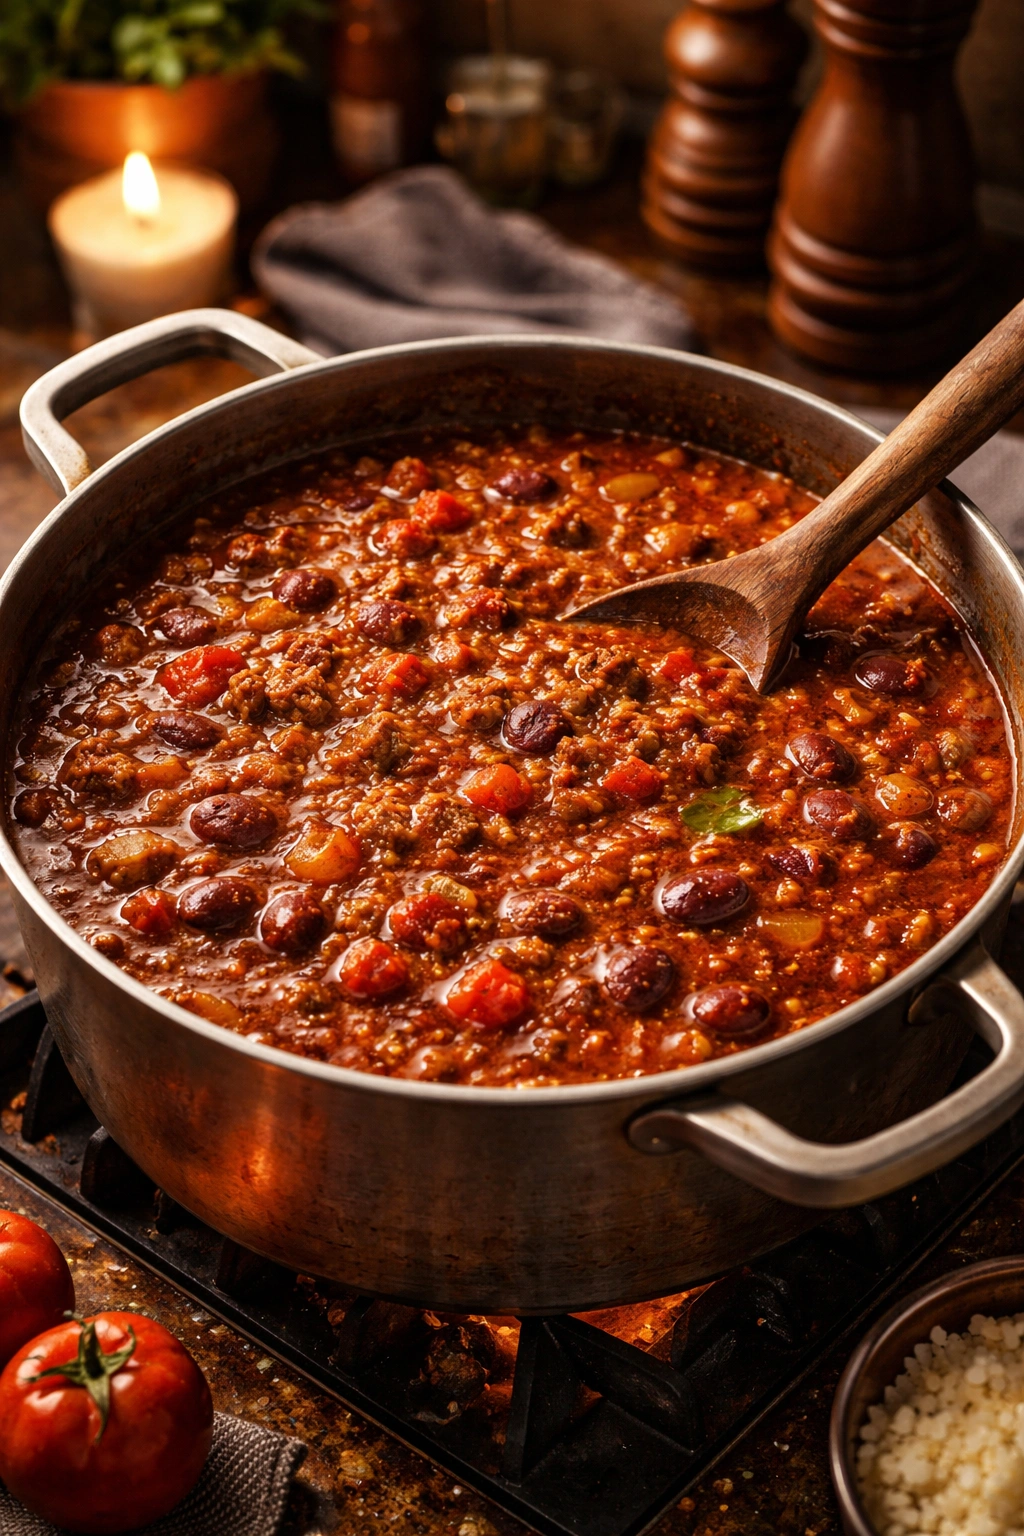
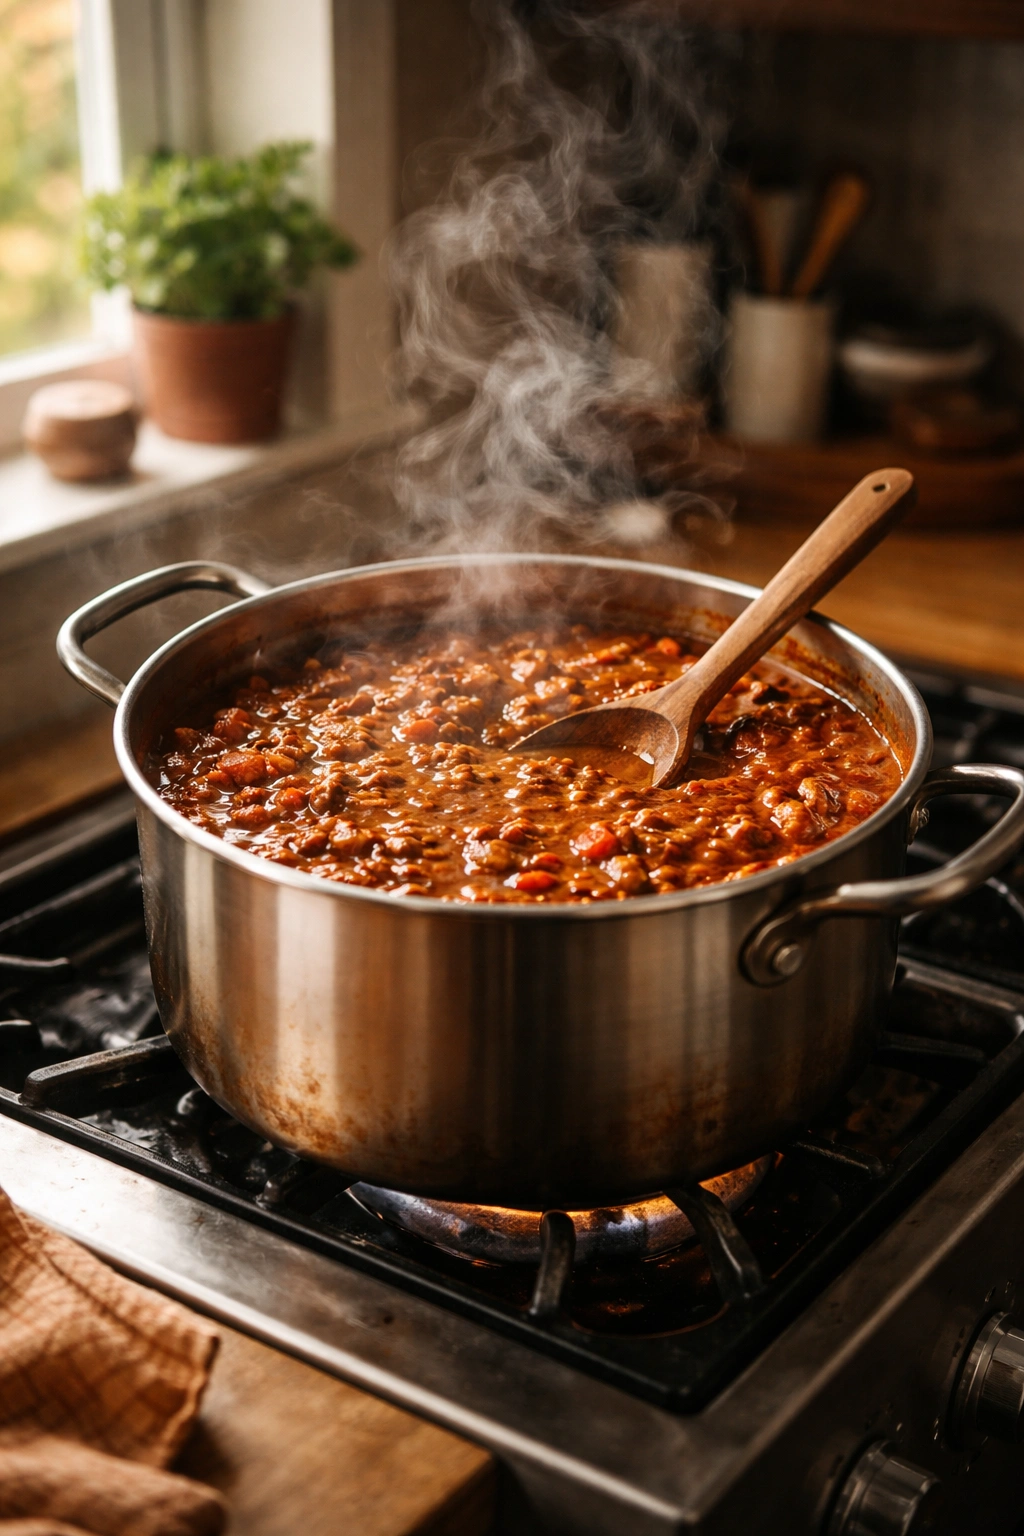
There’s something almost magical about the aroma of chili simmering on the stovetop while winter winds howl outside. The steam rises from the pot carrying the fragrant notes of cumin, chili powder, and toasted tomatoes—a warm invitation that says “come inside, everything’s going to be okay.” Easy homemade chili isn’t just dinner; it’s a ritual that slows you down, fills your kitchen with comfort, and delivers a bowl of pure warmth exactly when you need it most. The best part? You don’t need hours of fussing or obscure ingredients to make something genuinely delicious. This version comes together in under an hour, tastes like it simmered all day, and tastes even better the next day when the flavors have had time to deepen and meld together.
Why Homemade Chili Is the Perfect Comfort Food
Chili occupies a unique place in the comfort food pantheon—it’s hearty enough to feel substantial, deeply flavorful enough to feel special, yet simple enough that anyone can master it. The reason homemade chili beats the canned version by miles isn’t some culinary secret; it’s simply that you control the depth and balance of flavors in ways a factory never can. You choose how spicy you want it. You decide the texture—chunky or thick and cohesive. You build the flavor foundation yourself by toasting spices and caramelizing the aromatics.
When you make chili from scratch, you’re not just cooking; you’re creating a foundation for gathered moments. Whether you’re feeding a quiet family dinner on a freezing night, hosting a casual dinner party, or simply preparing a week’s worth of easy lunches, one pot of chili handles all of it beautifully. The flavor develops over time—it’s genuinely better on day two or three—which makes it one of the smartest things to cook when you’re already in the kitchen.
The real appeal of easy homemade chili is that it removes barriers while keeping the soul intact. You’re not compromising on flavor by skipping complicated steps; you’re just being smart about which steps actually matter.
Building the Base: Why the Ingredient List Matters More Than You Think
The ingredient list for a truly great chili is deceptively simple, yet each component plays a specific role. There’s no filler here—every item contributes something essential to the final bowl. Understanding what you’re buying and why makes the cooking process infinitely more successful.
Ground beef is the traditional protein, and for good reason. Look for ground beef that’s about 80/20 (80 percent lean, 20 percent fat)—this ratio provides enough fat to develop flavor and keep the chili from tasting lean and stringy, but not so much that you’re serving a grease bomb. If you prefer ground turkey or a mix of beef and pork, that works beautifully too; just know that leaner proteins may benefit from a touch more oil in the initial browning step.
Onions and garlic are your flavor foundation. Yellow onions are the standard choice because they’re slightly sweeter and more forgiving than white or red varieties. Garlic should be fresh and minced finely—jarred garlic or garlic powder lack the complexity and punch of fresh cloves. Don’t skip or reduce these aromatics; they’re not optional padding.
Tomatoes form the body of the chili. Canned crushed tomatoes are perfectly fine and often preferable to fresh (especially in winter when tomatoes are mealy and flavorless). One 28-ounce can of crushed tomatoes plus one 15-ounce can of tomato sauce creates a rich, cohesive base. Tomato paste adds concentrated depth—a 2-tablespoon addition is enough to deepen the color and flavor significantly without tasting “tomatoey” in a one-dimensional way.
Beans are your choice. Kidney beans are traditional and hold their shape beautifully during cooking. Black beans add earthiness. A combination works wonderfully too. Canned beans are genuinely fine—rinsing them removes excess sodium and the starchy liquid that can make chili taste flat and metallic.
Chili powder is the backbone of the seasoning profile. This is where many people stumble—they assume all chili powders are the same. They’re absolutely not. Cheap grocery-store chili powder is often musty, overly salty, or cut with filler. Buy quality chili powder from a brand you recognize, or (honestly better) buy individual dried chiles, toast them lightly, and blend them into powder yourself. For this recipe, standard chili powder works wonderfully, but upgrade if you can.
Cumin, oregano, and smoked paprika complete the spice architecture. These three spices, along with the chili powder, create the warm, slightly smoky, earthy flavor that makes people close their eyes and sigh with satisfaction.
Yield: Serves 6 to 8 | Makes about 12 cups
Prep Time: 15 minutes
Cook Time: 40 minutes
Total Time: 55 minutes active cooking (though letting it rest 10 minutes off heat before serving improves the texture and allows flavors to settle)
Difficulty: Beginner — all ingredients are standard pantry and grocery items; no specialty equipment needed beyond a large pot and a wooden spoon. The steps are straightforward and forgiving.
The Secret to Deep Chili Flavor in Under an Hour
The reason this chili tastes like it simmered for hours despite taking less than an hour to make comes down to two non-negotiable steps: properly browning the beef and blooming the spices in the fat.
When you brown ground beef, you’re not just heating it—you’re developing flavor through the Maillard reaction, the chemical process that creates the savory, complex depth we call “umami.” This only happens if the beef makes direct contact with a hot surface. Don’t break the beef into tiny pieces immediately; let it sit in the hot pot for a few minutes, allowing it to form a brown crust. Then break it into smaller chunks. This technique, called “getting a good sear,” takes just a few extra minutes but transforms the final flavor profile entirely.
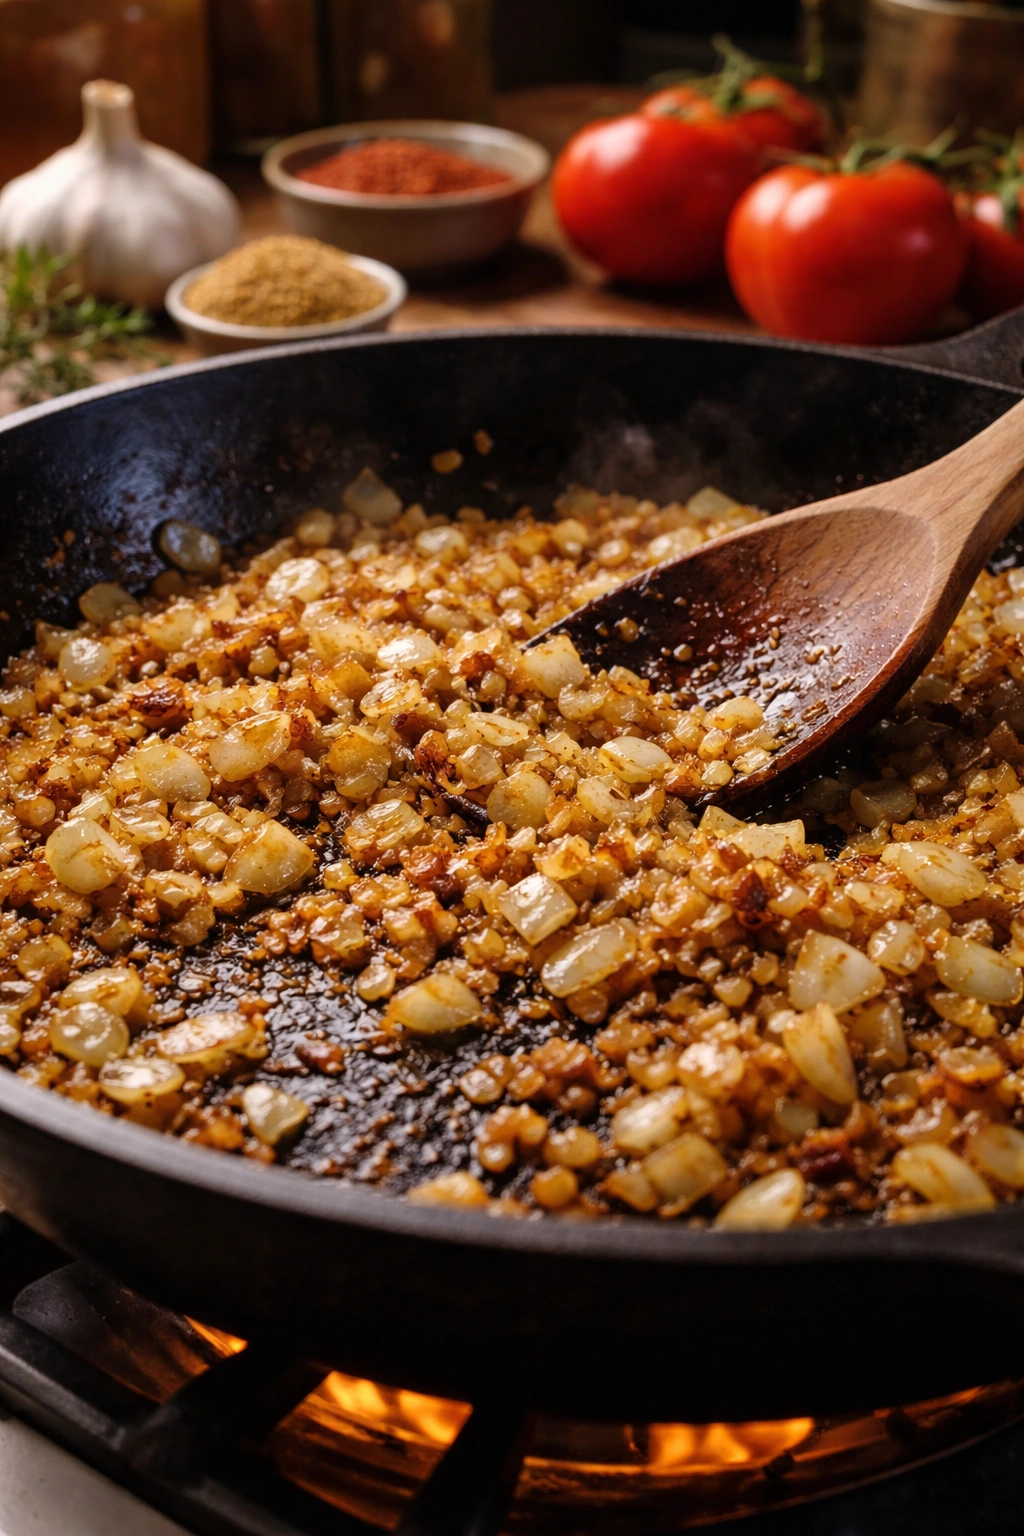
After the beef is browned and set aside, the aromatics (onions and garlic) go into the same pot, into the rendered fat the beef has left behind. That fat isn’t grease to be drained away—it’s liquid gold carrying all the savory compounds you’ve just created. The onions should soften and turn translucent and very lightly golden at the edges, which takes about 5 minutes over medium-high heat.
Then comes the critical blooming step: adding your dry spices to the hot oil and cooking them for just 30 to 60 seconds before adding the tomatoes. This toasting brings out volatile oils and compounds that make spices taste alive and complex instead of flat and dusty. You’ll smell it immediately—suddenly the kitchen smells like a real chili instead of a pot of ground beef and onions.
This sequence—sear, build aromatics, bloom spices—takes maybe 12 to 15 minutes total. Those 12 minutes do more for your chili’s depth than hours of gentle simmering ever could.
Step-by-Step: Making Your First Batch of Chili
For the Chili:
- 2 pounds ground beef (80/20 blend)
- 2 tablespoons neutral oil (vegetable, canola, or light olive oil)
- 1 large yellow onion, diced into roughly ½-inch pieces
- 6 cloves garlic, minced finely
- 2 tablespoons tomato paste
- 3 tablespoons chili powder (good quality—this matters)
- 2 teaspoons ground cumin
- 1½ teaspoons dried oregano
- 1 teaspoon smoked paprika
- ½ teaspoon cayenne pepper (optional, only if you prefer extra heat)
- 1 (28-ounce) can crushed tomatoes
- 1 (15-ounce) can tomato sauce
- 2 (15-ounce) cans kidney beans, drained and rinsed thoroughly
- 1 cup beef broth
- 2 tablespoons apple cider vinegar or red wine vinegar
- 1 teaspoon kosher salt, plus more to taste
- ½ teaspoon black pepper
Browning the Beef:
-
Heat 1 tablespoon of the oil in a large, heavy-bottomed pot over medium-high heat until it shimmers and moves freely across the surface. The pan should be hot enough that a small piece of beef sizzles immediately upon contact.
-
Add half the ground beef in an even layer, pressing it gently against the bottom of the pot with a wooden spoon. Do not stir or break it up immediately. Let it cook undisturbed for 2 to 3 minutes until it develops a deep brown crust on the bottom. This crust is flavor waiting to happen.
-
Break the beef into smaller chunks and stir occasionally until no pink remains and the meat is uniformly brown, about 4 to 5 minutes total. Transfer the cooked beef to a clean bowl using a slotted spoon, leaving as much of the rendered fat in the pot as possible.
-
Repeat step 2 and 3 with the remaining tablespoon of oil and the second pound of beef. Once cooked, combine both batches in the bowl and set aside.
Building the Flavor Base: 5. Pour off all but about 2 tablespoons of the fat from the pot (you want to keep some of the rendered meat flavor clinging to the bottom and sides—this is called the fond). Add the diced onion to the pot and stir well, scraping up any browned bits clinging to the bottom with your wooden spoon.
-
Cook the onion over medium-high heat for 4 to 5 minutes, stirring every minute or so, until it turns translucent and the edges are lightly golden. The onion should smell sweet, not raw or sharp.
-
Add the minced garlic and cook, stirring constantly, for just 30 to 60 seconds until fragrant. Garlic burns quickly and develops a bitter, acrid taste if cooked longer than a minute, so keep the heat at medium-high and watch carefully.
Advertisements -
Add the tomato paste to the onion and garlic mixture and stir well, distributing it throughout. Cook for 1 minute, allowing the tomato paste to caramelize slightly in the hot fat.
Blooming the Spices: 9. Reduce the heat to medium and add the chili powder, cumin, oregano, smoked paprika, and cayenne pepper (if using). Stir constantly for 30 to 60 seconds until the spices become very fragrant and turn slightly darker in color—this is the bloom, and it’s the moment the kitchen starts smelling like real chili. Do not allow the spices to cook longer than one minute, or they’ll begin to burn and taste bitter.
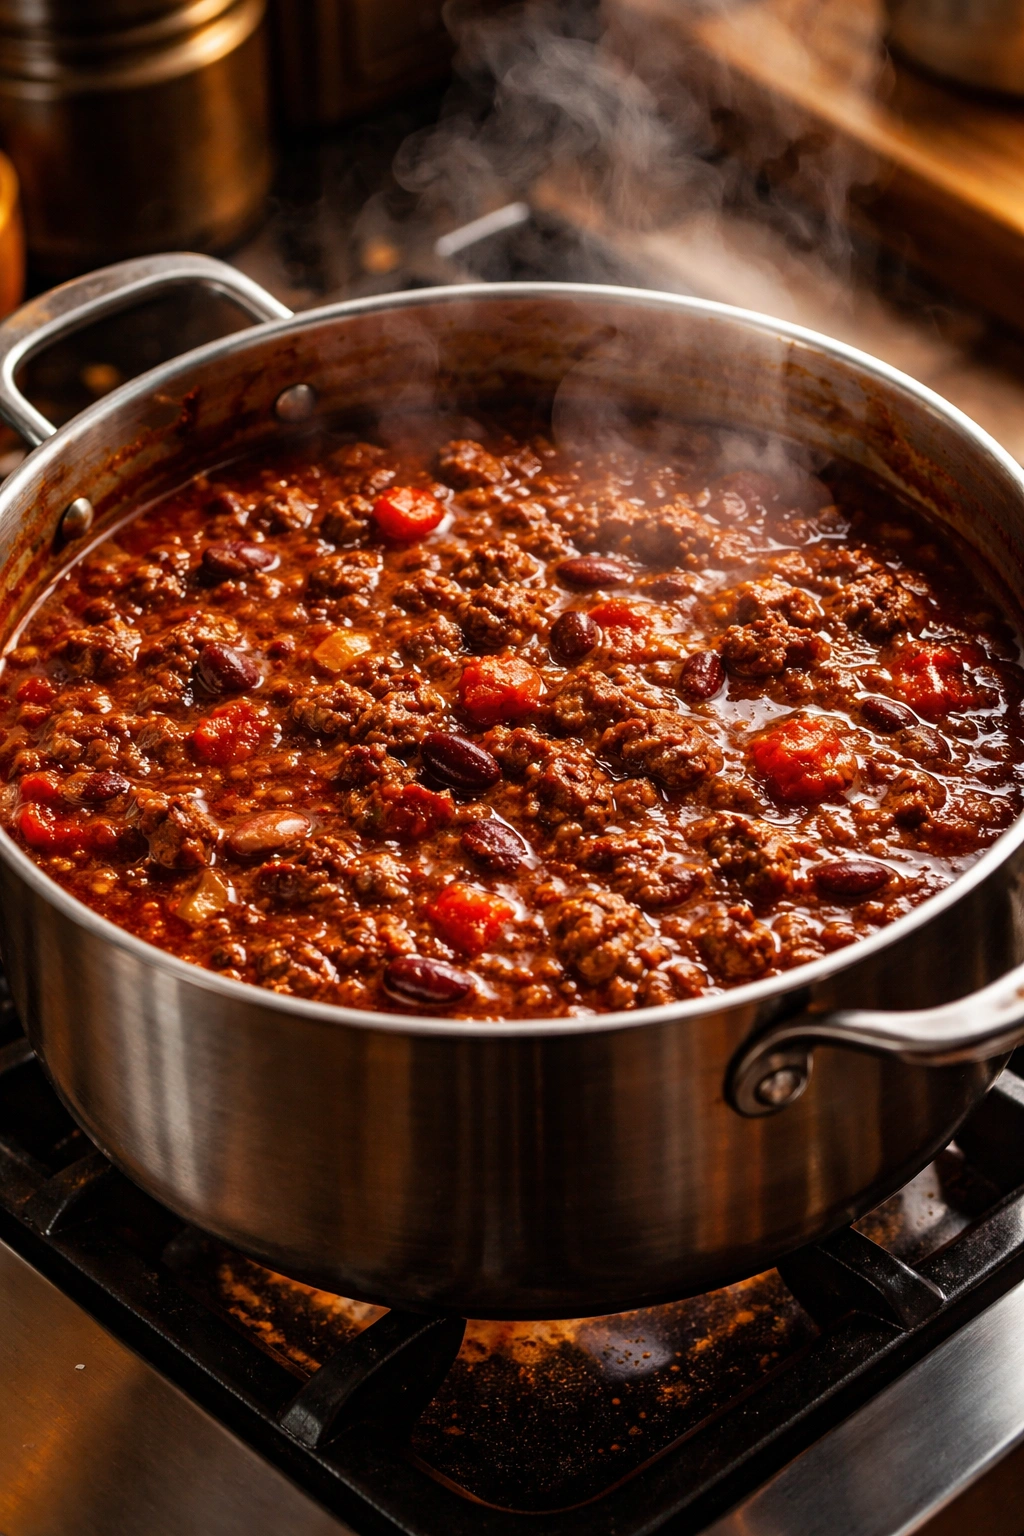
Building the Chili: 10. Add the crushed tomatoes and tomato sauce to the pot, stirring well to incorporate the spice mixture. Scrape the bottom of the pot thoroughly, bringing up all the browned, flavorful bits.
-
Add the drained and rinsed beans and the beef broth. Return the browned beef and any juices from the bowl to the pot, stirring to combine everything evenly.
-
Add the vinegar, salt, and pepper. Stir thoroughly until all ingredients are distributed evenly and you don’t see any pockets of unmixed spices.
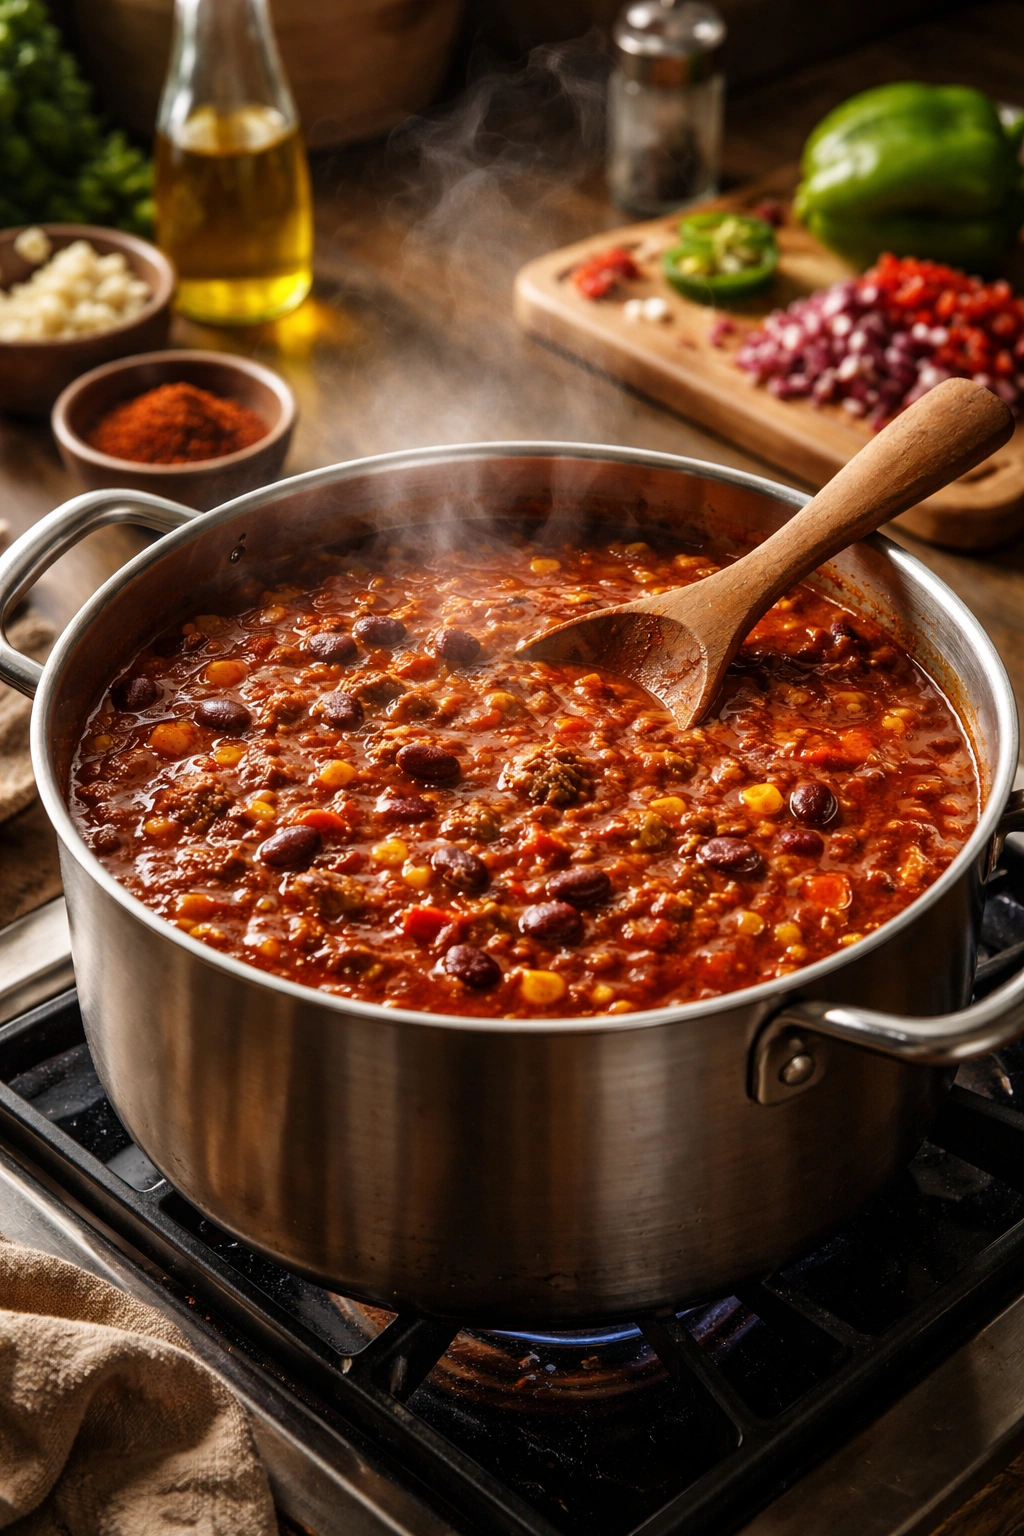
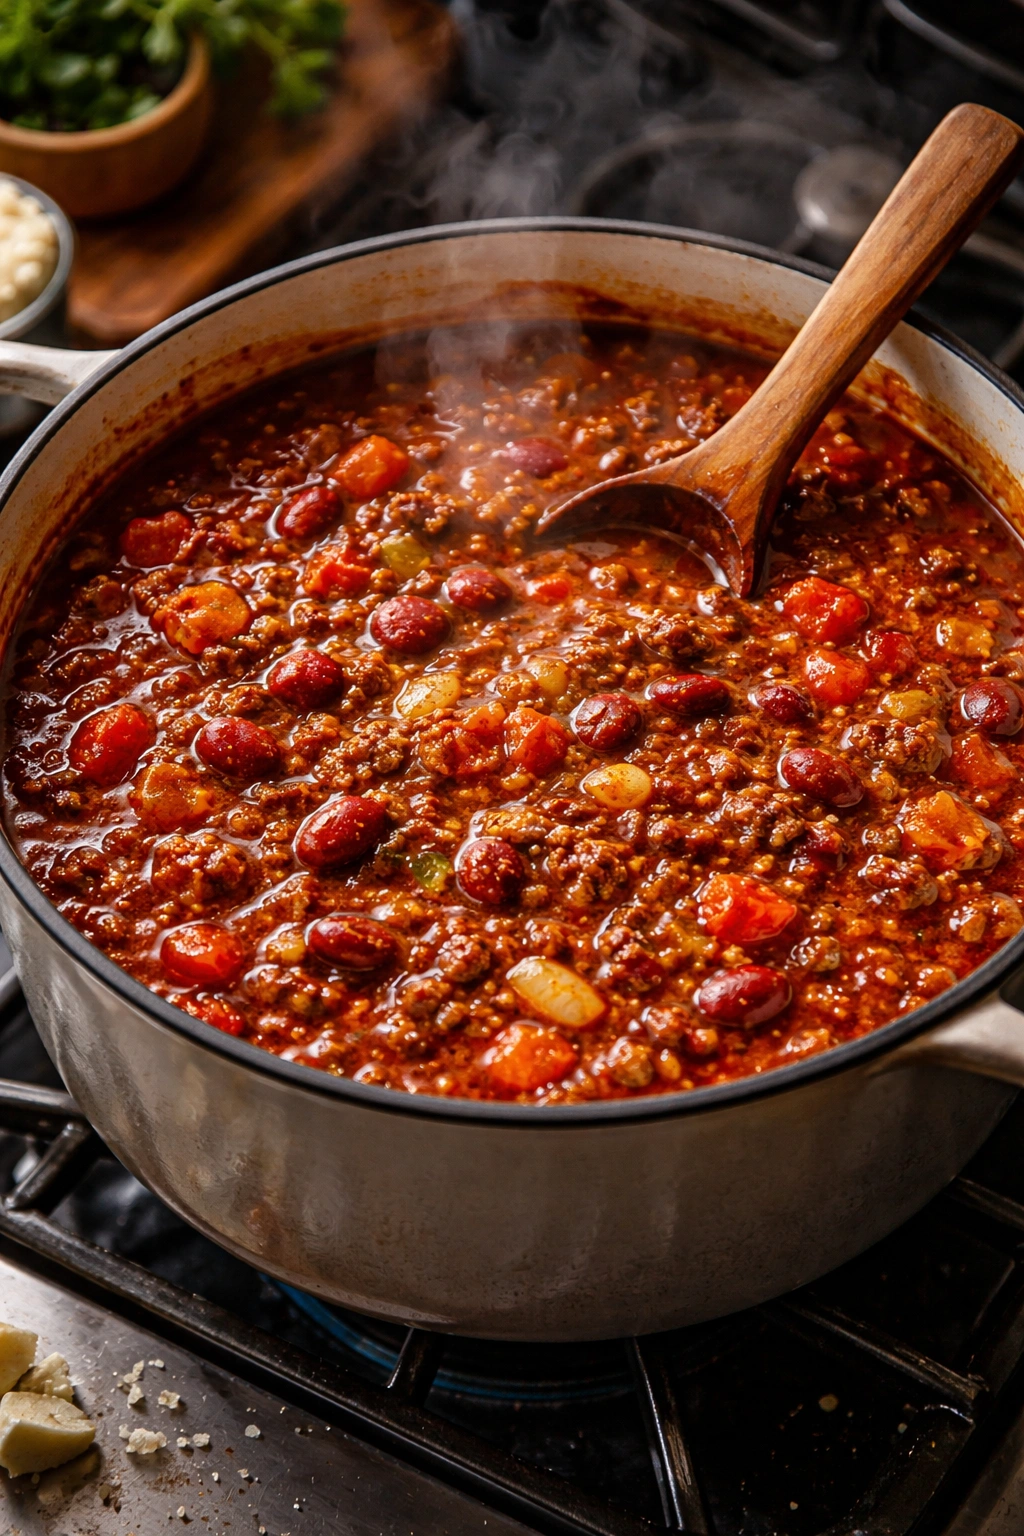
Simmering: 13. Bring the chili to a gentle simmer over medium heat—you want small bubbles breaking lazily across the surface, not a rolling boil. Reduce the heat to medium-low or low (wherever it maintains that gentle simmer) and cook uncovered for 30 to 40 minutes, stirring occasionally. The longer it simmers, the deeper the flavors become and the more the liquid reduces into a cohesive, thick sauce rather than a soupy mixture.
-
Taste the chili at the 30-minute mark. Add more salt if needed—chili should taste well-seasoned and bold, not timid. The spices should taste balanced; if any single spice stands out too much, it means it needs more time for the flavors to meld. If the texture is too thin and soup-like, keep simmering. If it’s already the consistency you want, turn the heat off.
-
Once the chili reaches your desired consistency and the flavors taste balanced and deep, remove it from the heat. Let it rest for at least 10 minutes before serving—this allows the flavors to settle and the texture to firm up slightly as it cools a bit.
Tips and Tricks From Years of Chili Nights
The vinegar in this recipe does something crucial that most people don’t realize: it brightens and sharpens the tomato flavor, preventing the chili from tasting one-dimensional and heavy. If you taste your chili and it feels flat, the vinegar is your first adjustment. A tablespoon of cider vinegar or red wine vinegar added right before serving can wake up flavors that had started to collapse into themselves.
Brown your beef properly. This cannot be overstated. The few extra minutes spent getting a good sear on the beef create flavors that nothing else in your recipe can replicate. Rushing this step by crumbling the beef immediately and stirring constantly is the difference between chili that tastes restaurant-quality and chili that tastes thin and underseasoned.
Don’t over-spice at the beginning. The spices bloom and intensify as the chili simmers. What tastes well-balanced at the start of simmering can taste overpowering after 40 minutes. This is why you taste at the halfway point and adjust salt near the end, never at the beginning.
The texture matters. Some people prefer a thick, chili-con-carne consistency where you could almost eat it with a fork. Others prefer something more stew-like with a bit more liquid. There’s no wrong answer, but know that the longer you simmer (especially uncovered), the more liquid evaporates and the thicker your chili becomes. If you want to thicken it further, simmer an extra 10 to 15 minutes. If it’s already the consistency you like, stop simmering.
Quality chili powder makes an enormous difference. If you’re using dusty chili powder that’s been sitting in your cabinet for two years, upgrade it. Open a new container or buy quality chili powder from a specialty spice company. The flavor difference is immediately noticeable, and it costs just a few dollars more.
Don’t skip the vinegar at the end, and don’t add it at the beginning. The acid needs to hit the chili near the end of cooking to brighten the finished flavor without cooking off. Vinegar added during the long simmer becomes muted and loses its purpose.
Common Mistakes That Make Homemade Chili Taste Flat
The most frequent error is insufficient salt or under-seasoning overall. Chili should taste bold and well-seasoned, not subtle or shy. Under-seasoned chili tastes like tomato soup with meat, not like actual chili. Always taste multiple times during cooking and adjust seasoning—you can always add more salt, but you can’t take it out.
Many home cooks drain all the fat from the browned beef, thinking they’re making it “healthier.” That fat carries flavor compounds and keeps the chili from tasting lean and stringy. Keep some of it. The rendered fat is where the magic lives.
Skipping the fresh garlic and using garlic powder instead creates a completely different flavor profile—flat, slightly off, and not in a good way. Fresh garlic develops complex flavor compounds that garlic powder simply can’t match. Spend the extra 30 seconds mincing fresh garlic.
Using cheap tomato products—especially off-brand canned tomatoes or tomato paste—shows immediately in the final flavor. Tomatoes and tomato products are the backbone of your chili. Spend a bit more on good quality here. San Marzano tomatoes or tomato paste from a recognizable brand makes a genuine difference.
Not blooming the spices is perhaps the most common subtle mistake. If you skip the 30 to 60-second toast of the spices in fat after adding the garlic and before adding the tomatoes, your spices never “wake up.” They remain dusty and flat instead of becoming vibrant and complex.
Making the chili too soupy by not simmering long enough is another common misstep. The chili needs time for the liquid to reduce and the flavors to concentrate. If you cook it for only 10 to 15 minutes and serve it immediately, it tastes thin and watery compared to what it becomes after 30 to 40 minutes of gentle simmering.
Quick Variations to Keep Your Chili Interesting
Once you’ve mastered the base recipe, variations open up naturally. The architecture of the recipe—seared protein, aromatic base, spice bloom, tomatoes, beans, simmer—stays the same; you just swap in different ingredients.
Smokier Chili: Increase the smoked paprika to 2 teaspoons and add 1 teaspoon of liquid smoke during the simmering phase. Some people add a pinch of chipotle powder for deeper smoke and heat. This version feels more like Texas-style chili—deeper and slightly more rugged than the base.
Spicier Chili: Increase the cayenne pepper to ¾ or 1 teaspoon, or add finely minced fresh jalapeños to the onion and garlic base. You can also swap regular chili powder for a spicy chili powder blend, but start with the same amount and taste before adding more. Heat builds during simmering.
Beer Chili: Substitute ½ cup of the beef broth with a dark beer—a porter or stout works beautifully. Add it during the simmering phase and let it reduce into the chili. The beer adds depth and a subtle sweetness that makes the chili feel more complex and developed.
Dark Chocolate Chili: Add 1 to 2 tablespoons of unsweetened cocoa powder (or shave 1 ounce of dark chocolate, 70% cacao or higher) during the spice bloom phase. The chocolate doesn’t make the chili taste sweet—it deepens the overall richness and makes the spices more complex. This is a classic Mexican technique that most home cooks never try.
Southwestern Corn Chili: Add 1½ cups of corn (fresh, frozen, or canned) during the last 10 minutes of simmering. Corn adds sweetness, texture, and a lighter feel to the chili. This version is slightly less heavy and slightly more summery—nice when you want chili but don’t want to feel weighed down by it.
White Chili: Use ground chicken or turkey instead of beef, white beans instead of kidney beans or black beans, and white chili powder or blend cumin with paprika (minus the traditional chili powder). Add a splash of heavy cream or Mexican crema near the end if you like. This feels like a completely different dish despite following the same basic method.
Three-Bean Chili: Use a combination of kidney beans, black beans, and pinto beans (one can of each instead of two cans of one type). This creates a more interesting texture and a slightly more complex bean flavor. Some people add a small can of chickpeas too.
How to Make Chili Dairy-Free and Plant-Based
Chili is naturally easy to adapt for dietary preferences because the base is already plant-forward. For a fully vegan version, substitute the ground beef with plant-based ground meat (brands like Beyond Meat and Impossible work beautifully) or a combination of cooked lentils and diced mushrooms for a heartier texture.
If you use plant-based meat, follow the exact same searing procedure. These products brown and develop flavor just like beef, though they may require slightly less cooking time since they’re already cooked before you buy them—just 2 to 3 minutes total to heat them through and develop some color.
For the lentil-and-mushroom version, sauté finely diced mushrooms (cremini, button, or a mix) separately in the oil until they release their liquid and begin to brown. This takes about 5 minutes. The mushroom water can stay in the pot—it adds umami depth. Then add the cooked lentils toward the end of the simmering phase, since they don’t need cooking, just heating through and flavor absorption.
The remainder of the recipe stays identical. All the spices, tomatoes, beans, and broth are naturally plant-based. This version tastes equally satisfying and deeply flavorful—it’s not a compromise version; it’s just a different direction entirely.
Storing and Reheating Your Chili
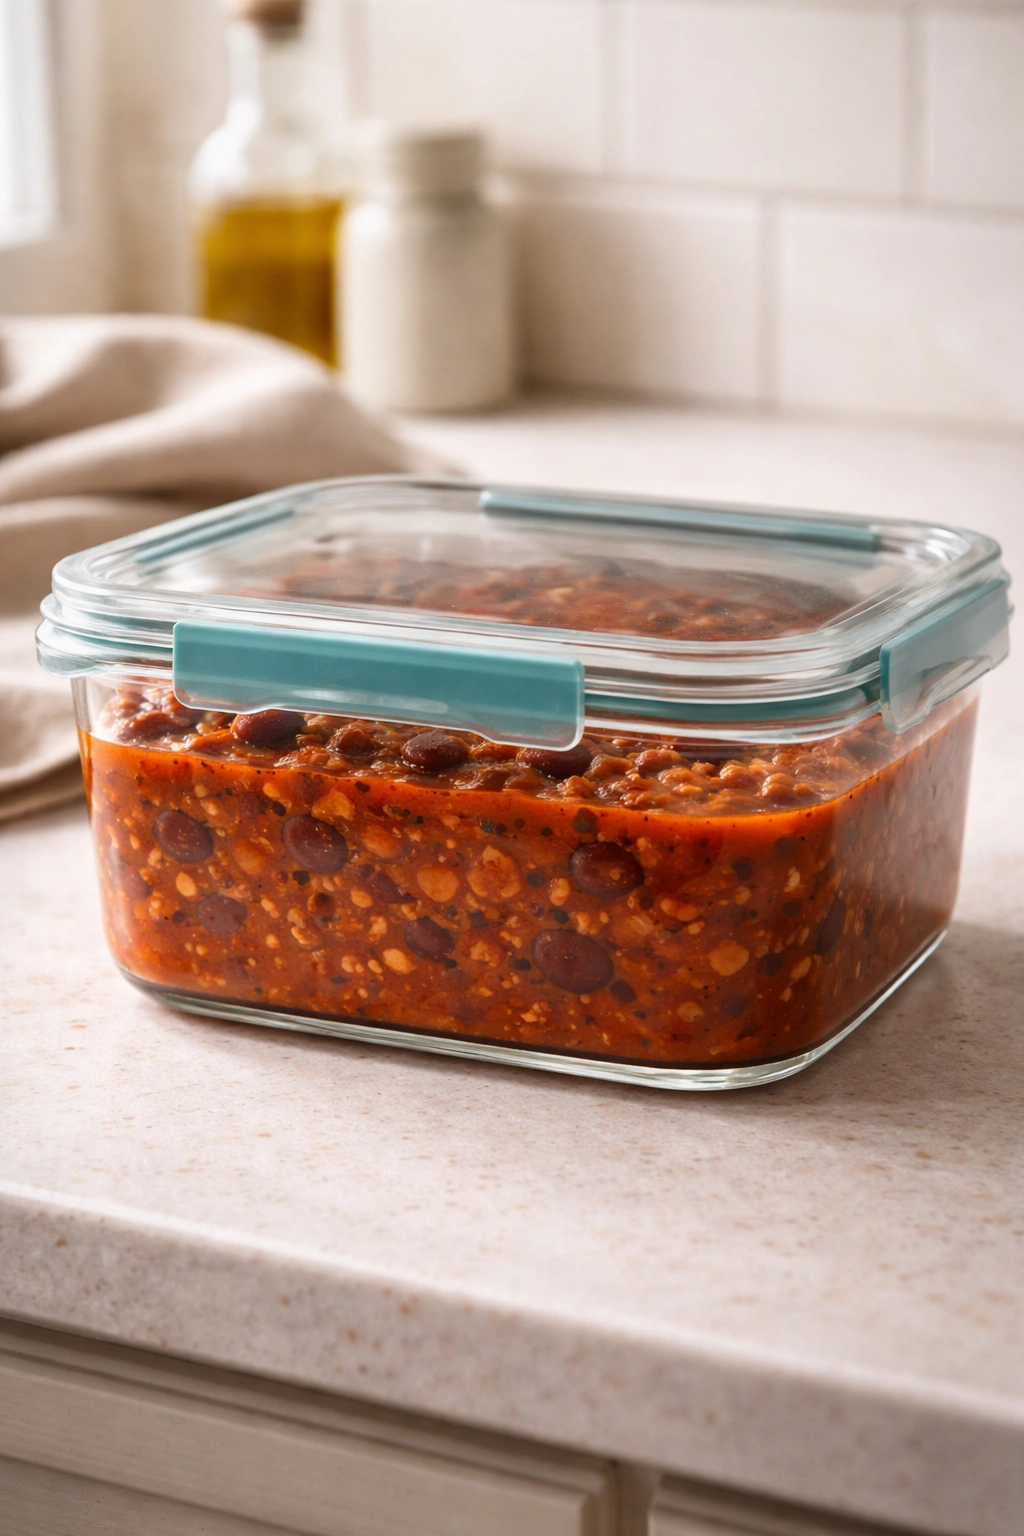
Chili is one of the smartest things to make when you’re already cooking because it improves dramatically with time. The flavors continue to deepen and meld for days, making day-three chili noticeably better and more complex than day-one chili. This is why chili is the ultimate make-ahead meal.
In an airtight container in the refrigerator, chili keeps for up to 5 days. Cover it properly—chili can pick up flavors from other foods in the fridge if left uncovered.
To freeze chili, let it cool completely to room temperature (about 30 to 45 minutes), then transfer it to freezer bags or airtight containers, leaving about an inch of space at the top (it will expand slightly as it freezes). Frozen chili keeps for up to 3 months and tastes equally good as fresh. Thaw it overnight in the refrigerator, then reheat it gently on the stovetop over medium-low heat, stirring occasionally, until it reaches a simmer. You can also reheat it from frozen—just add an extra 10 to 15 minutes and stir more frequently.
Never reheat chili in the microwave if you can avoid it; the uneven heat can scorch the bottom while leaving the top cool. The stovetop method takes only 5 to 10 minutes and creates a much better texture.
If your reheated chili seems too thick (liquid has been absorbed during storage), add a splash of beef broth or even water and stir until you reach the consistency you prefer. If it seems soupy, simmer it uncovered for a few minutes to reduce the liquid.
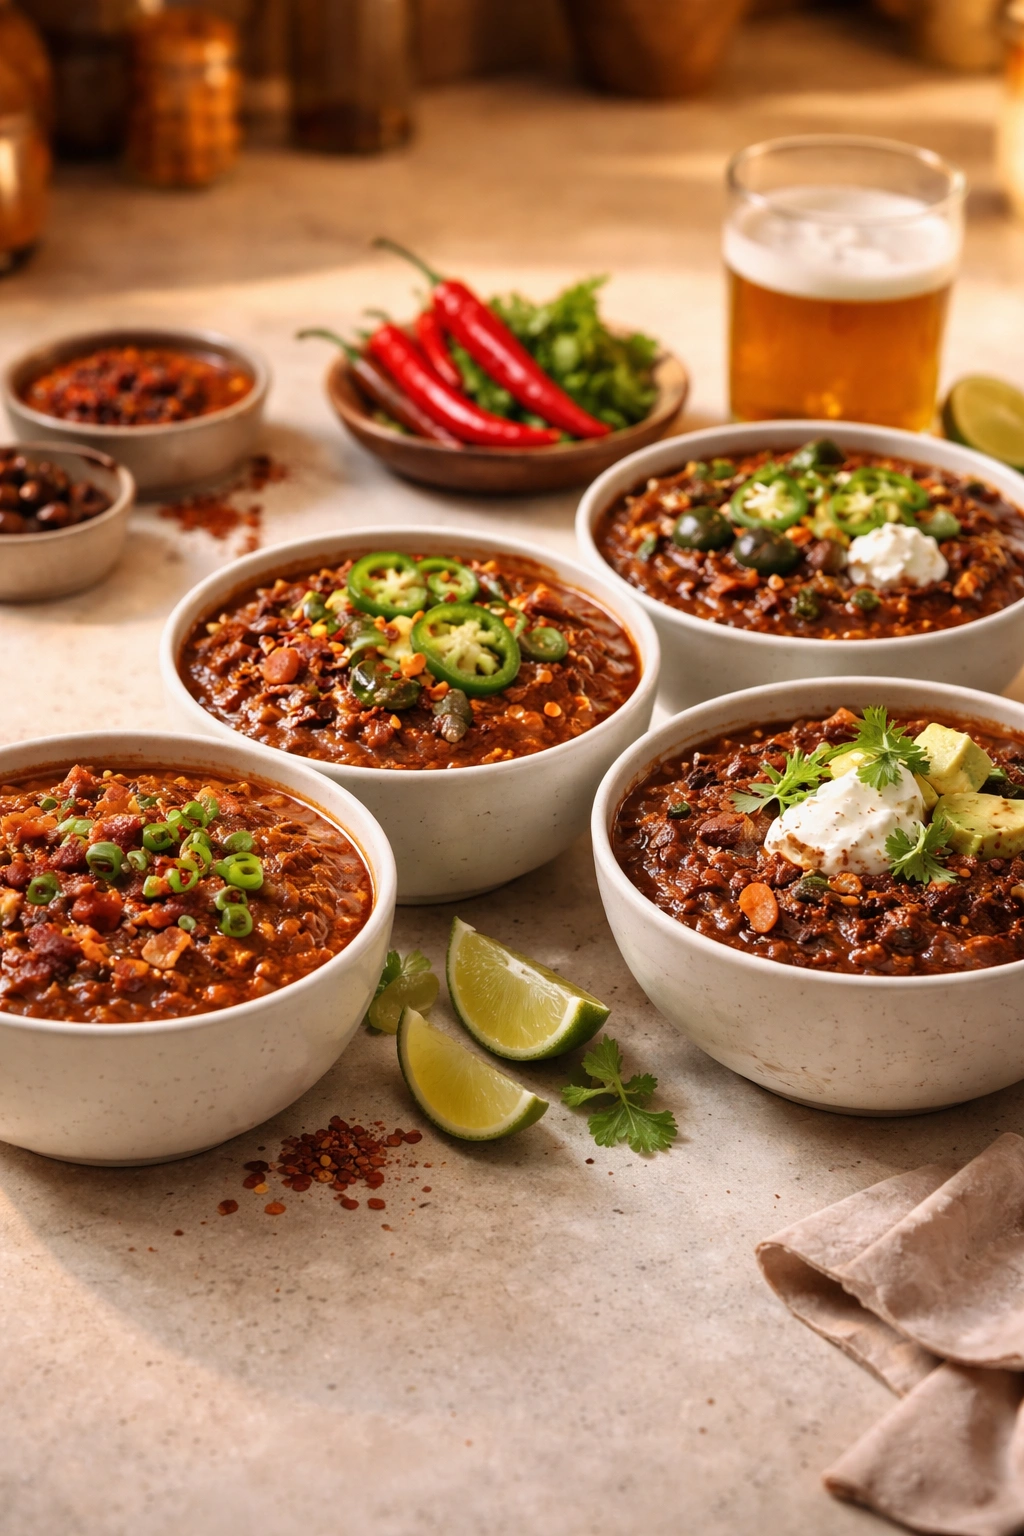
Best Toppings and Serving Combinations

The glory of chili is in the topping bar—everyone gets to customize their bowl exactly as they like it. A simple setup might include shredded cheddar cheese, sour cream, chopped green onions, and hot sauce. A more elaborate spread could include all of the above plus jalapeños, diced raw onion, tortilla strips, cilantro, and lime wedges.
Shredded sharp cheddar is the traditional choice for cheese, and it’s hard to beat—it melts slightly into the warm chili and adds richness. Monterey Jack or a pepper jack brings creaminess and heat. Some people prefer no cheese at all, which is perfectly valid.
Sour cream might sound odd until you try it—a dollop cools the heat if the chili is spicy, and the tang brightens all the flavors. Mexican crema is slightly thinner and more luxurious; if you can find it, use it.
Crispy tortilla strips or crushed cornflake cereal add texture and crunch that chili alone doesn’t provide. Some people top with a handful of raw onion for sharpness, or cilantro for fresh herbaceousness.
A squeeze of lime wedges right before eating brightens everything—the acid hits the same function as the vinegar but feels fresher and more vibrant.
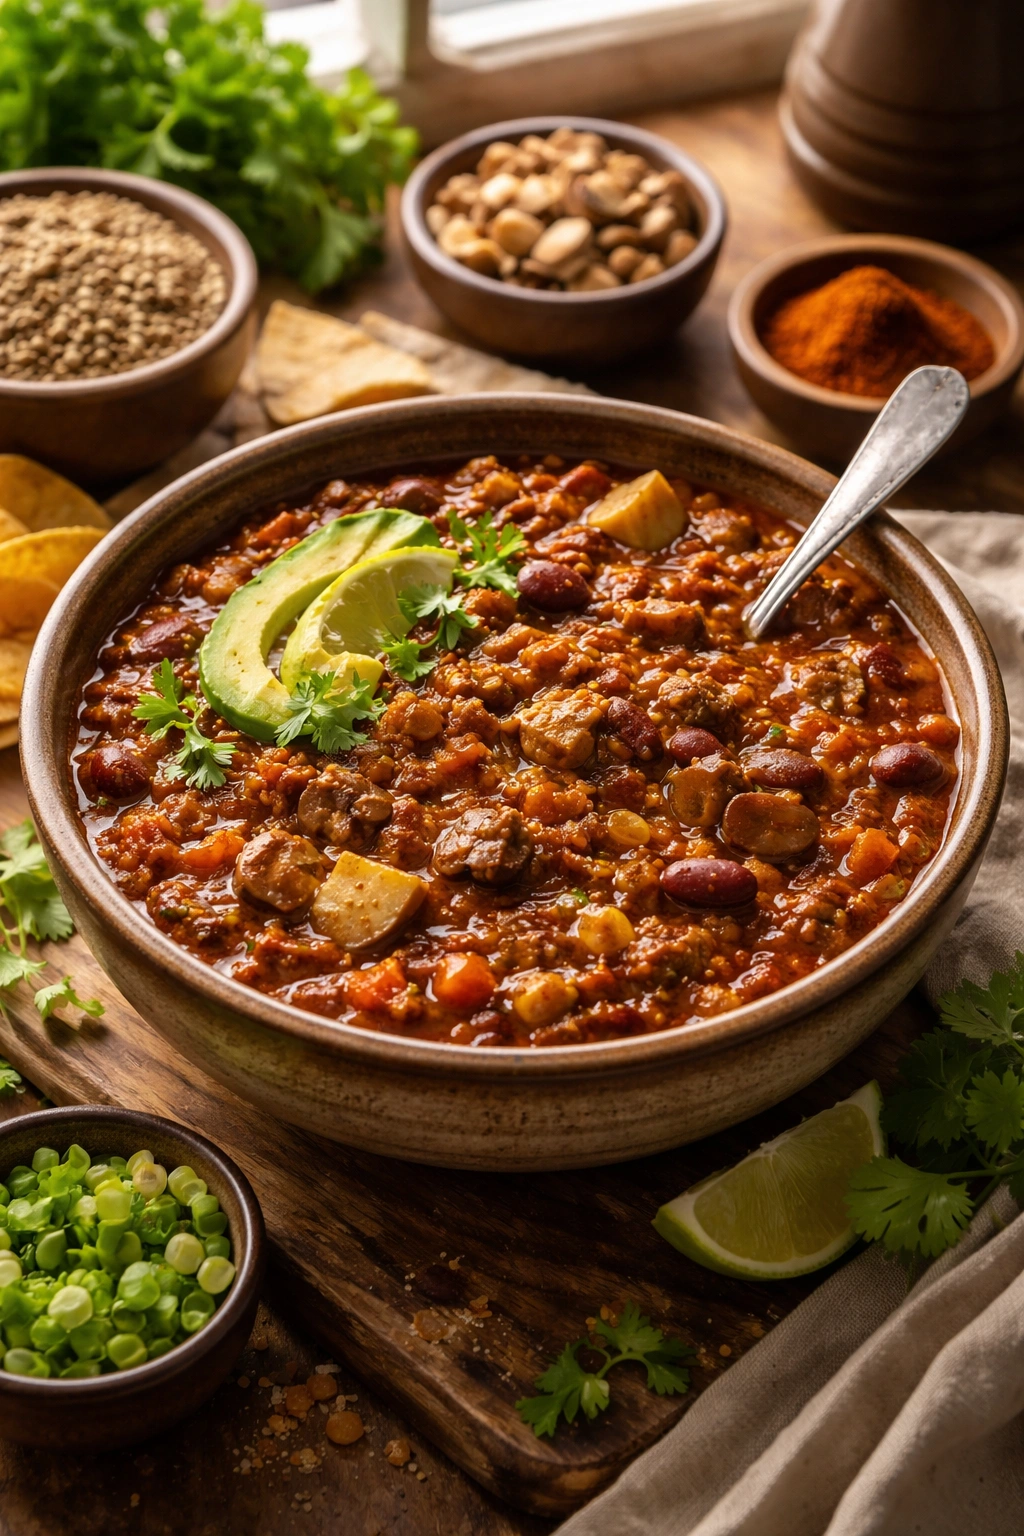
Chili pairs beautifully with cornbread (slightly sweet cornbread alongside savory chili is a classic combination), rice, baked potatoes, or even simple crusty bread for soaking up the sauce.
For a chili dinner spread, consider serving with a side salad (to balance the richness), a simple coleslaw (for crunch and cool contrast), and either cornbread or warm flour tortillas for soaking. This creates a complete, satisfying meal without feeling heavy.
Final Thoughts
Easy homemade chili exists at the sweet spot where simplicity meets satisfaction. You’re not juggling a dozen ingredients or complicated techniques; you’re following a straightforward method that unlocks genuine depth and flavor. The best part is knowing that every batch improves overnight, sitting in your refrigerator, melding and deepening as you go about your week.
Once you’ve made this recipe a handful of times, you’ll stop thinking of it as a recipe and start thinking of it as a template. You’ll know which variations you prefer, which toppings make you happy, and how to adjust it toward your personal preferences. That’s when chili transforms from dinner into a reliable go-to that you can make without thinking—which is exactly when food becomes truly satisfying.
Make a big pot this weekend. Enjoy it fresh on the first night, better on the second, and best on the third. Freeze the rest and you’ve got backup dinners waiting for nights when you don’t feel like cooking at all. That’s the real magic of easy homemade chili: it tastes like you spent hours and fussed endlessly, while actually asking very little of you.