When the dinner hour arrives and you’ve had a chaotic day juggling work, kids, errands, and everything in between, the last thing you want to do is scramble in the kitchen wondering what to cook. The stress of last-minute meal decisions, combined with the time crunch, often drives families toward takeout orders and convenience foods that don’t align with their nutrition goals or budget. But what if you could collapse in your chair at 6 p.m., knowing a delicious, home-cooked meal was already waiting for you?
Make-ahead meals are genuinely transformative for busy households. By dedicating a few hours during a quieter time — perhaps a Sunday afternoon or a less hectic evening — you can prepare multiple complete dinners that simply need reheating or minimal finishing touches. This strategy eliminates decision fatigue, cuts your weeknight cooking time to near-zero, saves money compared to eating out, and lets you serve your family meals made with ingredients you actually chose and control.
The magic of make-ahead cooking is that it works with your actual life, not against it. Whether you prefer fully prepared dishes that just need warming, components that come together in minutes, or meals that freeze beautifully for weeks ahead, there’s a make-ahead strategy that fits. The meals I’m sharing here represent real solutions — casseroles that bake while you help with homework, one-pot dishes that develop even better flavor overnight, and freezer-friendly options that feel like having a personal chef stashed in your kitchen.
1. Creamy Chicken and Wild Rice Casserole
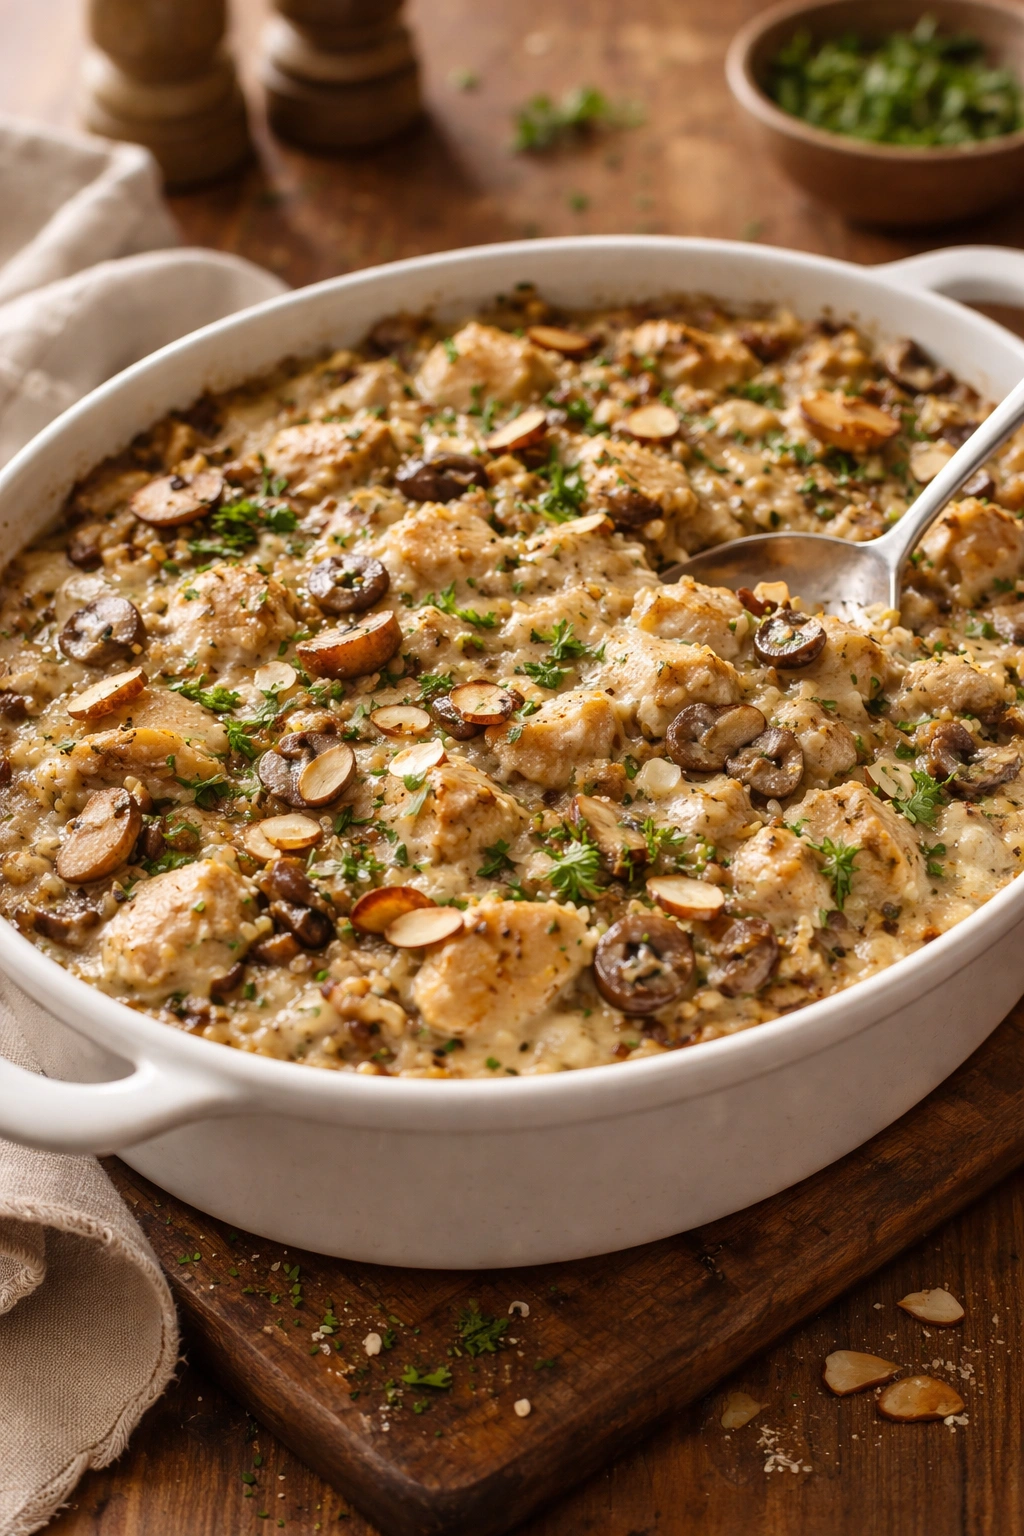
This isn’t the bland, watery chicken casserole of decades past. This version features tender chunks of chicken, nutty wild rice, and a genuinely creamy sauce enriched with mushrooms, onions, and a hint of herbs that work together to create real depth. The beauty of this casserole is its complete versatility — you can assemble it entirely the night before, store it covered in the refrigerator, and simply pop it in the oven when you get home. No thawing required.
Why This Casserole Works for Make-Ahead Cooking
The components actually improve as they sit together overnight. The rice absorbs flavors from the sauce and becomes incredibly tender, while the herbs permeate the entire dish. Unlike some casseroles that dry out or become watery after sitting, this one maintains a perfect creamy consistency. The toasted almonds and sharp cheddar cheese get added during the final five minutes of baking, which keeps them crispy and prevents them from getting soggy during storage.
How to Assemble and Store It
- Combine cooked chicken (rotisserie chicken works perfectly here) with cooked wild rice in a large bowl
- Sauté diced onions, mushrooms, and celery in butter until softened and golden
- Sprinkle flour over the vegetables and cook for two minutes to create a roux
- Gradually whisk in chicken broth and heavy cream, stirring constantly until smooth and thickened
- Fold the rice and chicken into this creamy sauce along with fresh thyme, salt, and pepper
- Transfer everything to a casserole dish, cover tightly with plastic wrap and then foil, and refrigerate for up to two days or freeze for up to three months
- When ready to bake, remove from refrigeration 30 minutes before baking, then bake at 350°F covered for 40 minutes, then uncover and add the toasted almonds and cheese, baking another 10 minutes until bubbly and golden
This meal serves six to eight people comfortably, making it ideal for families or to split into two smaller portions for freezing.
2. Italian Lasagna with Meat Sauce
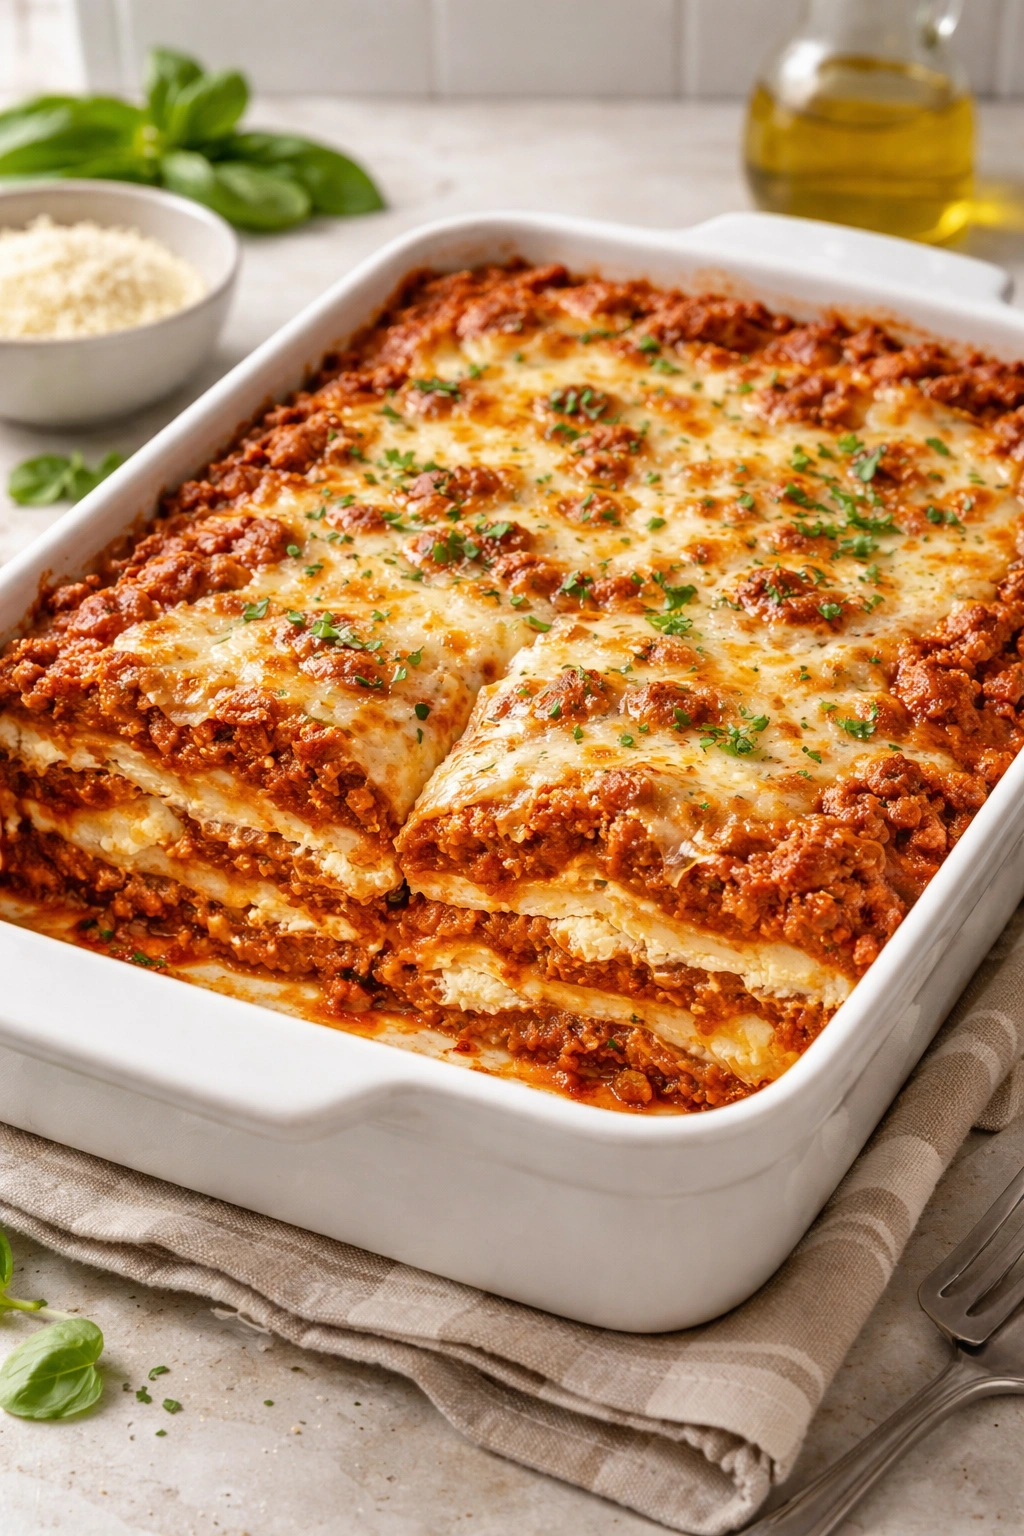
There’s something deeply satisfying about a proper lasagna, and making it ahead means you can enjoy it without the last-minute stress. The key to exceptional lasagna isn’t complexity — it’s using quality ingredients and giving the flavors time to marry and develop. This version features a slow-simmered meat sauce built on sautéed onions and garlic, enriched with tomato paste and red wine, and layered with creamy ricotta, mozzarella, and Parmesan that creates those gorgeous melted cheese pockets.
The Advantage of No-Boil Noodles
Forget the traditional method of boiling pasta sheets and dealing with them sticking together. No-boil lasagna noodles eliminate an entire step and they actually work better for make-ahead meals because they absorb moisture from the sauce as the dish sits in the refrigerator. This means your finished lasagna has perfectly cooked noodles without any of the labor-intensive boiling and straining. The noodles simply soften as the lasagna bakes, absorbing the sauce and becoming tender.
Assembly and Storage Strategy
- Brown one and a half pounds of ground beef with diced onions and minced garlic in a large pot
- Stir in tomato paste and let it caramelize slightly in the fat for two minutes, deepening the flavor
- Deglaze the pot with a half cup of red wine, then add two cans of crushed tomatoes, oregano, salt, and pepper
- Simmer this sauce for at least 20 minutes while you prepare the cheese layers
- In a separate bowl, combine 15 ounces ricotta with an egg, salt, pepper, and fresh parsley
- In a 9×13 baking dish, spread a thin layer of meat sauce, then arrange noodles, then ricotta mixture, then more meat sauce, and repeat until the dish is full, ending with sauce and a generous layer of mozzarella
- Cover with plastic wrap and refrigerate for up to two days, or wrap in foil and freeze for up to three months
- Bake covered at 375°F for 45 minutes if thawed, or 60 minutes if frozen, then uncover and bake another 15 minutes until the cheese is bubbly and slightly browned
3. Chicken Pot Pie with Flaky Crust
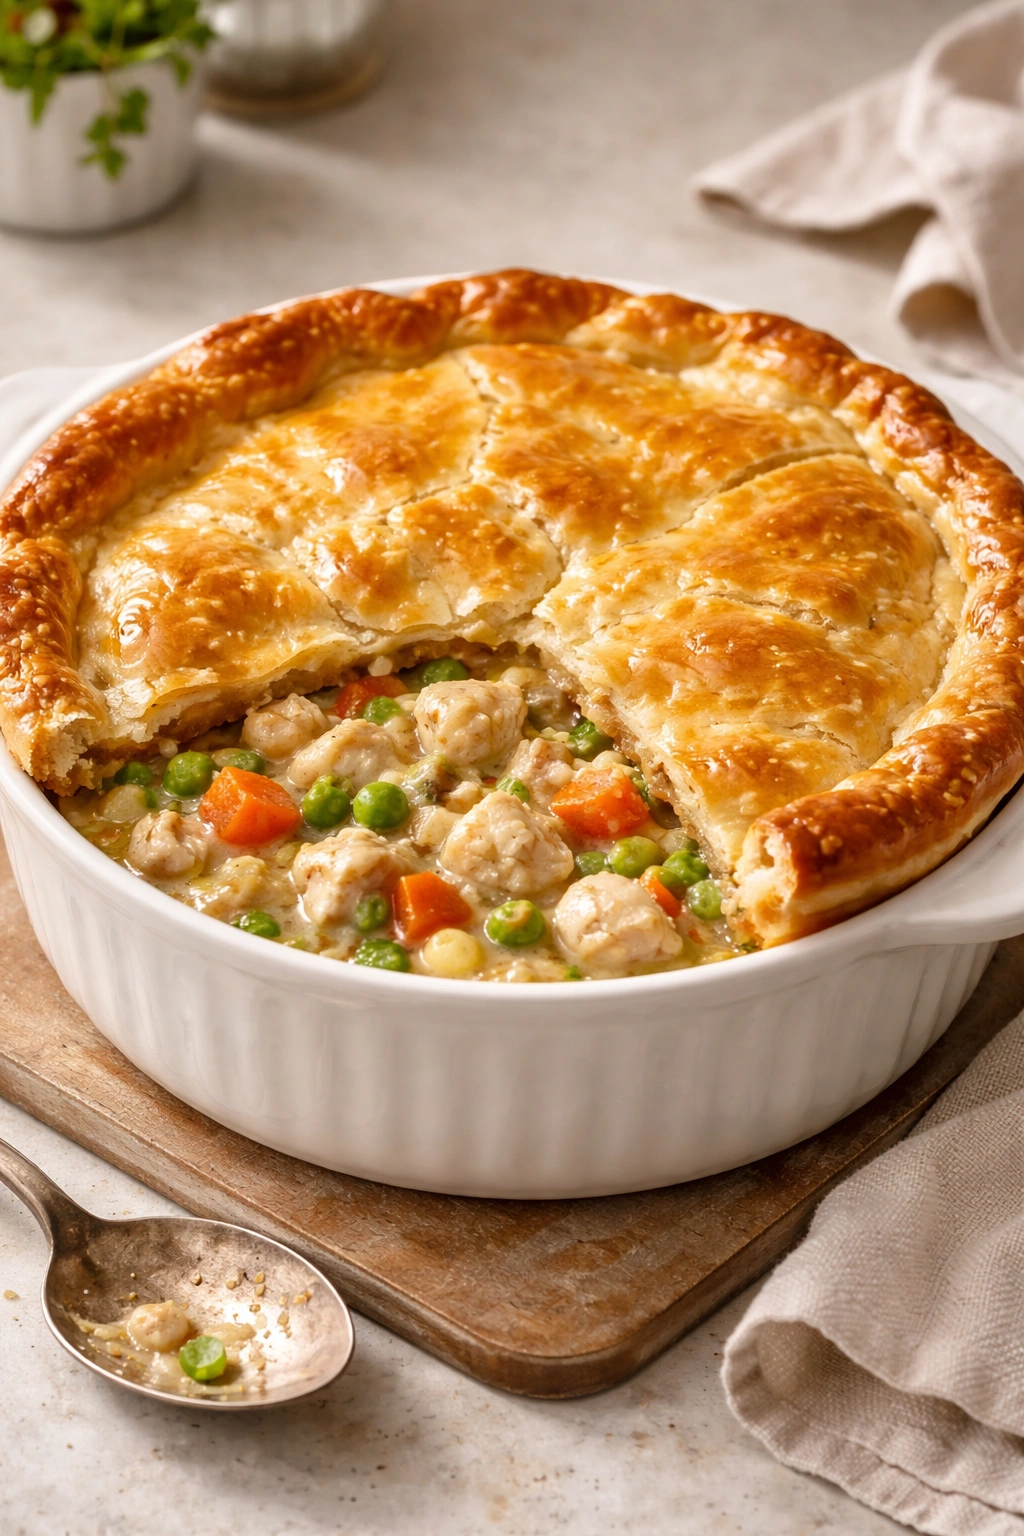
Chicken pot pie represents comfort food at its finest — tender vegetables in a creamy sauce beneath a golden, buttery crust. What makes this an excellent make-ahead choice is that you can prepare the entire filling in advance and freeze it, then simply thaw it and top it with store-bought puff pastry when you’re ready to bake. This transforms a traditionally labor-intensive dish into something genuinely quick when you need it.
Building a Flavor-Forward Filling
The filling starts with diced chicken (either poached fresh or from a rotisserie bird), carrots, celery, peas, and sometimes potatoes or pearl onions. You create a light roux with butter and flour, then gradually whisk in chicken stock and cream, allowing it to thicken into a silky sauce. Fresh thyme, bay leaf, and a squeeze of lemon juice add complexity that prevents the filling from tasting flat or one-dimensional.
Make-Ahead Timing
- Prepare the filling as described above and let it cool completely
- Transfer to a freezer-safe container or directly into the baking dish you plan to use
- If freezing in the baking dish, wrap tightly in plastic wrap, then cover with foil, and freeze for up to three months
- When you’re ready to make dinner, thaw the filling in the refrigerator overnight (or in the microwave if you’re short on time)
- Preheat your oven to 400°F and transfer the filling to your baking dish if it wasn’t already there
- Unfold a sheet of thawed puff pastry over the top, trimming to fit, and brush with an egg wash if you want extra shine
- Bake for 25 to 30 minutes until the pastry is puffed and deeply golden and the filling is bubbling at the edges
4. Beef Chili with Complex Spice Profile
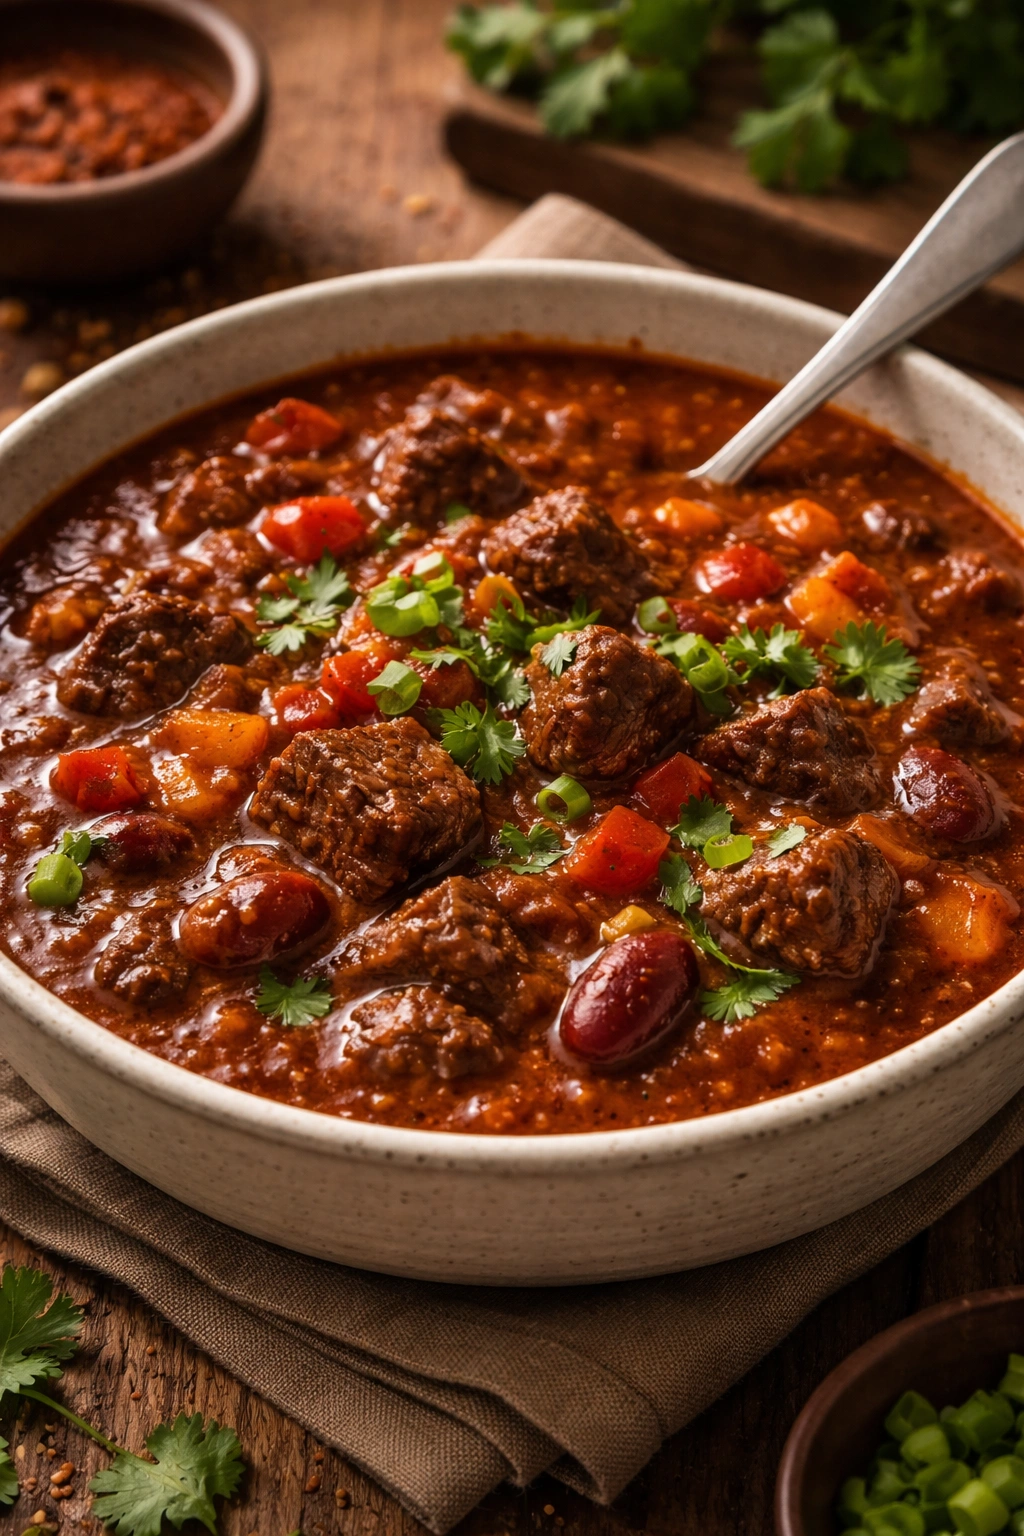
Chili is arguably one of the best make-ahead dinners because it genuinely tastes better the next day — and the day after that. The spices continue to bloom and develop, the flavors meld more deeply, and you get a richer, more cohesive dish. This version uses cubed beef steak, a combination of dried chilies, cumin, smoked paprika, and a touch of cinnamon to create depth that makes people ask for the recipe.
Why Chili Improves Overnight
The compounds in spices don’t fully integrate with the liquid immediately. Over time, especially as the chili sits in the refrigerator, these flavor molecules gradually disperse throughout the pot, creating a more unified, complex taste. Additionally, the beef becomes even more tender as it sits in the braising liquid, and any harsh edges from the spices soften and round out.
Batch Cooking Strategy
- Brown two pounds of cubed beef chuck in batches in a heavy pot, ensuring good color before removing
- Sauté diced onions, bell peppers, and minced garlic in the remaining fat
- Add tomato paste and let it caramelize for a minute or two
- Stir in your spice blend: cumin, smoked paprika, chili powder, oregano, and a pinch of cinnamon
- Return the beef to the pot along with two cans of kidney beans, three cans of diced tomatoes, and beef broth
- Simmer for at least two hours, but ideally three, until the beef is fall-apart tender
- Cool completely before transferring to freezer-safe containers
- This freezes beautifully for up to three months and reheats in minutes on the stove or in the microwave
Serve with your favorite toppings: sour cream, shredded cheese, diced onions, or even fried onion rings for a fun twist.
5. Shepherd’s Pie with Creamy Mashed Potatoes
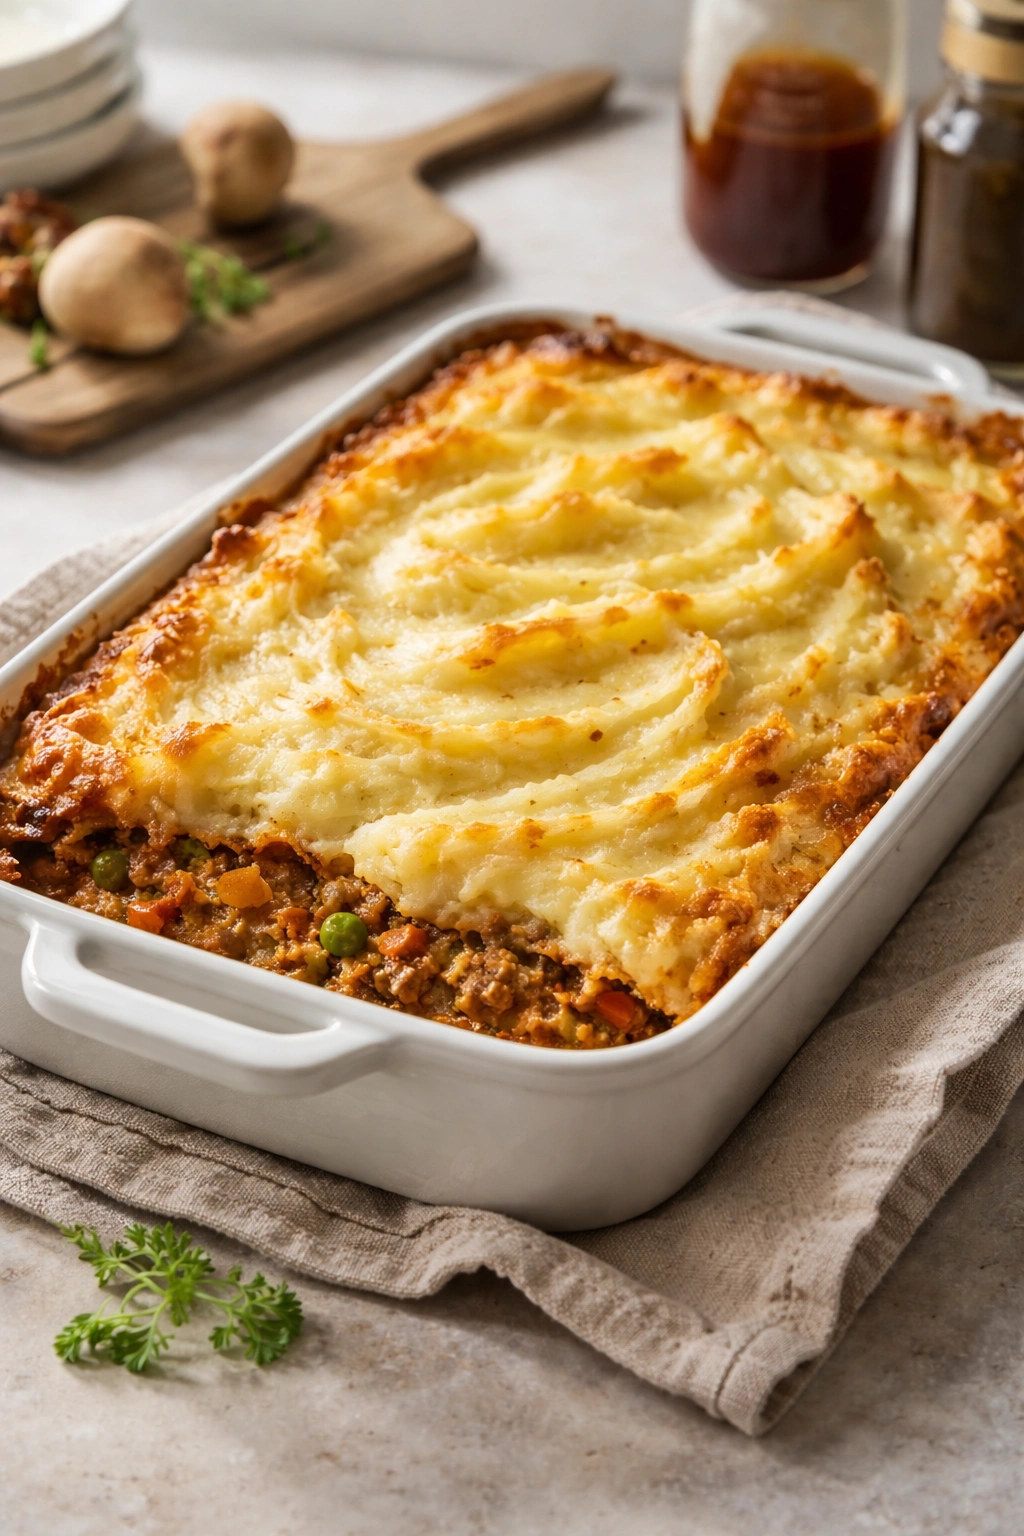
Shepherd’s pie brings together a savory meat and vegetable filling with a topping of creamy mashed potatoes that becomes golden and crispy around the edges as it bakes. This British classic comfort food practically begs to be made ahead because the flavors marry beautifully overnight, and you can refrigerate it for up to two days or freeze it for months.
The Secret to Flavor Depth
The filling in exceptional shepherd’s pie isn’t just ground beef and onions — it includes diced mushrooms that contribute umami, a small amount of tomato paste, a splash of red wine to add complexity, and Worcestershire sauce for savory depth. Fresh thyme and bay leaf round out the flavors. Some recipes even include a small amount of Parmesan cheese stirred into the meat mixture, which adds another layer of richness without being obvious.
Assembly for Perfect Results
- Brown two pounds of ground beef with diced onions and mushrooms until everything is cooked through and well-browned
- Stir in tomato paste and let it cook for two minutes
- Add a splash of red wine and let it reduce slightly
- Fold in diced carrots, peas, and corn, then add beef broth and let everything simmer until the vegetables are tender and the liquid has reduced
- Season heavily with salt, pepper, thyme, and a splash of Worcestershire sauce
- Transfer this filling to a 9×13 baking dish and let it cool slightly
- Meanwhile, prepare creamy mashed potatoes — butter, cream, and a pinch of nutmeg make them special
- Spread the mashed potatoes evenly over the filling
- At this point, you can cover and refrigerate for up to two days or freeze for up to three months
- When ready to bake, bake covered at 350°F for 45 minutes if thawed, adding 15 minutes if frozen, then uncover and bake another 15 minutes until the potatoes are golden and the filling is bubbling at the edges
6. Eggplant Parmigiana Lasagna
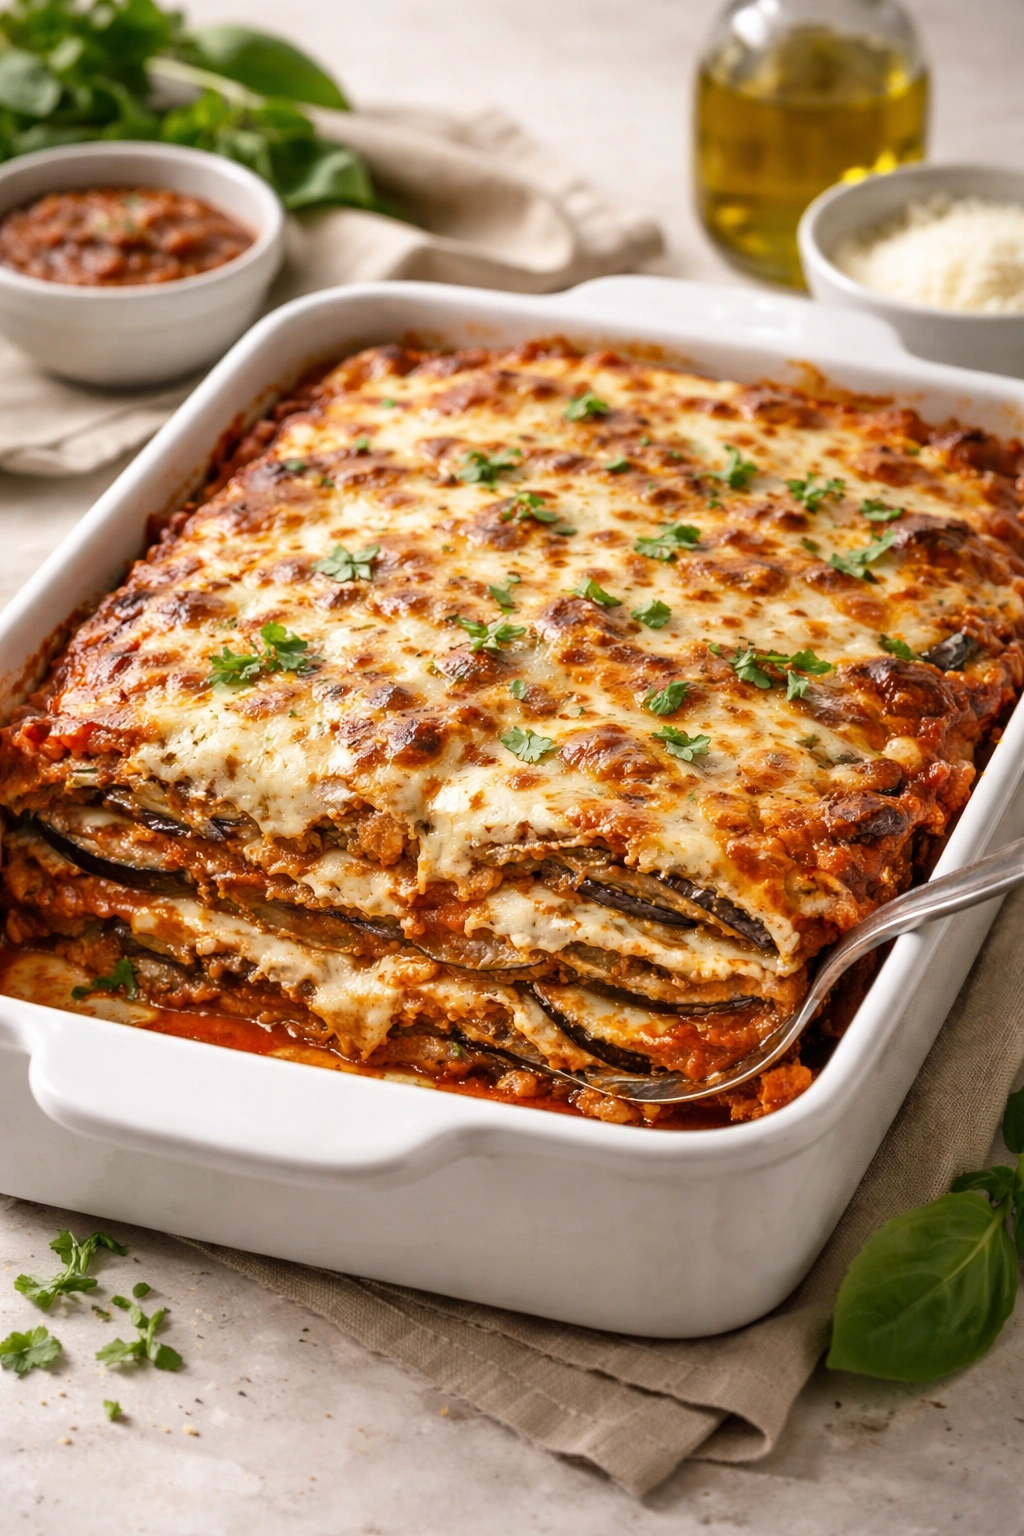
This Sicilian-inspired layered dish combines eggplant parm and traditional lasagna into something genuinely special — a cross between two beloved preparations. Thin slices of eggplant are salted and fried until silky, then layered with tomato sauce, creamy béchamel, and cheese. It’s elegant enough for dinner guests but absolutely perfect for make-ahead family meals.
Why You Salt the Eggplant First
Salting eggplant before cooking draws out moisture and bitterness. You slice it, salt the slices generously, let them sit for 20 minutes, then blot them thoroughly before frying. This step ensures your finished lasagna won’t be watery or soggy — a common problem with eggplant dishes. The eggplant slices fry until they’re tender and silky without absorbing excess oil.
Making It Freezer-Friendly
- Prepare a simple tomato sauce with onions, garlic, canned tomatoes, and herbs — simmer until thickened
- Make a light béchamel sauce with butter, flour, and whole milk, seasoning with salt, white pepper, and a pinch of nutmeg
- Salt and prep your eggplant slices as described above, then fry them in batches until golden
- In a baking dish, spread a thin layer of tomato sauce, then arrange fried eggplant slices in a single layer
- Top with béchamel sauce and a sprinkle of Parmesan, then tomato sauce again
- Repeat these layers until your dish is full, ending with béchamel and Parmesan
- Cool completely, then wrap tightly in plastic wrap and foil
- Freeze for up to three months
- When ready to bake, remove the plastic wrap but keep the foil covering and bake at 375°F for one hour covered, then remove foil and bake another 15 minutes until the top is golden and everything is bubbling
7. French Onion Soup Mac and Cheese
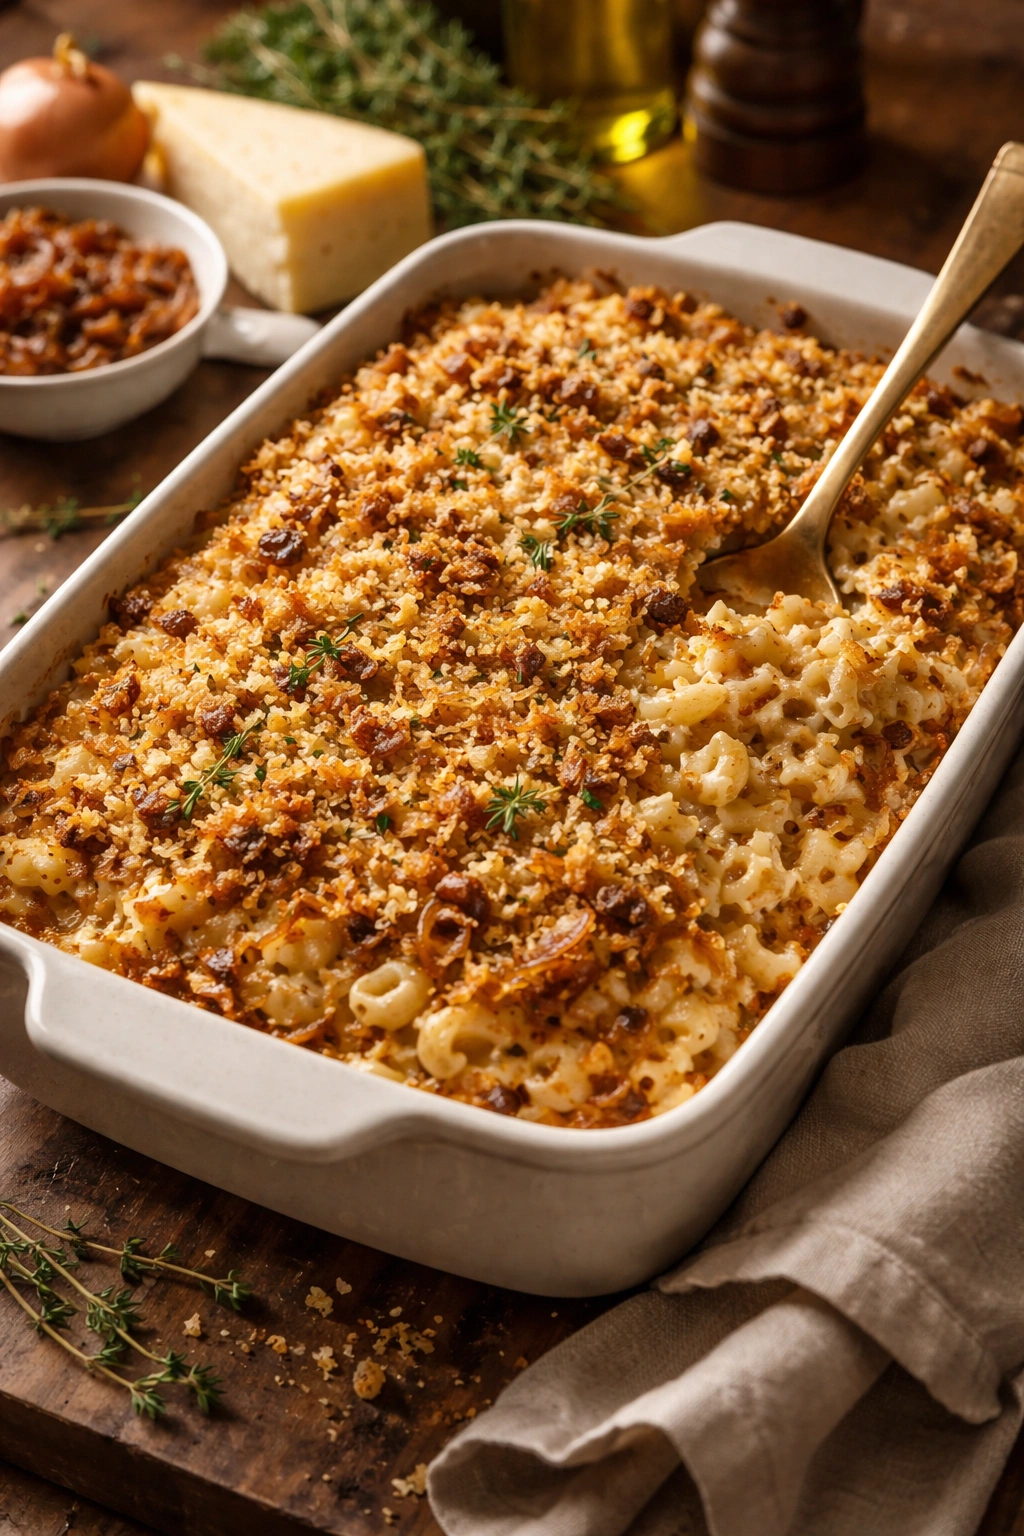
This mashup sounds unconventional until you taste it — then you understand why it works so brilliantly. Deeply caramelized onions infused with sherry and thyme form the base of a rich mornay sauce made with Gruyère cheese, creating something with all the savory depth of French onion soup but in creamy, comforting pasta form. A topping of panko and crispy fried onions finishes it off with the signature soup vibe.
Caramelizing Onions Properly
This is where patience pays off. You need at least an hour to properly caramelize onions, and many recipes suggest two hours for maximum depth. Slice your onions uniformly, then cook them low and slow in butter, stirring regularly. They’ll start out wet and steaming, then gradually begin to brown, develop color, and eventually become deep golden or amber in color with that characteristic sweet, savory flavor.
Making It a True Make-Ahead Dish
- Caramelize your onions the day before and store them in the refrigerator
- Make your cheese sauce with cream, Gruyère, and a concentrated bouillon paste that adds intense savory flavor
- Toss cooked pasta (short shapes like elbow work best) with the sauce and caramelized onions
- Transfer to a baking dish and, at this point, you can refrigerate for up to two days or freeze for up to three months
- When ready to serve, bake covered at 350°F for 30 minutes, then top with panko and crispy fried onions, and bake uncovered another 10 minutes until everything is heated through and the topping is crispy
- A sprinkle of fresh thyme right before serving adds brightness
8. Spinach and Mushroom Enchiladas with Cashew Cream
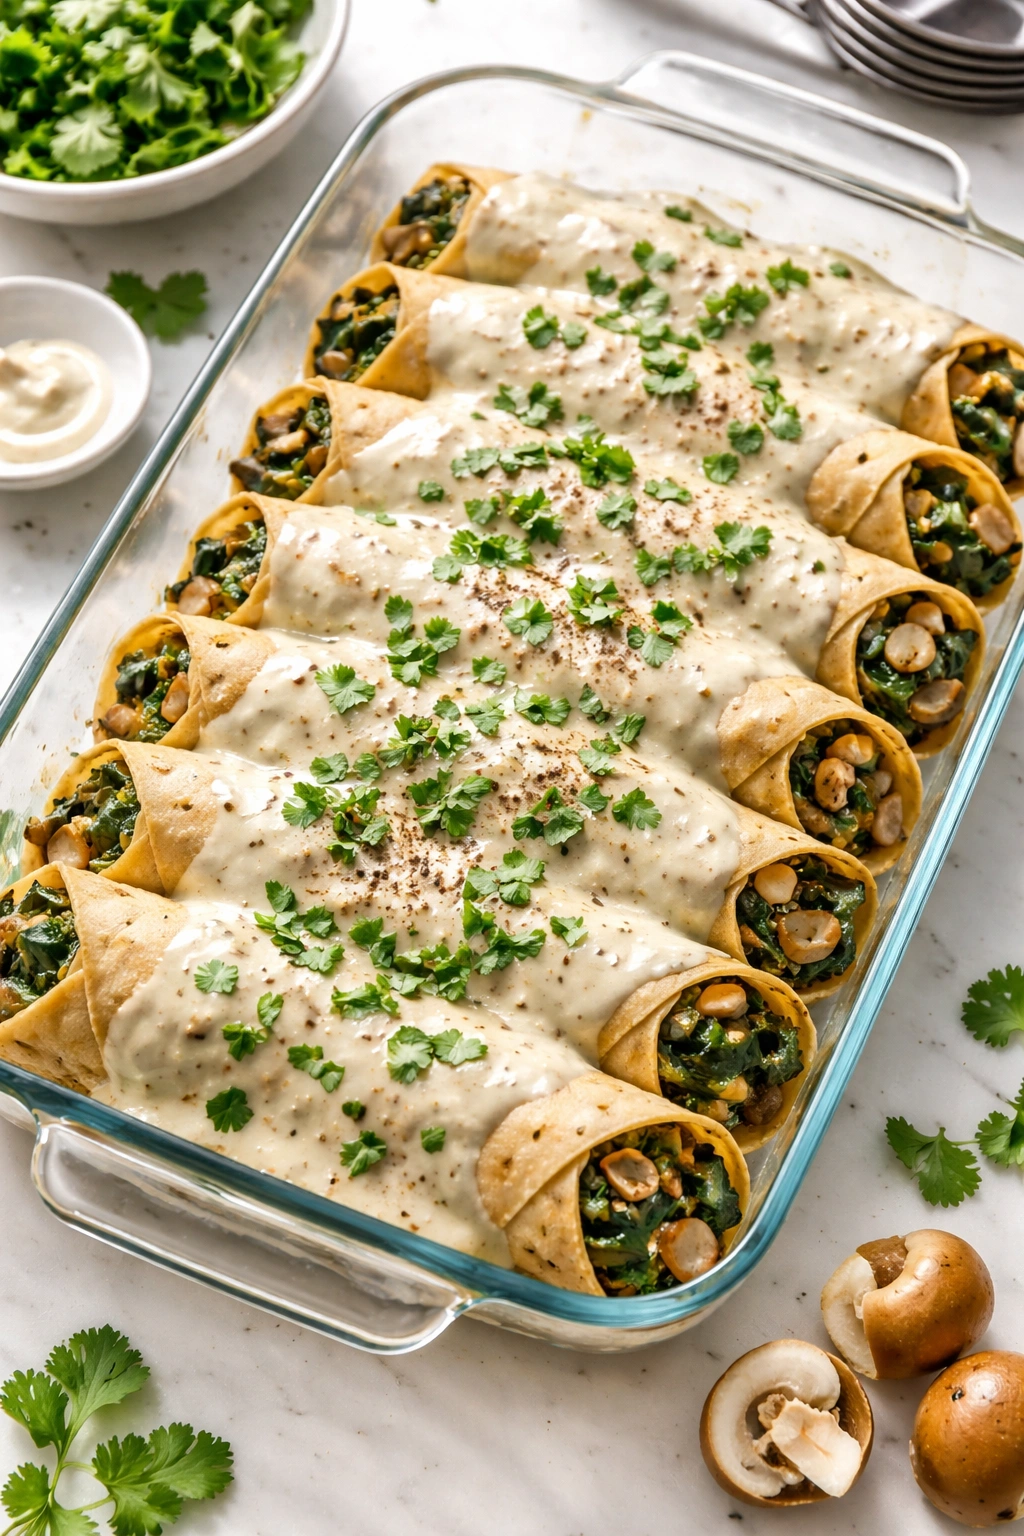
These vegan enchiladas deliver real richness and satisfaction through a combination of sautéed spinach, hearty hominy, and a luscious cashew cream sauce that tastes indulgent without any dairy. The key to preventing soggy enchiladas is draining the vegetables thoroughly before filling — any excess moisture will make them watery after sitting.
Building the Cashew Cream
Soak raw cashews in hot water for 20 minutes until softened, then blend them with vegetable broth, lemon juice, garlic, nutritional yeast, and salt until completely smooth and creamy. This sauce is just as rich as a cream-based version but comes from entirely plant-based ingredients. It freezes beautifully too, so you could even make it further in advance.
Prep-Ahead Advantages
- Prepare the spinach and hominy filling: sauté spinach and onions until the spinach is wilted and fully cooked, then drain extremely well in a colander
- Fold in canned hominy that’s been drained and rinsed
- Warm corn tortillas and fill each one with the spinach mixture, rolling tightly
- Arrange seam-side down in a baking dish
- Pour the cashew cream sauce evenly over all the enchiladas
- Cover with plastic wrap, then foil, and refrigerate for up to two days or freeze for up to three months
- When ready to bake, remove the plastic wrap but keep foil on and bake at 375°F for 30 minutes covered, then remove foil and bake another 10 minutes until bubbly and heated through
- Garnish with cilantro and lime wedges
9. Black Bean Burrito Bowls with Cilantro Lime Rice
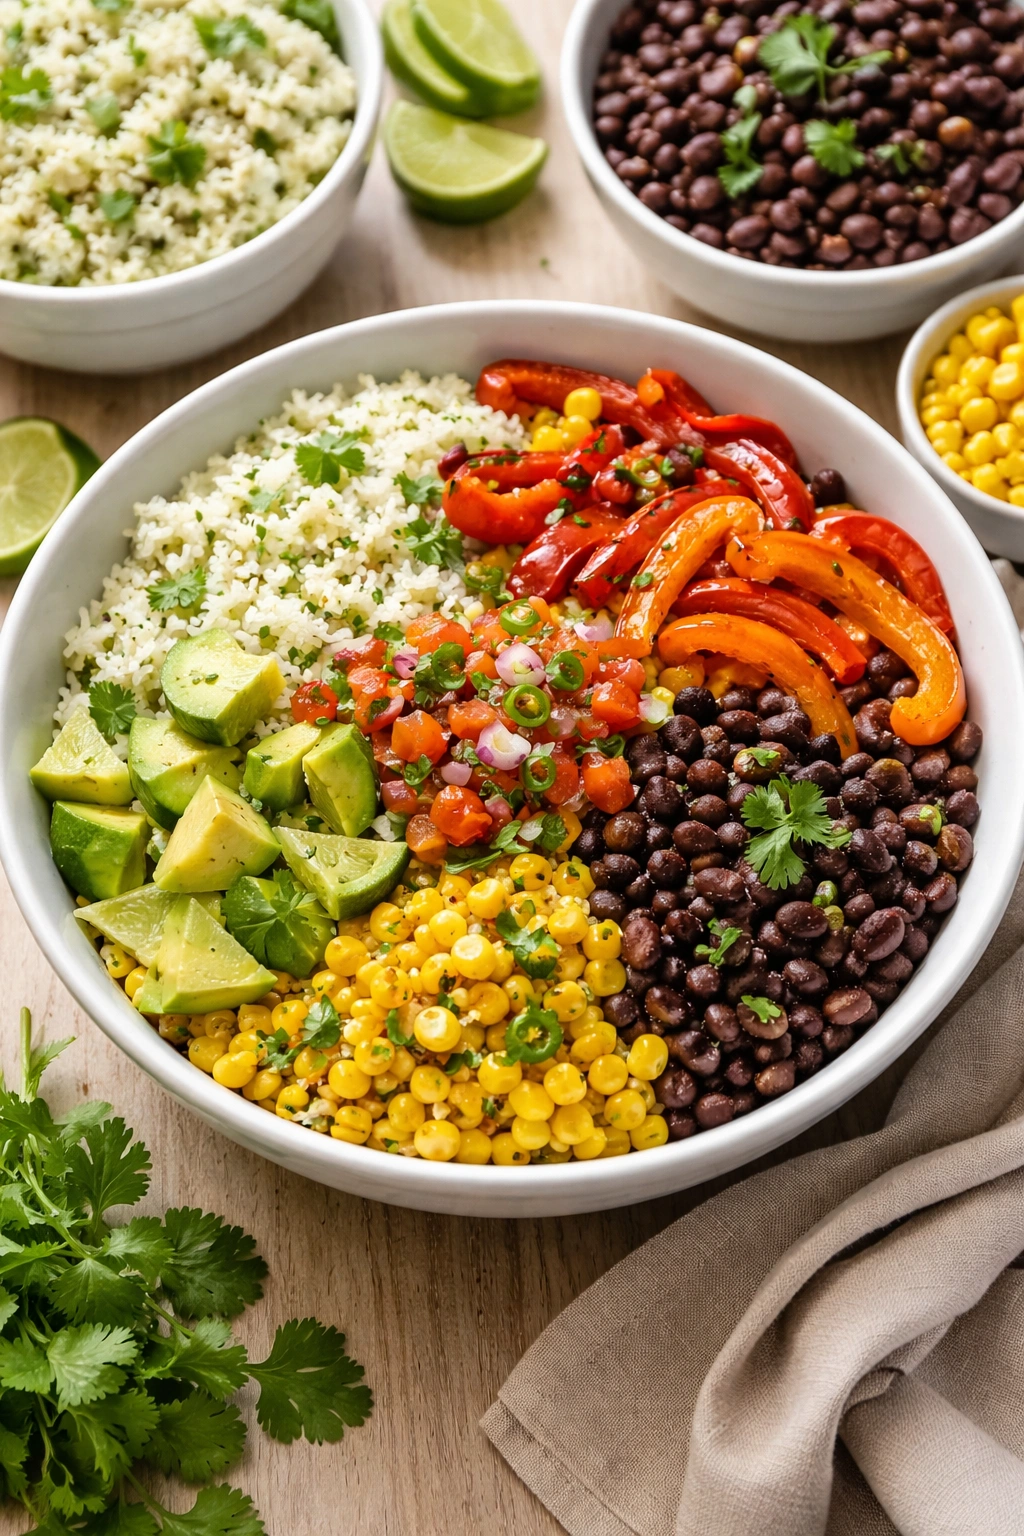
A proper burrito bowl comes together in 15 minutes when you’ve already done the prep work. This version features cilantro lime rice, seasoned black beans, roasted peppers, corn, and all the toppings that make a burrito special, but in bowl form where everything stays contained and you can customize each serving. You can partially or fully prepare these ahead, depending on how much time you have on the actual day.
Component-Based Make-Ahead Approach
Rather than assembling full bowls in advance (which can get soggy), you can prepare most components individually and store them in separate containers. Cook rice, season it with lime juice and cilantro, and refrigerate. Season black beans with cumin, garlic, and a pinch of chipotle for subtle heat, then refrigerate. Roast bell peppers and cut them into strips. Prepare any salsas or other toppings you plan to use.
Quick Assembly Strategy
- When dinnertime arrives, warm the rice and beans (they reheat beautifully)
- Arrange rice as the base in each bowl
- Top with warm beans, roasted peppers, corn, diced avocado, shredded cheese, sour cream, salsa, and cilantro
- This gives you a completely customizable meal where everyone can choose their toppings
- The prep work is done, but the final dish feels fresh and personalized
This approach takes only five to ten minutes to assemble but gives the impression of much more effort.
10. Pulled Pork with Sweet and Tangy Sauce
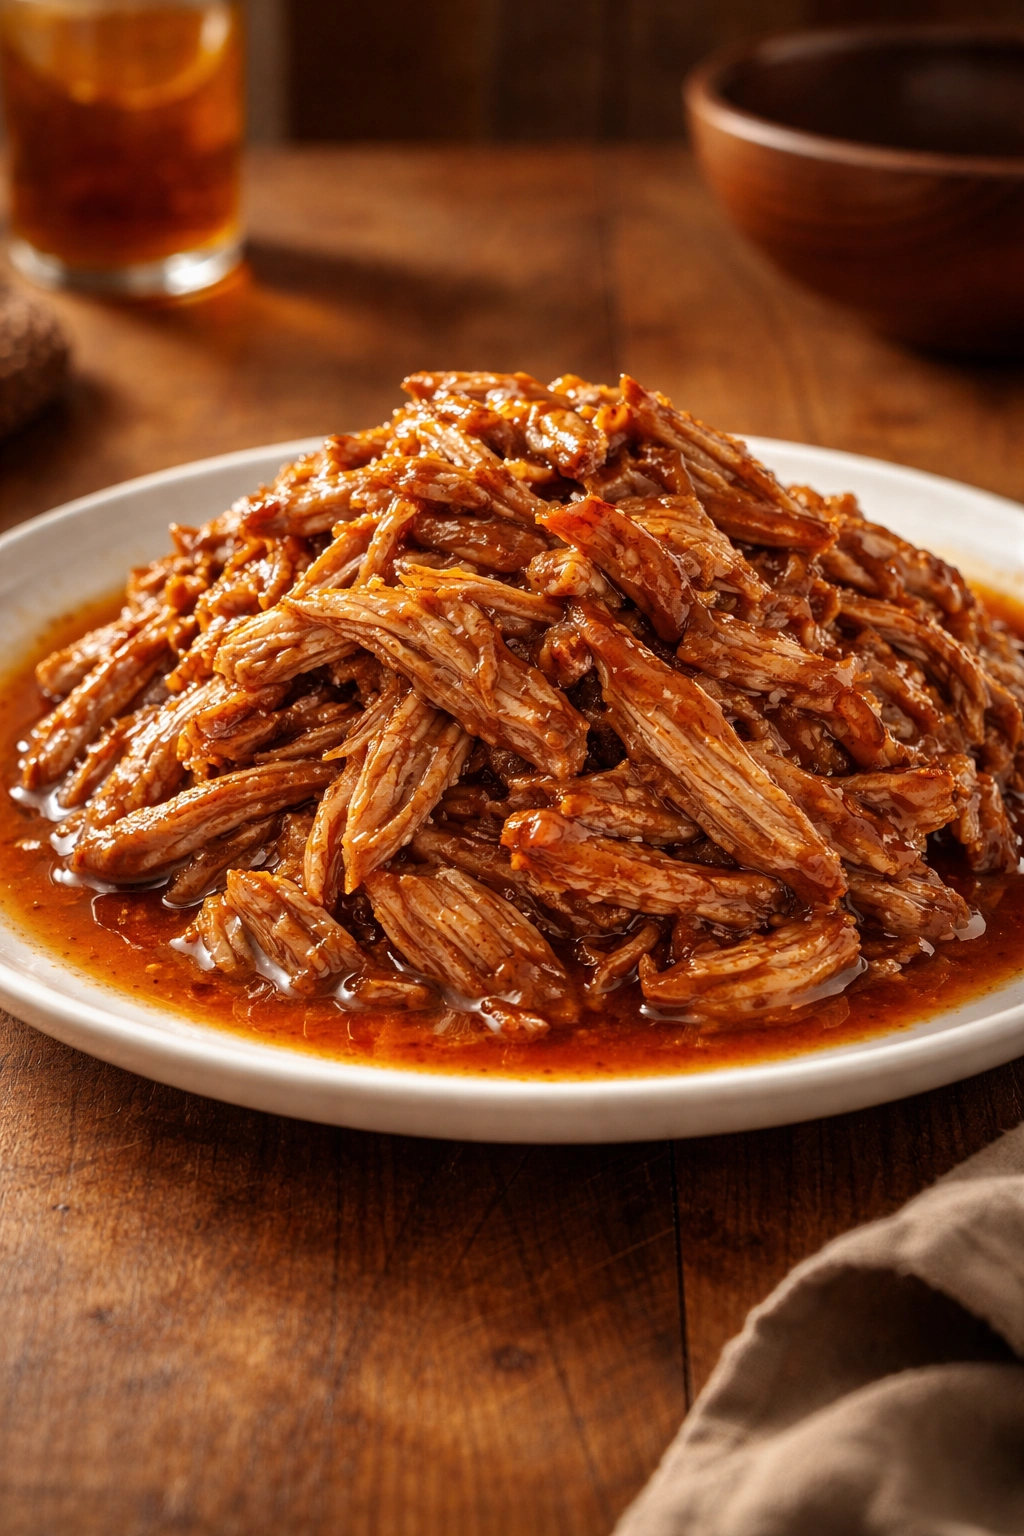
Slow-cooked pork shoulder becomes impossibly tender and develops incredible flavor over hours of gentle braising. The beauty of making this ahead is that you can cook it days in advance, shred it, and store it in the refrigerator with the braising liquid, which keeps it moist. You can then reheat it gently and serve it however you like — on sandwiches, in tacos, over rice, or atop grits.
Building the Braising Liquid
The sauce here combines brown sugar for sweetness, apple cider vinegar for tang, soy sauce for umami, and a touch of Worcestershire sauce for depth. Some recipes include hot sauce, smoked paprika, or even coffee for complexity. The exact balance is up to you, but you want sweet, tangy, and savory all working together.
Cooking and Storing
- Sear a pork shoulder on all sides in a hot pot to develop color
- Remove the pork and sauté sliced onions in the remaining fat
- Return the pork to the pot with the braising liquid (the liquids should come about halfway up the pork)
- Cover and braise in a 300°F oven for six to eight hours, or in a slow cooker on low for eight to ten hours, until the meat shreds easily with a fork
- Remove the pork and shred it, then strain the braising liquid and return it to the pot
- Reduce the liquid by half on the stovetop to concentrate the flavors
- At this point, you can cool everything and refrigerate for up to four days or freeze for up to three months
- To reheat, warm the shredded pork gently in the sauce, then serve with your choice of accompaniments
11. Stuffed Cabbage Rolls in Rich Tomato Sauce

Cabbage rolls might seem labor-intensive, but they’re actually quite straightforward to assemble, and they freeze beautifully. Whole cabbage leaves are stuffed with a mixture of ground beef or pork, cooked rice, onions, and herbs, then placed seam-side down in a baking dish and covered with a savory tomato sauce spiked with beer, paprika, and a pinch of caraway seed. They reheat perfectly without falling apart.
Blanching Cabbage Leaves Properly
Rather than trying to separate raw cabbage leaves, which tears them, blanch a whole head of cabbage in boiling salted water for five to seven minutes until the leaves become pliable. Remove the head and gently peel away each softened leaf. This ensures they’re tender enough to roll without tearing.
Freezing and Reheating
- Prepare your filling: brown the ground meat with diced onions, then fold in cooked rice, salt, pepper, and fresh parsley
- Place a spoonful of filling in the center of each cabbage leaf, fold in the sides, and roll tightly
- Arrange seam-side down in a baking dish
- Prepare the sauce by sautéing onions and garlic, adding tomato sauce, beer, paprika, and caraway, then simmering for 15 minutes
- Pour the sauce over all the rolls
- Cover with plastic wrap and foil, then refrigerate for up to two days or freeze for up to three months
- When ready to serve, bake covered at 350°F for 45 minutes if thawed or 60 minutes if frozen, until bubbly throughout
- The rolls actually taste even better the second or third day as the flavors continue to develop
12. Creamy Butternut Squash and Lentil Soup
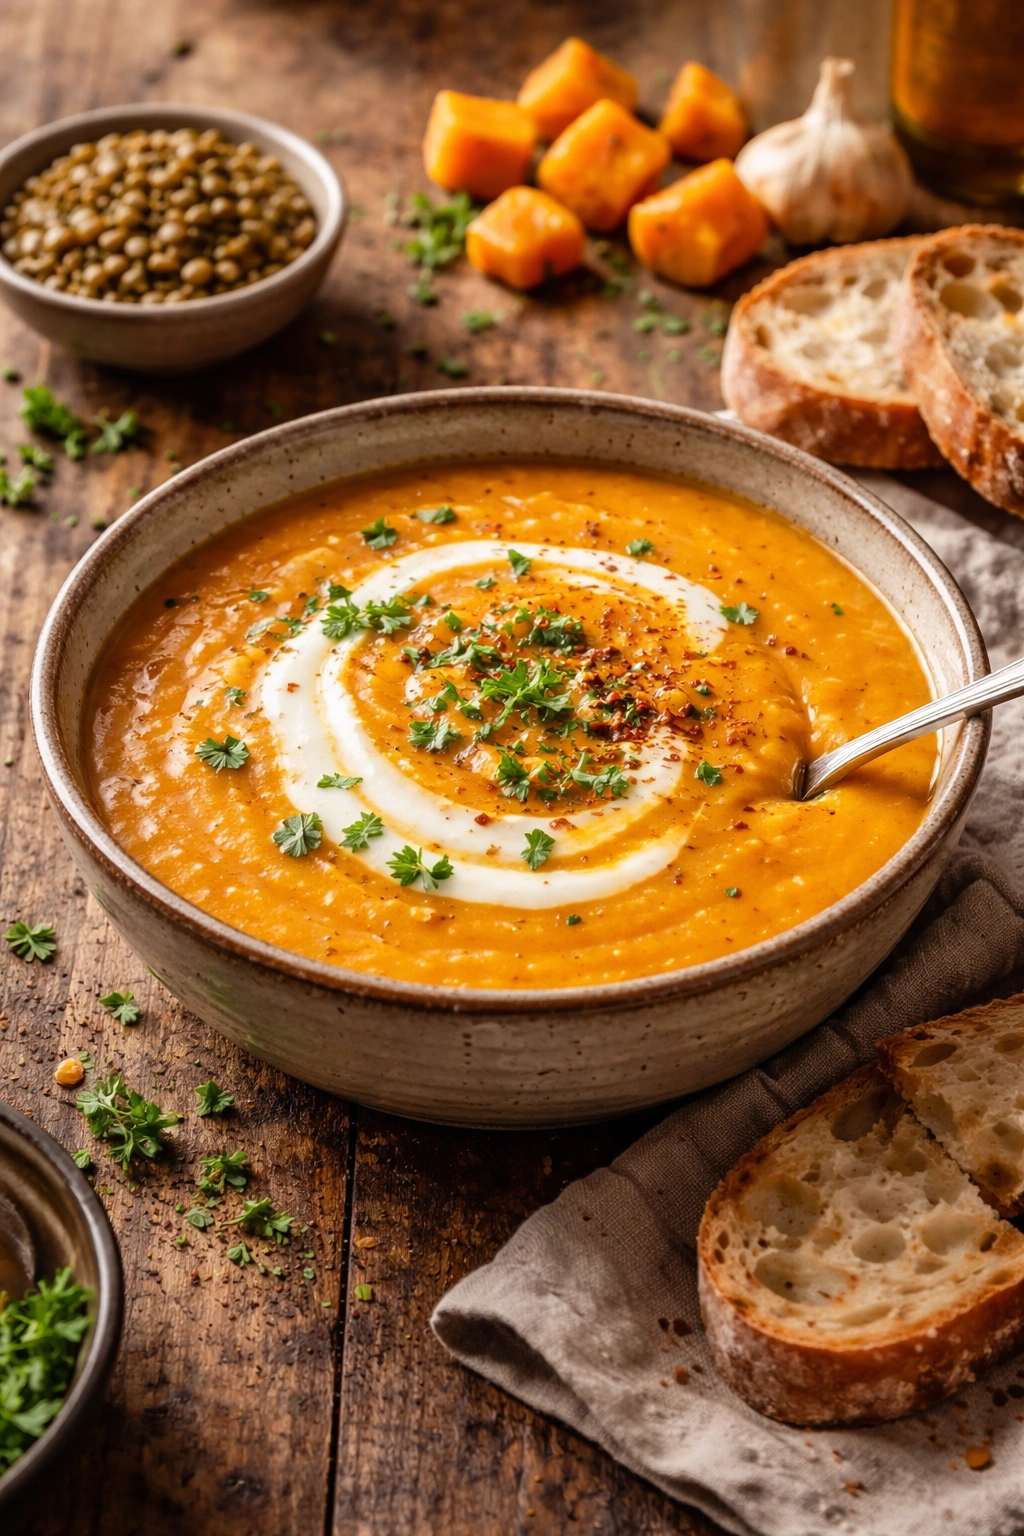
This plant-based soup combines sweet roasted butternut squash with protein-rich lentils in a creamy base infused with warming spices like cinnamon, cumin, and coriander. A swirl of tangy Greek yogurt and a sprinkle of fresh parsley finish each bowl with brightness. This soup is perfect for make-ahead cooking because it freezes beautifully and actually tastes better after the flavors have had time to marry.
The Magic of Blending Part of It
You’ll cook the soup completely, then blend roughly two cups of it until smooth and return it to the pot. This creates a naturally creamy texture without adding cream or coconut milk, making the soup feel luxurious while keeping it light. The blended portion thickens the overall soup while you retain some chunks of squash and lentils for texture.
Efficient Freezing Method
- Prepare the soup as described: roast or sauté squash, sauté aromatics, add lentils and broth, then simmer until the lentils are completely tender
- Add warming spices and taste for seasoning
- Blend roughly half the soup until completely smooth, returning it to the pot and stirring well
- Cool the soup completely, then portion it into freezer-safe containers, leaving an inch of headspace at the top
- Label and freeze for up to three months
- When ready to serve, thaw overnight in the refrigerator or reheat directly from frozen over low heat on the stovetop, stirring occasionally
- Just before serving, top each bowl with a dollop of Greek yogurt, a sprinkle of fresh parsley, and perhaps a drizzle of good olive oil
- Serve alongside crusty bread for dipping
Final Thoughts
The transformation that happens when you commit to make-ahead cooking extends far beyond just having dinner ready. You’re reclaiming time that would normally be spent stressing at 5 p.m., you’re saving money compared to takeout, and you’re ensuring your family eats wholesome food made with ingredients you actually chose. These 12 meals represent real variety — from hearty meat dishes to comforting vegetarian options, from soups to casseroles to layered bakes.
The best part about building a make-ahead meal strategy is that it compounds over time. Once you’ve made a few of these dishes and experienced how much easier they make your week, you’ll start naturally thinking about what else you can prepare in advance. You might discover you want to double recipes so you have backups in the freezer, or you might develop your own variations using vegetables that are in season or on sale.
Start with whichever meal appeals to you most — perhaps the chili if you love bold spices, or the chicken pot pie if comfort food speaks to your soul. Dedicate a few hours to preparation, get everything stored properly, and then experience the genuine relief and joy of opening your refrigerator or freezer to find dinner already waiting for you. That’s not laziness — that’s wisdom.