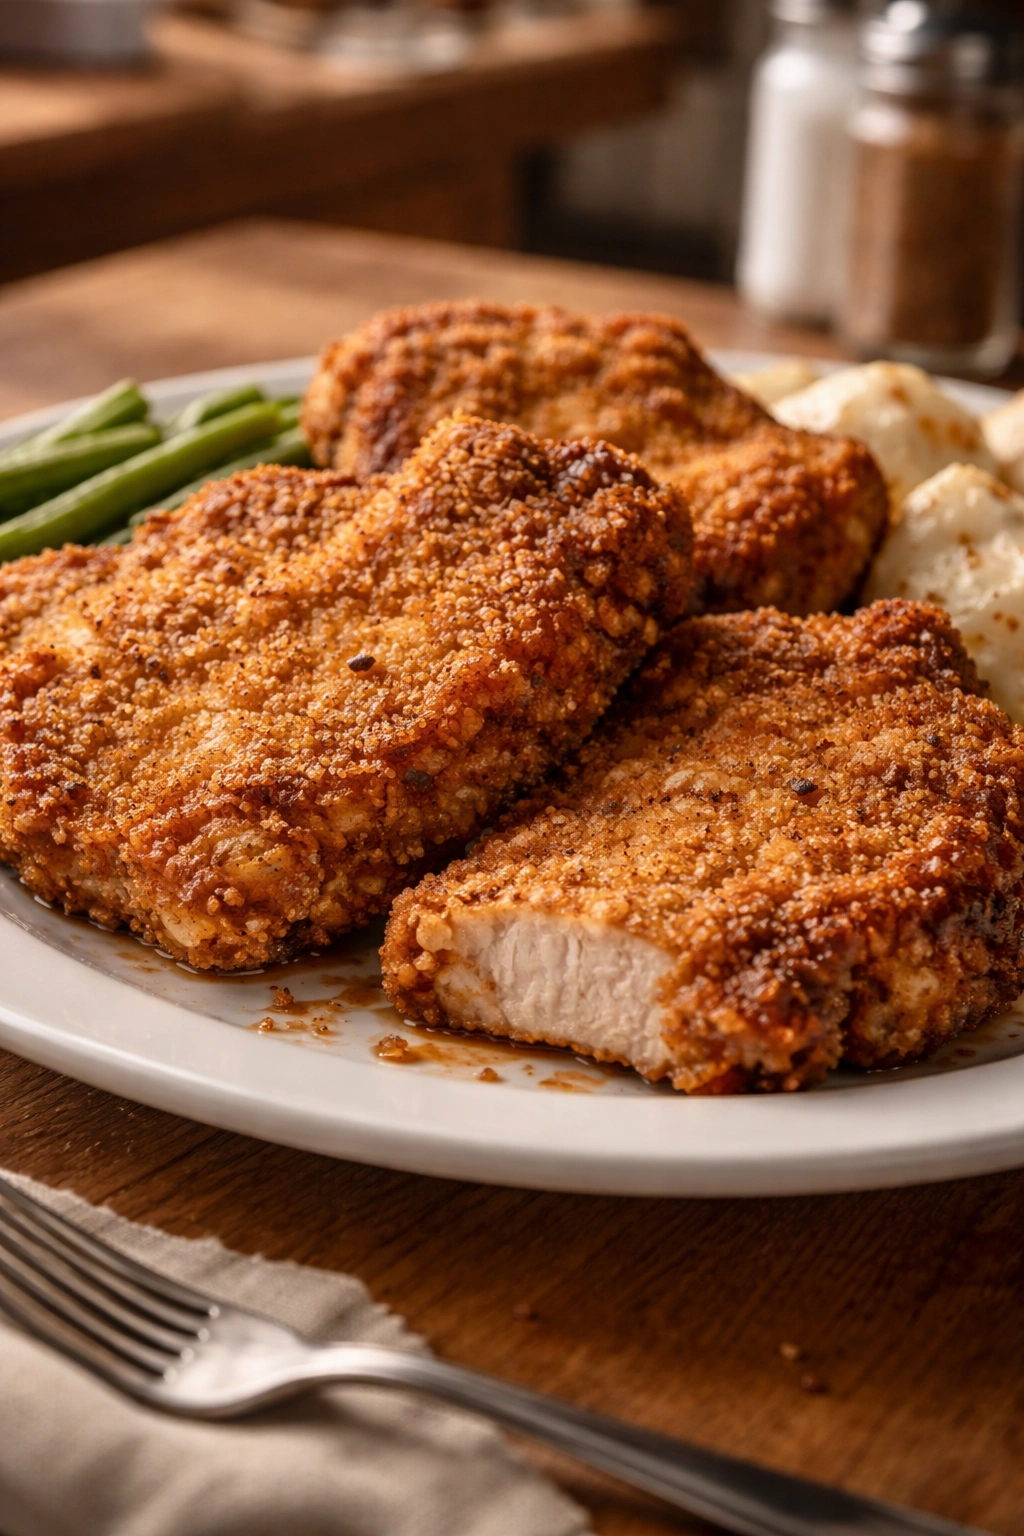
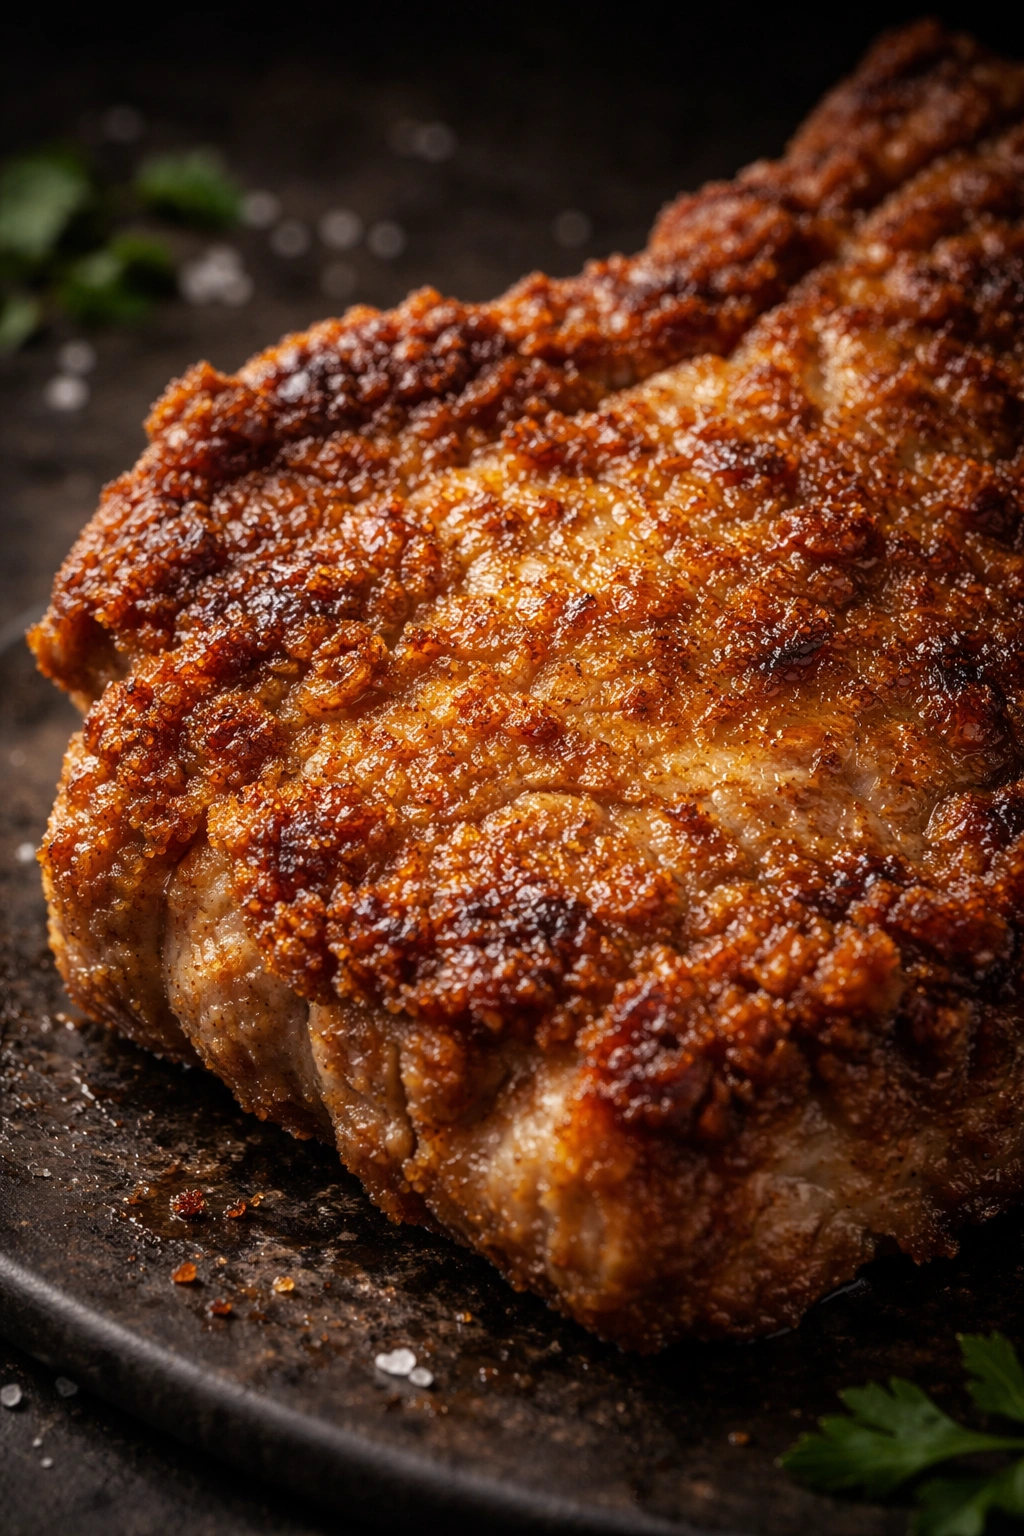
Nothing says comfort food quite like a plate of crispy country fried pork chops that tastes exactly like something you’d order at your favorite diner. That golden, crunchy exterior that shatters when you cut into it, giving way to tender, juicy meat underneath—it’s the kind of dish that makes people close their eyes and smile mid-bite. The best part is that you don’t need any fancy equipment or hard-to-find ingredients to recreate this magic at home. What you do need is the right technique, the right understanding of how diner cooks approach this classic dish, and a willingness to embrace what makes this recipe so universally beloved.
The thing about diner-style pork chops is that they exist in a sweet spot between fried chicken and a quick weeknight dinner. They’re accessible enough that you can make them on a regular Tuesday night, yet impressive enough to serve when you want to wow people without spending all day in the kitchen. More importantly, they’re forgiving—once you understand the principles behind why the coating sticks, why the meat stays juicy, and how to build that silky gravy, you’ll never struggle with this recipe again.
Why Diner-Style Pork Chops Are the Ultimate Comfort Meal
Diners perfected the art of turning affordable, humble ingredients into something that feels special through technique and care. Country fried pork chops represent everything that makes diner food so magnetic—they’re indulgent without being pretentious, nostalgic without feeling dated, and genuinely delicious in a way that doesn’t require explanation or apology.
What makes diner pork chops different from baked or pan-fried versions isn’t just the cooking method. It’s the whole philosophy. Diner cooks understand that a thin layer of hot oil creates what’s essentially a pressure chamber around the meat, sealing in moisture while simultaneously creating that shatteringly crisp crust that’s impossible to achieve any other way. The coating itself becomes almost a separate entity—it’s not just breading, it’s a flavorful, protective shell that stands up to the silky cream gravy without falling apart.
The nostalgia factor matters too, and it’s worth acknowledging. For many people, country fried pork chops connect directly to childhood dinners, family gatherings, or that cozy dinner at a small-town diner where the waitress knew your name. Recreating that experience at home becomes less about following a recipe and more about honoring a tradition of real, satisfying food that asks nothing of you except to sit down and enjoy it.
Why This Recipe Works
The success of diner-style pork chops rests on understanding the science beneath the tradition. Your pork chop is a relatively lean cut of meat, which means it can dry out quickly if overcooked. The coating, however, creates an insulating barrier that keeps heat from penetrating too rapidly, allowing the interior to cook through gently while the outside develops color and crunch. The oil temperature matters enormously—too low, and your coating absorbs oil instead of frying; too high, and the outside browns before the inside finishes cooking.
The gravy isn’t just an afterthought either. The velvety cream sauce serves a practical purpose: it adds moisture back to the plate and creates a flavor profile that’s greater than the sum of its parts. The richness of the gravy against the crispy pork chop is one of the most satisfying textural contrasts in all of comfort food.
Understanding the Diner Technique (What Makes Them Different)
Diner cooks don’t approach pork chops the way home cooks might approach a baked dish or a pan-seared entrée. Instead, they use a technique borrowed from fried chicken preparation—a multi-step dredging and frying method that ensures the coating adheres properly and fries evenly.
The most important distinction is that diners use a double-dredge method in many cases, or at minimum, a carefully calibrated single dredge with attention to moisture control. Your pork chop wants to release liquid as it sits—that’s just what meat does—and if you don’t account for that, the breading will fail to stick. A proper diner approach involves managing moisture either through salting and resting, through dusting with cornstarch, or through a combination of techniques that prevent the coating from separating during cooking.
The Multi-Step Coating Process
The coating isn’t just flour. Diners often add seasonings directly into the flour mixture, ensuring that every bite has flavor built in rather than relying on seasoning only the meat. Some add saltine crackers or cornstarch to the flour to achieve an extra-crispy texture. Some use a wash step—either an egg mixture or a buttermilk-based mixture—that acts as an adhesive for the flour and seals in moisture.
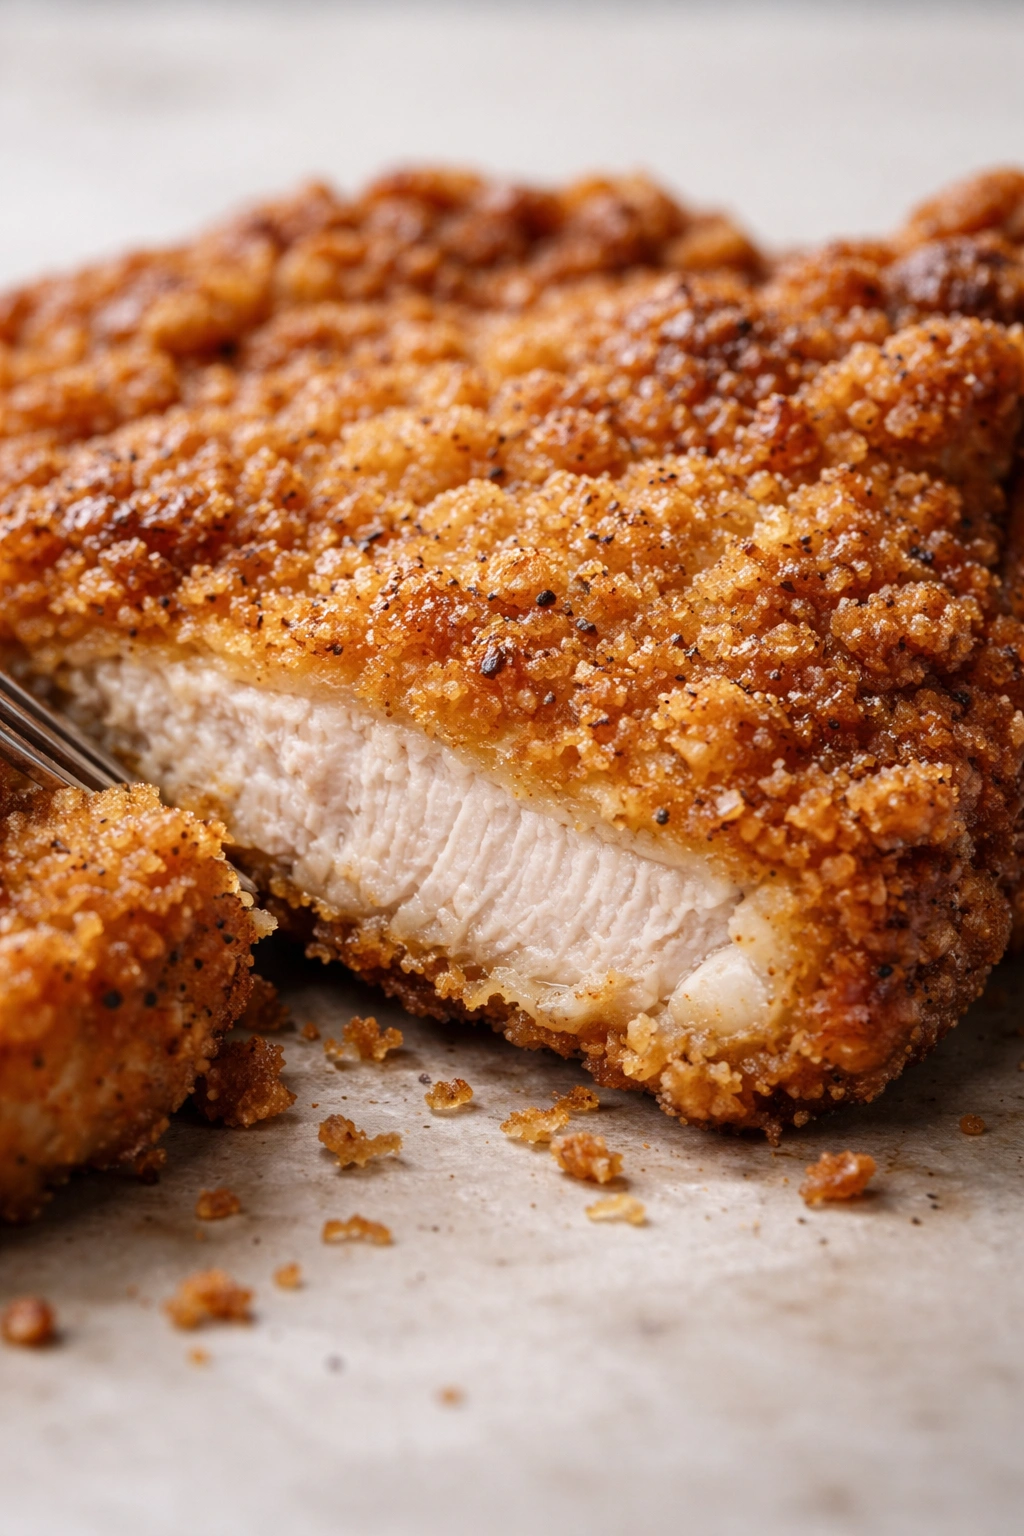
The reason this matters is that it creates multiple layers of flavor and texture working together. The outer crust (the flour coating) is crunchy and seasoned. Just underneath, there’s sometimes a slightly softer, almost glutinous layer where the egg or buttermilk has partially cooked. Then you hit the meat, which is tender and juicy because the coating and short cooking time have protected it.
The Oil Medium
Diners traditionally use shortening or lard for frying pork chops, and there’s a genuine reason for this that goes beyond nostalgia. Shortening has a higher smoke point than most oils and creates a crust with a specific texture that vegetable oil alone can’t quite replicate. That said, vegetable oil, canola oil, or peanut oil all work acceptably well—the difference is subtle enough that you won’t fail with these alternatives, though the texture might be slightly less crispy or slightly less golden.
What matters most is that whatever oil you use is hot enough and stays hot enough throughout cooking. This is why peanut oil is increasingly popular with home cooks trying to replicate diner results—it has a high smoke point and can maintain temperature better than lighter oils.
Choosing the Right Pork Chops
Your choice of pork chop matters more than you might think. This isn’t a dish where every cut works equally well, and understanding the differences will help you get the best results.
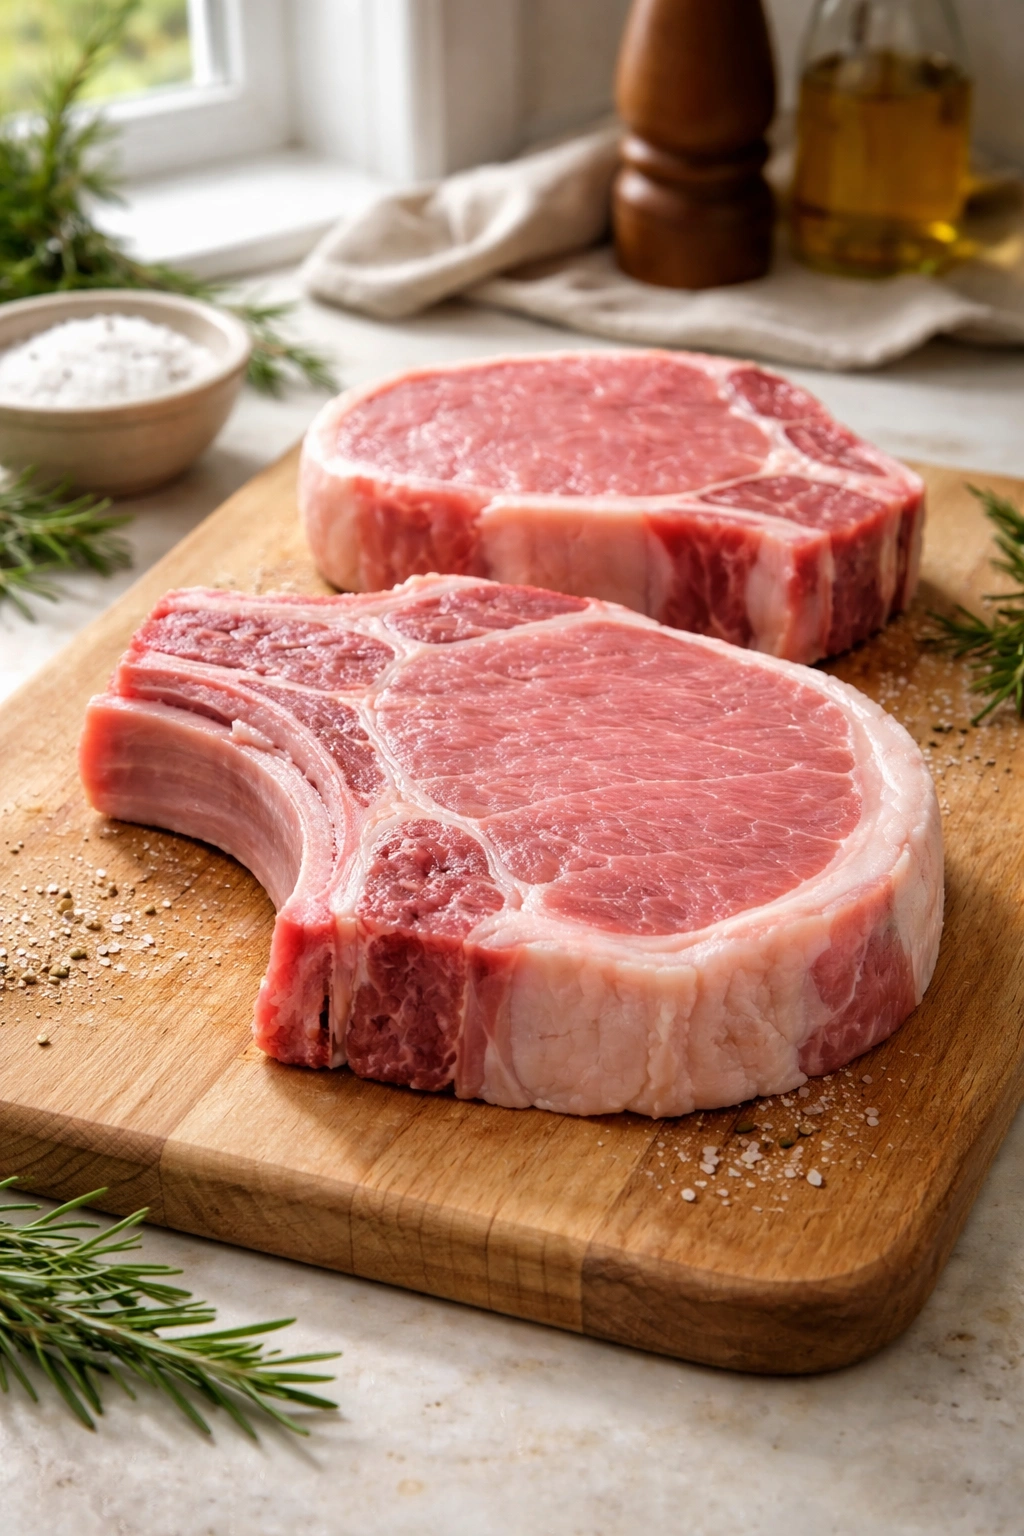
Bone-in versus boneless is the first decision. Bone-in chops, particularly rib chops, have better flavor and a better fat content that keeps them juicy during the relatively high-heat cooking process. The bone also acts as a heat conductor, helping the meat cook through evenly. Boneless chops are more convenient and cook slightly faster, but they’re also easier to overcook because there’s less insulation and less natural fat to keep them moist. Many diner cooks prefer bone-in for this reason.
Thickness is equally important. You want chops that are roughly ½ to ¾ inch thick—thick enough that they won’t cook through before the coating gets properly crispy, but thin enough that they’ll cook all the way through without the outside burning. Anything thinner than ½ inch risks becoming dry; anything much thicker than ¾ inch will need either an extended cooking time (risking a burned crust) or finishing in the oven.
Marbling and Fat Content
Look for chops with visible marbling—those little lines of white fat running through the meat. Marbling is your insurance policy against dry pork. As the meat cooks, these fat deposits melt and keep the interior moist. Lean pork chops with minimal marbling are more forgiving when you use the buttermilk marinating technique, but ideally, you want both: moderate marbling plus a brining or marinating step.
If you’re buying from a butcher, ask them to cut chops to your preferred thickness and to select pieces with good marbling. The couple of minutes of conversation with a butcher often results in better ingredients than what you’d grab from a supermarket case.
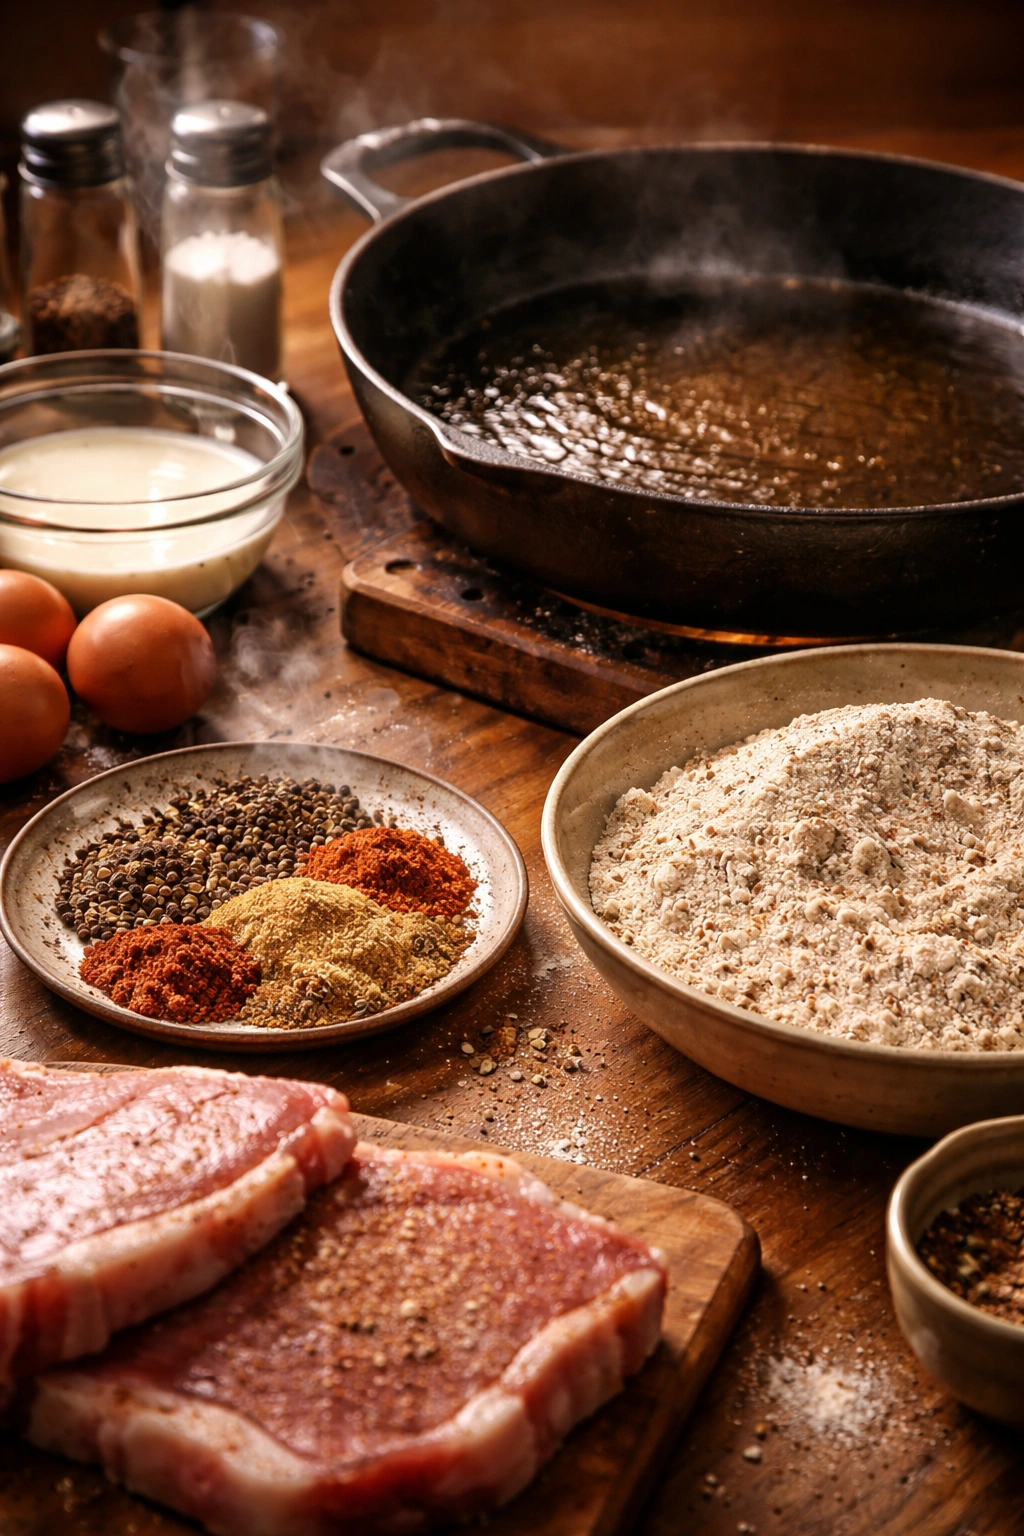
Preparing Your Coating Mixture
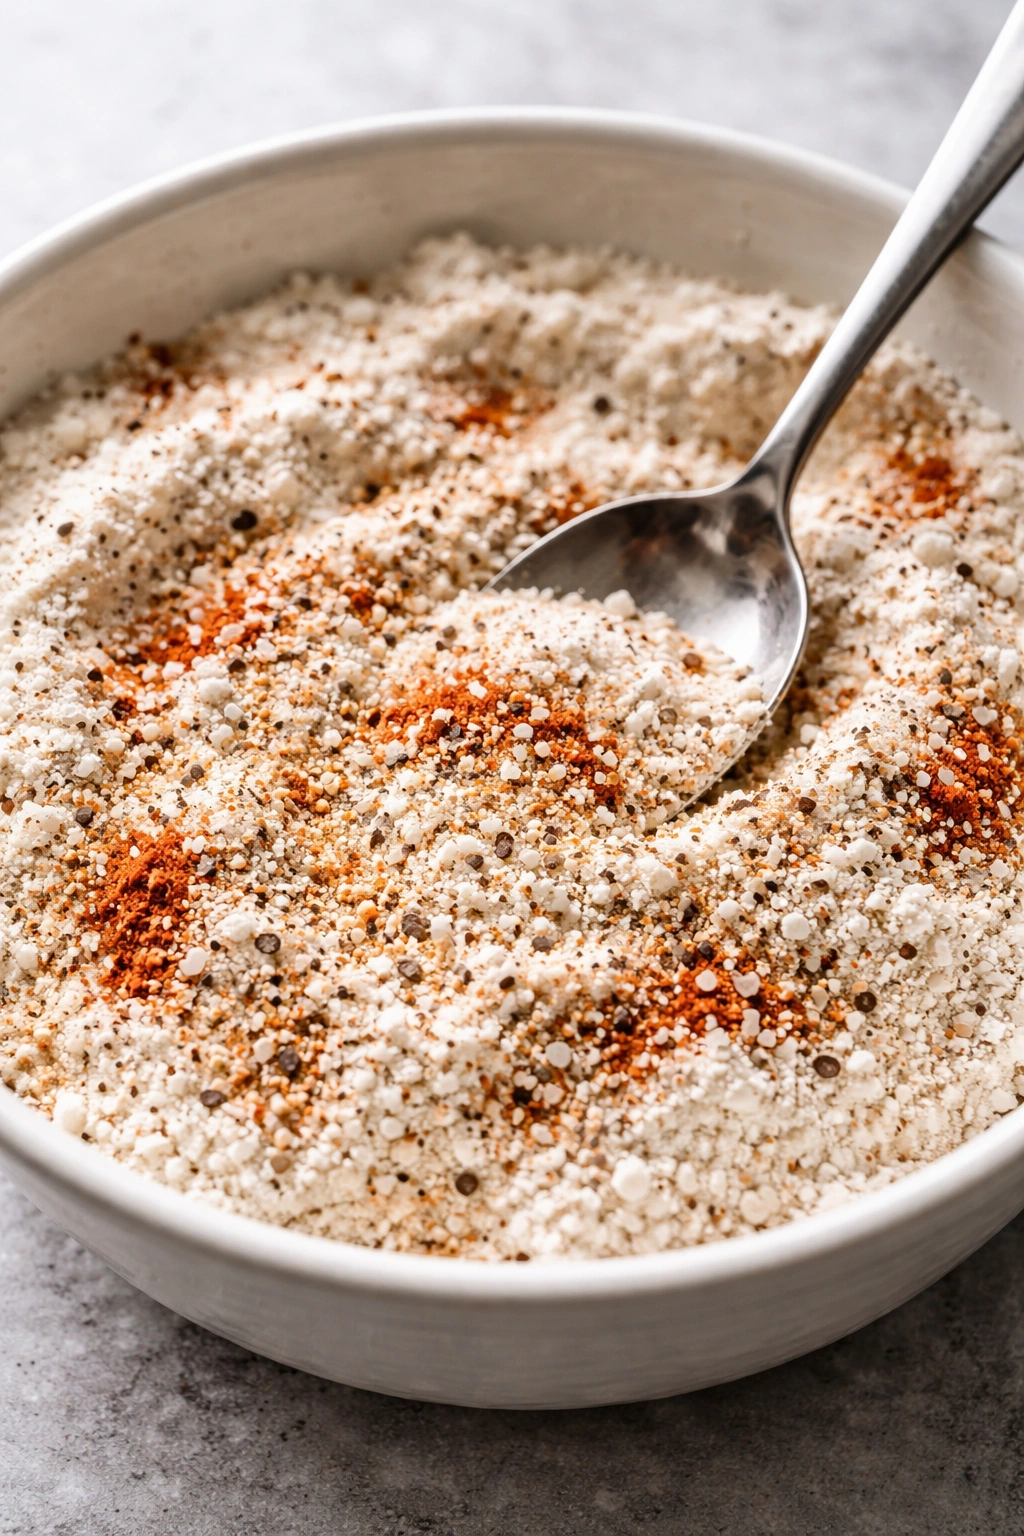
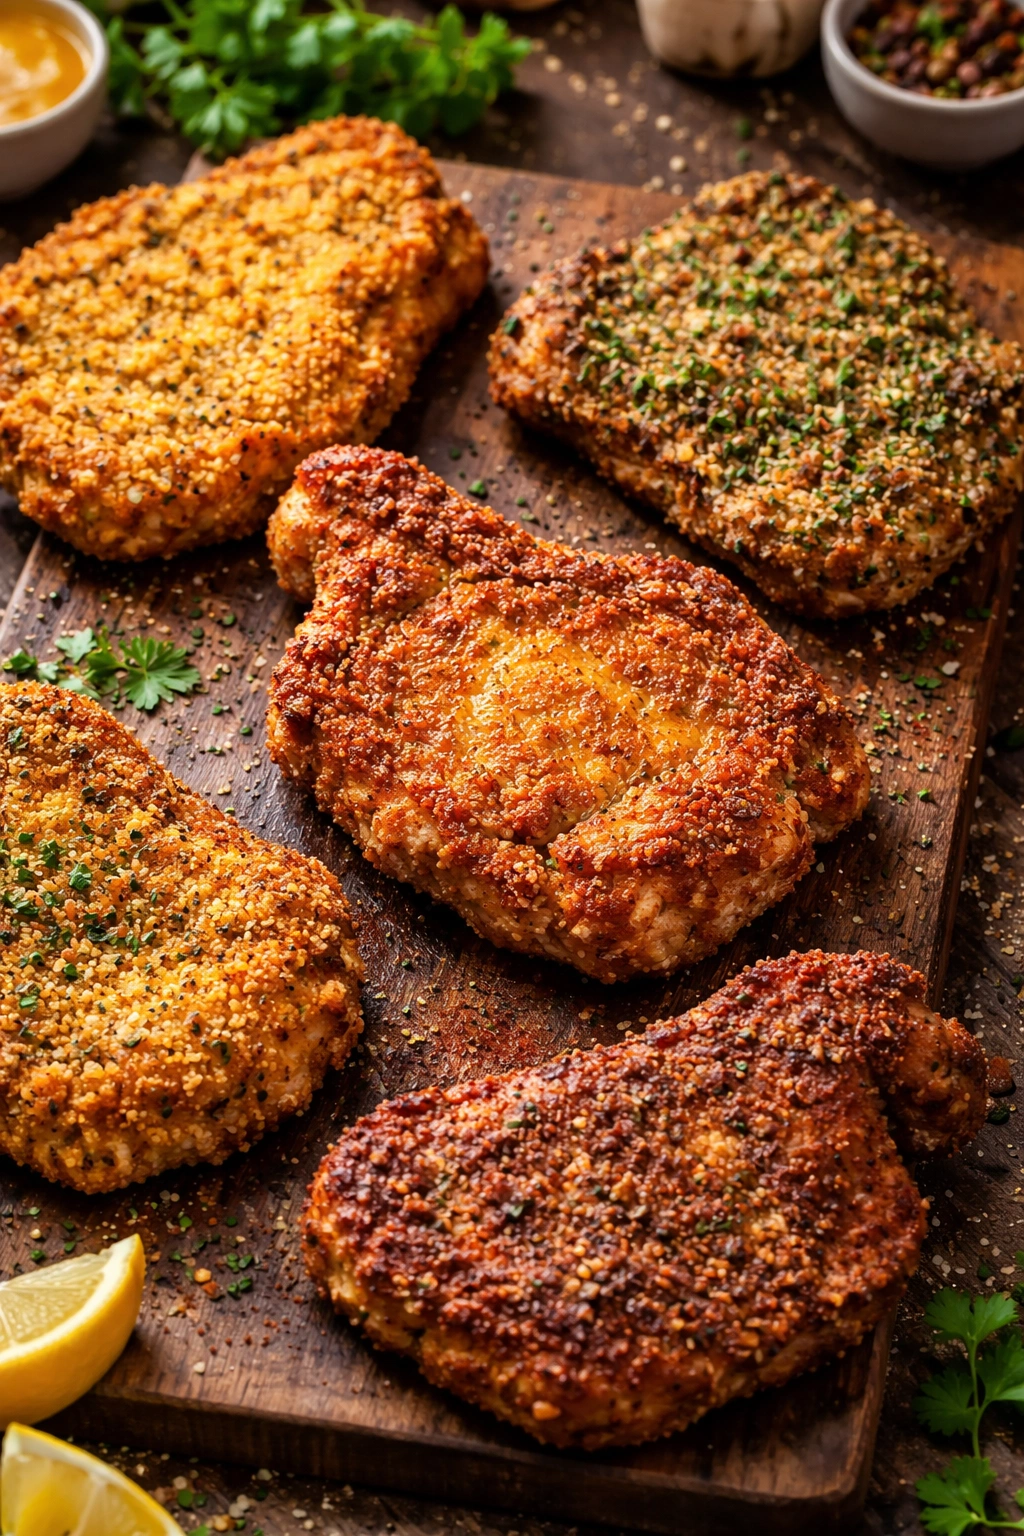
The coating is where personality enters the recipe. While a basic flour-and-seasoning mixture absolutely works, diners often build complexity here with additional components and seasonings.
For the Pork Chops:
- 4-6 bone-in pork chops (about ½ to ¾ inch thick, about 1 lb each)
- 1 teaspoon kosher salt (for initial seasoning)
- ½ teaspoon freshly ground black pepper (for initial seasoning)
- Vegetable oil, shortening, or peanut oil for frying (about 1 cup, depending on pan size)
For the Dredge:
- 1½ cups all-purpose flour
- 1 tablespoon seasoned salt
- 1½ teaspoons garlic powder
- 1 teaspoon onion powder
- 1 teaspoon paprika (smoked paprika adds deeper flavor)
- ½ teaspoon cayenne pepper (optional, for subtle heat)
- ½ teaspoon white pepper (or additional black pepper)
- 2 large eggs
- ⅓ cup whole milk
- 1 tablespoon hot sauce (optional, adds flavor complexity)
For the Cream Gravy:
- 3 tablespoons reserved frying oil
- 3 tablespoons all-purpose flour
- 2½ cups whole milk (or 2% milk)
- ½ teaspoon kosher salt
- ½ teaspoon white pepper
- A pinch of garlic powder
- Kitchen Bouquet or similar browning sauce (optional, for color)
Yield: Serves 4 to 6 | Makes 4 to 6 servings
Prep Time: 20 minutes
Cook Time: 25 minutes
Total Time: 45 minutes (not including optional buttermilk marinating, which adds 1-2 hours)
Difficulty: Intermediate — No special equipment required, but attention to oil temperature and coating adherence is important for success.
The flour mixture is where most home cooks either nail it or miss it. Start with good ingredients: fresh flour (old flour tends to be less effective at creating crust), quality salt, and spices that smell vibrant and fresh. If your spices have been sitting in your cabinet for three years, they’ve lost potency—this is the one place where it’s worth replacing them.
Creating the Right Texture
Some diners add ¼ cup crushed saltine crackers to the flour mixture for extra crispness. Others add 2 tablespoons of cornstarch, which creates an even lighter, more delicate crust. You can experiment to find your preference, but understand that each modification slightly changes the texture: more flour equals a thicker, crunchier crust; cornstarch or crackers create a lighter, slightly airier crust.
The egg wash is your adhesive. Make sure the eggs are well-beaten and that you whisk them thoroughly with the milk. The hot sauce doesn’t make the pork chops spicy—it adds a subtle flavor depth and, more importantly, it adds acidity that helps the coating set better during cooking. Some recipes skip it entirely, and that’s fine, but including it is a small addition that pushes the results toward authentic diner quality.
The Art of the Perfect Crust
Creating a crust that stays on the pork chop and doesn’t flake off into the oil is a matter of several steps working together. This is where diner technique separates from casual home cooking.
Step one: moisture management. Pat your pork chops completely dry with paper towels. If your chops are wet or even just damp, the coating will struggle to adhere. For best results, season them with salt and let them sit at room temperature for 15-20 minutes before breading—this allows the salt to draw out surface moisture, which then “beads up” and can be blotted away. This extra step makes an enormous difference.
Step two: the first dredge. Place about ½ cup of your seasoned flour in a shallow dish. This is separate from the remaining flour—you’re doing a two-step flour coating. Dredge each pork chop in this first flour mixture, coating both sides evenly. Shake off the excess gently—and this is important—do actually shake off excess. A thick, gloppy coating will either absorb too much oil or fall off. You want a thin, even layer.
Step three: the egg wash. Dip the floured chop into your egg mixture, letting the excess drip back into the bowl. You’re not dunking it; you’re dipping it. The coating should be wet but not dripping.
Step four: the second dredge. Immediately place it into your remaining flour mixture (the main batch with all the seasonings mixed in). Press gently to help the coating adhere, then turn it over and press the other side. Once both sides are coated, lift it up, give it a gentle shake to remove excess, and place it on a plate or wire rack.
The Resting Step
This is the diner secret that home cooks often skip, and it makes a genuine difference. Once you’ve coated all your pork chops, let them sit for 15-20 minutes before frying. This allows the coating to set—the egg cooks slightly, the flour absorbs some of the moisture from the meat, and the whole package becomes more stable. When you place these rested chops into hot oil, the coating is much less likely to slip or fall apart.
If you’re in a hurry, you can skip this step, but your success rate will decrease. Diners, which work quickly but with precision, usually have a breading station set up and let coated items rest while they’re working through the next batch.
Frying Temperature and Oil Selection
This might be the single most important technical element of the recipe. Temperature determines whether you get a golden, crispy exterior with juicy meat inside, or a greasy, soggy exterior with dry meat inside.
The ideal frying temperature is 350°F to 360°F. If you have an instant-read thermometer that can measure oil temperature, use it—there’s no shame in being precise here. If you don’t have a thermometer, the traditional test is to drop a tiny piece of bread or a test piece of coating into the oil; if it sizzles immediately and rises to the surface within a few seconds, the oil is ready. If it sizzles too violently or immediately darkens, the oil is too hot.
Once your oil is at temperature, you have to maintain it. When you add cold pork chops to hot oil, the temperature will drop. This is normal. What’s not normal is if it drops more than about 25-30 degrees and then climbs back slowly. If this happens, your oil isn’t hot enough—wait for it to recover or add more oil to the pan (make sure it’s hot oil, not cold from a bottle).
Oil Selection and Amount
Vegetable oil is the most common choice for home cooking. It’s affordable, has a moderate smoke point, and works well.
Peanut oil creates excellent results—it has a high smoke point, maintains temperature well, and has a neutral flavor.
Canola oil is similar to vegetable oil and works fine, though some cooks find the results slightly less crispy than with peanut oil.
Shortening (like Crisco) or lard were traditional choices and do create a superior crust, but they’re less common in modern kitchens.
Olive oil is not appropriate for this application—the flavor is too strong and the smoke point is too low.
As for how much oil: you want enough to go about ¼ inch up the sides of the chops, not enough to cover them completely (that’s deep frying, a different technique). In a standard 12-inch skillet, this usually means about 1 cup of oil, though it depends on your pan’s shape. The oil should shimmer and move freely but shouldn’t slosh over the sides.
The Cooking Process
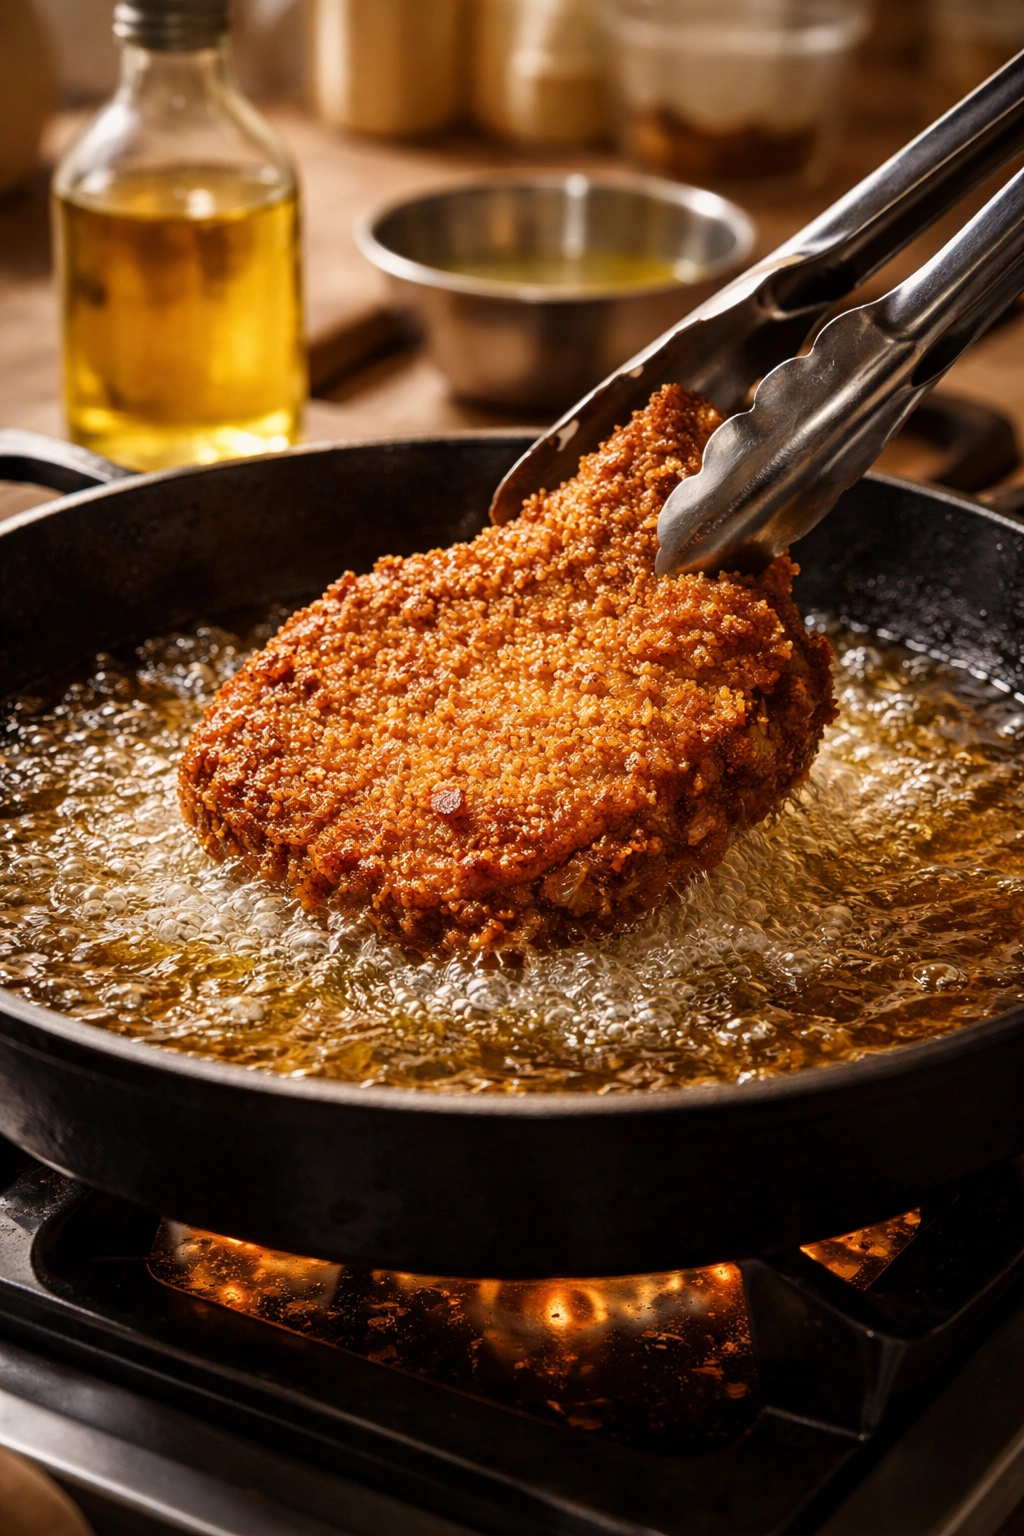
Place your pork chops in the oil carefully, laying them away from you so any splashes move away from your body. Don’t move them. This is critical. The coating needs time to fry away from the pan and set. If you nudge them, you risk tearing the coating or having it stick to the pan.
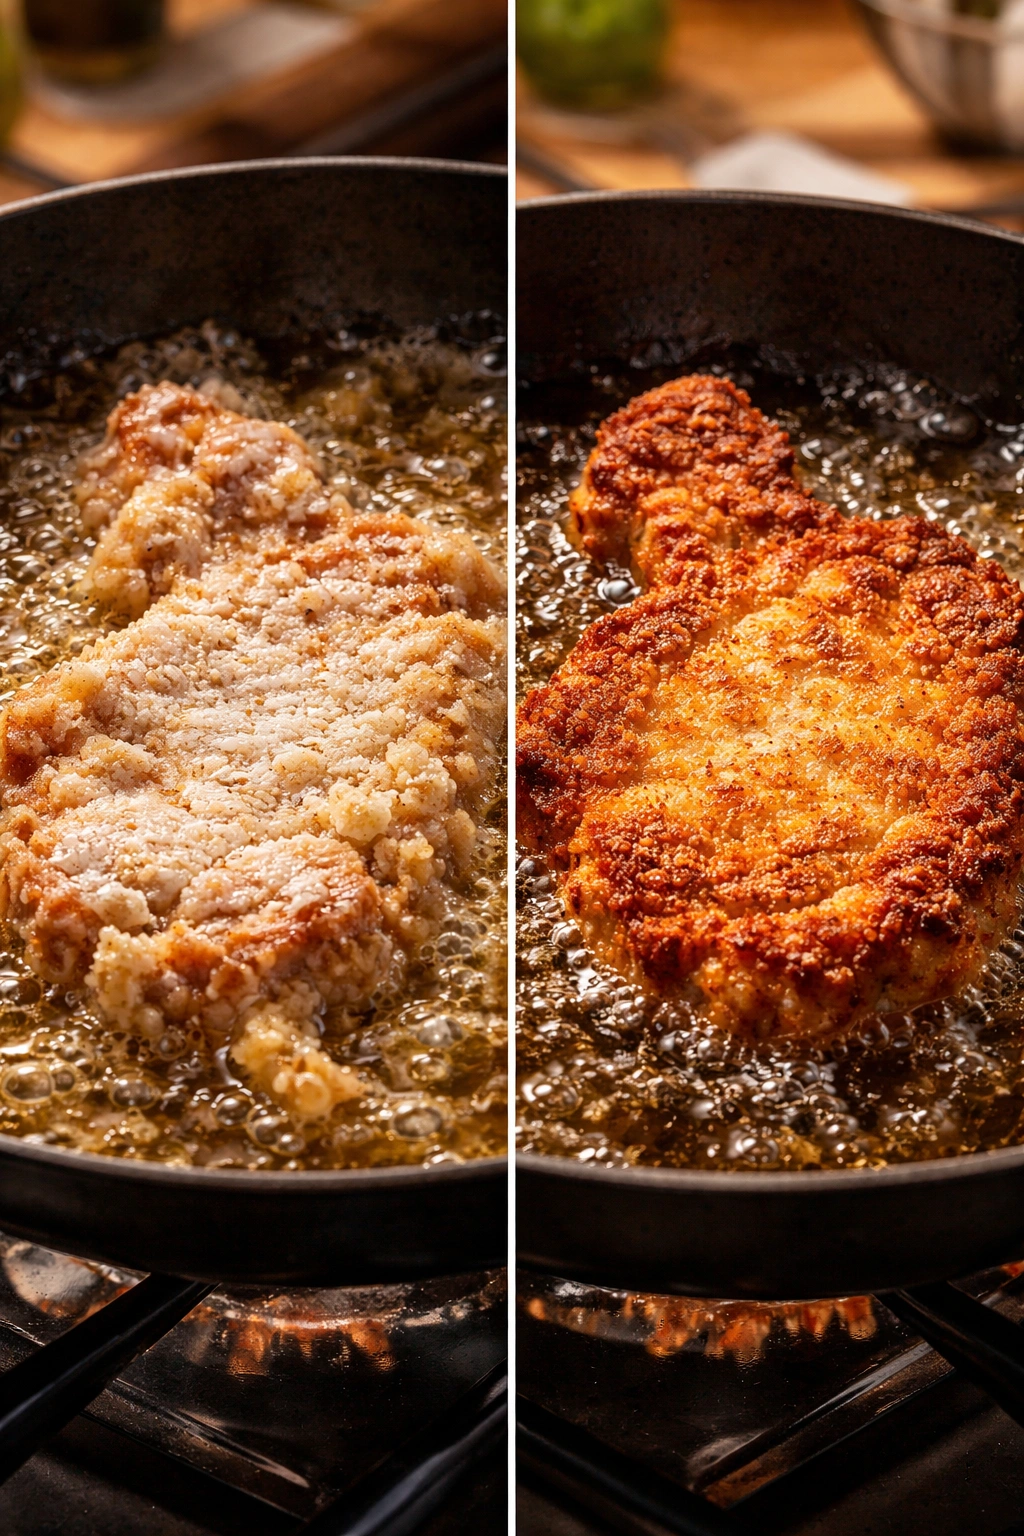
Cook for about 5-7 minutes on the first side, depending on thickness. You’re looking for a deep golden brown color, almost the color of a penny. When you think it’s ready, gently nudge one chop with tongs—if it releases from the pan easily and moves freely, it’s ready to flip. If it sticks, give it another 30 seconds to a minute.
Flip carefully and cook the second side for 4-6 minutes, again until deep golden brown. The second side typically cooks slightly faster because the pan is already hot and you don’t lose as much temperature as when you added the cold chops.
Check for doneness. The safest method is to use an instant-read meat thermometer—pork should reach an internal temperature of 145°F. If you don’t have a thermometer, cut into the thickest chop and make sure the juices run clear with no pink coloring. It’s better to slightly overcook than undercook, but remember that carryover cooking will raise the temperature another 3-5 degrees after you remove the chops from the oil.
Remove to a paper towel-lined plate. The paper towels absorb excess oil and help maintain the crispness of the coating.
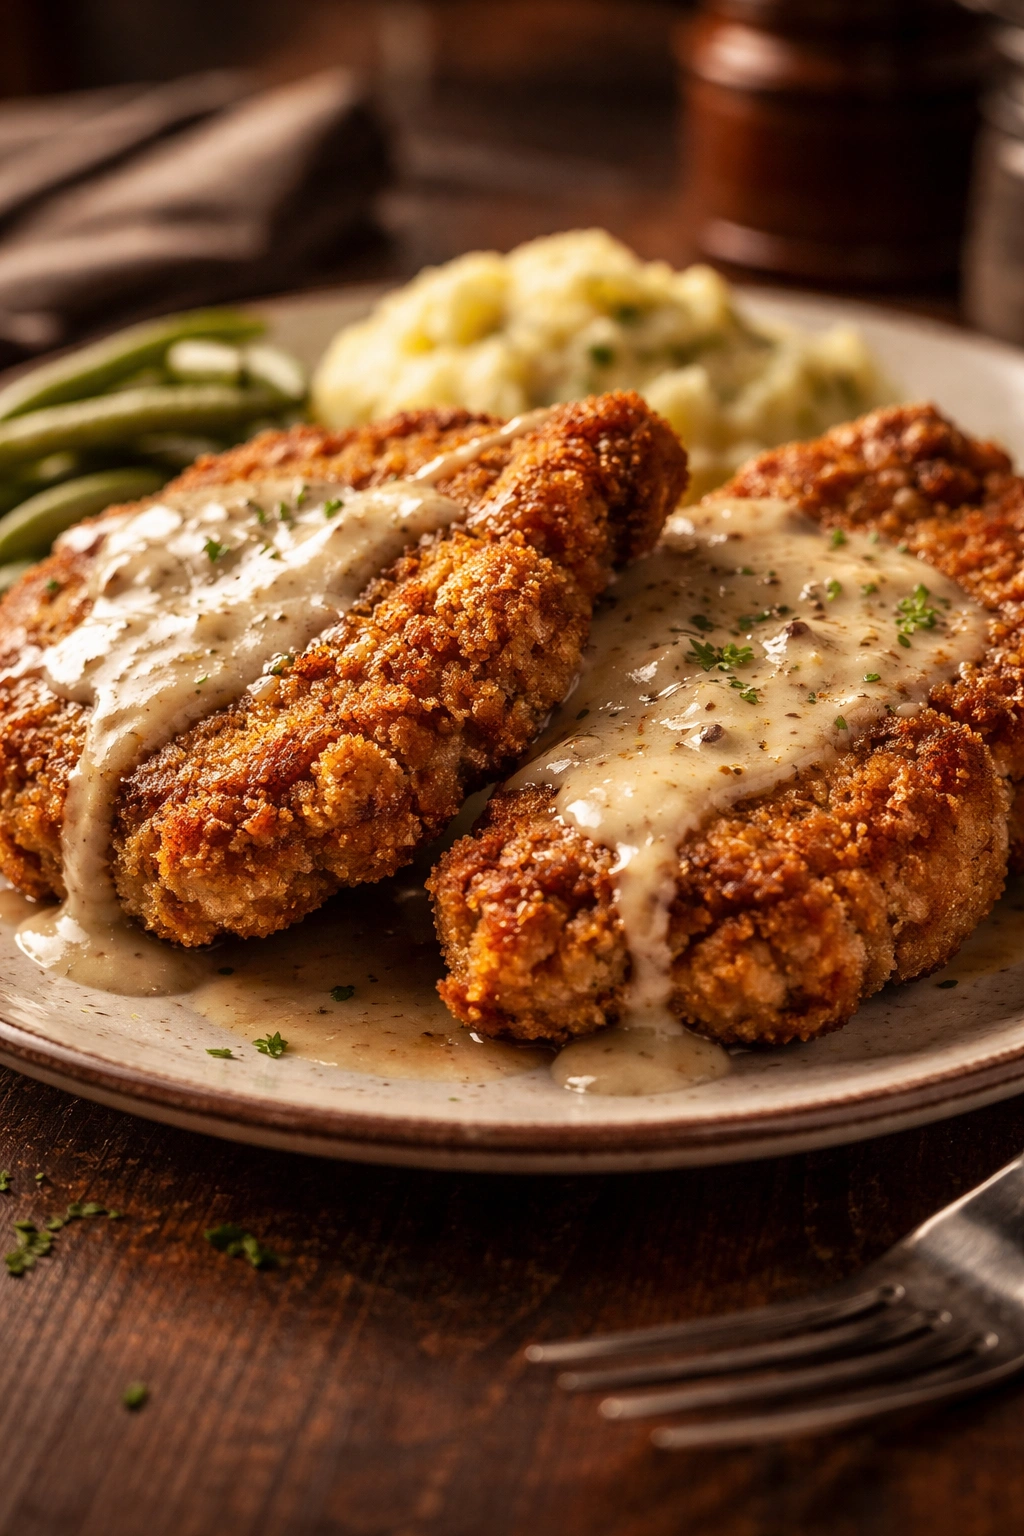
Making Silky Cream Gravy

Diner gravy is velvety, rich, and utterly essential to the dish. It’s not optional, not a side sauce—it’s an integral part of the eating experience. The good news is that cream gravy is remarkably simple to make, especially since you’re starting with flavorful pan drippings from frying the pork chops.
Reserve about 3 tablespoons of your frying oil in the pan where you cooked the pork chops. Don’t pour it off entirely—all those browned bits (called fond) are liquid flavor. If your pan seems too full of oil, pour some into a measuring cup and then measure back to 3 tablespoons. If your pan seems a bit dry, add a tablespoon of fresh hot oil.
Add 3 tablespoons of flour to the hot oil, whisking constantly until it’s smooth and no lumps remain. You’re making a roux. Cook this roux for about 1 minute over medium heat, stirring constantly. This cooks out the raw flour taste and gives the gravy a slightly nutty, deeper flavor.
Slowly add your milk while whisking constantly. This is important—slow addition means no lumps. Pour a little milk in, whisk until smooth, then add a bit more. If you dump all the milk in at once, you’ll end up with lumps that are nearly impossible to remove. Keep whisking, keep adding milk gradually, and after about 2 minutes of this process, you can add the milk more quickly.
Continue cooking and stirring until the gravy thickens, which usually takes about 3-5 minutes total. The gravy should coat the back of a spoon—when you run your finger across the back of a spoon, it should leave a trail. If it seems too thin, continue cooking for another minute. If it becomes too thick, whisk in a splash of milk.
Season with salt and white pepper. Taste it first, then season—you might not need as much salt as you think since the pan drippings from the pork are already salty. Add a tiny pinch of garlic powder for subtle depth. Some cooks add a splash of Kitchen Bouquet or another browning sauce for deeper color and a subtle complexity, but this is optional.
Gravy Troubleshooting
If your gravy turns out lumpy, run it through a fine-mesh strainer into a clean pan or bowl. This isn’t failure—it’s just how cooking sometimes works. Strain it, return it to the heat, and continue forward.
If your gravy is too thick, add milk a tablespoon at a time, whisking constantly, until you reach the right consistency.
If your gravy is too thin, whisk a tablespoon of flour with 2 tablespoons of cold milk until smooth, then whisk this slurry into your gravy while it’s simmering. Cook for 1 minute more until it thickens.
If your gravy tastes bland, add salt or a tiny pinch of seasoned salt. Taste between additions.
Common Mistakes and How to Avoid Them
Understanding where things go wrong helps you navigate around these pitfalls.
Breading falling off during cooking. This happens when your pork chop is too wet, your oil isn’t hot enough, or you’re moving the chop around too much. Solution: pat chops dry, maintain oil temperature at 350°F, and don’t move them until they’ve released from the pan naturally.
Exterior burning while the interior is still raw. Your oil is too hot. Solution: lower your oil temperature to 350°F. It’s worth using a thermometer for this because the difference between 350°F and 375°F is the difference between perfectly cooked and ruined.
Tough, dry pork chops. You’ve cooked them too long or started with very lean chops. Solution: use bone-in chops with some marbling, don’t cook longer than 5-7 minutes per side, and verify doneness with a meat thermometer rather than guessing based on appearance.
Coating not crispy after a few minutes. Your oil wasn’t hot enough when you started, or you’ve let the cooked chops sit uncovered for too long at room temperature. Solution: make sure oil is genuinely hot before adding chops, and serve within 5-10 minutes of cooking for peak crispness.
Gravy with raw flour taste. You didn’t cook the roux long enough. Solution: whisk the flour and oil together over medium heat for at least 1-2 minutes before adding milk.
Gravy breaking or separating. Your heat was too high or your milk was very cold. Solution: use whole milk or 2% milk (skim milk is less stable), add it slowly, and cook over medium rather than high heat.
Tips for Restaurant-Quality Results
Getting your home-cooked pork chops to taste genuinely like something from a diner requires attention to detail and a few insider techniques.
Toast your spices slightly before mixing them into your flour. Spread them on a small plate and place them in a 350°F oven for just 2-3 minutes—you’re not actually cooking them, just warming them to heighten their flavor. This is a professional trick that makes a difference.
Use fresh, quality salt. Kosher salt or sea salt has better flavor and texture than regular table salt. Seasoned salt is convenient but contains some additives—it’s fine, but pure kosher salt with separate garlic powder and other seasonings gives you more control.
Chill your coating mixture in the freezer for 5 minutes right before you fry. A cold coating firms up faster when it hits hot oil, creating a better crust.
Use cast iron if you have it. Cast iron maintains oil temperature better than stainless steel or non-stick pans. If you don’t have cast iron, use your heaviest-bottomed skillet.
Prepare your complete diner setup before you start. Have your seasoned flour measured, your egg wash whisked, your paper towels standing by, and your oil heating. Professional kitchens work this way because it prevents last-minute scrambling and ensures consistent results.
Make extra gravy. Seriously. People love this gravy, and having extra means you can serve it on mashed potatoes, biscuits, or anywhere else it wants to go. A good rule is to make 50% more than you think you’ll need.
Variations You Can Try at Home
Once you’ve mastered the basic recipe, these variations offer ways to keep the dish interesting.
Buttermilk-Marinated Pork Chops
Marinate your pork chops in buttermilk mixed with a tablespoon of hot sauce for 1-2 hours (or overnight) before breading. The buttermilk acts as a tenderizer and adds subtle tang that complements the crispy coating. Pat the chops dry thoroughly before breading.
Bacon Gravy
Cook 4-6 slices of bacon until crispy, then crumble it. Remove most of the bacon fat from the pan, leaving about 3 tablespoons. Make your gravy as directed, then stir in the crumbled bacon at the end. The smoky, salty bacon elevates the gravy dramatically.
Spice Variations
Add cayenne pepper (up to 1 teaspoon) to your flour mixture for heat, or smoked paprika (up to 1 teaspoon) for depth. Some cooks add a ½ teaspoon of Creole seasoning or even a pinch of dry mustard powder for complexity.
Herb-Infused Coating
Add ½ teaspoon dried thyme, ½ teaspoon dried sage, and ¼ teaspoon dried oregano to your seasoned flour. Fresh herbs don’t work as well because they burn in the oil, but dried herbs add a sophisticated layer.
Cornmeal Crust
Replace ¼ cup of the flour with fine cornmeal for a slightly grainier, more textured crust. Cornmeal adds subtle sweetness and a different crunch factor.
For Dietary Modifications
Gluten-free: Use a 1:1 gluten-free flour blend in place of all-purpose flour. The results are slightly different—the crust might be less crispy—but it absolutely works.
Lower fat: Use a combination of half the usual oil and add a tablespoon of vegetable shortening, which distributes heat more evenly with less total fat. The pork chops will still fry well, though the crust might be slightly less golden.
Storing and Reheating Leftovers

The best scenario is eating these immediately, but real life means you’ll sometimes have leftovers.
Storage: Keep cooked pork chops in an airtight container in the refrigerator for up to 3 days. Store gravy separately in another container. They’ll keep in the freezer for up to 3 months in separate freezer containers.
Reheating the pork chops: This is critical for maintaining crispness. Don’t microwave them—the microwave will make them soggy. Instead, place them on a wire rack over a baking sheet and reheat in a 350°F oven for 10-12 minutes until warmed through and the coating re-crisps. An air fryer also works beautifully for this—350°F for 6-8 minutes. The bottom line is that any dry-heat method works; steaming methods do not.
Reheating the gravy: Warm it gently on the stovetop over medium-low heat, stirring frequently. If it’s thickened too much during storage, whisk in a splash of milk to loosen it back up.
Serving Suggestions and Perfect Pairings
Country fried pork chops are endlessly versatile for serving, and the sides you choose create different dinner experiences.
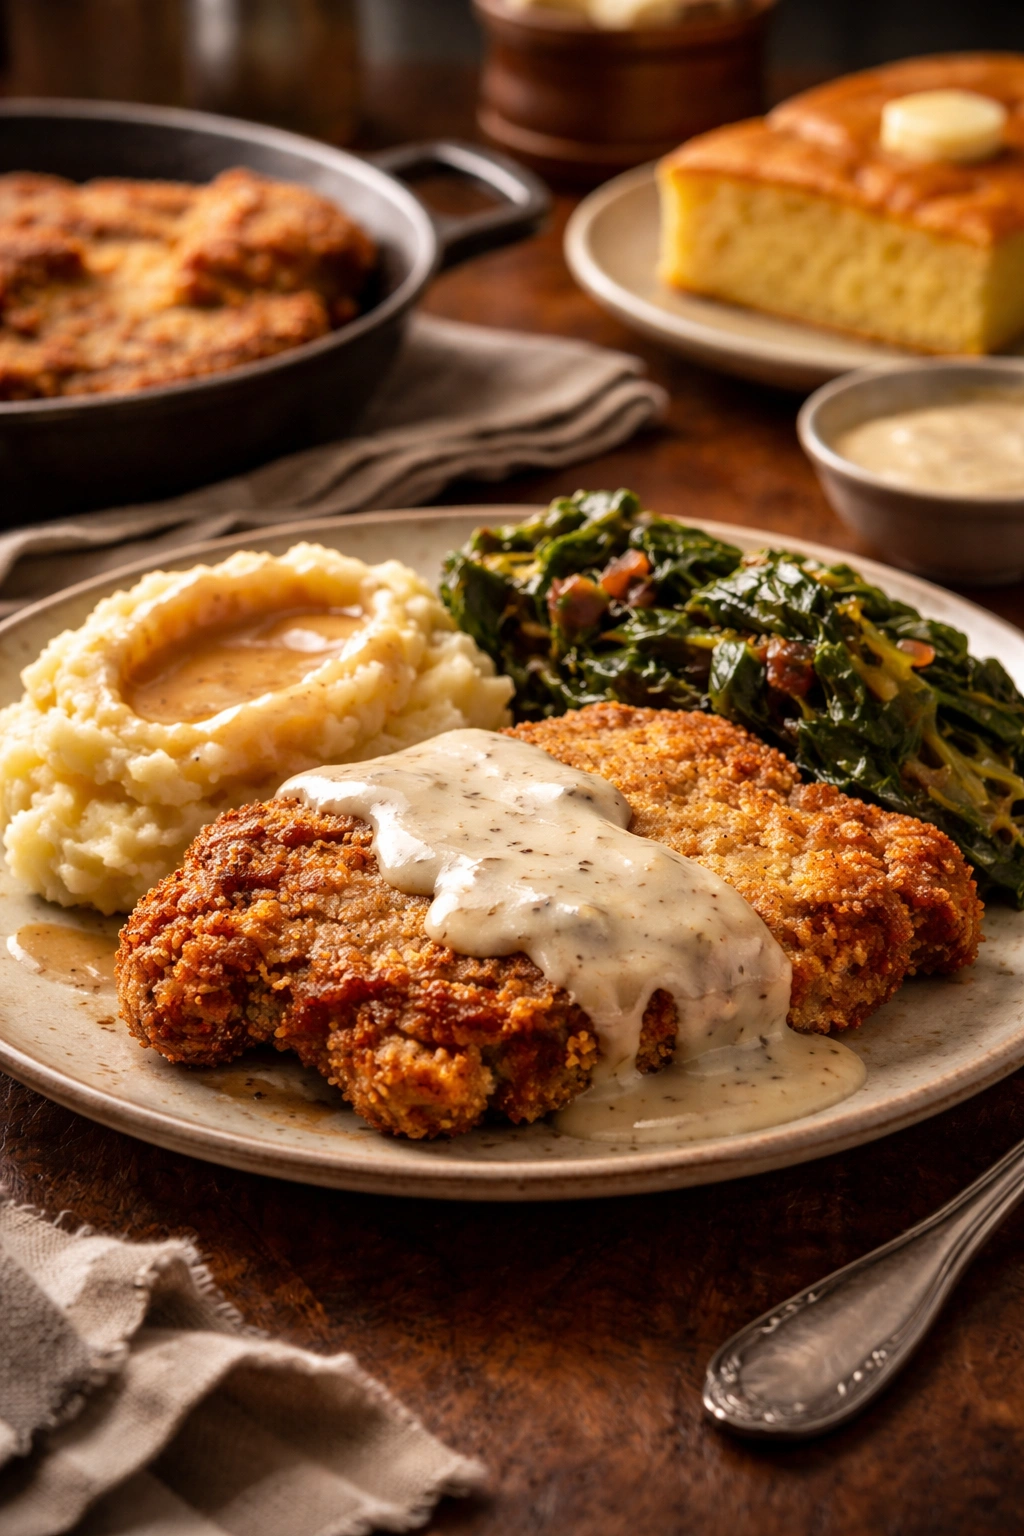
For a classic Southern dinner: Serve with creamy mashed potatoes (the gravy goes directly over them), buttered collard greens or Southern-style green beans, and hot buttered cornbread.
For a lighter approach: Pair with simple roasted vegetables like green beans or asparagus, a fresh salad, and dinner rolls.
For breakfast or brunch: Serve alongside fluffy buttermilk biscuits, scrambled eggs, and hash browns, with the gravy covering everything.
For a simple weeknight dinner: Mashed potatoes, steamed broccoli or carrots, and a glass of sweet tea or lemonade.
Side dish combinations that work beautifully:
- Creamed corn and a simple green salad
- Mac and cheese and roasted Brussels sprouts
- Buttered egg noodles and sautéed mushrooms
- Polenta and roasted root vegetables
- Rice pilaf and a tomato-based side salad
Beverages: Sweet tea, lemonade, regular or buttermilk, iced water with lemon, or a crisp white wine if you’re feeling a bit fancier.
Desserts that complement the richness: Something light and bright works well—lemon pie, berry cobbler, or even vanilla ice cream with fresh fruit cuts through the richness of the fried pork beautifully.
The gravy is really the star, so any side dish that’s simple enough not to compete with it will work. The focus should stay on those crispy, juicy pork chops and that velvety gravy.
Final Thoughts
Country fried pork chops just like a diner are achievable at home when you understand that it’s really about technique rather than complicated ingredients or special equipment. The secrets are simple: keep your oil hot, manage your moisture, don’t move the chops around during cooking, and make your gravy with care. Everything else is just showing up to the process.
What’s wonderful about this recipe is that it’s genuinely hard to mess up once you’ve made it once. The second time through, you’ll have a better feel for oil temperature. The third time, you’ll get the gravy consistency perfect. By the fourth time, you’ll be confidently serving restaurant-quality pork chops to people who’ll swear you’ve learned a secret that most home cooks don’t know.
The truth is, the only secret is commitment to getting the fundamentals right. That’s what separates diner food from home cooking, and that’s what this recipe is really about. You’ve got this.