Shrimp might just be the easiest protein to fall in love with for quick weeknight dinners. They cook fast, taste incredible, and transform into countless different dishes with just a few flavor tweaks. But here’s the thing most home cooks don’t realize: getting shrimp truly crispy and golden without deep frying has always been a challenge—until the air fryer came along.
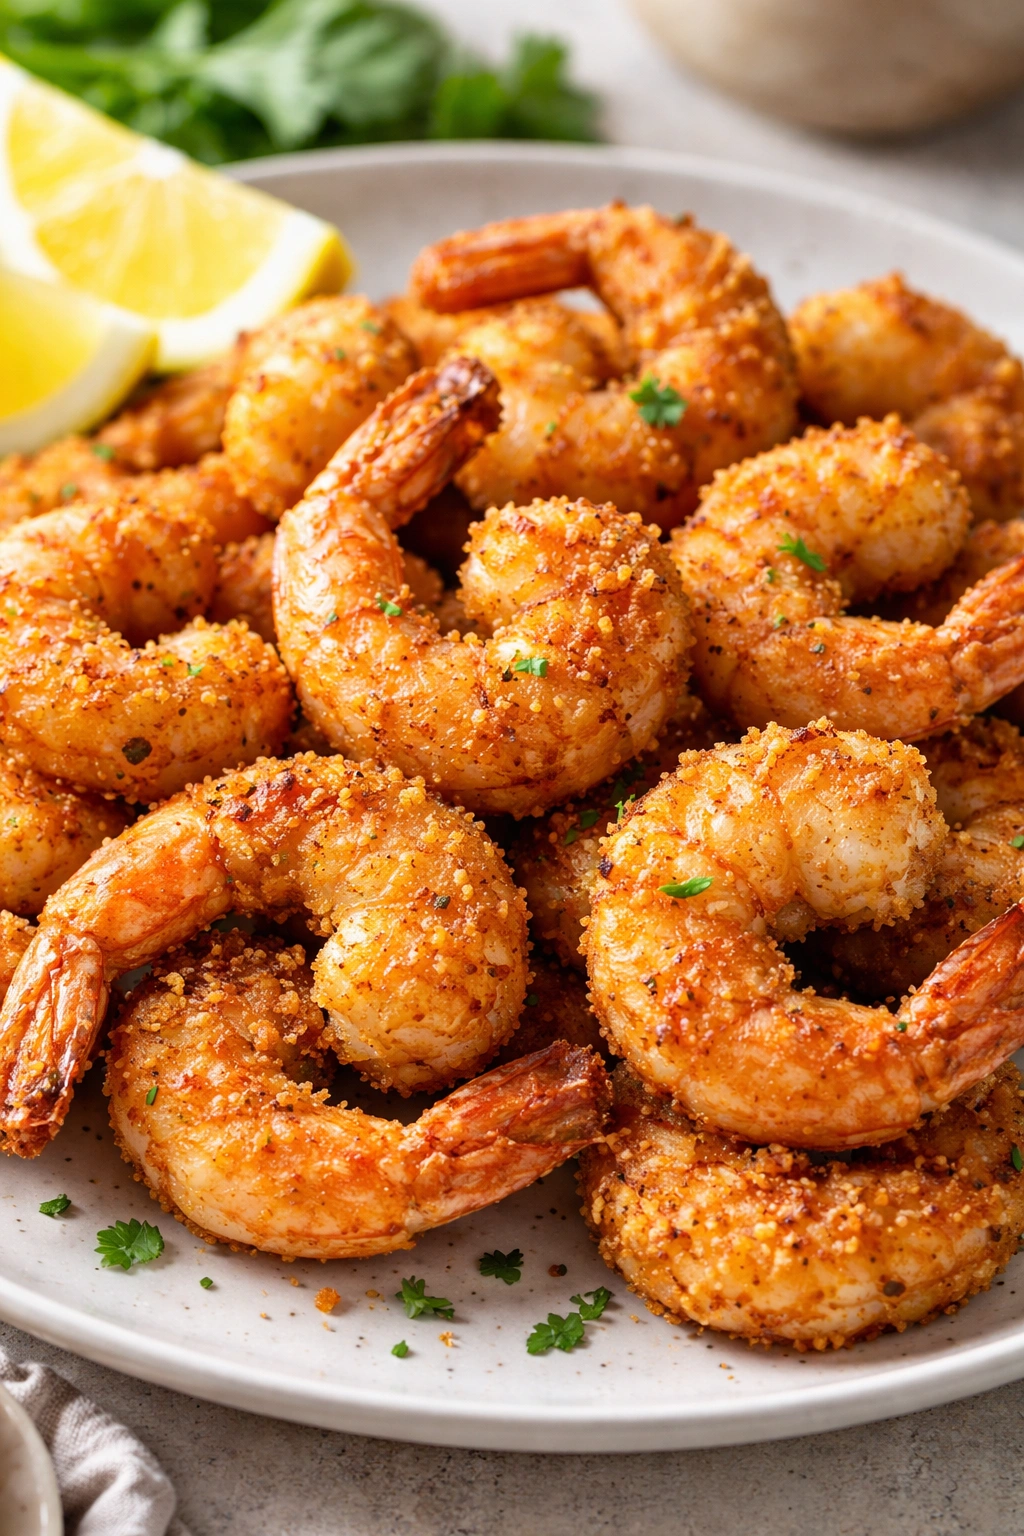
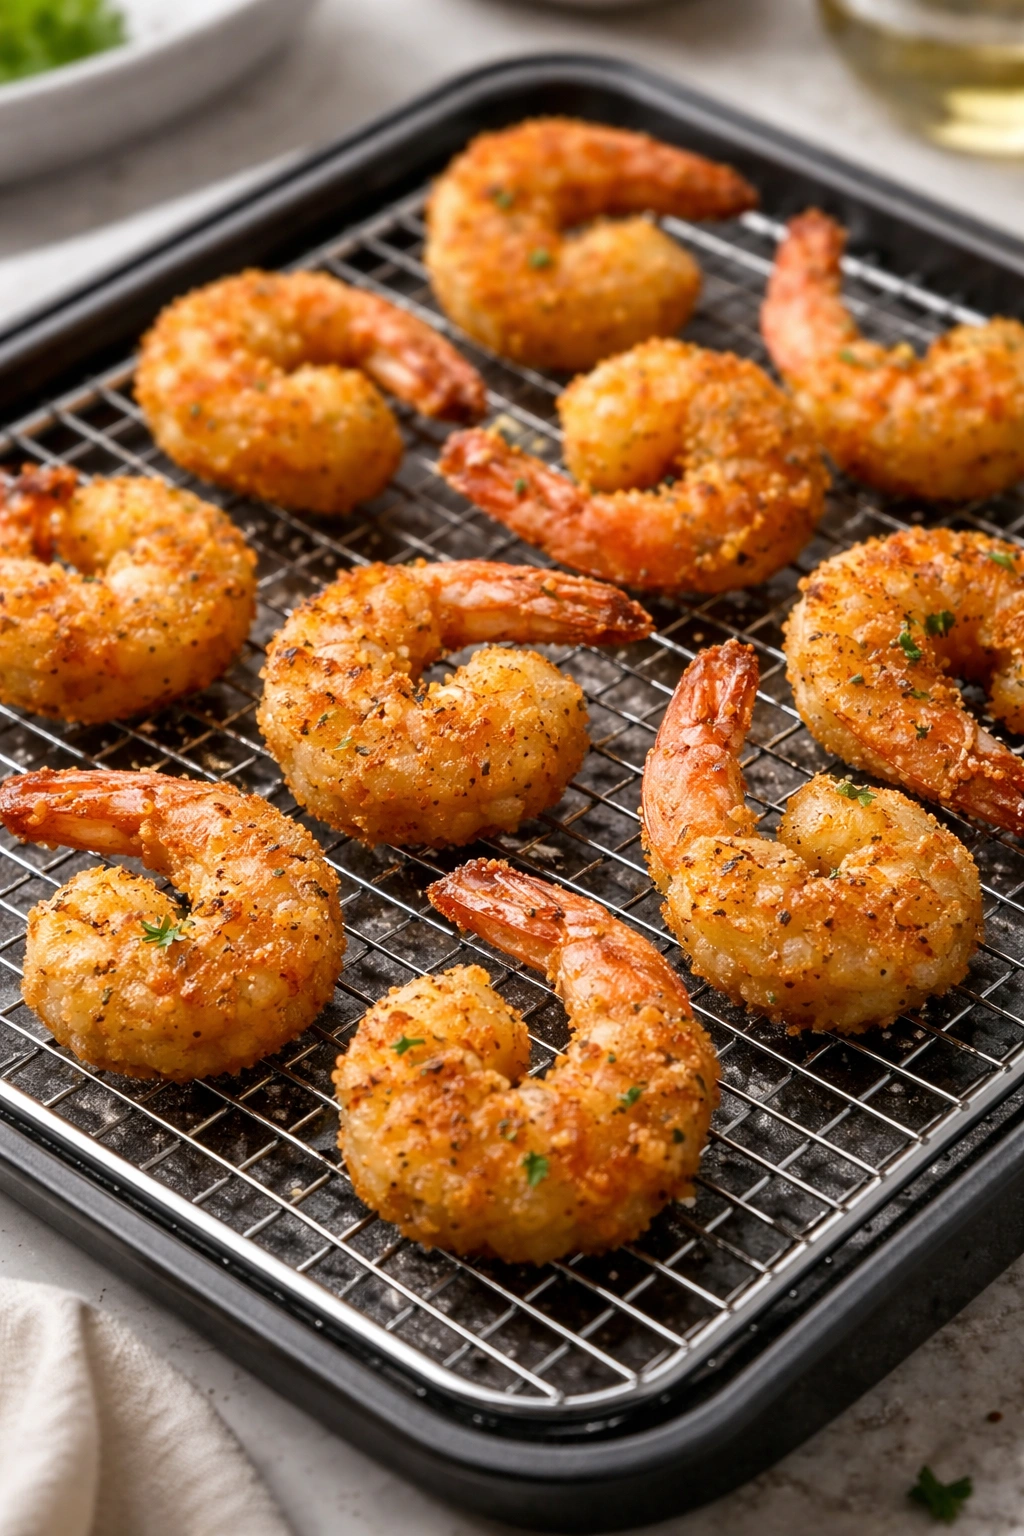
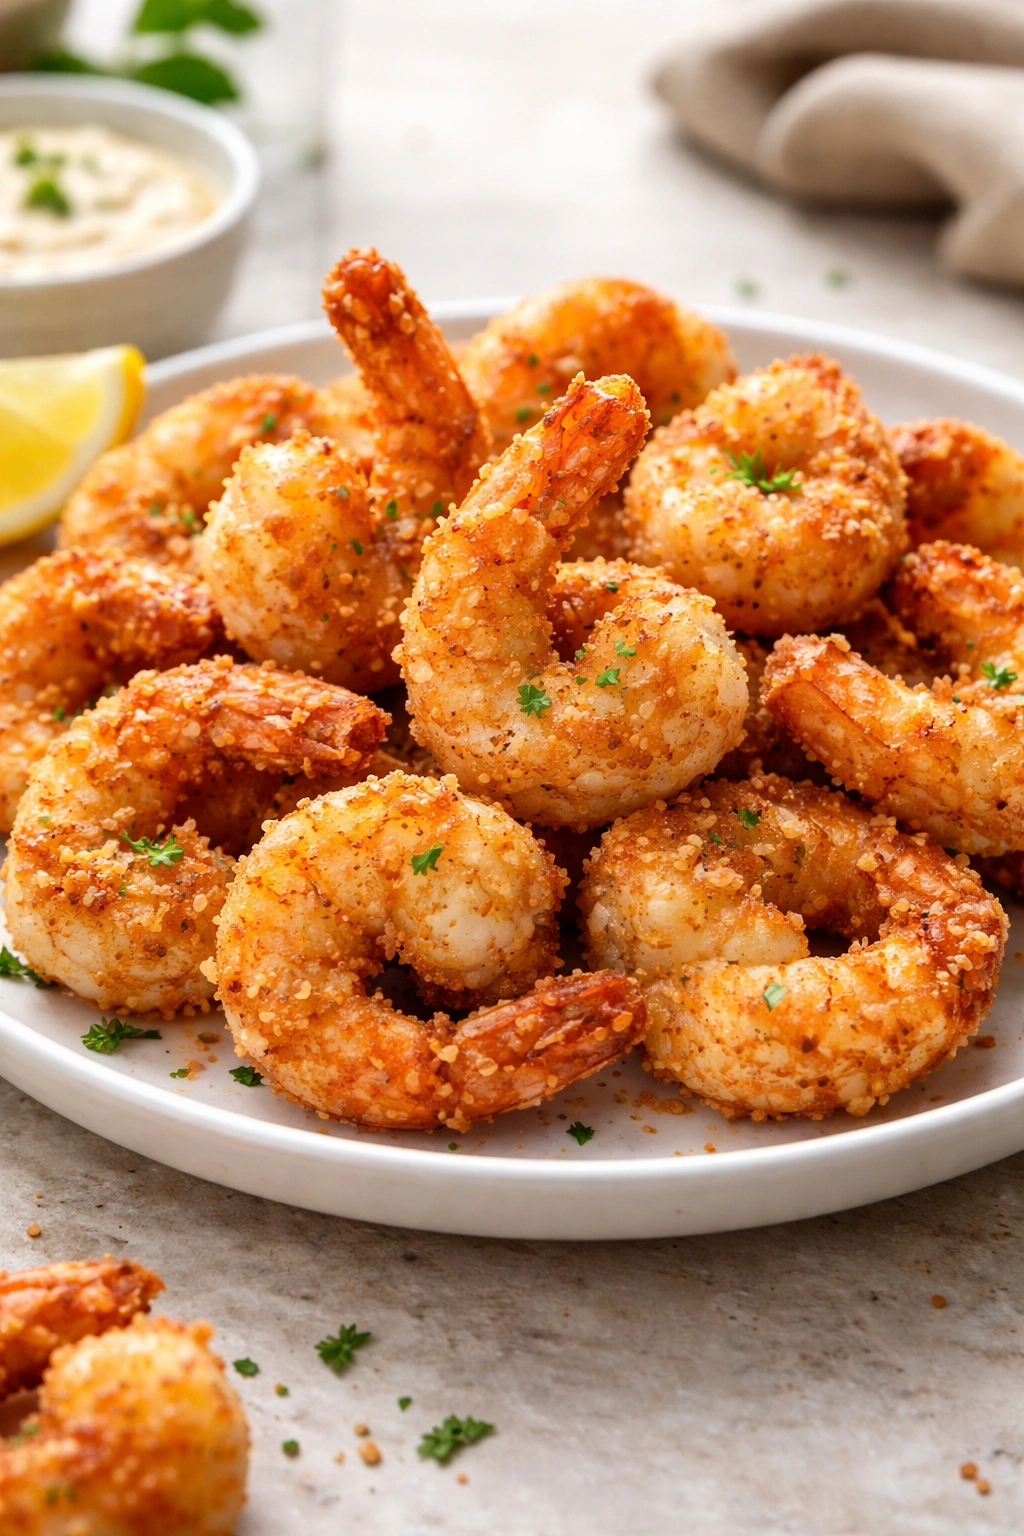
This crispy air fryer shrimp recipe delivers restaurant-quality results in your kitchen without the mess, the splattering oil, or the overwhelming kitchen heat. You’ll have perfectly golden, crunchy shrimp with a tender, juicy interior in about 20 minutes from start to finish. Whether you’re planning to serve them as an elegant appetizer, toss them into pasta, pile them into tacos, or crown a salad with them, this recipe will become one of your most-reached-for weeknight solutions.
The secret to perfectly crispy air fryer shrimp comes down to a few carefully considered details: the right breadcrumb choice, proper dredging technique, avoiding overcrowding, and understanding the exact cooking temperature and timing for your specific air fryer. I’ll walk you through each of these so your shrimp come out phenomenal every single time you make them.
Why Air Fryer Shrimp Beats Traditional Frying
The magic of air fryers lies in how they circulate hot air at high speeds around food, creating crispy exteriors that rival deep-fried results. Unlike a traditional fryer, where you’re working with a large pot of hot oil that needs careful temperature monitoring and cleanup, an air fryer uses minimal oil—sometimes just a light spray—and contains all the heat and splashing.
Shrimp are particularly well-suited to air frying because they’re delicate and cook so quickly. In a conventional fryer, by the time the breading reaches that perfect golden color, the shrimp inside can become rubbery or overcooked. The air fryer’s dry heat and intense air circulation achieve golden browning faster, giving you a narrow window where the shrimp stays moist and tender inside while the coating crisps up beautifully on the outside.
Beyond the cooking method itself, there’s the practical advantage of speed. Deep frying means heating a large volume of oil, waiting for it to reach the right temperature, frying in batches, and then dealing with disposal of used oil. An air fryer preheats in about 3 to 5 minutes and cooks shrimp in 7 to 8 minutes. That’s genuinely fast, even for a busy weeknight.
Choosing the Right Shrimp for Best Results
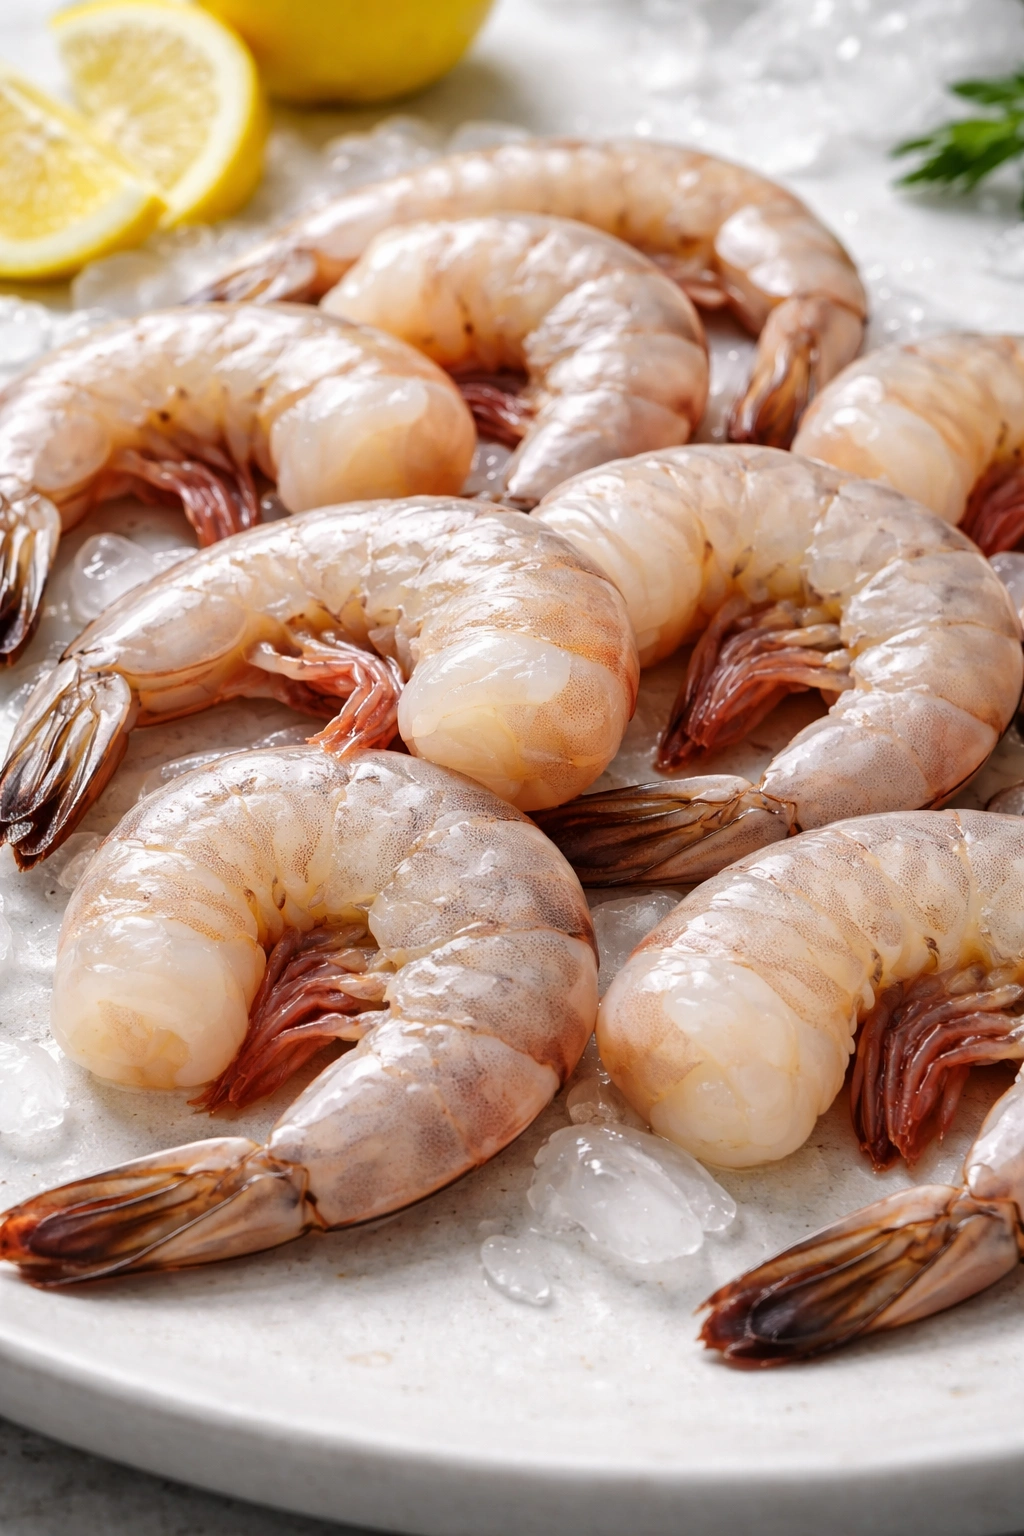
The quality and size of your shrimp determines whether you end up with tender, juicy results or tough, overcooked disappointment. Large shrimp (21 to 25 count per pound) or extra-large shrimp (16 to 20 count) are your best bet for this recipe. These sizes stay plump and succulent because they’re substantial enough to maintain their moisture even as the exterior crisps up.
Smaller shrimp (31 to 40 count or smaller) will cook much faster and tend to dry out more easily. If you only have smaller shrimp available, you’ll need to reduce your cooking time significantly—aim for around 5 to 6 minutes rather than the full 7 to 8—and watch them closely to avoid overcooking.
Whether you buy fresh or frozen shrimp doesn’t really matter nutritionally or in terms of quality. Most shrimp sold as “fresh” at the grocery store has actually been previously frozen and thawed, so buying frozen is practical and economical. What matters most is that your shrimp are raw (not pre-cooked) and that you thaw them properly if they’re frozen.
Thawing frozen shrimp the right way is crucial. Place them in a bowl and cover with cold water. Let them sit for 15 to 20 minutes, changing the water once halfway through. Never use hot water, which can partially cook the shrimp. Once thawed, pat them completely dry with paper towels before breading—any excess moisture will prevent the coating from adhering properly and crisping up.
The Three-Step Breading Method That Actually Sticks
Most home cooks who struggle with breading slipping off shrimp are missing a critical step. The secret is using an egg wash as a bonding agent, but not in the way you might think. You’re not just dipping and moving on; you’re creating layers that lock onto the shrimp.
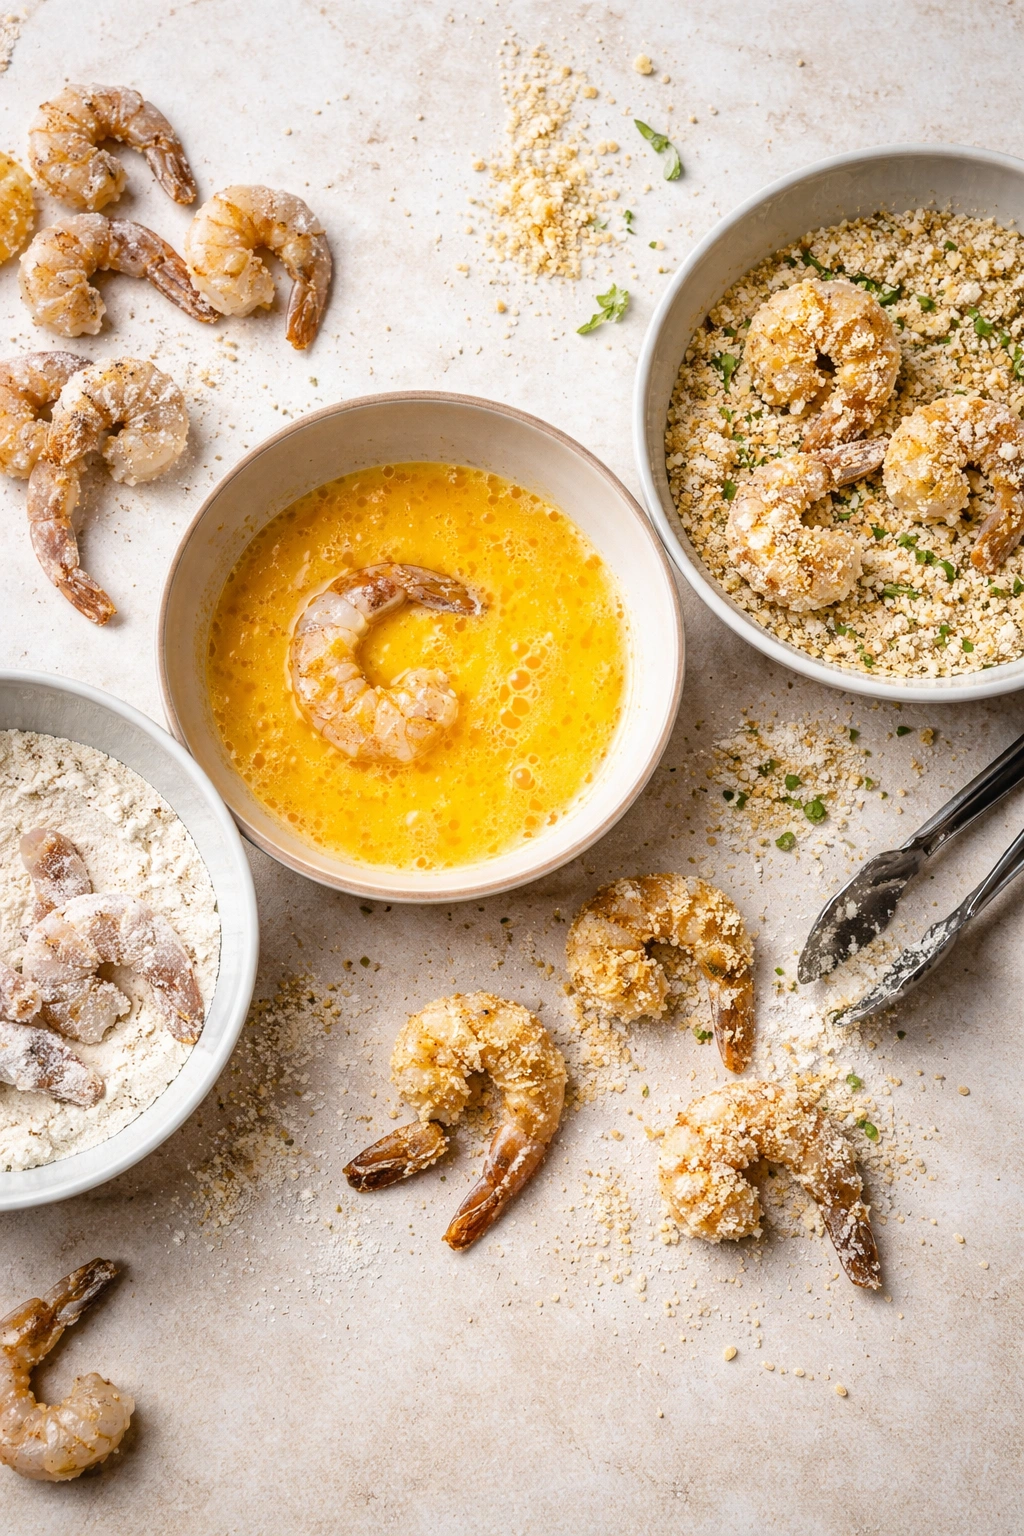
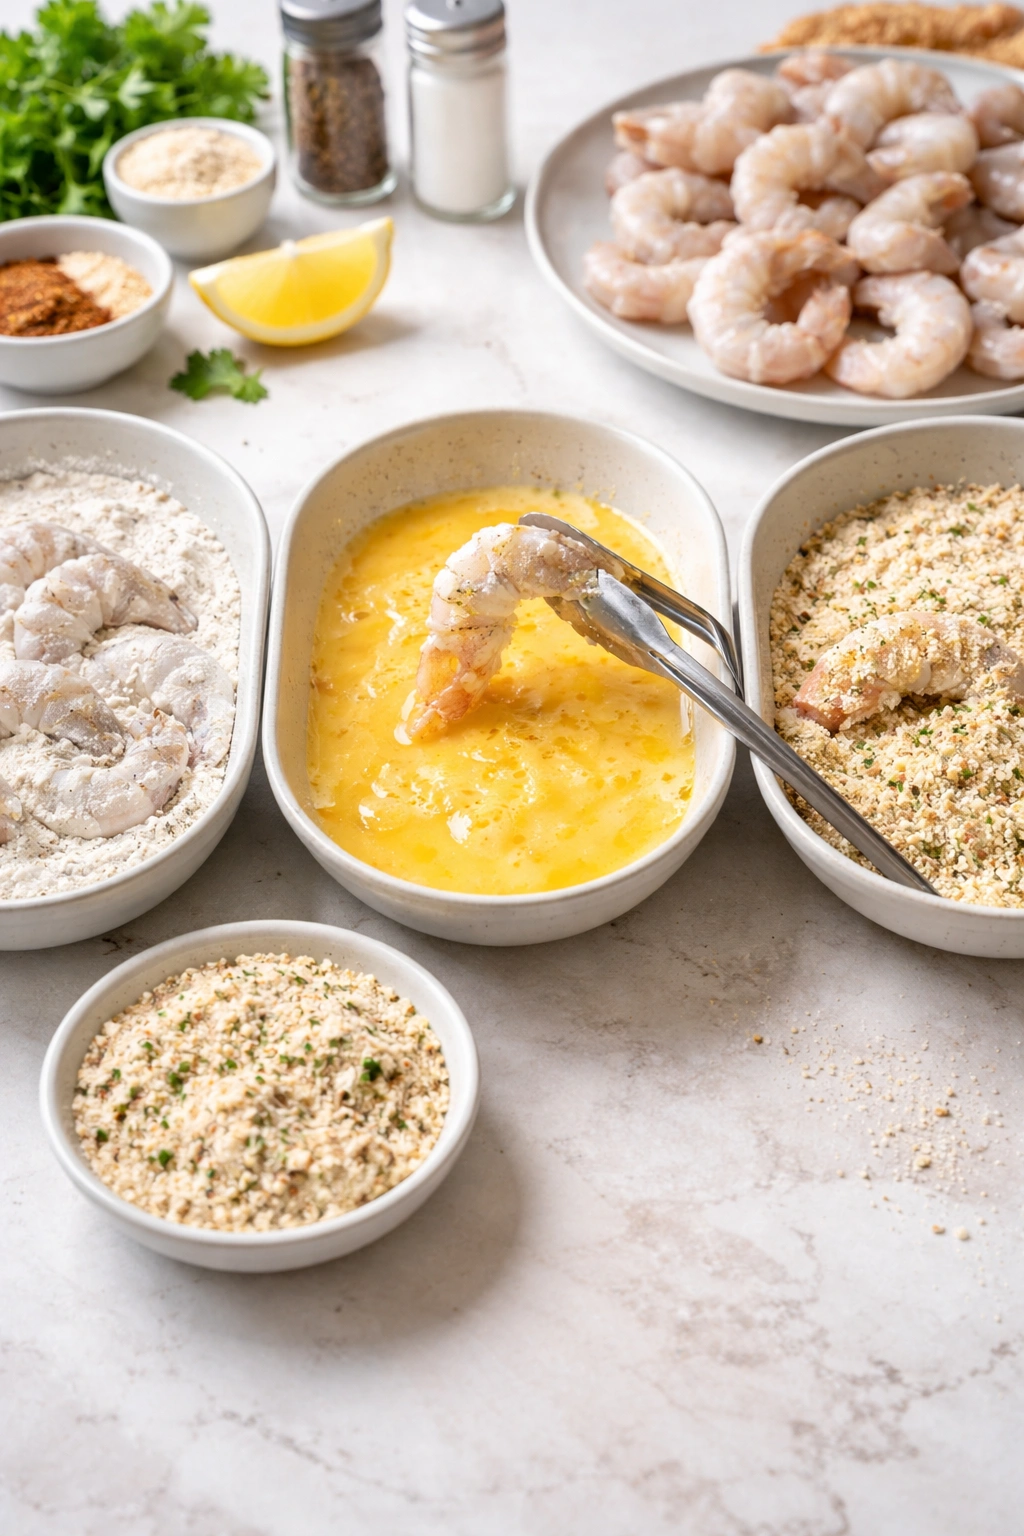
Start by setting up what chefs call a “dredging station”—three separate shallow bowls or dishes arranged in a line. In the first bowl, combine your seasoned flour with a pinch of salt and pepper. In the second bowl, beat eggs with a tablespoon of water to create an egg wash that’s slightly thinner than plain beaten eggs. In the third, combine your breadcrumbs with seasonings (see the recipe card for specifics).
The technique matters as much as the ingredients. Toss your dry shrimp in the flour first, coating both sides evenly, then shake off any excess. This flour layer creates a dry surface that helps the egg wash cling to the shrimp. Then dip each shrimp into the egg wash, again coating both sides and shaking off excess egg. Finally, dredge in the breadcrumb mixture, and here’s the crucial part: gently press the breadcrumbs onto both sides of the shrimp with your fingers, making sure they adhere firmly. Don’t just roll them around; actively press so the crumbs bond to the egg layer underneath.
Panko breadcrumbs are essential for the crispiest texture. These Japanese-style breadcrumbs are larger and airier than traditional breadcrumbs, which means they create more surface area for crisping and produce a more satisfying crunch. Regular breadcrumbs will work in a pinch, but the texture won’t be as excellent.
The Importance of Dry Shrimp and Proper Preparation
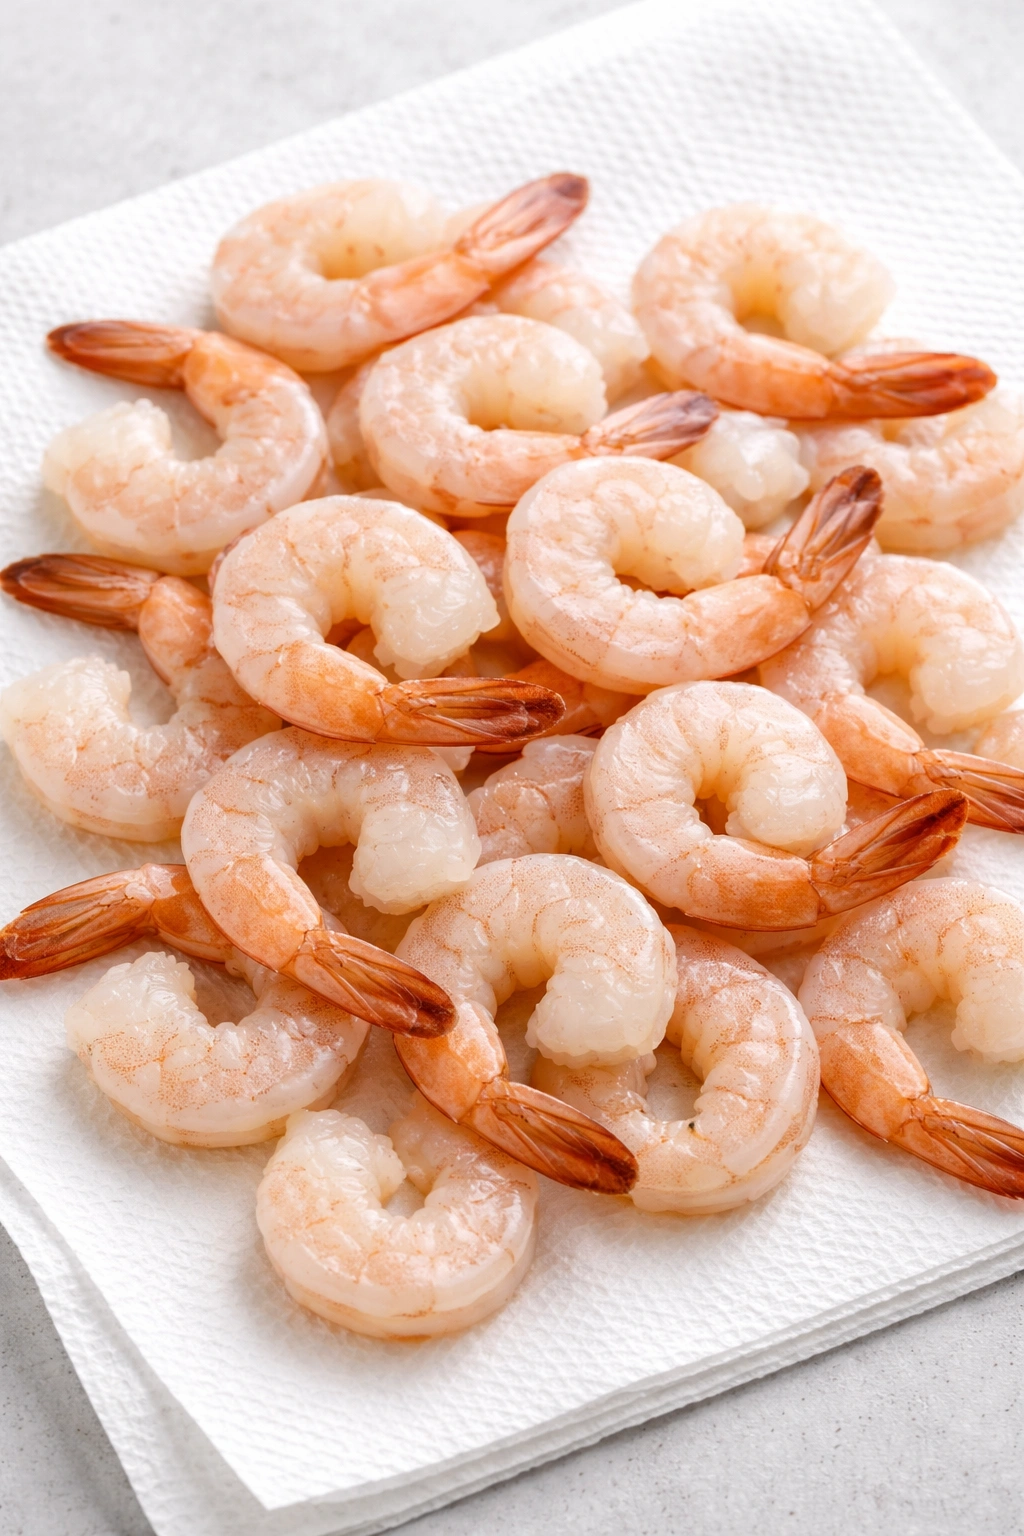
Moisture is the enemy of crispiness. This applies before breading, during breading, and especially before cooking. Pat your thawed shrimp dry with paper towels, and don’t skip this step or rush through it. You want them genuinely dry to the touch.
The next prep step involves seasoning your shrimp lightly before breading. Some recipes skip this, but I prefer to add a tiny pinch of salt and pepper to the shrimp themselves before dredging. This builds flavor layers—you’re seasoning at the shrimp level, in the flour, and in the breadcrumb mixture. It ensures that every bite tastes fully developed, not just coated with seasoning.
If you have time (and you do since this recipe is only 20 minutes), place your breaded shrimp on a plate and refrigerate them for 10 to 15 minutes before cooking. This resting time allows the breading to set and bond more firmly to the shrimp, which means less breading will fall off during cooking and your shrimp will stay crispy.
Air Fryer Temperature and Timing Secrets
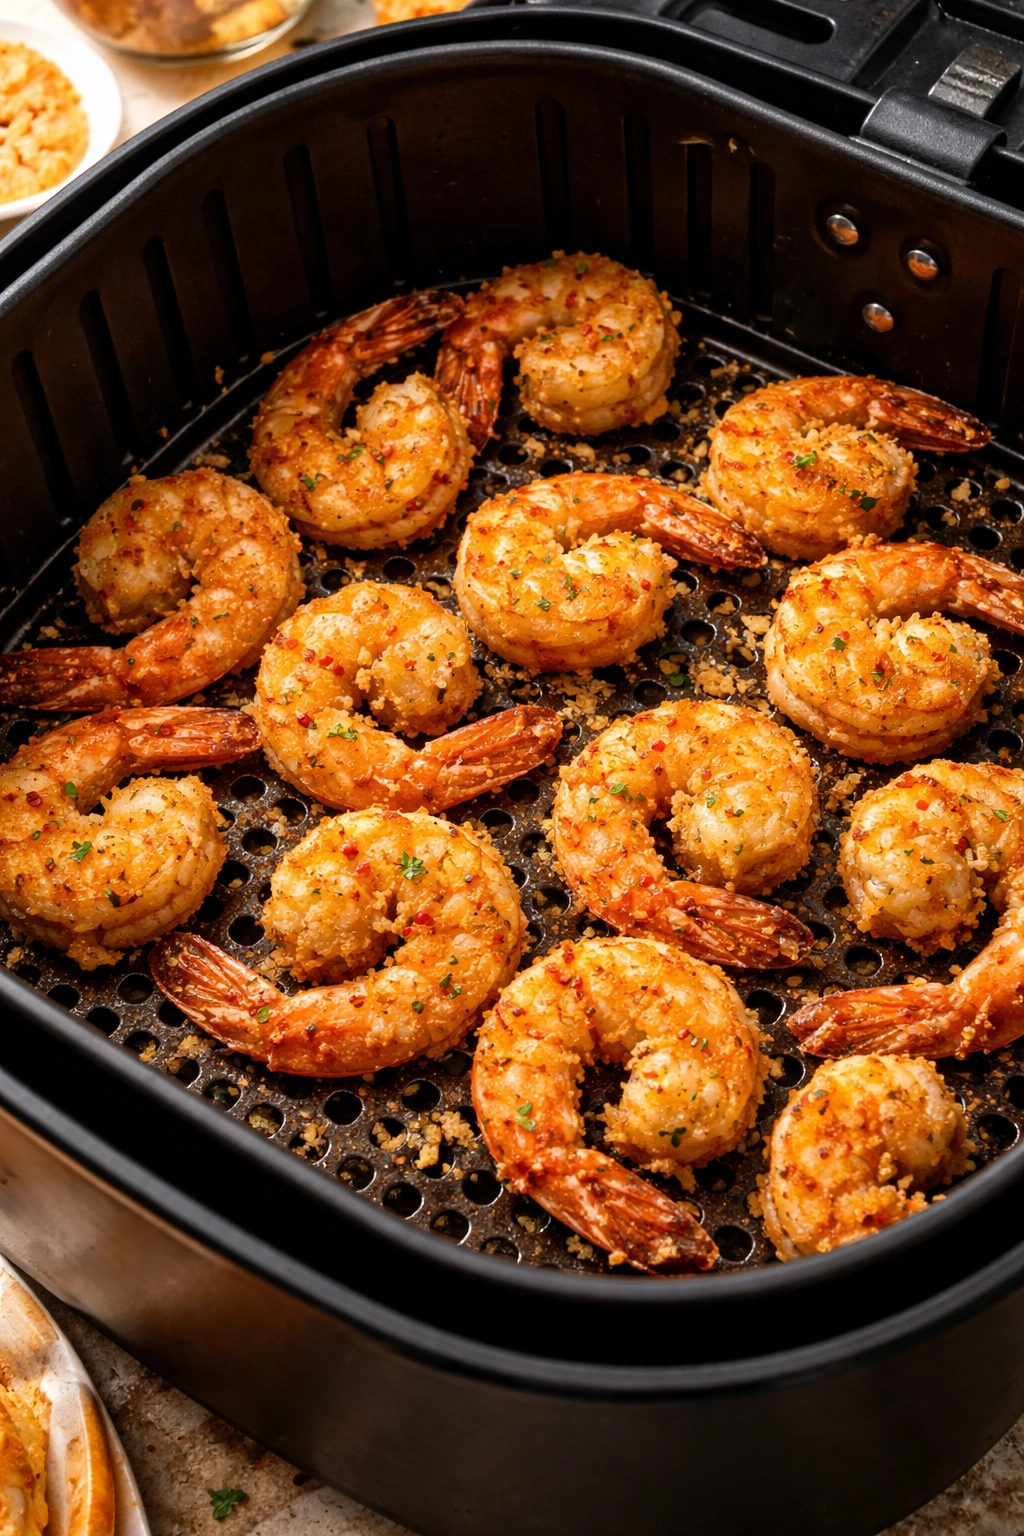
The ideal temperature for crispy air fryer shrimp is 400°F (200°C). At this temperature, the exterior browns and crisps beautifully in 7 to 8 minutes without the interior overcooking. Going much hotter risks burning the outside before the inside cooks through; going cooler means longer cooking time and higher risk of drying out.
Preheat your air fryer for 3 to 5 minutes before cooking. This matters because a properly preheated basket means immediate sizzle when the shrimp hit it, which jumpstarts the crisping process. Don’t skip preheating hoping to save time; those few minutes are worth it for the results.
Arrangement in the basket is another critical detail. Never overcrowd the air fryer basket. Shrimp need space around them so hot air can circulate freely on all sides. The general rule is to arrange them in a single layer without them touching each other. Depending on your air fryer size and your shrimp quantity, you’ll likely need to cook in two batches. A pound of shrimp typically fills most standard air fryer baskets without overcrowding.
Spray the basket lightly with nonstick cooking spray before adding shrimp. Then, after the shrimp have been in the air fryer for about 4 minutes, pause and spray them lightly with oil as well. This second spray is what creates that final golden, crispy exterior. It takes just 15 seconds and makes a real difference in texture.
Perfect Seasoning Combinations to Try
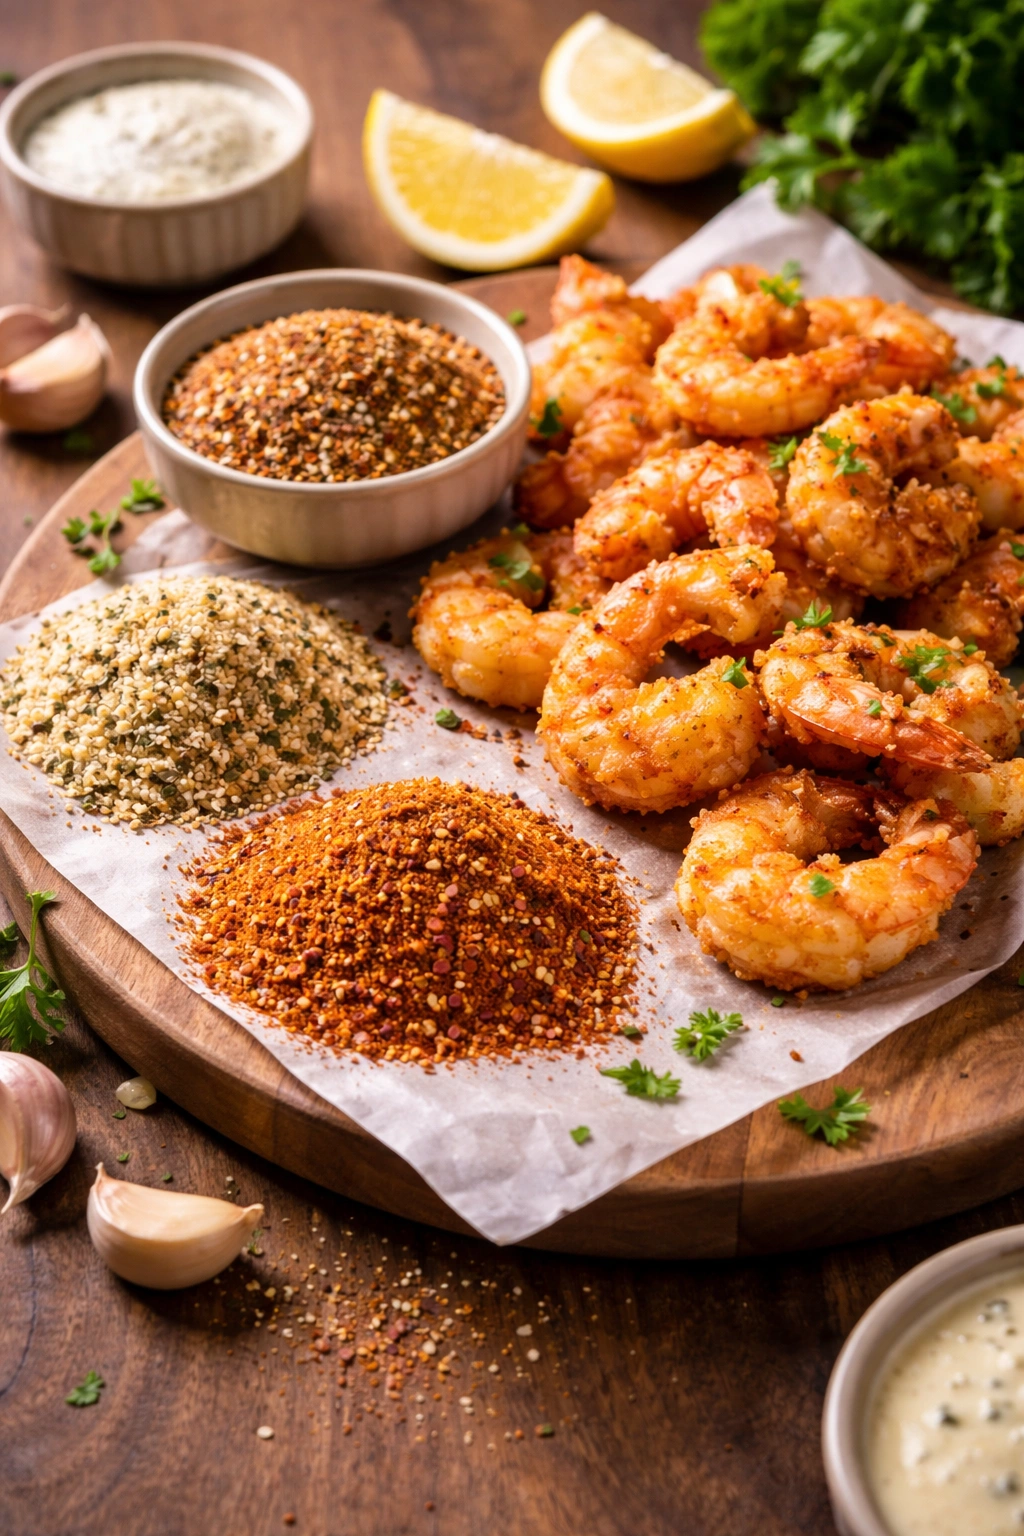
The beauty of this recipe is that the breading is already flavorful, but you can easily adjust seasonings to match whatever you’re serving the shrimp with. Italian-inspired versions get dried oregano, basil, and extra Parmesan in the breadcrumb mixture. Cajun-style shrimp call for cayenne, smoked paprika, and Old Bay seasoning mixed right in.
The basic seasoning in the recipe uses garlic powder, paprika, salt, and pepper—a classic combination that complements nearly everything. If you prefer more heat, add cayenne or red pepper flakes to the breadcrumb mixture. For brightness, add lemon zest to the breadcrumb mixture or squeeze fresh lemon juice over the shrimp right before serving.
A fun approach is to create two different batches with different seasonings. Make one batch classic and another with Cajun spices, then serve them together so everyone can choose their favorite. Since the whole process takes just 20 minutes, doing two batches isn’t much extra effort.
Yield: Serves 4 as an appetizer | Serves 2-3 as a main course | Makes approximately 16-20 breaded shrimp
Prep Time: 8 minutes (includes thawing if needed, patting dry, and breading)
Cook Time: 8 minutes (including preheat time and two batches if necessary)
Total Time: 16 minutes active time | 20 minutes including resting time for breading
Difficulty: Beginner — The breading technique is straightforward and there’s no flipping required. Even if you’ve never air fried before, you’ll succeed with this recipe.
Ingredients for Crispy Air Fryer Shrimp
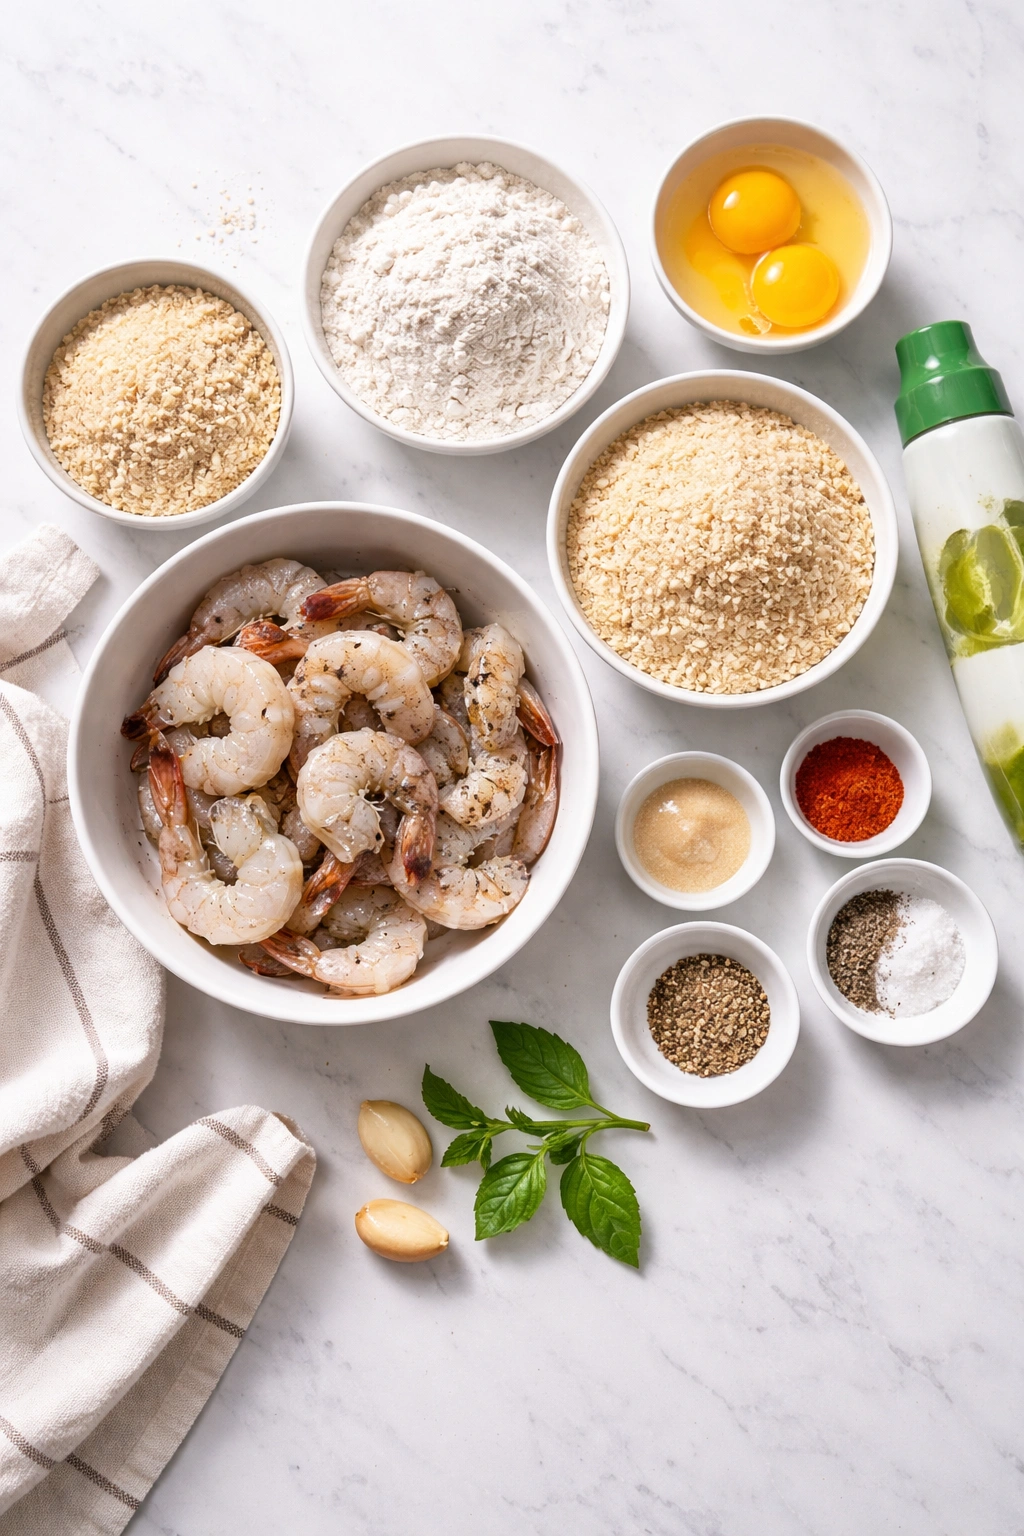
For the Shrimp and Seasoning:
- 1 pound large raw shrimp (21 to 25 count), peeled, deveined, and patted completely dry
- ¼ teaspoon kosher salt (divided between shrimp and flour mixture)
- ⅛ teaspoon freshly ground black pepper (divided between shrimp and flour mixture)
- Nonstick cooking spray or avocado oil spray
For the Breading Station:
- ½ cup all-purpose flour
- ½ teaspoon kosher salt (for flour mixture)
- ¼ teaspoon freshly ground black pepper (for flour mixture)
- ½ teaspoon garlic powder
- 2 large eggs
- 1 tablespoon water
- 1½ cups panko breadcrumbs (Japanese-style, either plain or Italian-seasoned)
- ½ teaspoon garlic powder (for breadcrumb mixture)
- ¼ teaspoon paprika (sweet or smoked, your preference)
- ¼ teaspoon kosher salt (for breadcrumb mixture)
- ⅛ teaspoon freshly ground black pepper (for breadcrumb mixture)
For Serving:
- Fresh lemon wedges
- Cocktail sauce, tartar sauce, sriracha mayo, or your favorite dipping sauce
Step-by-Step Instructions for Perfect Air Fryer Shrimp
Prepare the Shrimp:
-
If using frozen shrimp, thaw them in a bowl of cold water for 15 to 20 minutes, changing the water halfway through. Once thawed, pat the shrimp completely dry using paper towels—this is essential for proper breading adherence and crisping.
-
Inspect each shrimp to ensure they’re peeled and deveined. If tails are attached, you can keep them on (they make nice handles for dipping) or remove them with your fingers or a small knife.
-
Sprinkle the prepared shrimp lightly with ¼ teaspoon kosher salt and ⅛ teaspoon black pepper, tossing gently to season evenly.
Set Up Your Breading Station:
-
Arrange three shallow bowls or dishes in a row. In the first bowl, whisk together the flour, ½ teaspoon kosher salt, ¼ teaspoon black pepper, and ½ teaspoon garlic powder until evenly mixed. This is your seasoned flour bowl.
-
In the second bowl, crack the 2 eggs and beat them with 1 tablespoon of water until well combined and slightly frothy. This thinner egg wash will coat the shrimp more evenly than plain eggs.
-
In the third bowl, combine the panko breadcrumbs, ½ teaspoon garlic powder, ¼ teaspoon paprika, ¼ teaspoon kosher salt, and ⅛ teaspoon black pepper. Stir until the seasonings are distributed throughout the breadcrumbs.
Advertisements -
Have a clean plate or piece of parchment paper ready nearby for holding your breaded shrimp.
Bread the Shrimp:
-
Working with one shrimp at a time, dredge it in the seasoned flour, coating both the top and bottom thoroughly and shaking off any excess flour. This flour layer is crucial—it helps the egg wash adhere properly.
-
Immediately dip the floured shrimp into the egg wash, again coating both sides and shaking off any excess egg. Don’t let the shrimp linger in the egg or it becomes too wet.
-
Transfer the egg-coated shrimp directly to the breadcrumb mixture. Using your fingers, gently press the breadcrumbs onto both sides of the shrimp, making sure they adhere firmly. The pressing motion is key—you’re not just rolling them around, but actively securing the coating.
-
Place the breaded shrimp on your prepared plate. Repeat steps 8 through 10 with all remaining shrimp.
-
Once all shrimp are breaded, refrigerate them for 10 to 15 minutes if time allows. This resting period helps the coating set and bond more firmly, resulting in less breading loss during cooking.
Cook the Shrimp:
-
Preheat your air fryer to 400°F (200°C). This typically takes 3 to 5 minutes, depending on your model.
-
Once preheated, lightly spray the air fryer basket with nonstick cooking spray or avocado oil spray to prevent sticking.
Advertisements -
Arrange half of your breaded shrimp in a single layer in the basket, making sure they don’t touch each other. Space them out so hot air can circulate freely around each shrimp. This is crucial for even crisping.
-
Spray the tops of the shrimp lightly with cooking spray. This is what creates that beautiful golden, crispy exterior.
-
Place the basket in the air fryer and cook for 4 minutes. Open the basket (the shrimp won’t fall out—the air fryer pauses automatically) and spray the shrimp again lightly with cooking spray. This second spray is what gives you that final crispy finish.
-
Close the basket and continue cooking for 3 to 4 more minutes, until the shrimp are deep golden brown and the coating is crispy. The total cook time should be 7 to 8 minutes.
-
Transfer the cooked shrimp to a clean plate lined with paper towels to catch any excess oil. The paper towels will also help keep them crispy as they cool slightly.
-
Repeat steps 15 through 19 with the remaining breaded shrimp, creating a second batch.
Serve:
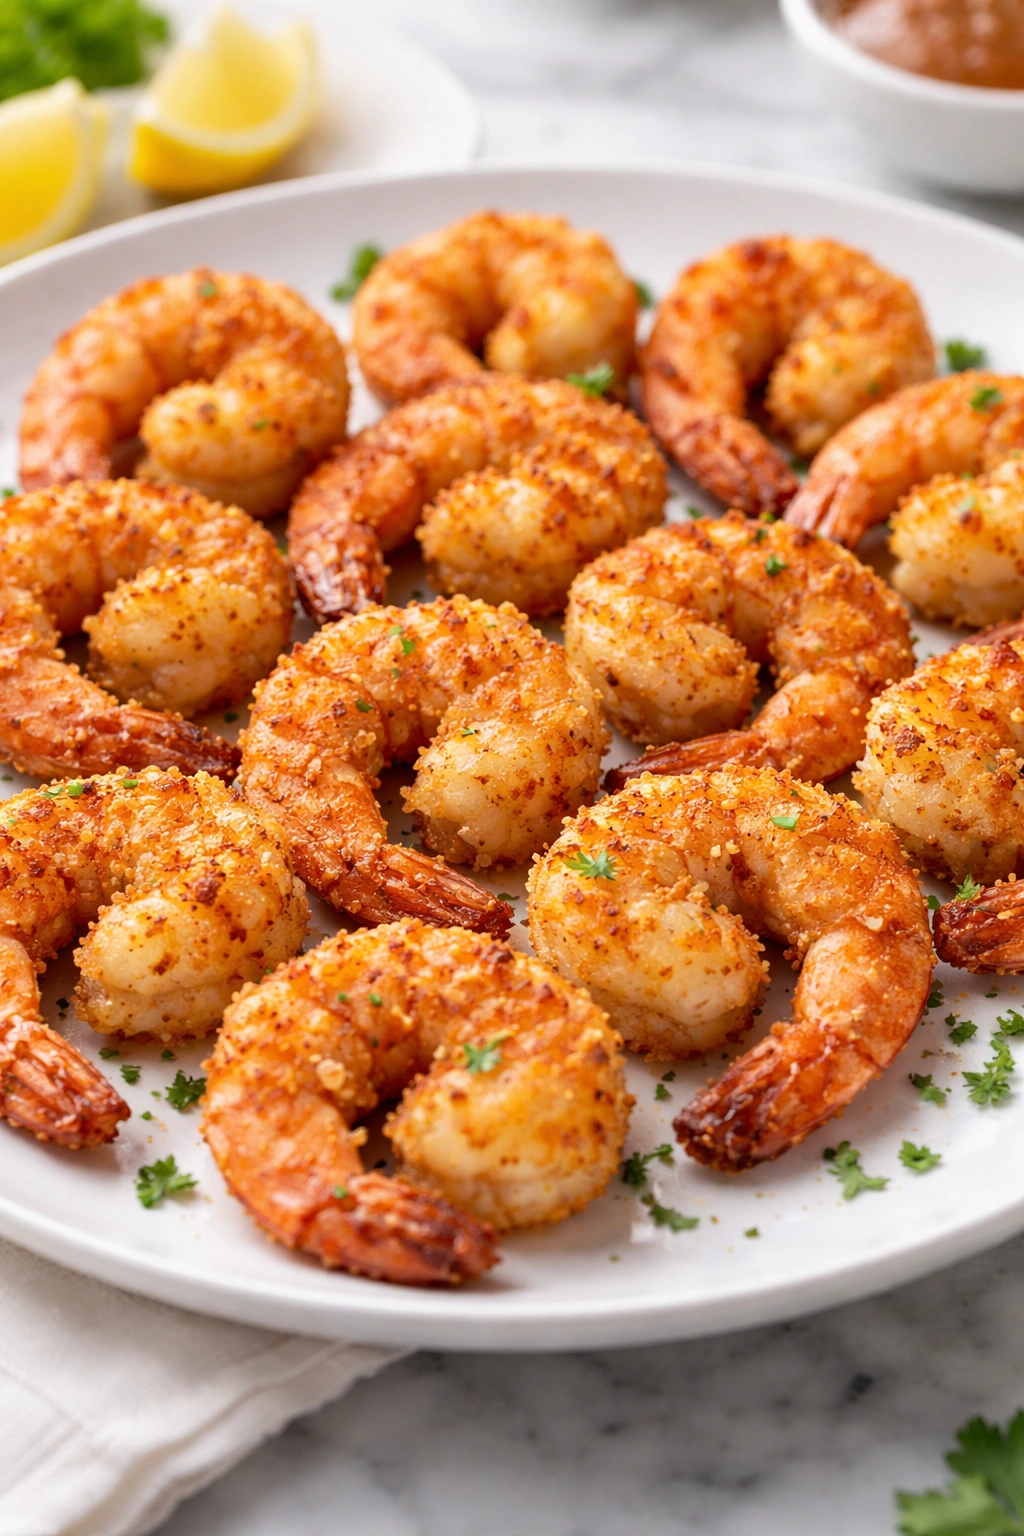
- Arrange the crispy shrimp on a serving platter alongside fresh lemon wedges and your chosen dipping sauce. Serve immediately while the coating is at its crispiest and the shrimp are still warm.
Pro Tips for Maximum Crispiness and Tenderness
Understanding the mechanics of air frying helps you troubleshoot if anything goes wrong. The shrimp cook through quickly because they’re small and delicate, so the real challenge isn’t getting them cooked—it’s getting them crispy without drying them out. That balance comes from not overcrowding, using adequate oil spray, and respecting the cooking time.
If your first batch comes out less crispy than you’d hoped, it’s likely because you skipped the second oil spray or the basket was too crowded. The air fryer needs to be able to see all sides of the shrimp and circulate hot air around them. Sacrifice quantity for quality by cooking fewer shrimp at a time rather than jamming the basket full.
Some air fryer models run hotter than others. If your shrimp are browning too quickly or unevenly, drop the temperature to 390°F and add about a minute to the cooking time. Conversely, if they’re taking longer to brown, your air fryer might run cool, so try increasing to 410°F. You’ll learn your specific machine’s personality after the first batch.
Pat the shrimp dry one final time right before breading them, even if you already did so after thawing. Any moisture that’s accumulated can sabotage your crispy coating. Similarly, if you live in a humid climate and notice the flour is clumping slightly in your bowl, it’s absorbed moisture from the air. Just discard it and make fresh flour mixture.
Variations and Flavor Adaptations
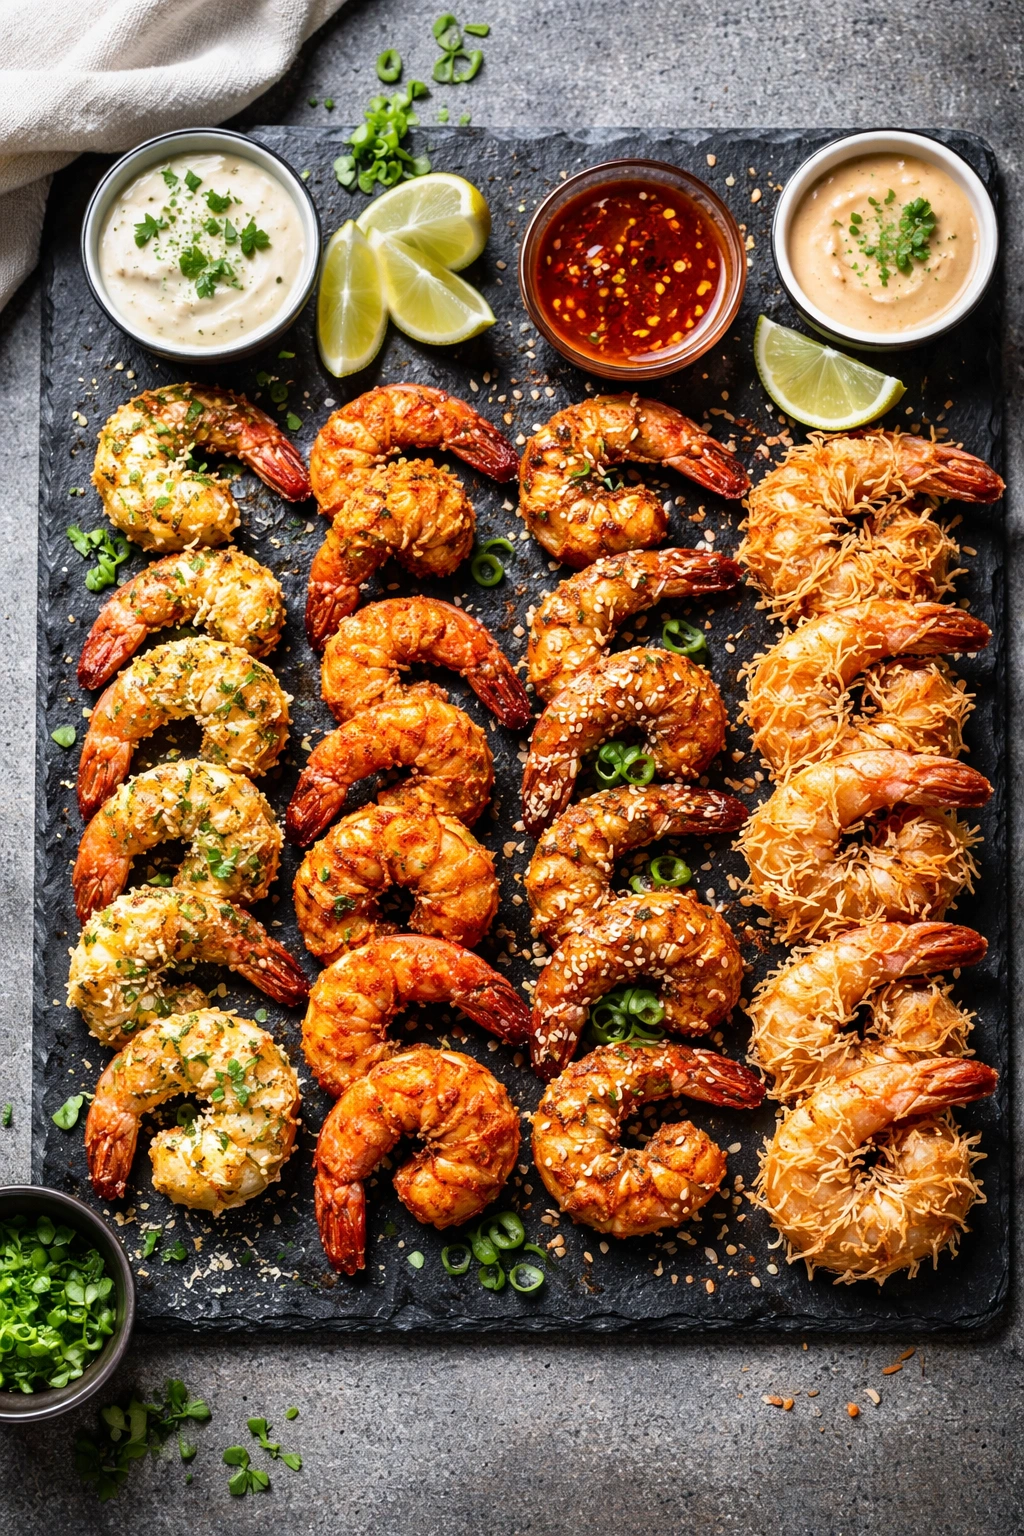
Cajun-Style Breaded Shrimp are fantastic for po’boy sandwiches or served over rice. Add 1 teaspoon Cajun seasoning (or combine ½ teaspoon smoked paprika, ¼ teaspoon cayenne, ¼ teaspoon garlic powder, and a pinch of dried thyme) to your breadcrumb mixture instead of the basic garlic and paprika.
Asian-Inspired Shrimp call for replacing half the panko with crushed wonton wrappers or sesame-crusted panko. Add ½ teaspoon grated fresh ginger and ½ teaspoon garlic powder to the flour mixture, and sprinkle sesame seeds over the shrimp just before serving.
Parmesan-Herb Shrimp are rich and savory. Add ¼ cup grated Parmesan cheese, 1 teaspoon dried Italian seasoning, and ½ teaspoon dried parsley to your breadcrumb mixture. These pair beautifully with lemon and are perfect over pasta.
Coconut Shrimp are a tropical twist. Replace 1 cup of the panko with unsweetened shredded coconut, keeping ½ cup panko for structure. Add ¼ teaspoon ground ginger to the flour mixture. Serve with sweet chili sauce for dipping.
For gluten-free versions, substitute the all-purpose flour with a 1:1 gluten-free flour blend and use gluten-free panko breadcrumbs (most major brands now offer this). The results are nearly identical in texture.
Storage and Make-Ahead Guidelines
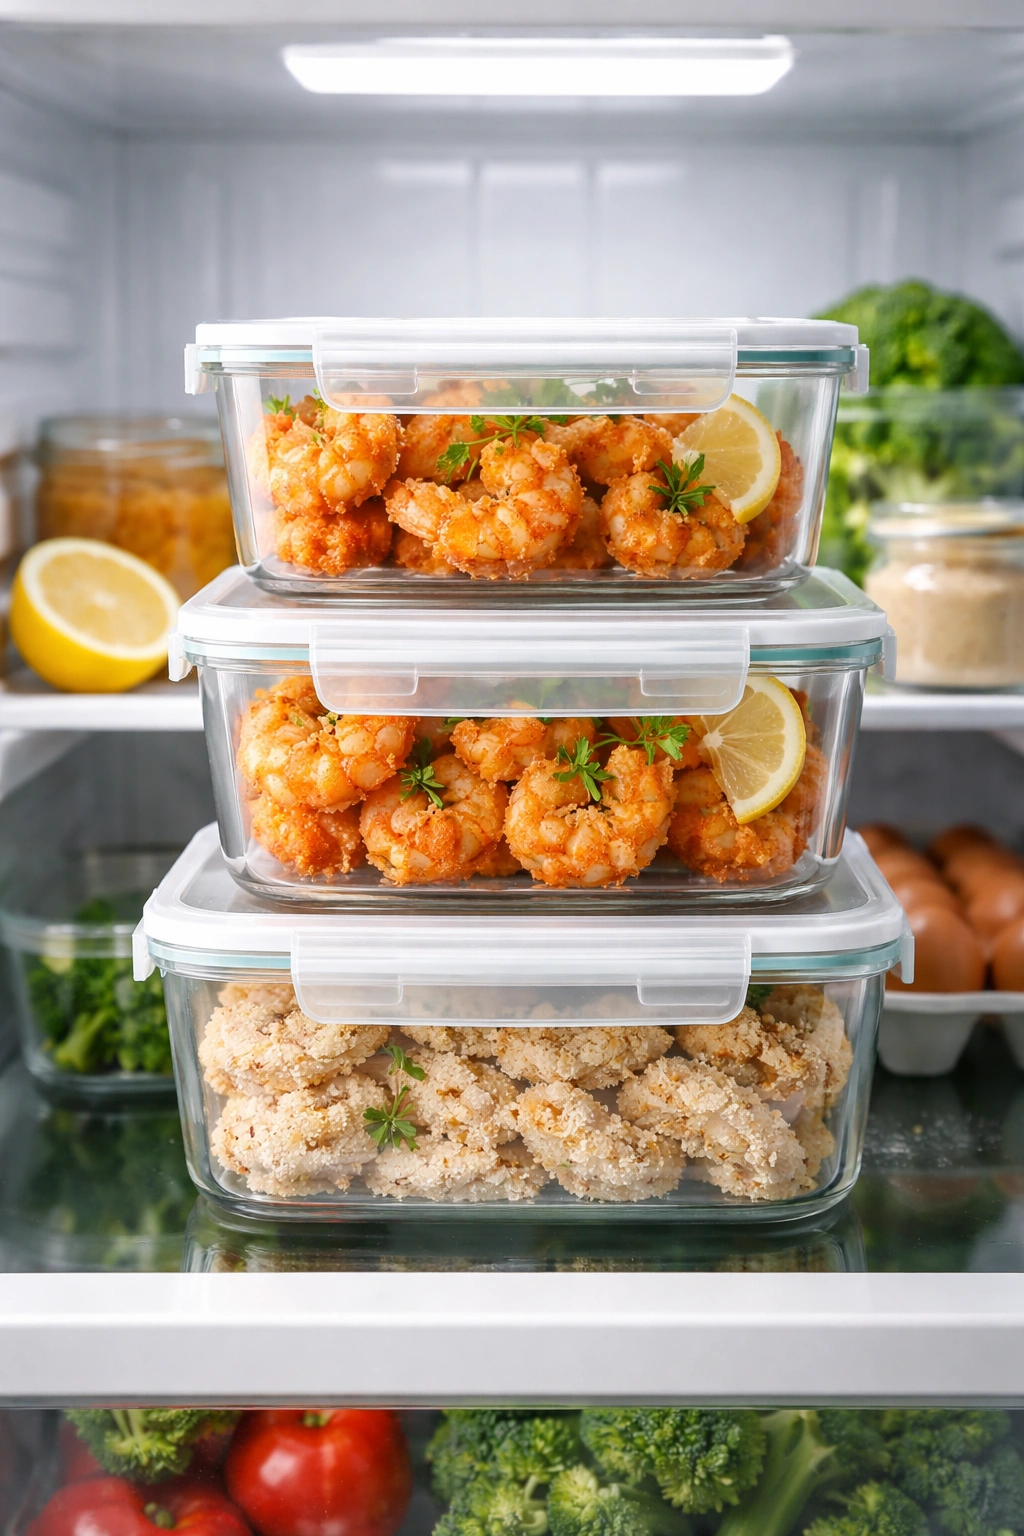
Breaded shrimp taste best served immediately, when the coating is at its absolute crispiest. However, leftovers keep well and can be reheated successfully. Store cooked shrimp in an airtight container in the refrigerator for up to 3 days.
To reheat, place them in your air fryer basket at 375°F for 3 to 4 minutes. This method restores the crispy coating much better than microwaving, which will make them soggy. If you don’t have an air fryer handy (though you’d be using it anyway to cook them!), you can reheat on a baking sheet in a 375°F oven for about 5 minutes, though the texture won’t be quite as excellent.
You can also freeze uncooked breaded shrimp for up to 3 months. Arrange the breaded (but uncooked) shrimp on a baking sheet in a single layer and freeze until solid, about 2 hours, then transfer to a freezer bag. To cook from frozen, add 2 to 3 minutes to your cooking time and check that they’re cooked through before serving.
If you want to prep ahead without fully breading, you can thaw and pat your shrimp dry the morning of cooking, then keep them in the fridge until you’re ready to bread them a few hours before dinner. Or go ahead and bread them completely, refrigerate in a single layer, and cook when you’re ready to eat.
Serving Suggestions and Meal Ideas
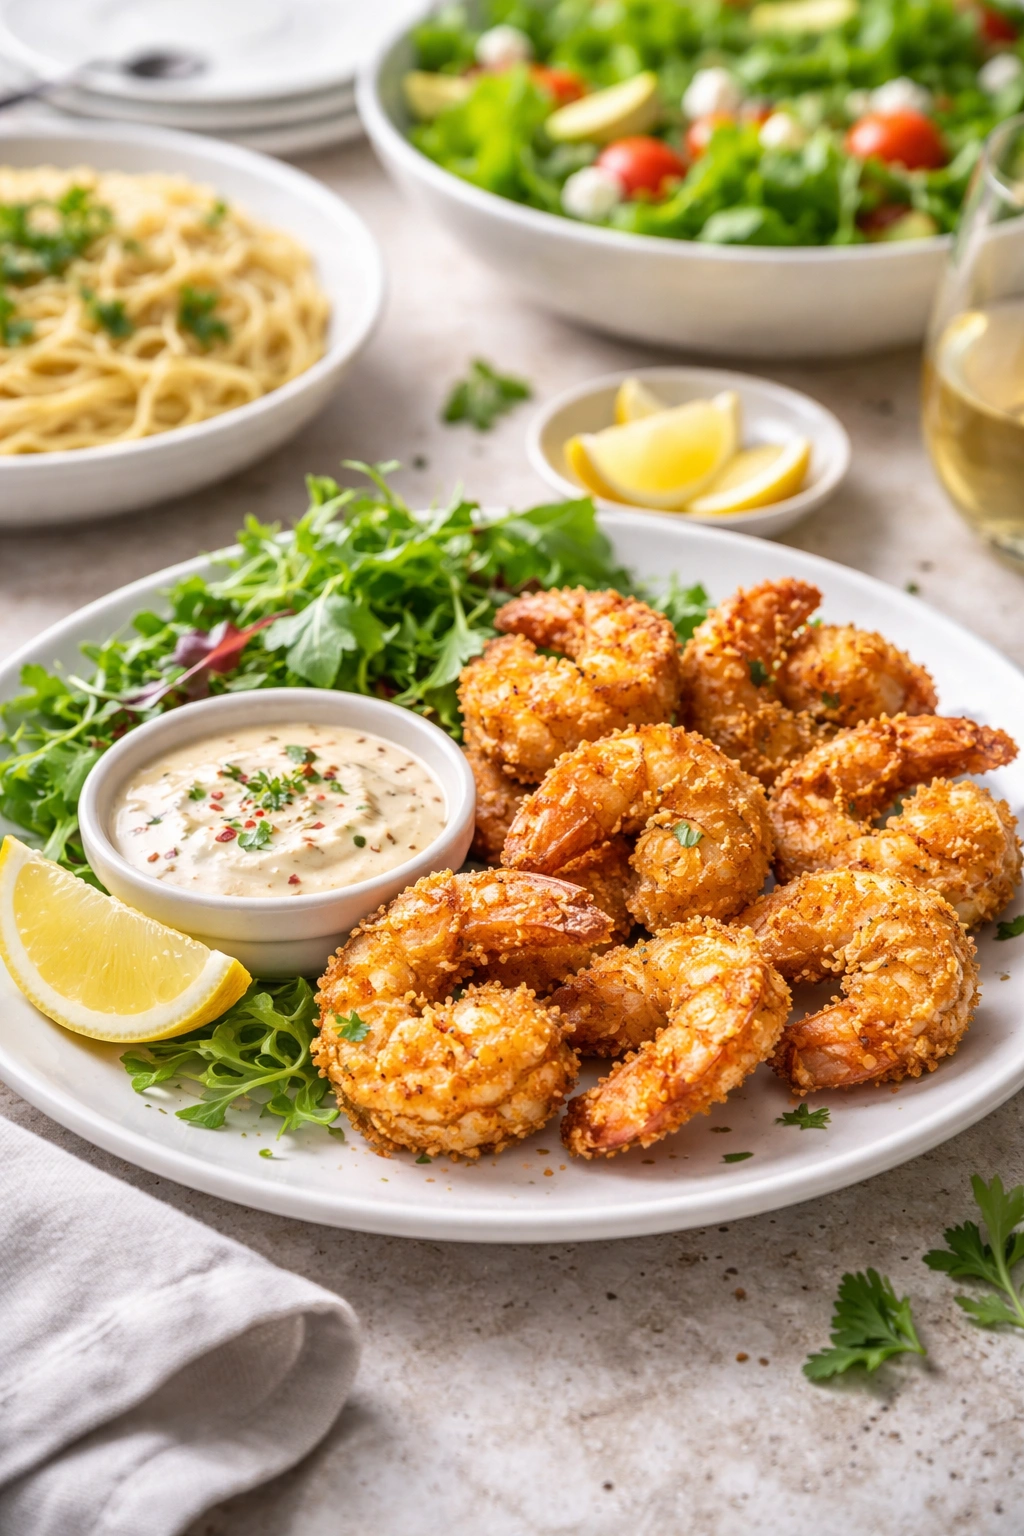
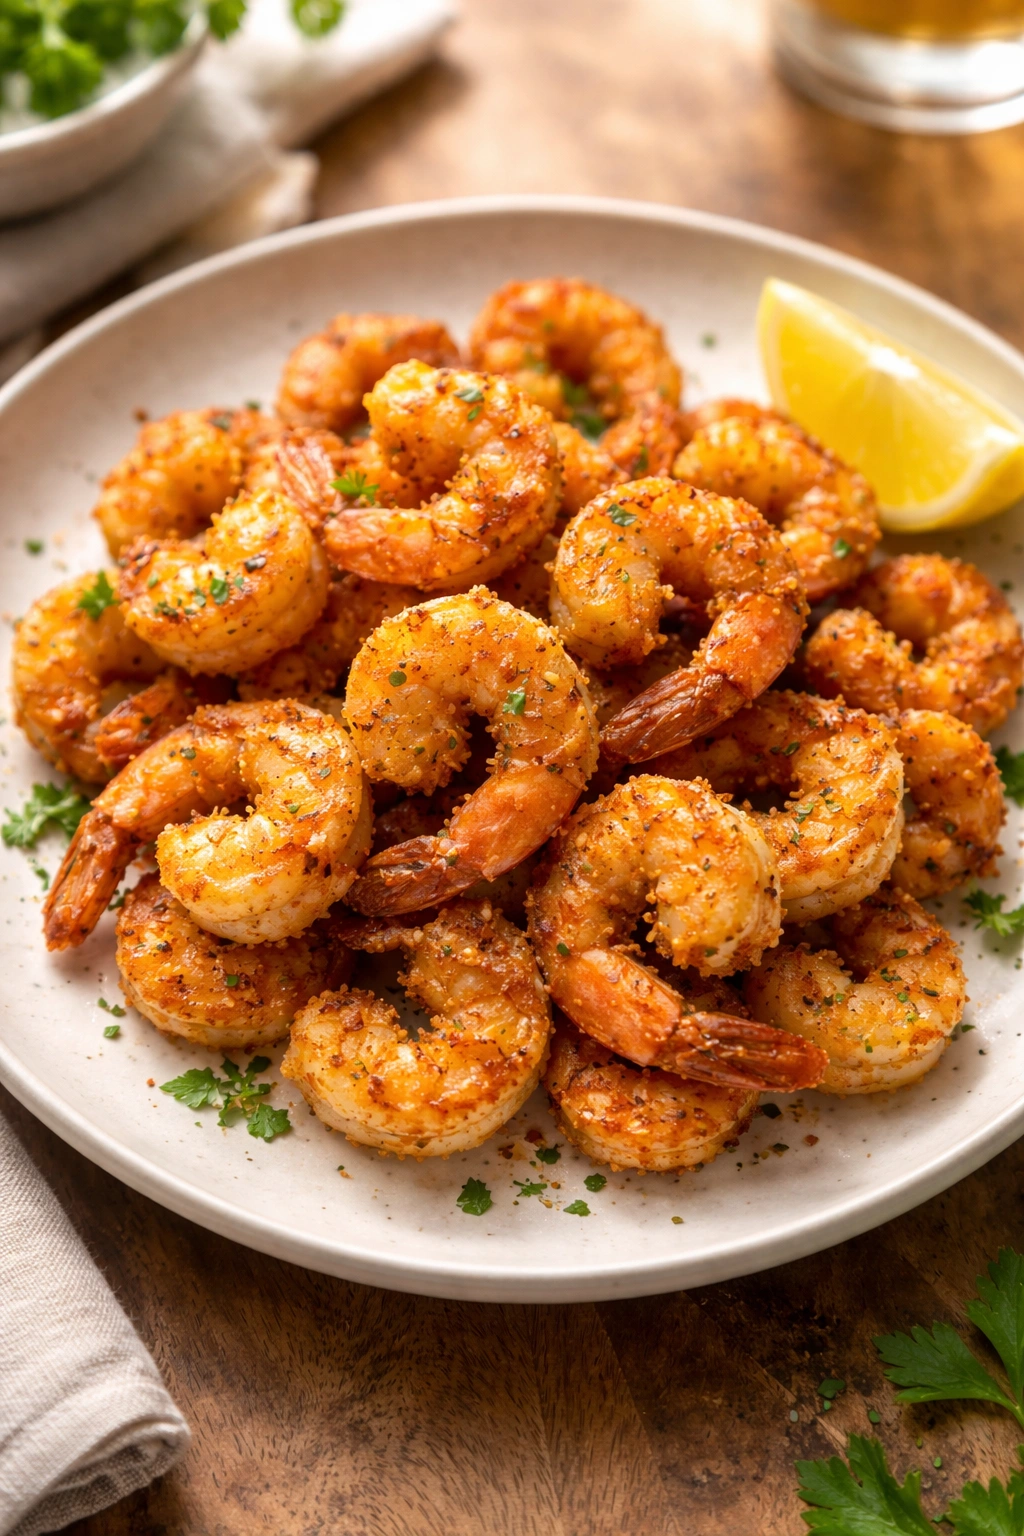
These shrimp shine as an appetizer with a platter of dipping sauces. Serve them alongside cocktail sauce, tartar sauce, sriracha mayo, remoulade, or bang bang sauce. A simple garlic aioli (Mayo mixed with minced garlic and a squeeze of lemon) is also excellent. Arrange them on a platter with fresh lemon wedges so guests can dress them as they prefer.
For dinner, toss the shrimp into creamy pasta dishes or serve them over jasmine or coconut rice with steamed broccoli and a squeeze of lime. They’re stunning on a bed of mixed greens with avocado, cherry tomatoes, and a light lemon vinaigrette—the warm, crispy shrimp contrasts beautifully with cool, fresh vegetables.
Shrimp tacos are a weeknight favorite. Serve the shrimp in soft corn or flour tortillas with crispy cabbage slaw, fresh cilantro, lime crema, and hot sauce. Or make shrimp “fish” tacos with the same toppings and a drizzle of chipotle mayo.
Build a grain bowl with your favorite base (quinoa, farro, brown rice, or cauliflower rice), add roasted or raw vegetables, a handful of greens, the crispy shrimp, and your favorite sauce—tahini dressing, ginger-sesame vinaigrette, or cilantro-lime crema all work beautifully.
For entertaining, arrange the shrimp on a charcuterie board alongside cured meats, cheeses, nuts, olives, and crusty bread. They add a luxurious touch without requiring much additional effort on your part.
Understanding Why This Recipe Is So Reliable
The reason this air fryer shrimp recipe works so consistently comes down to understanding the interplay between temperature, time, and technique. Shrimp are forgiving in some ways—they cook through quickly—but unforgiving in others—they dry out fast if overcooked even slightly.
By using a three-step breading process with proper adhesion and adequate oil spray, you create an insulating layer that keeps the moisture in while the exterior crisps. The 400°F temperature is hot enough to brown the coating quickly without exceeding the window where shrimp stays tender. Seven to eight minutes hits that sweet spot where the exterior is deeply golden and crispy but the interior is still plump and juicy.
The emphasis on not overcrowding comes from the fundamental way air fryers work. They rely on circulating hot air, and if shrimp are touching each other or packed too densely, the hot air can’t reach all surfaces evenly. You’ll end up with some sides crispy and other sides pale or soft. Spacing them out takes one more minute of your prep time and guarantees superior results.
This is also why the second oil spray matters. Many people think one spray is enough, but the breadcrumbs absorb that initial oil as they cook. A second spray about halfway through cooking replenishes that oil, allowing the final crisping to happen and giving you that restaurant-quality golden exterior.
Troubleshooting Common Air Fryer Shrimp Issues
If your shrimp come out soggy or the breading falls off, you likely had excess moisture on the shrimp when you breaded them. Pat them even more thoroughly next time—use two or three paper towels and really press to remove all surface moisture.
If the breading is pale instead of golden, you either skipped the oil spray or didn’t spray enough. Try doubling the amount of oil spray and make sure to do that second spray at the 4-minute mark. Your air fryer might also run cooler than average, so increase the temperature to 410°F.
If the shrimp are overcooked and rubbery, you may have cooked them too long or crowded the basket, which raises the internal temperature and prolongs cooking. Reduce your cook time to 6 to 7 minutes and ensure shrimp aren’t touching.
If the breading clumps and doesn’t coat evenly, the flour mixture has absorbed moisture from the air (common in humid kitchens). Make fresh flour mixture and ensure you’re working quickly—the longer shrimp sit between breading steps, the wetter everything becomes.
Why Shrimp Deserves a Permanent Spot in Your Air Fryer Rotation

Shrimp might be the most versatile protein available for quick cooking. They’re naturally lean and full of protein, they cook in minutes rather than the hours required for tougher cuts of meat, and they take on flavors beautifully. A pound of shrimp feeds four people as an appetizer or two to three people as a main course, making them economical for both weeknight dinners and entertaining.
The air fryer takes the intimidation out of the cooking process. No more worrying about hot oil spattering on your skin or wondering if you’ve reached the exact right oil temperature. No more strong fried-food smells lingering in your house for hours. Just prep, cook, and serve in about 20 minutes.
Once you’ve made this recipe a few times, it becomes almost automatic. You’ll know exactly how much space shrimp need in your specific air fryer basket, you’ll develop a rhythm in the breading station, and you’ll nail the cooking time consistently. Then you can start experimenting with different seasonings and serving styles, expanding your shrimp repertoire without much additional effort.
Final Thoughts
Crispy air fryer shrimp in 20 minutes is genuinely achievable when you understand the small details that make the difference between mediocre and exceptional results. The three-step breading process with egg wash, the importance of drying the shrimp thoroughly, the strategic oil sprays, and the proper air fryer spacing are what separate this recipe from ones that disappoint.
Start with the basic version using garlic, paprika, and simple seasonings. Master that first so you understand how your specific air fryer performs. Then branch out into Cajun variations, Asian-inspired versions, or herb-forward combinations. Every variation uses the exact same technique and timing, so once you’ve got the method down, you can pivot flavors based on what you’re serving with the shrimp or what you’re craving that night.
Your air fryer has already proven itself useful for cooking vegetables and quick proteins. Add crispy breaded shrimp to that list, and you’ve got one more go-to recipe that’ll keep you fed, impressed with yourself, and looking forward to dinner rather than stressed about it.