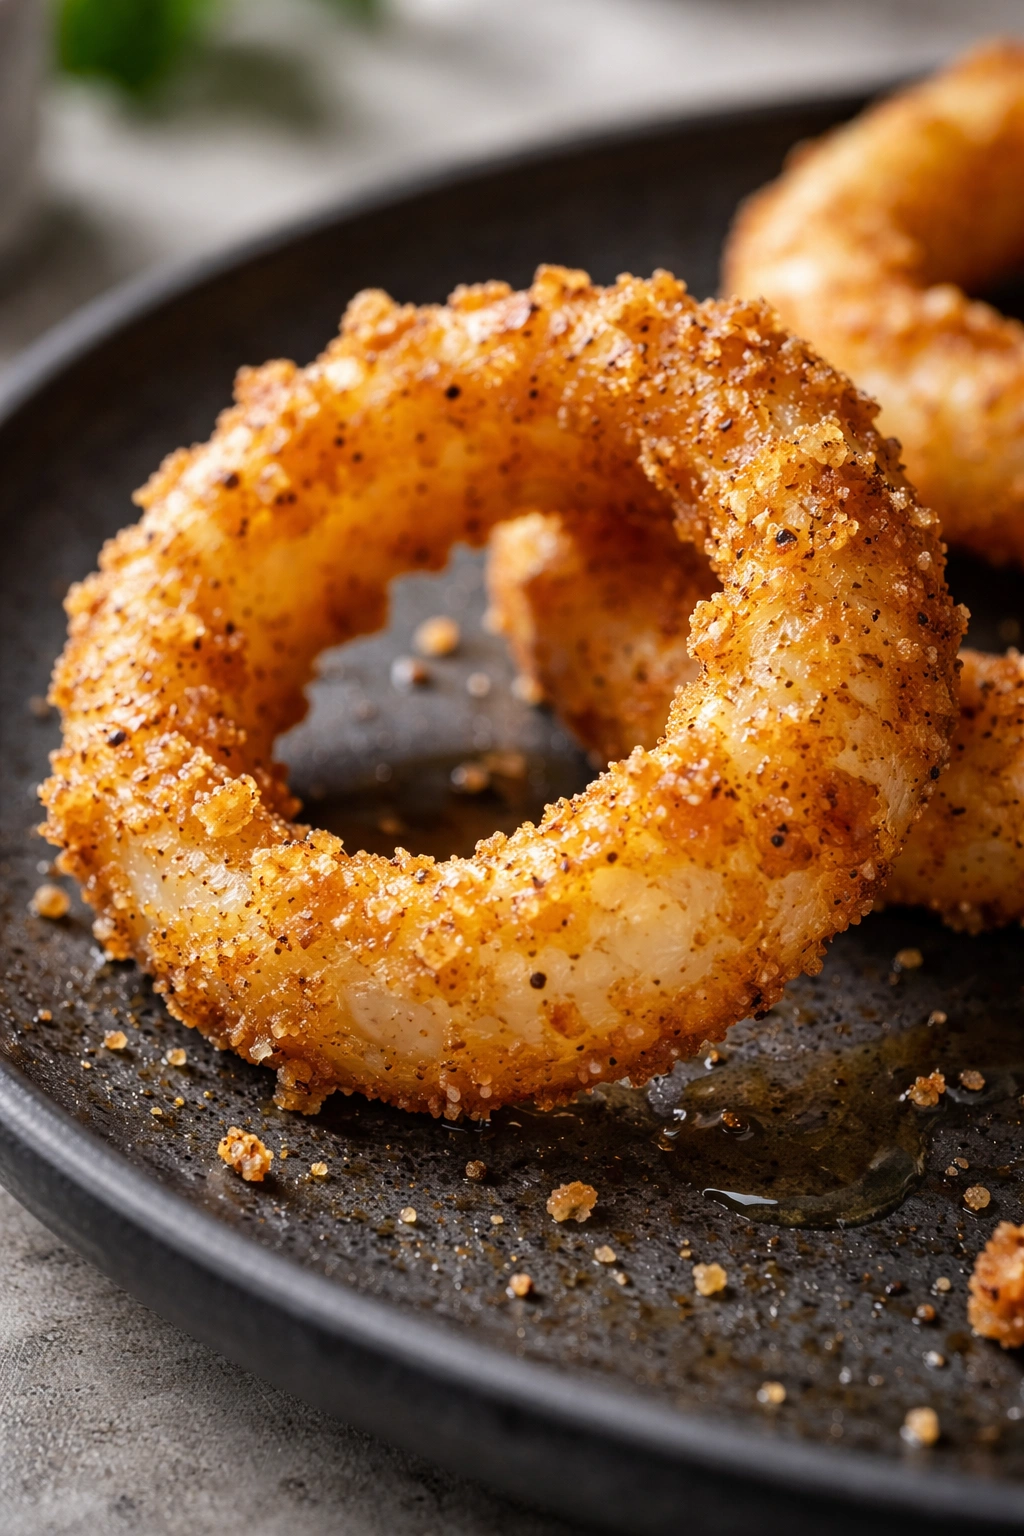
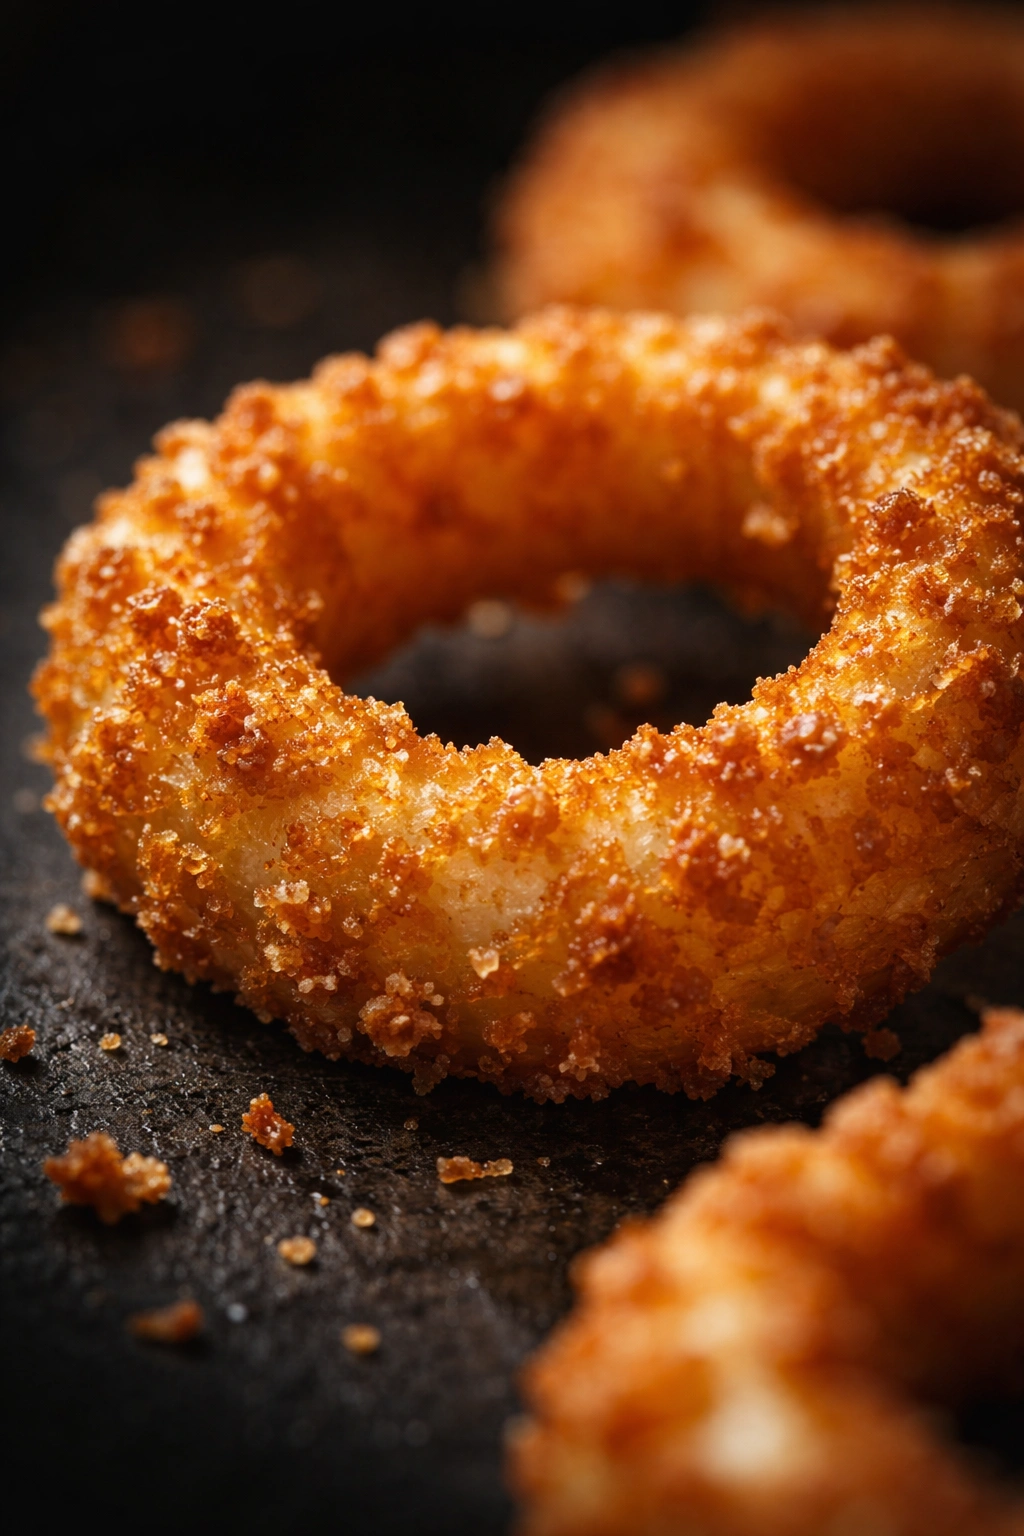
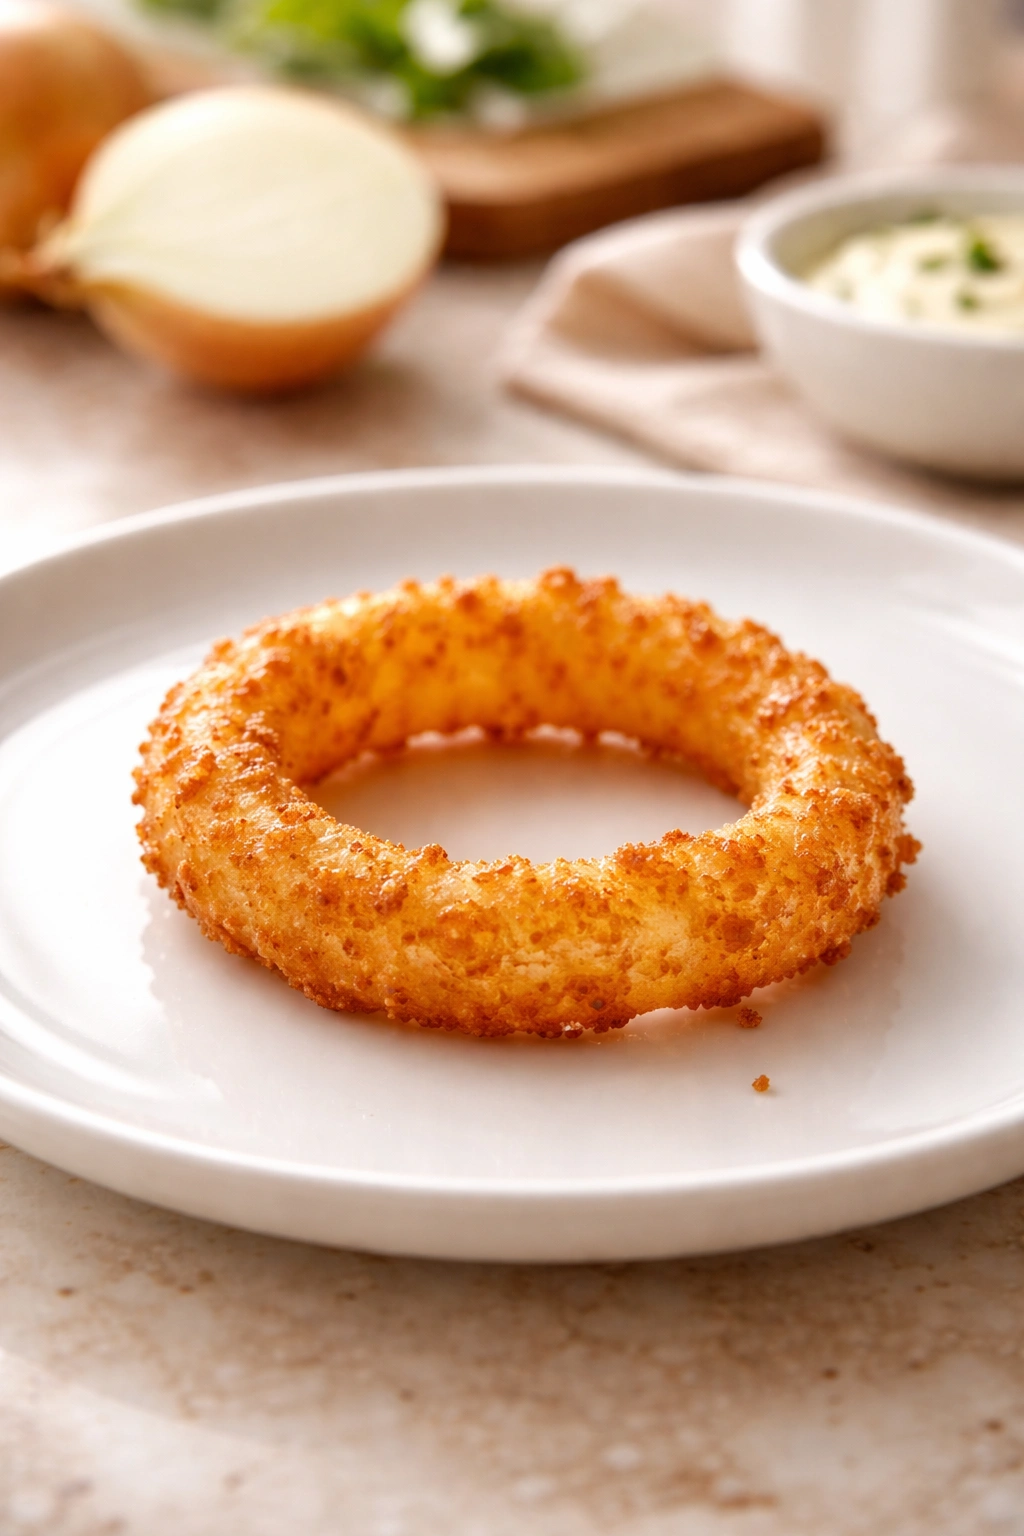
If you’ve been following keto, you’ve probably felt that sharp pang of missing onion rings — those golden, crispy, salty sticks of fried onion goodness that seem to violate every low-carb rule in the book. The good news? You don’t have to miss them anymore. The even better news? The version without traditional breading can actually be crispier than the original, with a shattering exterior that stays crunchy for hours and an onion inside that stays tender and sweet.
This isn’t a workaround recipe that tastes “fine for keto.” This is the real thing — onion rings so authentically crispy that people eating them alongside you won’t realize they’re not just regular food. The secret isn’t some fancy keto flour blend (though you could use one). It’s understanding exactly how heat, moisture, and fat interact during frying, then using a combination of simple ingredients that create an unexpectedly perfect crust.
For years, the traditional approach to keto onion rings involved almond flour, pork rinds ground into powder, or expensive specialty keto flour products. Those can work, but they come with trade-offs: almond flour absorbs oil and gets soggy, pork rinds leave a meaty aftertaste, and specialty products cost a fortune. The method I’m sharing uses ingredients you probably have in your kitchen right now — and the results are genuinely superior. You’ll get a thin, impossibly crispy shell that shatters when you bite into it, without any of the greasiness or sogginess that plagues most low-carb versions.
What Makes These Onion Rings Actually Crunchy
The crispy exterior on traditional onion rings comes from the water content inside the breading, which creates steam during frying. That steam puffs up the breading layer, creating tiny air pockets that feel light and crispy. For keto rings without flour breading, you need to replicate that mechanism using different tools — and it’s actually simpler than you’d think.
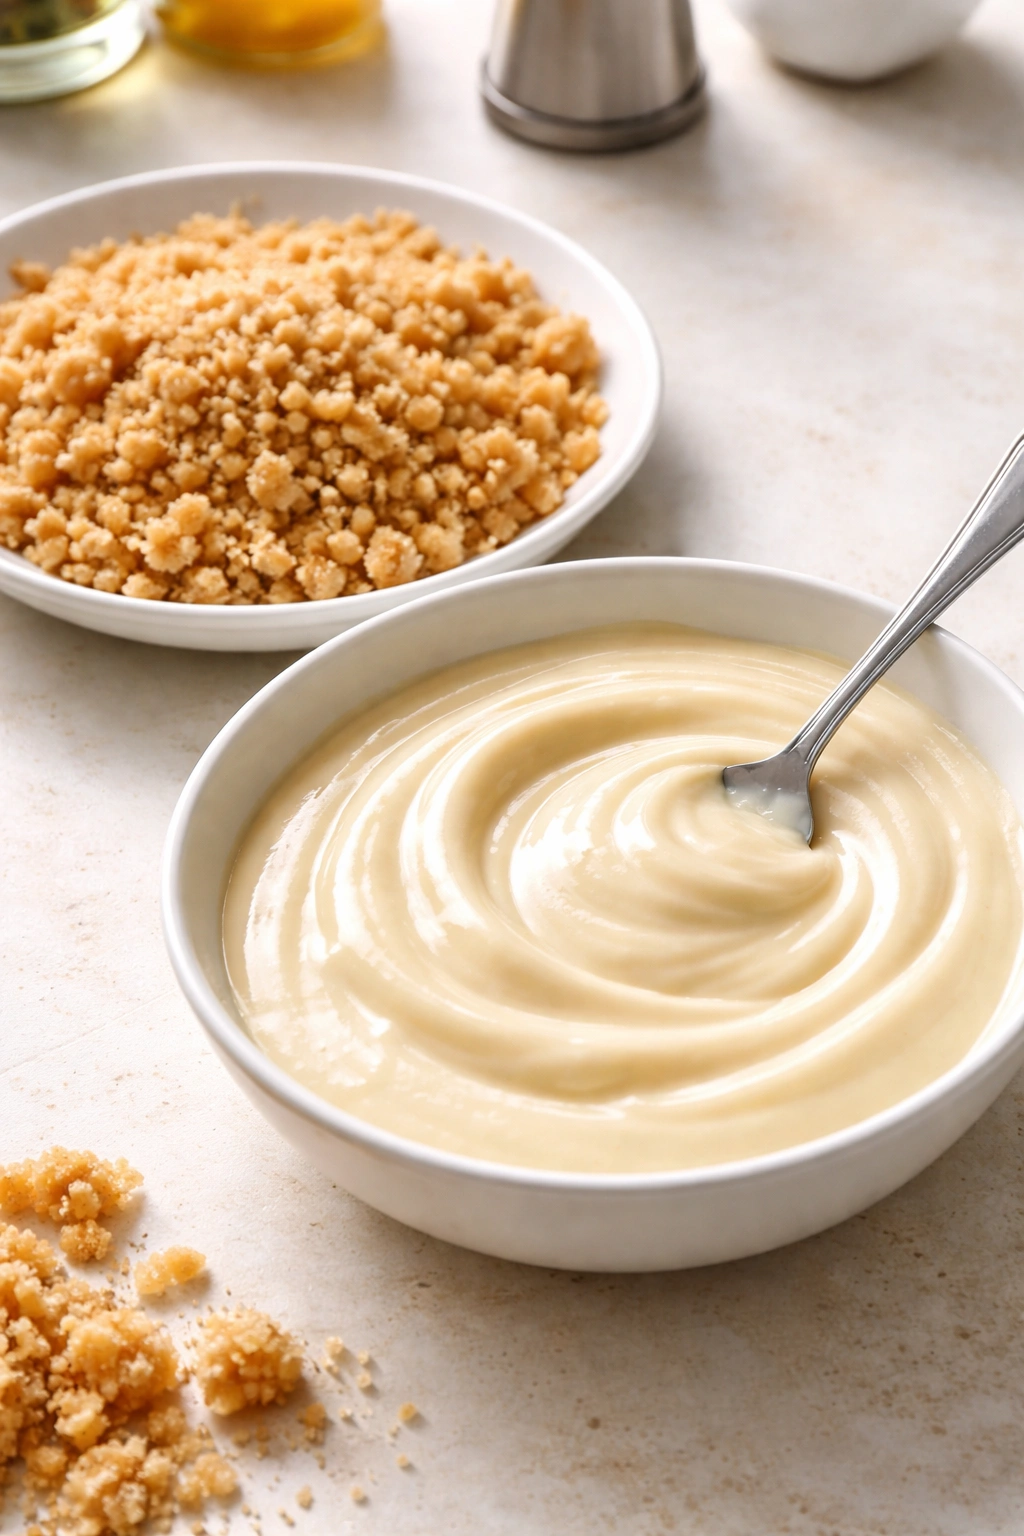
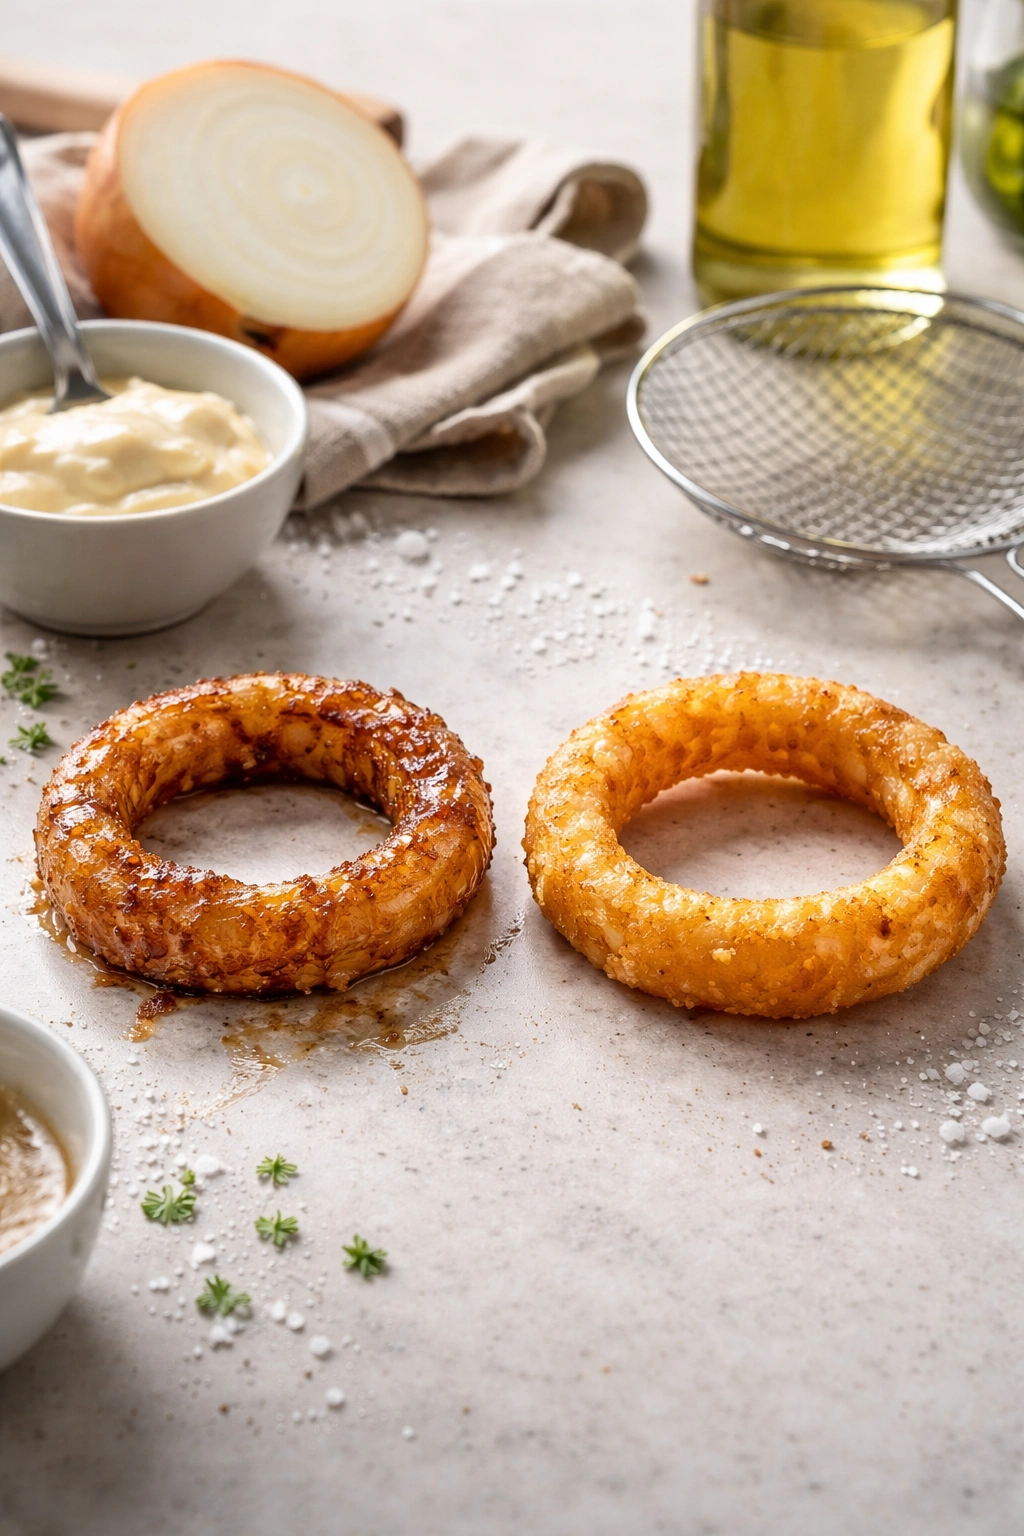
The foundation here is mayonnaise-based batter, which sounds unusual until you understand why it works. Mayo is an emulsion made of oil and egg yolk, which means when you heat it, the oil releases from the egg protein and creates an incredibly thin, crispy crust. Unlike flour-based batters that absorb oil and get heavy, mayo-based coatings stay light and stay crispy even hours after frying.
Add to that a thin coating of seasoned pork rinds (which are basically dehydrated pork skin and collagen) or crushed pork belly chips, and you’ve created a double-layer system. The mayo-based layer fries up crispy on the outside while the protein powder layer (if using) provides textural contrast and helps the coating cling to the onion without soaking up excess oil. The result is a crust that shatters, not one that bends.
The onions themselves matter more than most recipes acknowledge. You want to use thick-cut, uniform rings from a large yellow onion — this matters because thinner rings overcook before they develop flavor, while thicker rings can’t cook through evenly. The sweetness of the onion balances the richness of the fat, and that natural sweetness becomes almost caramelized in the frying process. The inside stays tender and slightly translucent, creating the perfect textural contrast with that shatter-crisp exterior.
The Perfect Crispy Keto Onion Rings
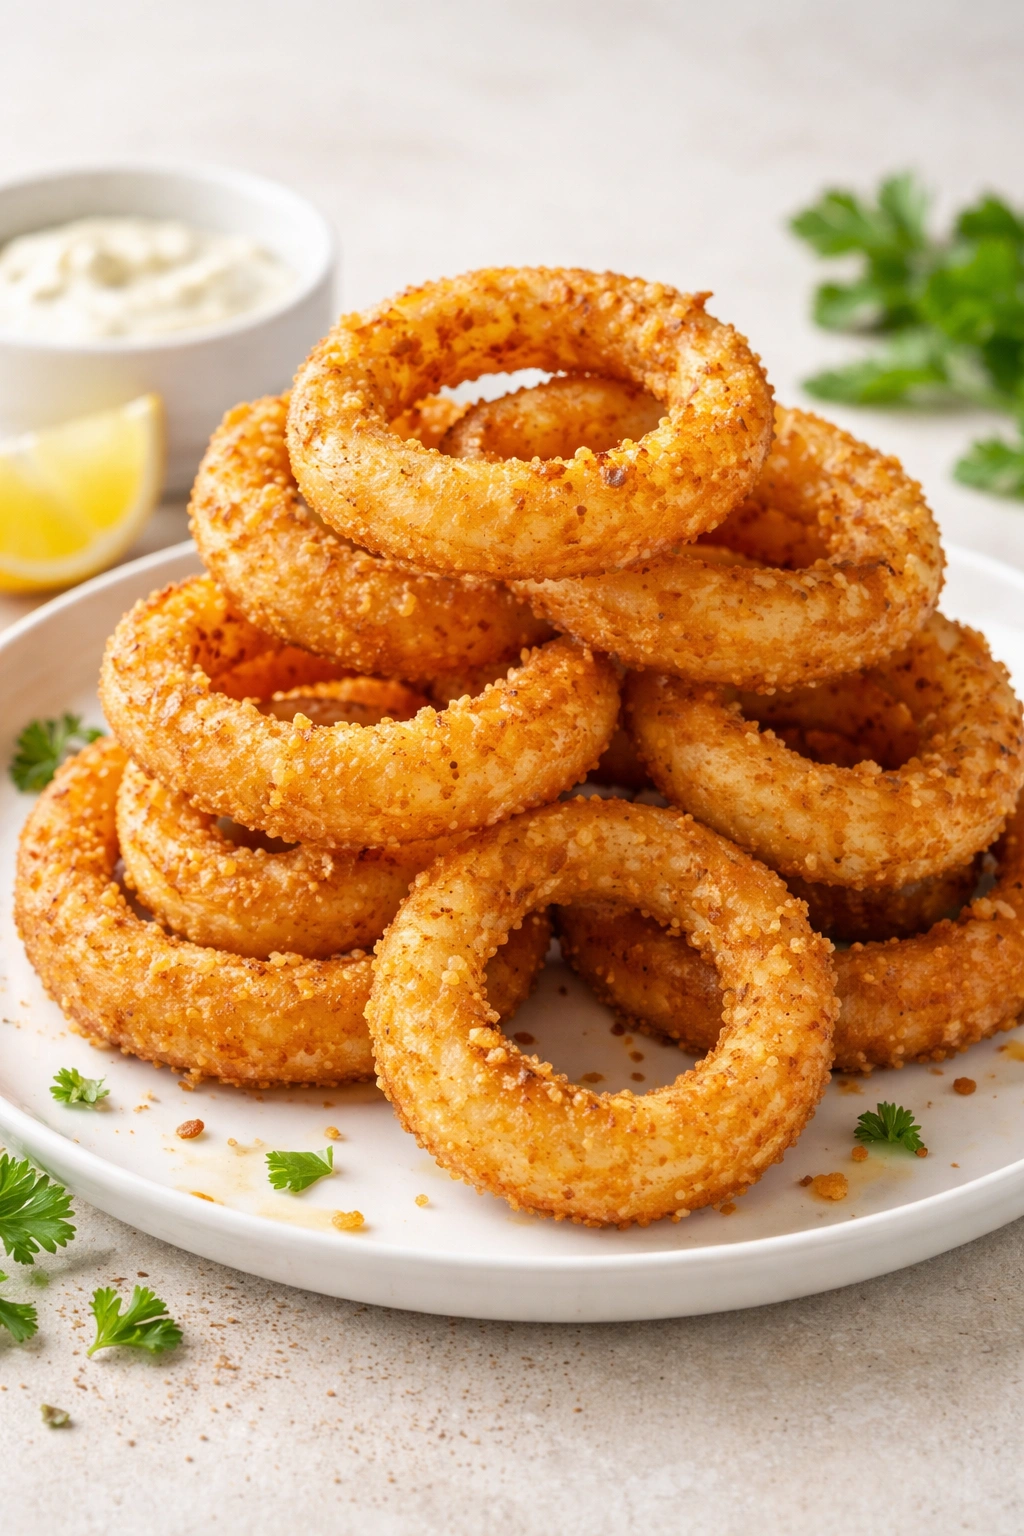
Yield: Serves 2 to 3 as a main appetizer or 4 to 5 as a side | Makes about 24 to 28 rings
Prep Time: 15 minutes
Cook Time: 10 to 12 minutes
Total Time: 25 to 27 minutes
Difficulty: Beginner — The technique is straightforward, and you only need a deep pot and a thermometer. No special equipment required, and the steps are forgiving even on your first attempt.
Oil Temperature: 350°F (175°C) is critical — too low and rings get soggy, too high and they burn before cooking through
For the Onion Rings:
- 2 large yellow onions (about 1 pound), cut into thick rings (about ½-inch thick)
- ¾ cup full-fat mayonnaise (room temperature — this is crucial)
- 1 large egg yolk
- ½ teaspoon fine sea salt
- ¼ teaspoon black pepper
- ¼ teaspoon garlic powder
- ¼ teaspoon paprika (smoked paprika adds depth)
- Pinch of cayenne pepper (optional, but recommended)
- ½ cup crushed pork rinds (or pork belly chips ground into coarse powder), seasoned with a pinch of salt
- Neutral frying oil (avocado oil or refined coconut oil work best — about 2 quarts for a deep pot)
- Fleur de sel or finishing salt for serving
For Serving (Optional):
- Sugar-free ketchup
- Ranch dip or blue cheese dressing
- Hot sauce or sriracha
- Fresh dill for garnish
Making the Perfect Crust
Prepare Your Batter:
-
Pour the mayonnaise into a shallow bowl and stir in the egg yolk until fully combined. The mixture should be smooth and creamy with no streaks.
-
Add the salt, black pepper, garlic powder, paprika, and cayenne pepper to the mayo mixture. Stir until the seasonings are evenly distributed — taste a tiny pinch of the mixture on your fingertip. It should taste boldly seasoned; this seasoning will become concentrated during frying.
-
Pour the crushed pork rinds onto a flat plate or into a shallow bowl. Use your fingers or the bottom of a measuring cup to break them into coarse, uneven pieces — you want some texture, not fine powder. The pieces should range from breadcrumb-sized to small pea-sized.
Prepare the Onions:
-
Slice one onion at a time, cutting it in half from root to tip, then laying each half flat on your cutting board. Slice vertically into rings about ½-inch thick. Gently separate the rings with your fingers — some will fall apart into smaller pieces, which is fine, but aim to keep larger rings intact.
-
Pat the onion rings completely dry with paper towels. This step is essential. Any surface moisture will prevent the batter from adhering properly and will cause the oil to splatter. Don’t skip this.
Advertisements -
If using multiple large onions, you can separate all the rings and dry them at once, then work in batches. Organize your workspace so you have the dry rings on one side, the batter in the middle, the pork rinds on the other side, and your fryer or pot with oil ready to go.
Coat Each Ring:
-
Set up your breading station with three easy-to-reach stations: dry onion rings, mayo-based batter, and crushed pork rinds.
-
Working with 3 to 4 onion rings at a time, dip each ring into the mayo mixture, making sure all sides are coated — this is your adhesive layer. Shake off excess batter back into the bowl; you want a thin coating, not a thick one.
-
Immediately place the mayo-coated ring into the pork rind crumbs and press gently so the coating adheres on both sides. You want the crumbs to stick to the mayo, creating a bumpy, irregular texture. Shake off any loose crumbs and place on a plate.
-
Repeat until you’ve coated all your rings. Do not wait too long between coating and frying — if the batter sits for more than a few minutes, it begins to soften and the coating won’t crisp up as dramatically. Have your oil hot and ready before you start coating rings.
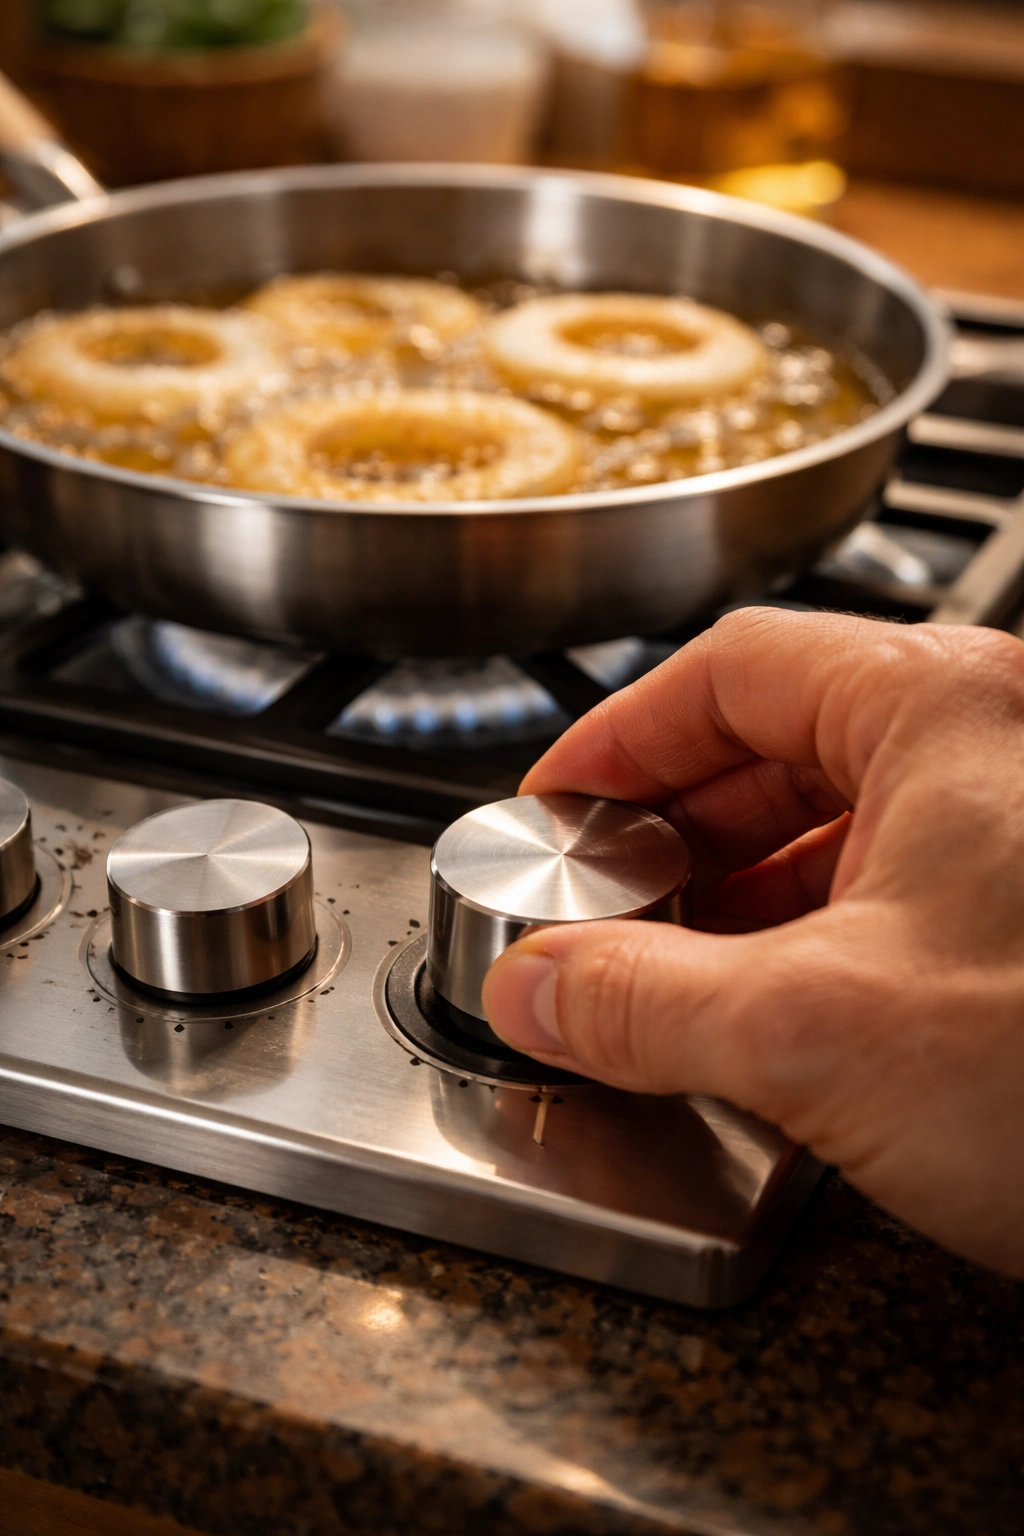
Frying for Maximum Crispiness
Set Up Your Oil:
-
Pour enough neutral oil into a deep pot or Dutch oven to reach about 3 inches deep. Attach an instant-read thermometer to the side of the pot so you can monitor the temperature without moving the thermometer around.
-
Heat the oil slowly over medium-high heat. This takes about 8 to 10 minutes. Do not rush this step by cranking the heat to high. Oil that heats too quickly develops hot spots and temperature fluctuations, which will cause uneven browning and burning.
-
When the oil reaches 350°F (175°C), turn the heat down slightly to maintain that temperature. The oil should shimmer and move slightly when you look at it, but it shouldn’t smoke.
Advertisements
Fry the Rings:
-
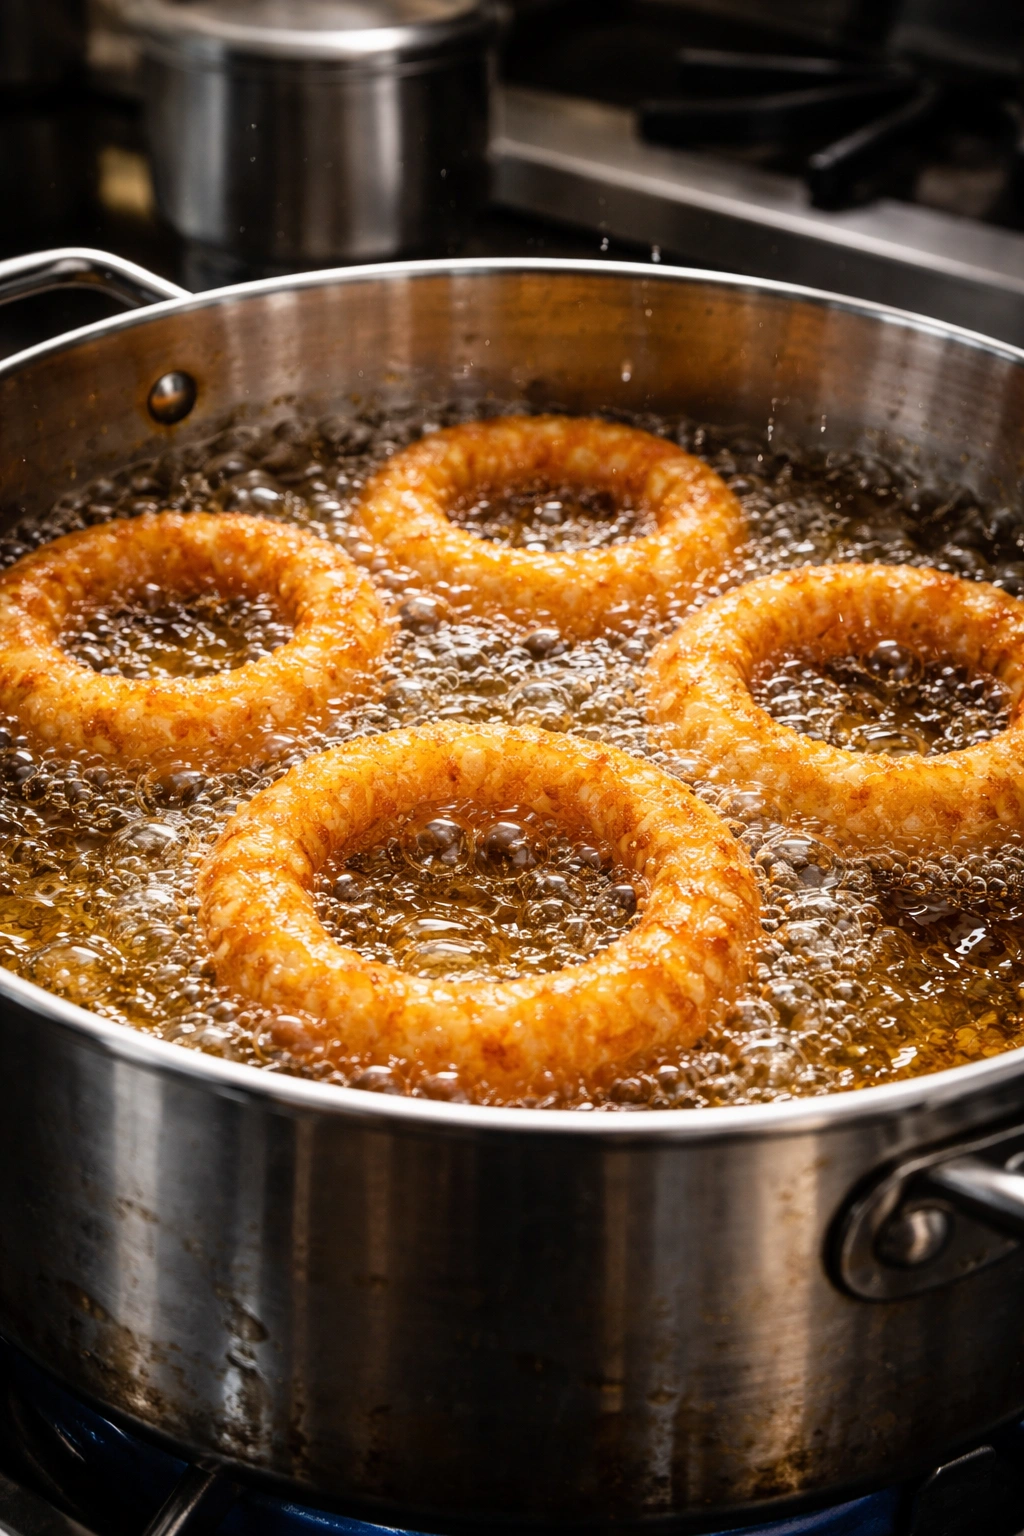
Working in two or three batches so you don’t crowd the pot, carefully place the coated onion rings into the hot oil. Do this slowly and deliberately — dropping them in from a height or all at once will cause the oil to bubble over.
-
Fry for 3 to 4 minutes, until the coating turns deep golden brown and the onion ring floats to the surface. You’ll notice the rings will sink at first, then float up as they cook — this is when they’re nearly done.
-
Use a slotted spoon to carefully remove the rings from the oil and place them on a paper towel–lined plate. Do not stack them while they’re hot. Let them cool for 1 to 2 minutes before stacking or serving.
-
Between batches, let the oil temperature come back up to 350°F before frying the next batch. This usually takes 1 to 2 minutes. Check the temperature with your thermometer each time.
-
Once all rings are fried, sprinkle them immediately with fleur de sel or finishing salt while they’re still hot. The salt sticks to the residual moisture on the crust and adds brightness to the richness of the fried exterior.
Why Temperature Control Matters More Than People Realize
The exact oil temperature is what separates crispy, perfect rings from greasy, limp disappointments. At 350°F, the exterior of the pork rind coating reaches the Maillard reaction temperature — where proteins and sugars interact to create that deep golden color and complex, toasted flavor. Below 340°F, the rings fry too slowly and absorb excess oil, becoming soggy. Above 365°F, the exterior browns too quickly while the inside onion doesn’t have time to cook through properly, leaving you with burnt coating and crunchy, raw onion.
The mayo-based batter is specifically formulated to work at this temperature. At lower temps, it doesn’t set properly and the coating separates. At higher temps, it burns before creating that signature shatter-crust texture. This is why a reliable thermometer — not just guessing by appearance — is genuinely important for this recipe.
The oil itself matters, too. Neutral oils with high smoke points (avocado oil, refined coconut oil, peanut oil, or grapeseed oil) all work beautifully. Avoid olive oil, butter, or sesame oil — their lower smoke points will break down and impart off-flavors at frying temperature. Refined coconut oil is the most keto-friendly option, while avocado oil has a slightly higher smoke point and won’t impart a coconut flavor if you don’t want one.
Secrets to Getting Them Impossibly Crispy
The Mayo Layer Is Non-Negotiable
Don’t try to skip the mayo batter step. Yes, it sounds rich, but here’s what’s happening: the egg yolk in mayo contains lecithin, which is a natural emulsifier. When that lecithin breaks down in hot oil, it creates an incredibly thin crust that shatters on the first bite. There’s no substitute that works exactly the same way — not egg wash, not sour cream, not cream cheese. The specific chemistry of mayo is what makes this method work.
Use Room-Temperature Mayo
Cold mayo won’t coat smoothly and will create thick, uneven layers. Let your mayo sit out on the counter for 15 minutes before using, or run the jar under warm water for a minute. This makes it thin enough to coat easily without becoming greasy.
Don’t Oversaturate the Coating
When you dip each ring in the mayo batter, you want a thin, even layer — not a thick one. Shake off excess batter; if it’s dripping, it’s too much. A thin layer of mayo fries up crispy; a thick layer becomes greasy because it absorbs oil. This is the most common mistake people make.
Press the Pork Rind Coating So It Adheres
The pork rind crumbs need to actually stick to the mayo, not just rest on top. Press gently with your fingertips as you coat each ring. This creates friction that bonds the coating to the batter layer. Loose crumbs will fall off during frying and make your oil cloudy.
Fry in Two or Three Batches, Not One Big Batch
Crowding the pot lowers the oil temperature, and rings stacked on each other won’t fry evenly. You’ll get some sides crispy and some sides soft. Two or three batches, with the oil temperature recovering between each, gives you consistent results every single time.
Don’t Forget the Finishing Salt
A sprinkle of fleur de sel (or sea salt flakes — avoid table salt, which tastes metallic) while the rings are still hot is crucial. The salt crystals cling to the residual moisture and oil on the surface, brightening the richness and adding that contrast between sweet onion, salty crust, and fatty exterior.
Variations That Actually Work
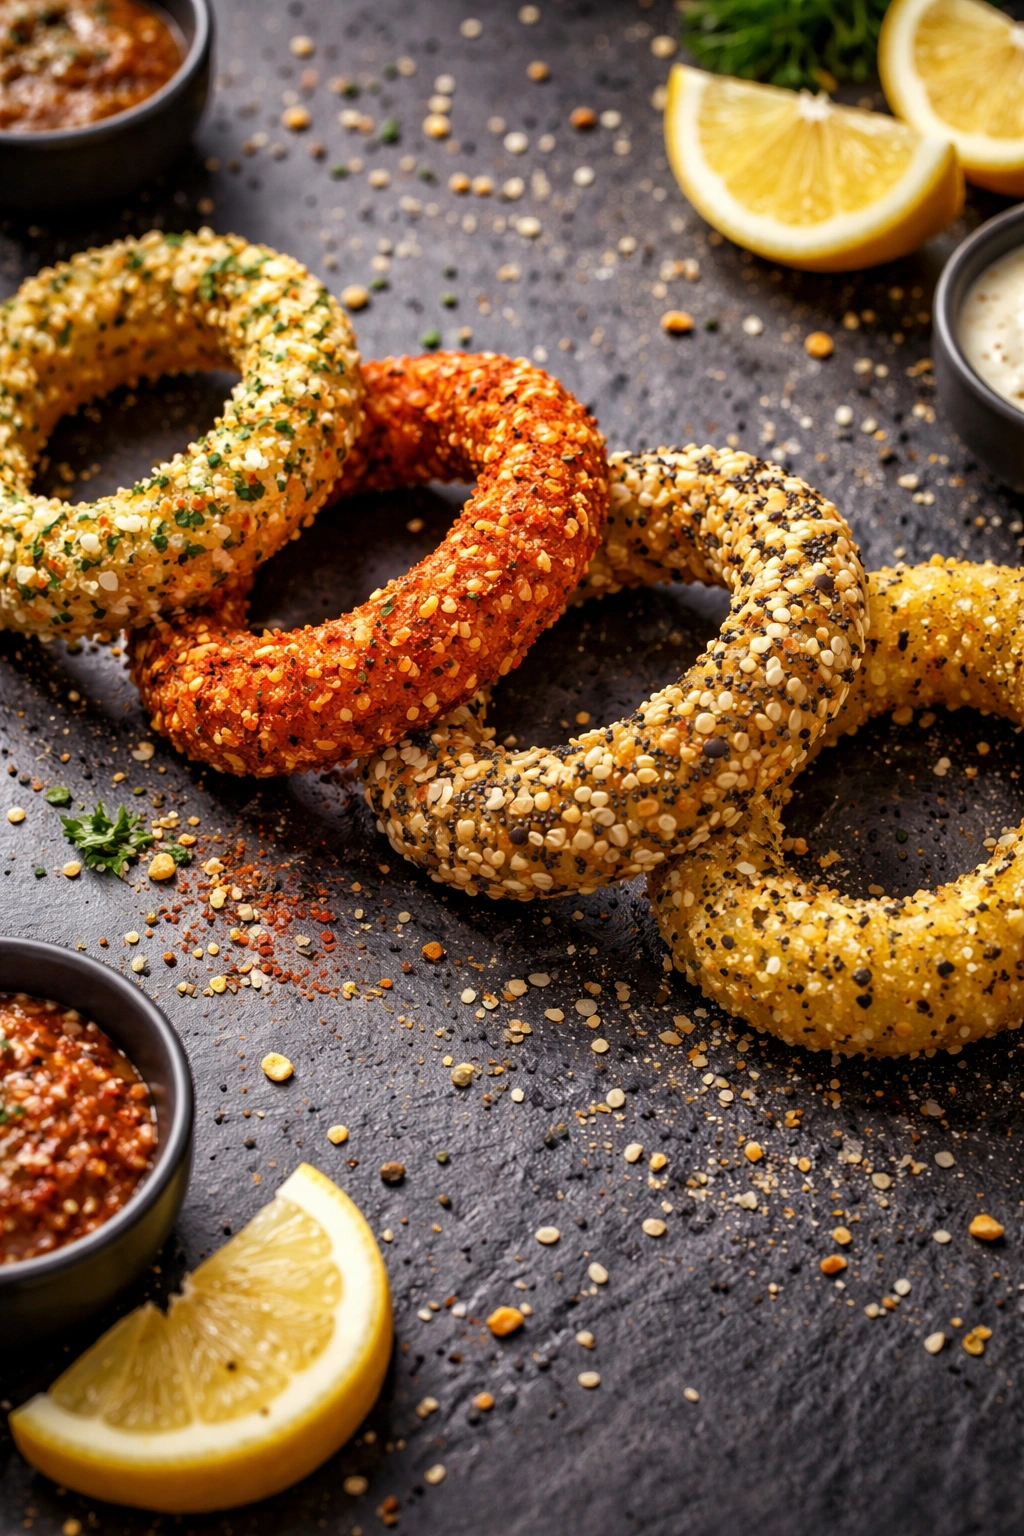
Parmesan and Herb Rings
Replace half the pork rind crumbs with finely grated Parmesan cheese (about ¼ cup pork rinds + ¼ cup Parm). Add 1 teaspoon of dried Italian seasoning or fresh thyme to the mayo batter. The Parmesan adds a savory funk and umami depth that pairs beautifully with the onion’s natural sweetness.
Spicy Cajun Version
Add 1 teaspoon of Cajun seasoning (or make your own with ½ teaspoon paprika, ¼ teaspoon cayenne, ¼ teaspoon garlic powder, ¼ teaspoon onion powder, and a pinch of black pepper) to the mayo batter. Use smoked paprika instead of regular paprika. The heat builds slightly as you eat, and the smokiness becomes more complex.
Everything Bagel Rings
Mix into the mayo batter: 1 teaspoon poppy seeds, ½ teaspoon sesame seeds, ½ teaspoon finely minced fresh garlic, ½ teaspoon minced fresh dill, and ¼ teaspoon garlic salt. Don’t use the pork rinds alone — combine them with a tablespoon of sesame seeds for the coating. Serve with cream cheese dip for dipping.
Lemon Pepper Rings
Add the zest of 1 lemon and ½ teaspoon freshly cracked black pepper to the mayo batter. Use lemon salt (or regular salt mixed with a tiny amount of dried lemon zest) for finishing. Serve with a dollop of sour cream mixed with fresh dill.
Cheesy Garlic Rings
Stir 3 tablespoons of grated sharp cheddar cheese and 2 cloves of minced fresh garlic into the mayo batter. Combine the pork rinds with 2 tablespoons of grated cheddar for the coating. These become almost like onion rings with a cheese crust — incredible.
Make-Ahead and Storage
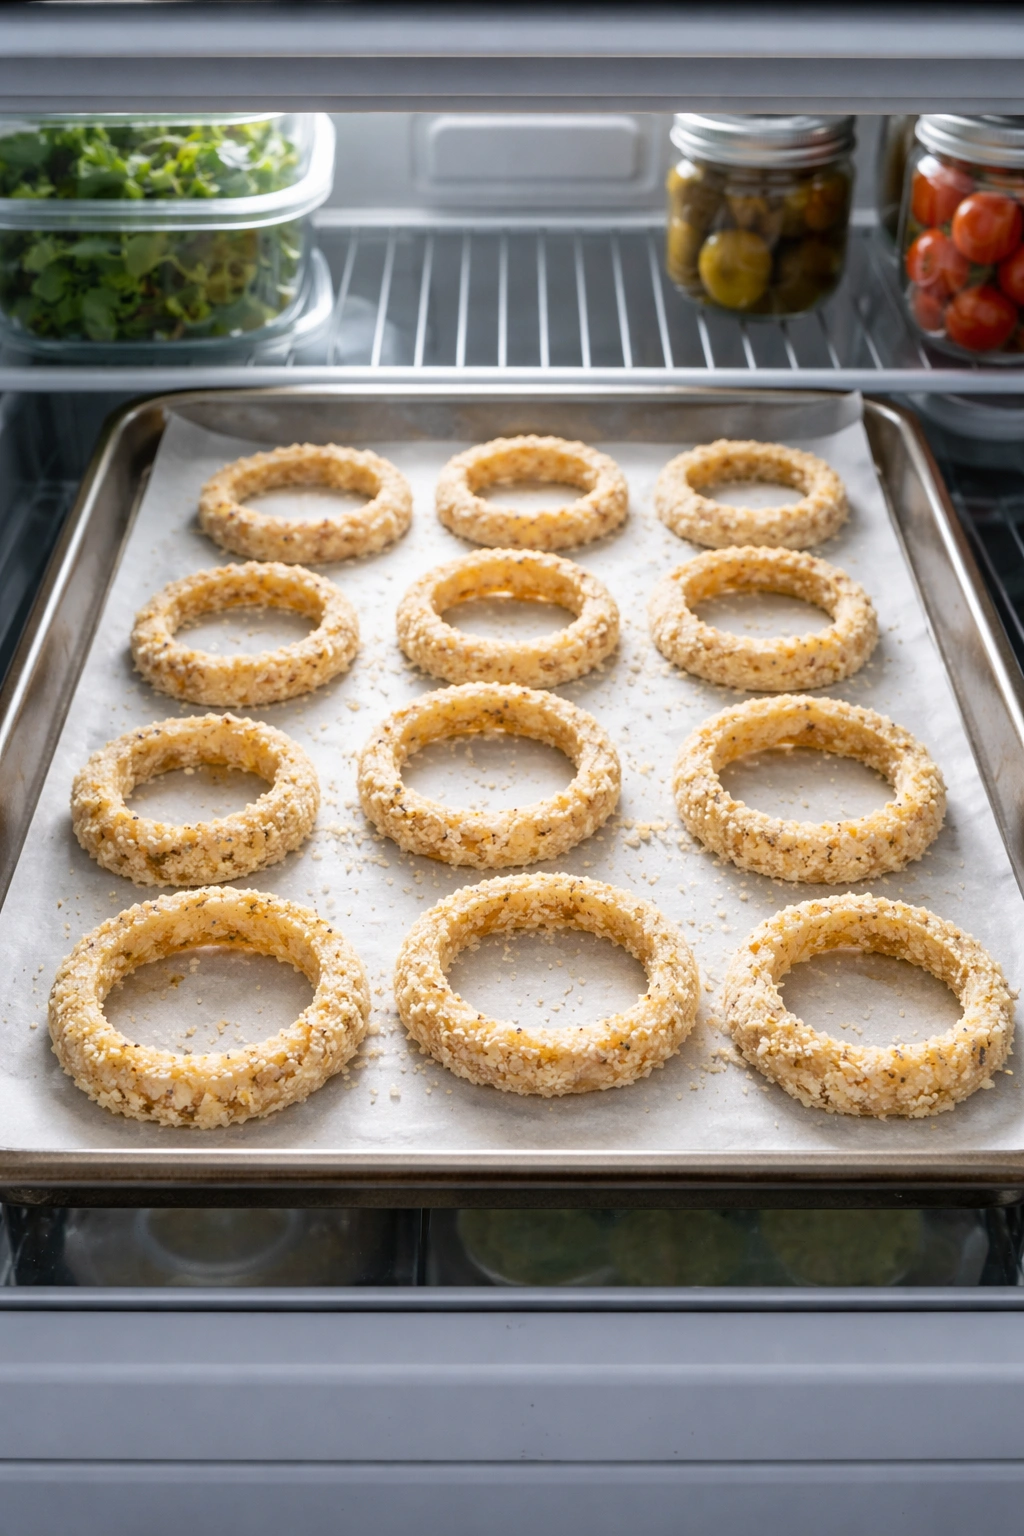
Coated But Not Yet Fried
You can coat the onion rings up to 4 hours ahead of time. Layer them on a parchment-lined baking sheet (don’t stack them) and refrigerate. The cold actually helps the coating firm up and adhere better. When you’re ready to fry, let them sit at room temperature for 5 minutes before frying. No need to wait longer — if they get too warm, the mayo can separate.
Storage After Frying
Leftover cooked rings keep best in an airtight container at room temperature for up to 3 hours. After that, they start absorbing ambient moisture and lose their crispiness. Refrigerating them makes this process faster, so if you won’t be eating them within 3 hours, don’t bother storing them cold — you’ll be disappointed when you reheat them.
Reheating (Somewhat Realistic)
The truth about reheating fried foods: they never crisp back up exactly like fresh. That said, you can make them decent again. Preheat your oven to 350°F and spread the rings on a baking sheet. Bake for 5 to 7 minutes, until they’re warm and the exterior is dry again. They won’t have that initial shattering crispiness, but they’ll be edible and still reasonably crispy — much better than microwaving them, which makes them soggy.
Alternatively, if you have an air fryer, you can reheat them at 350°F for 4 to 5 minutes, which actually restores some of the crispiness by removing surface moisture. This is the best reheating method if you have one.
Can You Freeze Them?
Frozen cooked rings will keep for about a month, but honestly, they don’t reheat well. The exterior gets soft and the onion inside becomes watery. If you must freeze them, let them cool completely, layer them between parchment paper in an airtight container, and reheat in a 350°F oven for 10 to 12 minutes. Expect them to be decent, not great.
The better strategy: freeze the coated, unfried rings. Arrange them on a baking sheet, freeze until solid (about 2 hours), then transfer to a freezer bag. They’ll keep for up to 2 months. Fry them directly from frozen, adding 1 to 2 minutes to the frying time. They come out nearly as crispy as fresh rings.
What to Serve With These
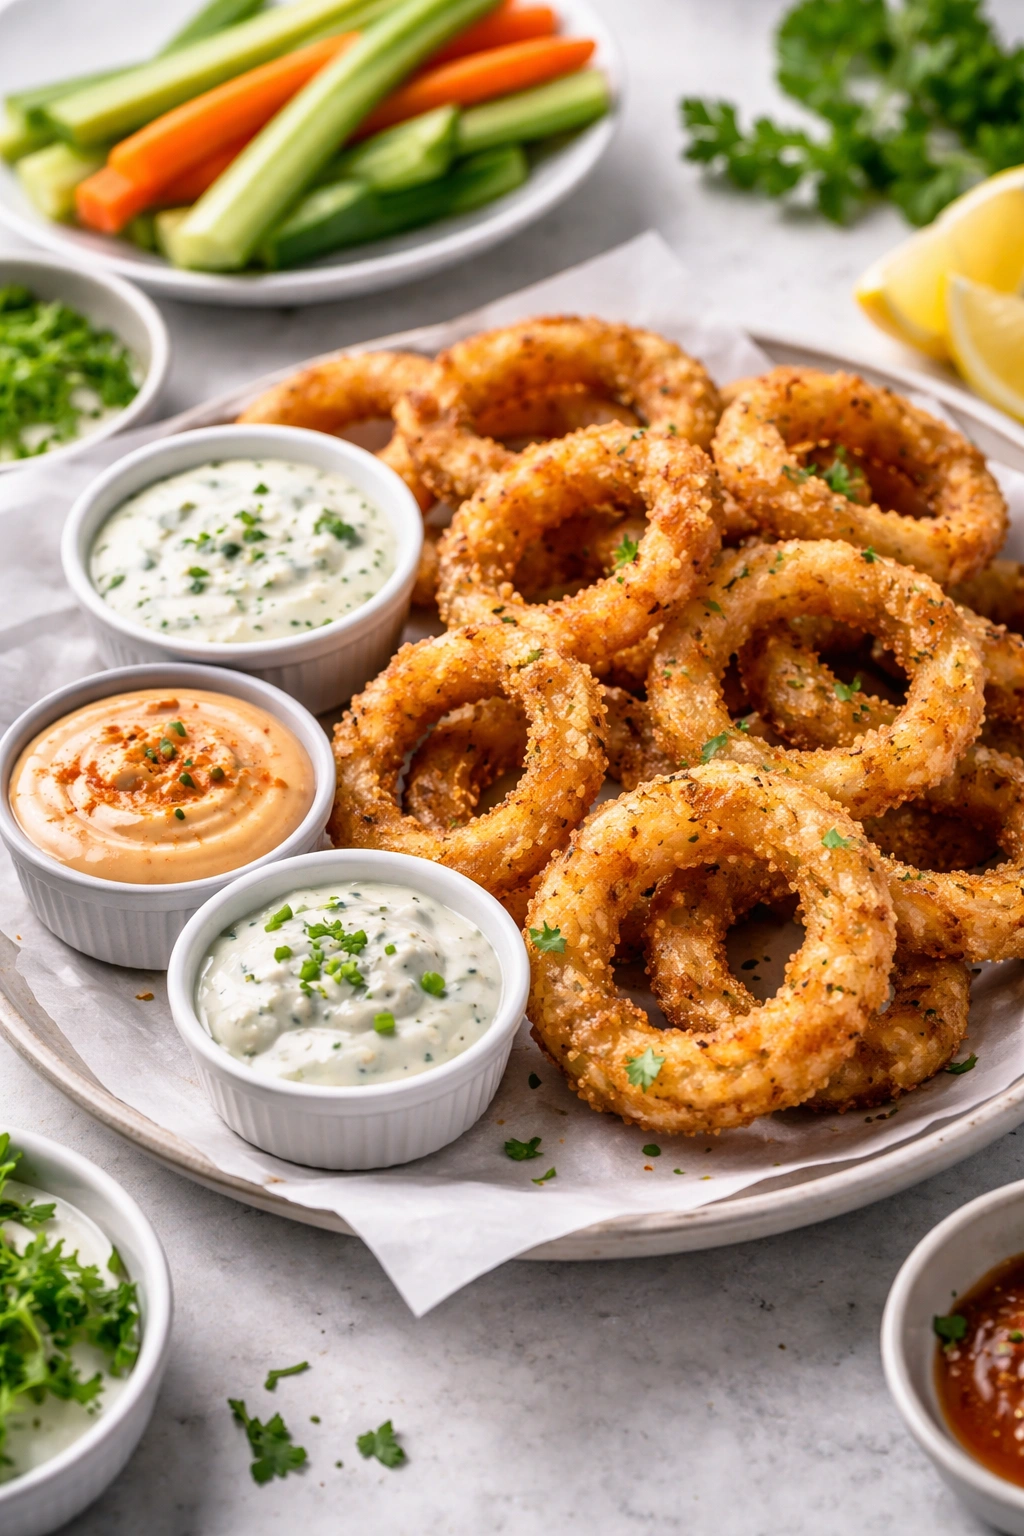
Dipping Sauces
Ranch dressing is the obvious choice — the creamy, herbaceous richness complements the crispy exterior perfectly. Blue cheese dressing adds complexity and pairs beautifully if you’ve made the herb or everything bagel version. Sugar-free ketchup works fine for traditionalists. For something different, try mixing sour cream with sriracha and a squeeze of lime juice, or combine mayo with fresh dill and lemon zest.
As a Dinner Side
These are perfect alongside any keto burger, steak, or fish entrée. The crispy exterior and tender onion inside provide textural contrast to whatever protein you’re serving. A burger with a side of these rings is genuinely satisfying, especially with a simple green salad dressed with olive oil and vinegar.
On a Keto Charcuterie Board
Serve them warm or at room temperature alongside cured meats, aged cheeses, olives, and nuts. The slightly sweet, savory ring plays well against sharp cheddars and salty cured ham. They’re more interesting than raw vegetables and way more exciting than crackers.
With Eggs for Breakfast
Leftover rings are genuinely good at breakfast alongside scrambled eggs or an omelet. The savory, crispy element makes the meal feel more substantial without adding carbs.
Common Mistakes and How to Fix Them
The Rings Come Out Greasy, Not Crispy
This almost always means one of two things: the mayo coating was too thick (you didn’t shake off enough batter), or the oil temperature wasn’t hot enough (below 340°F). Solution: use less mayo batter next time, and invest in a reliable thermometer. If the oil starts at the right temperature, the cooking process itself will usually maintain it, but checking halfway through is smart.
The Onion Inside Is Still Crunchy and Raw
The oil temperature was too high, so the exterior burnt before the onion could cook through. The coating turned dark and crispy, but the onion inside didn’t soften. Solution: lower your oil temperature to exactly 350°F next time, and don’t rush. The onion needs 3 to 4 full minutes to cook through, even if the coating looks golden after 2 minutes.
The Coating Separates or Falls Off During Frying
Either the onions weren’t dried well enough before coating (water prevents adhesion), or the mayo was too cold and wasn’t thin enough to coat smoothly. Solution: use a paper towel to thoroughly dry each ring after slicing, and let mayo reach room temperature. Also make sure you’re pressing the pork rinds onto the mayo layer firmly so they adhere.
They’re Soggy by the Time I Serve Them
You either didn’t let the oil temperature recover between batches (subsequent batches fry too slowly and absorb excess oil), or you stacked the rings while they were still steaming (trapping moisture). Solution: cook in smaller batches and let the oil come back to 350°F between batches. Cool rings on a single layer of paper towels without stacking until serving.
The Pork Rind Coating Tastes Too Porky or Meaty
You’re either using a brand of pork rinds that’s heavily seasoned, or you used too much. Unseasoned pork rinds or plain pork belly chips have a much more neutral flavor. Buy plain versions and season them yourself with just salt, or use a 50/50 mix of pork rinds and grated Parmesan to dilute the porky flavor.
Final Thoughts
The beauty of this recipe is that it proves keto doesn’t mean giving up the foods you love — it means understanding the chemistry behind them and finding ways to achieve the same satisfaction with ingredients that align with your goals. These rings are genuinely crispy, genuinely delicious, and genuinely simple to make once you understand the core technique.
The mayo batter is the game-changer here. It seems counterintuitive — mayo is rich, it’s fatty, it sounds like it would make things heavy — but that’s exactly why it works. It creates a crust so thin and shattering that you forget you’re eating a keto version of anything. You’re just eating perfectly fried onion rings.
Make these once and you’ll have the confidence to experiment. Add different seasonings, try different dips, scale the recipe up for a crowd. Once you’ve cracked the technique, you can apply it to other vegetables: mushrooms, zucchini slices, and broccoli florets all work beautifully with the exact same batter and coating. Your keto kitchen just got a lot more fun.