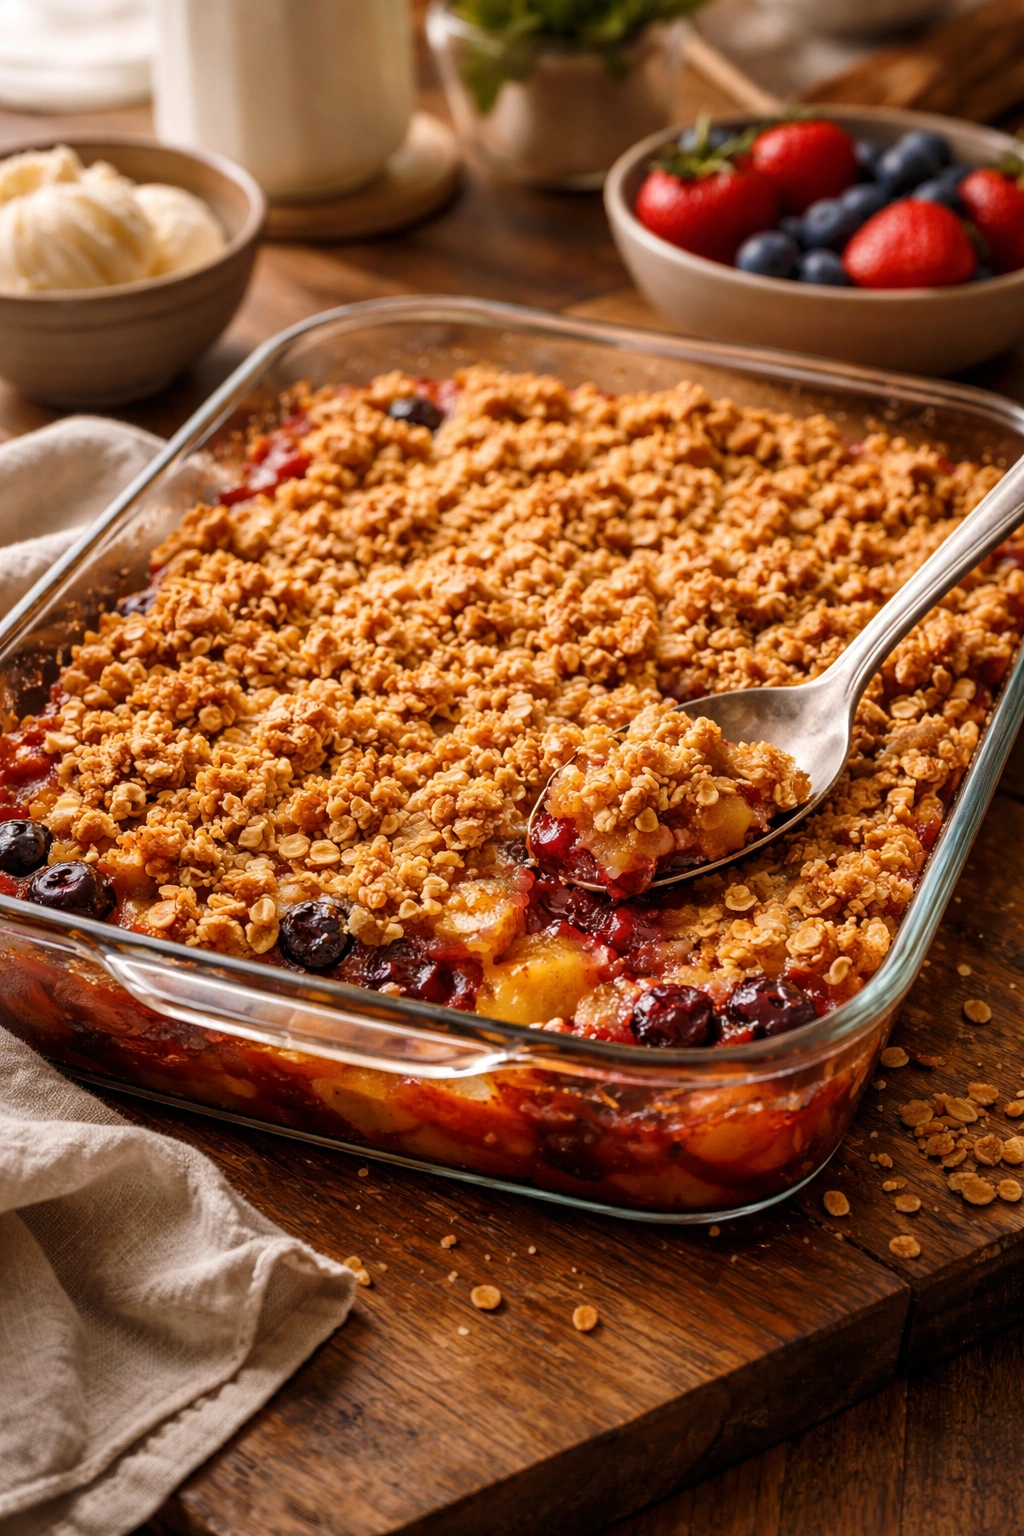
A fruit crisp might be one of the most forgiving desserts in your repertoire, yet it delivers that magical combination of warm, juicy fruit and a golden, crunchy topping that tastes like you’ve spent hours tinkering in the kitchen. The beauty of a crisp is that it doesn’t demand precision or fancy techniques—it’s genuinely straightforward, which is exactly why this dessert has remained a kitchen staple across generations. Whether you’re a seasoned baker or someone who typically avoids the oven, a fruit crisp is the kind of dessert that builds confidence and rewards you generously.
What makes a fruit crisp so special is the contrast happening in every bite. The fruit softens and concentrates its flavor as it bakes, sometimes releasing its natural juices into a syrupy, gently spiced base, while the oat topping crisps up into something wonderfully textured and substantial. It’s not overly sweet, it doesn’t require fancy equipment, and it comes together in under fifteen minutes of actual hands-on work. You can have a warm crisp on your table less than an hour after you decide you want one.
The best part? A fruit crisp is genuinely flexible. You can make it with whatever fruit you have on hand—fresh, frozen, or even canned—and it’ll work beautifully. The oat topping is the same straightforward mixture every time: oats, butter, brown sugar, and maybe a pinch of salt and cinnamon. That consistency is what makes this dessert feel approachable even on days when you’re low on energy and creativity. This is the kind of recipe that reminds you why home baking is worth doing.
Why Fruit Crisps Are the Perfect Everyday Dessert
A fruit crisp occupies a special place in the dessert landscape because it requires so much less technique than a pie or cake, yet it delivers the same warm, comforting payoff. There’s no dough to roll out or chill, no frosting to crumb coat, no layers to stack. You assemble, you bake, and you get to eat it while it’s still warm—which is honestly when it tastes its absolute best.
The other reason crisps deserve a regular spot in your baking rotation is that they’re endlessly accommodating. Any fruit works: stone fruits, berries, apples, pears, rhubarb, stone fruits—fresh or frozen without any adjustment to the recipe. You can make it as simple or as spiced as you want. It’s equally at home on a Tuesday night after a quiet dinner as it is as the closing note to a dinner party. It works for breakfast the next day, straight from the fridge. It’s one of those rare recipes that genuinely improves the next day as the fruit and topping marry together.
There’s also something genuinely satisfying about serving a dessert that looks homemade and tastes like care, but demanded very little stress from you in the making. People taste a fruit crisp and think you’ve fussed, when the truth is you’ve been incredibly efficient and smart.
Selecting Your Fruit: The Foundation of Everything
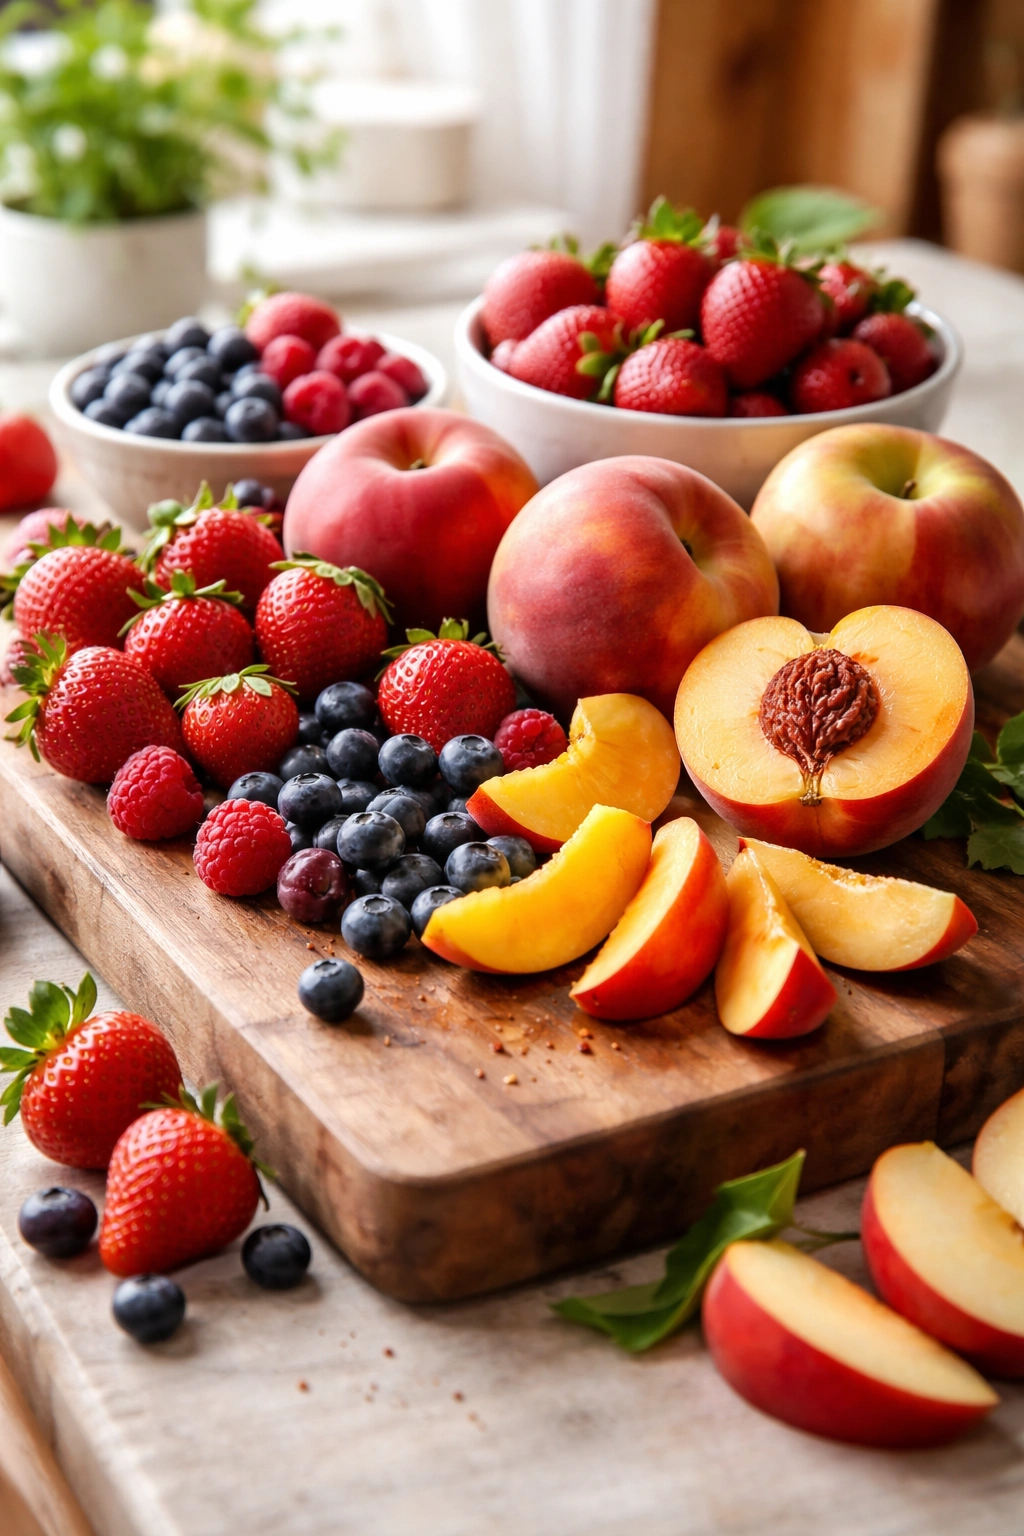
The fruit you choose becomes the entire story of your crisp. This is where the decision-making matters most, and the good news is that almost every fruit works beautifully in this format. Fresh fruit at peak ripeness is wonderful—it’s juicy, flavorful, and needs minimal added sweetness. But frozen fruit works just as well, and often better than you might expect, because freezing actually locks in ripeness and flavor. You don’t need to thaw frozen fruit before using it; in fact, many bakers prefer not to, as it helps the pieces hold their shape slightly better during baking.
The amount of liquid your fruit releases is worth considering. Juicy fruits like berries, peaches, and plums will create more syrup in the bottom of the dish—which is delicious and no problem at all. Drier fruits like apples and pears release less moisture. If you’re using a very wet fruit, you might add a teaspoon or so of cornstarch to the fruit mixture to prevent an overly liquidy crisp. If you’re mixing fruits, the variety keeps things interesting both in flavor and texture.
Stone fruits (peaches, plums, nectarines, apricots) are exceptional in crisps because they’re juicy, naturally sweet, and they pair beautifully with warm spices like cinnamon and nutmeg. Berries (blueberries, blackberries, raspberries, strawberries) create a more delicate, slightly tart crisp that goes wonderfully with vanilla or a hint of lemon zest. Apples and pears are reliable, less juicy, and deeply comforting—they take spice beautifully and play well with caramel or brown butter flavors. A mix of two or three fruits gives you complexity and extends the experience of eating the crisp.
The Oat Topping: Crispy, Buttery, Perfectly Crunchy
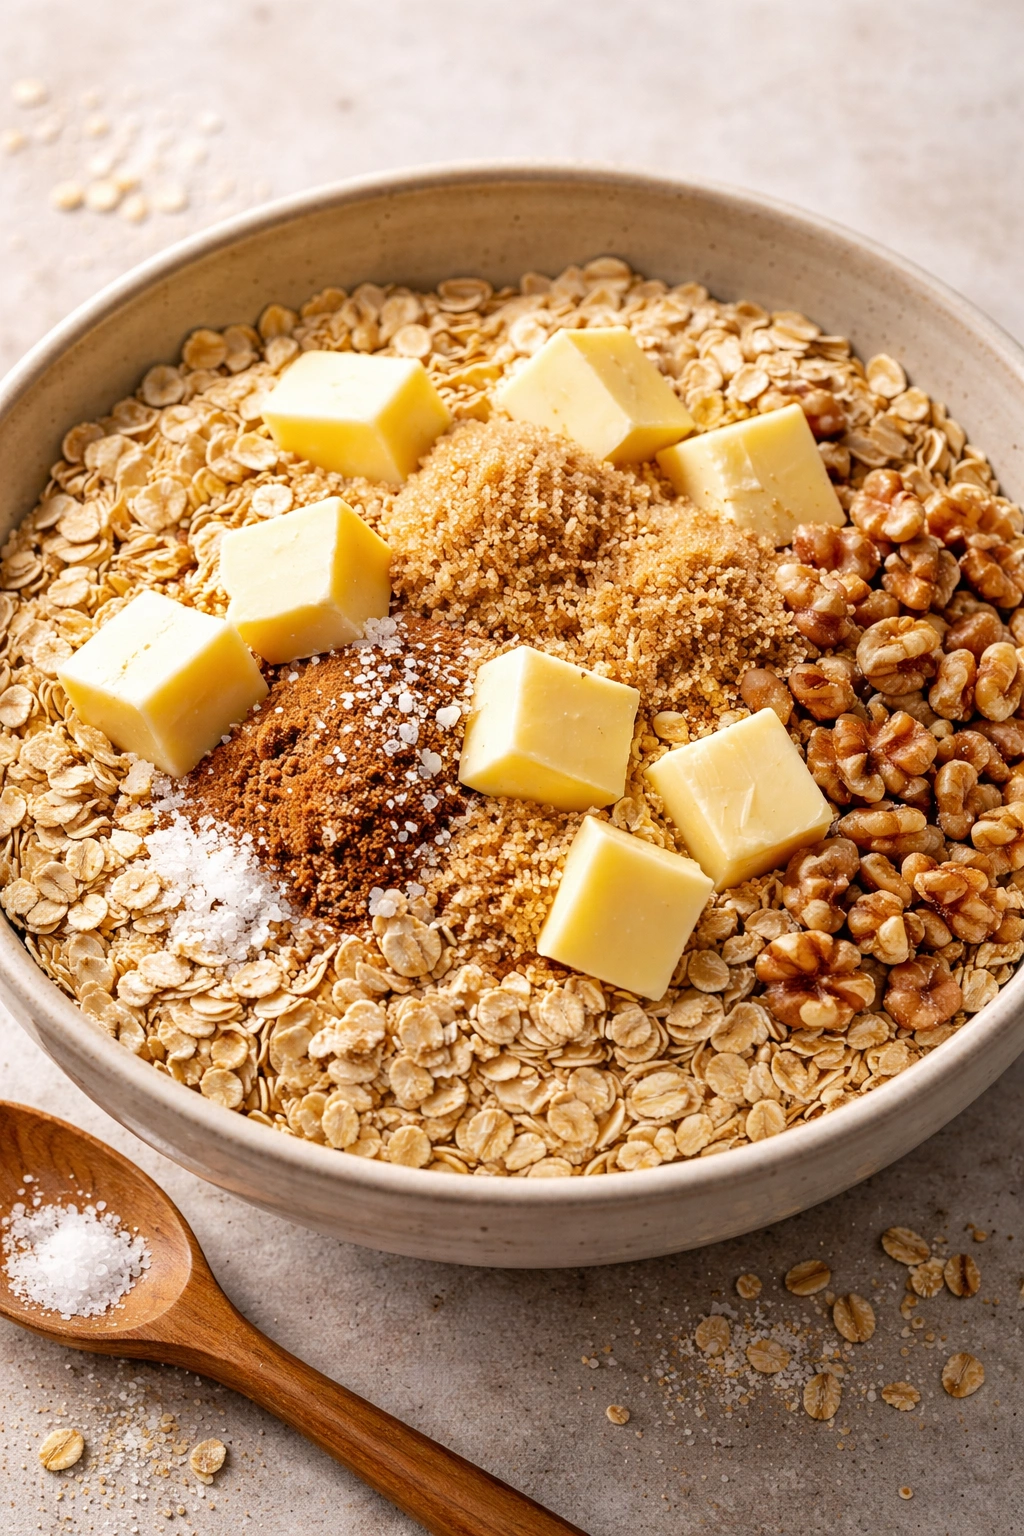
The crisp topping is where the magic lives, and the good news is it’s almost impossible to mess up. A proper crisp topping is essentially a very loose, crumbly mixture of oats, butter, brown sugar, and optional add-ins like nuts, salt, and spices. When the crisp bakes, the butter melts and coats the oats, the brown sugar caramelizes slightly, and everything comes together into something with real textural appeal—golden, crispy, substantial enough to give you something to sink your teeth into.
The ratio that works beautifully is roughly one part old-fashioned rolled oats to one part butter (by weight), about half as much brown sugar as oats, and a pinch of salt. This mixture bakes down into topping that’s crispy on top and slightly set but still tender underneath—not hard or crunchy all the way through, but with a real contrast between the top layer and the middle. The butter is key here: it needs to be cold or at room temperature, cut into small pieces, and worked into the oats until the mixture looks like coarse sand with some slightly larger clumps of buttery oats scattered throughout.
Optional additions elevate the topping without overcomplicating it. Chopped nuts (pecans, walnuts, or almonds) add richness and a deeper crunch. Cinnamon, nutmeg, or cardamom warm the flavor profile. A tablespoon of honey or maple syrup adds subtle depth. A handful of shredded coconut brings tropical sweetness. None of these are necessary—the basic version is complete and deeply satisfying—but they’re all easy ways to make the crisp your own.
Yield, Timing, and Difficulty Level
Yield: Serves 6 to 8 | Makes one 9×13-inch crisp
Prep Time: 15 minutes (hands-on active preparation)
Cook Time: 35 to 40 minutes (baking time)
Total Time: 50 to 55 minutes (active prep plus baking)
Best Served: Warm from the oven, or at room temperature the next day
Difficulty: Beginner — no special equipment required, just a bowl and a baking dish. The steps are straightforward, the technique is forgiving, and the results are consistently excellent even on your first attempt. If you can stir a bowl and slice fruit, you can make this crisp.
Complete Ingredient List
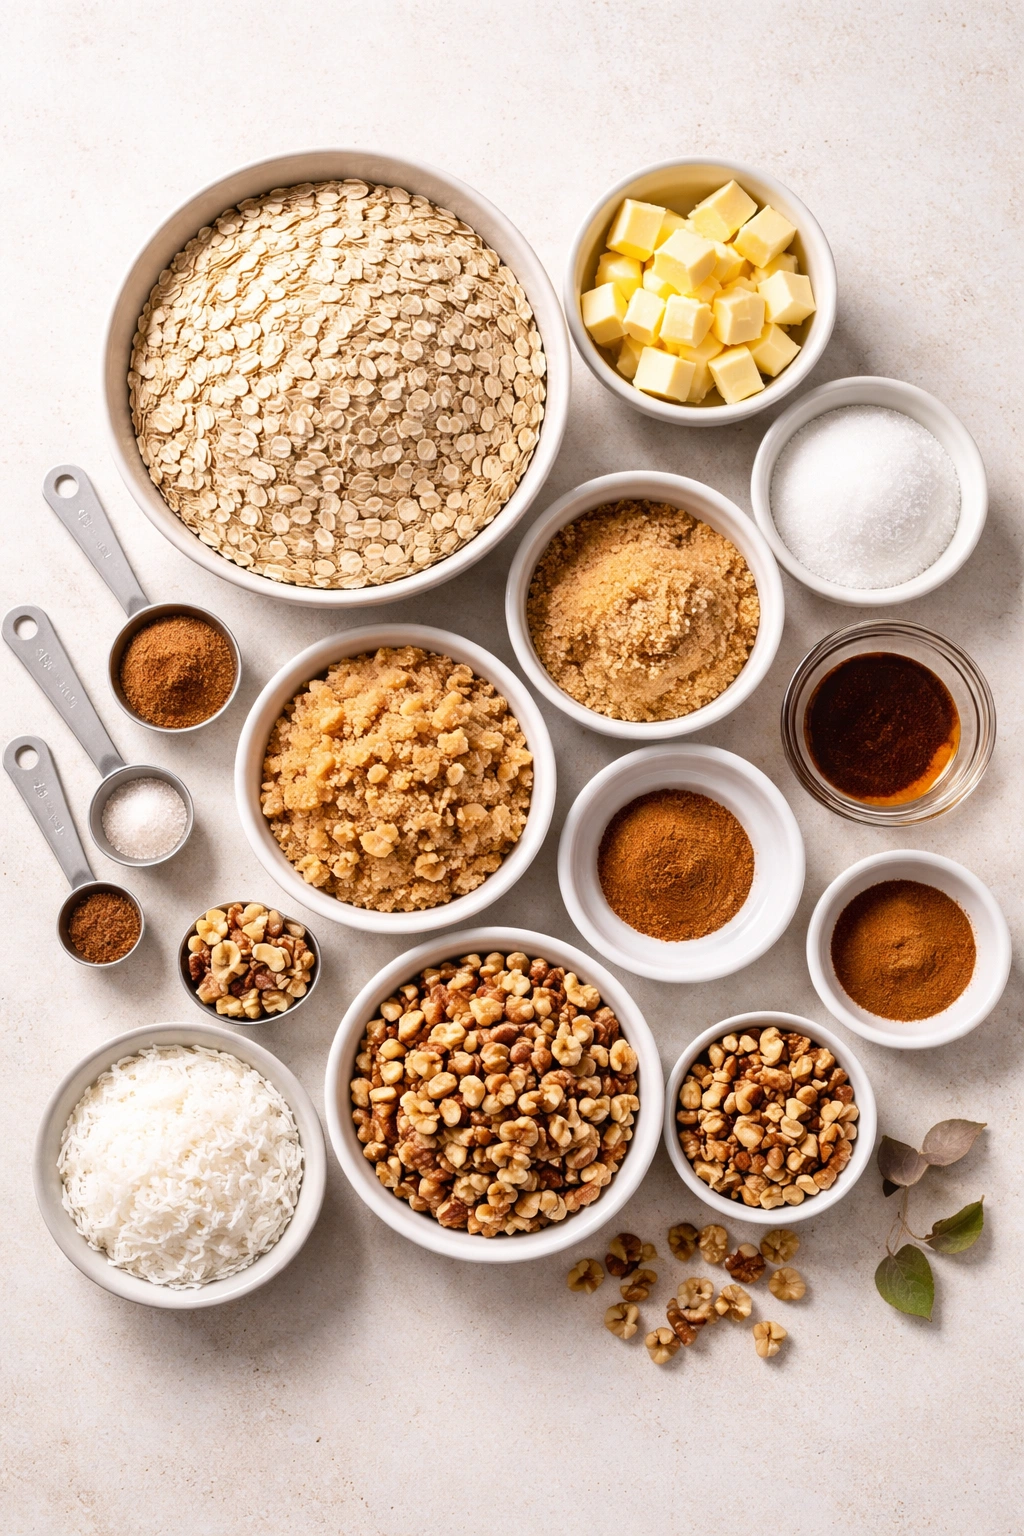
For the Fruit Filling:
- 6 to 7 cups fresh fruit (or frozen fruit, not thawed), such as peaches, plums, berries, apples, pears, or a combination—roughly 2½ to 3 pounds
- 3 tablespoons granulated sugar
- 2 tablespoons packed brown sugar
- 1 tablespoon fresh lemon juice (or ½ teaspoon lemon zest if you prefer)
- ½ teaspoon vanilla extract
- ¼ teaspoon fine sea salt
- ¼ teaspoon ground cinnamon (optional, but lovely)
- ⅛ teaspoon ground nutmeg (optional)
- 1 teaspoon cornstarch (only if using very juicy fruit like berries or stone fruits; omit if using apples or pears)
For the Crisp Topping:
- 2 cups old-fashioned rolled oats (not instant oats)
- ½ cup (1 stick) cold unsalted butter, cut into small cubes
- ⅓ cup packed brown sugar
- ¼ cup granulated sugar
- ¼ teaspoon fine sea salt
- ½ teaspoon ground cinnamon
- ¼ teaspoon vanilla extract
- ⅓ cup raw nuts, chopped (pecans or walnuts work beautifully; almonds are excellent too) — optional but recommended
- 2 tablespoons shredded unsweetened coconut — optional
To Serve:
- Vanilla ice cream, Greek yogurt, whipped cream, or crème fraîche (highly recommended)
Step-by-Step Instructions
Prepare Your Pan and Preheat:
-
Preheat your oven to 375°F (190°C) and position the rack in the center of the oven. Line a 9×13-inch baking dish with parchment paper for easy cleanup, or simply grease it lightly with butter.
-
If you’re using fresh fruit, give it a quick rinse and pat it dry. Peel stone fruits and cut them into ¾-inch pieces (you don’t need to peel berries). If you’re using apples or pears, peel them, cut them in half, remove the core, and cut them into ¾-inch pieces.
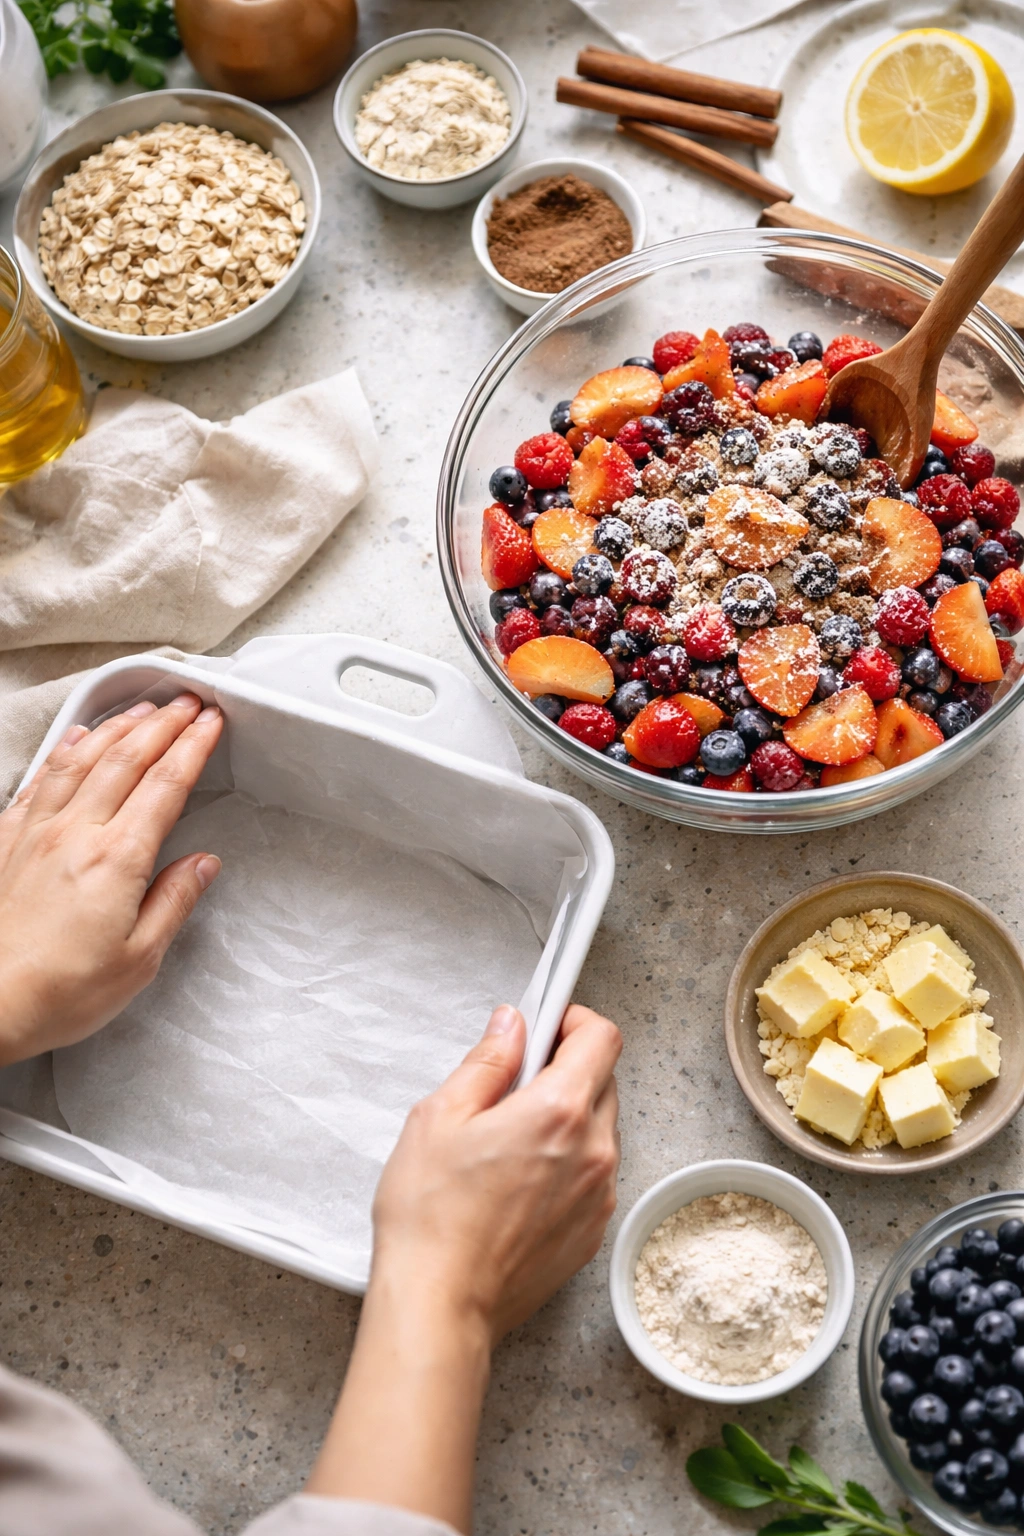
Make the Fruit Filling:
-
Place all your cut fruit into a large bowl. Add the granulated sugar, brown sugar, lemon juice, vanilla extract, salt, cinnamon, and nutmeg. If you’re using very juicy fruit like fresh berries or stone fruits, add the cornstarch as well (this helps prevent the bottom of the crisp from becoming too liquidy).
-
Using a sturdy spoon or a rubber spatula, gently fold the fruit together with the sugar and spices until everything is evenly coated. Don’t mash the fruit—just toss it gently until the pieces are coated and the sugar begins to dissolve slightly. Taste a piece of fruit: it should taste lightly sweetened, not aggressively sugary. The fruit will release more juice as it bakes, and that becomes a delicious syrup at the bottom of the dish.
-
Transfer the fruit mixture into your prepared baking dish and spread it into an even layer. Let it sit while you make the topping—the fruit can sit at room temperature for up to 15 minutes without any problem.
Make the Crisp Topping:
-
In another large bowl, combine the rolled oats, chopped nuts (if using), salt, cinnamon, and coconut (if using). Whisk these together gently to distribute the salt and spices evenly throughout the oats.
Advertisements -
Add the cold butter cubes to the oat mixture and, using your fingertips, work the butter into the oats by rubbing them together. You’re aiming for a texture that looks like coarse sand, with some pea-sized pieces of buttery oats scattered throughout. This should take about 2 to 3 minutes of gentle work. Do not overmix or make the topping uniform—those larger clumps of buttery oats are what create crispy texture during baking.
-
Sprinkle the granulated sugar and brown sugar over the oat mixture and fold it gently with a spatula until the sugar is distributed throughout. The mixture might look a bit dry still, but it will crisp beautifully as it bakes.
-
Scatter the topping evenly over the fruit, pressing it down very gently with the back of a spatula so it sits snugly against the fruit but isn’t compressed into a solid layer. You want the topping loose enough that steam can escape during baking, which keeps the texture crispy. Leave it feeling almost fluffy in texture.
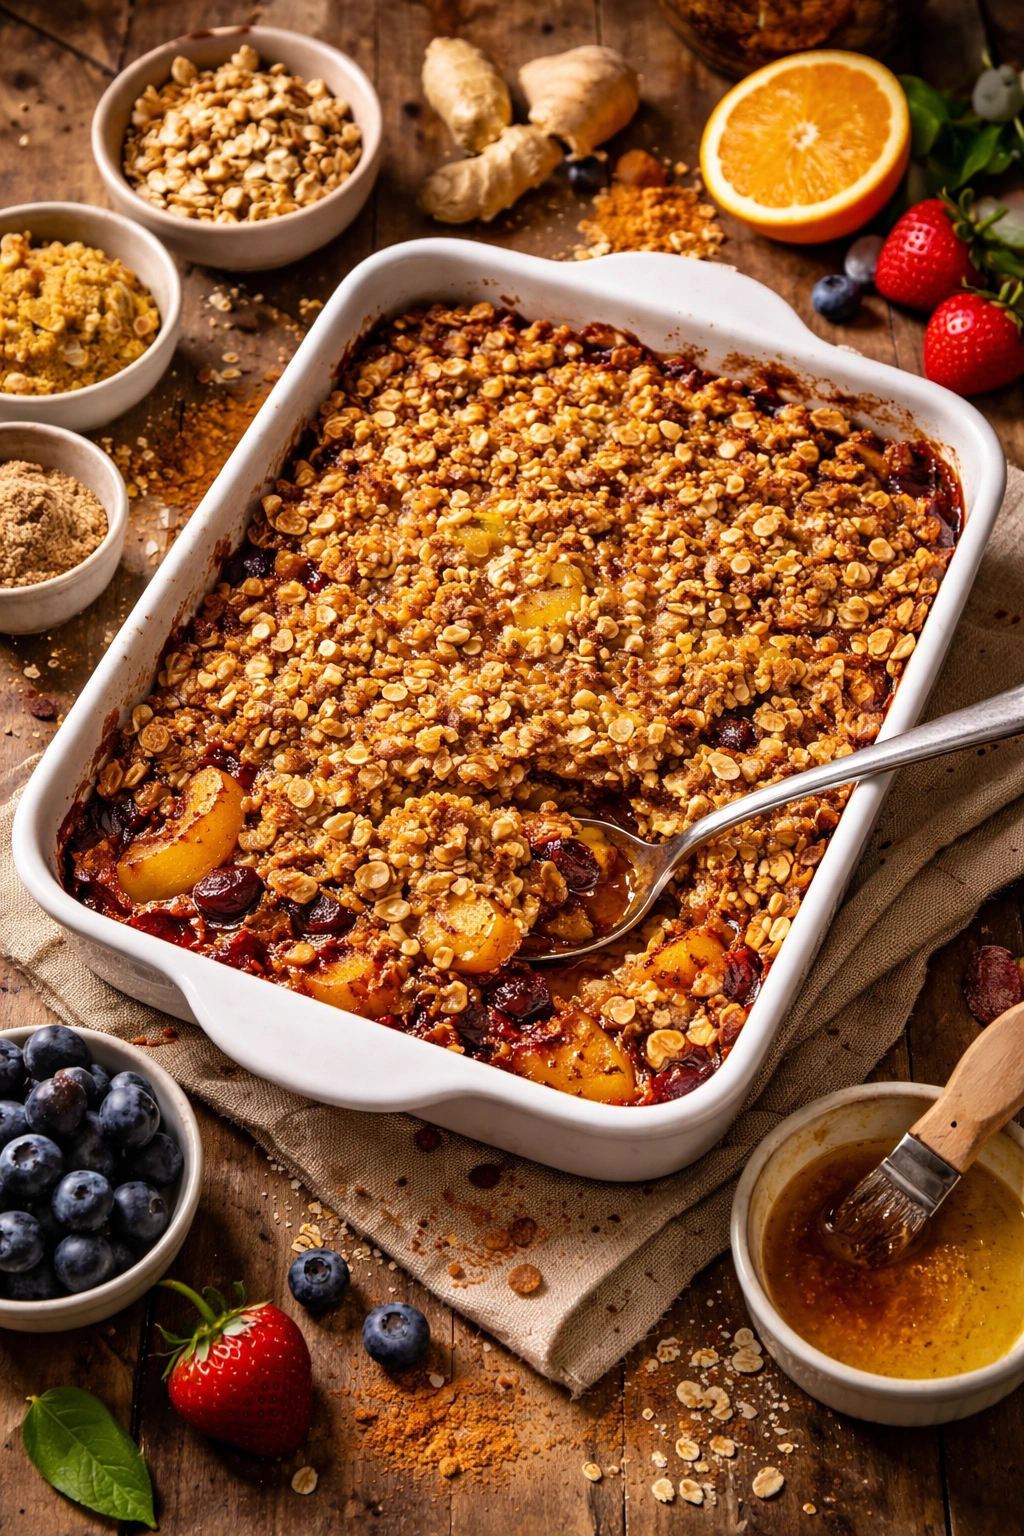
Bake the Crisp:
-
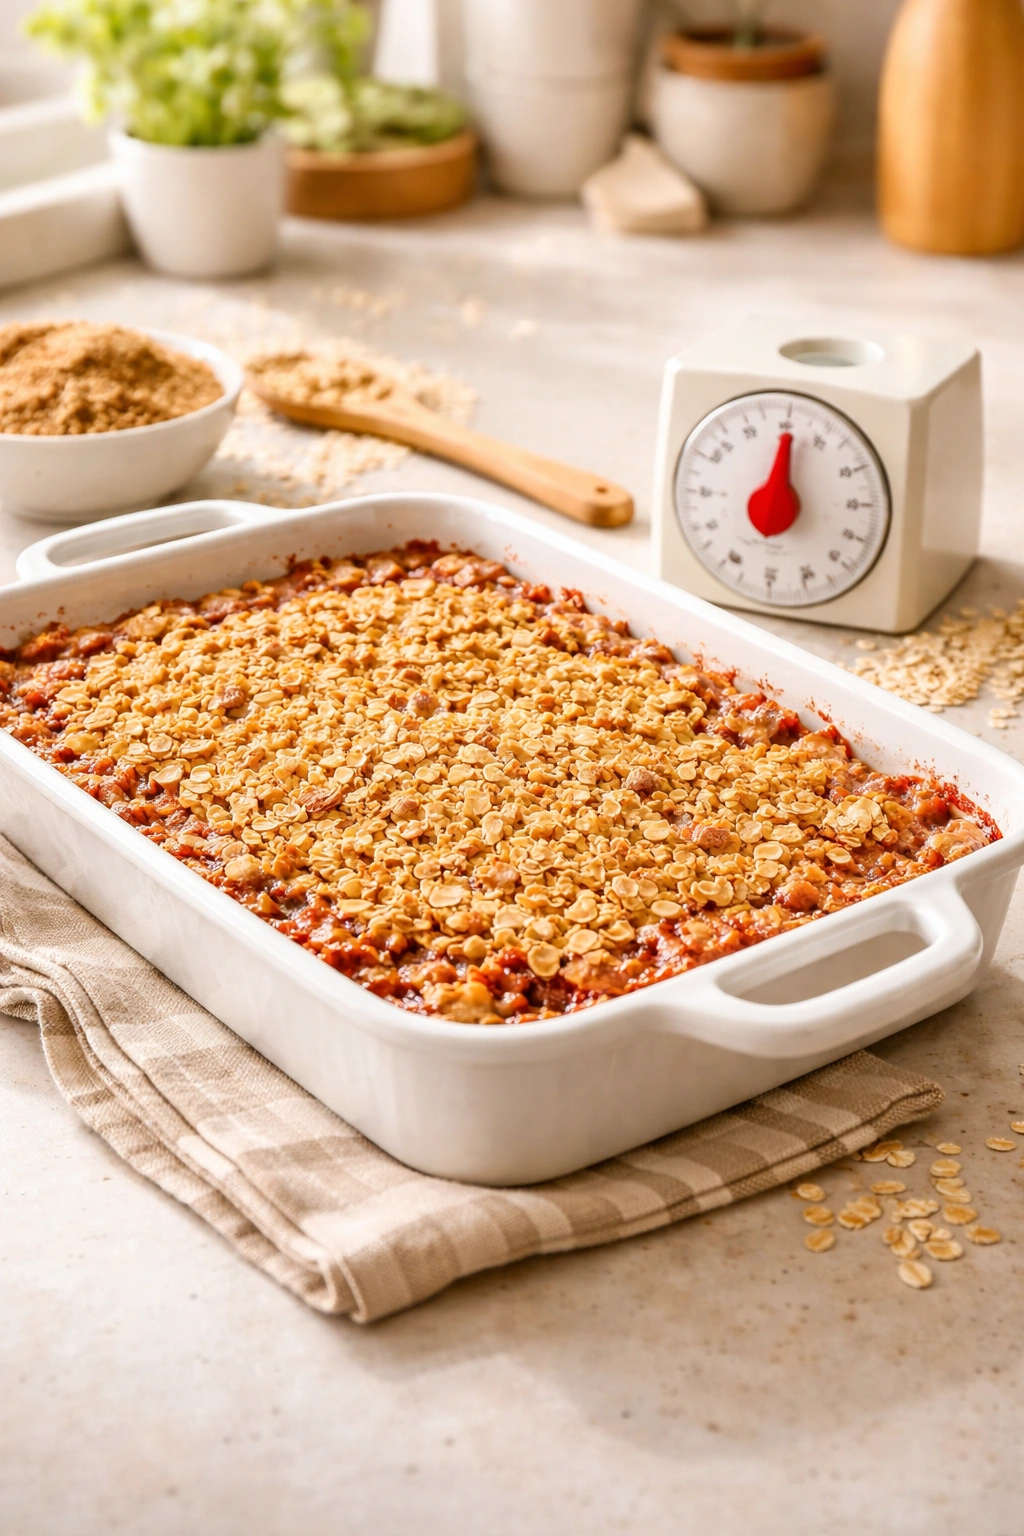
Bake for 35 to 40 minutes, rotating the dish halfway through the baking time, until the topping is deep golden brown and you can see the fruit starting to bubble around the edges. The top should look crunchy and feel set when you gently press it with a fingertip, though the underneath may still feel slightly soft—that’s perfect.
-
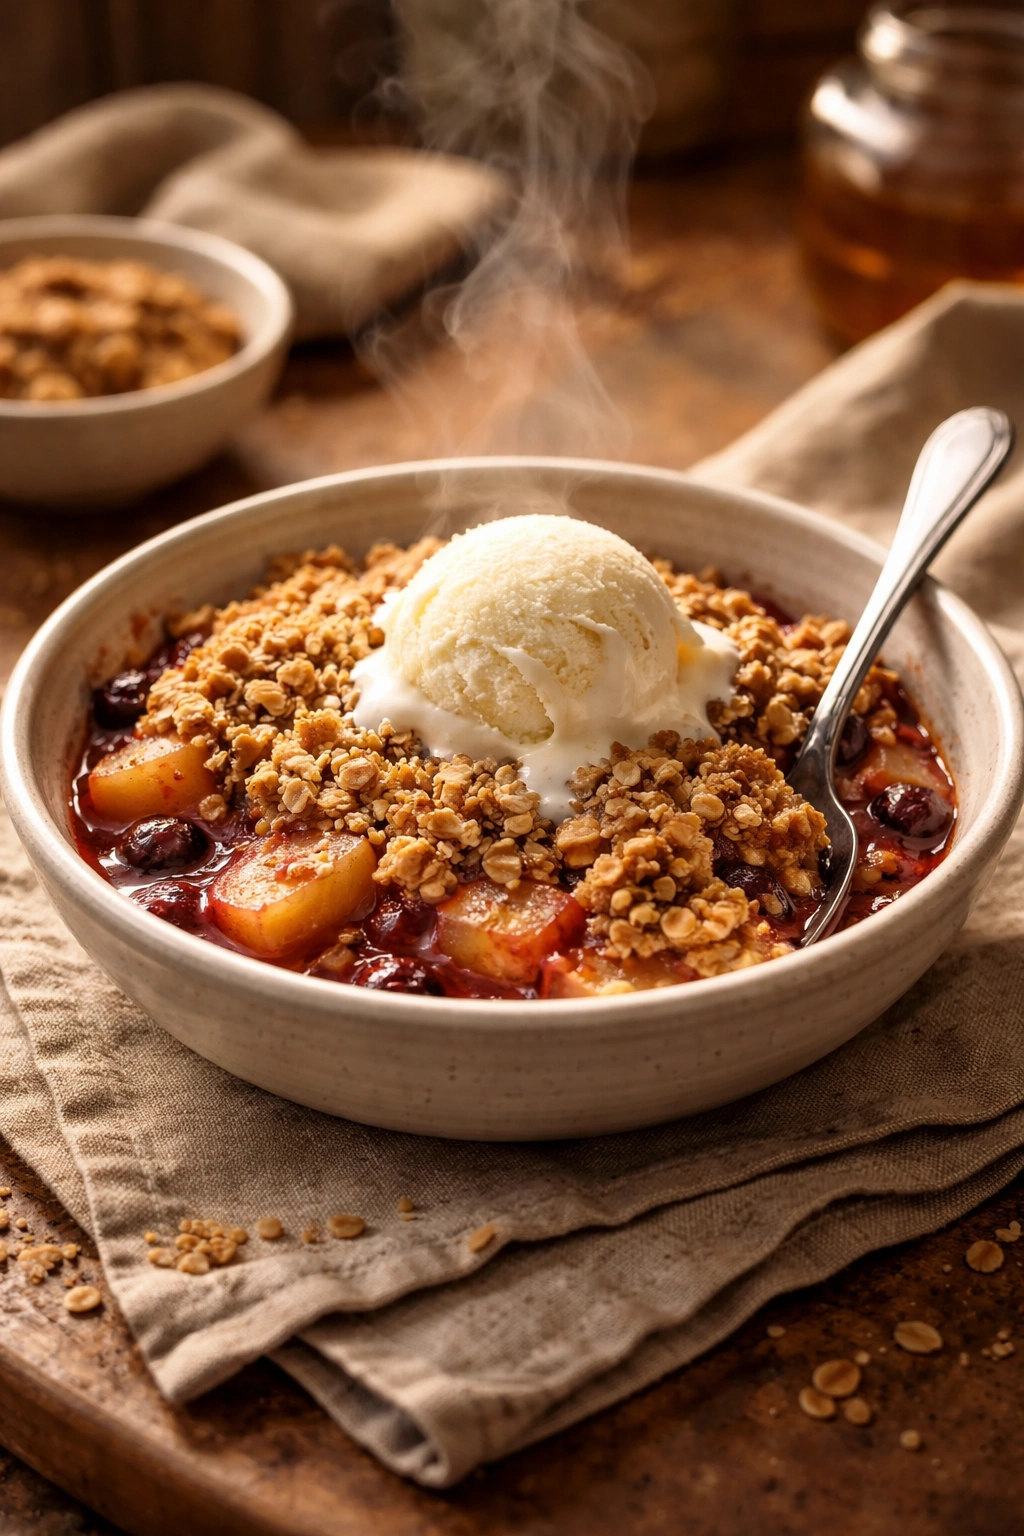
Remove the baking dish from the oven and set it on a wire cooling rack. Let the crisp rest for 10 to 15 minutes before serving—this is crucial because it allows the filling to set slightly and become less soupy, and it gives you a moment to prepare ice cream or whipped cream. The crisp will continue to firm up as it cools but will still be warm, which is exactly when it tastes best.
-
Serve the crisp warm directly from the dish, scooping out portions with a spoon or small ice cream scoop. Top each serving generously with vanilla ice cream, whipped cream, Greek yogurt, or crème fraîche—this contrast between the warm, spiced fruit and cold, cool topping is part of what makes a crisp so appealing.
Pro Tips and Common Pitfalls to Avoid

The absolute most common mistake people make with a fruit crisp is baking the topping separately or mixing it so thoroughly that it becomes paste instead of staying crumbly. Remember: you’re not making a cookie dough or a cake batter. The oat topping is supposed to stay loose and crumbly so that it crisps up unevenly and creates texture. Some pieces will be crunchy, some will be more tender, and that variation is exactly right.
Another frequent issue is baking the crisp without rotating the dish halfway through. Most ovens have hot spots, and rotating ensures the topping browns evenly instead of browning dark on one side and blonde on the other. If you notice your oven tends to brown one side more aggressively, start rotating at the 18-minute mark instead of waiting until 20 minutes.
The liquid issue is worth addressing directly. Fruit crisps are supposed to be slightly juicy at the bottom—that’s not a mistake, it’s the point. But if your filling looks like soup after baking, you either used very wet fruit without cornstarch, or you added too much sugar initially. For next time, add cornstarch if you’re using berries, peaches, or other juicy fruits. For apples and pears, you almost never need it. The bottom of the dish should bubble at the edges when the crisp is done baking, but the center shouldn’t look like it’s swimming.
Temperature matters more than you might think. Make sure your fruit isn’t ice-cold from the refrigerator when it goes into the oven—room temperature fruit mixes more evenly with the sugar and spices. If you’ve stored your fruit in the fridge, pull it out 15 minutes before assembling the crisp. Cold fruit will also make the baking time slightly longer, so watch for golden browning rather than watching the clock.
Don’t skip the resting period. I know the crisp smells incredible and you want to dig in immediately, but those 10 to 15 minutes of resting time are when the magic happens. The fruit’s natural pectin sets, the filling goes from loosey-goosey to gently set, and the topping firms enough that you can scoop a portion without it collapsing into the fruit. Your patience pays off in a much better eating experience.
Variations and Flavor Combinations Worth Trying
The basic fruit crisp is perfect, but once you understand how the recipe works, you can play with it endlessly. The spiced angle is probably the easiest way to customize: add a small pinch of ground ginger, increase the nutmeg, add a tiny hit of cardamom, or use vanilla bean paste instead of extract for deeper vanilla notes. Citrus is another direction—use lime zest instead of lemon, or add orange zest to the fruit mixture and the topping. The brightness of citrus keeps a crisp from feeling heavy.
The brown butter route is for when you want richness: melt the butter before mixing it with the oats and sugar, then let it cool for a few minutes before combining. Brown butter gives the topping an almost nutty, deeper caramel flavor that’s absolutely worth trying. You can make this even richer by using half melted brown butter and half cold butter cubes worked in as usual.
Going nuts in the topping (pistachios, hazelnuts, macadamia nuts, sliced almonds) completely changes the personality of the crisp. Pistachios bring a subtle earthiness that pairs beautifully with stone fruits. Hazelnuts work wonderfully with berries. Macadamia nuts add tropical sweetness that’s incredible with mango or pineapple if you’re experimenting with non-traditional fruits.
The granola direction is straightforward: use up to ½ cup of your favorite granola (chopped or broken into chunks) mixed into the oat topping. This instantly deepens the texture and adds complexity without extra work. The oat base and granola together create multiple layers of crunch.
Citrus fruit crisps are exceptional: try a mix of blueberries and lemon zest, or strawberries with lime. For rhubarb (which’s very tart), increase the sugar slightly and add a tablespoon of honey to the fruit filling. Rhubarb also takes cardamom beautifully—a small pinch in both the filling and the topping creates something special.
Alcohol adds sophistication if you want it: add a tablespoon of bourbon or brandy to a stone fruit crisp, or a tablespoon of Chambord to a berry version. Let it sit with the fruit for a few minutes so the flavors marry. This is strictly optional, but it creates something you’d serve at a dinner party without hesitation.
Maple syrup or honey in the topping instead of all granulated and brown sugar gives the crisp a deeper, more complex sweetness. You can replace up to a quarter of the sugar volume with maple syrup or honey, reducing the liquid in the fruit filling by a teaspoon to compensate.
Storage, Make-Ahead, and Next-Day Serving
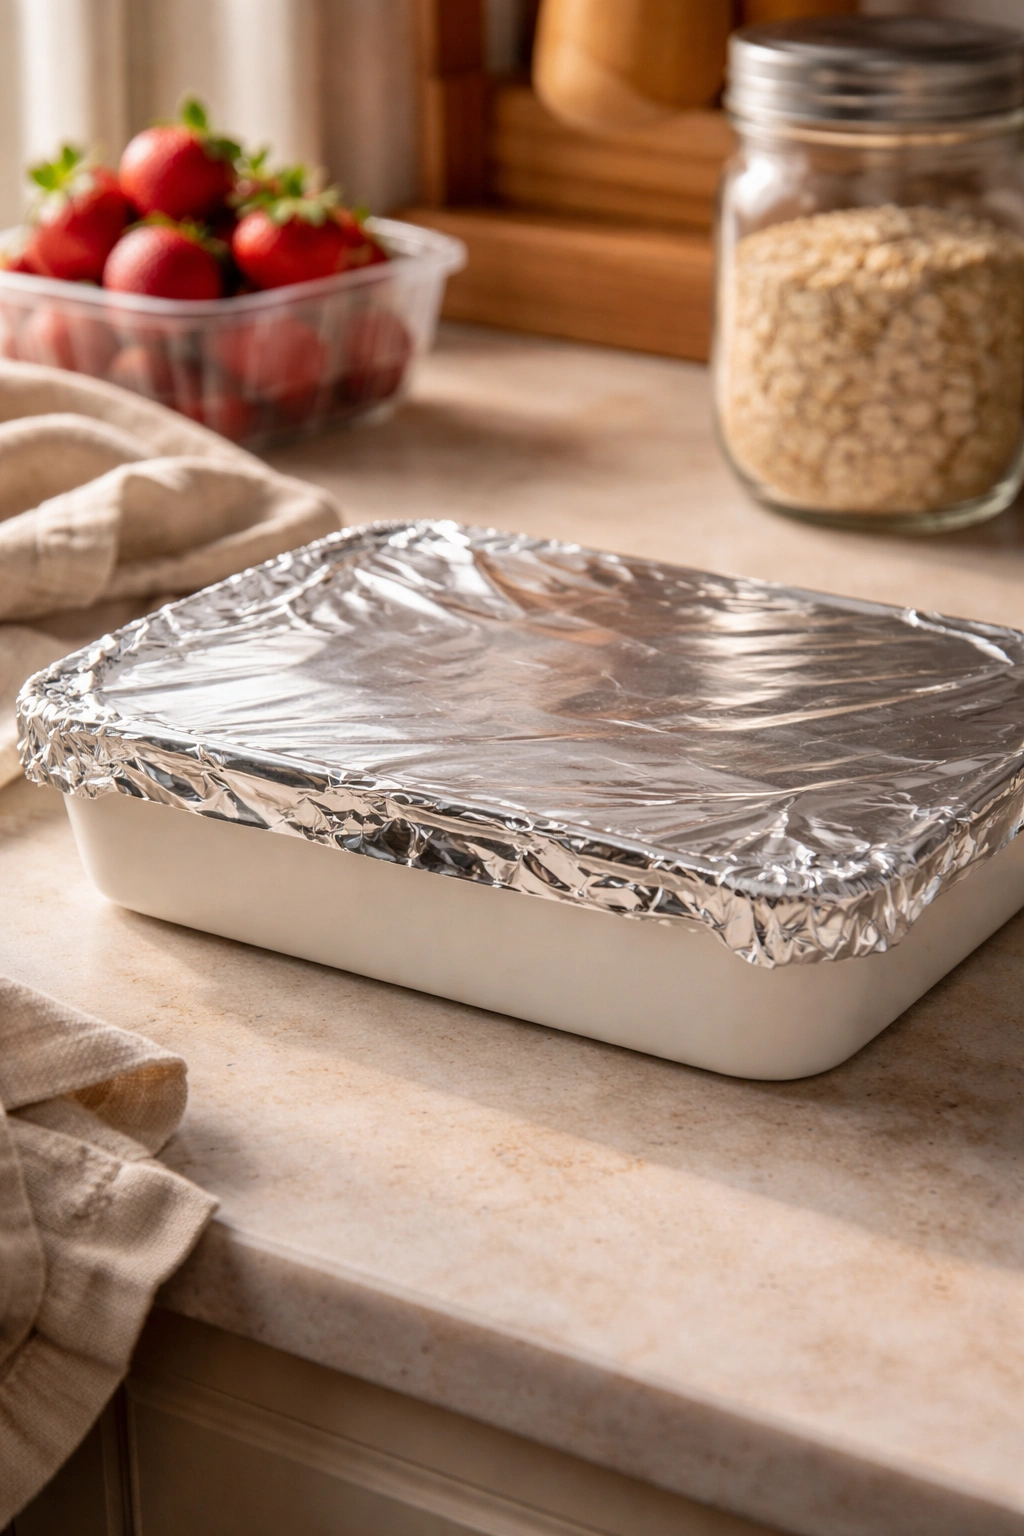
A fruit crisp is an excellent candidate for make-ahead preparation. You can assemble the entire crisp (fruit filling and topping already spread over it) up to 6 hours before baking, then cover it loosely with foil and refrigerate it. When you’re ready to bake, add about 5 to 7 minutes to the baking time since you’re starting from cold. This is genuinely convenient if you want warm crisp ready right after dinner without any last-minute effort.
You can also prepare the components separately: make the fruit filling up to a day ahead and keep it covered in the refrigerator, and make the topping up to two days ahead, storing it in an airtight container at room temperature. When you’re ready, spread the cold fruit into a baking dish, scatter the topping over it, and bake as usual. The only difference is that cold fruit will need an extra 5 minutes of baking time.
Storage after baking is where crisps become genuinely practical. A baked crisp keeps beautifully in an airtight container (or loosely covered on the counter) for up to three days. The topping gradually softens slightly, but it never loses its appeal. In fact, many people prefer crisp the second day, when the filling and topping have married together into one cohesive texture. It’s wonderful cold straight from the fridge, at room temperature for a simple breakfast or snack, or briefly reheated in a 300°F oven for 10 minutes to bring it back to warm.
Freezing works beautifully too. Cool the crisp completely, then cover it tightly with plastic wrap and foil (the foil prevents freezer burn). A frozen crisp keeps for up to two months. Reheat it from frozen: cover loosely with foil and bake in a 325°F oven for 25 to 30 minutes, then uncover and bake for another 5 to 10 minutes until warmed through and the topping regains its crispness.
Individual portions freeze excellently too. Let the crisp cool completely, then cut it into squares and layer them in an airtight container with parchment paper between the layers. These thaw at room temperature in about an hour and are wonderful for portion control—you can reheat just what you want without heating the entire dish.
How to Serve and Pair Your Crisp
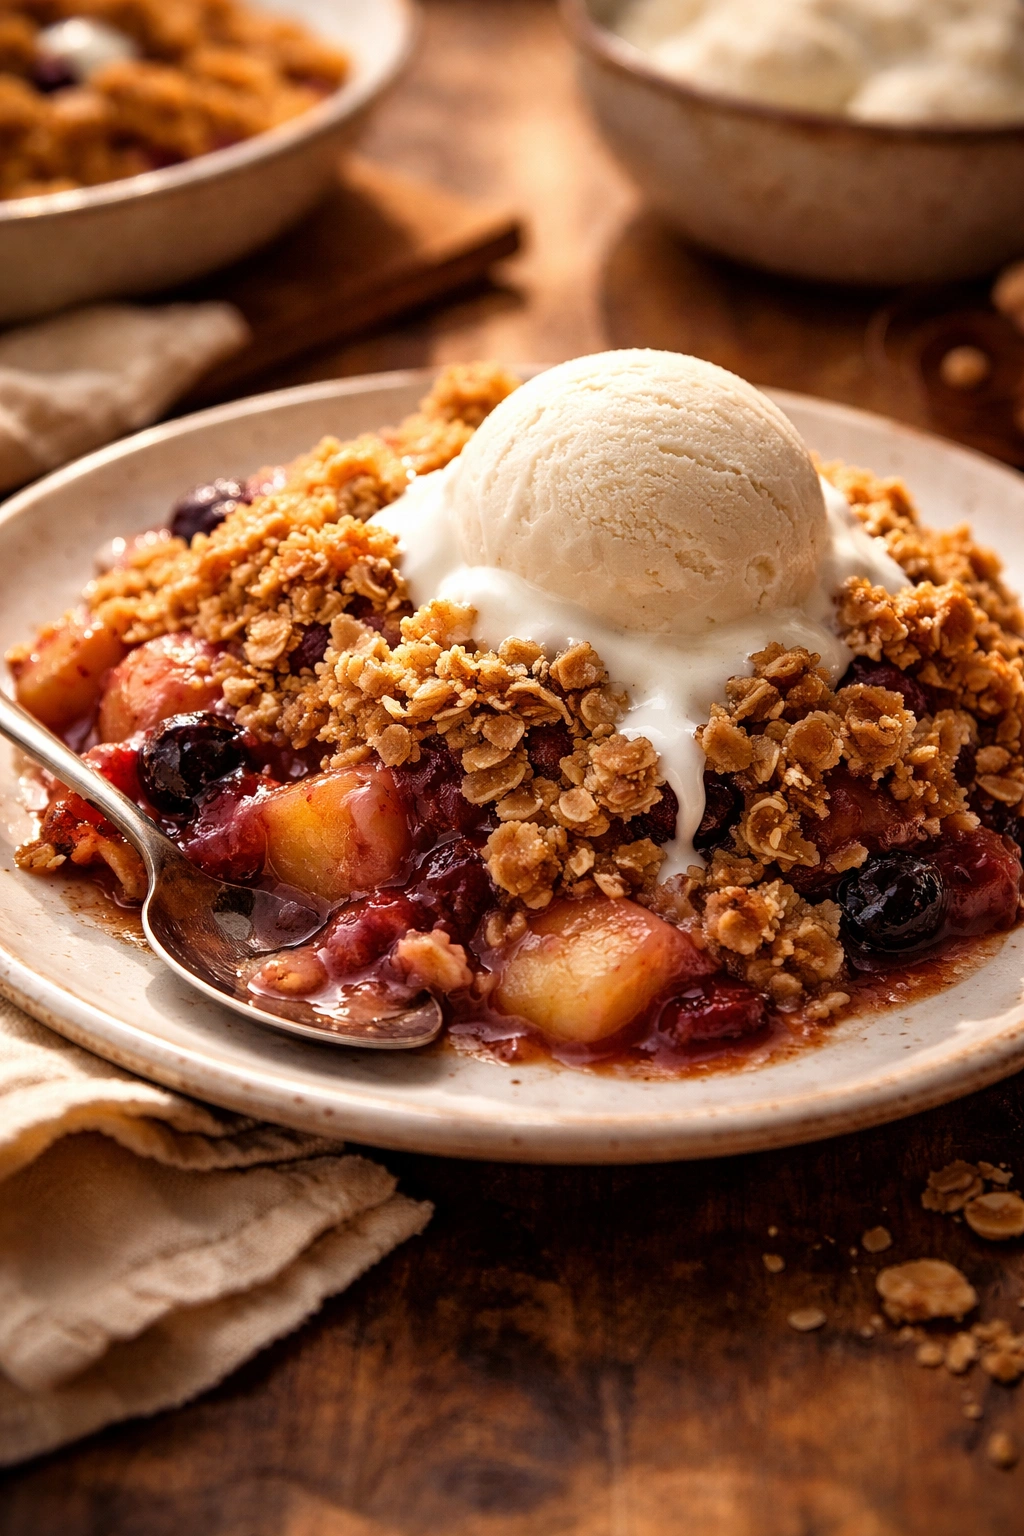
Vanilla ice cream is the classic pairing for a reason—it’s cold, it’s neutral enough to let the fruit shine, and it creates the perfect temperature and texture contrast. But this doesn’t mean vanilla is your only option. Cinnamon ice cream, brown butter ice cream, cardamom ice cream, or honey ice cream are all exceptional. Greek yogurt is a lighter option that brings tanginess—it pairs beautifully with berry crisps. Whipped cream is elegant and mild. Crème fraîche brings a subtle tang that complements spiced crisps wonderfully. Even a simple splash of cold heavy cream is perfect.
The temperature contrast is genuinely part of what makes a crisp special. Serve it warm (within 30 minutes of coming out of the oven) with cold topping for the most dramatic effect. A crisp at room temperature with cold ice cream is equally lovely but slightly less theatrical.
Beyond the obvious ice cream and cream routes, a fruit crisp is wonderful served alongside simple vanilla cake, shortbread cookies, or butter cookies. The crisp becomes almost a sauce or component alongside other desserts rather than a standalone. For breakfast, a serving of crisp paired with yogurt and granola creates a satisfying, composed breakfast plate.
Beverages matter too. A berry crisp pairs beautifully with a cold glass of milk or alongside strong coffee. A warm spiced crisp goes wonderfully with tea. A stone fruit crisp with vanilla ice cream is perfect with a glass of cold sweet wine like Moscato or a sparkling rosé.
Final Thoughts
A fruit crisp is one of those recipes that rewards you far beyond the effort you invest. You spend fifteen minutes of genuine work and get back a dessert that tastes warm, comforting, and deeply homemade. The best part is that it’s so forgiving and adaptable that you’ll find yourself making it again and again with whatever fruit you have, in whatever season you’re in. Each version is slightly different, each one tastes wonderful, and you’re never stressed about whether it’ll turn out.
The reason crisps have stayed popular is simple: they actually deliver on what they promise. They’re easy, they’re delicious, they’re flexible, and they create moments of genuine pleasure. Keep the basics in your mental recipe file—the ratio, the technique, the importance of not overmixing the topping—and the rest becomes intuitive. You’ll start mentally cataloging which spices you want to try next, which fruits you want to use, whether you want nuts this time or coconut or maple syrup.
Make this crisp for a quiet weeknight dessert, make it for a dinner party, make it for breakfast with yogurt the next morning. You’ll find that this simple formula becomes something you return to again and again, something you adapt to your mood and your ingredients, something that feels like it belongs in your regular rotation. That’s the hallmark of a truly great recipe—it works, it’s approachable, and it keeps you coming back.