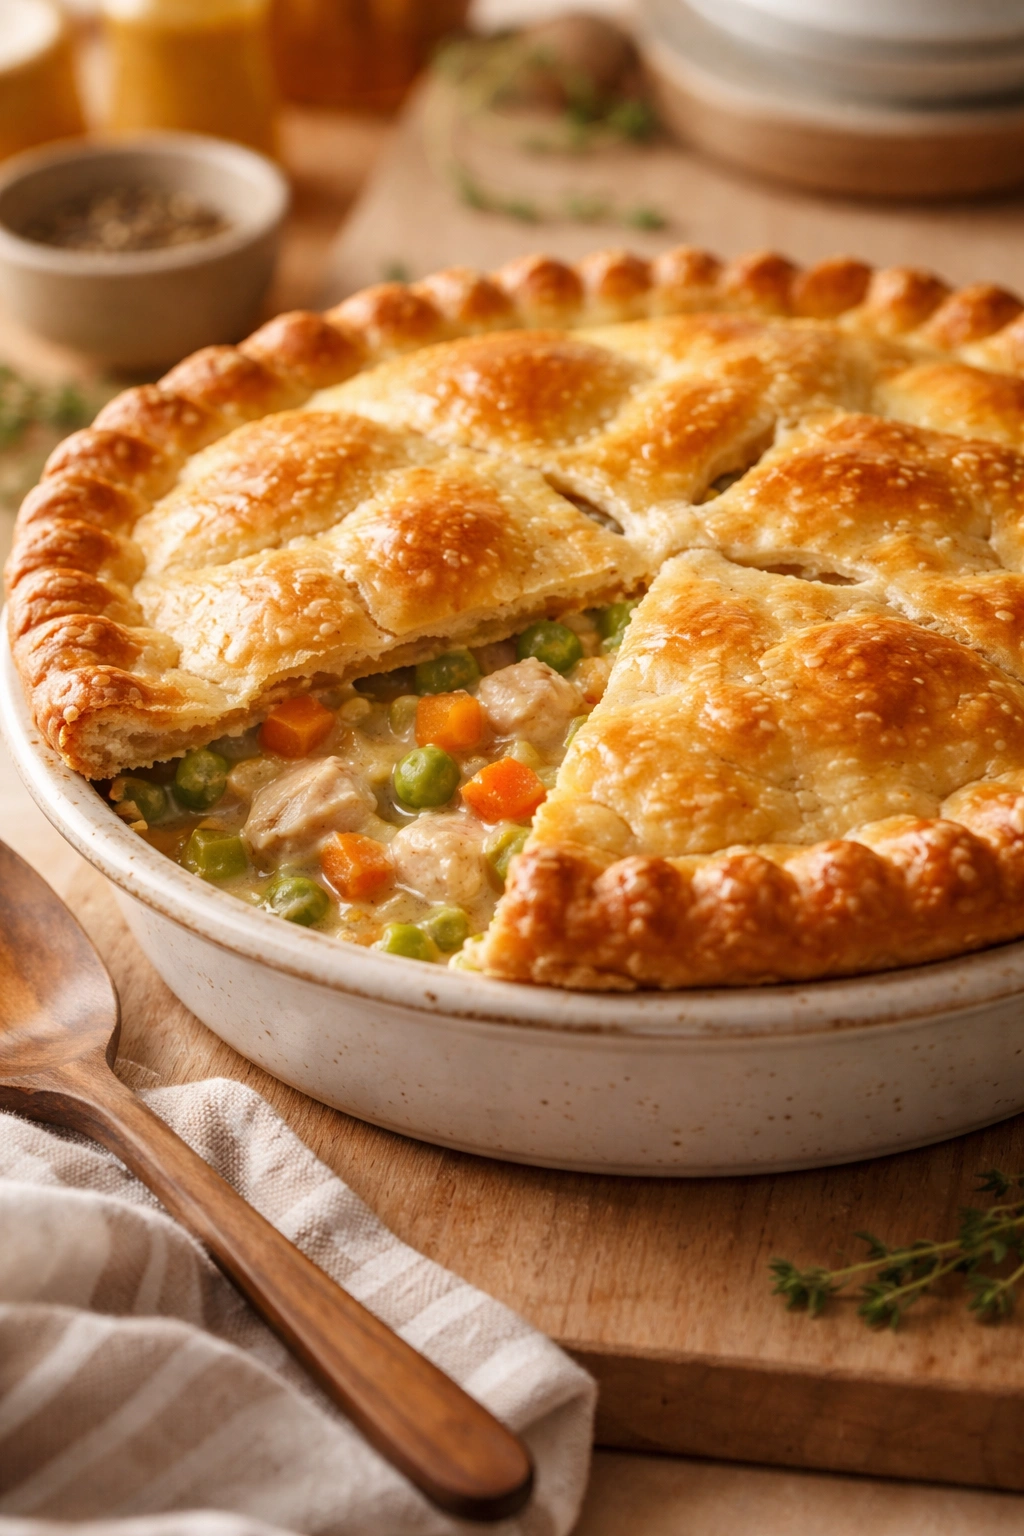
Chicken pot pie sits in that rare category of comfort food that tastes like you spent hours on it, yet the whole thing comes together in less time than you’d expect. The magic is in making everything from scratch — not because store-bought shortcuts don’t exist, but because a homemade crust shatters under your fork, a silky sauce that you built yourself tastes exponentially richer than anything from a box, and knowing you created it completely from your own hands elevates the experience from dinner to something genuinely worth celebrating. The thing that stops most home cooks from attempting this dish is the assumption that pastry dough requires professional-level skill. It doesn’t. This is actually one of the easiest, most forgiving doughs you’ll ever make, and the creamy filling is nothing more than butter, flour, vegetables, and tender chicken tossed together in a single pot.
This version strips away the intimidation without sacrificing even a whisper of flavor. You won’t need any special equipment, any tricky techniques, or ingredients you can’t find in a regular grocery store. What you will get is a golden, flaky crust that’s tender enough to cut with the edge of a spoon, a filling so rich and homey it tastes like a grandmother’s recipe, and a finished dish that looks restaurant-worthy when you pull it out of the oven. The chicken stays moist and pulls apart effortlessly, the vegetables are just tender enough without turning to mush, and the sauce clings to everything in that creamy, deeply satisfying way that makes pot pie so craveable. This isn’t a shortcut version — this is the real thing, made simple.
Why Homemade Chicken Pot Pie Beats Every Other Version
There’s something fundamentally different about a pot pie where you’ve made every single component. The store-bought crust is often tough or has that waxy texture that signals it’s been sitting in a freezer for months. The canned filling tastes like salt and thickener, with vegetables that have lost their character. When you make it yourself, you control the texture, the seasoning, and the balance of filling to crust. You know exactly what went into it. A homemade crust has a tender, flaky structure that comes from just the right amount of cold butter creating steam pockets as it bakes. The filling is a real pan sauce built on butter and flour — a roux — which creates a silky texture that has nothing to do with cornstarch.
The vegetables in homemade pot pie stay distinct. You’ll see bright pea green, golden carrots, and cream-colored potatoes rather than a homogeneous gray mixture. The chicken tastes like actual chicken, not processed filler. Your whole kitchen will smell incredible while it bakes — that buttery, savory aroma that fills every corner is impossible to achieve with a boxed version. Most importantly, homemade pot pie tastes better because the ingredients are actually good quality and cooked properly, not preserved in a can or frozen and reheated.
What Makes This Version Easy
The traditional route to chicken pot pie involves roasting a whole chicken, making stock from the bones, and coordinating multiple steps. This version takes a different approach without sacrificing depth of flavor. You’re using boneless, skinless chicken breasts that cook in about 20 minutes in simmering broth, eliminating the need for a whole roasted bird. The vegetables go directly into the pan, so there’s no separate chopping and pre-cooking to manage. You build the sauce right there — butter, flour, broth, cream — making it in less than 10 minutes.
The pastry dough is genuinely simple. It’s just flour, butter, salt, and ice water mixed together with your hands. If you’ve ever made biscuits, you already know the technique. If you haven’t, don’t worry — the only real rule is to keep everything cold and work quickly. The dough comes together, gets wrapped and chilled while you’re making the filling, and then it’s ready to top your pot and go straight into the oven. There are no fancy rolling techniques required; you’ll shape it right in the baking dish.
The Science Behind a Flaky Pie Crust

A flaky crust depends on cold butter staying in distinct pieces throughout the mixing process, rather than getting fully mixed into the flour. When the dough hits the oven, those cold butter pieces melt and create steam pockets that push the layers of dough apart, creating flakiness. The moment your butter gets warm or gets fully incorporated, you lose that structure and end up with a dense, tough, cookie-like crust instead.
This is why every instruction — keeping your water icy cold, using cold butter, working quickly, and refrigerating before baking — actually matters. It’s not fussy perfectionism; it’s the difference between a crust that shatters when you bite into it and one that’s rubbery. The good news is that if your kitchen is reasonably cool and you work with purpose, you’ll get perfect results almost every time. Even if your dough gets slightly warm, it’s forgiving. Chill it again and it bounces back.
Getting Your Chicken and Broth Ready
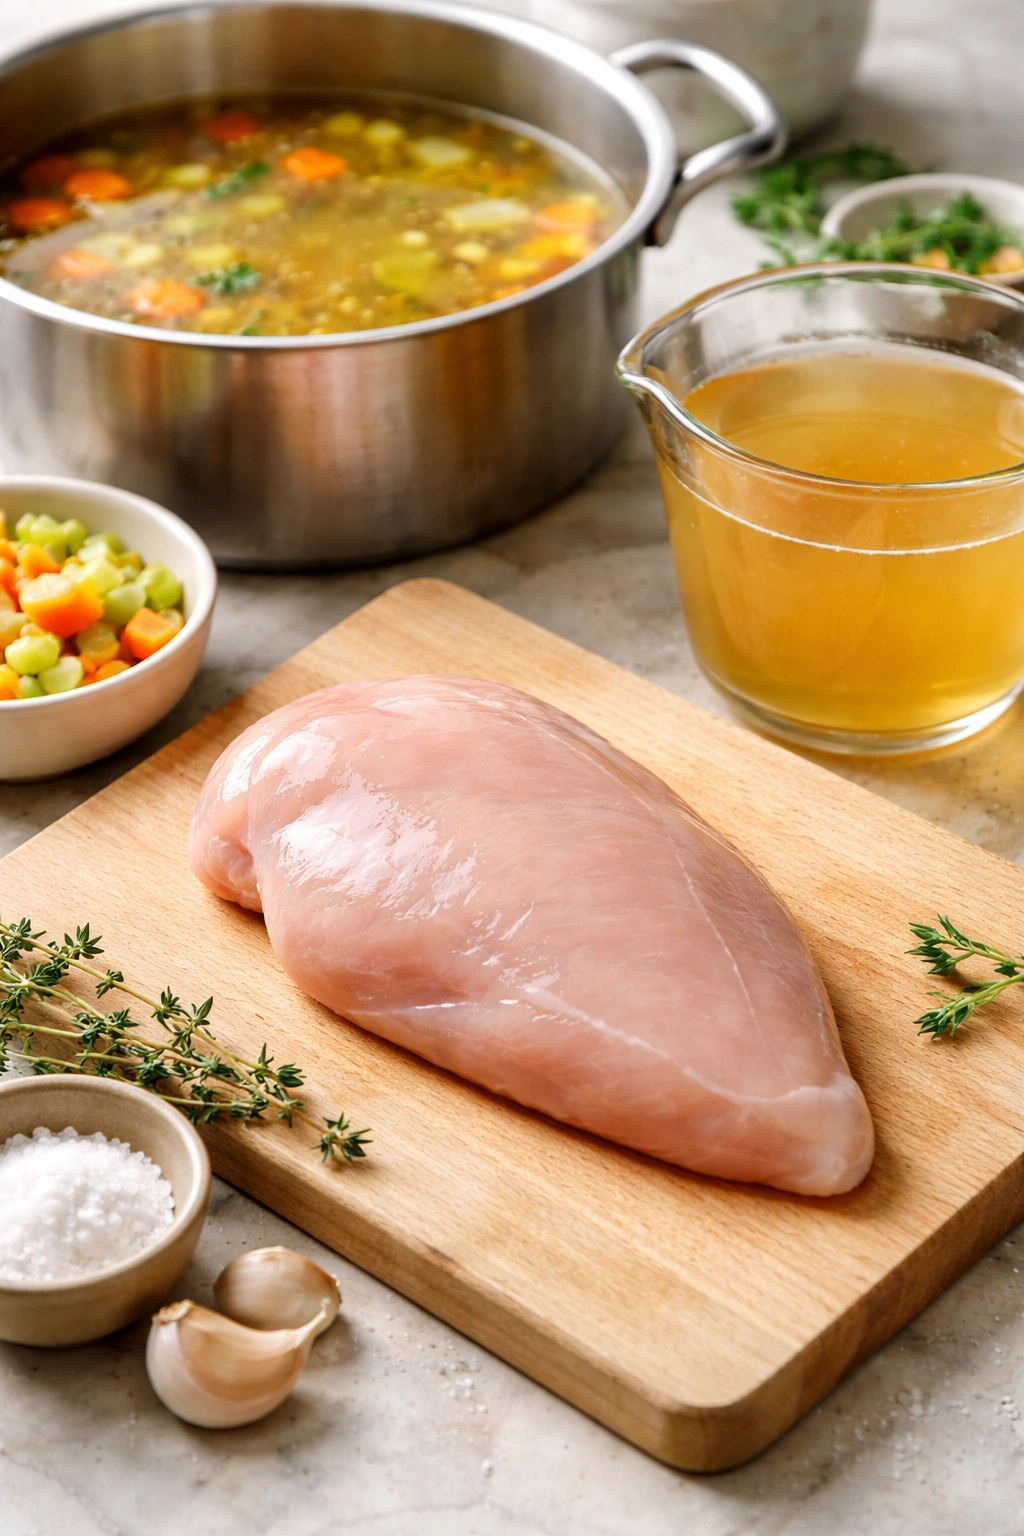
You’ll cook boneless chicken breasts in a mixture of broth and aromatics, which gently poaches them and infuses them with flavor while keeping them moist. Bring a large pot of chicken broth — about 4 cups — to a simmer with a bay leaf, a few peppercorns, and some salt. Nestle your chicken breasts into the broth and keep the temperature at a gentle simmer, not a rolling boil. A rolling boil toughens the chicken; a gentle simmer keeps it tender. The chicken will take about 15 to 20 minutes depending on thickness, and it’s done when it reaches 165°F on an instant-read thermometer inserted into the thickest part, or when the meat is white all the way through with no pink.
Once the chicken is cooked, shred it into bite-sized pieces while it’s still warm — it shreds more easily when warm than after it cools. Strain the broth through a fine-mesh sieve to remove the solids, and you’ll use this broth in your sauce. The strained broth becomes your base, and it tastes infinitely better than starting fresh because it’s absorbed chicken flavor. You’ll have about 3.5 to 4 cups of flavorful broth to work with.
Making the Pastry Dough From Scratch
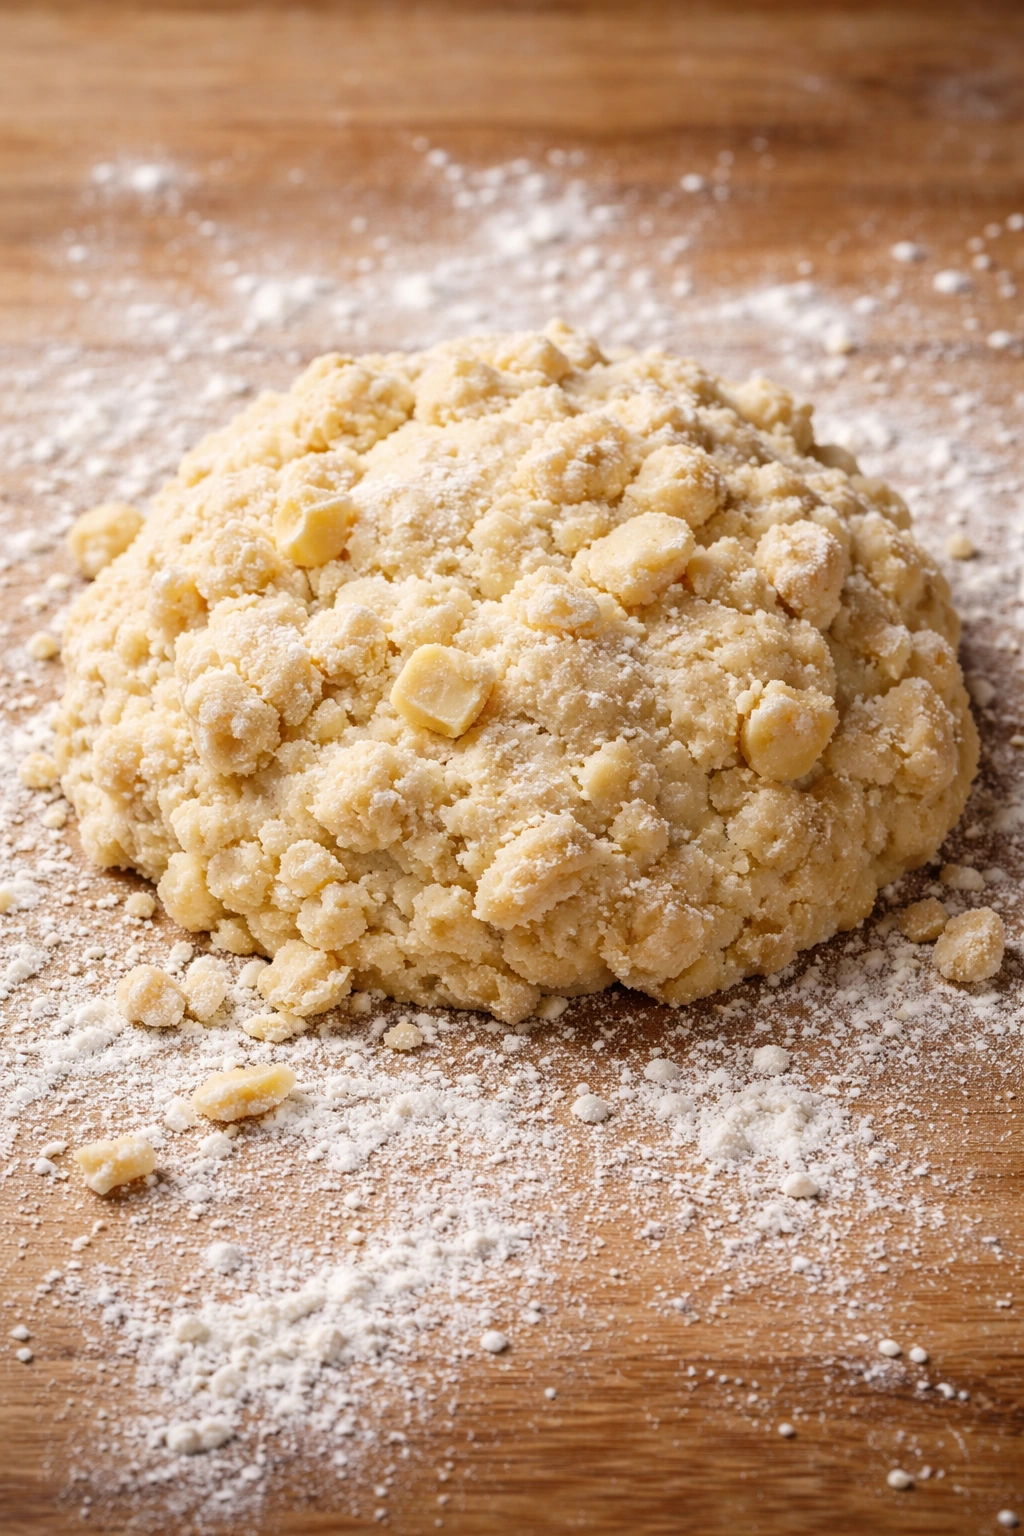
The pastry comes together in maybe five minutes, and then you refrigerate while you make the filling. Combine 2 and a half cups all-purpose flour with one teaspoon of salt in a large bowl and mix gently. Cut 10 tablespoons of very cold, cubed butter into the flour using a pastry cutter, two knives, or your fingertips. The goal is to create pea-sized pieces of butter throughout the flour — you want pieces visible, not a uniform texture. The smaller pieces create the flakiness.
Add ice-cold water one tablespoon at a time, mixing gently with a fork after each addition. You’re looking for the dough to just come together; it should feel slightly shaggy, not smooth. You’ll use about 6 to 7 tablespoons total. Gather the dough into a ball, flatten it into a disk, wrap it in plastic wrap, and refrigerate for at least 30 minutes while you make your filling. Cold dough is much easier to work with and produces better results, and this 30-minute window is perfect timing since that’s roughly how long your filling takes to prepare.
Yield, Prep Time, and Difficulty
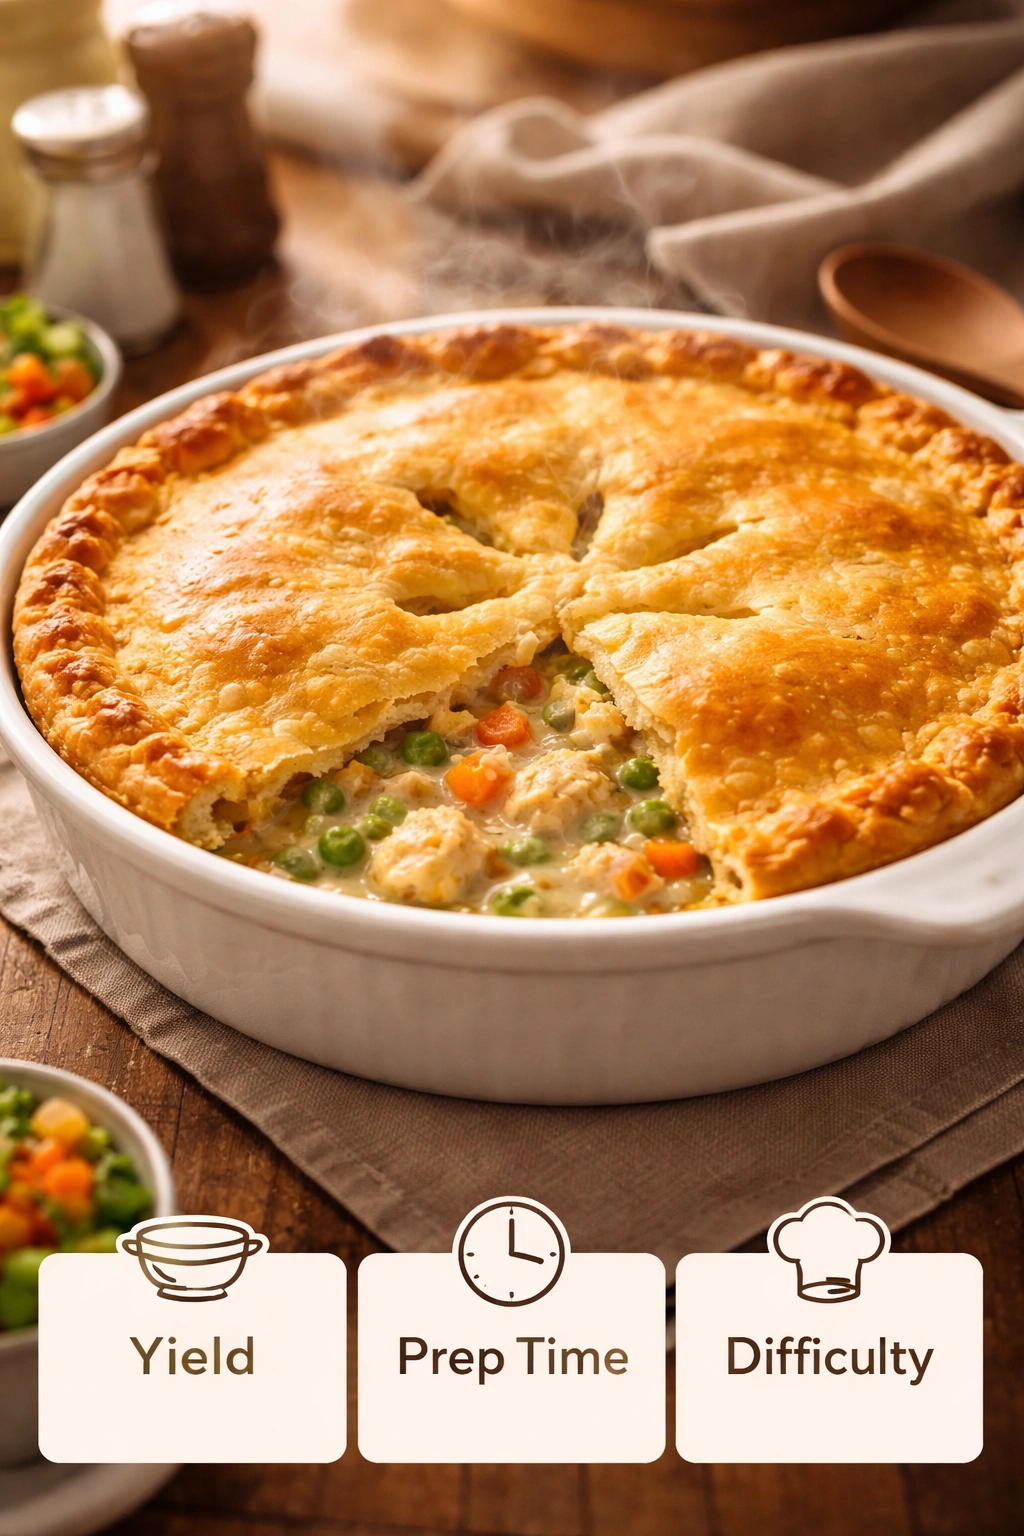
Yield: Serves 4 to 6
Prep Time: 30 minutes (includes dough chilling time)
Cook Time: 45 minutes (includes chicken poaching and baking)
Total Time: 1 hour 15 minutes
Best Served: Immediately while warm, straight from the oven
Difficulty: Beginner — No special equipment is required beyond a baking dish and a pot. The pastry dough is forgiving, and the filling comes together in a single pan. Even if this is your first time making pie crust, you’ll succeed with confidence.
Ingredients For Your Homemade Chicken Pot Pie
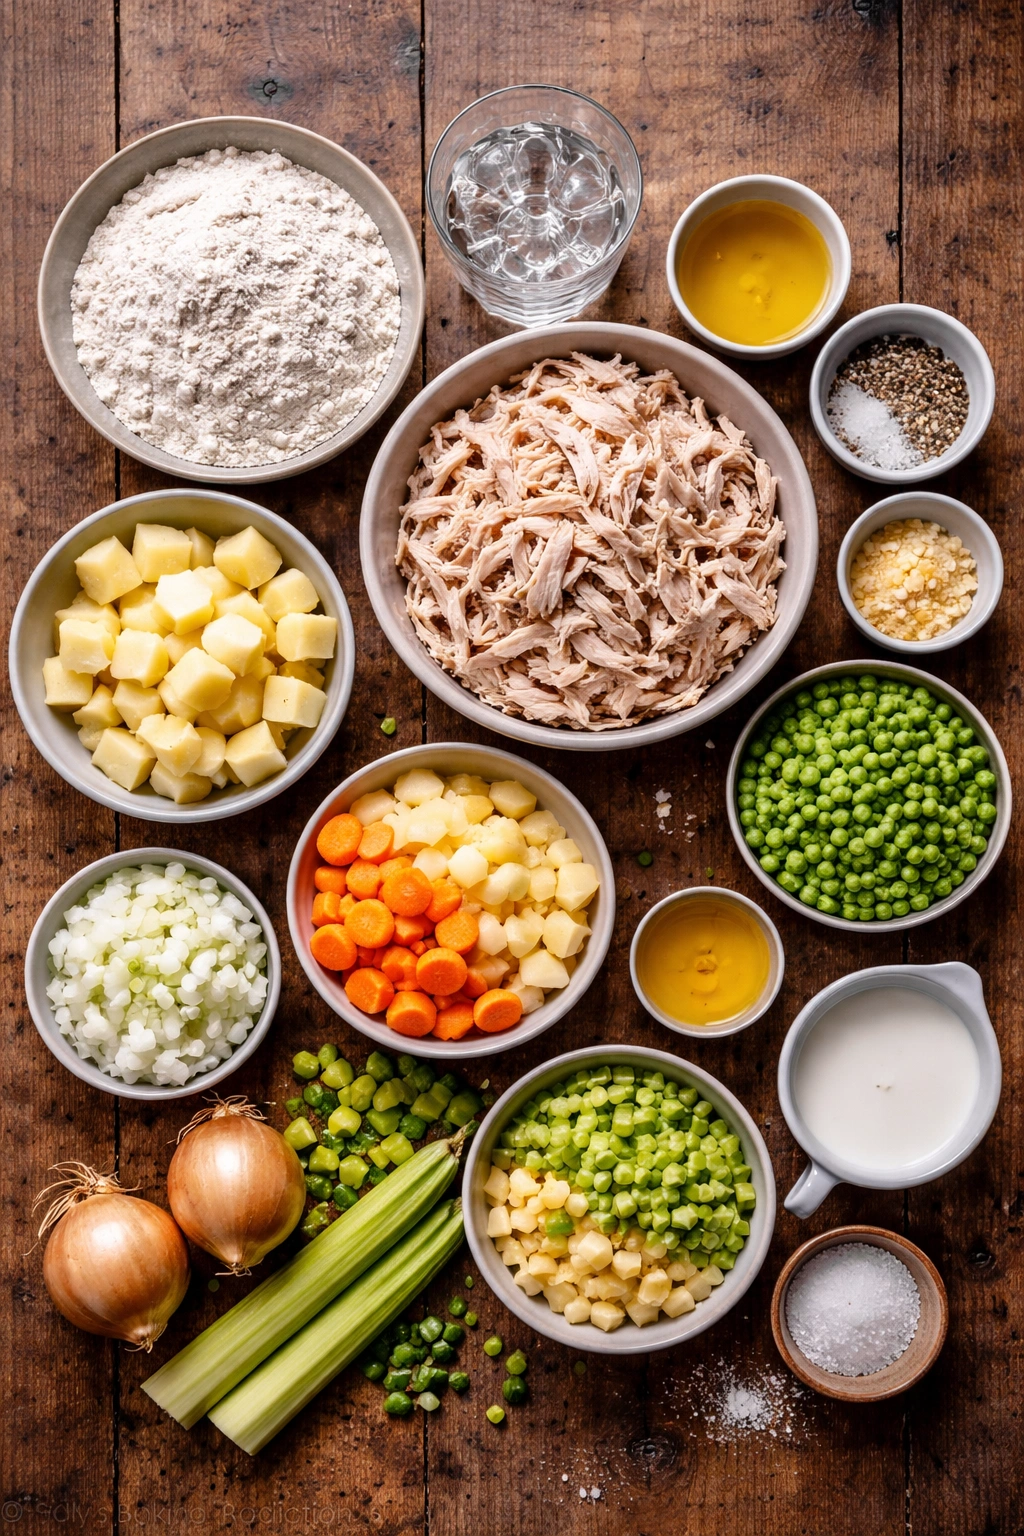
For the Pastry Dough:
- 2½ cups all-purpose flour
- 1 teaspoon fine sea salt
- 10 tablespoons (1¼ sticks) unsalted butter, cut into cubes and kept very cold
- 6 to 7 tablespoons ice-cold water
For the Filling:
- 1½ pounds boneless, skinless chicken breasts
- 4 cups chicken broth (divided)
- 1 bay leaf
- 6 to 8 black peppercorns
- 4 tablespoons unsalted butter
- 1 medium yellow onion, diced into ½-inch pieces
- 3 medium carrots, cut into ½-inch coins
- 3 medium russet or Yukon Gold potatoes, peeled and cut into ½-inch cubes
- 2 stalks celery, cut into ½-inch pieces
- ¼ cup all-purpose flour
- 1 cup heavy cream (or half-and-half for lighter version)
- 1 cup fresh or frozen peas
- 1 teaspoon fresh thyme leaves (or ½ teaspoon dried thyme)
- 1 teaspoon Dijon mustard
- Kosher salt and freshly ground black pepper to taste
- 1 large egg yolk mixed with 1 tablespoon water (egg wash, for golden crust)
Making the Creamy Filling
The filling is where the magic happens. Start with your cold butter in a large pot over medium heat. Once melted, add the diced onion and cook for about 3 minutes, stirring frequently, until it begins to soften and becomes translucent at the edges. The onion won’t be fully tender at this point — that’s fine. Add the carrots, potatoes, and celery, and cook for another 2 minutes, just until they begin to release their fragrance. This quick cooking releases flavor compounds.
Sprinkle the flour over the vegetables and stir constantly for about 2 minutes. This creates a roux — flour coated in butter — and it’s the thickening base for your sauce. It should smell nutty and toasted, not raw and floury. This step is important because it cooks out the raw flour taste and helps the flour distribute evenly through your liquid, preventing lumps. Pour in your reserved chicken broth (reserve about ½ cup to adjust consistency later) and stir constantly while it comes to a simmer. The sauce will thicken as it heats.
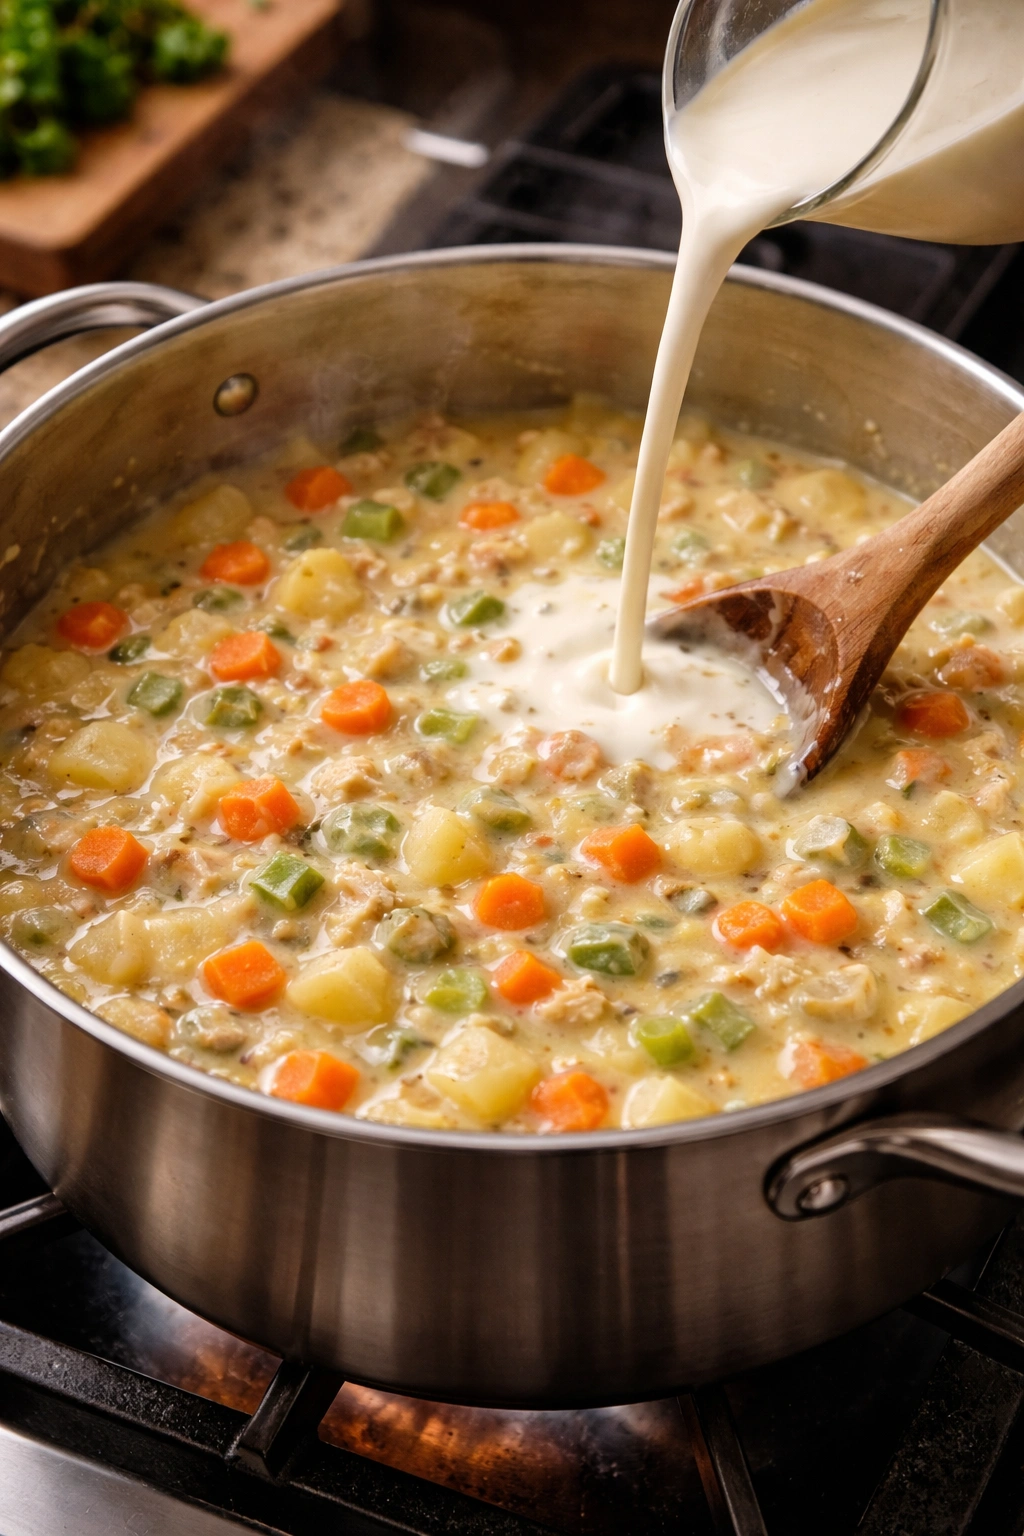
Once it’s simmering and thickened, reduce the heat to medium-low and add the heavy cream, Dijon mustard, fresh thyme, and the shredded chicken. Stir gently to combine, and taste it. Season with salt and pepper — remember that broth already contains salt, so taste before adding more. Add the frozen or fresh peas and stir. If the mixture seems too thick (it should pour, not plop), add some of that reserved broth. If it seems too thin, let it simmer uncovered for a minute or two to reduce slightly. The consistency should be creamy and clingy, not watery. Transfer this filling to your baking dish and let it cool slightly while you roll out your dough.
Rolling and Placing the Pastry Top
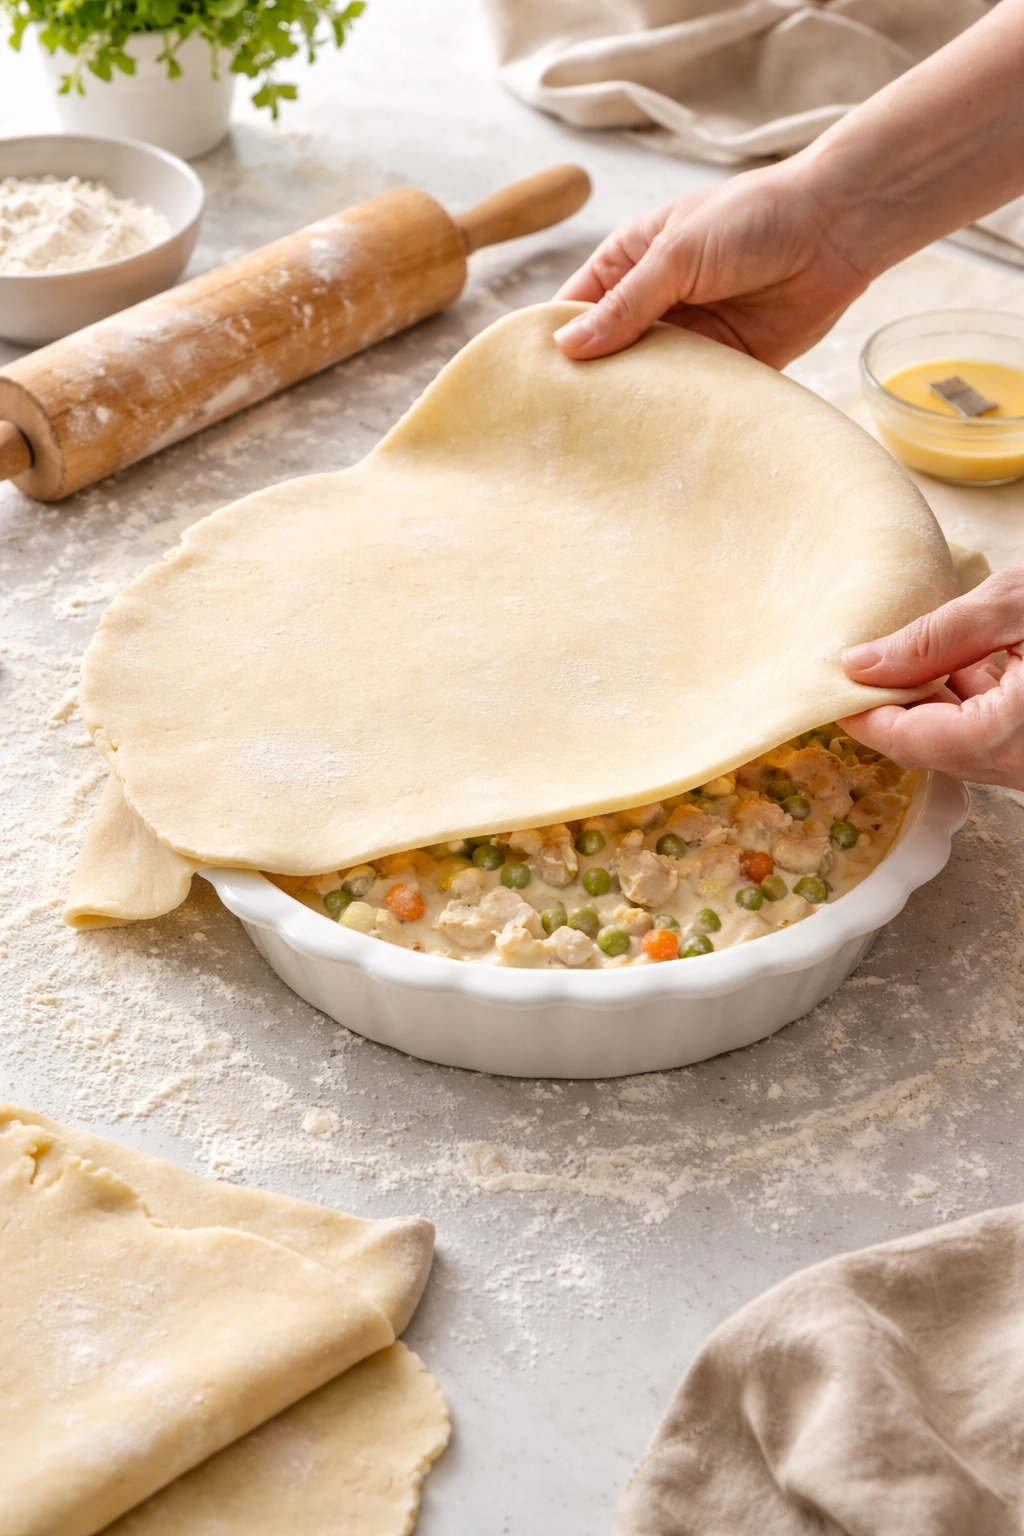
Remove your pastry dough from the refrigerator and let it sit at room temperature for just 2 to 3 minutes — this makes it slightly more pliable and easier to handle without being so warm that it becomes sticky. Dust your work surface and a rolling pin with flour. Working from the center outward, roll the dough to about ⅛-inch thickness in roughly the shape of your baking dish, or slightly larger. This is not a precise craft — it doesn’t need to be perfectly round or fit exactly.
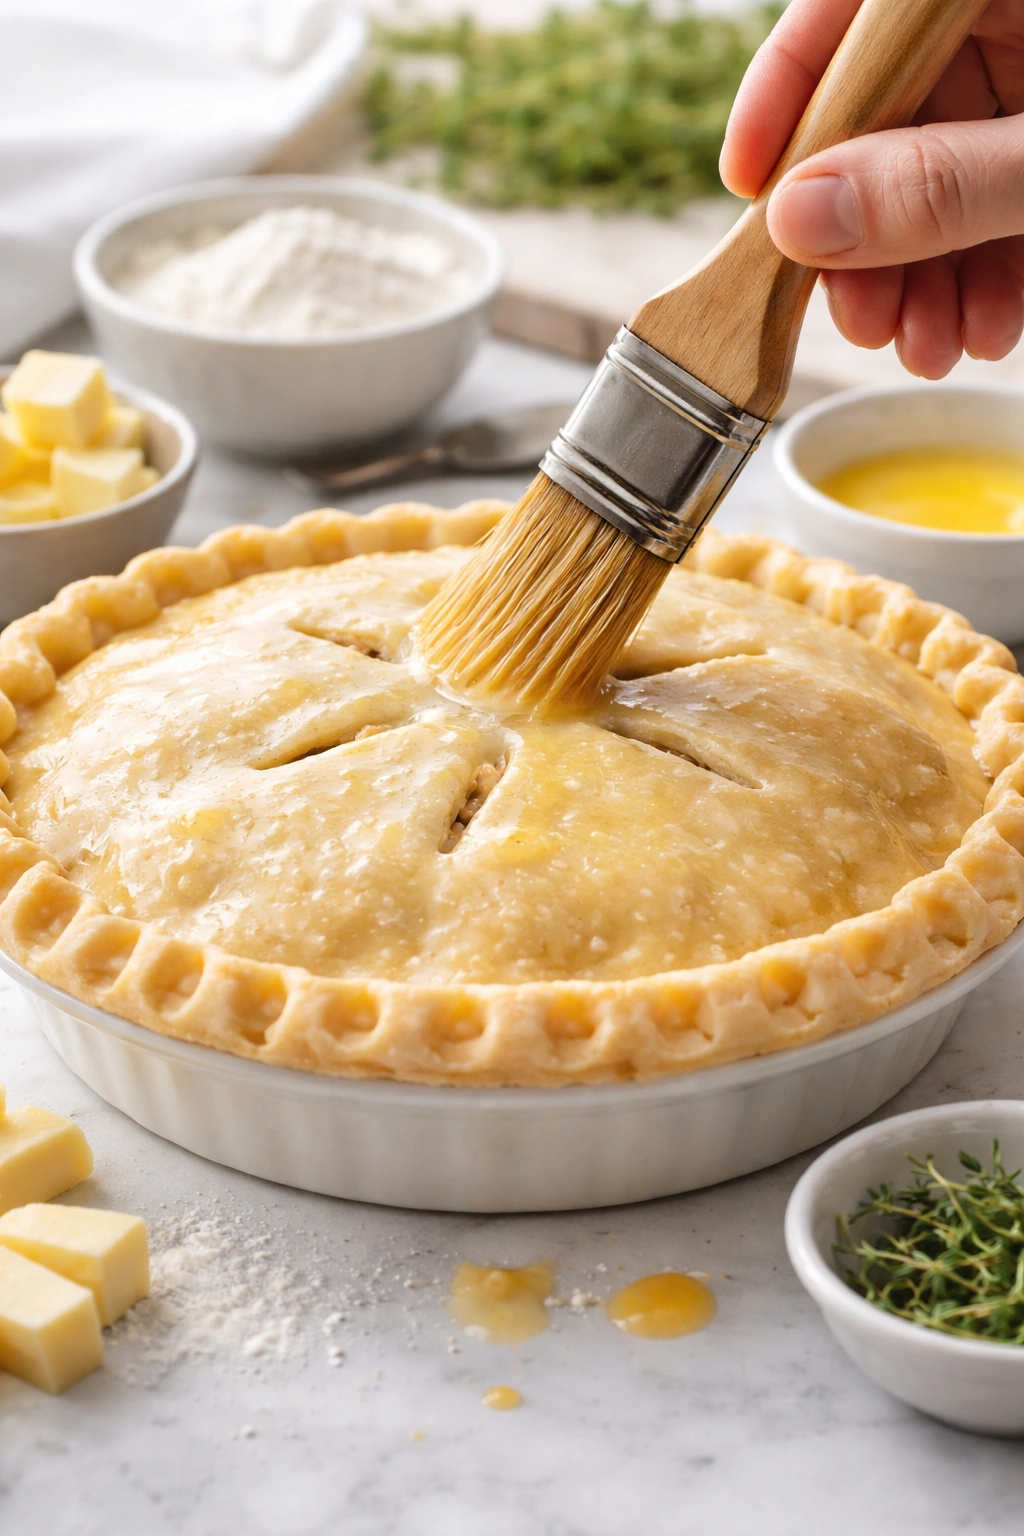
Transfer the dough to the baking dish. You can roll it onto your rolling pin and unroll it over the dish, or simply lay it gently over the filling and smooth it out with your hands. Trim any excess dough hanging off the edges with a knife, leaving about a ½-inch overhang. Fold this overhang under itself to create an edge that sits on the rim of the dish. You can crimp this edge decoratively with a fork, or simply press it down — both methods seal it and look nice. Brush the entire pastry surface with your egg wash (egg yolk mixed with water), which creates that beautiful golden-brown finish as it bakes. Cut 3 to 4 small slits in the pastry with a sharp knife to allow steam to escape.
Instructions For Baking Your Pot Pie
Prepare and Poach the Chicken:
- Pour the chicken broth into a large pot and add the bay leaf and peppercorns. Bring to a gentle simmer over medium heat.
- Place the chicken breasts into the simmering broth. The broth should barely bubble — this is a gentle poach, not a vigorous boil.
- Cook for 15 to 20 minutes, until the chicken reaches 165°F on an instant-read thermometer or shows no pink when sliced into the thickest part.
- Remove the chicken to a cutting board and let it cool slightly (about 3 to 5 minutes), then shred it into bite-sized pieces using two forks or your hands.
- Strain the broth through a fine-mesh sieve into a bowl, discarding the bay leaf and peppercorns. You should have approximately 3.5 to 4 cups of flavorful broth.
Make the Pastry Dough: 6. In a large bowl, whisk together the flour and salt. 7. Add the cold cubed butter and break it into the flour using a pastry cutter, two knives, or your fingertips. Work until the mixture resembles coarse breadcrumbs with some pea-sized butter pieces still visible. Do not overwork this — visible butter pieces are what creates flakiness. 8. Add the ice-cold water one tablespoon at a time, mixing gently with a fork after each addition, until the dough just comes together. It should feel slightly shaggy, not smooth. 9. Gather the dough into a ball, flatten it into a disk, wrap it in plastic wrap, and refrigerate for at least 30 minutes.
Build the Filling: 10. Melt the 4 tablespoons of butter in a large pot over medium heat. 11. Add the diced onion and cook for 3 minutes, stirring frequently, until it becomes translucent at the edges. 12. Add the carrots, potatoes, and celery and cook for another 2 minutes, stirring occasionally. 13. Sprinkle the flour over the vegetables and stir constantly for 2 minutes — the mixture should smell nutty and toasted. This roux prevents lumps in your sauce. 14. Pour in the strained chicken broth (reserving about ½ cup) and stir constantly while bringing it to a simmer. The sauce will thicken as it heats. 15. Once thickened, reduce heat to medium-low and stir in the heavy cream, Dijon mustard, fresh thyme, and shredded chicken. 16. Taste the filling and season with salt and pepper. Remember that the broth is already salted, so taste before adjusting. 17. Gently stir in the fresh or frozen peas. If the filling seems too thick, add some of the reserved broth; if too thin, let it simmer uncovered for 1 to 2 minutes. 18. Pour the filling into your baking dish and let it cool slightly.
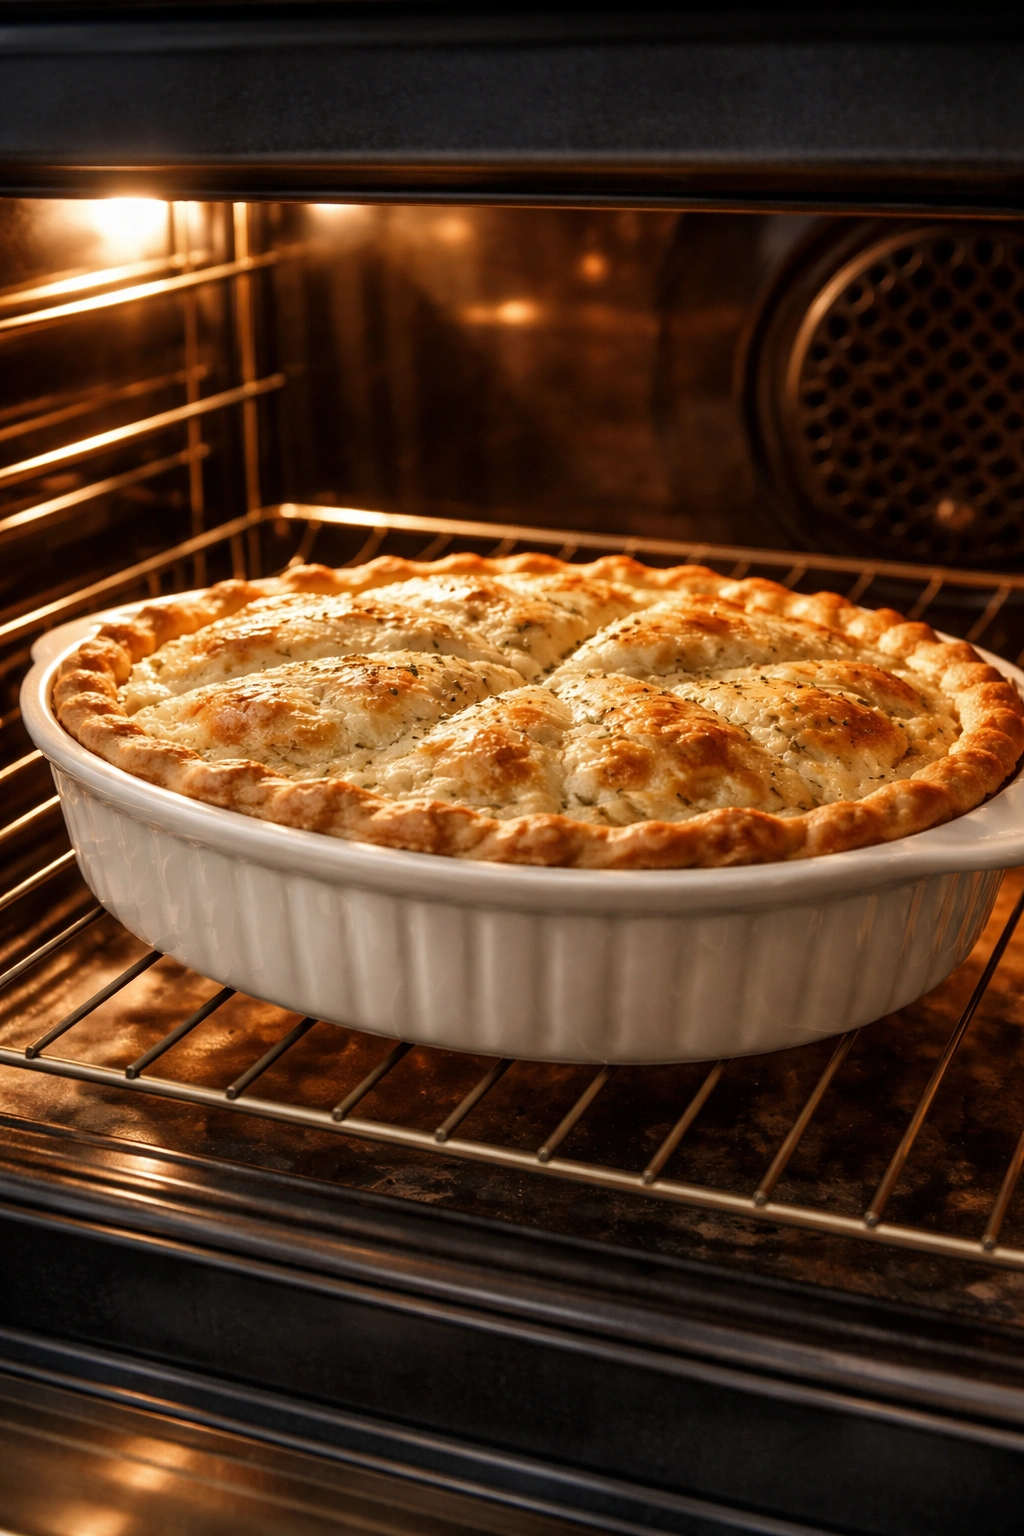
Assemble and Bake: 19. Preheat your oven to 400°F (200°C) with the rack positioned in the center. 20. Remove the pastry dough from the refrigerator and let it sit at room temperature for 2 to 3 minutes. 21. On a floured surface, roll the dough to about ⅛-inch thickness, slightly larger than your baking dish. 22. Transfer the dough to the baking dish by rolling it onto your rolling pin and unrolling it over the filling, or laying it gently by hand. 23. Trim excess dough to a ½-inch overhang around the edges. Fold the overhang under itself to create a sealed edge. 24. Crimp the edge decoratively with a fork, or simply press it down with your thumb for a rustic look. 25. Brush the entire pastry surface with the egg wash (this creates the golden color). 26. Cut 3 to 4 small slits in the pastry with a sharp knife to allow steam to escape. 27. Place the baking dish on a baking sheet (to catch any filling that bubbles over) and bake for 35 to 40 minutes, until the pastry is deep golden brown and the filling is bubbling at the edges. If the pastry is browning too quickly, loosely tent it with foil after 25 minutes. 28. Remove from the oven and let rest for 5 minutes before serving. This resting time allows the filling to set slightly, making it easier to serve without it running.
Tips and Tricks From the Test Kitchen
Keep your butter cold — this is honestly the single most important step for flaky pastry. If your kitchen is warm, cut your butter into cubes and pop it back in the freezer for 10 minutes while you mix the flour. Cold butter creates the steam pockets that become flakes. Warm butter just makes a dense, tough crust.
Don’t skip the egg wash. It’s not just for appearance — it creates that shiny, professional golden-brown finish that makes the whole dish look restaurant-worthy. If you don’t have eggs, you can brush the pastry with cream or even milk, though the color won’t be quite as stunning.
If your filling is watery or seems too thin, it’s usually because your vegetables released a lot of liquid or you added too much broth. You can always let it simmer uncovered for a minute or two to reduce — the flour roux should have created body in the sauce. If it’s still too thin, you can mix a teaspoon of cornstarch with a tablespoon of cold water to create a slurry, stir it into the filling, and let it simmer for another minute. This works perfectly if you need a last-minute fix.
For deeper flavor, roast your diced vegetables in a 425°F oven for 10 minutes before adding them to the filling. This caramelizes them slightly and concentrates their flavors. It’s an optional step but worthwhile if you have the time.
The vegetables should be cut into roughly ½-inch pieces so they cook evenly and are easy to eat. If you cut some pieces much larger and others smaller, the small ones will be mushy while the large ones are still firm.
Fresh thyme is infinitely better than dried, but dried works perfectly fine — just use half the amount since dried herbs are more concentrated. A teaspoon of fresh thyme equals about ½ teaspoon of dried thyme.
Variations and Custom Adaptations
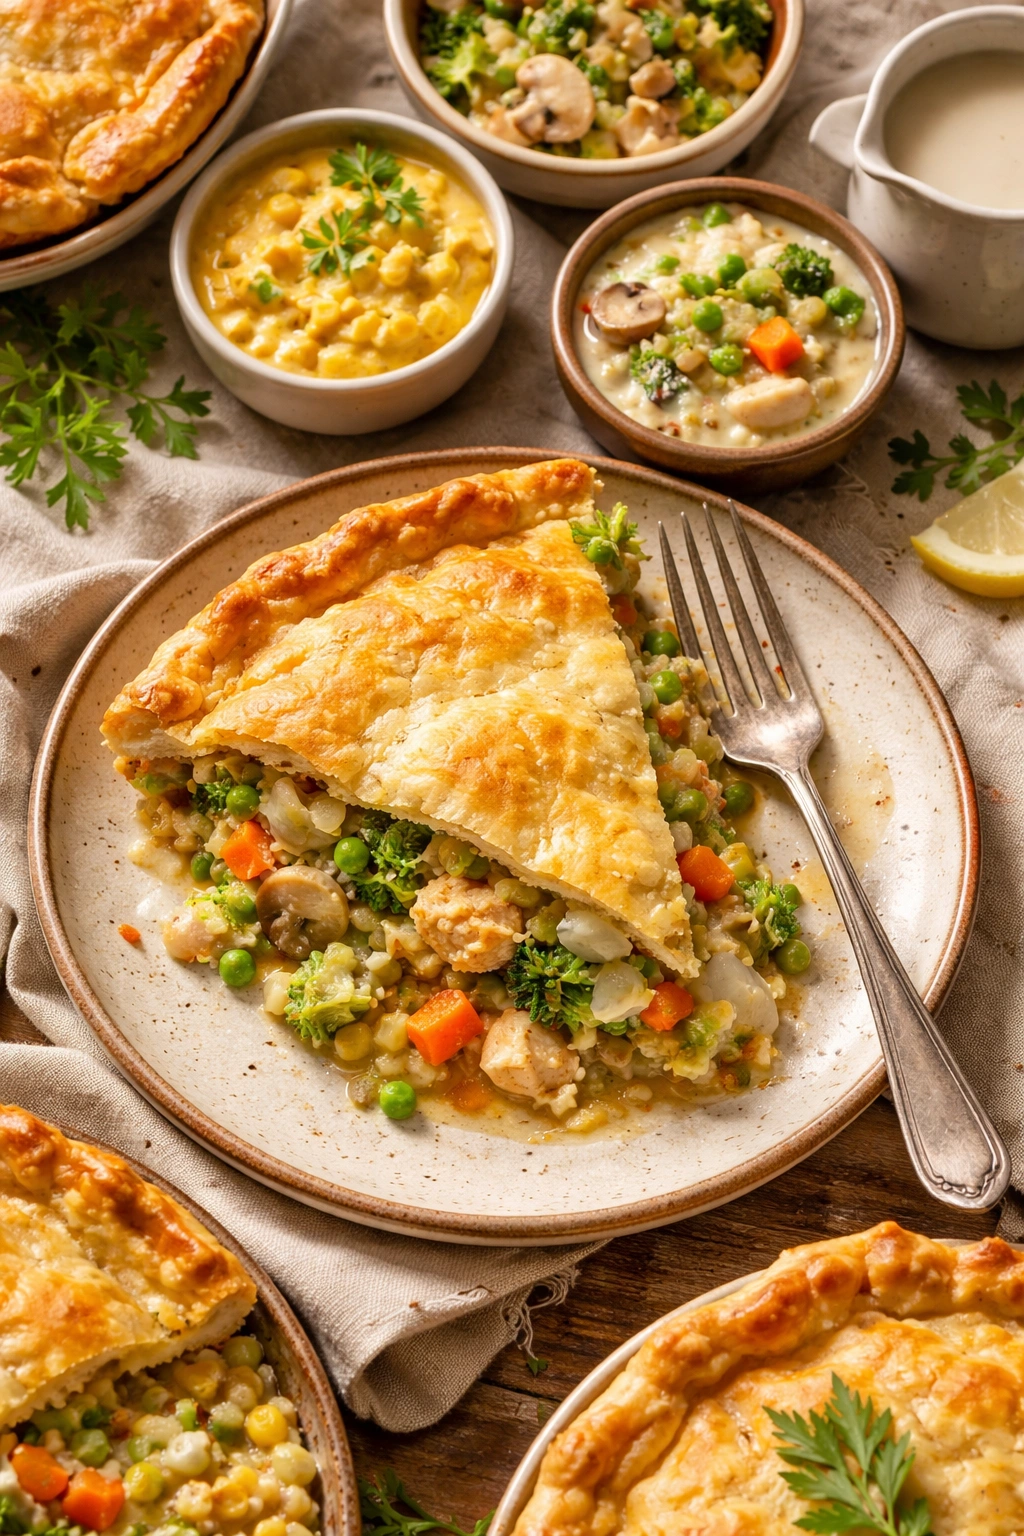
Vegetarian Pot Pie: Skip the chicken entirely and add an extra cup of mixed vegetables — mushrooms, green beans, and corn work beautifully. You can use vegetable broth instead of chicken broth, and everything comes together exactly the same way. The filling will be just as rich and satisfying.
Turkey Pot Pie: Use shredded cooked turkey instead of chicken — this is perfect after the holidays. Leftover turkey tends to be slightly drier than chicken, so use the full cup of cream and don’t reduce the liquid as much. Add a pinch of sage for traditional turkey flavoring.
Creamed Corn Variation: Add one cup of fresh or frozen corn kernels and reduce the heavy cream to ¾ cup. The corn adds sweetness and texture that contrasts beautifully with the savory filling.
Dairy-Free Version: Use olive oil instead of butter, unsweetened plant-based milk mixed with a bit of cornstarch for the cream, and double-check that your broth is dairy-free. The filling will be slightly less rich but still delicious and fully satisfying. The pastry works perfectly with dairy-free butter as long as it’s cold.
Lighter Version: Replace the heavy cream with half-and-half or even whole milk. The sauce won’t be quite as rich, but it’ll still taste wonderful. You might want to add another tablespoon of butter to compensate for some of the richness from the cream.
Adding Herbs: Fresh parsley, dill, or chives scattered on top of the filling just before adding the pastry adds brightness and fresh flavor. Rosemary works if you’re into more herb-forward dishes.
Storage and Make-Ahead Options
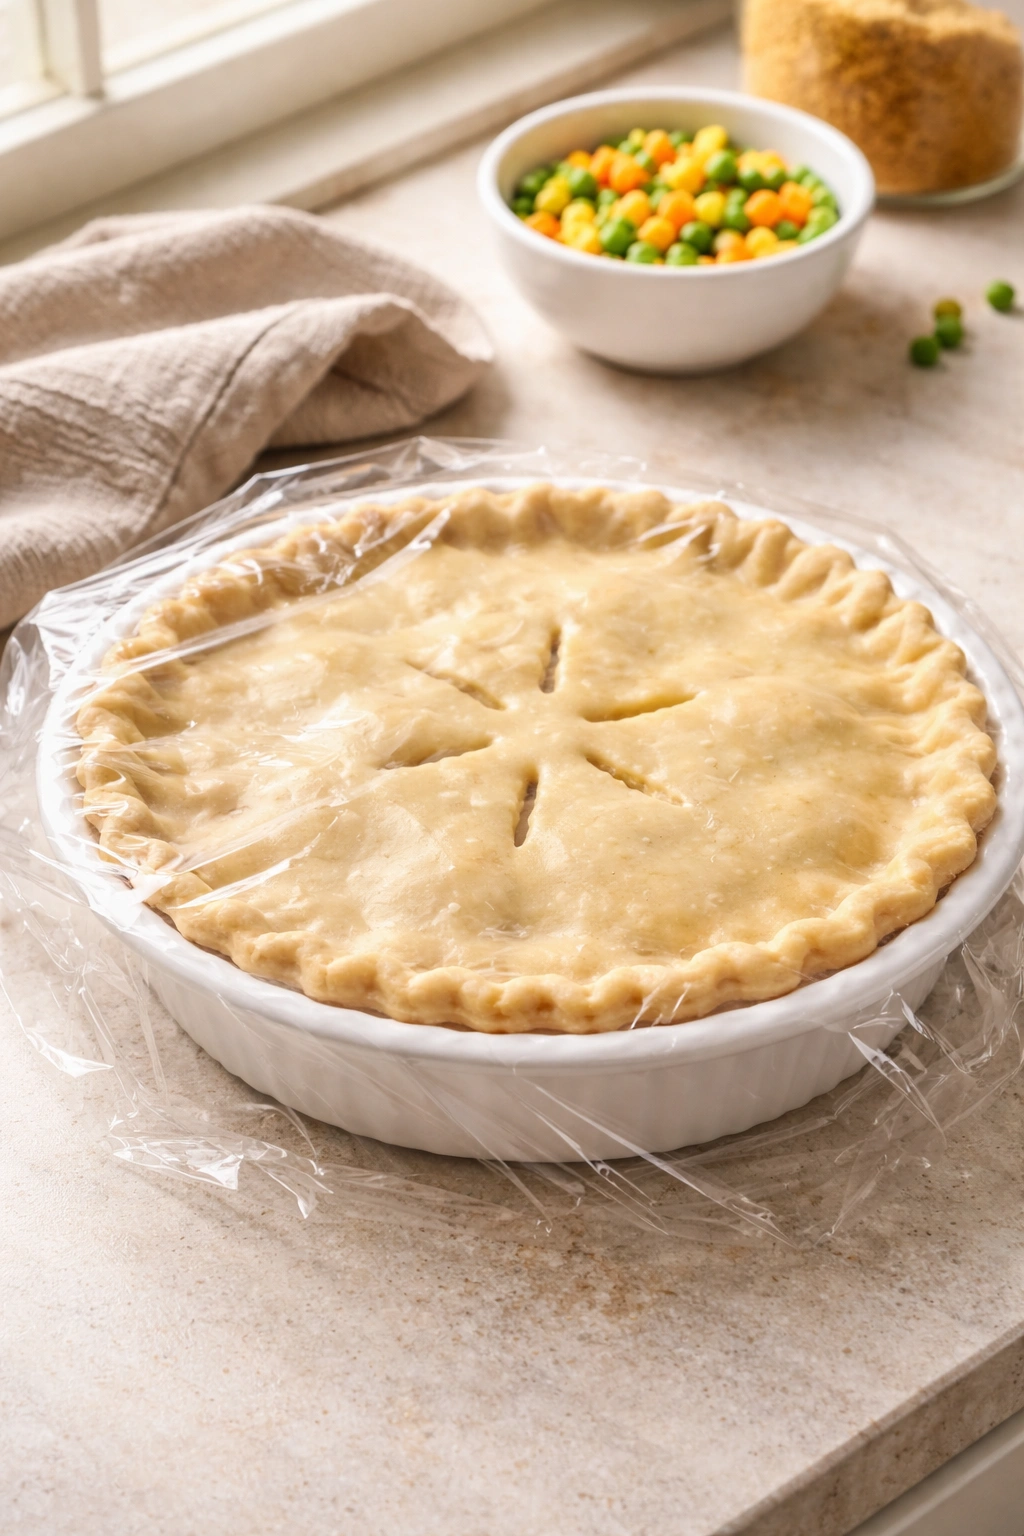
Chicken pot pie can be assembled completely the night before and baked the next day. Assemble everything, brush with egg wash, cover loosely with plastic wrap, and refrigerate. The next day, remove it from the fridge about 20 minutes before baking (so the filling isn’t ice cold), and bake as directed. It might take an extra 5 minutes to bake if it’s coming straight from the fridge.
You can also freeze the assembled unbaked pot pie for up to one month. Wrap it tightly in plastic wrap and foil, label it with the date, and pop it in the freezer. Bake it directly from frozen, adding 10 to 15 minutes to the baking time. There’s no need to thaw it first. Cover it with foil if the pastry is browning too quickly.
Leftover baked pot pie keeps in an airtight container in the refrigerator for up to three days. Reheat gently in a 350°F oven for about 15 minutes, covered with foil, until warmed through. You can also reheat individual portions in the microwave, though the crust won’t be quite as crispy — it’ll still be delicious.
The unbaked pastry dough keeps in the refrigerator for up to two days, wrapped well, or in the freezer for up to one month. If freezing, thaw it in the refrigerator overnight before rolling.
What to Serve Alongside Your Pot Pie
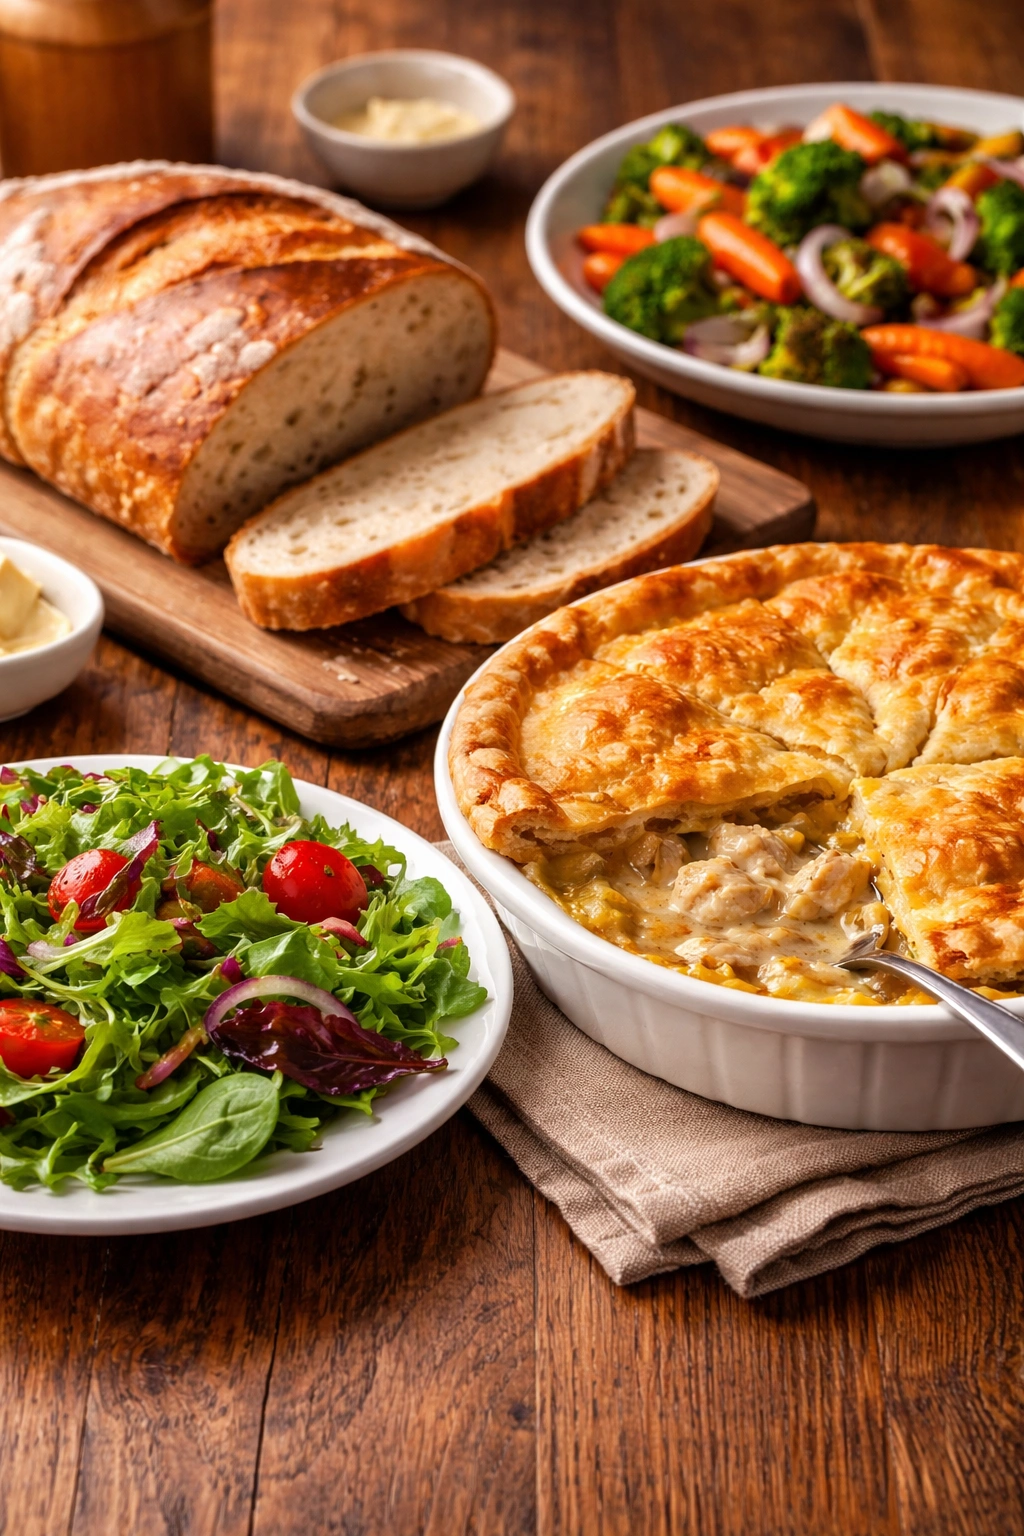
Chicken pot pie is so complete on its own that it doesn’t need much, but a simple side salad with vinaigrette brightens the richness. A salad of mixed greens with a light lemon vinaigrette, or arugula with shaved Parmesan and a squeeze of lemon, provides a fresh contrast.
A crusty bread is wonderful for soaking up any extra sauce on the plate. A simple green salad with mustard vinaigrette, a coleslaw with creamy dressing, or even roasted vegetables like asparagus or green beans round out the meal beautifully.
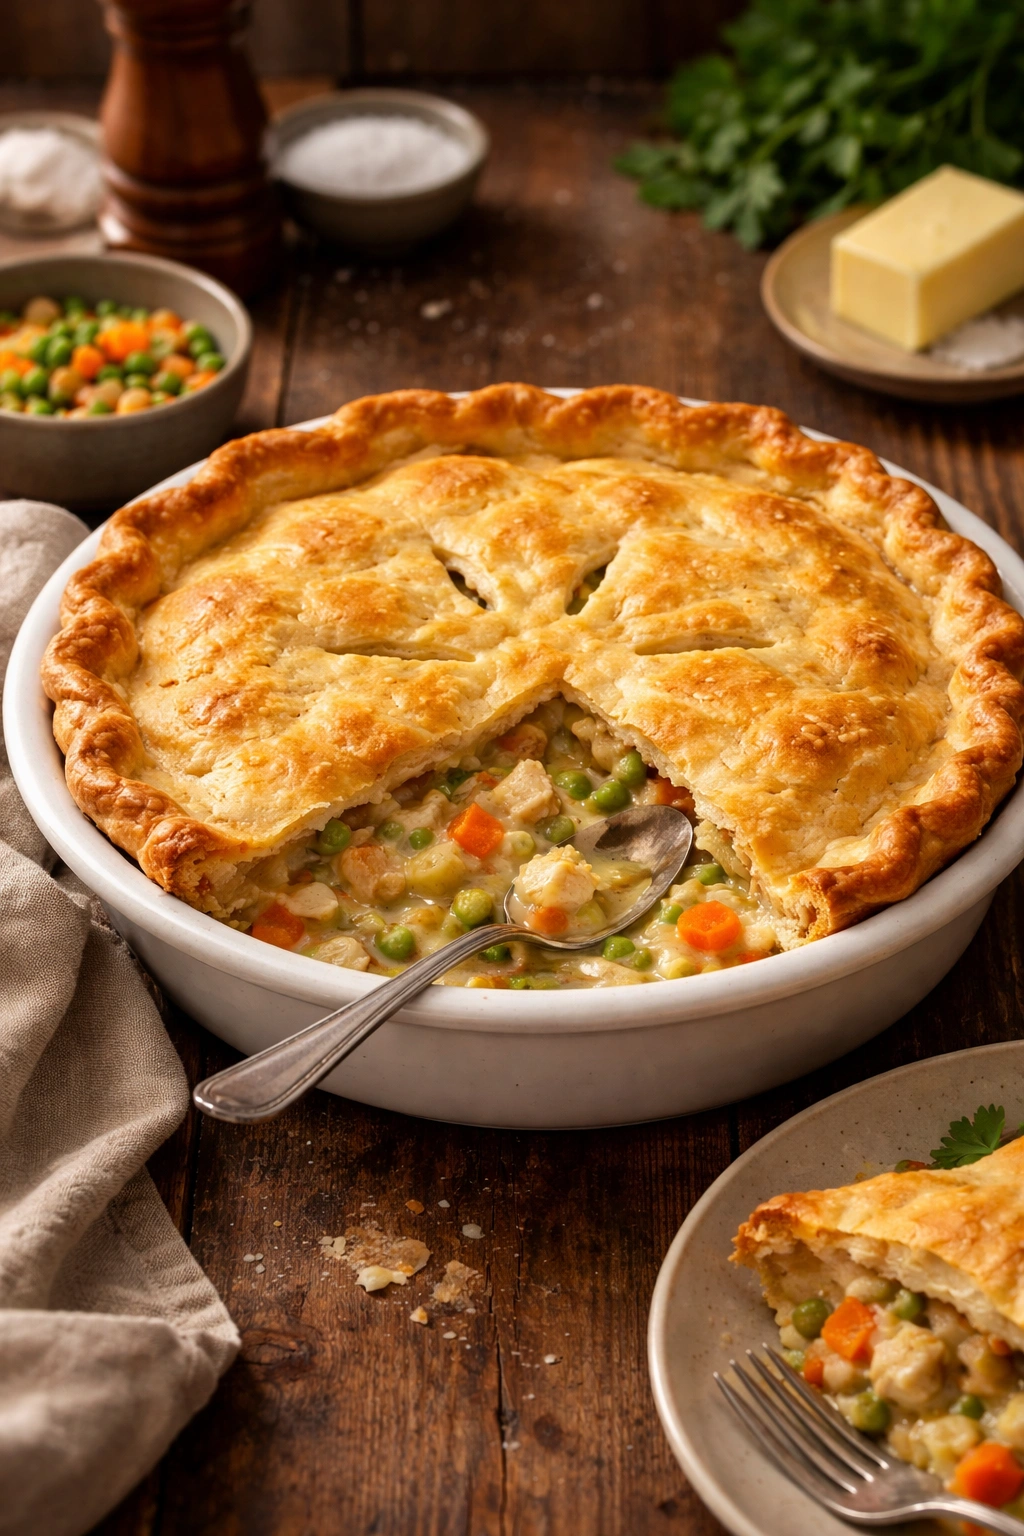
For a more casual presentation, serve the pot pie directly from the baking dish at the table. It looks spectacular and feels communal. Pair it with a dry white wine like Sauvignon Blanc or Pinot Grigio, or a light ale if you prefer beer. For dessert, something light and bright cuts through the richness — lemon bars, an apple crisp, or fresh berry sorbet all work beautifully.
Why This Is Your Go-To Pot Pie Recipe
This version works every single time because it respects the fundamentals without overcomplicating them. The pastry is genuinely foolproof because you’re not trying to roll it thin and move it around — you roll it on your work surface, transfer it once, and you’re done. The filling is a straightforward pan sauce where everything goes into one pot in a logical order. There are no separate components to coordinate, no stock to simmer for hours, no boning out a whole chicken. You poach chicken breasts, make a roux, add cream, and you’re finished in 45 minutes total.
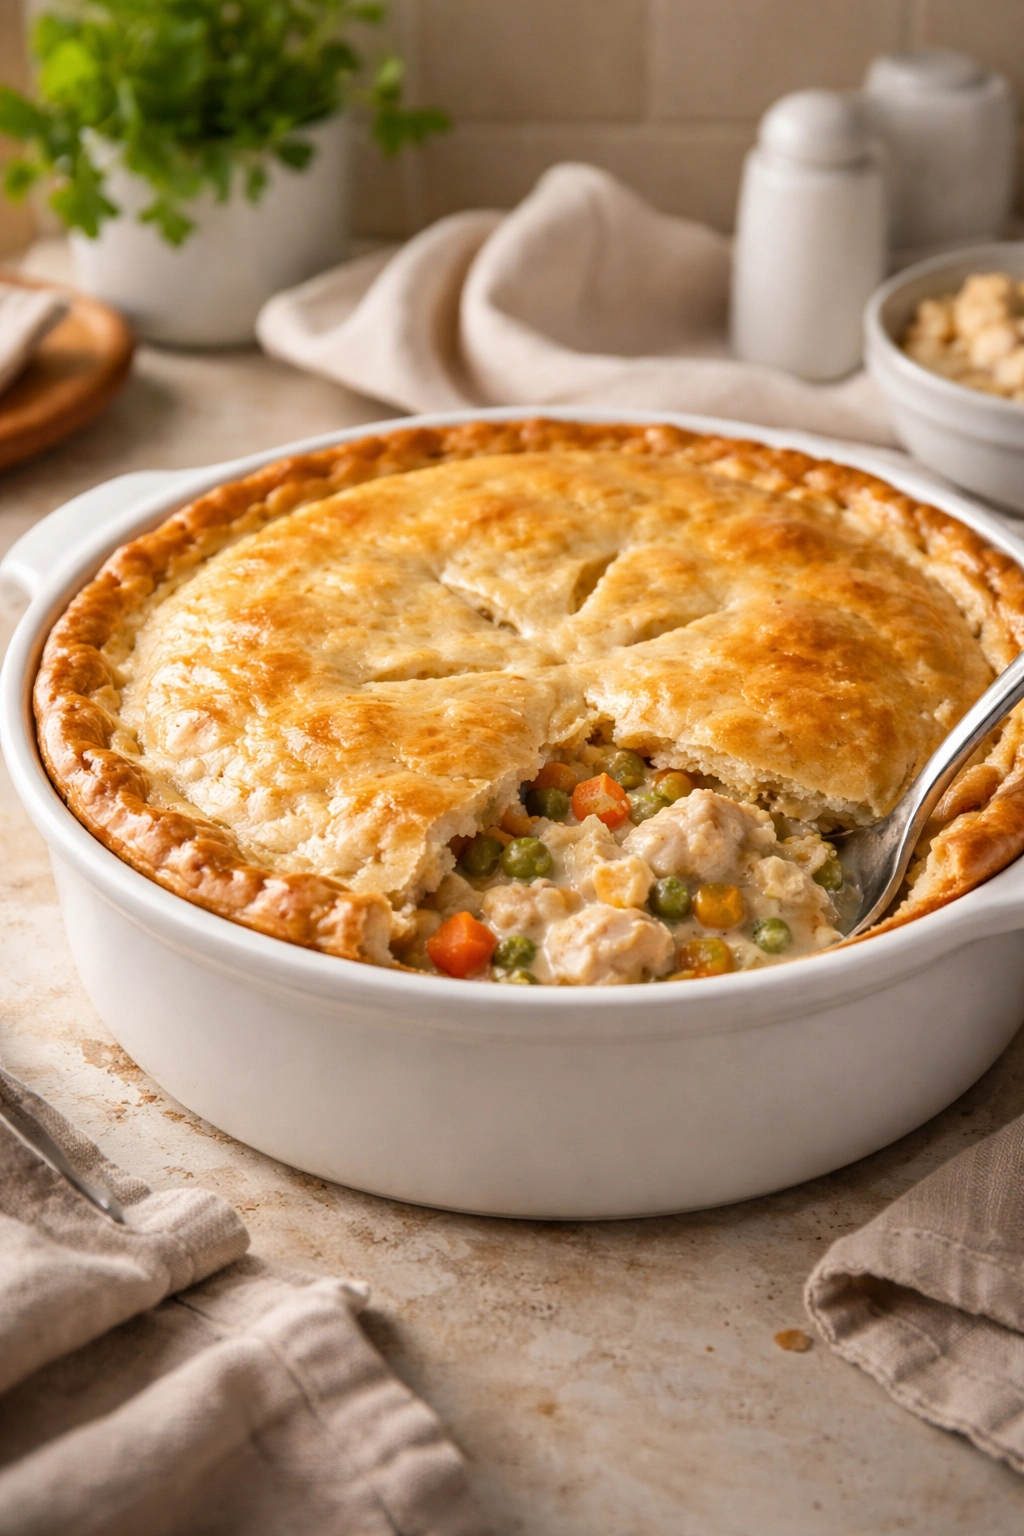
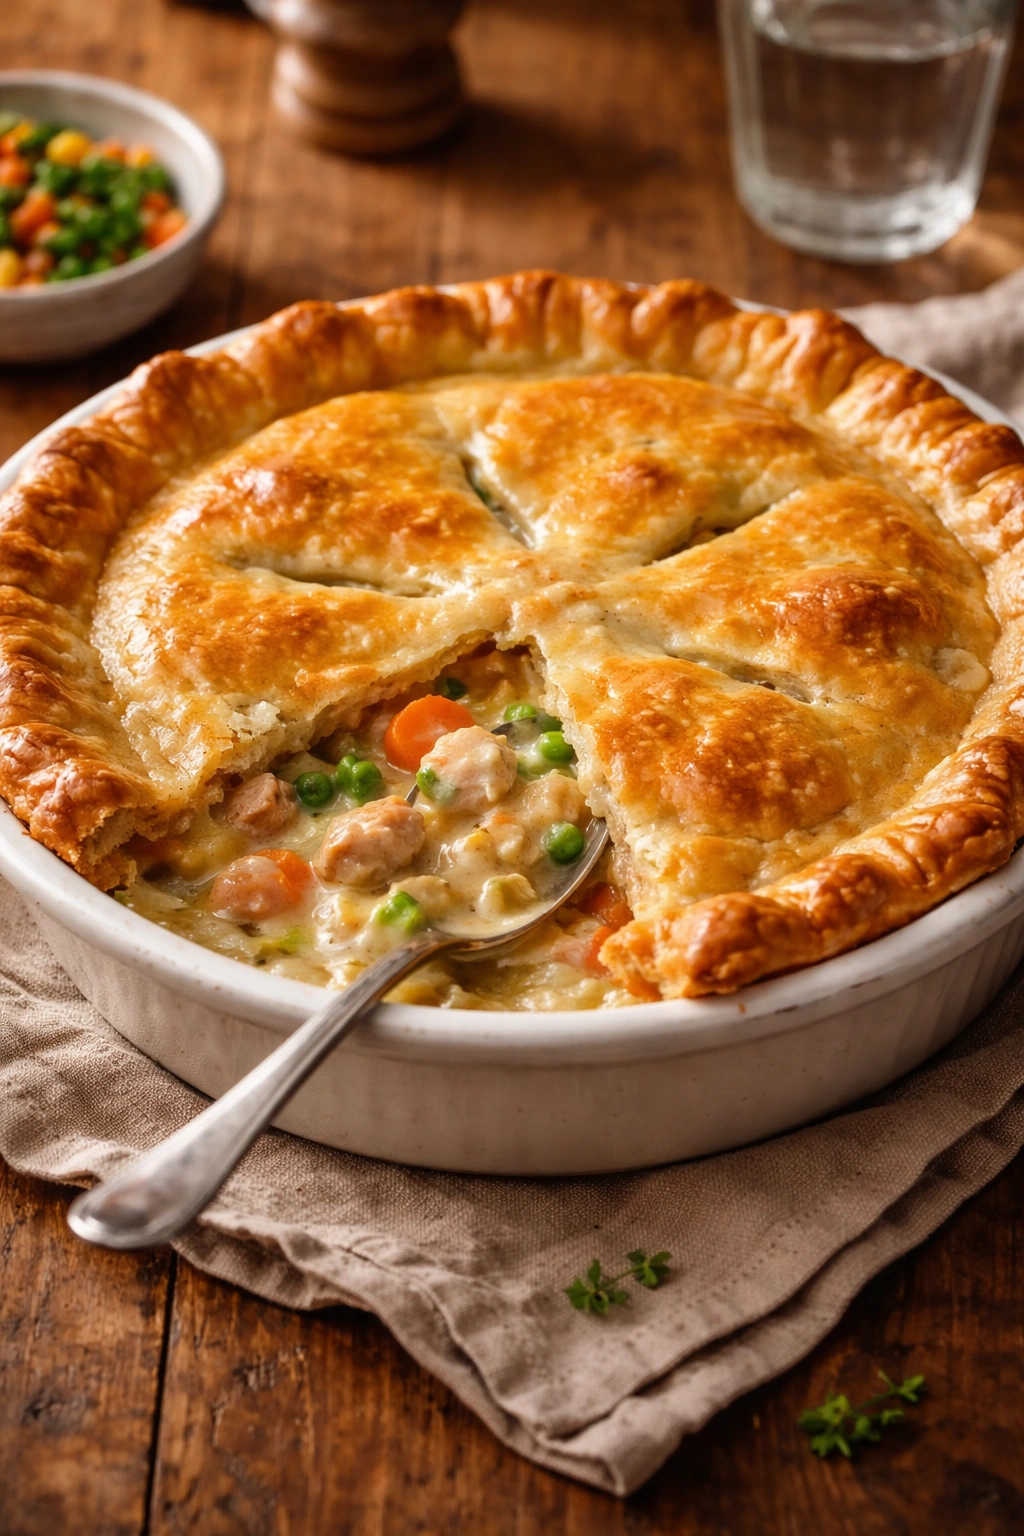
This is comfort food at its most genuine — buttery, creamy, deeply satisfying, and made entirely by your hands from ingredients you recognize. When you pull this out of the oven and see that golden, flaky crust and the filling bubbling at the edges, you’ll be astounded at what you’ve created. Serve it to people you love, and they’ll ask for the recipe. You’ll tell them it’s easier than they think, and they won’t believe you until they make it themselves. That’s the magic of a truly great, truly simple chicken pot pie.
Final Thoughts
There’s nothing mysterious or complicated about making chicken pot pie from complete scratch. The pastry is just flour, butter, salt, and water combined with gentle hands. The filling is vegetables, broth, cream, and chicken stirred together in a single pot. The oven does most of the actual work while you relax knowing you’ve created something restaurant-quality in your own kitchen.
Start with quality ingredients — good butter, fresh vegetables, real cream — and let them shine. Keep your butter cold, don’t overthink the pastry, and taste your filling before it goes into the oven. These three things guarantee success. Once you’ve made this once, you’ll realize it’s something you can repeat anytime you want that feeling of home and comfort, the kind of meal that fills both your stomach and your spirit. That’s what excellent food does, and that’s exactly what you’re making here.