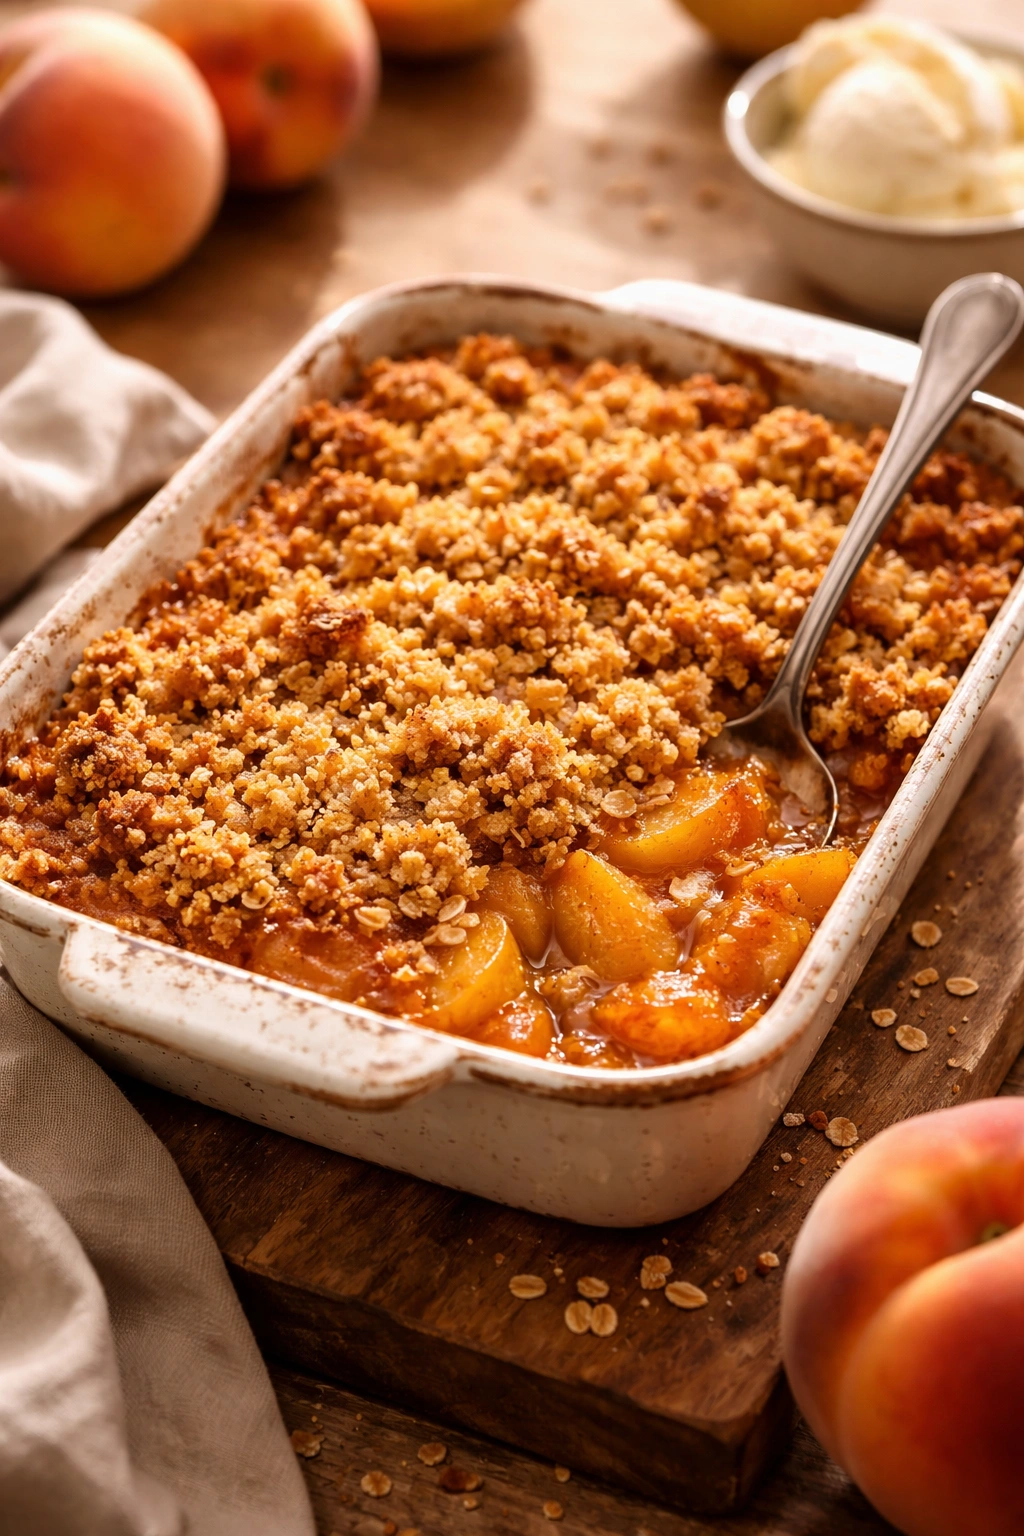
Peach crisp sits at that perfect intersection of effort and reward—it’s simple enough that you can put it together in twenty minutes, yet it delivers the kind of warm, caramelized-fruit-and-buttery-crumble satisfaction that feels homemade in the best possible way. The difference between a forgettable crisp and one people actually remember comes down to two things: using truly ripe peaches that taste like summer, and building a crumble topping with enough textural contrast that it stays golden and crunchy even after it hits the warm fruit underneath. This isn’t complicated cooking, but it does reward attention to detail—the right ratio of butter to oats, a touch of brown sugar for depth, enough texture from nuts or cornflakes, and one small trick that keeps the whole thing from turning soggy.
What makes this particular approach different is the respect it pays to both components. The filling gets only what it needs: fresh peaches, a small amount of sugar to amplify their natural sweetness rather than bury it, a whisper of vanilla, and a touch of lemon juice to sharpen the flavor. The crumble topping—that’s where the architecture happens. We’re going for a topping that stays noticeably crunchy and buttery, with distinct pockets of texture you can actually feel when you bite into it. Not a crumbly dust. Not a dense cake layer. A crumble that earns its name.
This recipe serves 4 to 6 people generously, comes together faster than you’d expect, and tastes genuinely better than the version you’d get at most restaurants. It’s the kind of dessert that works as well for a casual weeknight as it does for company, and it pairs beautifully with vanilla ice cream, whipped cream, or even yogurt if you want to keep things light.
Why Peach Crisp Beats All Other Summer Desserts
Peach crisp occupies a unique sweet spot in the dessert world. It doesn’t demand fancy technique or specialized equipment—no stand mixer required, no tempering, no finicky timing in the oven. Yet it delivers genuine wow factor: the sight of golden crumble over soft, jammy peaches is inherently appealing, and the flavor combination never gets old.
The beauty of a crisp, compared to a cobbler or pie, is that you’re celebrating the fruit itself rather than wrapping it in pastry. When peaches are good—truly ripe and fragrant—they deserve to be the star. The crumble topping acts as a textural foil and a flavor complement, adding butteriness and a slight saltiness that makes the peach sweetness taste more intense and complex. It’s not trying to compete; it’s trying to enhance.
What makes this version specifically worthwhile is that it avoids the two most common mistakes people make: an overly sweet filling that tastes like sugar with peach flavoring, and a crumble topping that turns into a dense, oily cake layer. Neither of those things should happen here. Instead, you get a crisp that tastes like peaches first, with the crumble adding welcome richness and crunch without ever becoming heavy.
The other advantage? It’s forgiving. If your peaches aren’t quite as juicy as you hoped, the filling still works. If you need to make it ahead, it keeps beautifully. If you want to add a variation—swap some of the oats for granola, add ginger to the filling, use different nuts—the structure is flexible enough to absorb changes without falling apart.
How to Choose and Prepare the Perfect Peaches
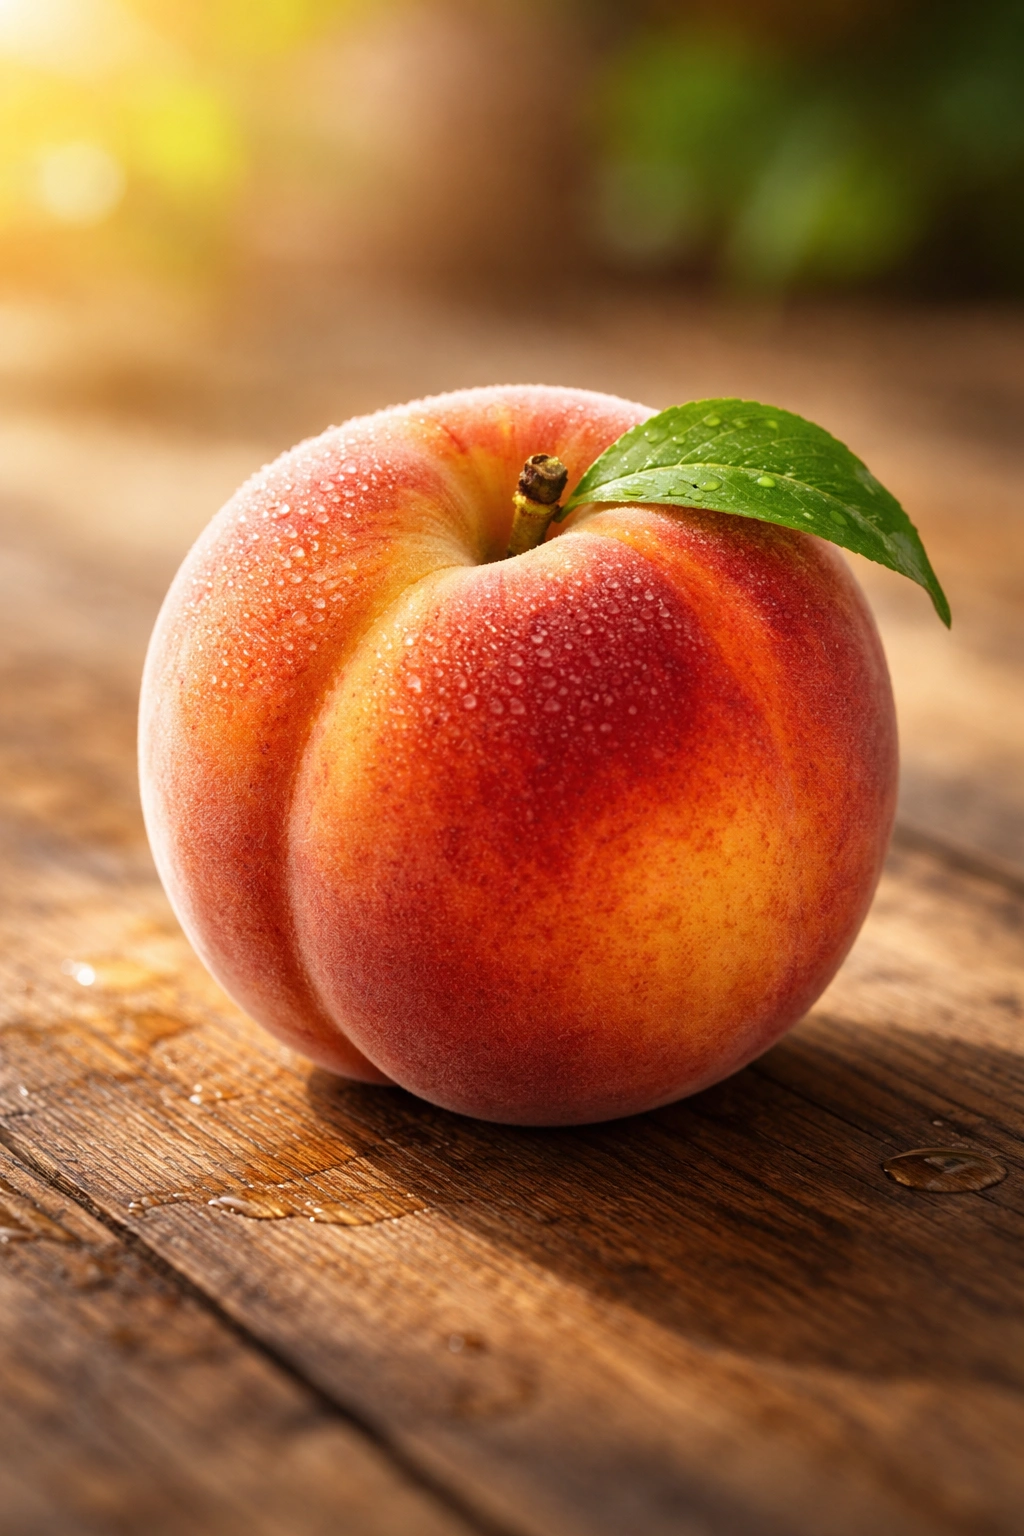
The entire success of this dessert rests on the quality of the peaches. There’s no glossing over bad fruit with enough sugar or spice; peaches that taste mealy or bland will produce a mealy, bland crisp, no matter what you do to the topping.
Look for peaches that are fragrant—actually bring them to your nose and smell them. A ripe peach should smell like peaches, with an almost perfumy quality. The skin should yield gently to light pressure, but not feel soft or mushy. Ideally, the peach should feel substantial and heavy for its size, which indicates good juice content. Color matters less than aroma and give—I’ve bought peaches that looked pale and yellow and tasted phenomenal, and others that were a gorgeous deep blush and tasted like nothing.
Firmness-wise, you want peaches that are ripe but still have structure. If they’re so soft they’re practically falling apart, they’ll turn into more of a peach sauce than a filling with distinct fruit pieces. If they’re still slightly firm, they’ll hold their shape better in the oven while still releasing enough juice to create a light syrup around the filling. Aim for the stage where the peach yields to gentle thumb pressure but doesn’t collapse.
Once home, store peaches at room temperature until they’re fully ripe—the cold of the refrigerator halts the ripening process. When they reach peak ripeness, you can move them to the fridge to slow further softening, but many home cooks actually prefer peaches at room temperature anyway. For this crisp, you’ll slice them without peeling. The skin stays thin and integrated into the filling rather than becoming tough or chewy, and it carries pectin and flavor you’ll lose if you peel.
To prepare them: rinse the peaches gently, dry them completely, then slice them in half along the natural seam that runs around the equator. Twist the two halves apart, remove the pit, then slice the peach halves into wedges roughly a half-inch thick. You’ll end up with peach pieces of varying sizes, which is actually ideal—some smaller pieces integrate into the juices, while larger wedges keep their identity and texture. You need about 5 to 6 cups of sliced peaches for this recipe. Toss them with the filling ingredients right before assembling the crisp; you don’t want them sitting around losing juice.
The Secret to the Best Crumble Topping
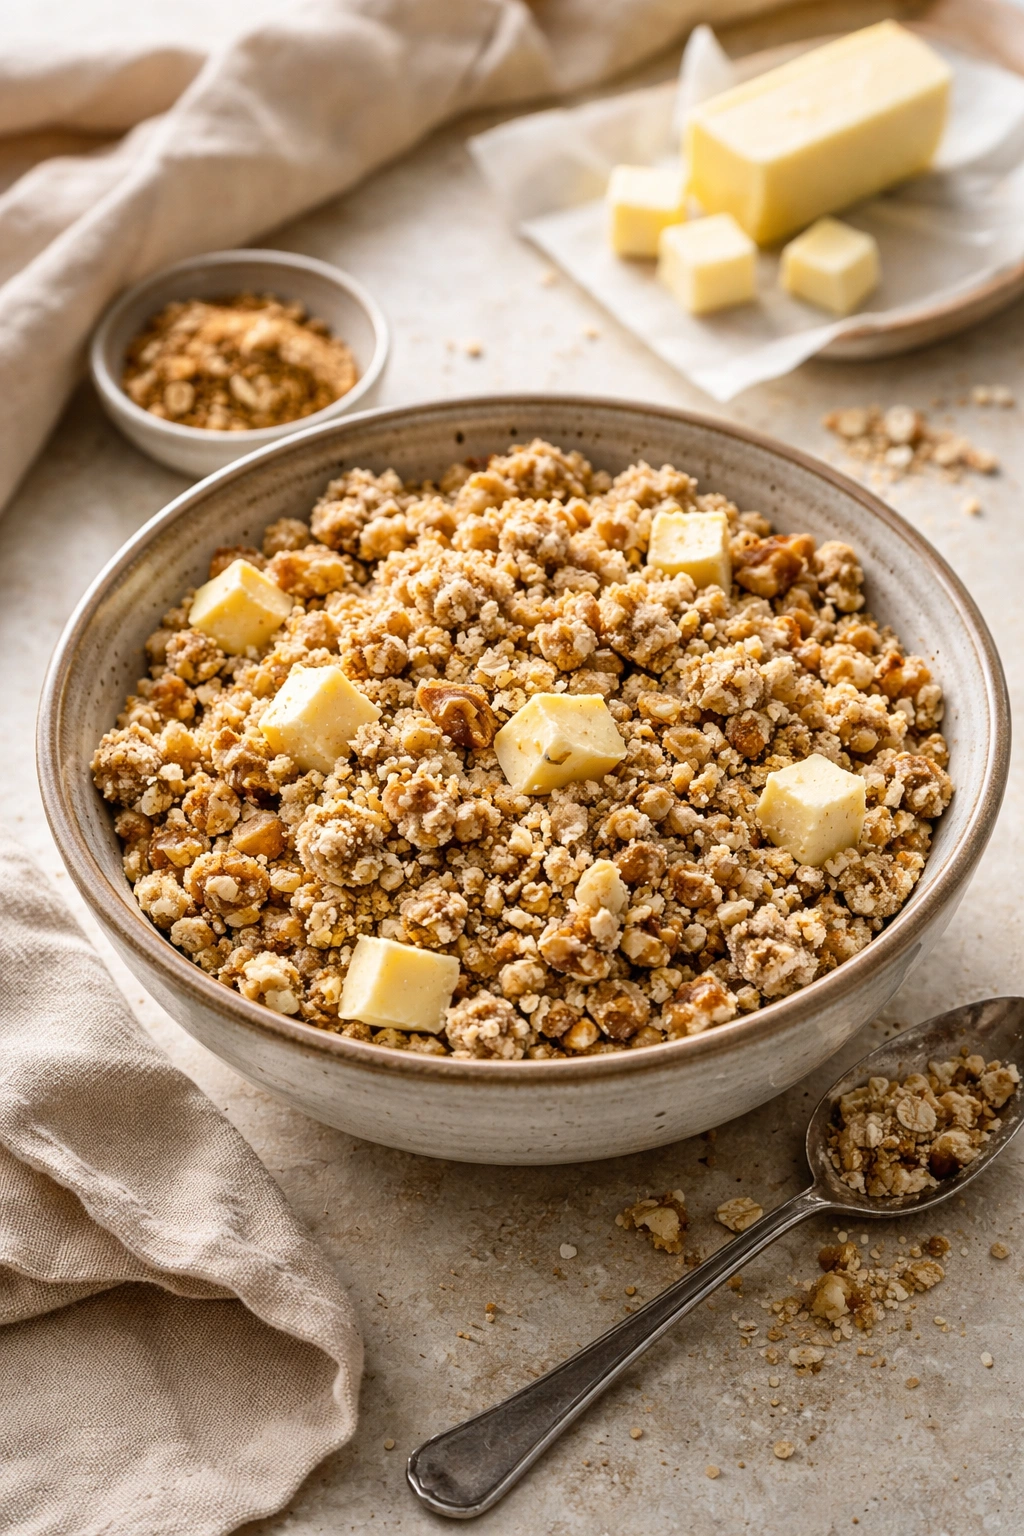
The crumble topping is where this recipe distinguishes itself, so it’s worth understanding the mechanics of what makes it actually crispy, not just called crispy.
The foundation is cold butter and oats, combined in a ratio that creates distinct pockets of butter throughout the oat mixture. When the butter melts in the oven, it creates gaps and irregular surfaces that catch heat and brown at different rates, producing textural variety. If your butter is warm when you mix it in, the distribution becomes uniform and the whole topping bakes into a dense, cakey layer. So the first rule is non-negotiable: keep your butter cold.
Beyond that, you’re building flavor and texture through a few strategic additions. Brown sugar contributes moisture and caramel notes that white sugar alone can’t provide. A small amount of flour—whether all-purpose or whole wheat—helps bind everything just enough without creating a cake crumb. Salt amplifies all the other flavors and adds a slight savory edge that makes the sweetness more interesting. Vanilla adds warmth. And then you add some textural element that stays crispy—this might be chopped nuts (pecans and almonds both work beautifully), a small amount of rolled oats beyond the main oat base (adding them in a separate step ensures they stay visible and textural), or even a handful of granola for extra crunch.
The crowning detail: a small amount of cornstarch or cornflake cereal mixed into the topping. Cornstarch absorbs some of the moisture that rises from the fruit and keeps the topping crispy even as it sits on top of warm, juicy filling. If you use cornflake cereal instead (crush it into uneven pieces, keeping some texture visible), you get the moisture-absorption benefit plus an extra layer of caramelized crunch. The cereal pieces brown in the oven and add a slightly toasty, barely-sweet note that’s impossible to describe but immediately recognizable once you taste it.
When to Make It and How Long It Takes
Peach crisp is genuinely quick to assemble. From walking into the kitchen to sliding it into the oven takes about fifteen to twenty minutes if you’re working at a normal pace. The oven does most of the work from there.
Yield: Serves 4 to 6 people | Makes one 9×13-inch crisp
Prep Time: 20 minutes (peeling, slicing, assembling)
Bake Time: 40 to 45 minutes
Total Time: 65 minutes active and baking
Difficulty: Beginner — No special skills required; this is straightforward assembly and oven baking, and nothing can go seriously wrong. The steps are obvious, and the results are forgiving.
This timeline assumes your peaches are already ripe and ready to use. If you’re timing this for company, you can slice the peaches up to 4 hours ahead, toss them with the filling ingredients, and hold them covered in the fridge until you’re ready to add the crumble and bake. Just bake an extra 5 minutes if everything is cold when it goes into the oven, since the fruit will take slightly longer to heat through.
Ingredients for the Peach Filling and Crumble Topping
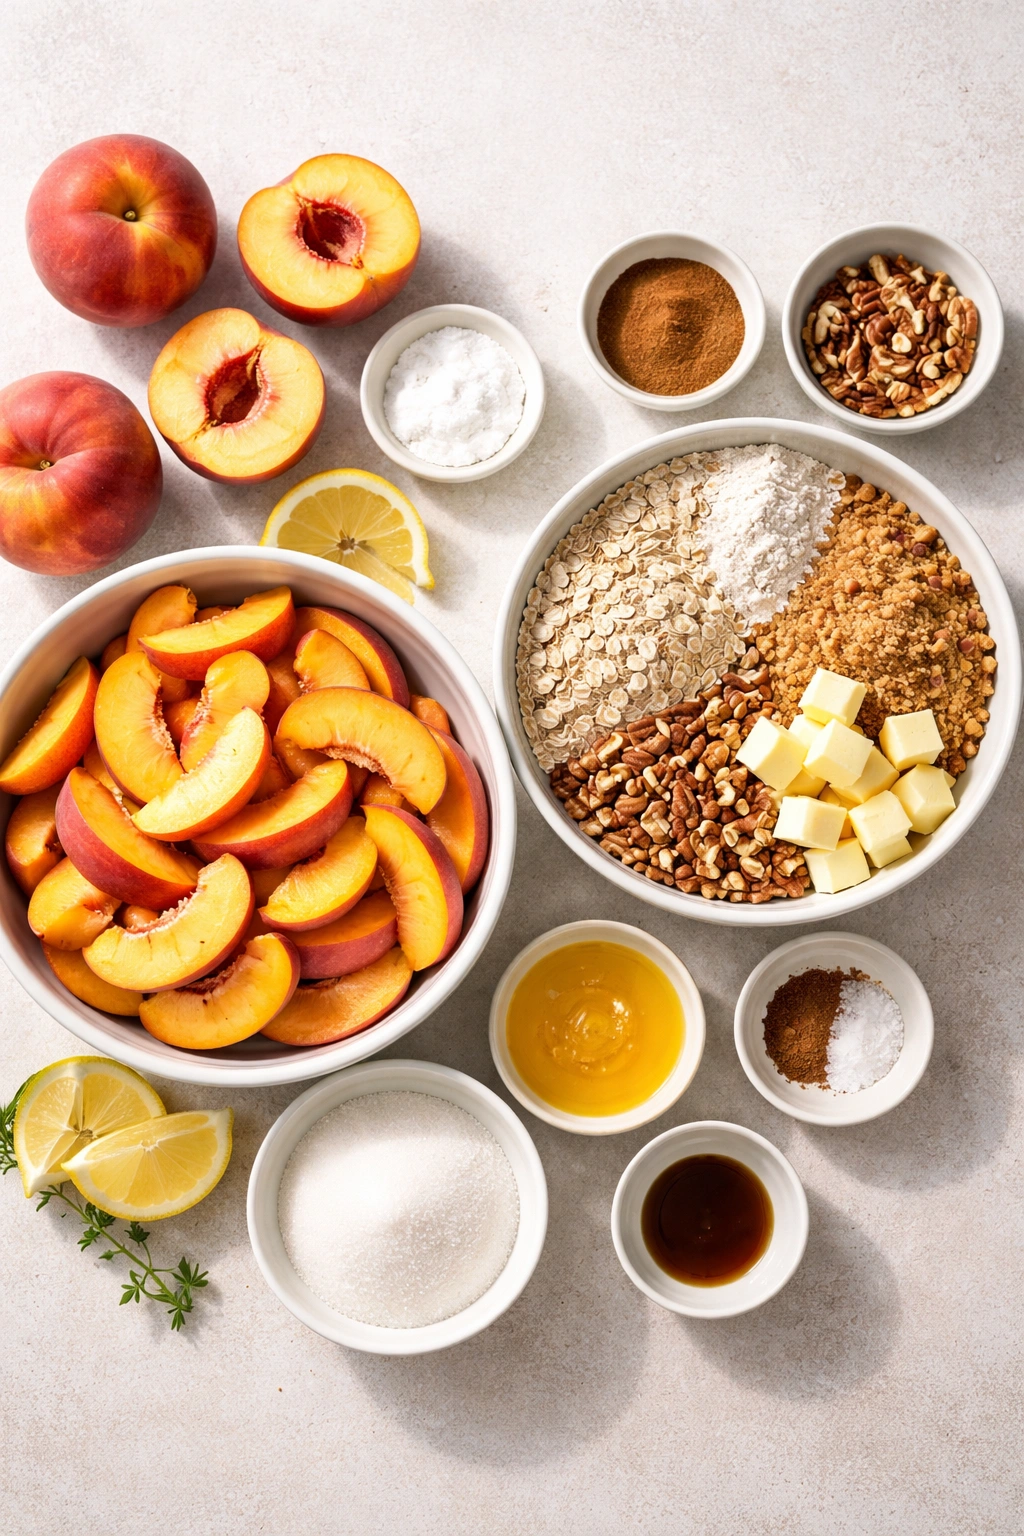
For the Peach Filling:
- 5 to 6 cups fresh peaches, sliced (about 6 to 8 medium peaches)
- 3 tablespoons granulated sugar
- 1 tablespoon light brown sugar
- 1 teaspoon fresh lemon juice
- ½ teaspoon pure vanilla extract
- ¼ teaspoon fine sea salt
- Optional: ⅛ teaspoon ground ginger or a pinch of nutmeg for warmth
For the Crumble Topping:
- 6 tablespoons (¾ stick) cold unsalted butter, cut into small cubes
- ¾ cup old-fashioned rolled oats (not instant)
- ⅓ cup all-purpose flour
- ¼ cup light brown sugar, firmly packed
- ¼ cup granulated sugar
- ⅓ cup chopped pecans or sliced almonds (or a combination)
- 2 tablespoons cornstarch (or 3 tablespoons crushed cornflake cereal for extra crunch)
- ½ teaspoon pure vanilla extract
- ¼ teaspoon fine sea salt
- 1 tablespoon cold water, if needed to bring the mixture together
Step-by-Step Instructions
Prepare the Baking Dish:
-
Preheat the oven to 375°F (190°C) and position the rack in the center of the oven.
-
Lightly butter a 9×13-inch baking dish, coating the bottom and sides evenly. Set it aside on a sheet pan (this catches any drips and makes it easier to remove the dish from the oven without mishap).
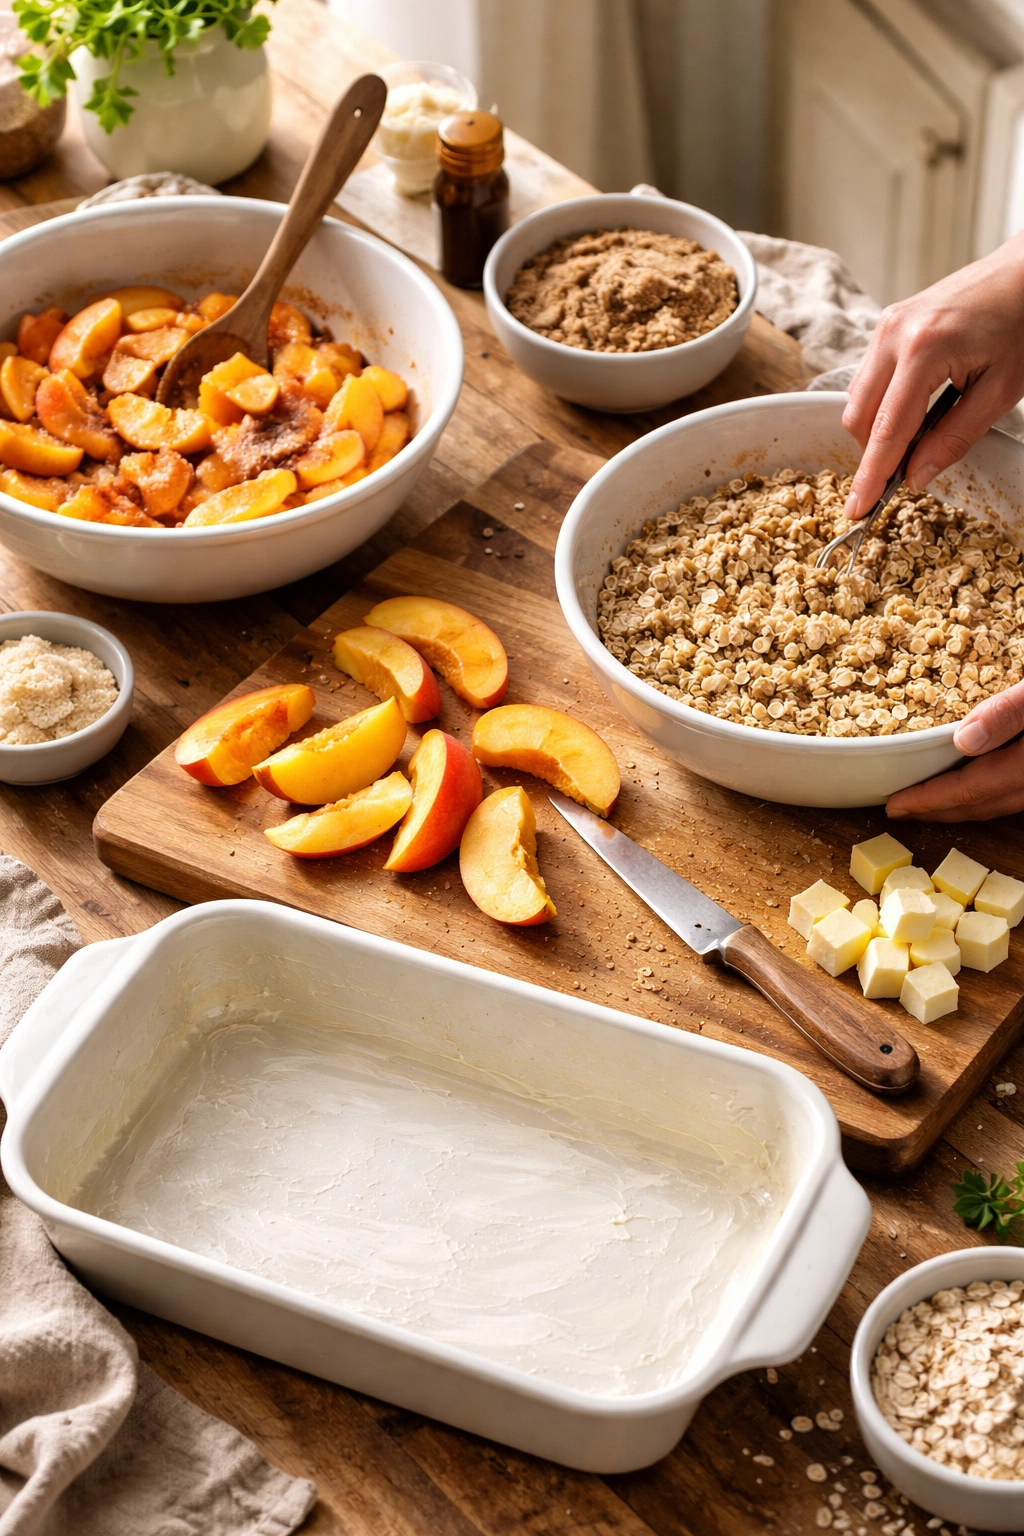
Make the Peach Filling:
- In a large bowl, combine the sliced peaches with the granulated sugar, light brown sugar, lemon juice, vanilla extract, salt, and any optional spices. Toss gently until the peaches are evenly coated and the sugar has started to dissolve slightly—you’ll see a small amount of liquid accumulating in the bottom of the bowl. This is exactly what you want. Let the peaches sit for 3 to 5 minutes while you make the crumble topping; this brief rest allows the flavors to meld.
Make the Crumble Topping:
-
In a separate medium bowl, combine the flour, both sugars, oats, chopped nuts, cornstarch (or crushed cornflakes), vanilla, and salt. Stir these dry ingredients together with a fork until evenly distributed.
-
Scatter the cold butter cubes over the dry mixture. Using a fork or your fingertips, work the cold butter into the oat mixture until the texture resembles coarse breadcrumbs with some slightly larger pea-sized clumps of butter still visible throughout. This is crucial: you want distinct pockets of butter, not a uniform paste. If the mixture seems too dry and won’t hold together when you squeeze a handful, sprinkle in the cold water one tablespoon at a time and toss gently until it just barely coheres. You’re looking for a mixture that’s crumbly but will stay together lightly when pressed.
Assemble and Bake:
-
Pour the peach filling (including all the juices that have accumulated) into the prepared baking dish and spread it into an even layer.
-
Scatter the crumble topping evenly over the peach filling, gently pressing it down just slightly so it adheres but doesn’t become compacted. The topping should look loose and textured, not dense or pressed into a cake layer.
-
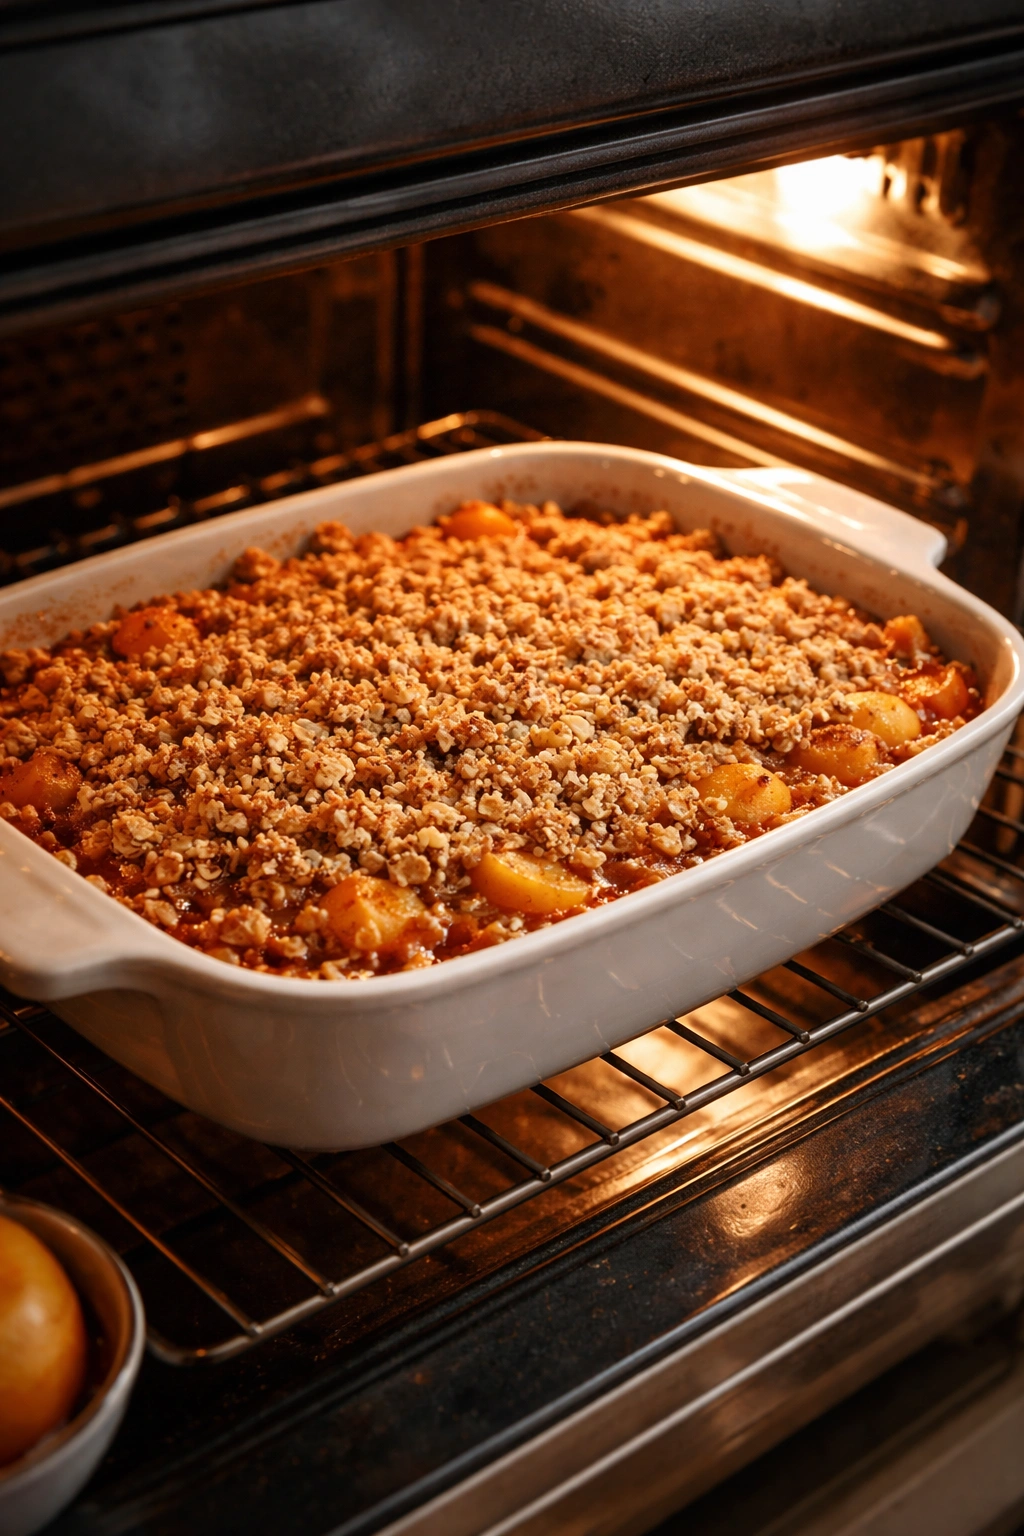
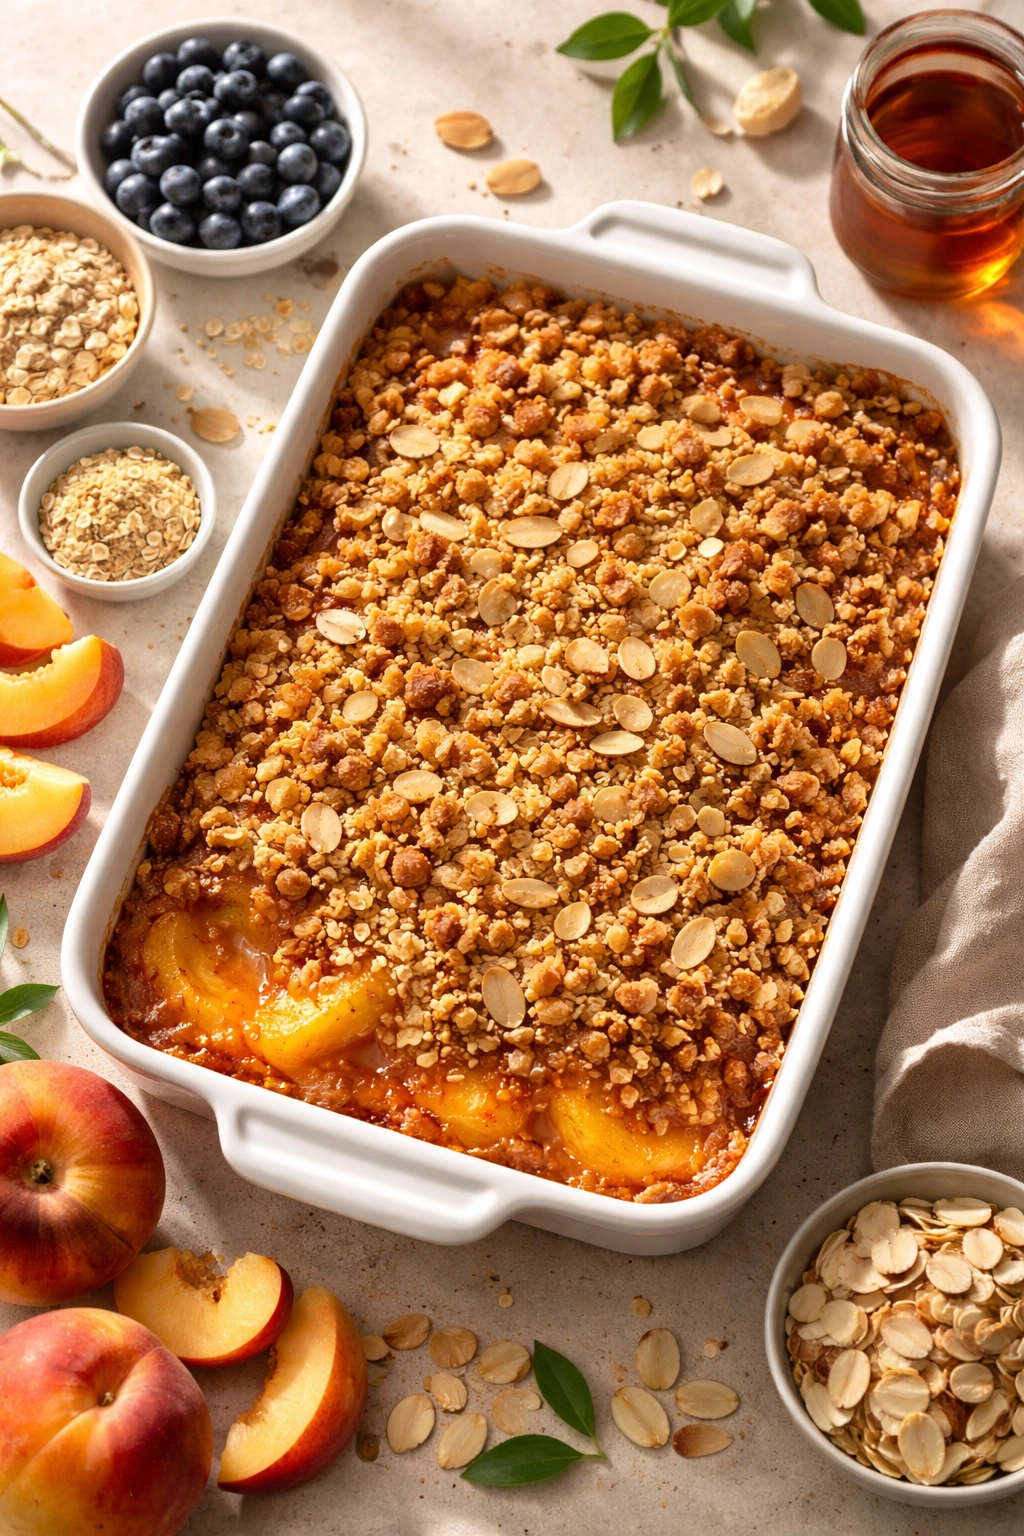
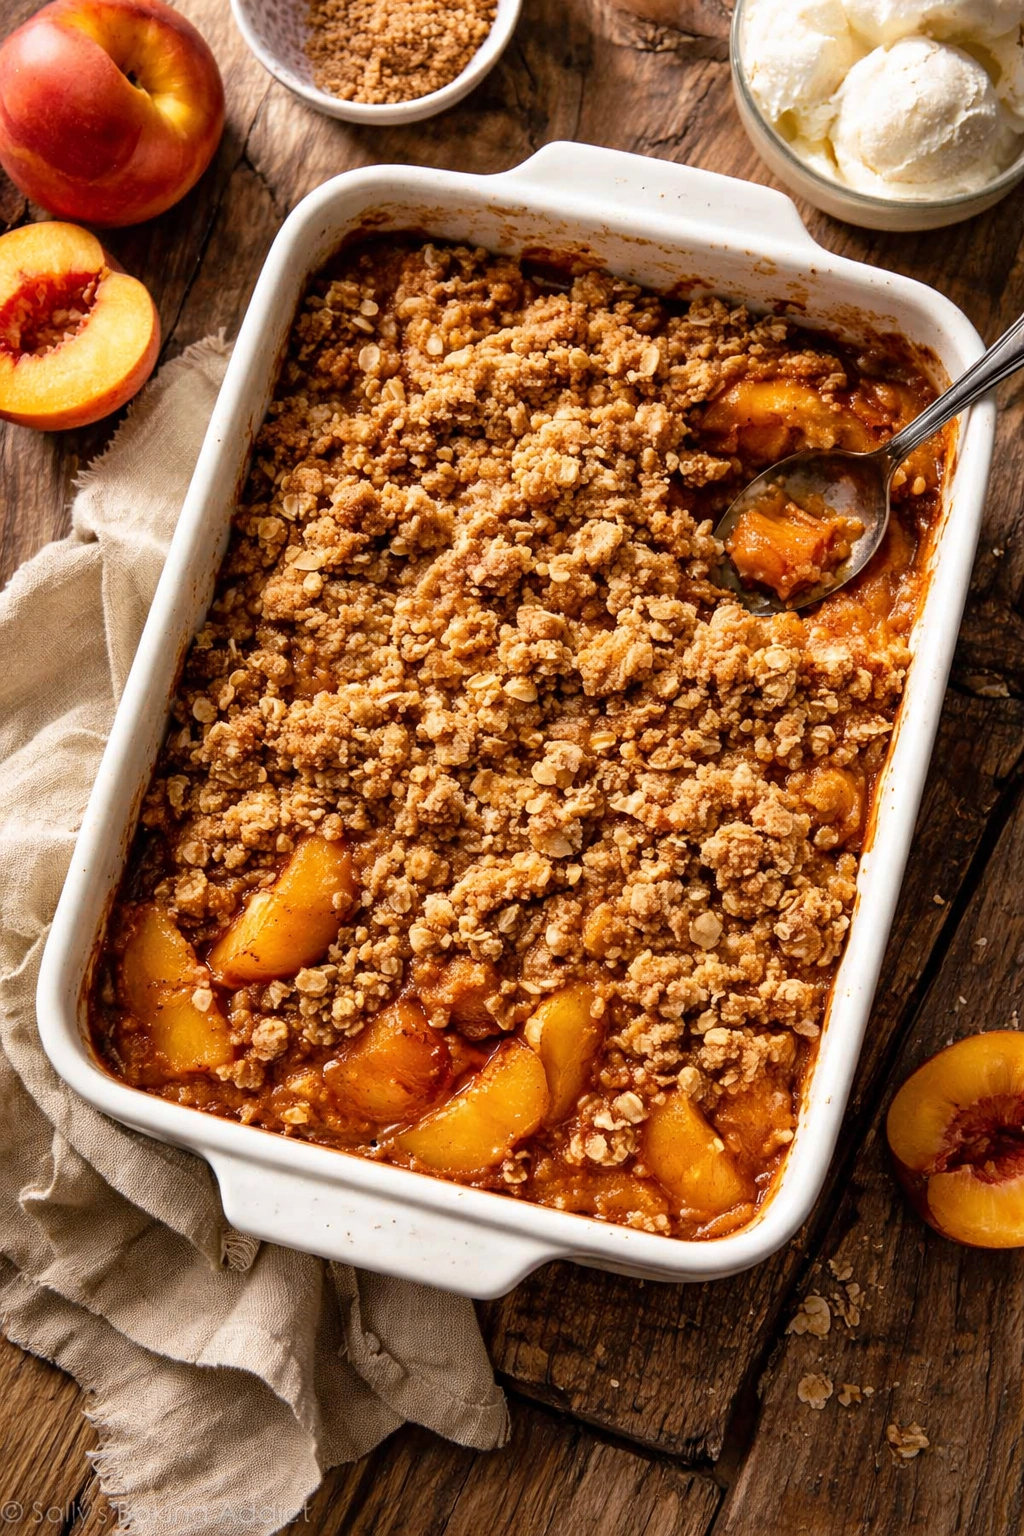
Bake for 40 to 45 minutes, until the crumble topping is golden brown and the peach filling is bubbling noticeably around the edges of the dish. The top should look dry and matte, not wet or shiny. If you notice the topping is browning too quickly before the fruit is bubbling, loosely tent the dish with foil for the last 10 minutes of baking, then remove it for the final minute to let the top dry out.
-
Set the baking dish on a cooling rack and let it rest for at least 15 minutes before serving. This resting time is essential—it allows the filling to firm up slightly and makes the crisp far easier to portion without the filling running all over the plate. The crisp will still be warm, which is perfect.
Practical Baking Tips and Common Mistakes to Avoid
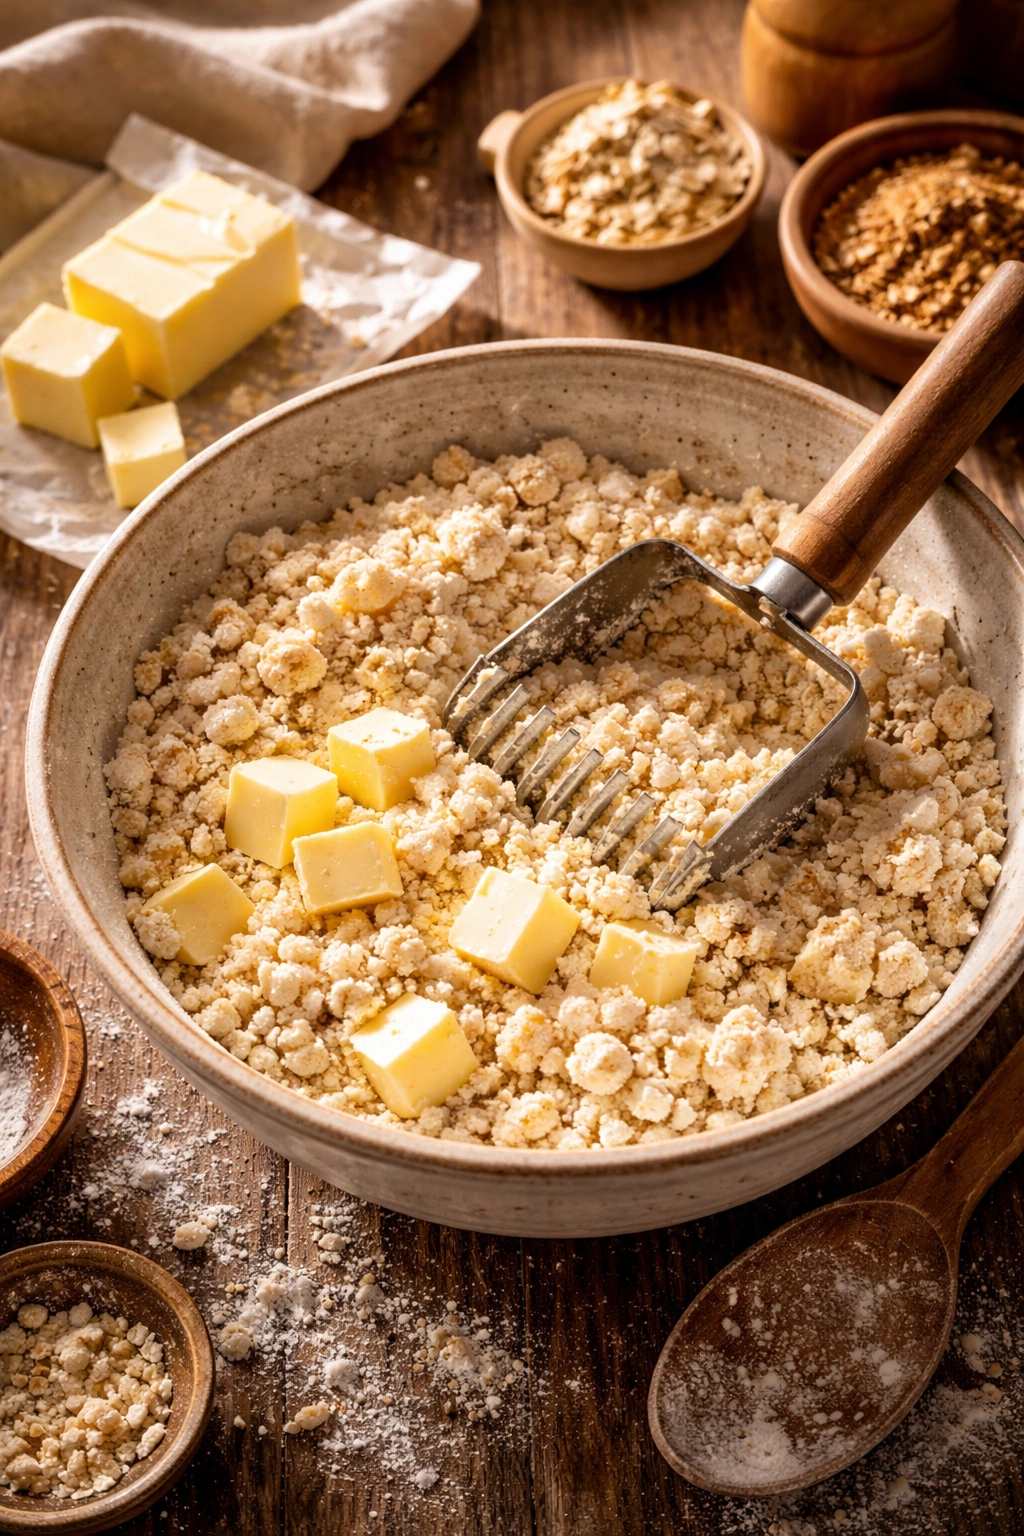
Cold Butter Is Non-Negotiable
The single most important step is keeping your butter cold. Warm butter distributes evenly throughout the mixture and produces a dense, cake-like crumble. Cold butter remains in distinct pieces, which melt at slightly different rates in the oven, creating irregular surfaces and pockets of texture. Keep your butter in the freezer until the moment you need it, and work quickly when incorporating it.
Don’t Overmix the Crumble
Once you’ve incorporated the butter, stop. The moment the mixture starts to come together, you’re done. Overmixing will warm the butter and homogenize the texture into a dough instead of a crumble. If you’re using your fingertips, you’ll feel when the mixture reaches the right texture—slightly crumbly with pea-sized clumps of butter throughout.
Taste Your Peaches Before Sugaring
The amount of sugar in the filling is deliberately modest because it’s designed for peaches that are already genuinely sweet. If your peaches taste underripe or bland, add another tablespoon of sugar. If they’re intensely fragrant and sweet, you might even reduce the sugar by half a tablespoon. The goal is to amplify the peach flavor, not mask it.
Use the Bubbling-at-the-Edges Test
The visual cue that tells you the crisp is done is peach filling bubbling visibly around the edges, not the color of the topping alone. If the crumble is brown but there’s no visible bubble, give it another 5 minutes—the fruit filling needs to heat all the way through. If the topping is browning too quickly, tent with foil.
Let It Rest Before Serving
The fifteen-minute rest after baking is not optional. During this time, the filling reabsorbs some of its juices and firms up, making it sliceable. Cutting into a crisp straight from the oven will result in a flood of loose filling. Waiting fifteen minutes gives you a dessert that holds together on a plate.
Prevent a Soggy Bottom
The baking dish itself should be ceramic or glass, not dark metal, which can brown the bottom too aggressively. The sheet pan underneath catches any drips but also keeps the bottom of the crisp from browning excessively. If you’re particularly concerned about sogginess, you can bake the empty dish for 5 minutes at 375°F before adding the filling—this preheats the dish and helps the bottom crisp set more efficiently.
The Crumble Topping Stays Crispy
Because you’re using cornstarch or cornflakes in the topping, it remains notably crispy even a few hours after baking. Unlike many crisps that turn soft and cake-like after sitting, this one holds its texture. If you do want to refresh it after a day, a quick pass in a 300°F oven for 5 minutes will restore some crispness.
Flavor Variations to Try
The foundation of this recipe is flexible enough to accommodate variations without losing its identity.
Ginger and Peach
Add ⅛ to ¼ teaspoon ground ginger to the peach filling. Ginger amplifies the peach flavor and adds a subtle heat that makes the dessert feel more sophisticated. If you love ginger, you can also add a small pinch to the crumble topping for extra warmth.
Peach and Blueberry
Replace 2 cups of the peach slices with fresh blueberries. The blueberries add a slight tartness that contrasts beautifully with the peach sweetness, and they hold their shape well during baking. Add the blueberries to the bowl after the peaches—don’t toss them together, which can crush the berries.
Almond Crumble Variation
Use all sliced almonds in the topping instead of a mix of nuts. Increase the amount to ½ cup. Add ¼ teaspoon pure almond extract to the crumble mixture (not the filling). The result is a topping with delicate, nutty depth that complements peach especially well.
Maple and Peach
Replace half the light brown sugar in the crumble topping with pure maple sugar (available at specialty stores and online), or use 1 tablespoon of pure maple syrup in place of 1 tablespoon of the water when assembling the topping. The maple adds subtle woodland notes without overwhelming the peach.
Cornflake Upgrade
If using cornflakes instead of cornstarch, crush them into uneven pieces—some as large as pea-sized, some fine. You want visible cereal pieces throughout the crumble. They’ll brown and crisp beautifully in the oven, adding a toasted-grain crunch you won’t get any other way.
Add a Streusel Crunch Layer
This is optional but exceptional: reserve about 2 tablespoons of the crumble mixture before you assemble the crisp. Toss it with a pinch of fleur de sel (fancy sea salt) or regular fine salt, then scatter it over the top of the assembled crisp right before baking. It caramelizes and adds a salty-sweet textural element that becomes a signature detail.
Storage and Make-Ahead Guidance
Peach crisp is one of those desserts that actually improves as it sits, because the flavors continue to meld and the filling sets up slightly while the crumble remains noticeably crunchy thanks to the cornstarch or cornflakes.
Room Temperature Storage
The crisp keeps beautifully covered loosely (foil is fine, or just a kitchen towel) at room temperature for up to 2 days. The crumble stays crispy, and the filling remains soft and flavorful. Serve it at room temperature or gently warm individual portions.
Refrigerator Storage
Covered, the crisp keeps for up to 4 days in the fridge. The filling firms up nicely and the crumble actually stays crispy better than you’d expect—the cornstarch continues to absorb moisture, keeping everything dry. To reheat gently without drying it out, cover loosely with foil and warm in a 300°F oven for 10 to 15 minutes until it’s warm throughout but not hot.
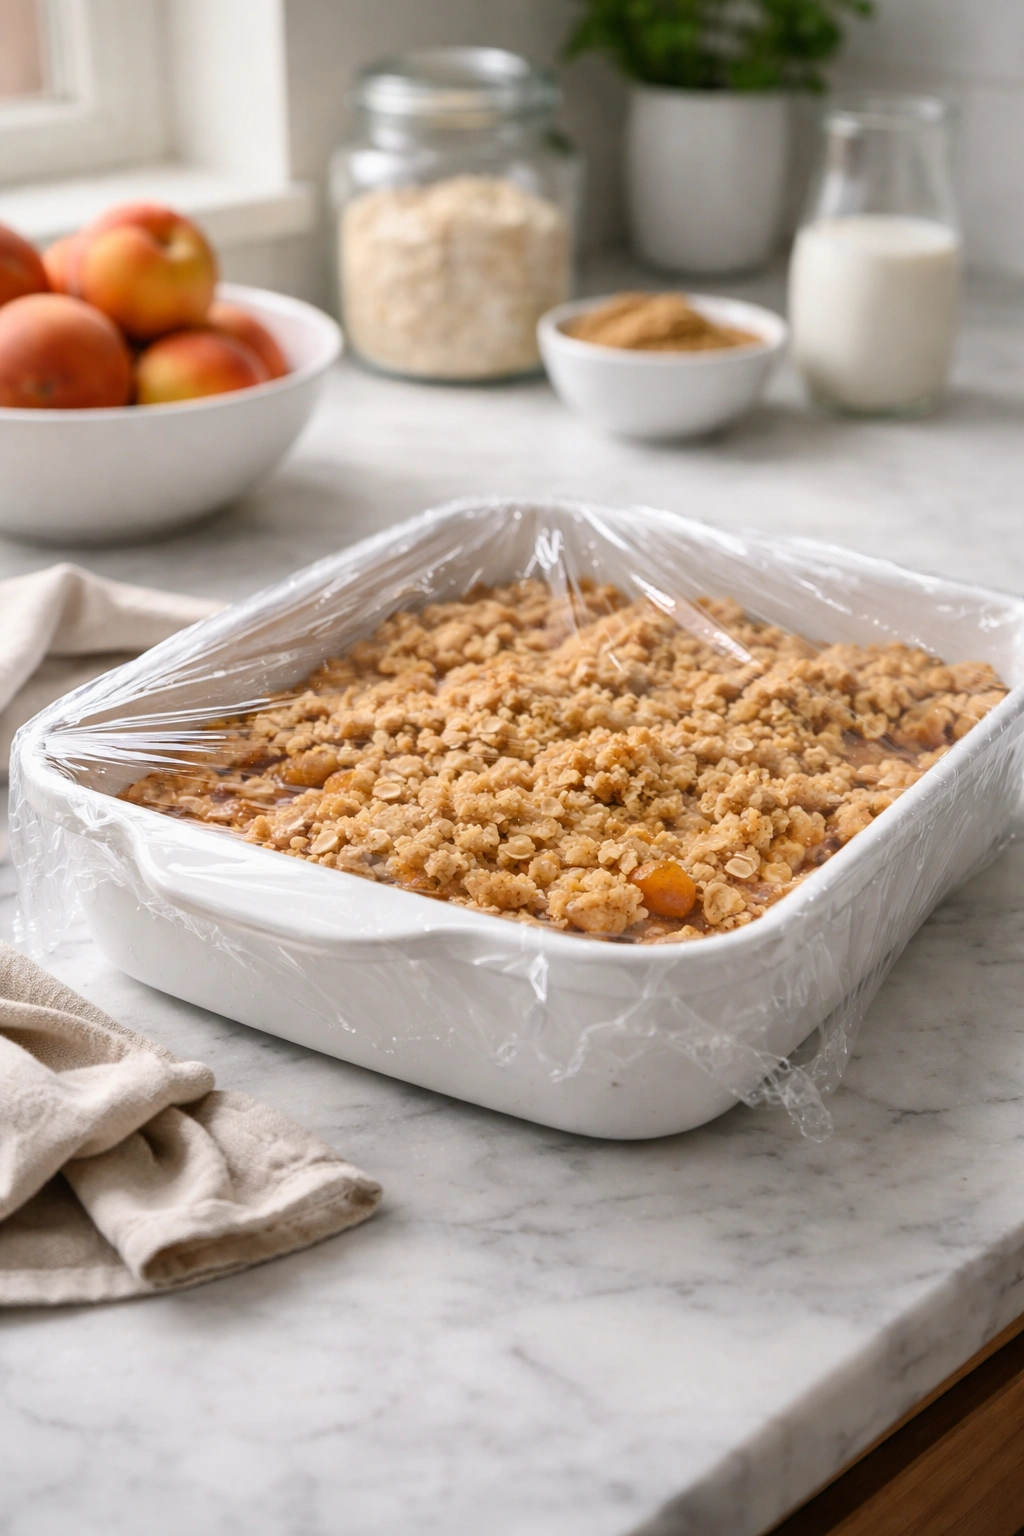
Make-Ahead Assembly
You can assemble the crisp completely up to 12 hours before baking. Prepare the peach filling, make the crumble topping, layer everything in the baking dish, cover tightly with plastic wrap, and refrigerate. When ready to bake, simply transfer the cold dish straight to a preheated 375°F oven and add 5 to 10 minutes to the baking time, since the fruit and topping will start cold. This is incredibly convenient for entertaining.
Freezing the Unbaked Crisp
You can freeze the assembled, unbaked crisp for up to 3 months. Assemble it in a disposable aluminum pan (this protects your good baking dish), cover tightly with plastic wrap and then foil, and freeze. Bake directly from frozen, adding 15 to 20 minutes to the baking time. No need to thaw.
Freezing the Baked Crisp
A fully baked crisp freezes well for up to 2 months. Cool it completely, cover it tightly, and freeze. To reheat, thaw overnight in the fridge, then warm gently in a 300°F oven for 15 to 20 minutes. The crumble will retain most of its crispness.
Individual Portions
If you want to freeze individual servings, cool the crisp completely, portion it into freezer-safe containers, and freeze for up to 2 months. Reheat individual portions in a 300°F oven for 10 to 12 minutes, covered loosely, until warm.
Serving Suggestions and Perfect Pairings
Peach crisp is straightforward enough to eat plain, but it absolutely shines with the right accompaniment.
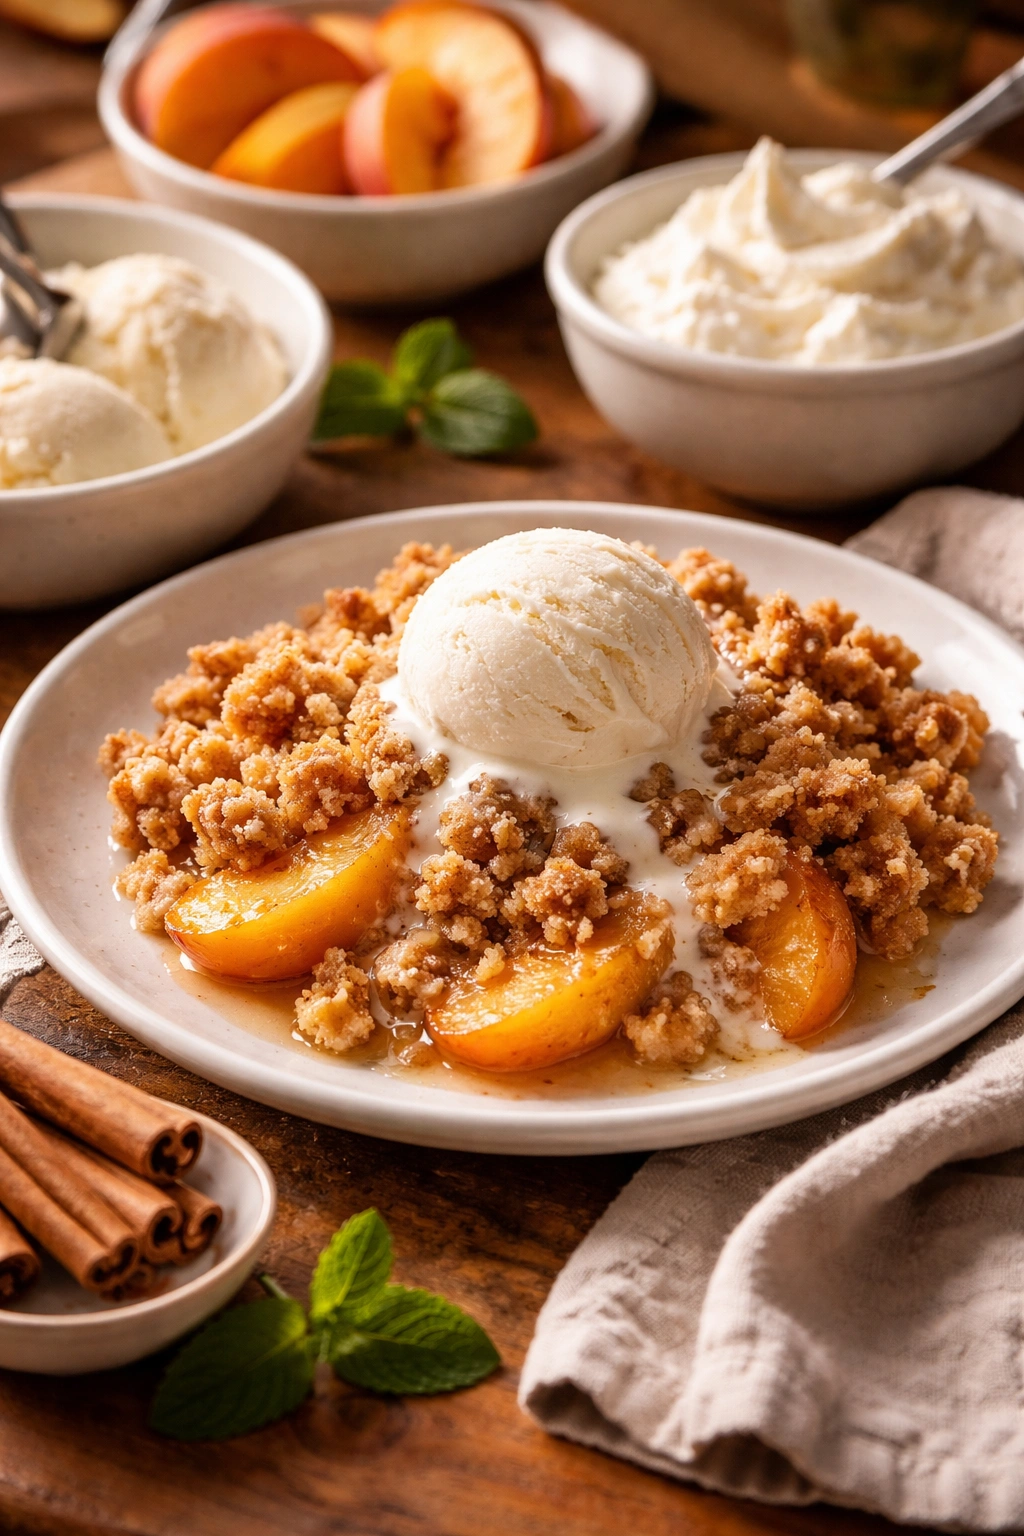
Vanilla Ice Cream
This is the classic pairing for a reason. A scoop of good vanilla ice cream melts slightly into the warm peach filling and adds richness that complements the crisp, buttery crumble topping. Use the best vanilla ice cream you can find—the quality difference is immediately noticeable.
Whipped Cream
Cold, lightly sweetened whipped cream (just a hint of sugar, nothing more) is lighter and more elegant than ice cream. If you want to dress it up, add a whisper of vanilla extract or a pinch of ground ginger to the cream before whipping.
Greek Yogurt
For a lighter option, dollop the crisp with plain Greek yogurt. The tang provides a beautiful contrast to the sweet peaches and rich crumble. If the yogurt tastes too sharp on its own, you can sweeten it very lightly with a touch of honey.
Candied Peach Slices or Crystallized Ginger
Garnish each serving with a thin slice of candied peach or a piece of crystallized ginger positioned on top. This adds visual refinement and a concentrated burst of flavor.
Crème Fraîche
A small dollop of crème fraîche adds subtle tang and a luxurious texture without being as heavy as ice cream.
Serving Occasion Ideas
This dessert works beautifully for casual meals—it’s the kind of thing you serve after a weeknight pasta dinner. It’s also substantial enough for company and elegant enough to bring to a potluck. Single servings can be baked in ramekins or small baking dishes if you’re cooking for one or two people, and they look beautiful when plated individually with a scoop of ice cream and a garnish.
If you’re serving it at a gathering, have two or three topping options available—vanilla ice cream, whipped cream, and maybe Greek yogurt. Let guests choose their own, which makes the dessert feel more interactive and personal.
Final Thoughts
Peach crisp exists in that rare culinary space where simplicity and genuine deliciousness align perfectly. It doesn’t demand technique or special ingredients; it simply asks for ripe, fragrant peaches and a crumble topping built with enough care that it stays textural and interesting throughout the meal.
The crumble topping is the detail that separates this version from countless others. By keeping your butter cold, including a textural element like nuts or cornflakes, and adding cornstarch to absorb excess moisture, you end up with a topping that deserves the name crumble—crispy, buttery, with distinct pockets of texture that make you want another bite the moment you’ve finished the first.
This is the kind of dessert that tastes like home, whether you’re making it for the first time or the hundredth. It’s approachable enough for weeknight baking, impressive enough for company, and flexible enough to make your own through variations. Most importantly, it celebrates peaches the way they deserve to be celebrated: without unnecessary fuss, with genuine respect for the fruit, and with a crumble topping that adds richness and contrast without ever trying to steal the spotlight. Start with good peaches, keep your butter cold, and the rest practically takes care of itself.