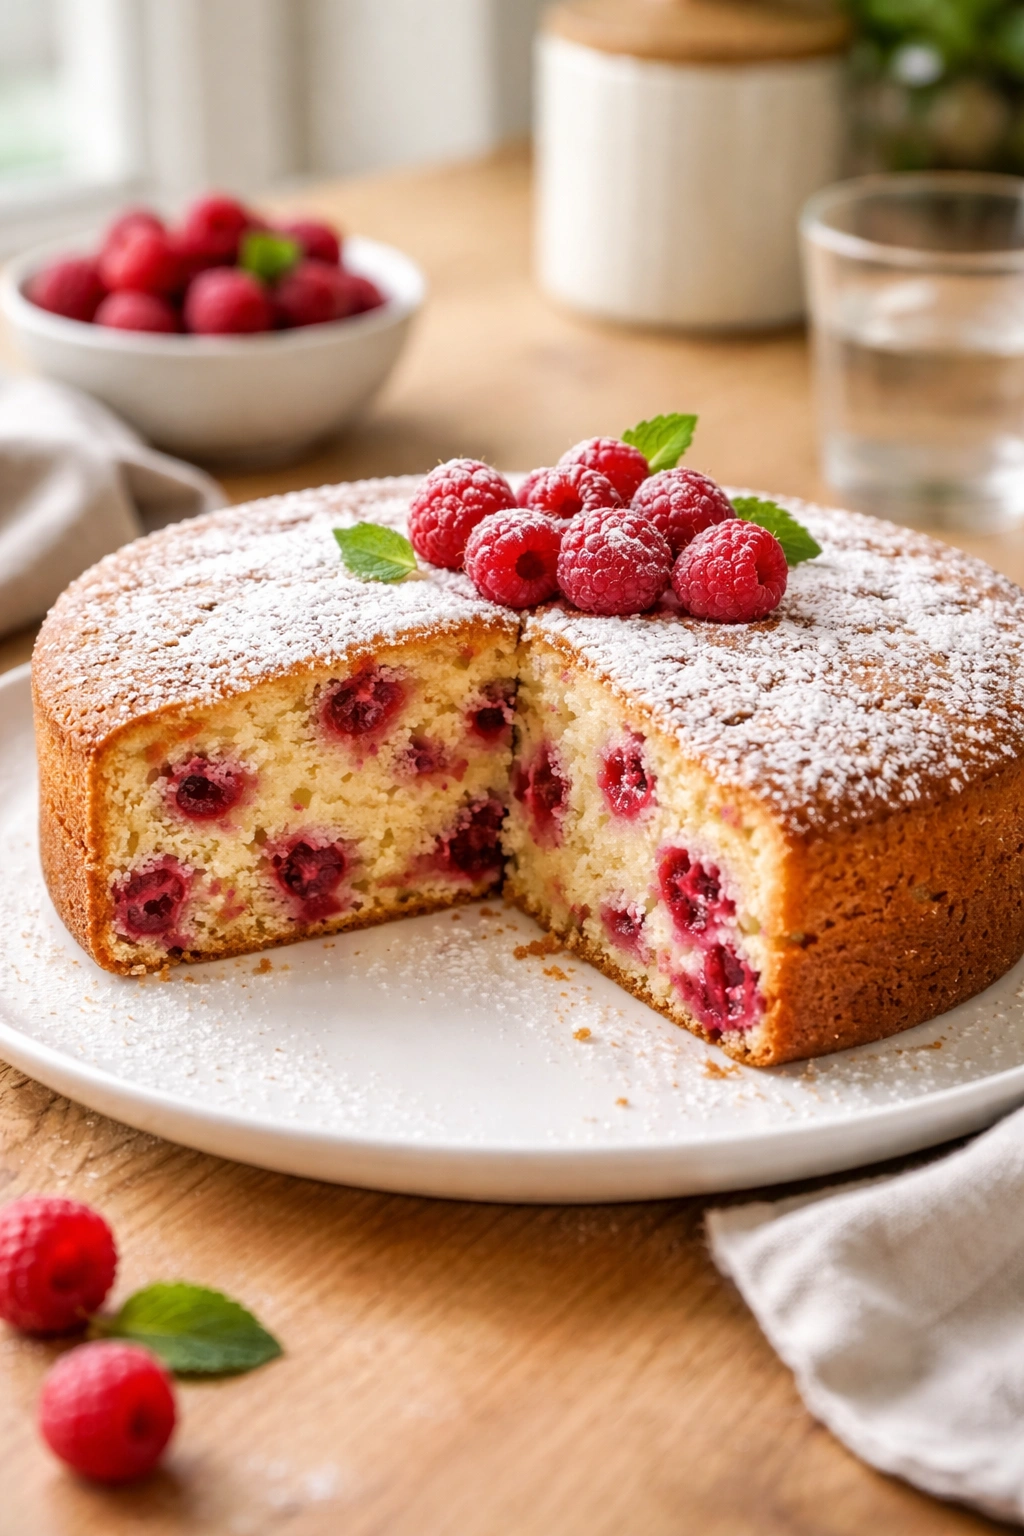
Imagine a tender, moist cake that comes together in about an hour, smells absolutely incredible while it bakes, and tastes like you spent the whole afternoon in the kitchen. That’s what this raspberry cake delivers — and the best part? It’s the kind of cake that works equally well for a casual Tuesday afternoon with coffee, a summer dinner party, or a birthday celebration. Raspberries aren’t just a trendy topping here; they’re baked right into the batter and scattered on top, giving you bursts of bright, tart flavor in every bite that balances the tender crumb and subtle sweetness of the cake itself.
This isn’t a complicated French pastry or a finicky layer cake that requires special equipment and precise technique. This is a straightforward, foolproof cake that home bakers of all skill levels can nail on the first try. The recipe uses pantry staples you probably already have, and the hands-on time is genuinely short. You’re looking at about 20 minutes of actual prep work before the oven does most of the heavy lifting. Whether you’re a beginner or an experienced baker, you’ll appreciate how forgiving this cake is — it’s nearly impossible to mess up, and when you pull it out of the oven, you’ll have something that looks and tastes far more impressive than the minimal effort required.
What makes this particular version special is the balance. The crumb is tender enough that it melts on your tongue, but sturdy enough that you can actually slice it cleanly without crumbs everywhere. The raspberry flavor comes through without being overwhelming or sour. And because it comes together as a single-layer cake rather than a multi-layer production, it’s perfectly suited to literally any occasion — from a family Sunday dinner to a potluck to a simple celebration where you want something special but don’t want stress.
What Makes This Raspberry Cake So Special
Most cake recipes ask you to choose: you can have something that’s quick and easy, or you can have something that tastes genuinely delicious. This one doesn’t ask you to compromise. The secret is in the technique and ingredient balance, not in complexity or fussiness. The batter itself is exceptionally forgiving because it uses both butter and oil — the butter gives rich flavor and a tender crumb, while the oil keeps it incredibly moist even if you bake it a few minutes longer than ideal.
The raspberries get added to the batter in two ways, which means you get their flavor distributed throughout the cake and also concentrated pockets of tartness where they sink to the bottom and create almost a compote layer. Fresh raspberries work beautifully here, but frozen raspberries (thawed and drained) work just as well, which is genuinely useful information because it means you can make this cake year-round without paying $6 for a tiny container of fresh berries.
This isn’t a cake that requires a crumb coat, a perfectly smooth frosting, or careful assembly. You can frost it with something simple like whipped cream or a basic buttercream, or you can skip frosting entirely and dust it with powdered sugar. You could even serve it warm with vanilla ice cream. It adapts to your mood and your occasion without complaint. That flexibility is incredibly practical for home bakers who want to look like they’ve got it together without actually spending hours in the kitchen.
Why Raspberries Are the Perfect Cake Fruit
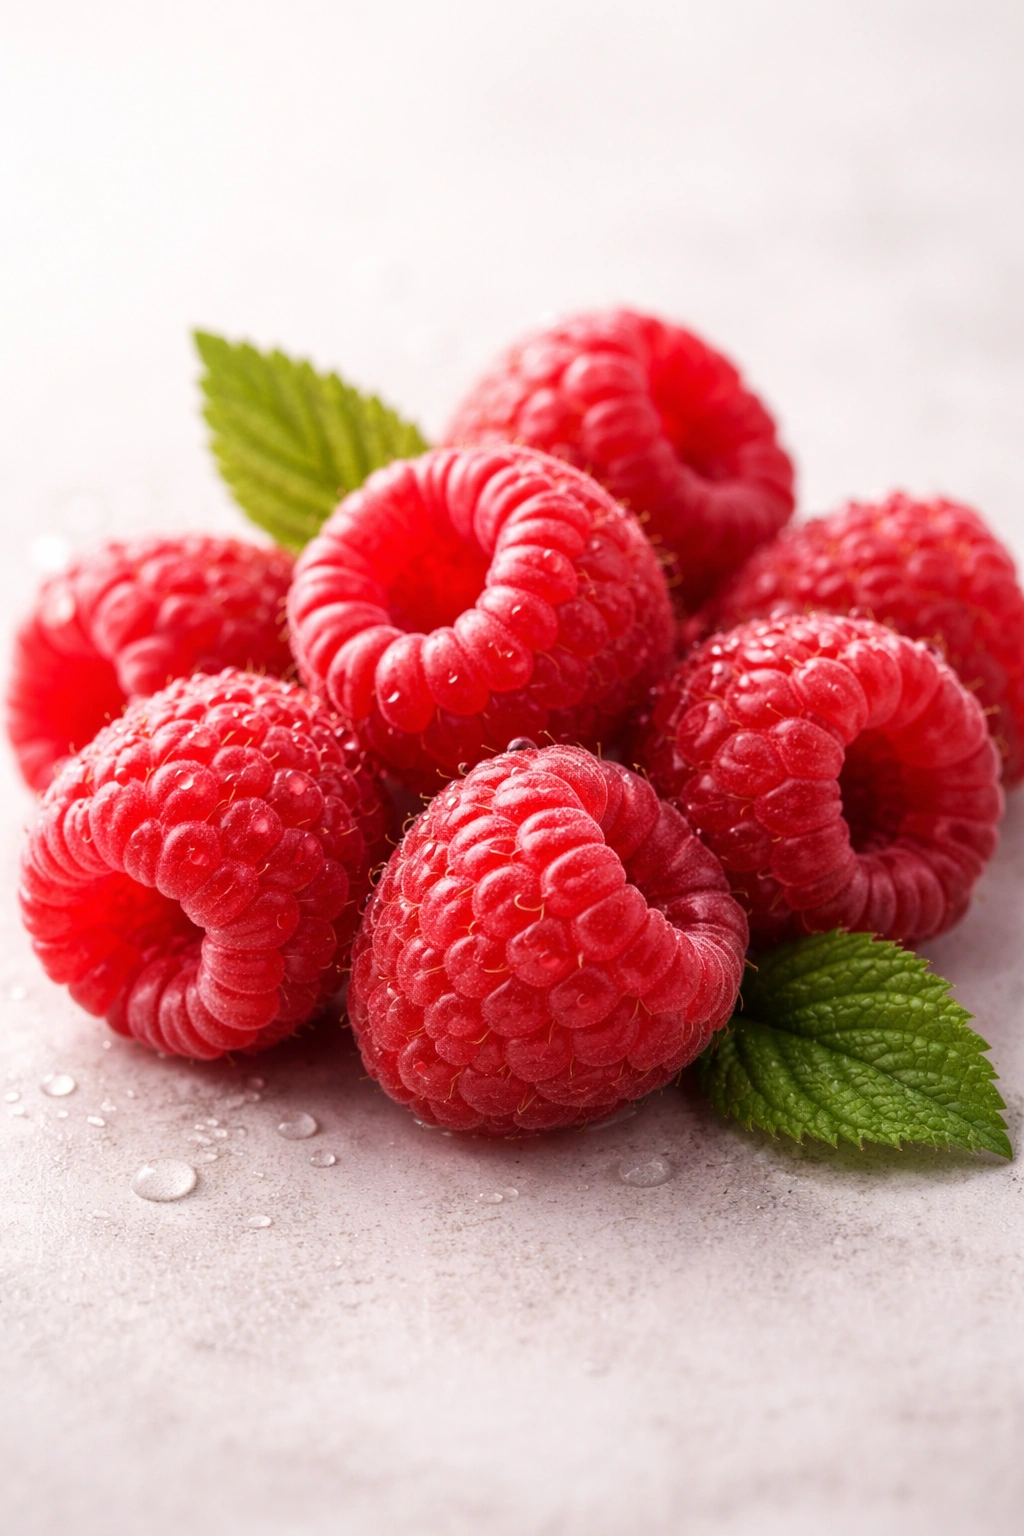
Raspberries have a unique combination of tartness and natural sweetness that actually improves cake rather than just sitting on top as decoration. When raspberries bake into cake, they lose some of their structural integrity, sure, but what you get in exchange is real raspberry flavor distributed throughout every bite. The natural acid in raspberries also helps activate baking soda, which contributes to lift and a tender, open crumb.
Unlike berries that are super juicy (like strawberries), raspberries contain less water, which means they won’t make your batter soggy or throw off your wet-to-dry ratio. They contribute flavor without compromising the cake’s texture. The tartness also plays a crucial role from a flavor perspective — it cuts through the sweetness of the cake and keeps things from tasting cloying or one-note. You get brightness and complexity without adding extra ingredients or complexity to the recipe itself.
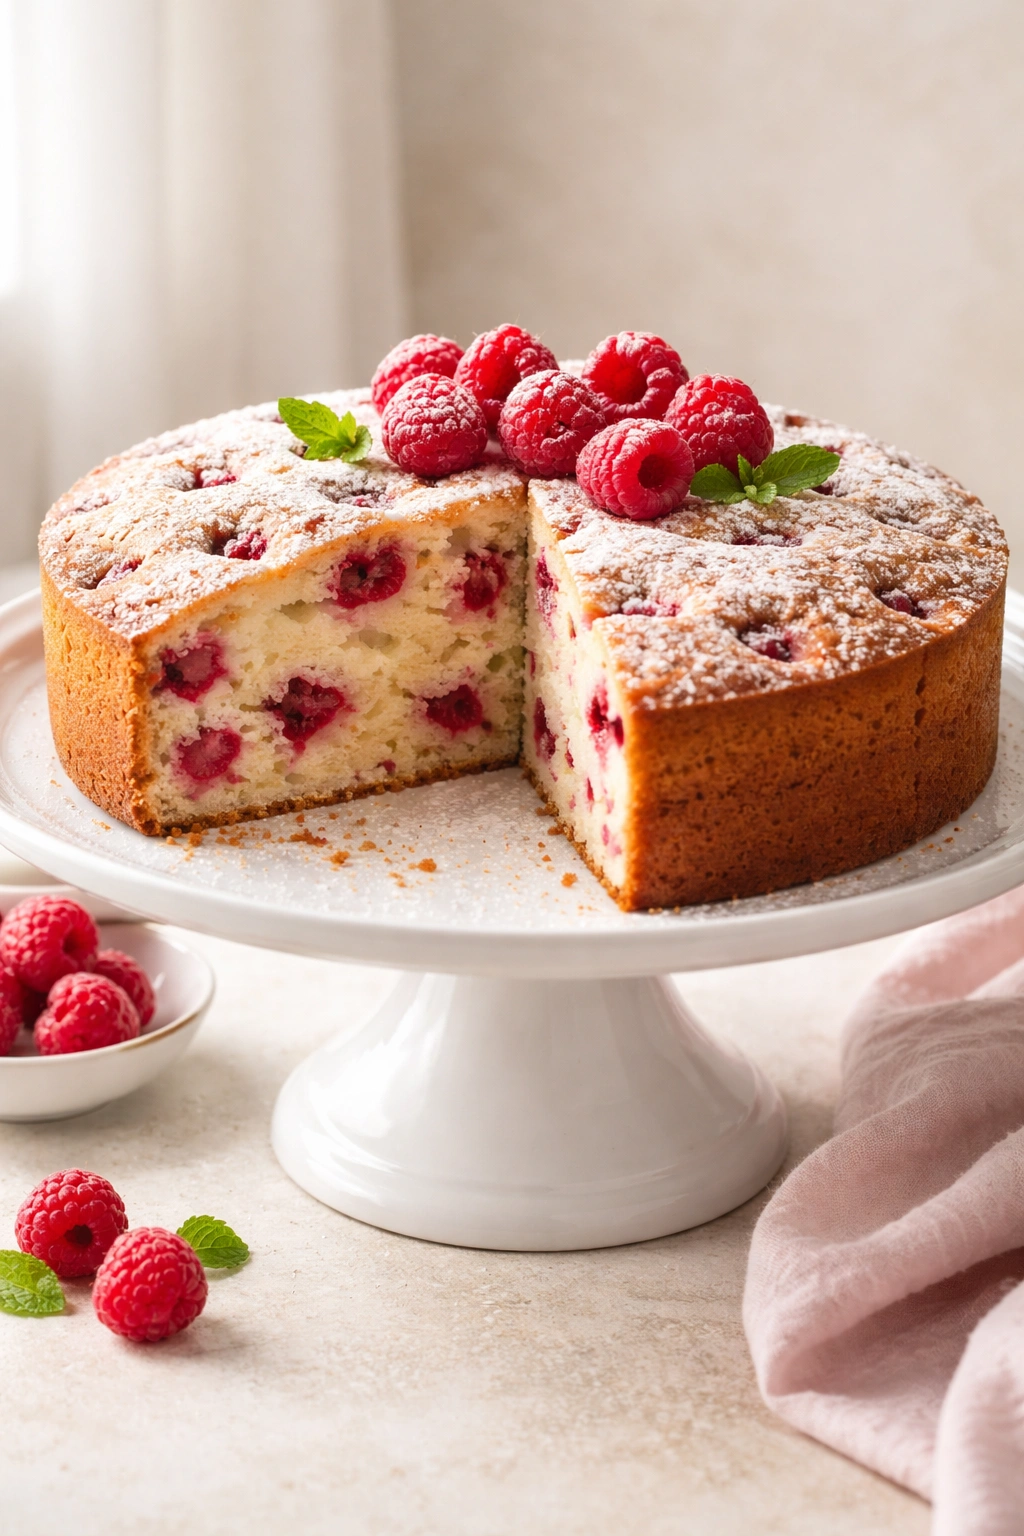
Raspberries also look beautiful in cake, which matters more than people admit. Whether you’re looking at slices on a plate or bites in your mouth, those dark red or golden berries are visually appealing and signal “this is something special” without requiring you to do anything complicated. A dusting of powdered sugar and a few fresh raspberries on top, and suddenly it looks like it came from a bakery.
Yield, Timing, and Difficulty
Yield: Makes one 9-inch round cake, serves 8 to 10
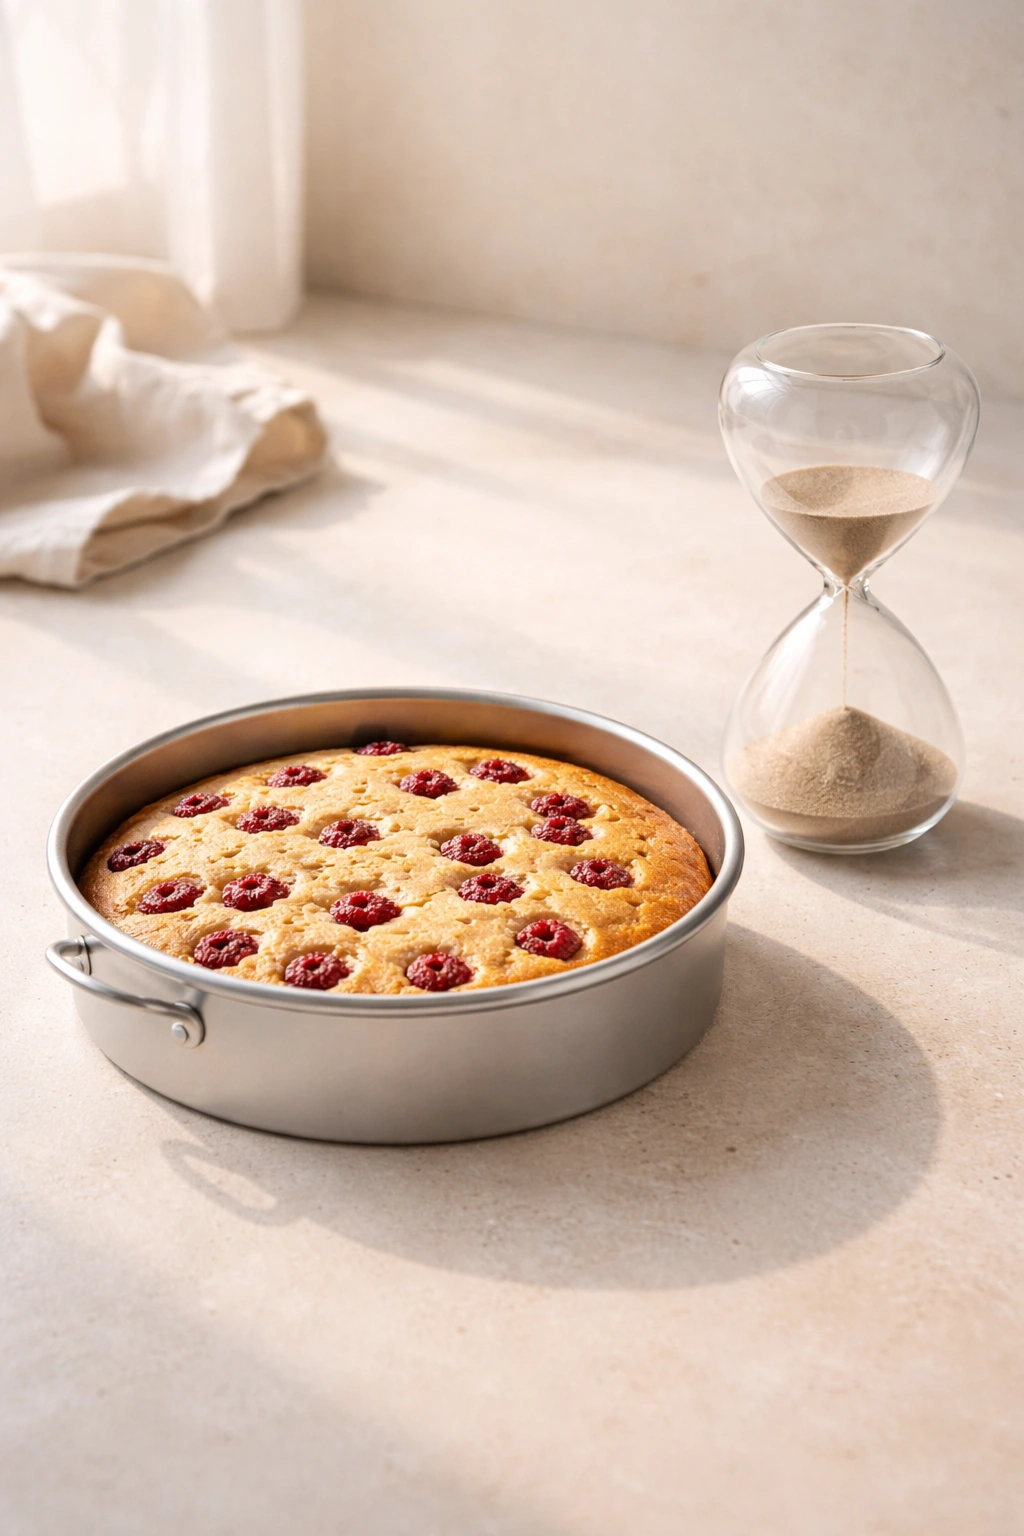
Prep Time: 20 minutes
Cook Time: 35 to 40 minutes
Total Time: 55 to 60 minutes (plus cooling time)
Chill/Rest Time: Allow the baked cake to cool completely in the pan for at least 1 hour before frosting or serving — this is essential for structure and for preventing frosting from melting.
Best Served: Warm or at room temperature the same day it’s baked, though it keeps beautifully for 2 days.
Difficulty: Beginner — This recipe requires no special equipment, no complex techniques, and forgives minor timing variations. The steps are straightforward, and even if your batter looks slightly lumpy or your timing is off by a few minutes, you’ll still end up with a delicious cake.
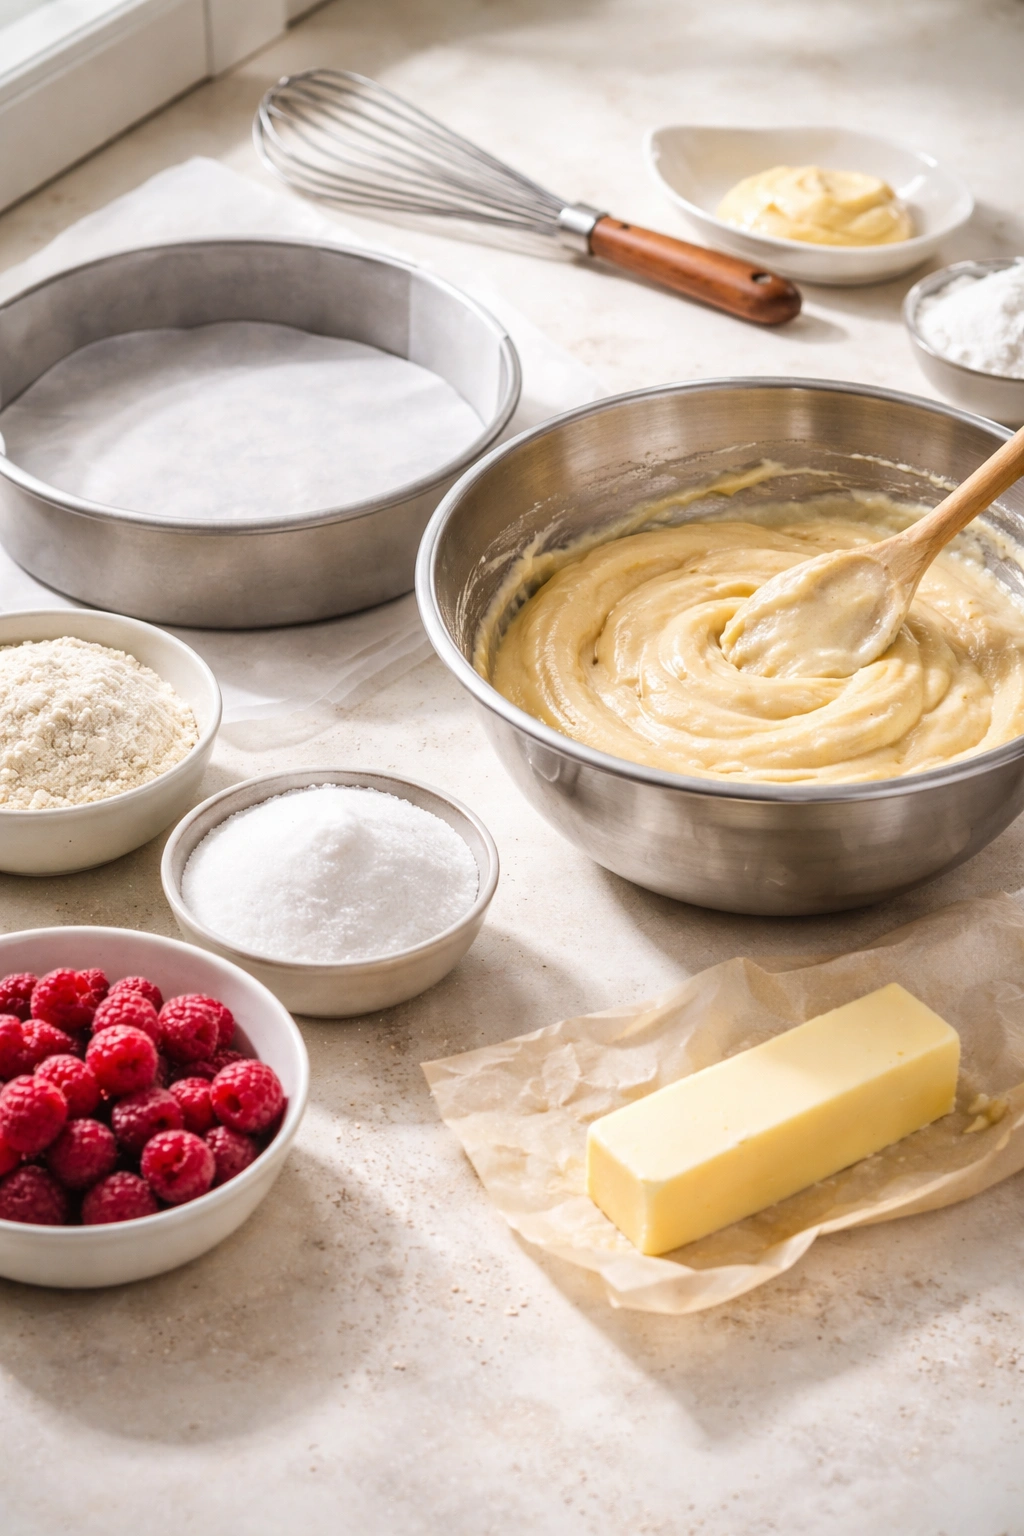
Ingredients You’ll Need
For the Cake:
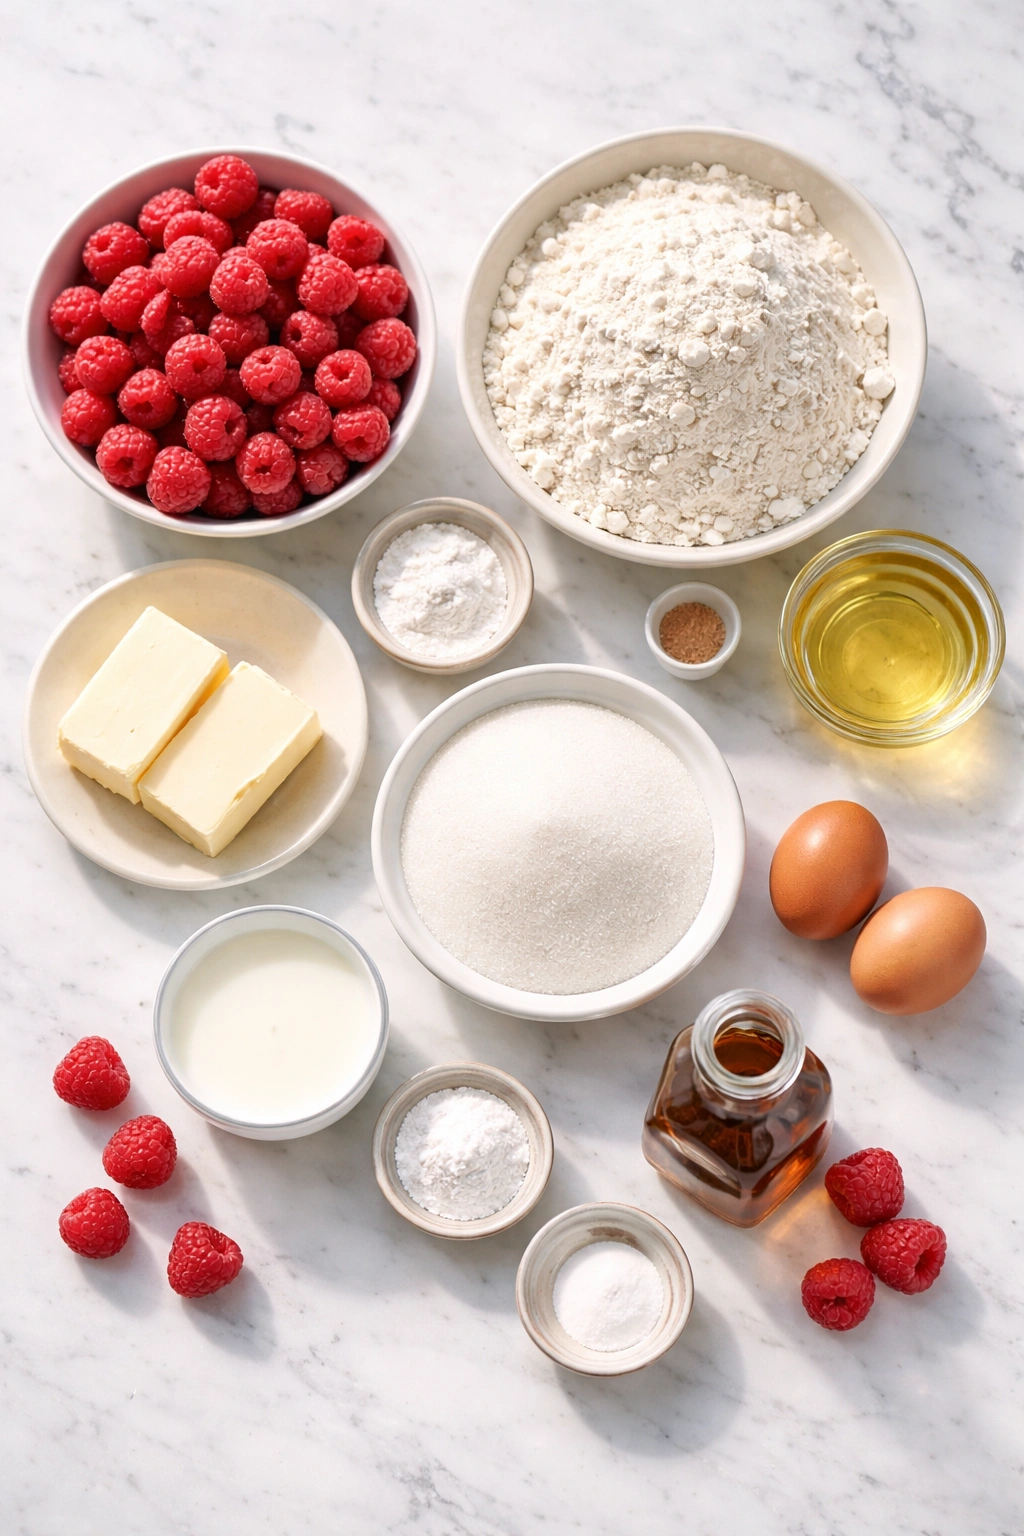
- 1¾ cups all-purpose flour
- 2 teaspoons baking powder
- ½ teaspoon fine sea salt
- ½ cup (1 stick) unsalted butter, softened to room temperature
- ⅓ cup neutral oil (vegetable, canola, or light olive oil)
- ¾ cup granulated sugar
- 2 large eggs, room temperature
- 1 teaspoon pure vanilla extract
- ½ cup whole milk, room temperature
- 1½ cups fresh raspberries (or frozen raspberries, thawed and drained — see Pro Tip below)
- 1 tablespoon all-purpose flour (for coating the berries)
For the Topping (Optional but Recommended):
- ¼ cup powdered sugar, for dusting
- Fresh raspberries for garnish (about ½ cup)
- A light drizzle of honey or melted white chocolate (optional but beautiful)
Alternative Frosting Options:
- 1 batch simple buttercream (8 tablespoons softened butter, 1½ cups powdered sugar, 2 tablespoons heavy cream, 1 teaspoon vanilla extract — beat until smooth)
- 1 cup heavy whipping cream, ¼ cup powdered sugar, and ½ teaspoon vanilla extract (whipped to stiff peaks)
- Crème fraîche thinned with 1 tablespoon of milk and a teaspoon of vanilla extract
Step-by-Step Baking Instructions
Prepare the Pan and Preheat:
-
Preheat your oven to 350°F (175°C) and position the rack in the center of the oven. This gives the cake even heat from all sides, which is crucial for a level, evenly-baked cake.
-
Grease a 9-inch round cake pan thoroughly with softened butter or cooking spray, making sure to coat the bottom and all sides evenly. Line the bottom with a round of parchment paper cut to size — this ensures the cake releases cleanly without sticking. If you don’t have parchment paper, just a thorough greasing with butter works fine, though parchment makes removal effortless.
Mix the Dry Ingredients:
- In a medium bowl, whisk together the flour, baking powder, and salt until evenly combined and no lumps of baking powder remain. Whisking these together now, rather than adding them one at a time to the wet ingredients, distributes the leavening evenly and prevents pockets of baking powder flavor in your finished cake. Set this bowl aside.
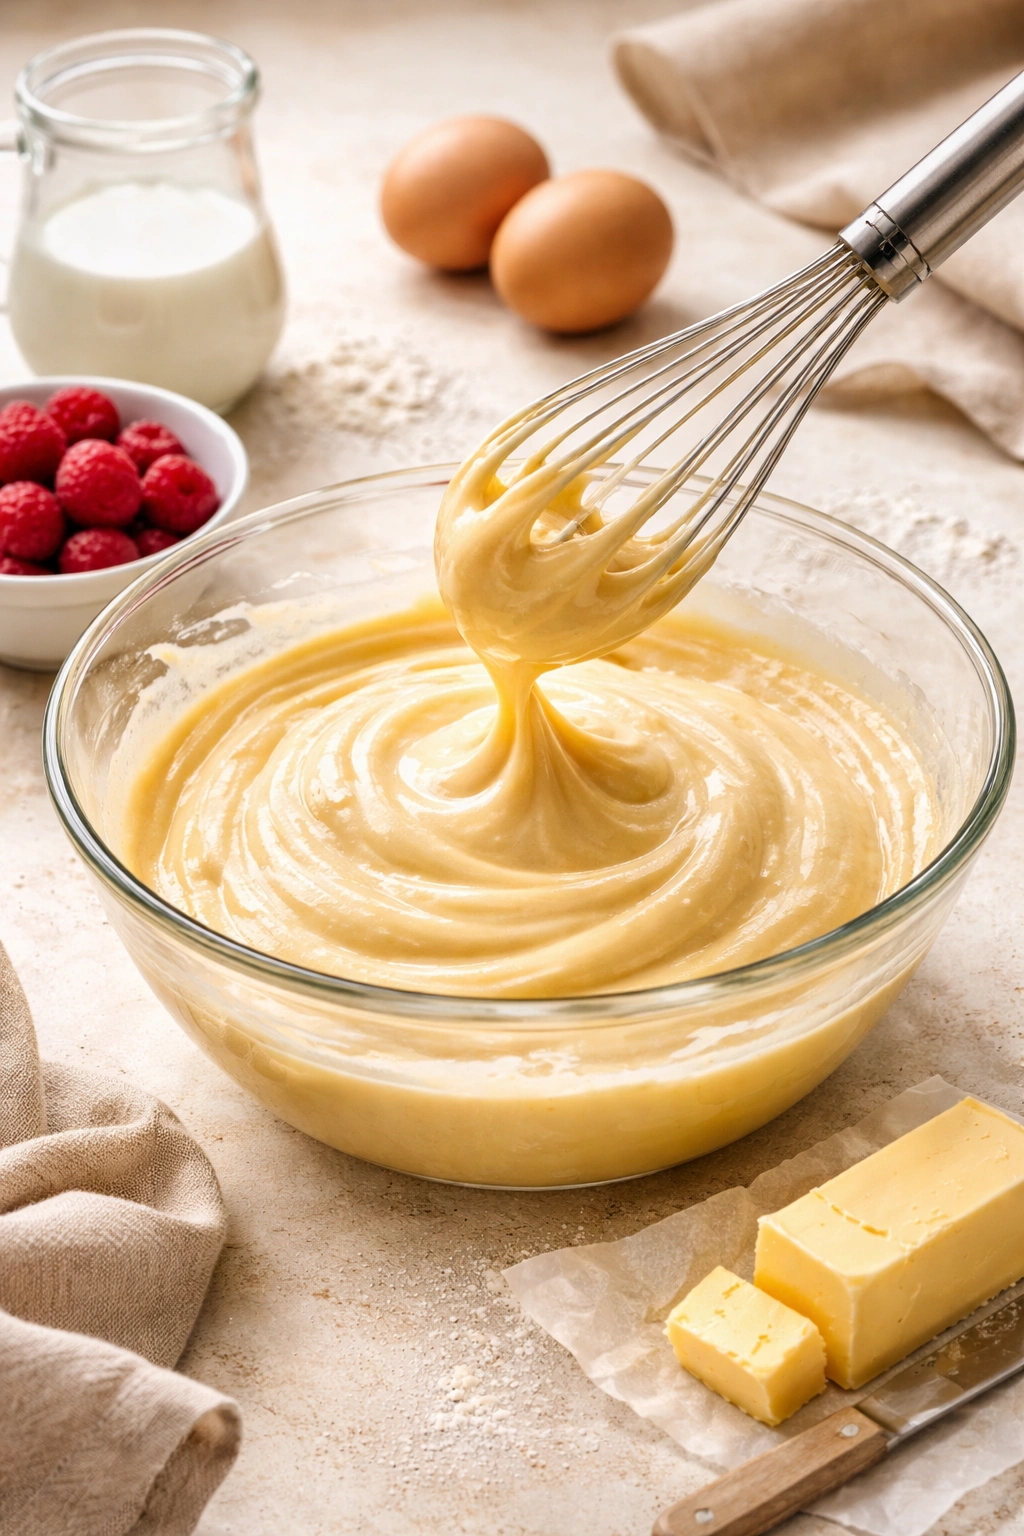
Cream the Butter and Sugar:
-
In a large bowl, combine the softened butter, oil, and sugar. Using a hand mixer on medium speed (or a stand mixer fitted with the paddle attachment), beat this mixture for 3 to 4 minutes, until it’s pale, noticeably fluffy, and has increased in volume. This step is important because creaming incorporates tiny air bubbles that help the cake rise and create a tender crumb. You’ll see the mixture change from a dense paste to something light and airy.
-
With the mixer still running on medium speed, add the eggs one at a time, beating for about 30 seconds after each addition. Scrape down the sides of the bowl with a spatula after adding the second egg, making sure everything is evenly combined. At this point, the batter may look slightly curdled or broken — this is completely normal and will come together in the next step when you add the dry ingredients.
-
Add the vanilla extract and mix on low speed for about 15 seconds until combined.
Combine Wet and Dry Ingredients:
- Reduce the mixer to low speed. Add the flour mixture in three additions, alternating with the milk in two additions. The order is: flour — milk — flour — milk — flour. Mix only until each addition just disappears into the batter and you don’t see any white streaks of flour. This step is critical: overmixing develops gluten, which makes the cake tough and dense instead of tender. Stop mixing as soon as you don’t see flour streaks, even if the batter looks slightly lumpy. Those lumps will smooth out in the oven.
Fold in the Raspberries:
-
Pour the batter into a bowl (if you’ve been mixing in a stand mixer bowl, transfer to a regular bowl now). In a small separate bowl, toss the raspberries gently with the 1 tablespoon of flour — this coating helps keep them from sinking all the way to the bottom of the pan and distributes them more evenly throughout the cake. Gently fold the floured raspberries into the batter using a spatula, folding just until they’re distributed throughout. Don’t stir or crush them — gentle folding preserves the berries’ structure and keeps them whole (or mostly whole) rather than breaking down into the batter. You’ll have some whole berries and some that leak a bit of juice, which creates beautiful color and flavor variations in the finished cake.
Advertisements -
Pour the batter into the prepared pan and use an offset spatula or the back of a spoon to spread it into an even layer. A few raspberries will sink toward the bottom, and that’s exactly what you want — those create pockets of intense raspberry flavor.
Bake:
- Bake for 35 to 40 minutes, rotating the pan halfway through baking. The cake is done when a toothpick or thin knife inserted in the center comes out clean or with just a few moist crumbs clinging to it (a few wet crumbs are fine; you’re not looking for a completely dry pick). At around the 35-minute mark, start checking — ovens vary, and you want to catch it when it’s perfectly set. The cake should also be pulling away slightly from the sides of the pan, and the top should be set and lightly golden.
Cool:
-
Remove the cake from the oven and set the pan on a wire cooling rack. Allow the cake to cool completely in the pan — this usually takes about 1 full hour. Do not try to turn the cake out of the pan while it’s warm; it’s too fragile and will crumble. Warm cake has the structure of warm butter — soft and yielding. As it cools, the crumb sets and becomes sturdy enough to handle.
-
Once the cake is completely cool, run a thin knife around the edges of the pan to loosen it. Place a wire cooling rack on top of the cake, then flip the entire pan and rack together. The cake should release onto the rack. If it sticks, gently tap the bottom of the pan and try again. If there’s parchment stuck to the bottom, peel it away carefully.
-
If you’re frosting the cake, let it sit at room temperature for 30 minutes before applying frosting. If you’re just dusting with powdered sugar, you can do that right before serving.
Pro Tips for the Best Results
Use Room-Temperature Eggs and Milk: Cold eggs and milk won’t incorporate properly into the batter and can create a lumpy, uneven texture. Pull them from the fridge 15 to 20 minutes before you start baking. If you forget, set them in a bowl of warm water for 5 minutes and they’ll be perfect.
Don’t Skip the Flour Coating on the Raspberries: This single step makes a genuinely noticeable difference in how evenly the raspberries distribute through the cake and how much of their juice bleeds into the batter. The flour acts like little spacers that keep berries suspended rather than sinking. It only takes 10 seconds, and the payoff is absolutely worth it.
Rotate the Pan Halfway Through: Even ovens have hot spots. Rotating the pan 180 degrees halfway through ensures even baking and a level cake without a dome or sunken center. Mark this moment on your oven timer so you don’t forget.
The Toothpick Test Matters More Than the Timer: Every oven bakes differently, and this cake’s done time can range from 35 to 42 minutes depending on your oven’s actual temperature, altitude, and humidity. Start checking at 35 minutes. A toothpick inserted into the center should come out clean or with just a few moist crumbs (not wet batter, but a couple of damp crumbs are fine — they’ll continue to firm up as the cake cools).
Cooling Time Isn’t Optional: I know it’s tempting to frost a cake while it’s still warm, but warm cake is fragile and crumbly. Waiting that full hour for the cake to cool completely means the crumb sets, the cake becomes sturdy, and frosting won’t sink into warm cake or slide off. This single step prevents most frosting disasters.
Room-Temperature Ingredients Create a Better Texture: When everything goes into the bowl at the same temperature, it incorporates more evenly and creates a smoother, more cohesive batter. Cold ingredients don’t blend as efficiently, which can lead to lumps and an uneven crumb. This is especially important with the butter and eggs.
Common Mistakes and How to Avoid Them

The Cake Turns Out Dense: Dense cake usually comes from overmixing (which develops gluten and toughens the crumb) or not creaming the butter and sugar long enough (which means fewer air bubbles). Cream the butter, oil, and sugar for the full 3 to 4 minutes — you’ll see a visible difference in volume and lightness. When you add the flour mixture, mix only until you don’t see white streaks. It’s okay if the batter looks slightly lumpy; those lumps smooth out in the oven.
The Raspberries All Sink to the Bottom: This happens when you don’t coat them in flour before folding them into the batter. The flour coating increases friction and helps suspend the berries throughout the cake. It’s a small detail that makes a big difference.
The Cake Is Dry: The most common cause is overbaking. At 40 minutes, check with a toothpick — you’re looking for clean or barely moist, not completely dry. Overbaking by even 2 to 3 minutes can make a difference. Also, this recipe uses both butter and oil specifically to keep the cake moist. Don’t try to reduce the oil or substitute it; that oil is there for texture.
The Cake Sticks to the Pan: Either your pan wasn’t greased thoroughly enough, or you’re turning it out while it’s still warm. Use softened butter to grease (not oil, which doesn’t stick as well), and make sure you grease the sides generously. Let the cake cool completely before turning it out.
The Frosting Slides Off or Looks Messy: This happens when you frost a warm cake — the frosting literally melts into the warm crumb. Cool the cake completely (at least 1 hour) before frosting. If you’re using whipped cream frosting, it won’t stick to a cold cake either — that’s actually fine. Assemble the cake as close to serving time as you can.
Flavor Variations to Try
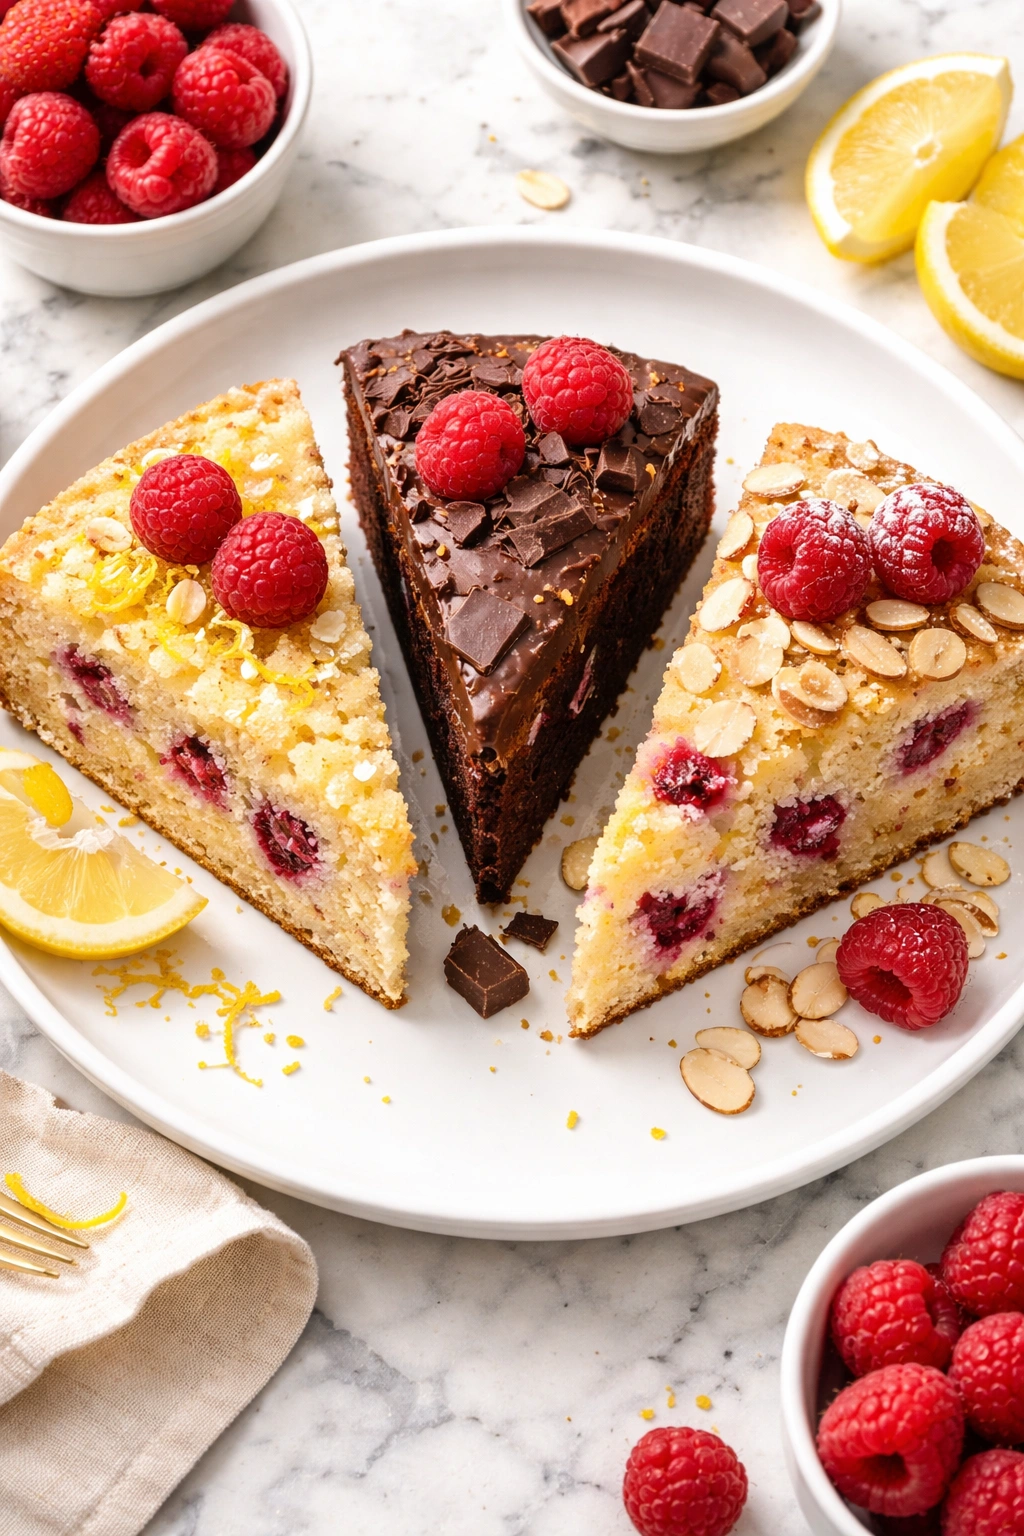
Lemon-Raspberry Cake: Add 1 teaspoon of lemon zest to the batter along with the vanilla extract, and reduce the vanilla to ½ teaspoon. The lemon brightens the raspberry flavor and adds complexity. This version is especially stunning with a simple lemon buttercream (add 1 tablespoon of fresh lemon juice and ½ teaspoon of lemon zest to the frosting). You could also dust the finished cake with lemon zest instead of powdered sugar.
Chocolate and Raspberry Cake: Reduce the all-purpose flour to 1½ cups and add ¼ cup of unsweetened cocoa powder to the dry ingredients. The chocolate and raspberry combination is timeless and works beautifully. A dark chocolate ganache frosting (equal parts chopped dark chocolate and heavy cream, heated together and stirred until smooth) is absolutely stunning with this version.
Almond and Raspberry Cake: Replace ¼ cup of the all-purpose flour with almond flour (ground almonds), and add ¼ teaspoon of almond extract along with the vanilla. Almond and raspberry is a classic pairing, and almond flour adds a subtle nuttiness that complements the tartness of the berries. Top with sliced almonds for a nice textural contrast.
Vanilla Buttermilk Cake with Raspberries: Substitute the whole milk with buttermilk and reduce the baking powder to 1½ teaspoons (the acidity in buttermilk interacts with baking soda differently). Add ¼ teaspoon of baking soda to the dry ingredients. The buttermilk creates an even more tender crumb and adds a subtle tang that plays beautifully against the bright raspberries.
Coconut Raspberry Cake: Add ⅔ cup of unsweetened shredded coconut to the flour mixture, and replace 2 tablespoons of the milk with coconut milk. Top the finished cake with toasted coconut flakes and fresh raspberries. The coconut adds richness and an almost tropical element that’s surprisingly good with raspberries.
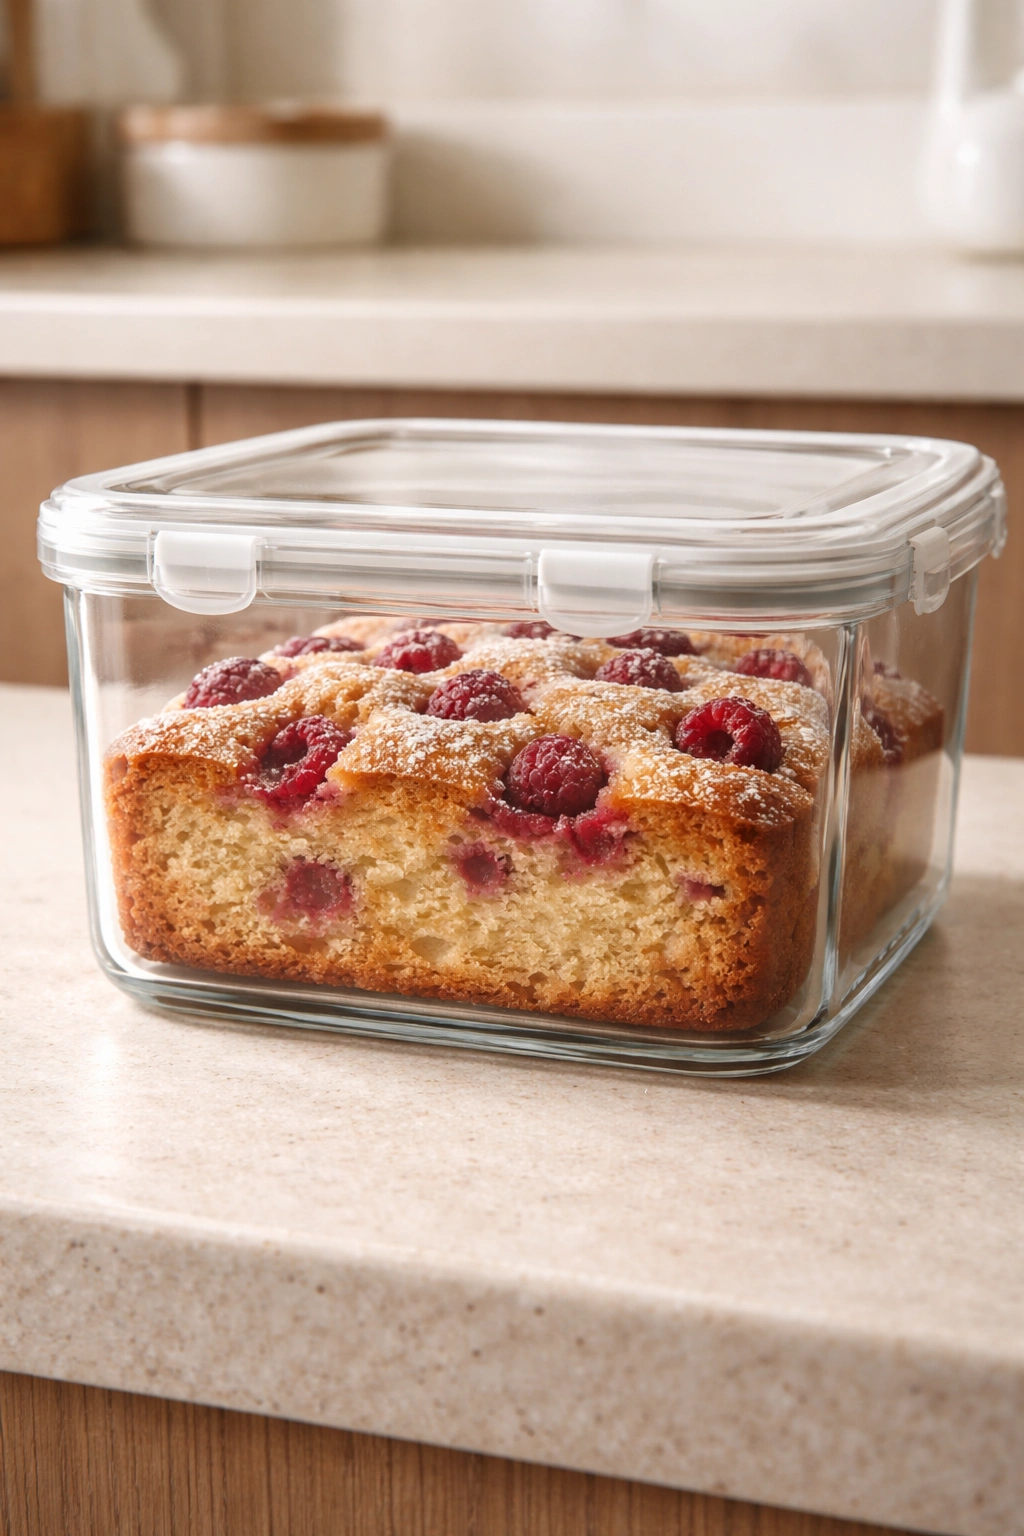
How to Make This Cake Ahead
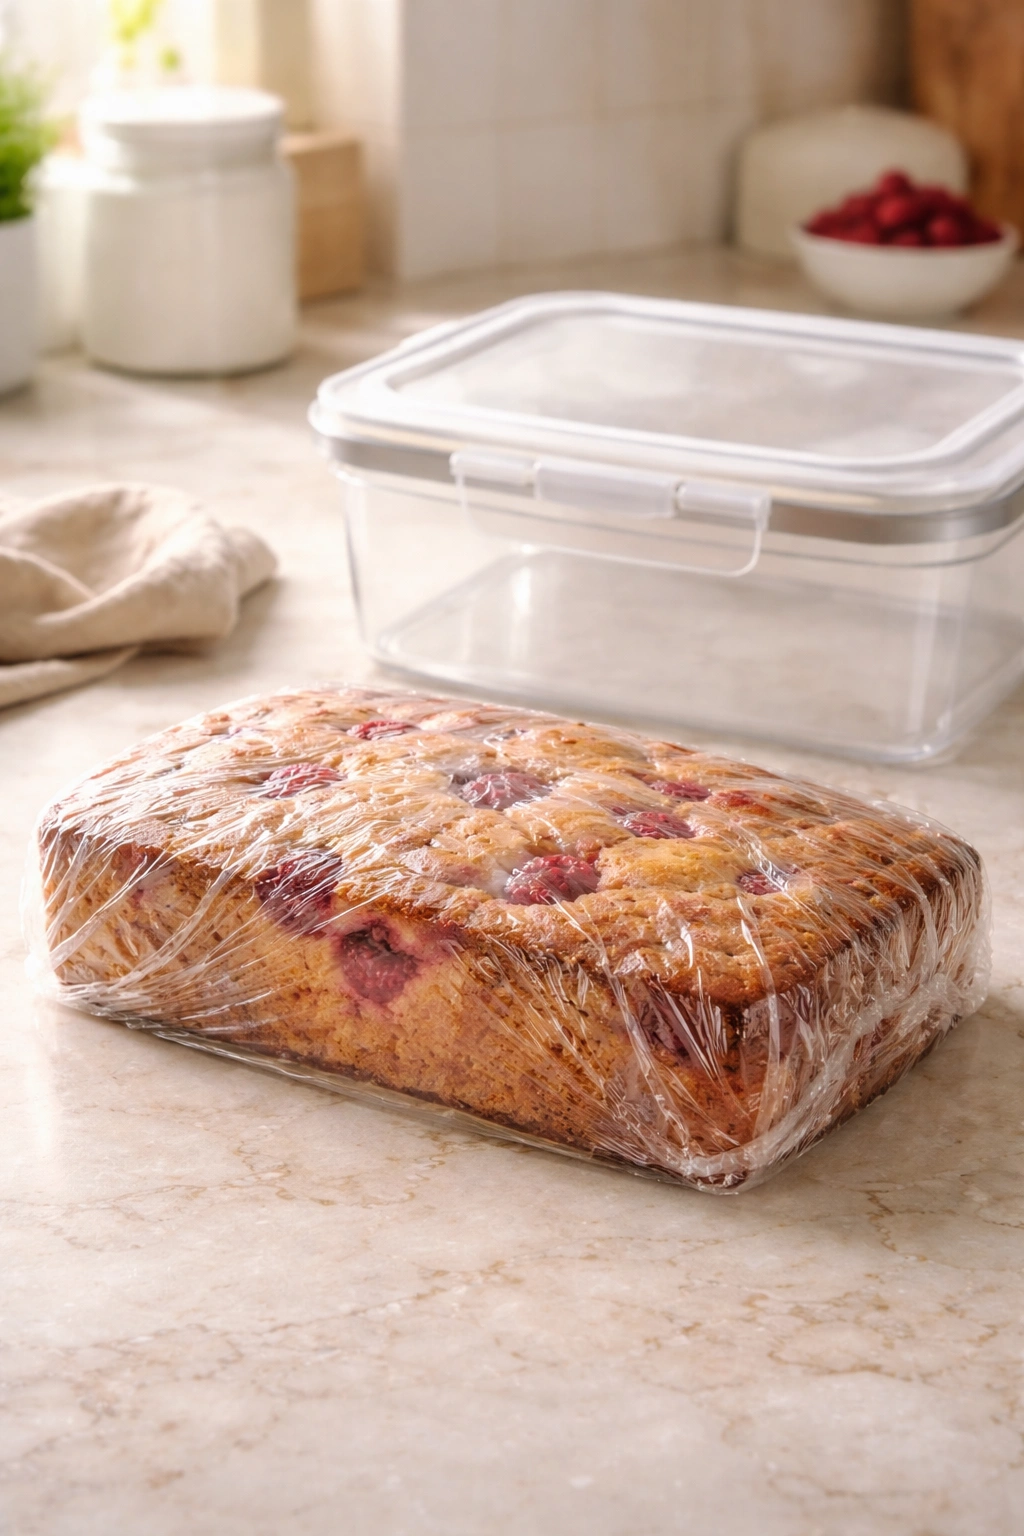
Baked Cake (Unfrosted): A completely baked, unfrosted cake keeps beautifully for up to 3 days at room temperature if stored in an airtight container. You can wrap individual slices or the whole cake tightly in plastic wrap and then place it in a container. The cake actually improves slightly on day 2 as the flavors meld and the crumb becomes slightly more set and easier to handle.
Baked Cake (Frosted): A frosted cake keeps for 2 days at room temperature if the frosting is buttercream or cream cheese-based. If you’ve topped it with whipped cream, eat it within a few hours because whipped cream doesn’t hold up over time.
Refrigerator Storage: You can refrigerate an unfrosted baked cake for up to 4 days in an airtight container. Bring it back to room temperature before frosting or serving — cold cake is firmer and less flavorful than room-temperature cake. A frosted cake keeps in the refrigerator for 3 to 4 days; the frosting actually firms up nicely and makes slicing cleaner.
Freezer Storage: An unfrosted baked cake freezes beautifully for up to 2 months. Let it cool completely, wrap it tightly in plastic wrap, then place it in a freezer bag. Thaw it in the refrigerator overnight, then bring it to room temperature before frosting. Frosted cakes with buttercream frosting also freeze well (2 months); whipped cream frosting doesn’t freeze successfully.
Make-Ahead Without the Berries: You can prepare all the dry ingredients in advance (mix the flour, baking powder, and salt together in a container and seal it). You can also cream the butter, oil, and sugar ahead of time, refrigerate it, and then bring it back to room temperature before using it. This is genuinely helpful if you want to be able to put the cake together in 10 minutes on the day you need it.
Frozen Raspberries: You don’t need to make this cake when fresh raspberries are in season. Frozen raspberries (thawed and drained well) work equally well. Drain them thoroughly in a fine-mesh strainer to remove excess moisture, then proceed with the recipe exactly as written. This means you can make this cake year-round.
Storage and Reheating Guide
At Room Temperature: The cake keeps perfectly well at room temperature for 2 to 3 days in an airtight container. No refrigeration needed unless your kitchen is particularly warm. Room temperature is actually the best way to store and serve this cake — the crumb is most tender and the flavors are brightest.
In the Refrigerator: If you do refrigerate the cake, keep it in an airtight container for up to 4 days. Before eating, pull it out and allow it to sit at room temperature for 30 to 45 minutes so it warms up and the texture becomes soft and tender again. Cold cake is fine, but room-temperature cake is genuinely better.
Reheating: You generally don’t need to reheat this cake unless it’s been refrigerated and you want it warm. If you do want to warm it, place a slice on a microwave-safe plate and microwave it for 15 to 20 seconds. This takes the chill off without making it hot. Alternatively, wrap a slice in a damp paper towel and microwave for 10 seconds.
Serving Warm: If you want to serve this cake warm (which is absolutely lovely with vanilla ice cream or whipped cream), let it cool for about 30 minutes instead of the full hour, then frost it or dust it with powdered sugar. It’s still sturdy enough to handle and slice at that point, and the warm cake with cold ice cream is incredibly appealing.
Perfect Pairings and Serving Ideas
Whipped Cream is the Classic: There’s a reason whipped cream and raspberries have been paired forever — they just work. Make it fresh by whipping heavy cream with a touch of powdered sugar and vanilla extract. The cold, pillowy cream against warm or room-temperature cake is perfect. If you want to be a little fancier, add 1 tablespoon of crème fraîche to the cream before whipping — it adds a subtle tang that complements the tartness of the raspberries.
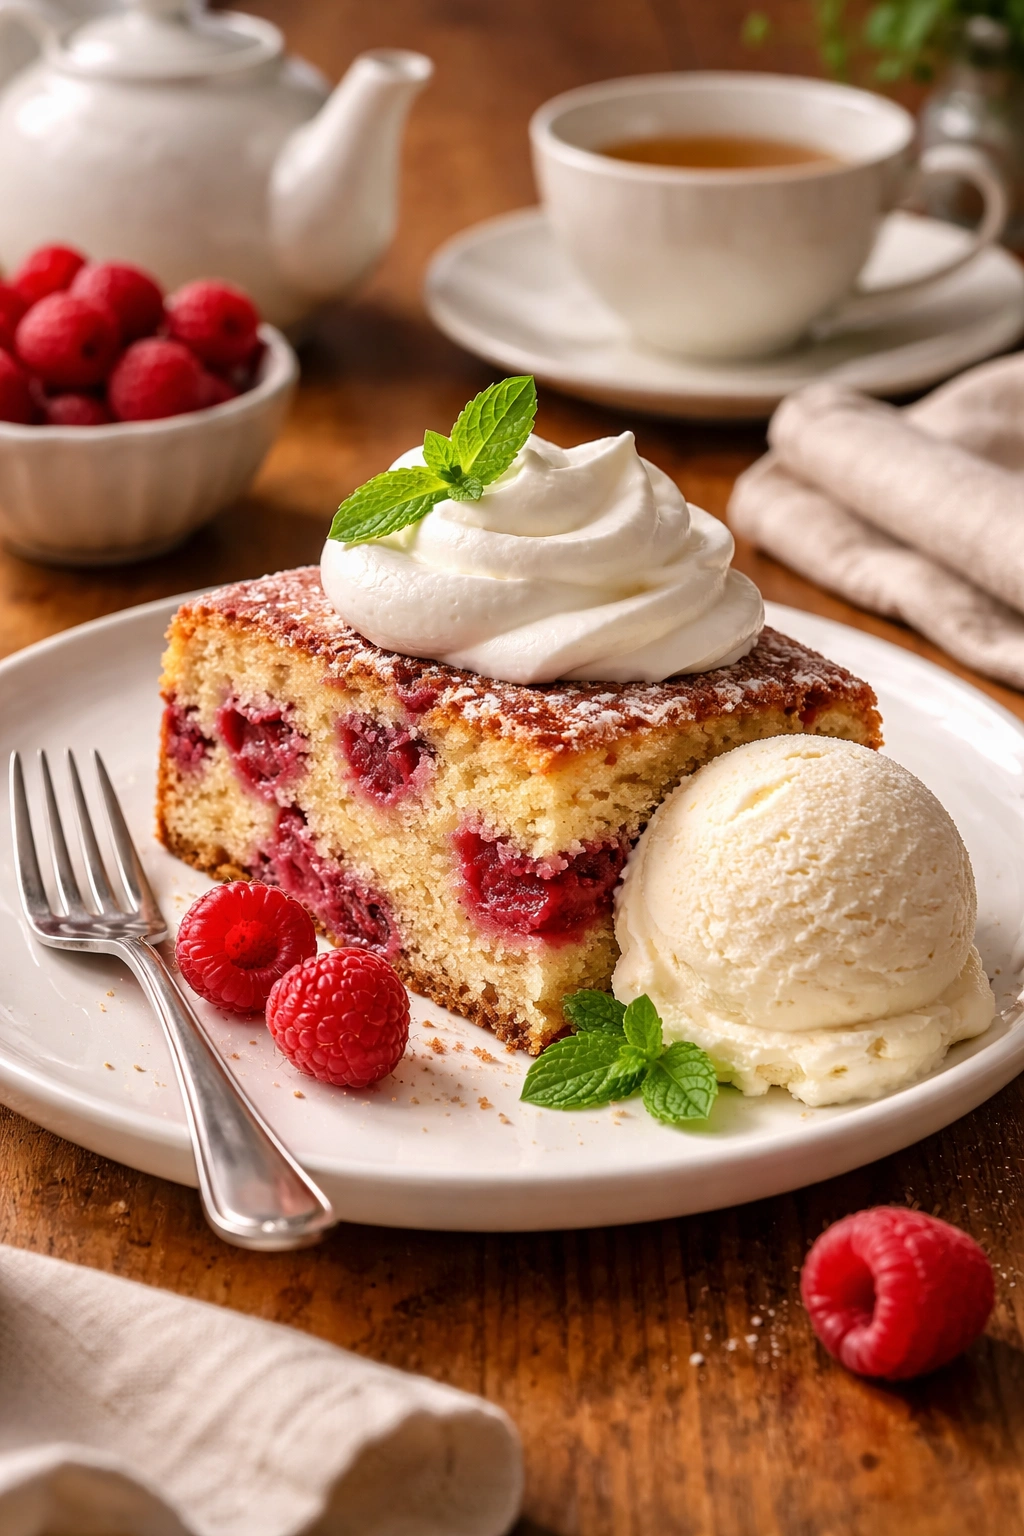
Vanilla Ice Cream and Raspberries: Slice the cake while it’s still warm or room temperature, and serve with a scoop of quality vanilla ice cream. The contrast between the crumbly, tender cake, the tart raspberries, and the cold, creamy ice cream is genuinely unbeatable.
Afternoon Tea Pairing: Serve slices with hot tea — Earl Grey, English Breakfast, or chamomile all work beautifully. The tartness of the raspberries is refreshing against hot tea, and the tender crumb pairs perfectly with an afternoon tea setting.
Summer Dinner Finisher: Serve this cake as a casual dessert after a summer dinner. It’s light enough not to feel heavy after a meal, and the raspberry flavor is refreshing. You could dust it with powdered sugar, top with whipped cream, and call it done — no elaborate plating required.
Brunch Centerpiece: Slice it into smaller pieces and serve it at brunch with coffee. It’s not overly sweet or heavy like a traditional dessert cake; it works well in a brunch context where you’re mixing sweet and savory elements.
Individual Plating (Fancy Moment): Slice the cake, place a slice on a plate, add a quenelle of whipped cream or a small scoop of ice cream, scatter a few fresh raspberries around the plate, and dust very lightly with powdered sugar. A light drizzle of raspberry coulis (strained fresh raspberry jam thinned with a touch of water) adds elegance without requiring any real skill.
With Lemon Curd: A dollop of lemon curd on top of a slice plays beautifully with the raspberries and cake crumb. The tartness of the lemon actually brightens the raspberry flavor even more.
Crème Fraîche as a Topping: Instead of whipped cream or ice cream, top slices with a generous dollop of crème fraîche and scatter fresh raspberries on top. The slight tanginess of crème fraîche is sophisticated and lets the flavors of the cake and raspberries shine.
Final Thoughts
This raspberry cake works for any occasion because it strikes that impossible balance: it’s genuinely easy to make, but it tastes and looks impressive enough that your family and guests will absolutely believe you spent hours in the kitchen. The recipe is forgiving enough that even if you’re a beginner baker, you’ll succeed. And if you’ve made plenty of cakes before, you’ll appreciate the straightforward approach and quality of the result.
The real magic in this cake is that it doesn’t try to be more than it is. It’s not fancy or complicated or trendy. It’s a cake that tastes good, comes together quickly, and fits into your life without drama. You can frost it simply or elaborately, serve it warm or at room temperature, make it with fresh or frozen raspberries. It’s the kind of recipe that actually adapts to your situation instead of forcing you to adapt to it.
Next time you want something sweet, or you need a dessert for company, or you just want to impress yourself with how good homemade cake is, this is the recipe that delivers. Because sometimes the best recipes aren’t the ones with the longest ingredient lists or the most complex techniques — they’re the ones that taste absolutely delicious and let you off the hook at the same time.