Most store-bought granolas feel like sugar-coated breakfast candy masquerading as health food, with a texture that turns to mush the moment milk touches it. The ingredient list reads like a chemistry experiment, complete with preservatives, unpronounceable additives, and often less actual grain than you’d expect. What’s worse? You’re paying a premium for something you can make better, cheaper, and fresher at home in under an hour.
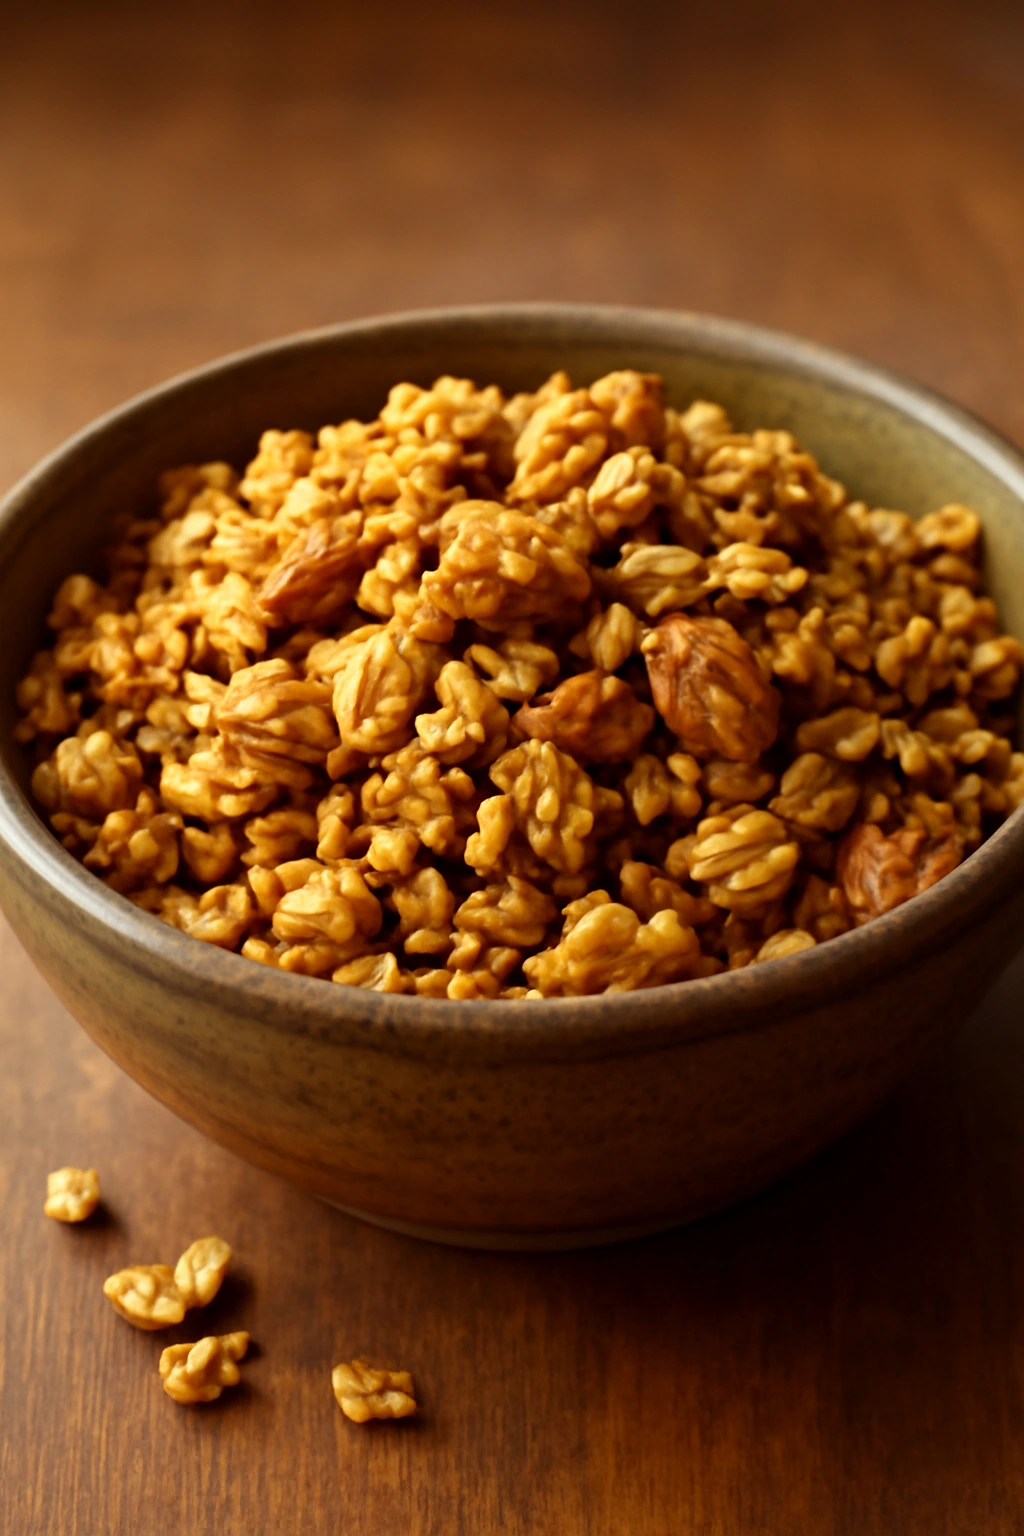
Homemade granola changes everything. When you roast a mixture of oats and nuts yourself, something magical happens — the heat coaxes out deep, toasty flavors that no commercial product can match. The clusters stay genuinely crispy for days because you control exactly how much fat and sweetener goes in, how long it roasts, and when you stir it to build those beautiful clumps people actually crave. You choose every single ingredient, which means no mystery oils, no corn syrup unless you want it, and the freedom to chase whatever flavor combination appeals to you that week.
The confidence that comes from making your own granola is real. Once you understand the technique — and it’s surprisingly simple — you’ll never go back. You’ll have people asking for your recipe, and you’ll feel genuinely proud serving something you made yourself. Let’s break down exactly how to do this, step by step, so your first batch is as good as your tenth.
Why Homemade Granola Is Worth Your Time
The gap between homemade and store-bought granola isn’t subtle — it’s fundamental. Commercial granola is engineered for shelf stability, not taste or texture, which means manufacturers prioritize preservatives, stabilizers, and moisture-retaining ingredients that keep it “fresh” for months. That’s why it often feels dense, slightly gummy, and aggressively sweet in a way that coats your mouth rather than genuinely satisfying.
When you make granola at home, you’re starting with whole, recognizable ingredients that you’re literally toasting together. The oats develop complex, nutty flavors from the dry heat. The nuts release their own natural oils, which combine with whatever fat you’ve added to create genuine binding and browning through the Maillard reaction — the same chemical magic that makes toast taste better than bread and caramelized anything more interesting than raw. This happens in real time, under your watch, which means you catch it at peak flavor rather than relying on someone else’s guess.
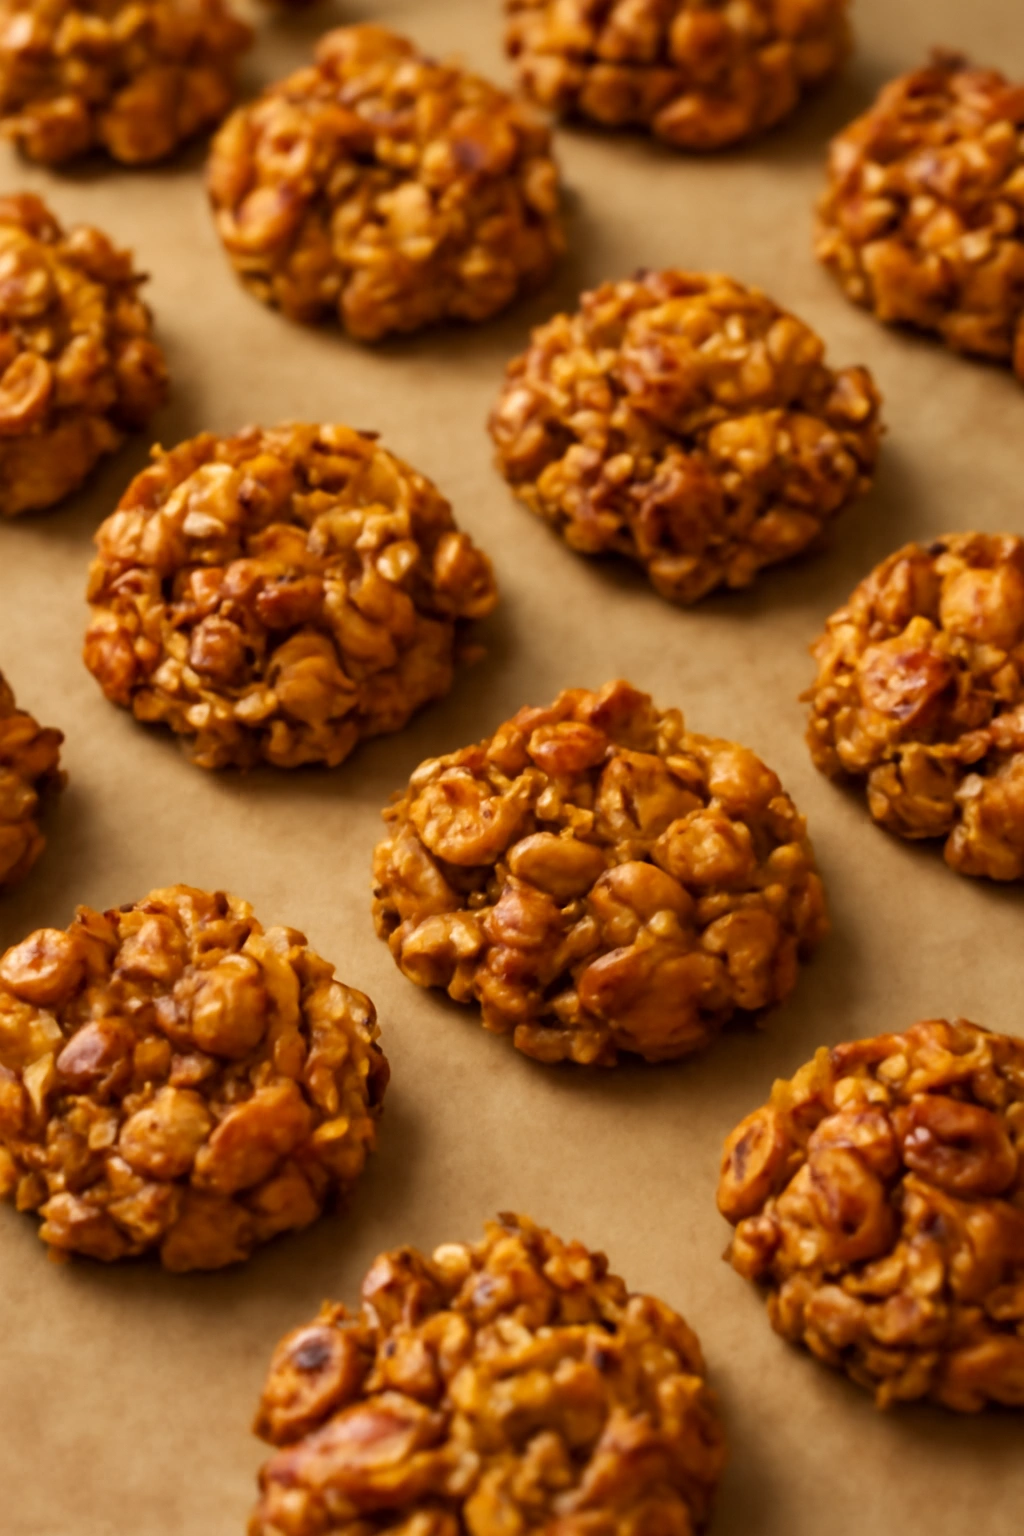
The texture difference alone justifies the effort. Homemade granola stays crispier longer because you can control the fat-to-oat ratio precisely and adjust roasting time to suit your preference. You can make it with just enough sweetener to enhance flavor rather than dominate it, which means it doesn’t dissolve into sweetness the moment it meets milk. If you prefer larger, crunchier clusters, you shape them during roasting. If you like a looser mixture with individual crispy bits, you crumble it gently. Store-bought gives you one option, pre-determined and unchangeable.
The Economics Actually Work in Your Favor
A premium bag of granola costs anywhere from $8 to $15 for 10 to 12 ounces. A homemade batch made from bulk oats, nuts you buy sensibly, and pantry staples runs about $6 to $8 for a full pound — more than double the quantity for roughly the same price. If you make two batches a month, you’re looking at meaningful savings. More importantly, you’re not paying for packaging, marketing, distribution, and shelf space at three different markups.
The Flavor Control Changes Everything
Store-bought granola forces you into a category: cranberry almond, or honey vanilla, or dark chocolate coconut. Those are your options. Making your own means you can swap out dried fruit based on the season, add a pinch of cardamom one week and cinnamon the next, or make a savory version with a sprinkle of everything bagel seasoning. You can balance sweetness to your preference, adjust texture to suit whether you’re eating it with yogurt or straight from the container, and experiment with ingredients you genuinely enjoy rather than settling for what’s on the shelf.
The Secret to Crispier, More Flavorful Clusters
The difference between granola that stays delightfully crispy and granola that becomes soft or cake-like within days comes down to three factors: the ratio of fat to dry ingredients, the roasting temperature, and the cooling time. Get these right, and your granola will stay crunchy for a week or more.
Most people assume that more fat creates crispier granola, but that’s actually backwards. Too much oil or butter creates a heavy, dense granola that browns unevenly and stays somewhat soft even after cooling. Too little fat leaves the granola scattered and crumbly with no binding to form clusters. The sweet spot is typically around 3 tablespoons of fat per 3 cups of oats and nuts — enough to coat everything evenly and promote browning, but not so much that it makes the mixture greasy.
Roasting temperature matters enormously. Lower temperatures (around 300°F / 150°C) create even browning with less risk of burning, while higher temperatures (325-350°F / 160-175°C) develop deeper flavor but require closer attention. Most home cooks find that 325°F is the goldilocks zone — hot enough to develop complex flavors and crisp up the mixture in about 30 to 40 minutes, but cool enough to prevent dark edges while the centers are still pale. Set a timer and stir every 8 to 10 minutes.
Cooling is where patience pays off. Your granola continues to crisp up as it cools, even after you remove it from the oven — this is crucial. If you eat it while it’s still warm, it will taste soft and almost doughy. If you wait at least 15 to 20 minutes for it to cool completely on the baking sheet before transferring it to a container, it reaches peak crispiness. Many recipes skip this step and then claim homemade granola goes soft too quickly, which misses the point entirely. The cooling phase is when the granola becomes granola.
How the Maillard Reaction Builds Better Flavor
When oats and nuts heat up, the proteins and sugars in them undergo a chemical transformation called the Maillard reaction. This creates hundreds of new flavor compounds that don’t exist in the raw ingredients — deep, toasty, almost savory notes that lift granola from “oats mixed with honey” to something genuinely craveable. You can’t rush this. It requires sustained heat, which is why slow roasting at a moderate temperature beats a quick blast in a hot oven every single time.
Choosing Your Base Oats and Grains
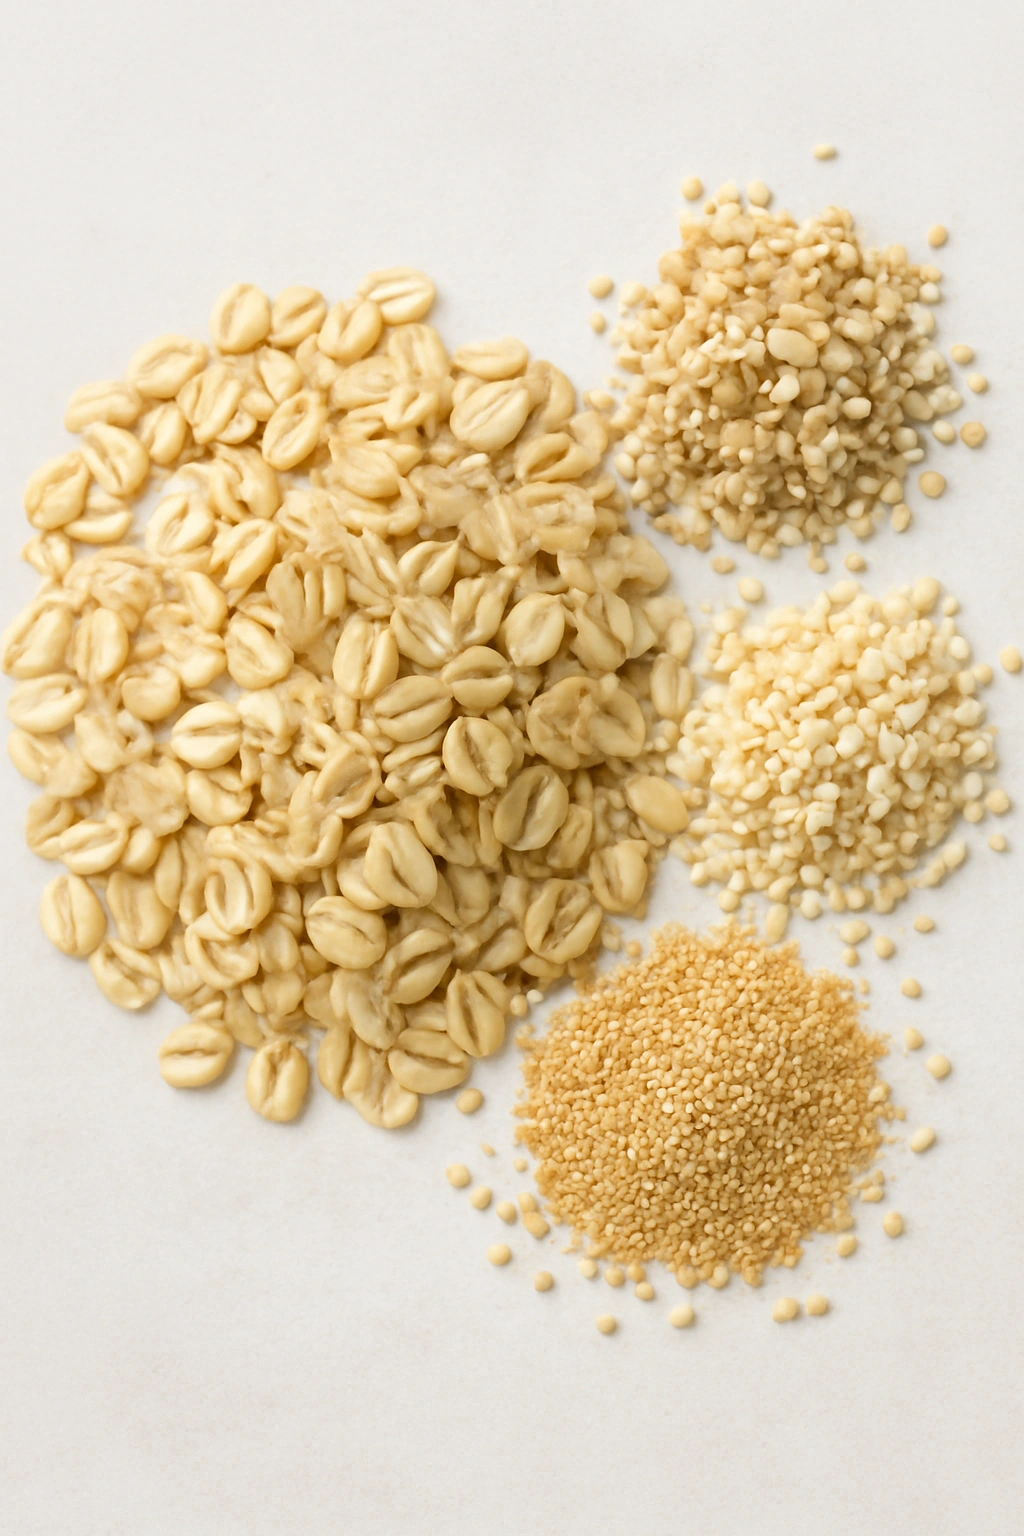
The foundation of any granola is oats, and your choice of oat type matters more than you might think. Rolled oats (also called old-fashioned oats) are the standard choice — they’re large enough to stay visible and contribute substantial texture, they roast evenly, and they develop good flavor. Avoid instant oats, which break down during roasting and create an unpleasantly fine, flour-like texture.
Some granola recipes mix rolled oats with other grains for complexity: steel-cut oats add chewiness and a heartier bite, quinoa flakes bring a slightly nutty flavor and extra protein, amaranth pops add crispiness and a subtle taste, or millet contributes a delicate sweetness. Most home cooks find that 75 to 85 percent rolled oats with 15 to 25 percent other grains creates the best balance. Start with mostly rolled oats and experiment from there.
The Case for Buying Oats in Bulk
Pre-packaged name-brand oats cost nearly three times as much as the same oats from a bulk bin, and they’re literally identical. Buying in bulk saves money, lets you buy exactly the quantity you need without waste, and gives you the freedom to switch brands or source if something doesn’t perform well. Most bulk oats have been sitting in bins for weeks or months, which means they’re usually fresher than individually packaged versions that have been sitting in warehouses even longer.
The Role of Fat and Why It Matters
Fat is the structure-builder of granola. It carries flavor, promotes even roasting, binds clusters together, and contributes to that satisfying mouthfeel that makes homemade granola so appealing. The type of fat you use shapes the flavor profile significantly.
Coconut oil creates distinctly rich, tropical notes — perfect if you’re planning to use dried mango, pineapple, or macadamia nuts. It creates beautiful browning and stays relatively stable. The downside: it can add noticeable coconut flavor even when you don’t want it, and it has a lower smoke point than some alternatives.
Butter brings deep, savory richness and creates golden-brown clusters with excellent flavor complexity. Use unsalted butter so you control the salt level completely. The downside: it can burn more easily than oil, so you need to watch roasting temperature carefully. The upside: the flavor is incomparable.
Neutral oils like grapeseed, avocado, or light olive oil let other flavors shine without adding their own character. They’re stable at roasting temperature and create reliably crispy granola without dominating the taste profile. Choose these when you want the dried fruit, spices, or nut flavors to take the spotlight.
Nut butters (almond, peanut, or tahini) add protein, create deeply crunchy textures, and contribute richness that oil and butter alone can’t match. Use them to replace 1 to 2 tablespoons of the total fat, since they’re denser and contribute their own unique flavor.
Most successful homemade granola uses a combination: butter for flavor and richness, plus coconut oil or neutral oil for stability and browning. A typical formula might be 2 tablespoons melted butter plus 1 tablespoon coconut oil per 3 cups of base ingredients.
Sweeteners That Actually Taste Good
The sweetener you choose shapes not just how sweet your granola is, but how it tastes and how it browns. Different sweeteners interact with heat differently, which affects both texture and flavor development.
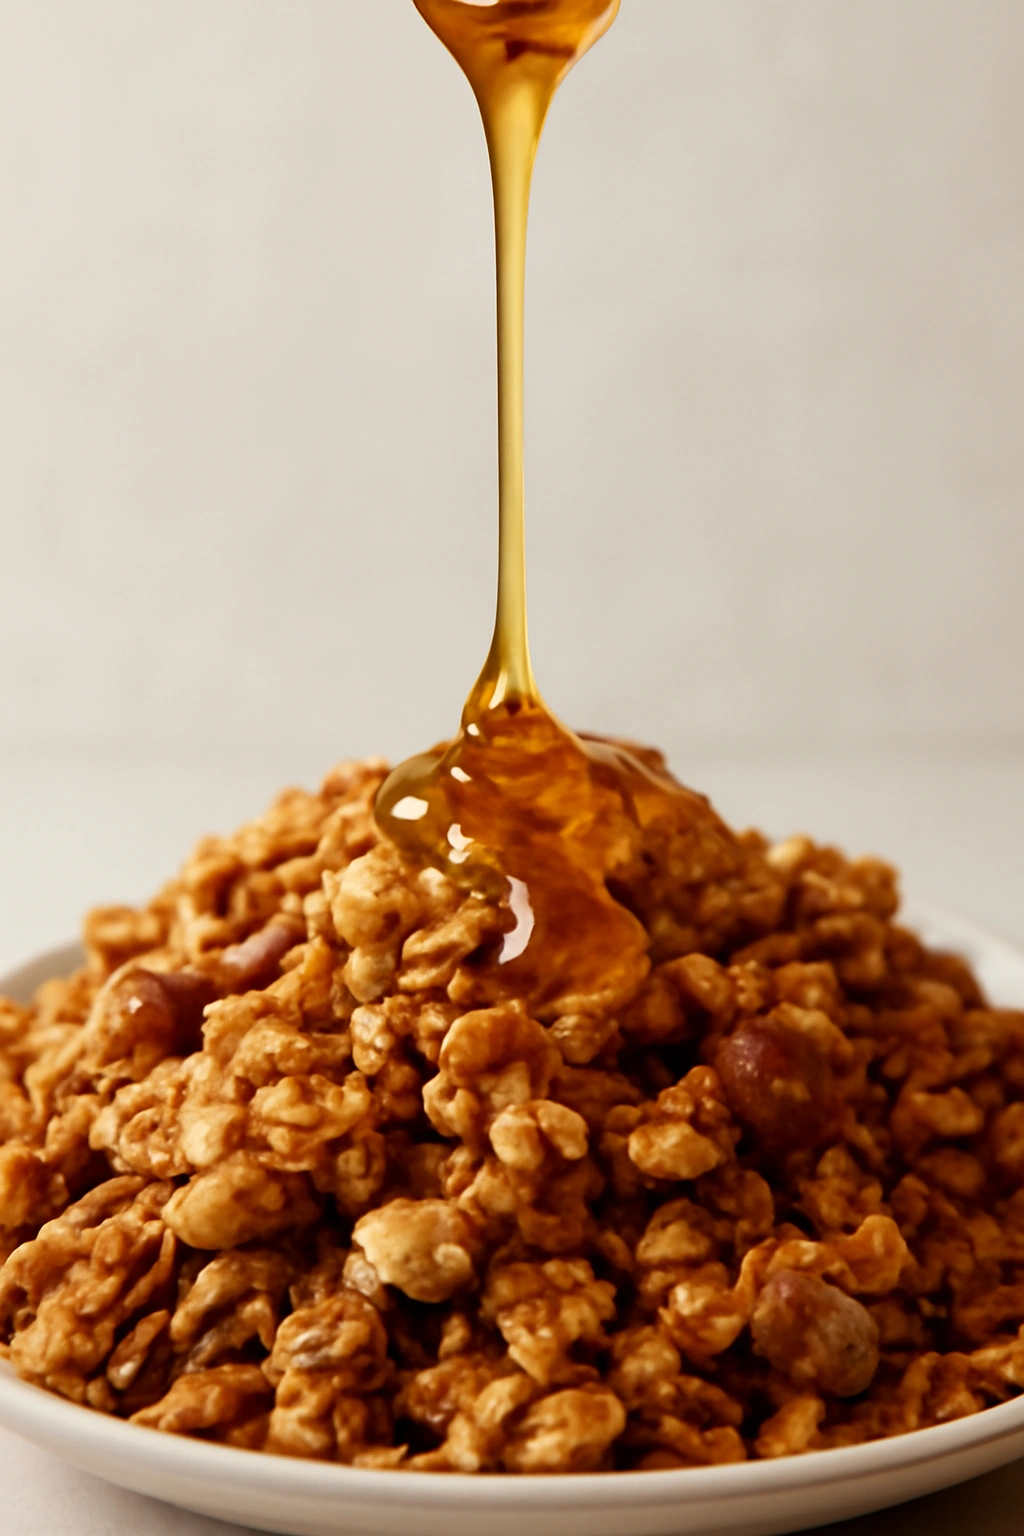
Honey creates rich, complex flavor with subtle floral or caramel notes depending on the variety. It browns beautifully and adds a slight chewiness to clusters. Use mild honey so it doesn’t overpower other flavors. The challenge: honey attracts moisture, so honey-sweetened granola can lose crispness faster than some other options.
Maple syrup adds earthy sweetness with notes that complement nuts and spices. It browns slightly less aggressively than honey, creating a more delicate golden color. Dark maple syrup brings deeper, almost molasses-like complexity.
Brown sugar creates butterscotch notes and helps form larger, sturdier clusters through deeper caramelization. It’s hygroscopic (attracts moisture), so it does require airtight storage to maintain crispness. Light brown sugar tastes subtly different from dark brown sugar — experiment to see which you prefer.
Coconut sugar offers caramel-like sweetness with a lower glycemic index than cane sugar. It doesn’t brown quite as noticeably as honey or brown sugar, so granola sweetened with coconut sugar tends to look lighter. It contributes a subtle complexity that’s genuinely pleasant.
Cane sugar (either white or demerara) creates the crispiest granola because it’s the most hygroscopic of the bunch — it browns reliably and doesn’t hold excess moisture. Demerara sugar adds a subtle molasses note and creates interesting texture with its larger crystals.
Most granola recipes use a combination of sweeteners: honey or maple syrup for flavor and browning, plus a small amount of brown or cane sugar for crispiness. A typical ratio is 4 tablespoons honey plus 2 tablespoons brown sugar per 3 cups of base ingredients.
Building Flavor Layers With Spices and Extracts
This is where homemade granola becomes genuinely memorable. A pinch of ground cinnamon is nice, but layering flavors creates complexity that tastes sophisticated and intentional.
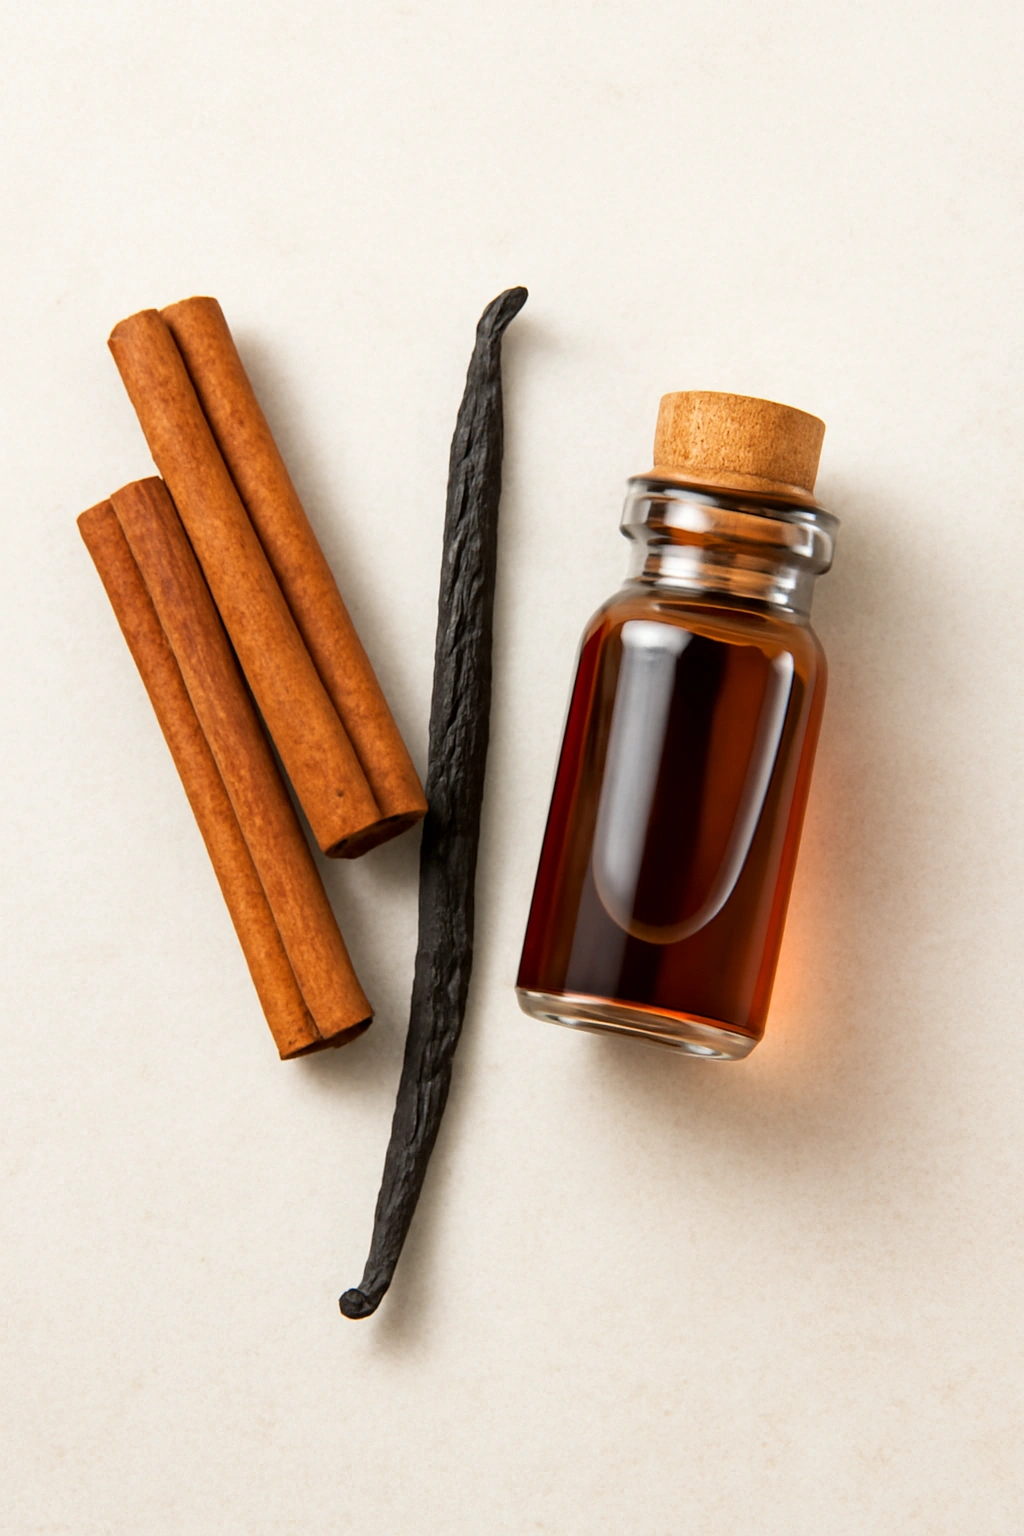
Warm spices — cinnamon, nutmeg, ginger, and cardamom — are your foundation. Use 1 teaspoon cinnamon as your base, then add half a teaspoon of complementary spices. The combination of cinnamon and nutmeg feels like autumn. Cinnamon with cardamom tastes sophisticated and slightly exotic. Cinnamon with a tiny pinch of cayenne creates an intriguing warmth.
Vanilla extract (real vanilla, not imitation) adds sweetness and depth without registering as distinctly vanilla. Use 1 to 1.5 teaspoons per batch. Almond extract, when used sparingly (just 1/4 teaspoon), adds complexity without being identifiable as almond flavor.
Salt should be non-negotiable. Even a quarter teaspoon of fleur de sel or sea salt per batch amplifies every other flavor, balances sweetness, and creates the savory-sweet dynamic that makes granola crave-worthy. Half the flavor difference between store-bought and homemade granola comes from proper salting.
Citrus zest (lemon, lime, or orange) brightens the whole mixture and pairs beautifully with dried fruit and nuts. Use 1/2 to 1 teaspoon of finely grated zest mixed into the wet ingredients.
Instant coffee powder — just 1 teaspoon — deepens and enriches the overall flavor without making the granola taste like coffee. It amplifies the toasty notes from roasting.
Add spices and extracts to your wet ingredient mixture (oil, sweetener, and vanilla) before tossing with the oats. This distributes them evenly. If you add spices directly to the dry oats, they scatter unevenly and can taste grainy in some bites and absent in others.
The Ingredient List and Serving Information
Yield: Makes 6 to 7 cups of granola | Serves 12 to 16 people (about 1/2 cup per serving)
Prep Time: 15 minutes
Cook Time: 35 to 40 minutes
Total Time: 50 to 55 minutes active + 20 minutes cooling
Difficulty: Beginner — This recipe requires no special equipment, no precise technique, and forgiving timing. Even the first batch will be delicious. The only skill needed is the ability to stir and watch for even browning.
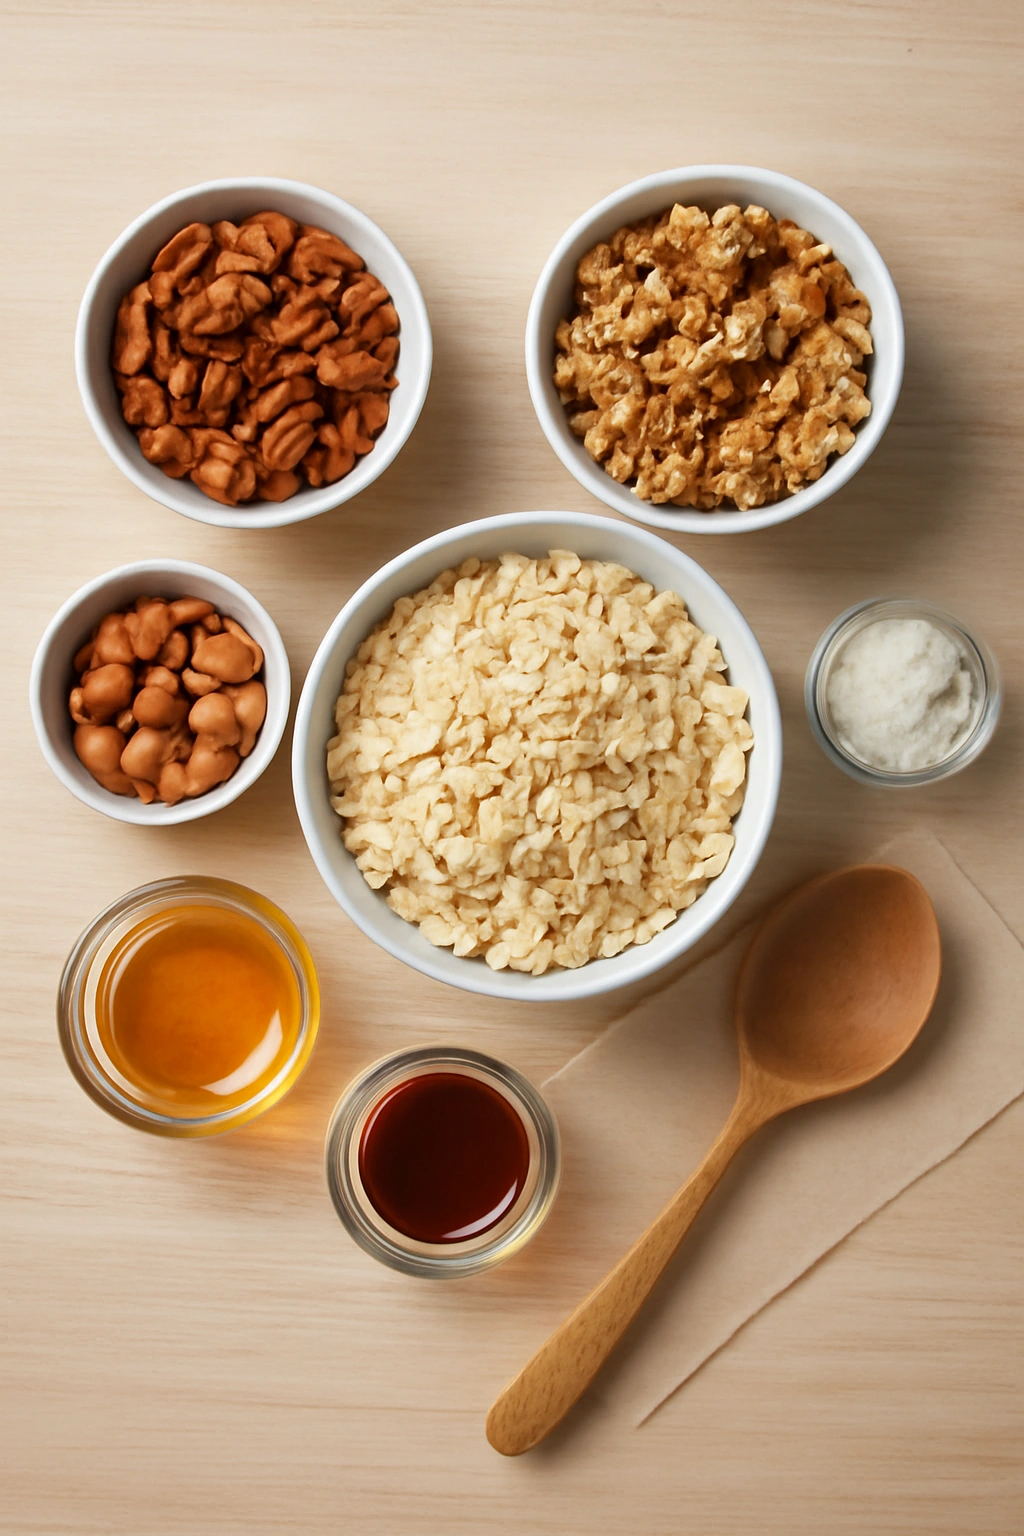
For the Granola:
- 3 cups rolled oats (certified gluten-free if needed)
- 1 cup raw almonds, coarsely chopped or left whole
- 1/2 cup raw pecans, coarsely chopped
- 1/2 cup raw walnuts, coarsely chopped
- 1/2 cup unsweetened coconut flakes
- 2 tablespoons melted unsalted butter
- 1 tablespoon coconut oil or neutral oil (grapeseed or avocado)
- 1/4 cup raw honey
- 2 tablespoons packed light brown sugar
- 1 teaspoon pure vanilla extract
- 1 teaspoon ground cinnamon
- 1/2 teaspoon ground nutmeg
- 1/4 teaspoon fine sea salt
- Pinch of ground ginger (optional, but recommended)
For mixing in after roasting:
- 3/4 cup dried fruit (cranberries, raisins, chopped apricots, or a combination), added after granola has cooled completely
Building Flavor Layers With Spices and Extracts
The step where most homemade granola makers get confused is when to add what. Your liquid ingredients (oil, honey, butter) get whisked together. Your wet additions like vanilla and spices get stirred into the liquids. Then you toss everything — the oat mixture and the liquid mixture — together until every oat is lightly coated. This is worth doing carefully. Use your hands, working the wet ingredients through the dry until everything looks evenly moistened with no dry pockets remaining.
Preparing Your Workspace for Success
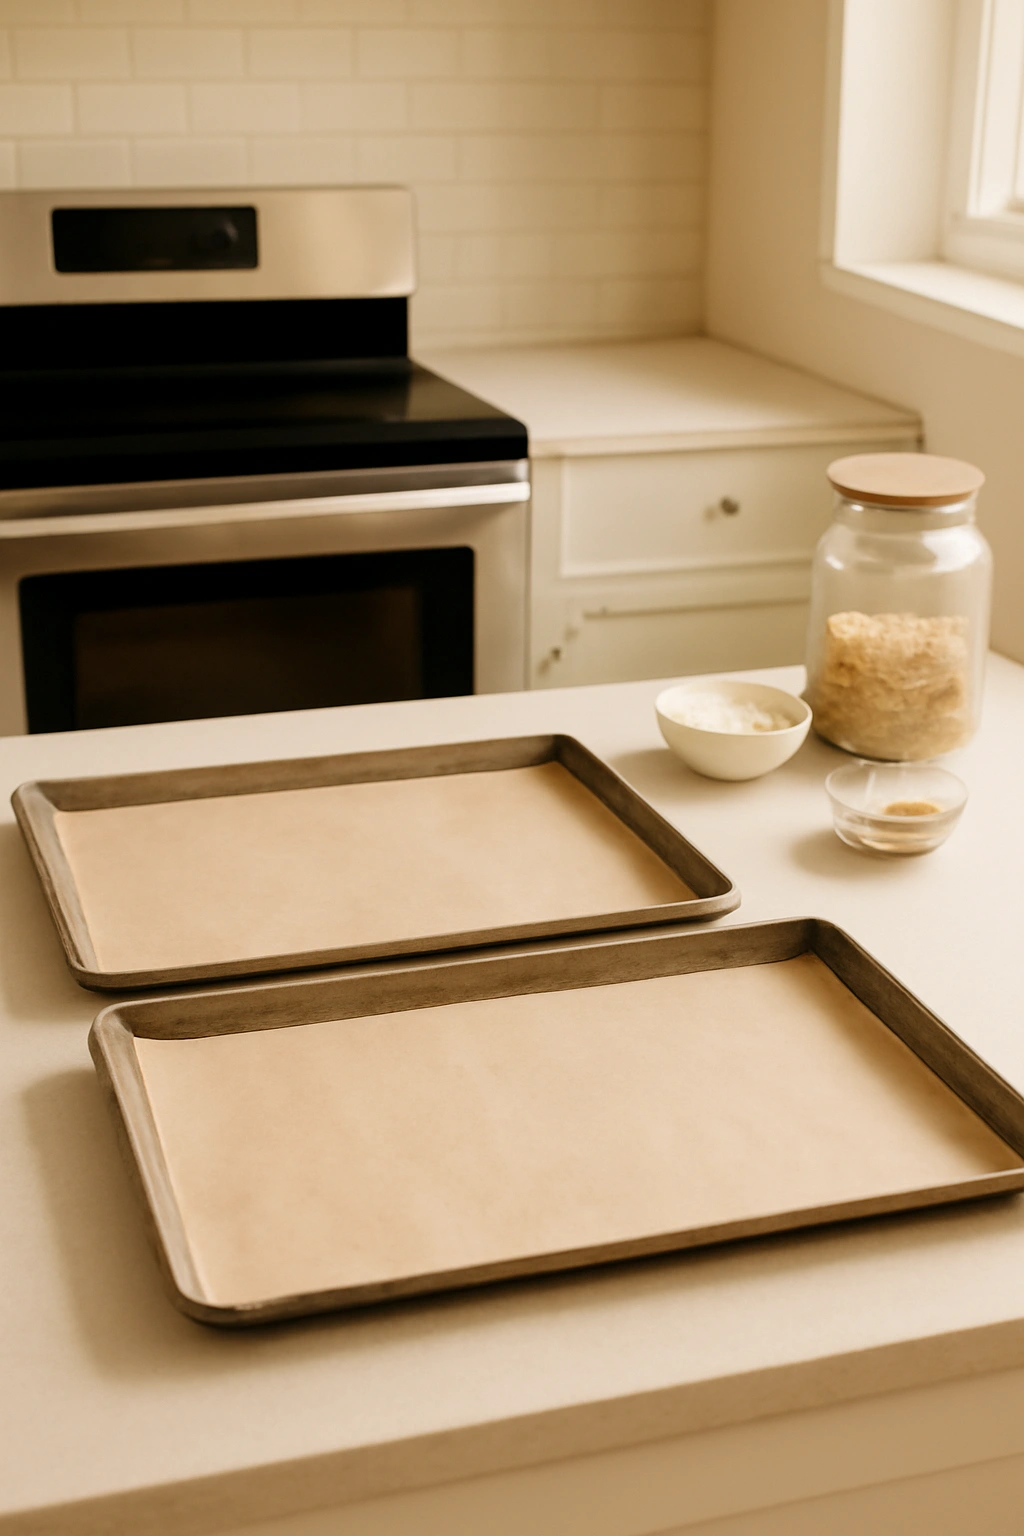
Before you start, position your oven rack in the center position — this ensures even heat distribution. Preheat your oven to 325°F (160°C). Line two large baking sheets (or one extra-large sheet if you have one) with parchment paper. This prevents sticking and cleanup is effortless.
Having your ingredients measured and assembled before you begin makes the actual mixing take two minutes flat. This is the beauty of good prep: the process itself is fast and simple, but the results taste like you spent hours crafting something precious.
The Step-by-Step Process for Perfect Granola
Prepare your workspace:
- Preheat the oven to 325°F (160°C) and position the rack in the center of the oven.
- Line two large baking sheets with parchment paper, taping the corners down so the parchment doesn’t slip as you stir. If you have one extra-large baking sheet (like a half-sheet pan that’s 13×18 inches), use that instead.
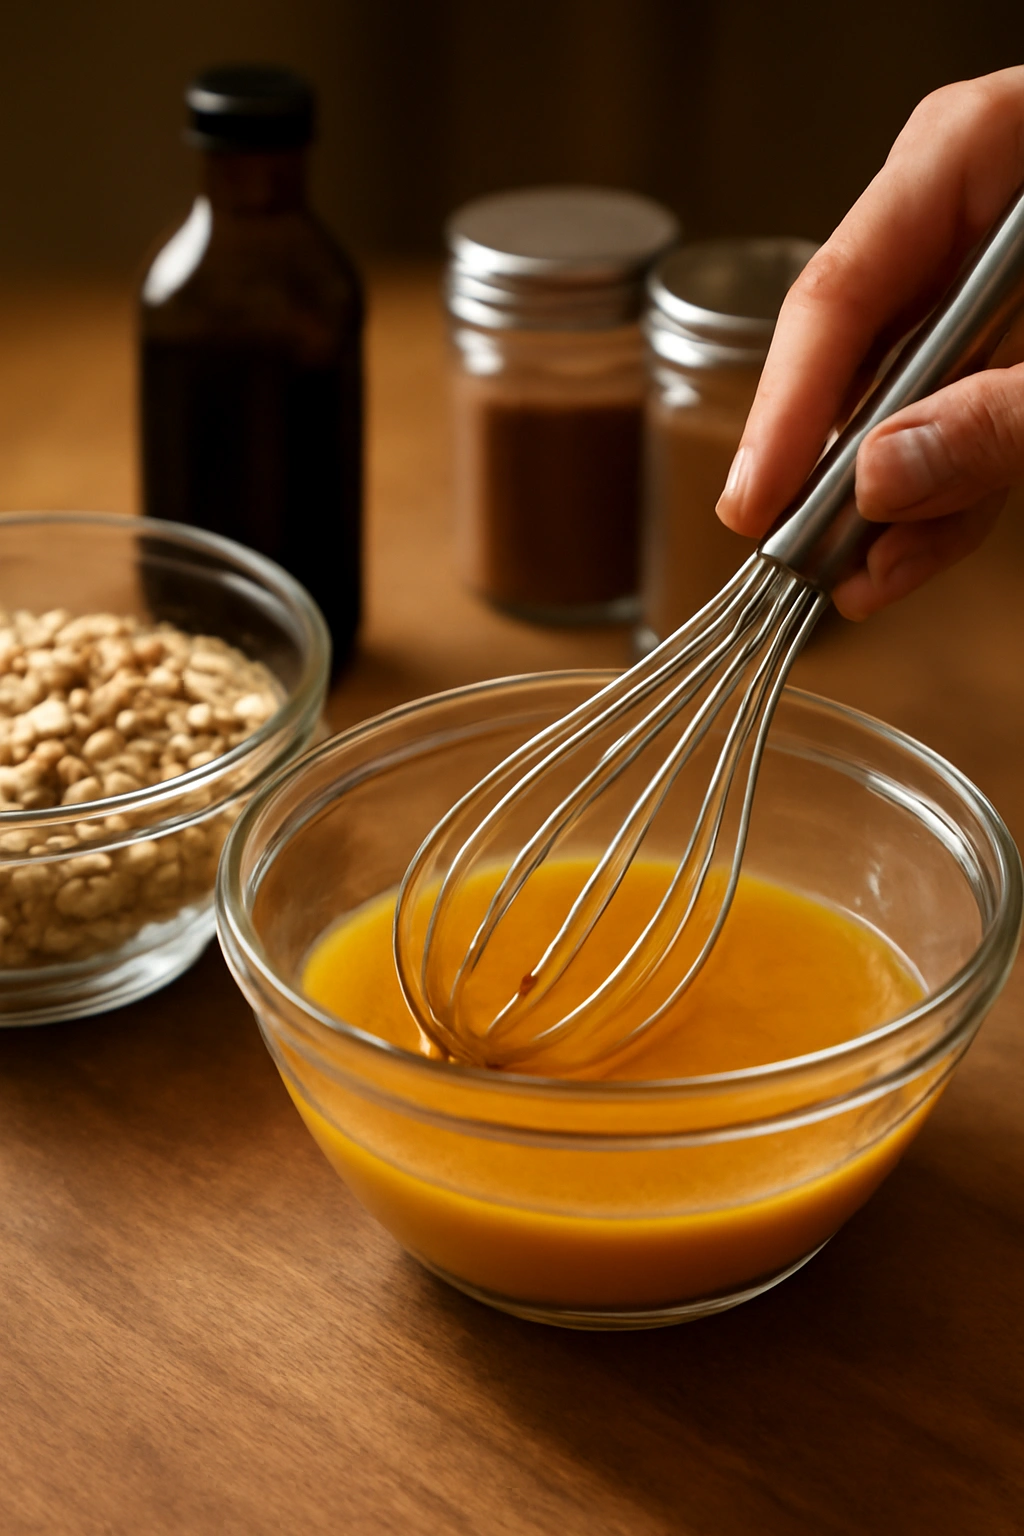
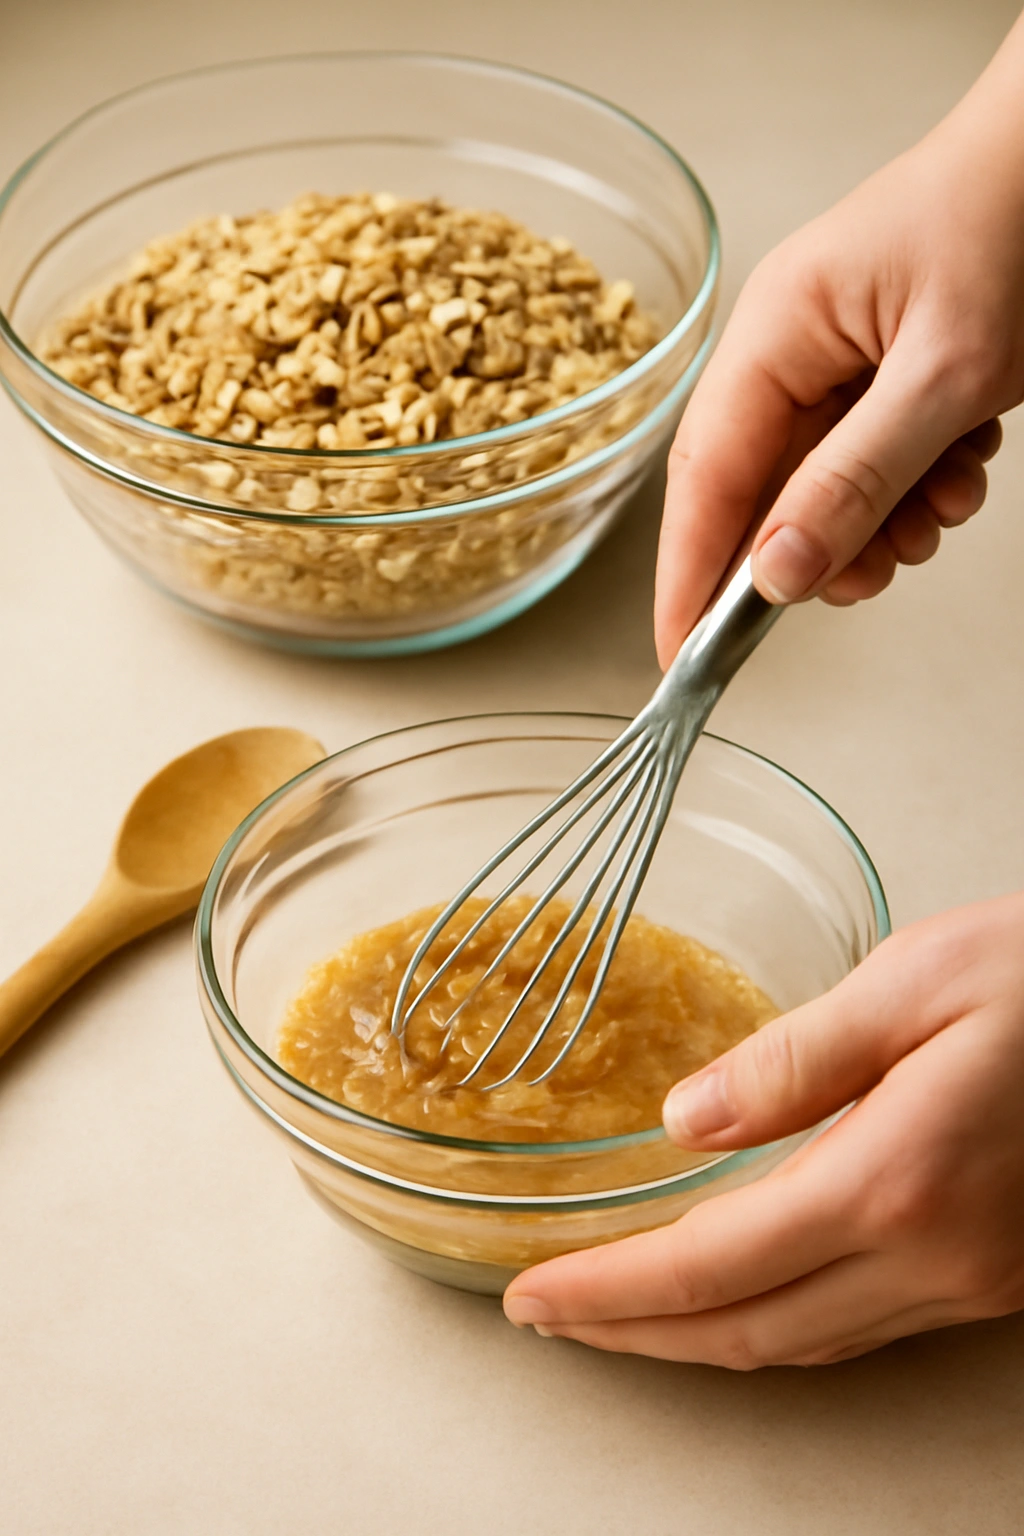
Mix the wet ingredients:
- In a small bowl, whisk together the melted butter, coconut oil, honey, brown sugar, vanilla extract, cinnamon, nutmeg, salt, and ginger (if using). Whisk for about 30 seconds until the mixture is thoroughly combined and smooth. The butter and oil will be visibly separated from the honey at first — keep whisking until they’re emulsified and uniform. This takes roughly 1 minute.
Combine wet and dry:
-
In a large bowl (this can be a 4 or 5-quart mixing bowl), combine the rolled oats, almonds, pecans, walnuts, and coconut flakes. Stir them together gently with a wooden spoon or a sturdy spatula, just to mix the nuts evenly throughout the oats.
Advertisements -
Pour the wet ingredient mixture over the oats and nuts. Using a sturdy silicone spatula or wooden spoon, fold and toss the mixture until every oat and nut is lightly coated with the wet ingredients. This should take about 2 minutes of active mixing. The mixture should look damp and cohesive but not wet or oil-laden. If you squeeze a handful, it should hold together briefly and then break apart. This is the correct consistency.
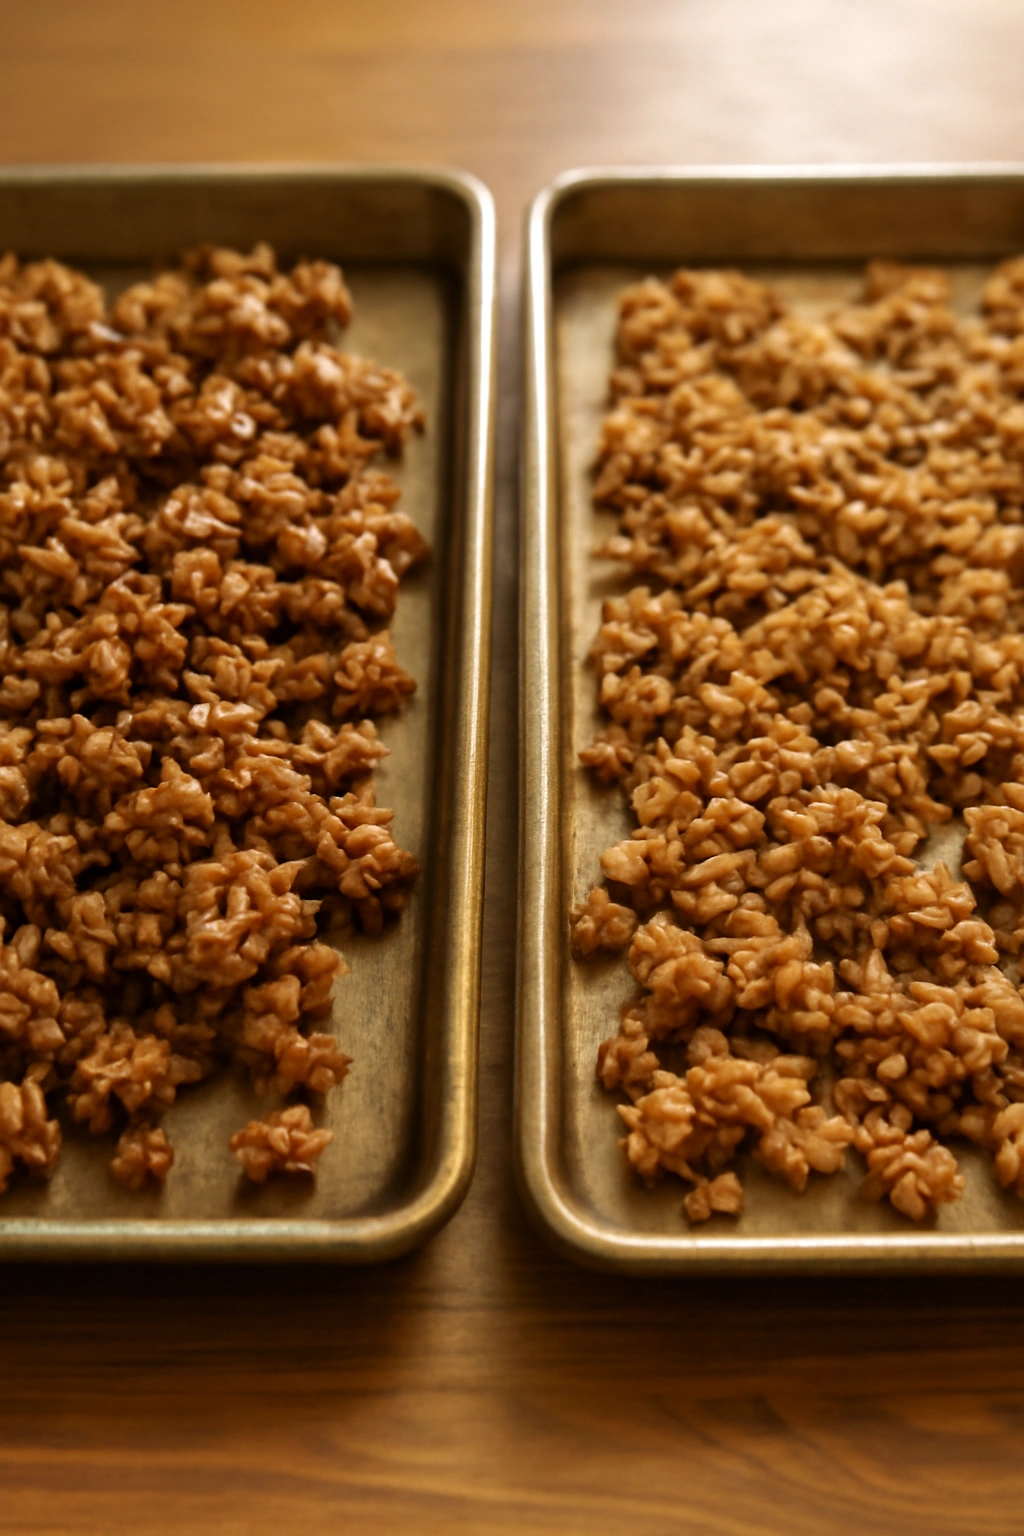
Spread and roast:
-
Divide the granola mixture between the prepared baking sheets, spreading it into an even layer about 1 inch thick. Do not pack it down or compress it — you want air spaces between the pieces so they can dry out and become crispy rather than dense and clumpy.
-
Place both baking sheets into the preheated 325°F oven. Set a timer for 8 minutes.
-
After 8 minutes, remove the sheets from the oven and stir the granola thoroughly, pushing the edges toward the center and bringing the center pieces to the edges. This ensures even roasting. You’ll notice the granola beginning to turn golden at the edges.
-
Return the sheets to the oven and set the timer for another 8 minutes.
-
Repeat the stirring process: Remove the sheets, stir thoroughly, return to the oven. Set the timer for another 8 minutes. By this point (24 minutes total), the granola should be noticeably golden, smelling deeply toasted and delicious. The oats may begin to show light brown edges.
-
Stir once more and return to the oven for the final 8 to 12 minutes (total roasting time should be 32 to 40 minutes, depending on your oven). The granola is done when the oats are uniformly golden brown with some darker edges, and the mixture smells nutty and deeply toasted. Watch carefully during this final stretch — the line between perfectly roasted and slightly burnt happens in about 2 minutes, so set a timer and check at 8 minutes, then again at 10 and 12 if needed.
Cool completely:
-
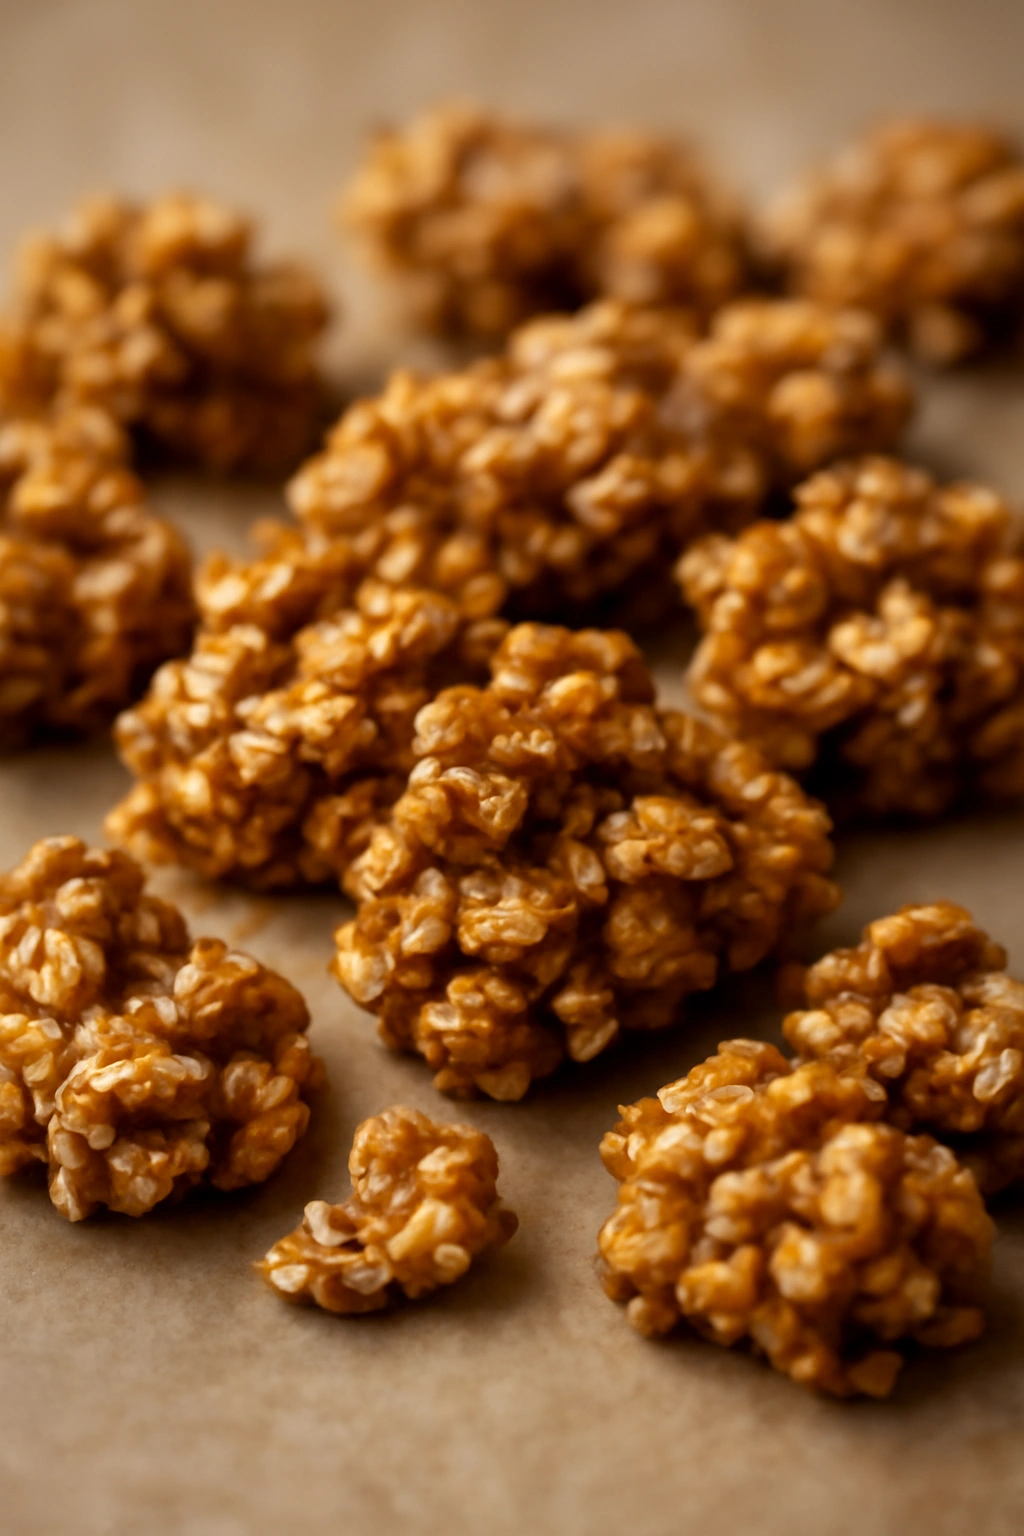
Remove the baking sheets from the oven. The granola will be soft and fragrant at this point — resist the urge to eat it immediately. Spread it out evenly on the hot baking sheets and let it rest completely undisturbed. This cooling phase is essential for crispness. As the granola cools, it hardens and becomes delightfully crunchy. This takes 15 to 20 minutes. You’ll hear it crackling slightly as it cools.
Advertisements -
Once the granola is completely cool to the touch, break it into clusters of whatever size appeals to you — some people prefer small, bite-sized pieces, while others like larger 2-inch clusters. Shake the parchment paper or use a wooden spoon to move clusters around if they’re sticking together.
-
Transfer the cooled granola to an airtight container or glass jar. Add the dried fruit now if you’re including it. Store at room temperature for up to 10 days, though most batches disappear well before that.
Common Mistakes That Ruin Homemade Granola
Most people’s first attempts at homemade granola involve at least one of these missteps, and understanding them helps you avoid them entirely.
Skipping the Cooling Phase
This is the most common mistake. You pull the granola from the oven, take a bite while it’s warm and fragrant, and it tastes soft and almost doughy. You assume your homemade granola went wrong, when actually you just didn’t let it finish cooking. Granola continues to crisp up significantly as it cools. A batch that tastes soft at 100°F becomes genuinely crispy at room temperature. Wait for the cooling phase, even if it takes patience. This is where the magic happens.
Using Too Much Fat
Beginners often think “more fat equals crispier,” which is completely backwards. A batch with 5 or 6 tablespoons of oil per 3 cups of oats creates heavy, somewhat greasy granola that stays soft. Stick to the formula: about 3 tablespoons of combined fat per 3 cups of oats and nuts. This creates beautiful browning, binds clusters together, and still lets the granola crisp up perfectly.
Not Stirring Frequently Enough
Granola roasts unevenly if you don’t stir it. The edges and corners brown faster than the center. Stirring every 8 to 10 minutes moves hot pieces to cooler spots and ensures even, consistent browning. Most of the recipe’s success comes from this simple discipline: set a timer, and actually stir when it goes off.
Roasting at Too High a Temperature
A common instinct is to roast at 375 or 400°F to speed things up. This creates dark, burnt edges before the center is properly toasted. Lower and slower — 325°F for 35 to 40 minutes — creates even browning throughout, deeper flavor development, and fewer burnt pieces. Yes, it takes longer, but you’re not standing there watching it. You’re stirring every 8 minutes and moving on with your day.
Adding Dried Fruit Too Early
Dried fruit should never go into the oven with the granola. The heat dries it out further, making it tough and flavorless. Worse, fruit sugars can caramelize and stick to everything, creating hard clumps that aren’t pleasant to eat. Add dried fruit after the granola has completely cooled. This way, the fruit stays plump, chewy, and flavorful, creating a pleasant contrast with the crispy granola pieces.
Pressing Down or Packing the Granola
Compressing the granola mixture on the baking sheet creates dense, cake-like clusters instead of light, crispy ones. Spread it in an even layer without pressing, and let air circulation do the crisping. Think of granola like popcorn — it needs breathing room to develop its final texture.
Not Using Real Vanilla
Imitation vanilla extract creates a bitter, artificial taste that’s immediately noticeable once you’ve had real vanilla. Spend a few dollars more for pure vanilla extract. You’ll taste the difference in every single batch.
Pro Tips From Professional Granola Makers
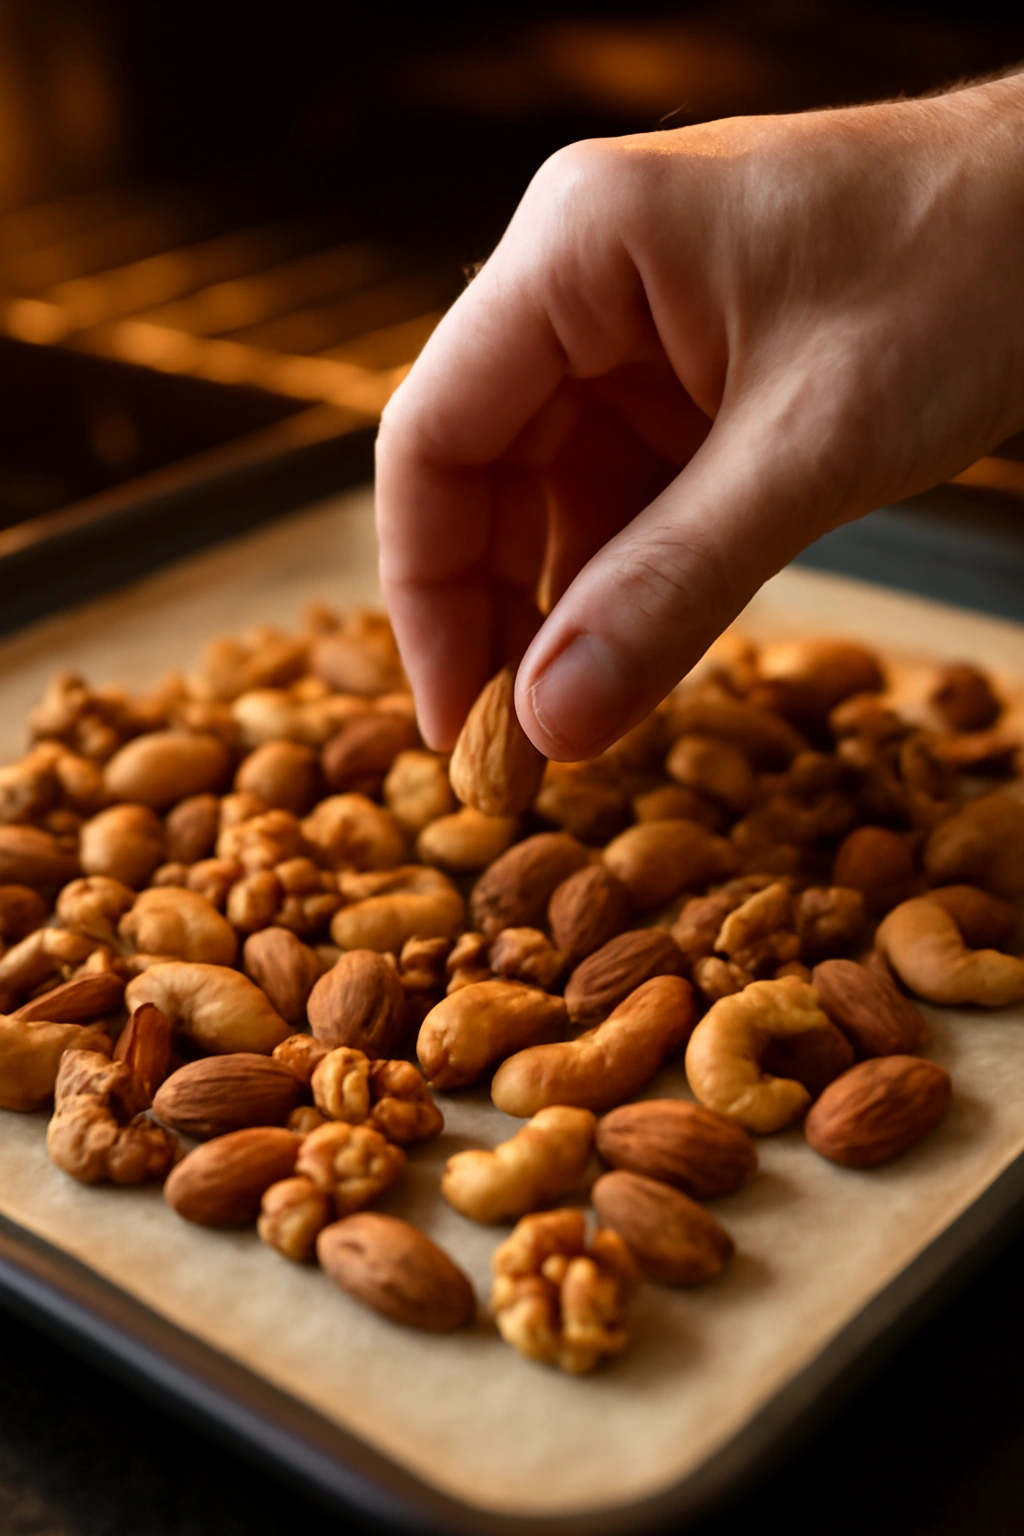
The difference between good homemade granola and extraordinary homemade granola often comes down to small tricks and deliberate choices:
Toast your nuts separately for deeper flavor. Spread your raw almonds, pecans, and walnuts on a baking sheet and roast them at 325°F for 10 to 12 minutes before adding them to the granola mixture. This pre-roasting deepens their flavor significantly, creates a more complex taste profile, and means they don’t absorb quite as much oil from the mixture. You’ll notice a meaningful flavor difference.
Taste your sweetener mixture before roasting. After whisking the honey, sugar, oil, and spices together, dip a clean spoon in and taste it. Does the flavor balance feel right? Is the cinnamon prominent or subtle? Now is the moment to adjust. Add another pinch of nutmeg if you want more warmth, or another quarter teaspoon of vanilla if it tastes flat. Once the granola is roasted, you can’t fix the flavor balance.
Watch for the smell. Your nose knows when granola is done better than any timer. Properly roasted granola smells deeply toasty, with notes of nuts and caramel. If it smells burnt or acrid, the batch is overdone. If it still smells primarily like raw oats, it needs more time. Pay attention to how it smells at different stages so you learn to recognize the sweet spot.
Use a hybrid sweetening approach. The combination of honey (or maple syrup) plus brown sugar creates better flavor and texture than either alone. Honey brings complexity, while brown sugar promotes crispness. Using both gives you the best of both worlds.
Store in glass, not plastic. Granola stays crispier longer in glass jars than in plastic containers, which can trap some moisture. If you must use plastic, make sure it’s airtight and check on your granola after a few days to see if it’s absorbed any moisture.
Make double batches for better results. Two baking sheets of granola roast more evenly than one, because each sheet gets better air circulation and heat distribution. Even if you only need one batch, doubling the recipe and storing the extra is worth it.
Endless Flavor Variations and Adaptations
The basic granola formula is endlessly adaptable. Once you understand the mechanics — the ratio of fat to dry ingredients, the roasting time and temperature, the importance of cooling — you can create completely different flavor profiles using the same technique.
Tropical Granola
Swap the coconut oil for the full 3 tablespoons of fat, skip the cinnamon and nutmeg, and add 1/2 teaspoon of coconut extract (optional). Add 1/2 cup of macadamia nuts or cashews instead of pecans. After cooling, mix in dried mango, pineapple, and unsweetened coconut chips. The result tastes like a vacation.
Spiced Apple Cinnamon Granola
Use 1.5 teaspoons of ground cinnamon, 3/4 teaspoon of ground nutmeg, and 1/4 teaspoon of ground allspice in the wet ingredients. Add 1/2 teaspoon of apple pie spice if you have it. After cooling, toss with dried apples (chopped into small pieces) and a squeeze of fresh lemon juice mixed with a tiny bit of honey. The lemon brightens everything.
Chocolate Lover’s Granola
Make the basic granola as written, but after cooling completely, drizzle with 3 to 4 ounces of melted dark chocolate (70% cacao or higher) and toss until evenly coated. Spread on a clean baking sheet and refrigerate for 15 minutes until the chocolate sets. Store in an airtight container with a small packet of silica gel to prevent stickiness from humidity.
Savory Everything Bagel Granola
Replace all sweeteners with just 2 tablespoons of honey. Skip the cinnamon, nutmeg, and vanilla. Mix the following into the wet ingredients: 2 teaspoons of everything bagel seasoning (or a mixture of 1 teaspoon each of sesame seeds, poppy seeds, dried minced garlic, and dried minced onion), and 1/2 teaspoon of black pepper. This creates a savory snack that pairs beautifully with yogurt or cream cheese.
High-Protein Peanut Butter Granola
Replace 2 tablespoons of the oil with 2 tablespoons of natural peanut butter mixed smoothly into the wet ingredients. Use 1 teaspoon vanilla and skip the nutmeg and ginger. Add 1/2 cup of roasted, unsalted peanuts to the nut mixture. After cooling, toss with dried cranberries and a pinch of sea salt. This granola is genuinely high in protein.
Gluten-Free and Vegan Variation
Use certified gluten-free rolled oats. Replace the butter with an additional tablespoon of coconut oil. Use maple syrup instead of honey (making the recipe 100% vegan). Everything else stays the same. The result is identical to the standard recipe.
Maple Pecan Granola (Fall Favorite)
Use pure maple syrup instead of honey, and use only 1 tablespoon of brown sugar. Skip the ginger. Add 3/4 teaspoon of vanilla, and add 1/4 teaspoon of maple extract if you have it. Use 1 full cup of chopped pecans and skip one of the other nuts. After cooling, toss with dried cranberries and a small amount of chopped candied ginger. This tastes like fall in a bowl.
Storing and Keeping Your Granola Fresh
Homemade granola stays crispy far longer than store-bought, but storage method determines whether you get 5 days of crispness or 10 days.
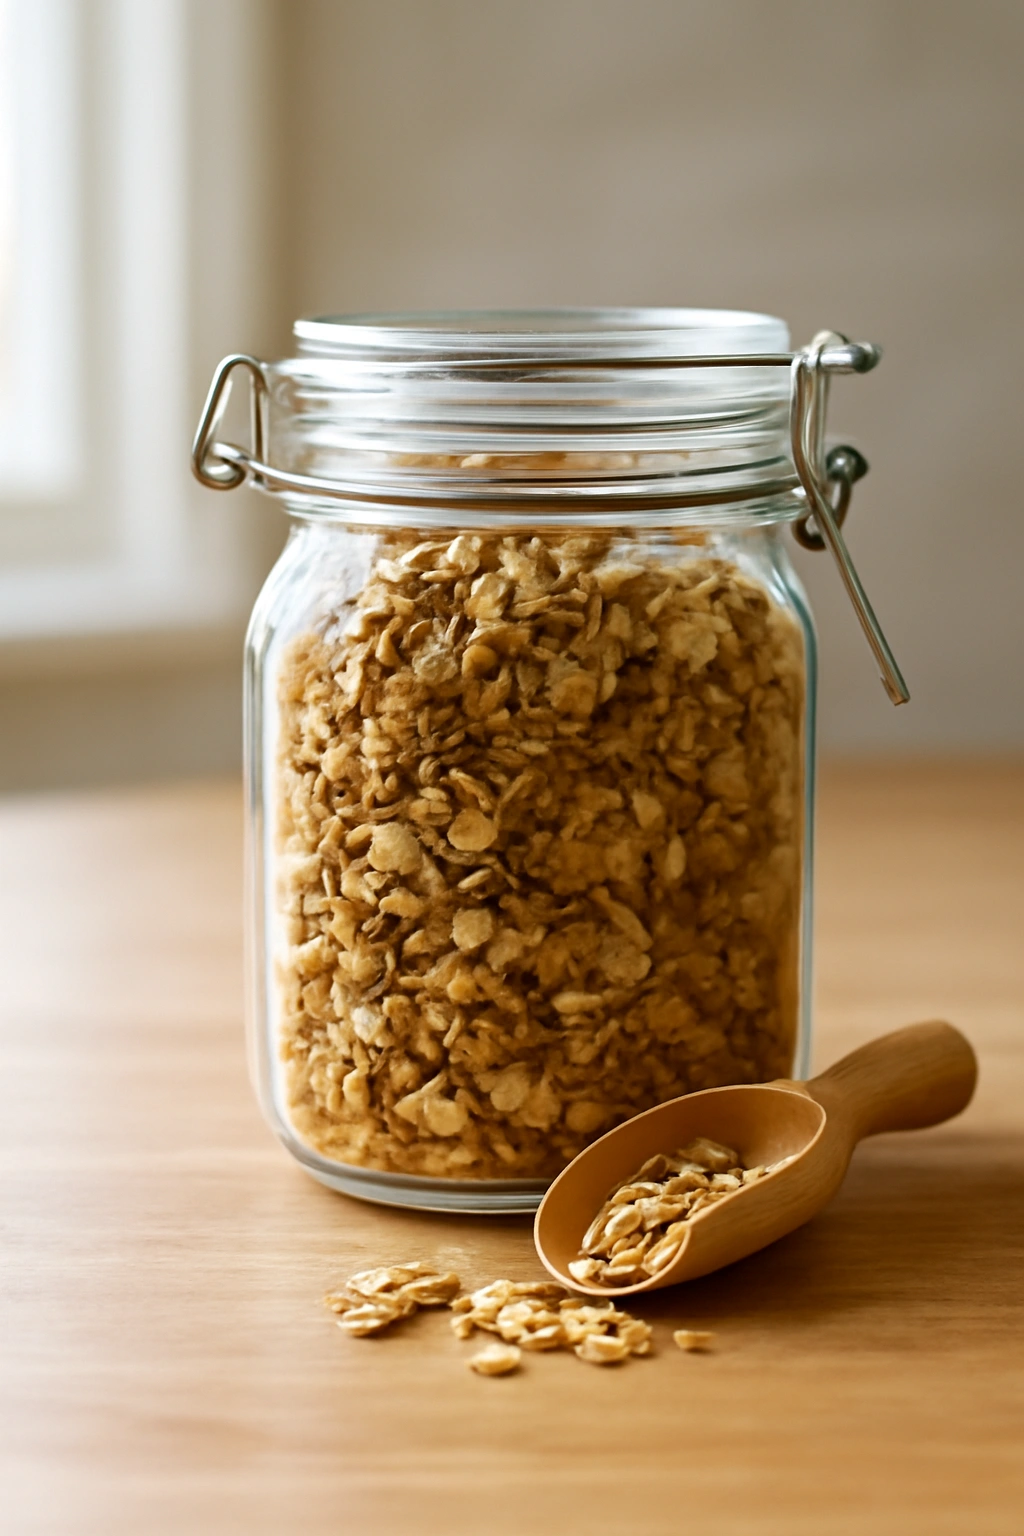
Best storage method: Transfer completely cooled granola to an airtight glass jar with a tight-sealing lid. Glass is inert, doesn’t absorb moisture, and lets you see what you have without opening it. Keep it at room temperature, away from direct sunlight (which can turn oils rancid) and humidity (which softens the granola).
Timeline: Properly stored granola stays satisfyingly crispy for 7 to 10 days. After that, it begins to absorb moisture from the air and softens gradually. By day 14, it’s still edible but noticeably softer.
Extending crispness: If you live somewhere humid or you’ve had granola for 5+ days and notice it softening, spread it on a baking sheet and warm it in a 300°F oven for 5 to 8 minutes. This evaporates absorbed moisture and restores crispness. This trick works multiple times and genuinely extends the granola’s life.
Freezing for long-term storage: Granola freezes beautifully. Store it in an airtight freezer container for up to 2 months. Thaw at room temperature for 30 minutes and the texture is essentially unchanged. This is perfect if you make a large double batch — freeze half and you’ve got granola for weeks.
What goes soft fastest: Granola that includes chocolate, honey-soaked dried fruit, or nuts with high oil content (like macadamia nuts) softens faster than simpler versions. Plan to eat these variations within 5 to 7 days for best texture.
Preventing clumping: If your granola has formed hard clusters that are difficult to break apart, don’t discard them. Spread them on a baking sheet and warm at 300°F for 5 to 8 minutes, then break them into smaller pieces while warm. Store in airtight containers.
The Best Ways to Serve and Enjoy Your Granola

Homemade granola is delicious enough to eat straight from the jar, but it truly shines in certain applications.
With Yogurt
Layer homemade granola with plain yogurt and a drizzle of honey or maple syrup. The contrast between the crispy granola and creamy yogurt is exactly what makes this pairing perfect. Add fresh berries or sliced fruit for brightness.
With Milk or Milk Alternatives
Homemade granola stays crispy noticeably longer than store-bought when eaten in milk or plant-based milk. A bowl of granola with cold milk is a genuinely satisfying, protein-rich breakfast or snack. The granola maintains texture for several minutes, unlike some alternatives that immediately turn to mush.
As a Yogurt Parfait
Layer granola, yogurt, and fresh or frozen fruit in a glass or bowl, finishing with a sprinkle of granola on top so it stays crispy. This makes a beautiful, Instagram-worthy breakfast that tastes as good as it looks.
Mixed Into Oatmeal
Stir a generous handful of granola into warm oatmeal just before serving. The heat softens it slightly while it stays partially crispy, creating interesting texture contrast. The flavors blend beautifully.
As a Crunchy Topping
Use granola as a topping for smoothie bowls, chia seed pudding, or even vanilla ice cream. The crunchiness against creamy bases is incredibly satisfying.
Eaten Straight From the Jar
Honestly, the best way to enjoy granola is often standing in front of the open container with a spoon, eating it by the handful. No judgment here — homemade granola is good enough to eat plain.
In Baked Goods
Mix granola into muffin batter or cookie dough, or sprinkle it on top of baked goods before they go into the oven. The granola softens slightly during baking, creating interesting texture contrast.
As a Gift
Homemade granola makes an impressive, thoughtful gift. Pack it in a clear glass jar tied with a ribbon, include a handwritten label with the batch date and flavor, and people will genuinely treasure it. Most people have never received homemade granola and will be delighted.
Final Thoughts

Making granola at home eliminates every compromise you accept with store-bought versions. You get better flavor, superior texture, complete ingredient control, meaningful cost savings, and the genuine pleasure of eating something you created yourself. The technique is simple enough that your first batch will be delicious, and you’ll only refine from there.
Once you’ve made homemade granola, the store-bought version becomes difficult to justify. Not because homemade is inconveniently difficult — it actually takes less than an hour from start to finish, and most of that time is roasting while you do other things. You’ll find yourself making double batches, experimenting with variations, and genuinely looking forward to breakfast because you know what’s waiting in that jar.
The confidence that comes from mastering something as fundamental as granola extends beyond breakfast. You realize that “store-bought is better” isn’t always true. You learn to trust your own instincts, your own taste preferences, and your own ability to create something genuinely good. Start with the base recipe, dial in the flavors to suit your taste, and from there, you’re the expert. Your homemade granola will be better than anything you can buy, every single time.