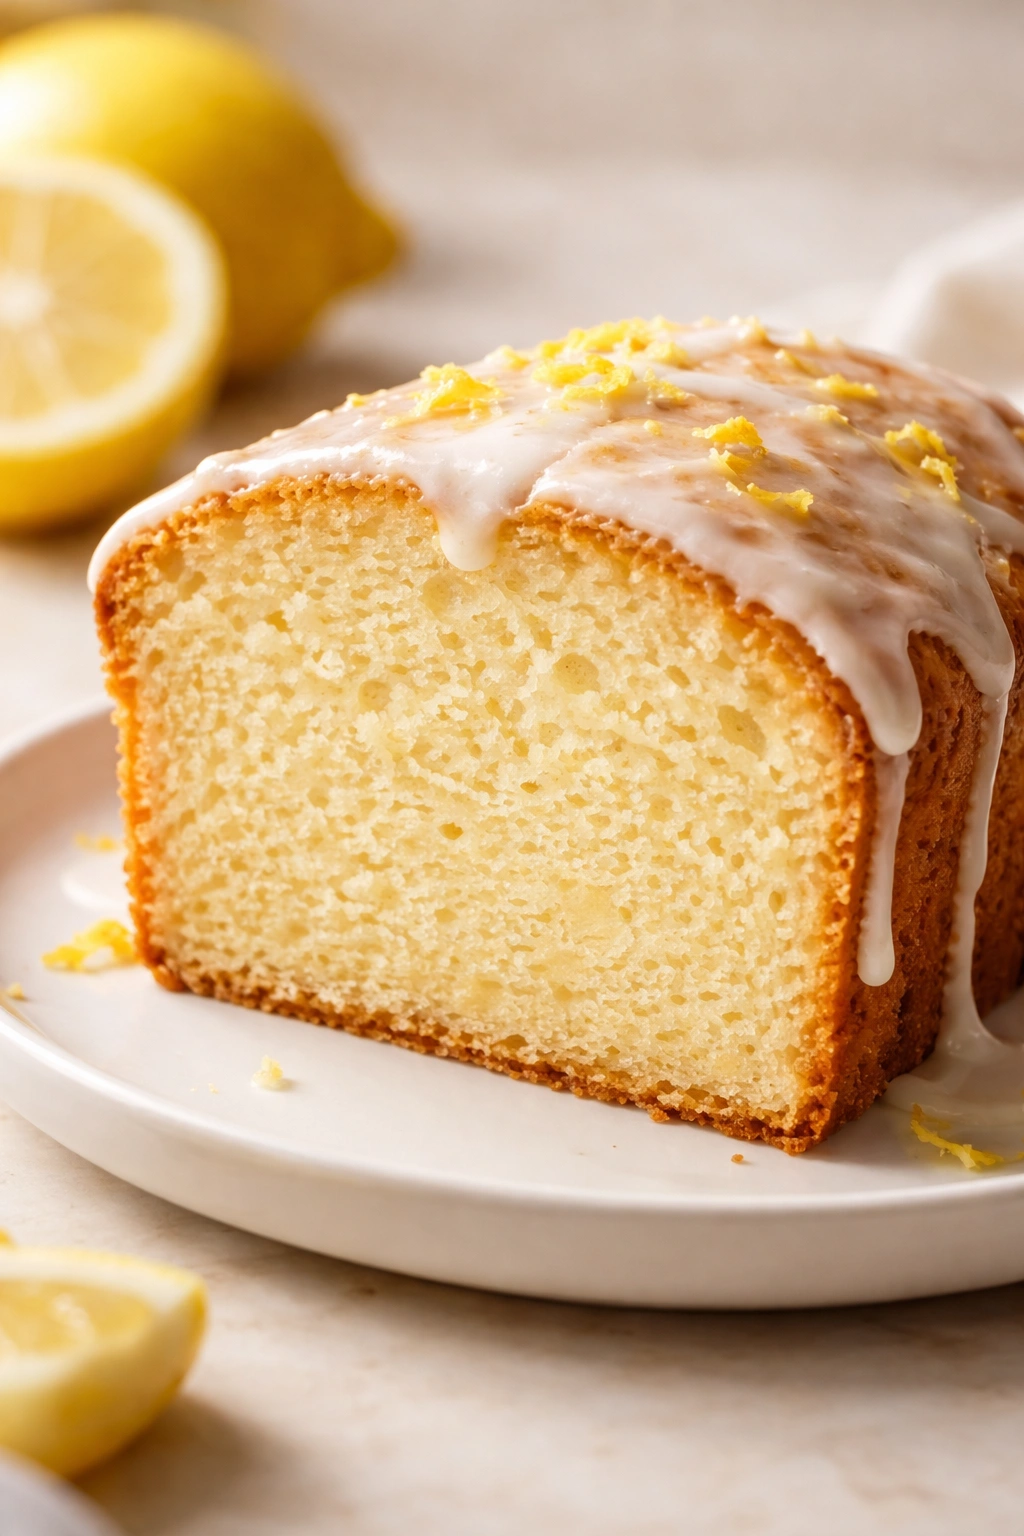
There’s nothing worse than biting into a slice of pound cake and discovering it’s dry as a brick. The crumb turns chalky against your tongue, the flavor flattens, and you’re left wondering what went wrong. Yet pound cake, by its very nature, should be tender, moist, and dense in all the right ways — the kind of cake that melts slightly on your tongue and keeps tasting better the next day.
The frustration comes from a simple fact: pound cake is a delicate balance. Add too much flour, and it becomes dense and dry. Overbake it by even a few minutes, and the moisture evaporates. Use the wrong ratio of ingredients, and you end up with a cake that looks perfect on the outside but crumbles into dry disappointment on the inside. Most home bakers don’t realize that the technique matters just as much as the ingredients — and that a few small adjustments can completely transform how moist your finished cake turns out.
This particular lemon pound cake recipe is built around one core principle: every ingredient and every step is designed to trap and preserve moisture while delivering that bright, unmistakable lemon flavor that makes this cake so craveable. The combination of sour cream, the exact ratio of butter to flour, the specific mixing technique, and the precise baking temperature all work together to create a cake that stays moist for days and actually improves in flavor and texture as it sits.
Yield, Prep Time, and Baking Details
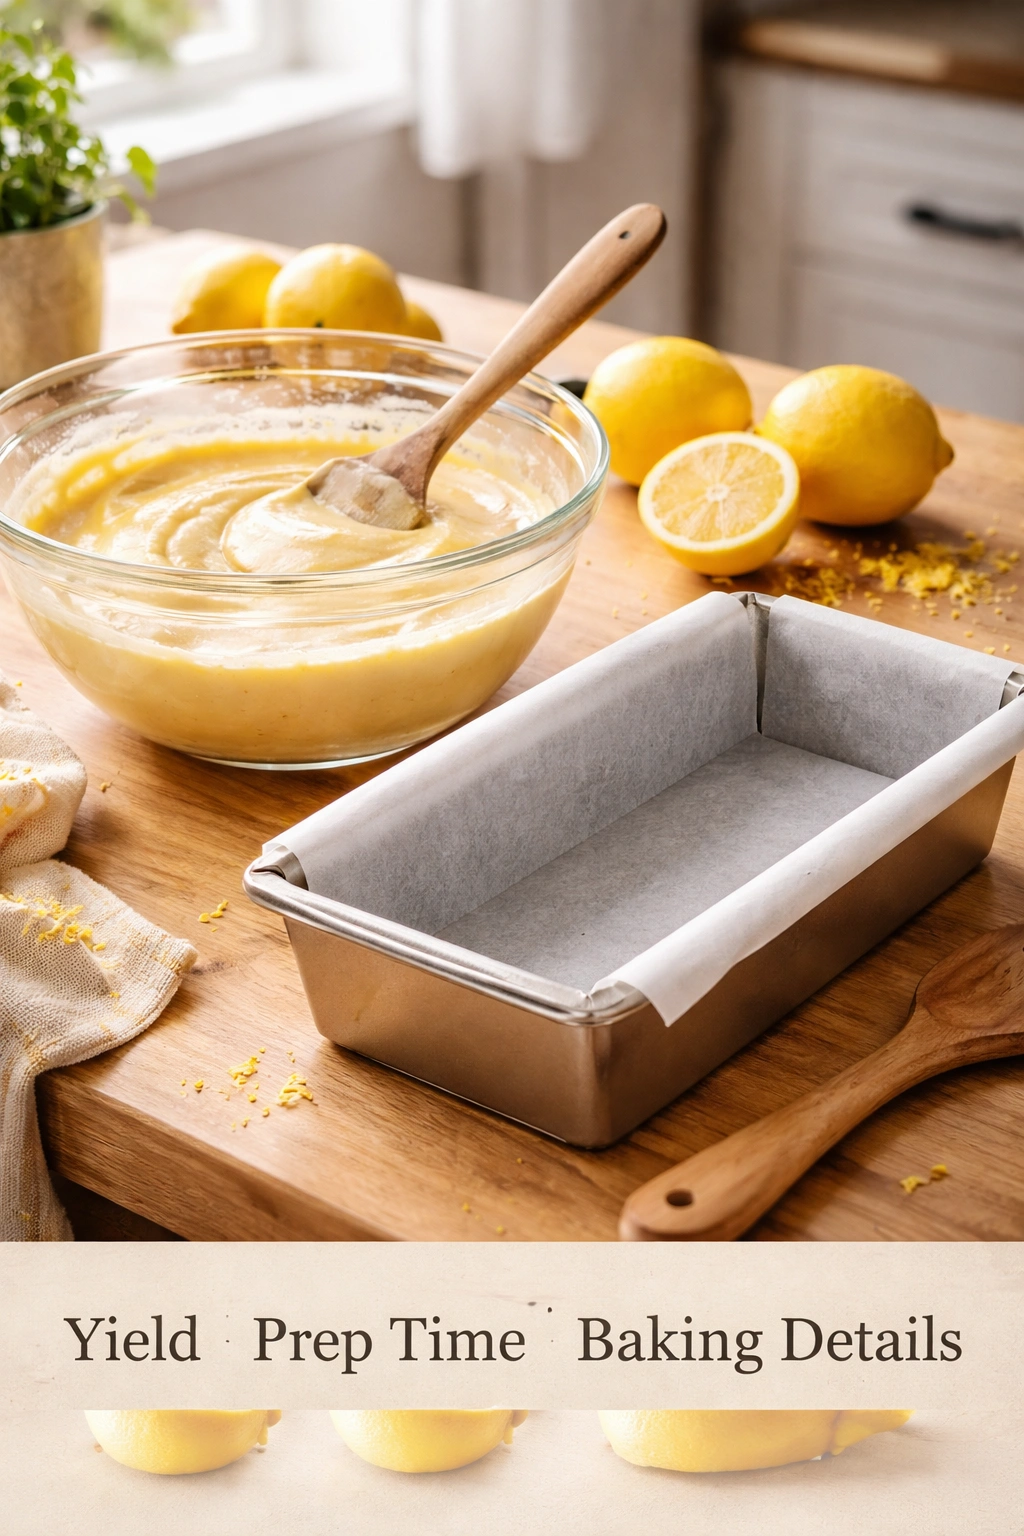
Yield: One 9×5-inch loaf, serving 10 to 12 slices
Prep Time: 20 minutes (hands-on active preparation)
Cook Time: 55 to 65 minutes (baking time)
Total Time: 1 hour 15 minutes to 1 hour 25 minutes active time + 1 hour cooling in the pan
Chill/Rest Time: The finished cake improves dramatically after sitting overnight at room temperature — the crumb sets and the lemon flavor deepens.
Best Served: Slightly warm from the oven or at room temperature the next day. The cake slices cleanly and tastes most moist after sitting for 12 to 24 hours.
Difficulty: Intermediate — This cake requires precise measuring, attention to mixing technique (not overmixing the batter is critical), and an understanding of doneness testing. It’s absolutely doable for any home baker willing to follow the steps carefully, but it’s not a dump-and-go recipe.
Ingredients for Moist Lemon Pound Cake
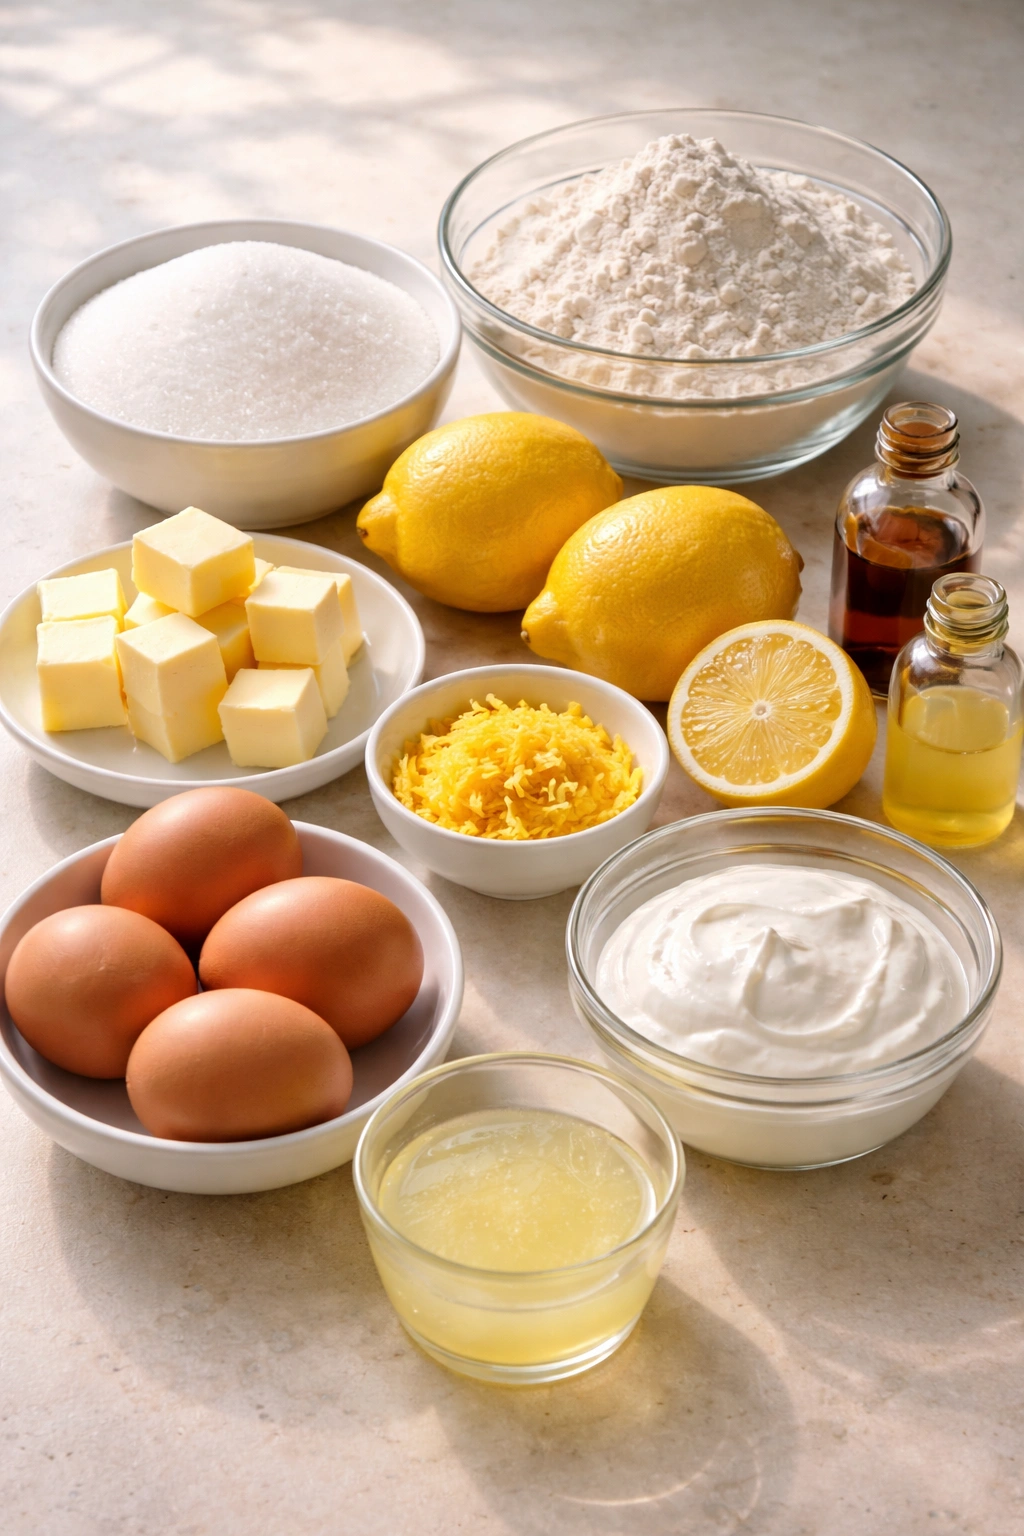
For the Cake:
- 2¾ cups (330g) all-purpose flour, spooned and leveled (do not scoop directly from the bag)
- ½ teaspoon fine sea salt
- ½ teaspoon baking soda
- 1 cup (2 sticks / 226g) unsalted butter, softened to room temperature (this is non-negotiable for proper creaming)
- 2 cups (400g) granulated sugar
- Zest of 3 medium lemons, finely grated (about 2 tablespoons of packed zest)
- 4 large eggs, room temperature
- 1 cup (240ml) full-fat sour cream, room temperature
- ¼ cup (60ml) fresh lemon juice (about 2 medium lemons, strained to remove pulp)
- 2 teaspoons pure vanilla extract
- ½ teaspoon pure lemon extract (optional, but it deepens lemon flavor without adding moisture)
For the Lemon Glaze (Optional but Recommended):
- 1½ cups (180g) powdered sugar, sifted
- 3 tablespoons fresh lemon juice
- 1 tablespoon unsalted butter, melted
- Pinch of fine sea salt
Why Pound Cake Dries Out (And How This Recipe Prevents It)
Pound cake gets its name from the original ratio: one pound of butter, one pound of sugar, one pound of flour, and one pound of eggs. This ratio creates a rich, dense cake that’s naturally moist because of the high butter content. The problem is that many modern recipes try to lighten the cake by reducing fat or adding too much flour — and that’s exactly where moisture disappears.
When flour ratio gets too high, it absorbs more moisture during baking and leaves less of it in the finished cake. The protein in excess flour also creates a tougher, drier crumb structure. Additionally, overbaking by even five minutes can dry out a pound cake significantly because the fat content is what holds moisture in the cake as it bakes — if the cake stays in the oven too long, that moisture simply evaporates.
This recipe uses sour cream as its secret weapon. Sour cream contains lactic acid, which does two things simultaneously: it tenderizes the crumb structure by partially breaking down gluten, and it adds fat and moisture that stays locked in the cake even after baking. The acid also reacts with baking soda to create lift, which means you don’t need to add extra leavening that could create a too-porous, dry crumb.
The result is a cake that’s impossibly moist, stays tender for days, and actually deepens in flavor as it sits.
The Exact Ratio That Guarantees Moisture
The ratio of ingredients in this cake is precisely calculated to maximize moisture without sacrificing structure. Here’s what makes it work: this recipe uses 1 cup of sour cream to 2¾ cups of flour. That’s roughly a 1:3 ratio of sour cream to flour, which is higher than most traditional recipes and specifically designed to keep the crumb moist while maintaining cake structure.
The butter-to-flour ratio is also critical. This cake uses 1 cup of butter (2 sticks) to 2¾ cups of flour, which is leaner than some ultra-rich pound cakes but rich enough that the fat content prevents the cake from drying during storage. This balance is intentional — too much butter and the cake becomes greasy and heavy; too little and it becomes dry and crumbly.
The egg ratio of four large eggs to 2¾ cups flour adds structure without creating excess moisture loss. Eggs cook into a firm custard that holds moisture within the crumb, and the emulsifying properties of the egg yolk help the butter and liquid ingredients stay incorporated rather than separating.
Finally, the lemon juice (¼ cup) is carefully measured to add flavor and acidity without tipping the batter into being too wet. Too much liquid would make the cake collapse or become dense; this amount is the upper limit for structural integrity while still delivering that signature bright, citrusy punch.
Why Room Temperature Ingredients Are Non-Negotiable
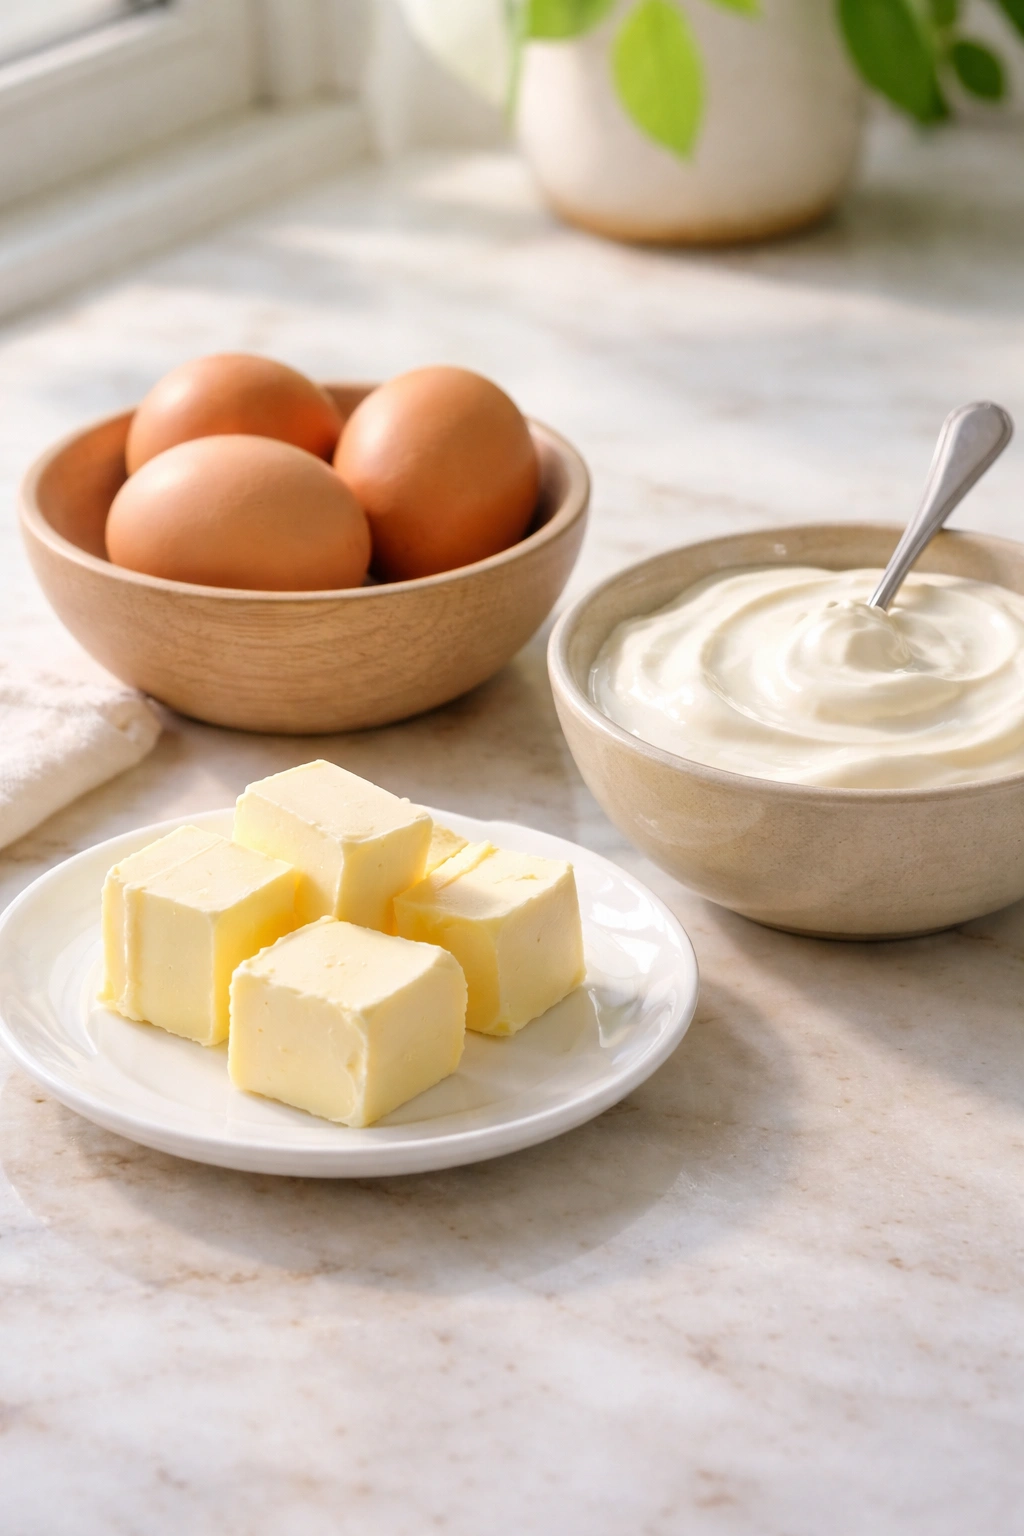
This might sound like an unnecessary fussy step, but the temperature of your butter, eggs, and sour cream directly impacts how well they incorporate into the batter — and proper incorporation is what creates a smooth, moist, evenly-textured crumb.
Cold butter doesn’t cream properly. When you beat cold butter with sugar, the butter stays in separate chunks that can’t fully incorporate the sugar crystals, which means you miss out on the creaming process that creates the light, airy structure that traps moisture. The batter ends up grainy and dense.
Cold eggs, similarly, won’t emulsify properly into the butter mixture. They’ll sit on the surface of the batter and create separated, curdled-looking batter that has pockets of unmixed ingredients. When those cold eggs finally warm up and cook, they create an uneven crumb with dry spots and dense spots.
Cold sour cream does the same thing — it won’t mix smoothly into the batter, and you’ll end up with lumpy batter that bakes unevenly. The solution is simple: remove butter, eggs, and sour cream from the refrigerator 30 to 45 minutes before you start baking. They should feel cool to the touch but not cold, and the butter should be soft enough to leave a slight dent when you press your finger into it.
Creaming Butter and Sugar: The Foundation of Tenderness
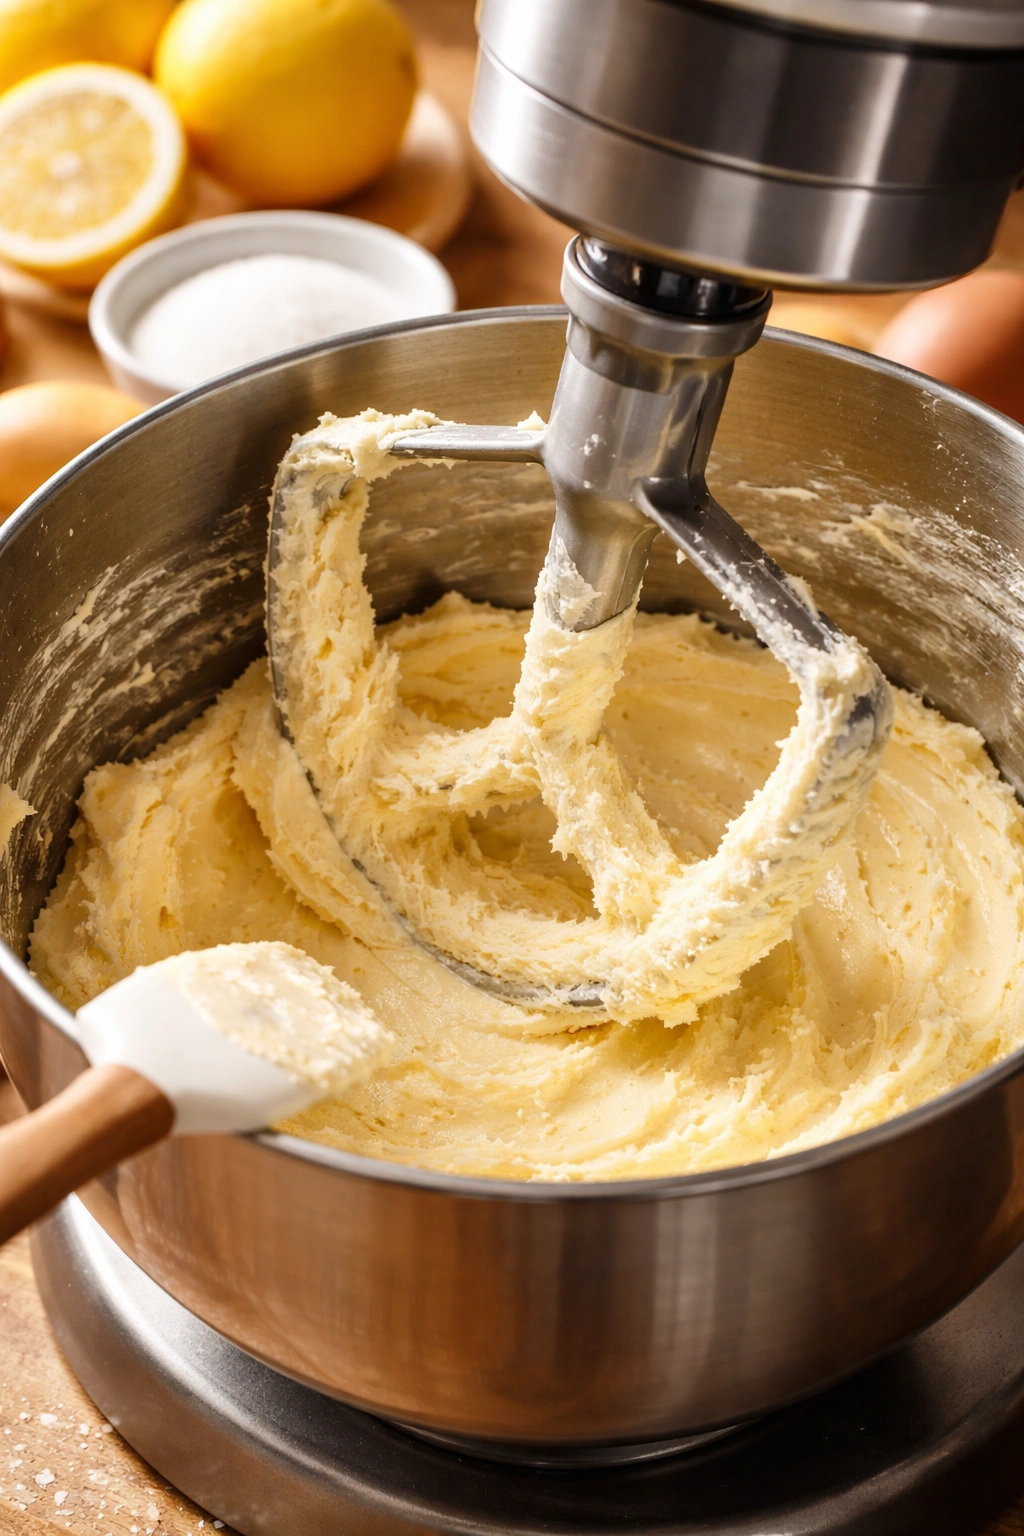
Creaming butter and sugar is the single most important step for creating a moist, tender pound cake. This is where you literally incorporate air into the batter, and where the sugar crystals begin to cut into the butter and create space for moisture to be absorbed and held.
Here’s the exact process: Place softened butter and granulated sugar in the bowl of a stand mixer fitted with the paddle attachment. Beat on medium speed for 4 to 5 full minutes. This is longer than most bakers think necessary, but it’s actually essential. The mixture will transform from yellow and grainy to pale, fluffy, and noticeably increased in volume — you should see it go from a tight, dense paste to something that looks almost like whipped frosting in color and texture.
Why this matters for moisture: When you cream butter and sugar properly, you’re creating thousands of tiny air pockets within the butter. As the batter bakes, these air pockets expand and create lift. More importantly, these air pockets help distribute moisture evenly throughout the cake. When butter isn’t creamed enough, the batter is denser, the air pockets are larger and fewer, and moisture pools unevenly in the finished cake, creating dry spots.
After the creaming step, add the lemon zest directly into the creamed butter and sugar mixture. Beat for another 30 seconds so the zest is distributed throughout. The oils in the lemon zest will distribute throughout the butter, ensuring that lemon flavor appears in every single bite.
Incorporating Eggs Without Creating a Curdled, Dry Batter
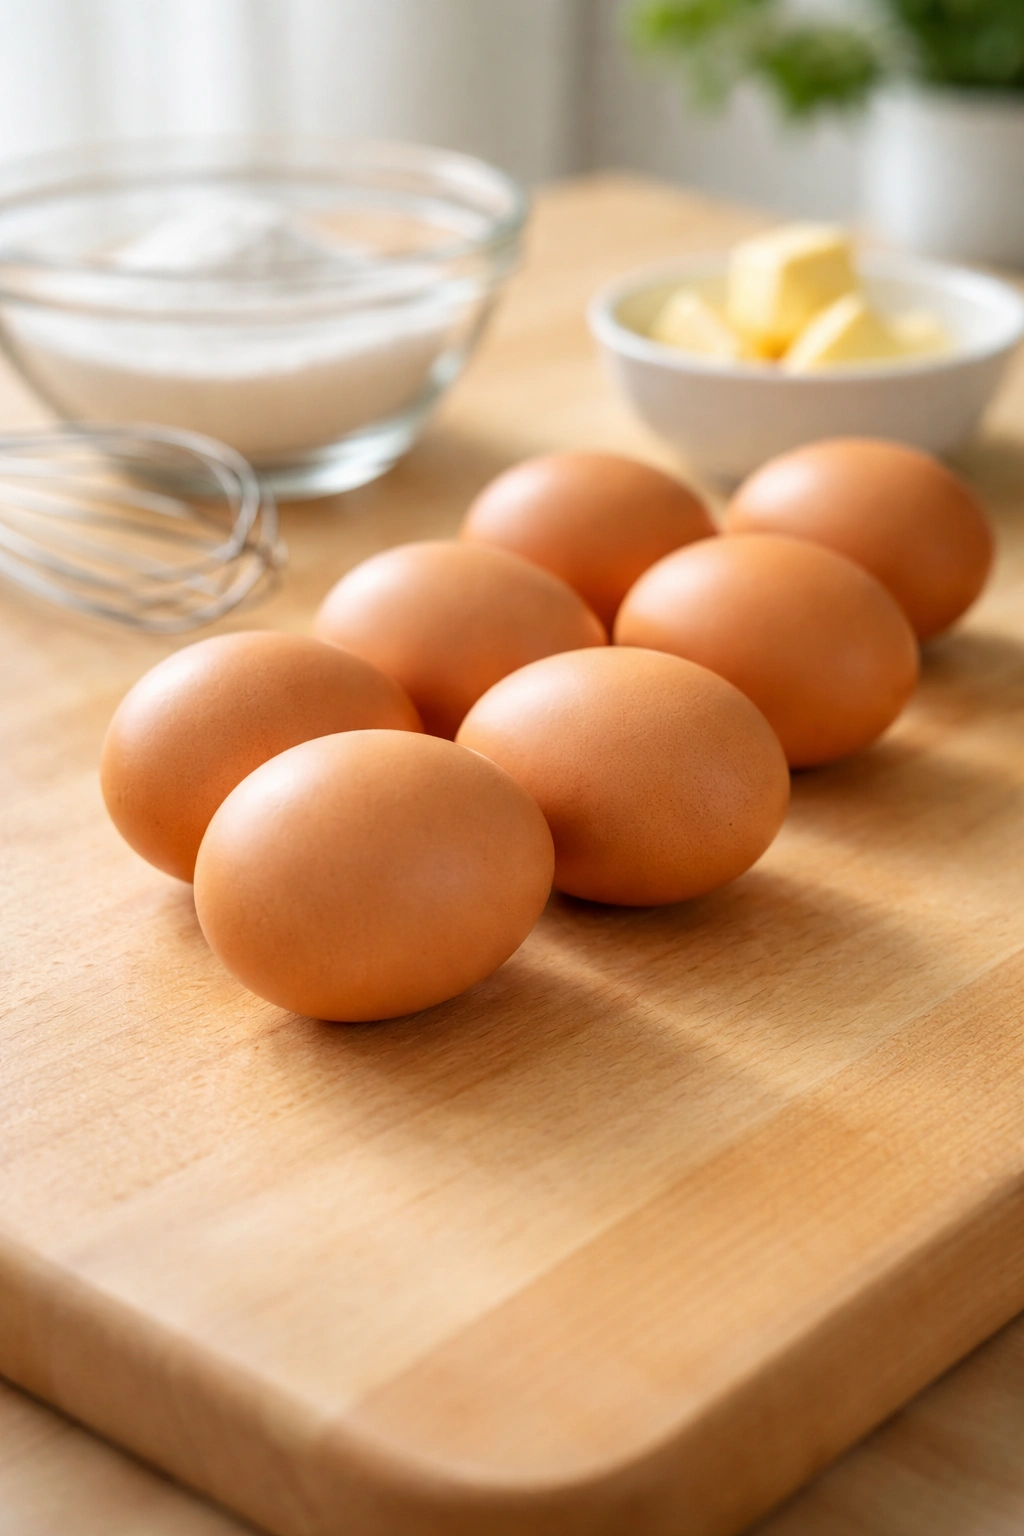
This is the step where most home bakers accidentally ruin their batter. They add all four eggs at once, or they add them too fast, or they don’t wait long enough between additions — and suddenly the batter looks separated and curdled. A curdled batter bakes into a dry, coarse-crumbed cake because the ingredients aren’t properly emulsified.
The only way to prevent this is to add eggs one at a time, and to beat for at least 30 to 45 seconds after each addition before adding the next egg. Here’s why: the emulsifier in eggs (the lecithin in the yolk) needs time to bond the fat (butter) and liquid (egg) together. If you add eggs too fast, the emulsification can’t happen, and you end up with separated batter.
After adding the second egg, you might notice the batter looks slightly broken or curdled — this is completely normal. Don’t panic and don’t add more flour. Just keep beating for 30 seconds more, and it will come back together as the emulsification catches up. After the third and fourth eggs are added and beaten in, the batter should look smooth, creamy, and uniform.
Sour Cream: The Secret to a Tender, Moist Crumb
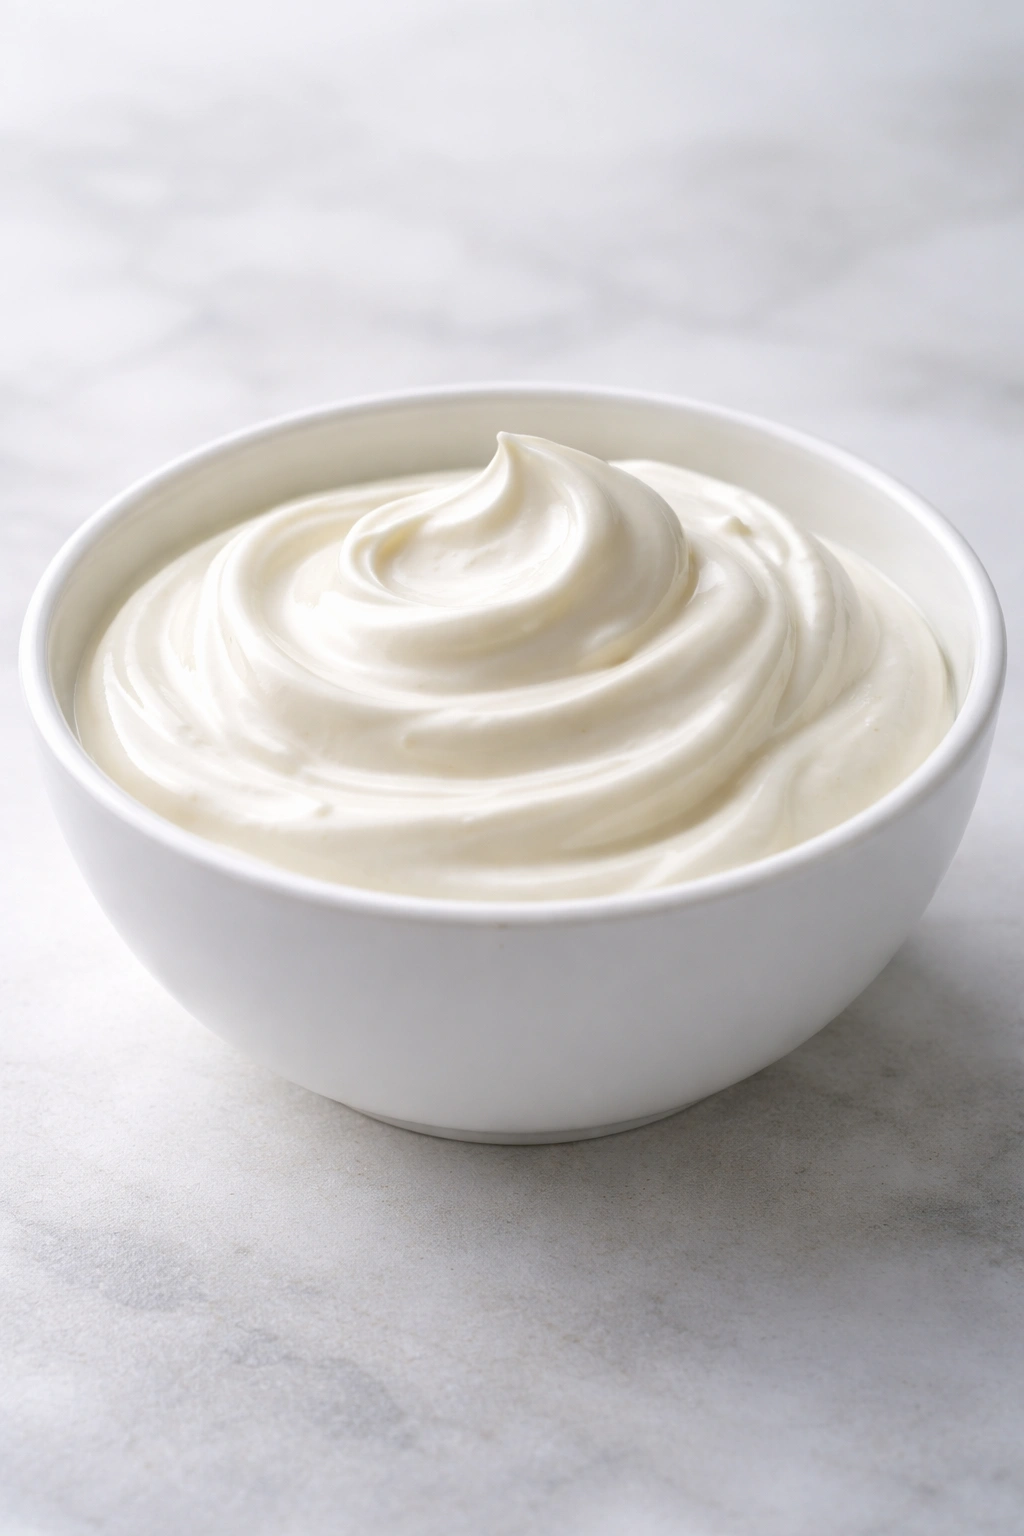
Sour cream is the ingredient that makes this cake different from traditional pound cake recipes — and it’s absolutely the reason this cake stays moist. Sour cream contains lactic acid (the same acid that makes yogurt tangy), and this acid tenderizes the gluten in the flour while the batter is mixing and baking.
When acid comes into contact with gluten, it partially breaks down the gluten strands, which prevents them from becoming tough and overly developed. This means the finished cake has a tender, delicate crumb instead of a dense, tough crumb. The tenderness translates directly to perceived moisture — a tender cake feels moist and melts on your tongue, while a tough cake feels dry even if it contains the same amount of actual moisture.
Additionally, sour cream is much higher in fat than regular milk or yogurt. This fat acts as a barrier around flour particles, which prevents them from absorbing as much liquid during baking. Paradoxically, this means the finished cake retains more moisture because the flour isn’t absorbing all of it.
Finally, the acid in sour cream reacts with the baking soda in this recipe to create lift and structure. This chemical reaction creates carbon dioxide bubbles that help the cake rise, and it happens during the mixing and early baking stages. This is why you need both sour cream (the acid) and baking soda (the base) in this recipe — they work together to create the structure that holds all that beautiful moisture.
Pro tip: Make absolutely certain your sour cream is room temperature before mixing it in. Cold sour cream won’t incorporate smoothly, and you’ll end up with lumps in the batter and uneven baking. If your sour cream is cold, set it on the counter for 20 minutes before starting.
Fresh Lemon Juice vs. Lemon Extract vs. Zest: What Each Adds

The three forms of lemon in this cake each serve a different purpose, and understanding the difference will help you understand why this recipe is built this way.
Lemon zest (the colored outer layer of the lemon skin) contains the essential oils that carry the most intense, aromatic lemon flavor. When you grate it finely and add it during the creaming step, those oils get distributed throughout the butter, which means they’re present in every bite. Zest adds flavor with zero moisture, so it doesn’t affect the batter’s consistency. This is why it’s the most important form of lemon in this cake.
Fresh lemon juice is tart, bright, and acidic — it adds complexity and depth to lemon flavor, and it also acts as a chemical leavening agent when it reacts with the baking soda. Juice does add liquid to the batter, which is why the amount is carefully measured. Too much juice and the batter becomes too wet and the cake collapses; the ¼ cup amount in this recipe is the maximum you can add while maintaining proper structure.
Lemon extract is optional, but it’s a concentrated form of lemon flavor that doesn’t add any moisture. If you use it, it should supplement the zest and juice, not replace them. It works best added along with vanilla extract so it distributes evenly.
Many pound cake recipes rely only on extract, which creates a perfume-like, slightly artificial lemon flavor. This recipe uses fresh zest and juice as the primary lemon sources, which creates a bright, authentic lemon flavor that tastes like you started with actual fresh lemons (because you did).
The Mixing Method: Why You Can’t Overmix This Batter

Pound cake has a unique advantage: because it contains such high amounts of fat (butter and sour cream), you can mix it longer than you can mix delicate cakes like sponge cake or chiffon cake without overdeveloping the gluten. Overmixed gluten creates a tough, dry cake texture, but the fat in this batter coats the gluten strands and prevents them from overdeveloping.
However, you should still exercise caution and not mix longer than instructed. Here’s the method:
After creaming butter, sugar, and lemon zest, add the lemon juice and vanilla extract (and lemon extract if using) and beat on medium speed for 30 seconds until incorporated. Then add eggs one at a time as described above. After all eggs are incorporated, scrape down the sides of the bowl thoroughly.
Now for the dry ingredients: In a separate bowl, whisk together flour, salt, and baking soda. Add the flour mixture to the butter mixture in three additions, alternating with the sour cream in two additions. The pattern is: flour — sour cream — flour — sour cream — flour. After each addition, beat on low speed for just 15 to 20 seconds, or until that ingredient just disappears into the batter. Don’t overmix, but do make sure there are no visible streaks of flour.
The sour cream goes between flour additions because it helps disperse the flour throughout the batter more evenly, which prevents lumps and ensures that the tenderizing acid of the sour cream is distributed throughout rather than pooling in one area.
Preparing the Pan and Preventing Sticking
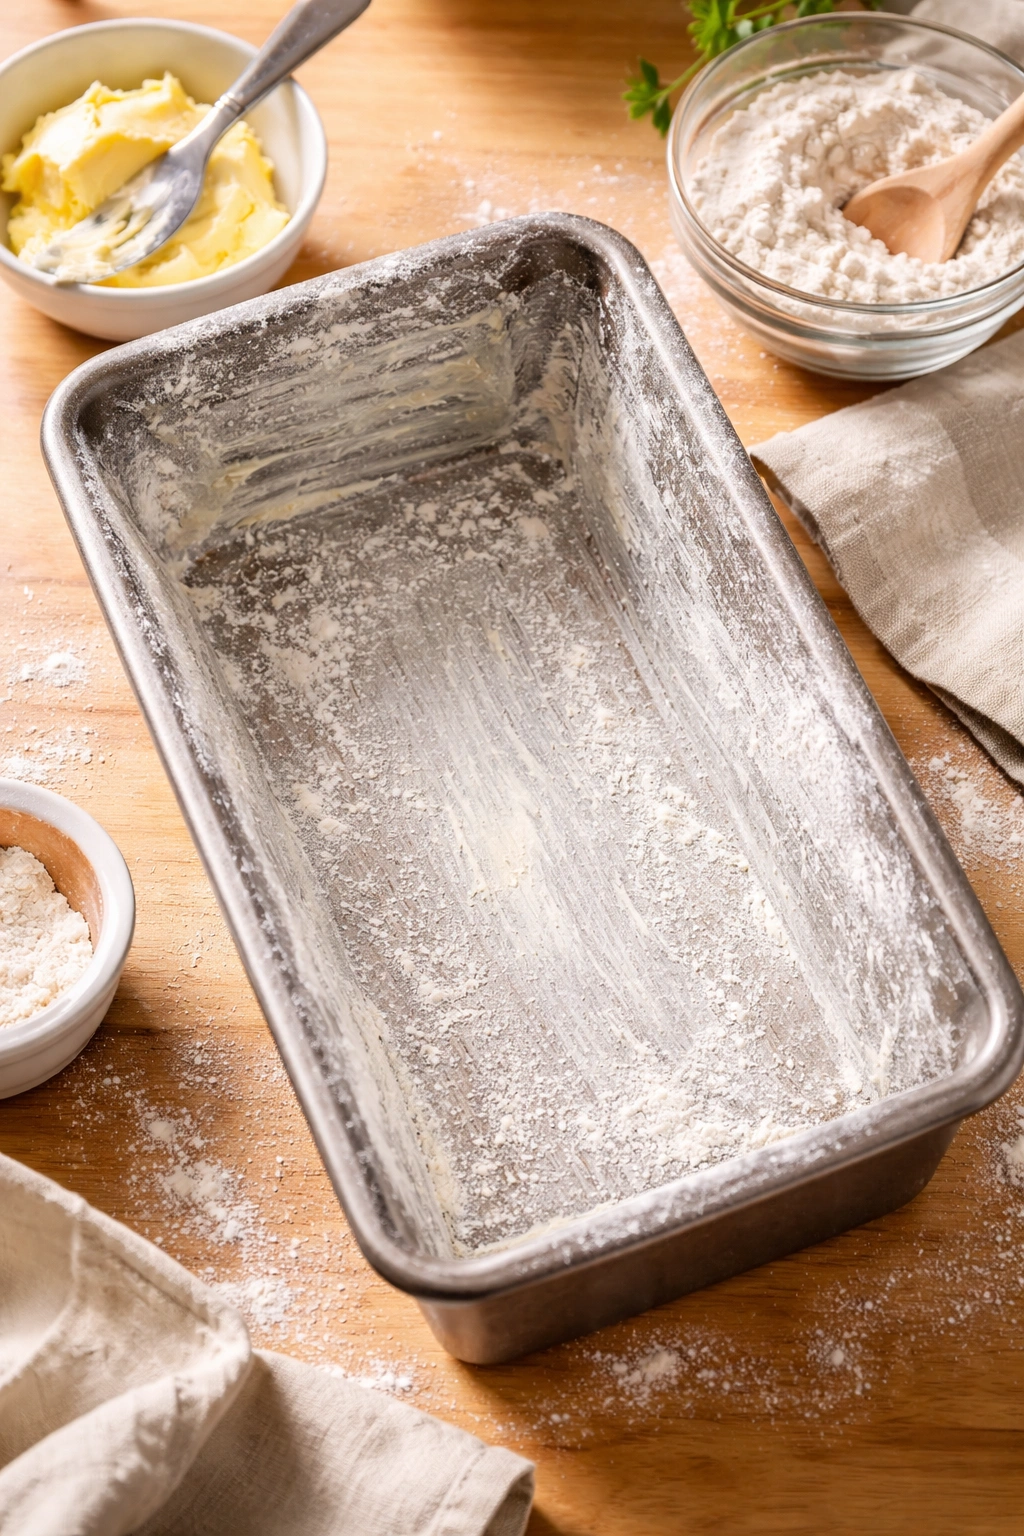
Pound cake’s dense crumb can stick to the pan if you’re not careful, so proper pan preparation is essential. Use a 9×5-inch loaf pan (this is the standard size for pound cake). If you use a larger or smaller pan, the baking time will change — a 10×6-inch pan will bake faster, while an 8×4-inch pan will bake slower.
Grease the pan generously with softened butter, making sure to get into all the corners and up the sides. Then dust the entire interior with all-purpose flour, tapping out any excess. Some bakers line the bottom with a strip of parchment paper, which makes it easier to remove the cake, but it’s not required if your pan is well-greased.
The reason for buttering first and then flouring (rather than using cooking spray) is that cooking spray contains lecithin, which can actually help batter stick to the pan. Butter followed by flour creates a release layer that the cake won’t stick to, and the grease and flour also create a slightly crisped exterior on the bottom and sides of the cake, which adds textural interest.
The Baking Process: Temperature, Timing, and Doneness Testing
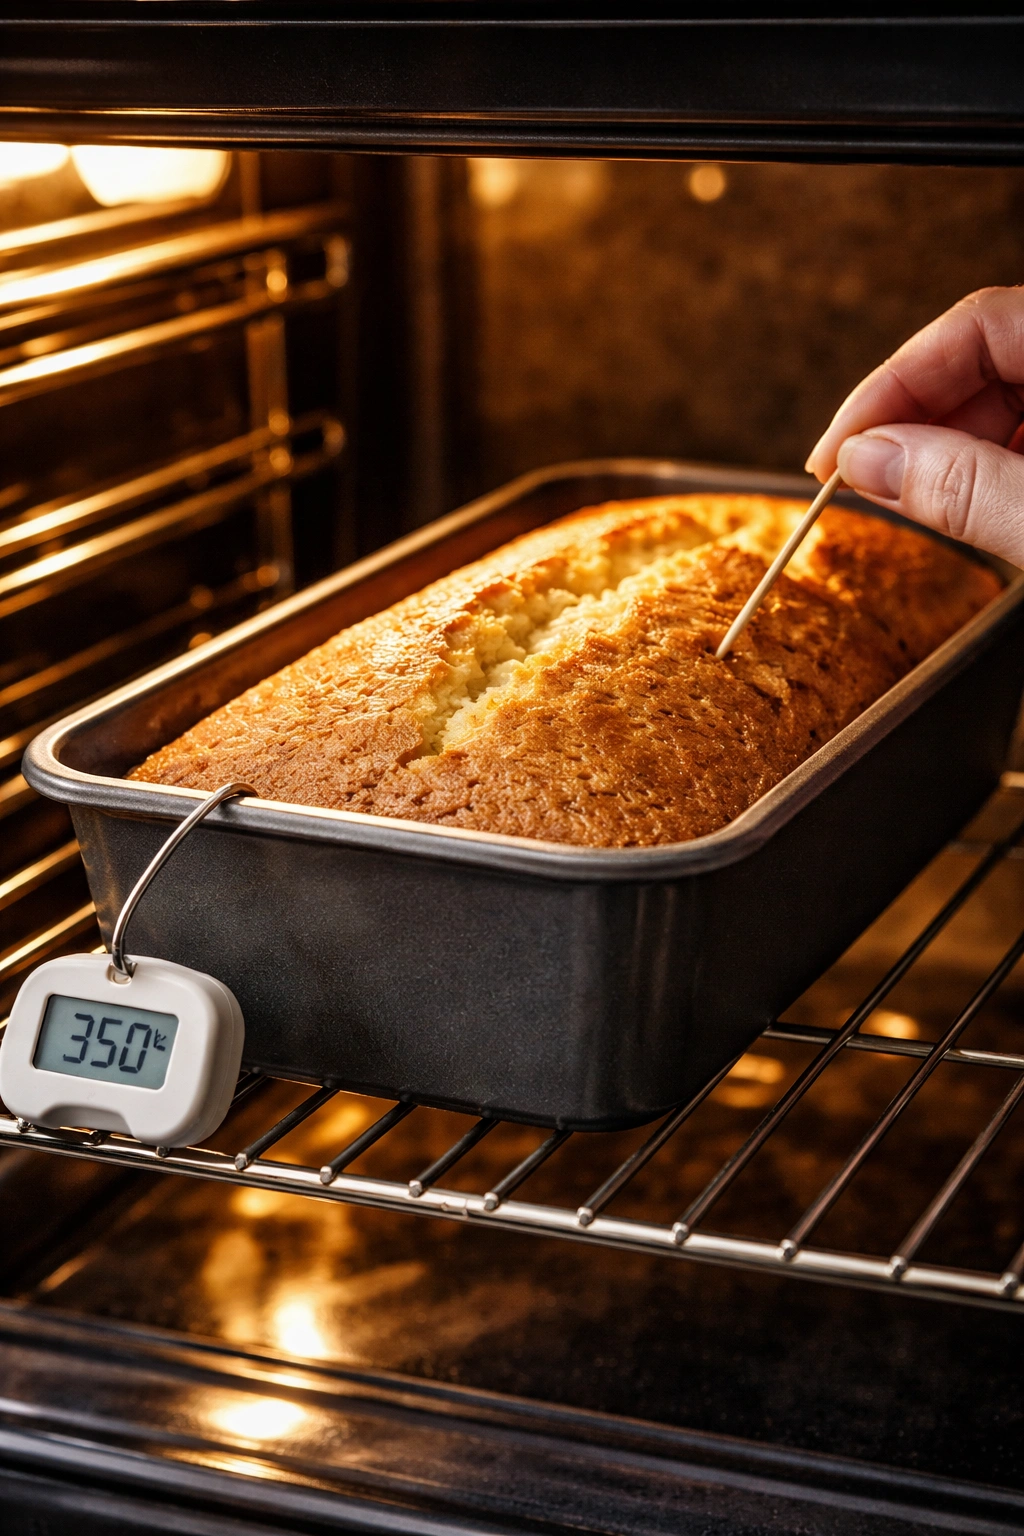
Bake this cake in a preheated 350°F (175°C) oven for 55 to 65 minutes. The wide range reflects the reality that every oven is different — some run hot, some run cold, and your specific oven position matters too. The key is to know what you’re looking for.
About halfway through baking (around the 25 to 30-minute mark), rotate the pan 180 degrees so the side that was facing the back of the oven now faces the front. This ensures even baking and prevents one side from browning faster than the other. If you notice the top of the cake is browning too quickly (it should be a light golden color, not dark brown), loosely tent the pan with aluminum foil to slow the browning while the interior continues to bake.
The cake is done when a wooden skewer or toothpick inserted into the very center comes out clean or with just a few moist crumbs clinging to it — not wet batter, but not completely dry either. The top of the cake should spring back slowly when you press it gently with your fingertip, and the edges should just barely start to pull away from the sides of the pan.
Don’t rely solely on appearance or time — use the toothpick test. Every oven is different, so the cake might be done at 55 minutes or it might need 65 minutes. Test starting at 50 minutes, then check every 2 to 3 minutes after that. Overbaking by just 3 or 4 minutes will noticeably dry out the cake.
Cooling: The Step Everyone Rushes (And Regrets)
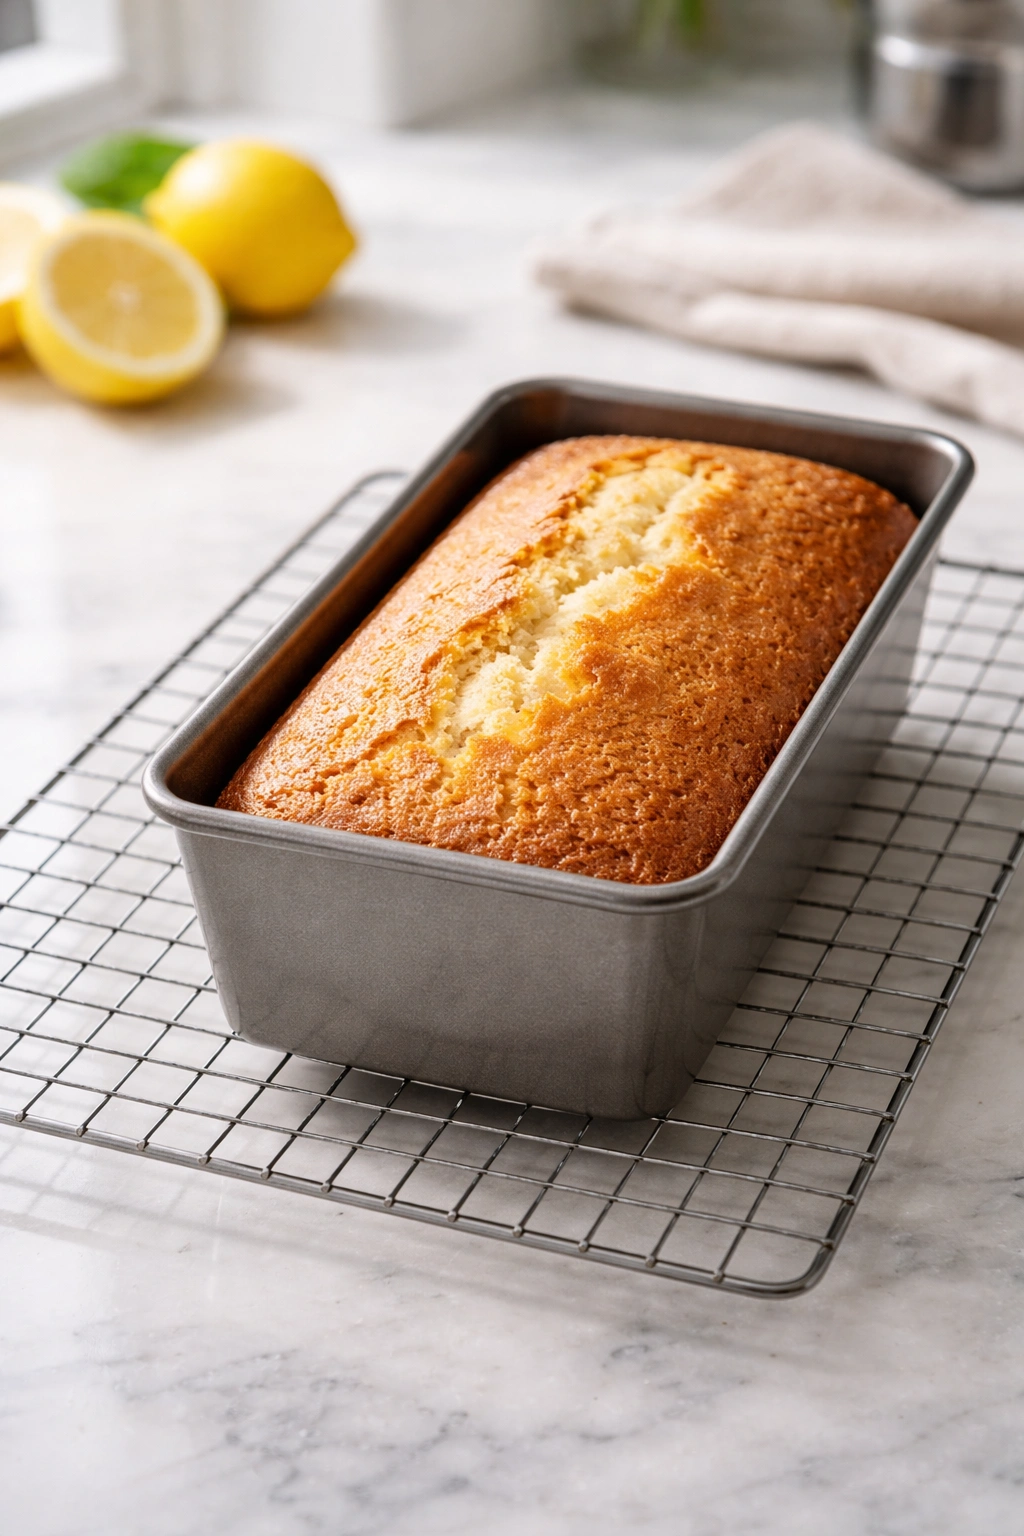
Here’s where patience is rewarded. Remove the cake from the oven and set the pan on a wire cooling rack. Let the cake cool in the pan for a full hour — yes, a full hour. This is not optional if you want the cake to stay moist.
While the cake is cooling in the pan, it’s still cooking slightly from residual heat. The structure is still setting. If you remove the cake from the pan too early, you’ll damage the delicate structure and create cracks. More importantly, if you turn the cake out of the pan while it’s still warm, moisture will evaporate from the exposed surface, and you’ll lose the very thing this recipe was designed to preserve.
After one full hour of cooling in the pan, run a thin knife around the edges to loosen the cake (this prevents the cake from sticking when you turn it out). Place a wire rack over the top of the pan and flip it, so the cake lands on the rack. The cake should release easily if your pan was properly greased.
Let the cake cool completely to room temperature on the wire rack — this takes another 30 minutes to an hour depending on the room temperature. Only then can you slice it, glaze it, or cover it for storage.
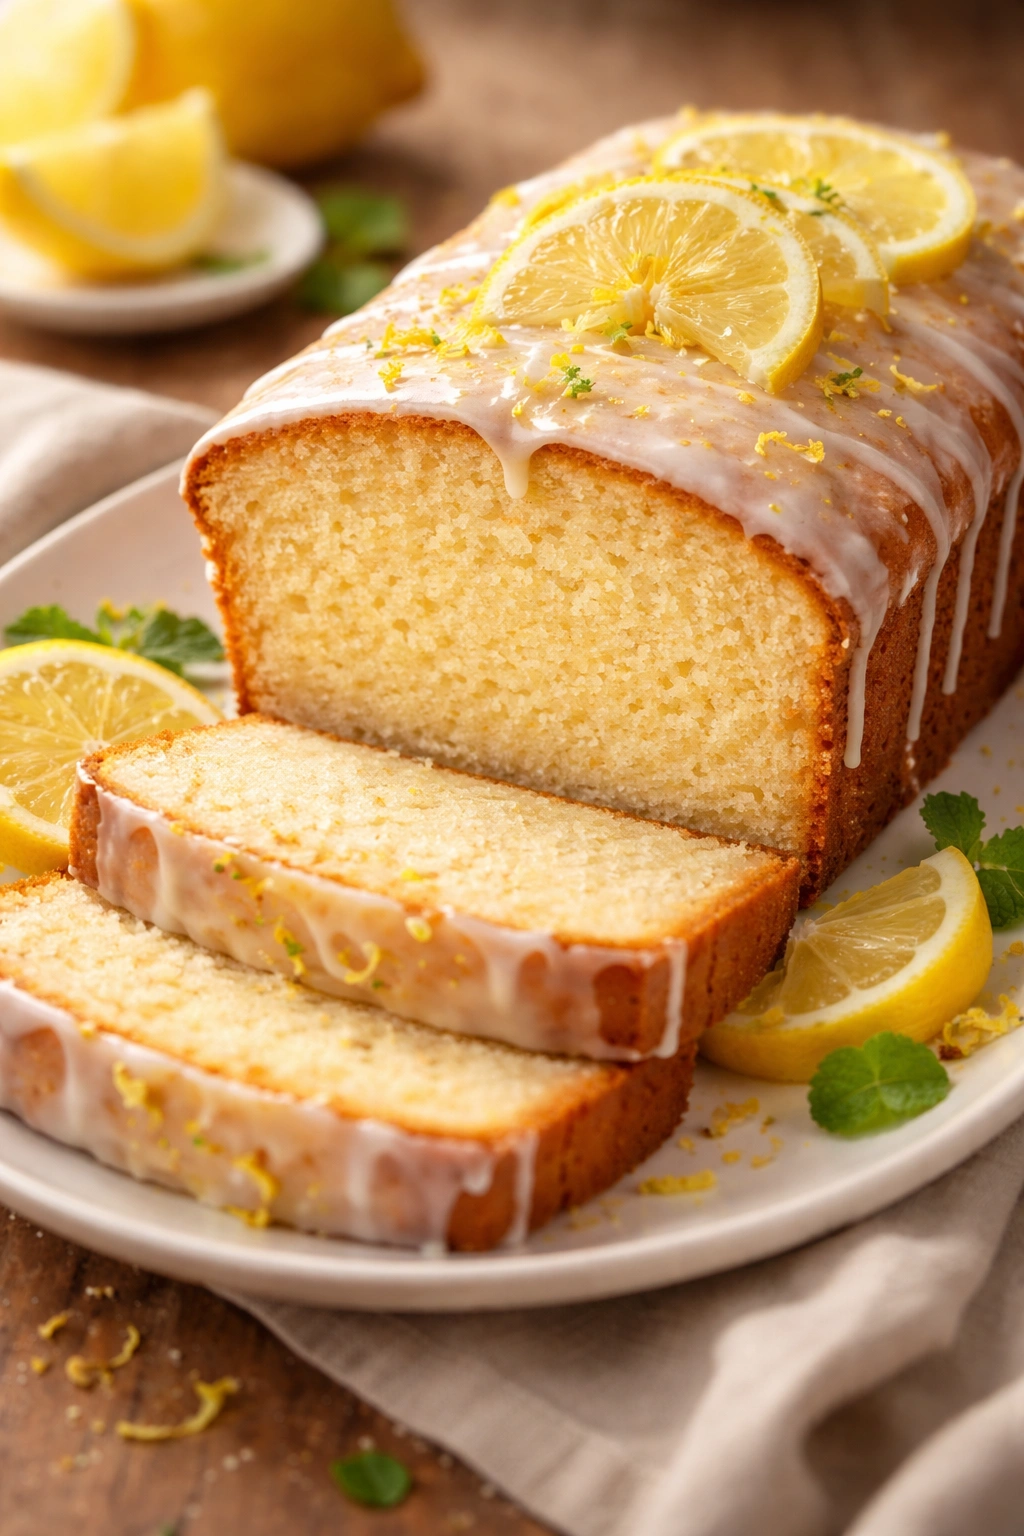
To Glaze or Not: Adding a Finishing Layer of Moisture
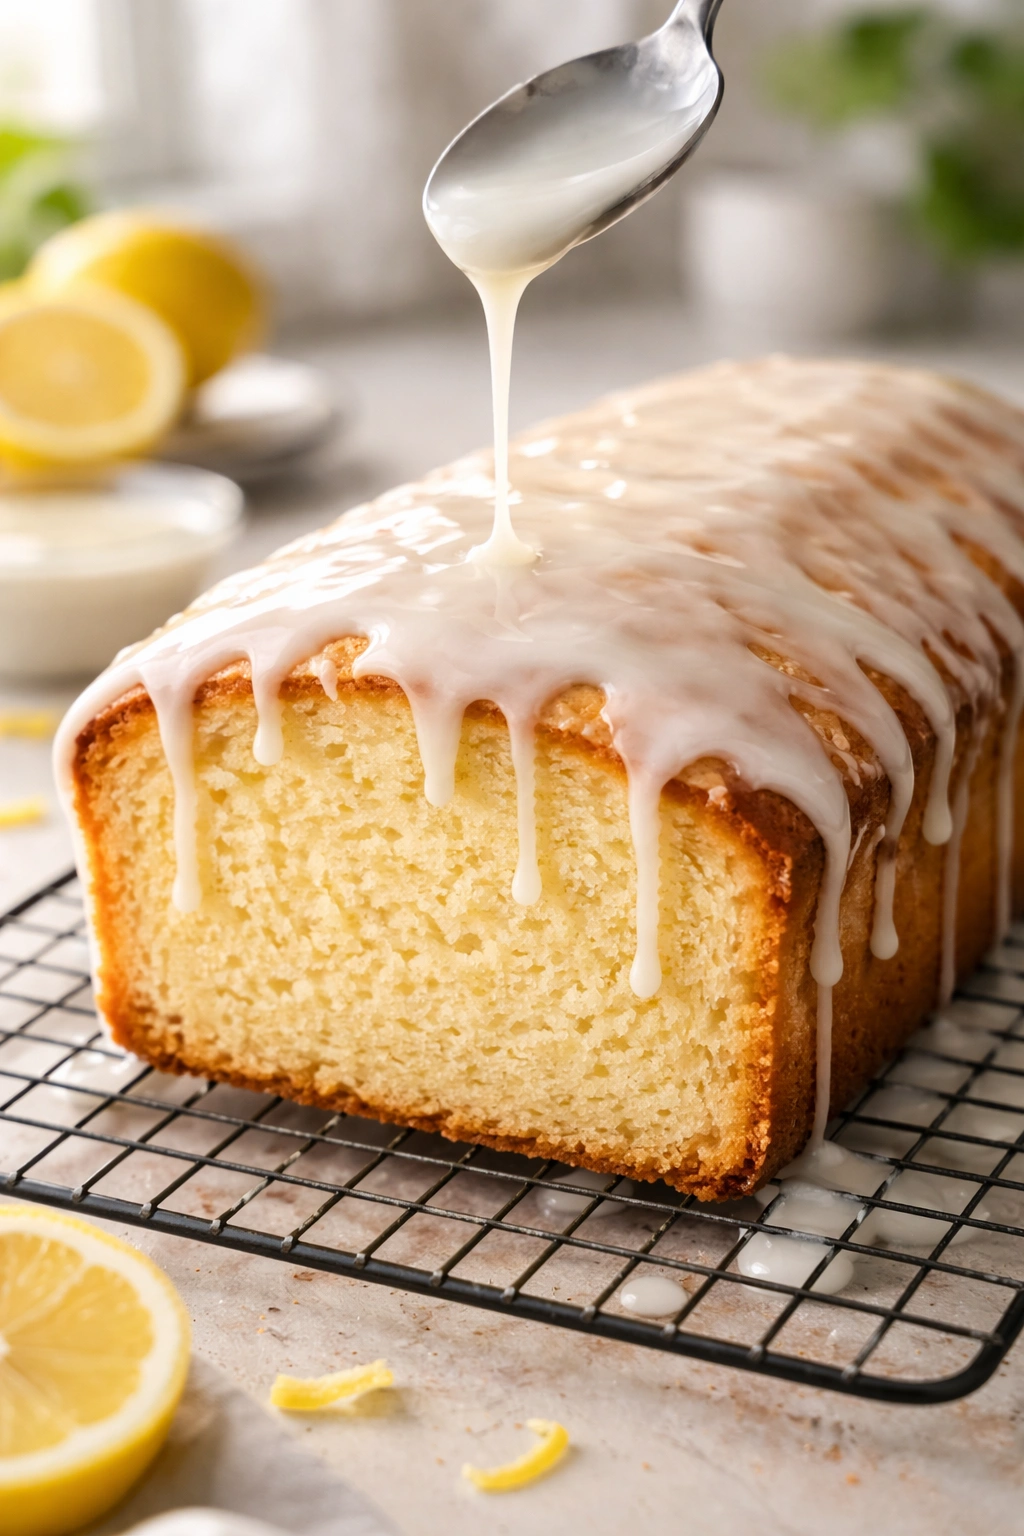
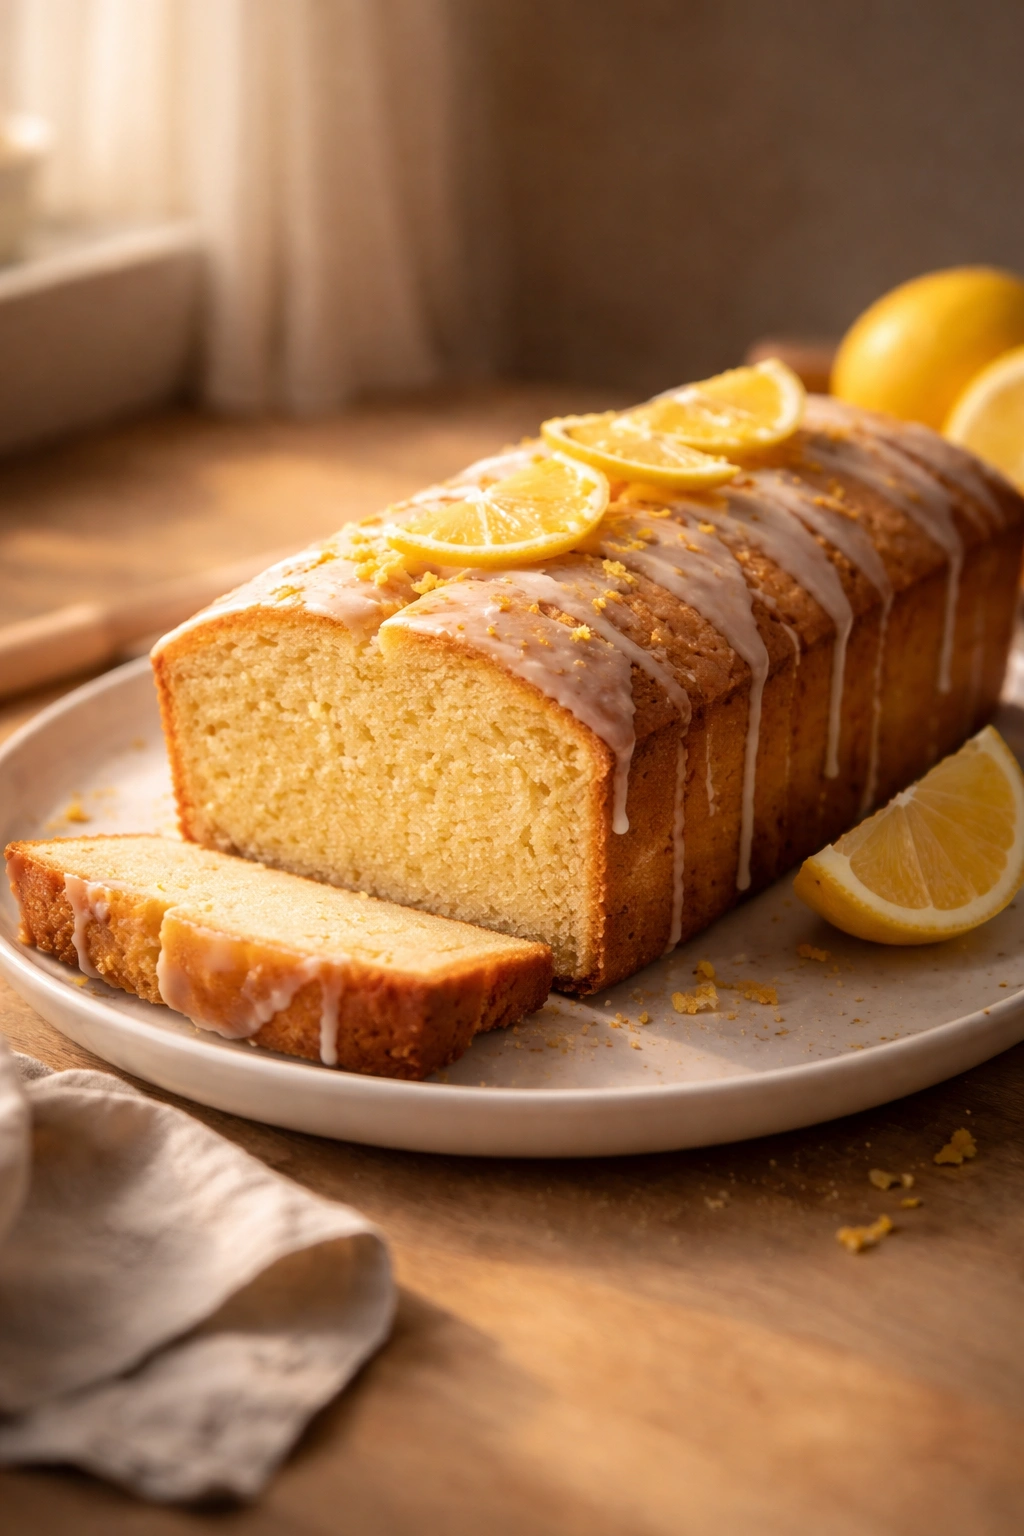
A simple lemon glaze is optional but genuinely recommended — it adds flavor and a tiny bit more moisture to the cake’s exterior. Mix 1½ cups powdered sugar (sifted, to prevent lumps) with 3 tablespoons fresh lemon juice, 1 tablespoon melted butter, and a pinch of salt. Stir until smooth and pourable.
Once the cake is completely cool, drizzle or spread the glaze over the top while the cake is still on the rack, letting any excess drip down the sides. You want the glaze to look rustic and loose, not thick and frosting-like. Let the glaze set for 10 to 15 minutes before slicing.
If you skip the glaze, the cake is still perfectly moist and delicious — the glaze is purely optional and mostly adds visual appeal.
Variations That Keep the Cake Moist
The beauty of this recipe is that you can make several delicious variations without compromising moisture, as long as you maintain the basic structure of the recipe.
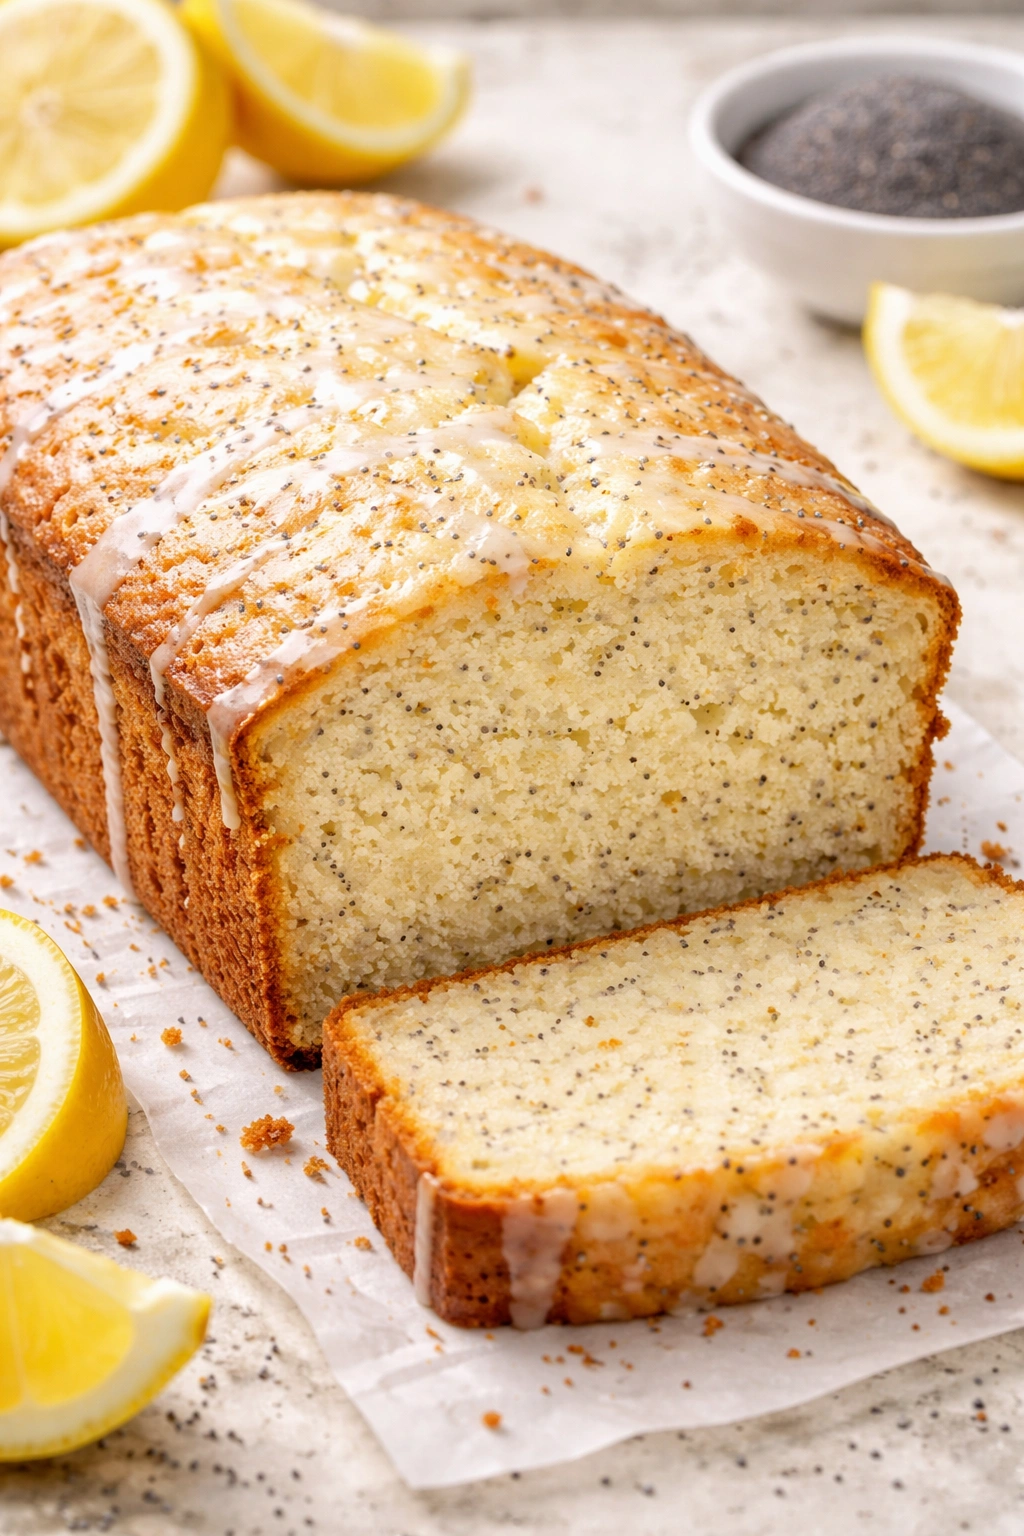
Poppy Seed Lemon Pound Cake: Add 3 tablespoons of poppy seeds to the dry ingredient mixture. The poppy seeds add a subtle nuttiness and texture without affecting moisture. This variation pairs beautifully with a simple sugar glaze instead of lemon glaze.
Lavender Lemon Pound Cake: Replace the lemon extract (if using) with ½ teaspoon of culinary lavender extract, or grind ½ teaspoon of dried culinary lavender into a powder and add it to the dry ingredients. The lavender creates a floral undertone that complements lemon beautifully without adding moisture.
Berry-Swirl Lemon Pound Cake: After pouring the batter into the pan, drizzle ½ cup of fresh or frozen blueberries, raspberries, or blackberries that have been tossed with 1 tablespoon of flour (the flour prevents them from sinking) into the batter in a scattered pattern. Don’t stir them in — let them sit on top or in pockets throughout. The berries don’t add significant moisture, but they do add tartness and texture.
Almond Lemon Pound Cake: Replace ½ cup of the all-purpose flour with ½ cup of finely ground almond flour. The almond flour adds moisture-retaining fat (from the almonds) and a subtle richness. This variation needs only the same baking time.
Coconut Lemon Pound Cake: Add ¾ cup of unsweetened shredded coconut to the dry ingredient mixture. The coconut absorbs some moisture during baking, so increase the sour cream to 1¼ cups to compensate. The coconut and lemon combination is absolutely stunning.
For any variation, do not change the fundamental proportions of butter, sugar, eggs, flour, or sour cream — these are the backbone of moisture preservation. You can add spices, extracts, nuts, seeds, or zest variations, but don’t alter the wet-to-dry ratio or the fat content.
Storage: How to Keep This Cake Moist for Days
This is where this recipe truly shines compared to traditional pound cake. Thanks to the sour cream and the precise ingredient ratios, this cake actually improves and stays moister after sitting for 24 hours.
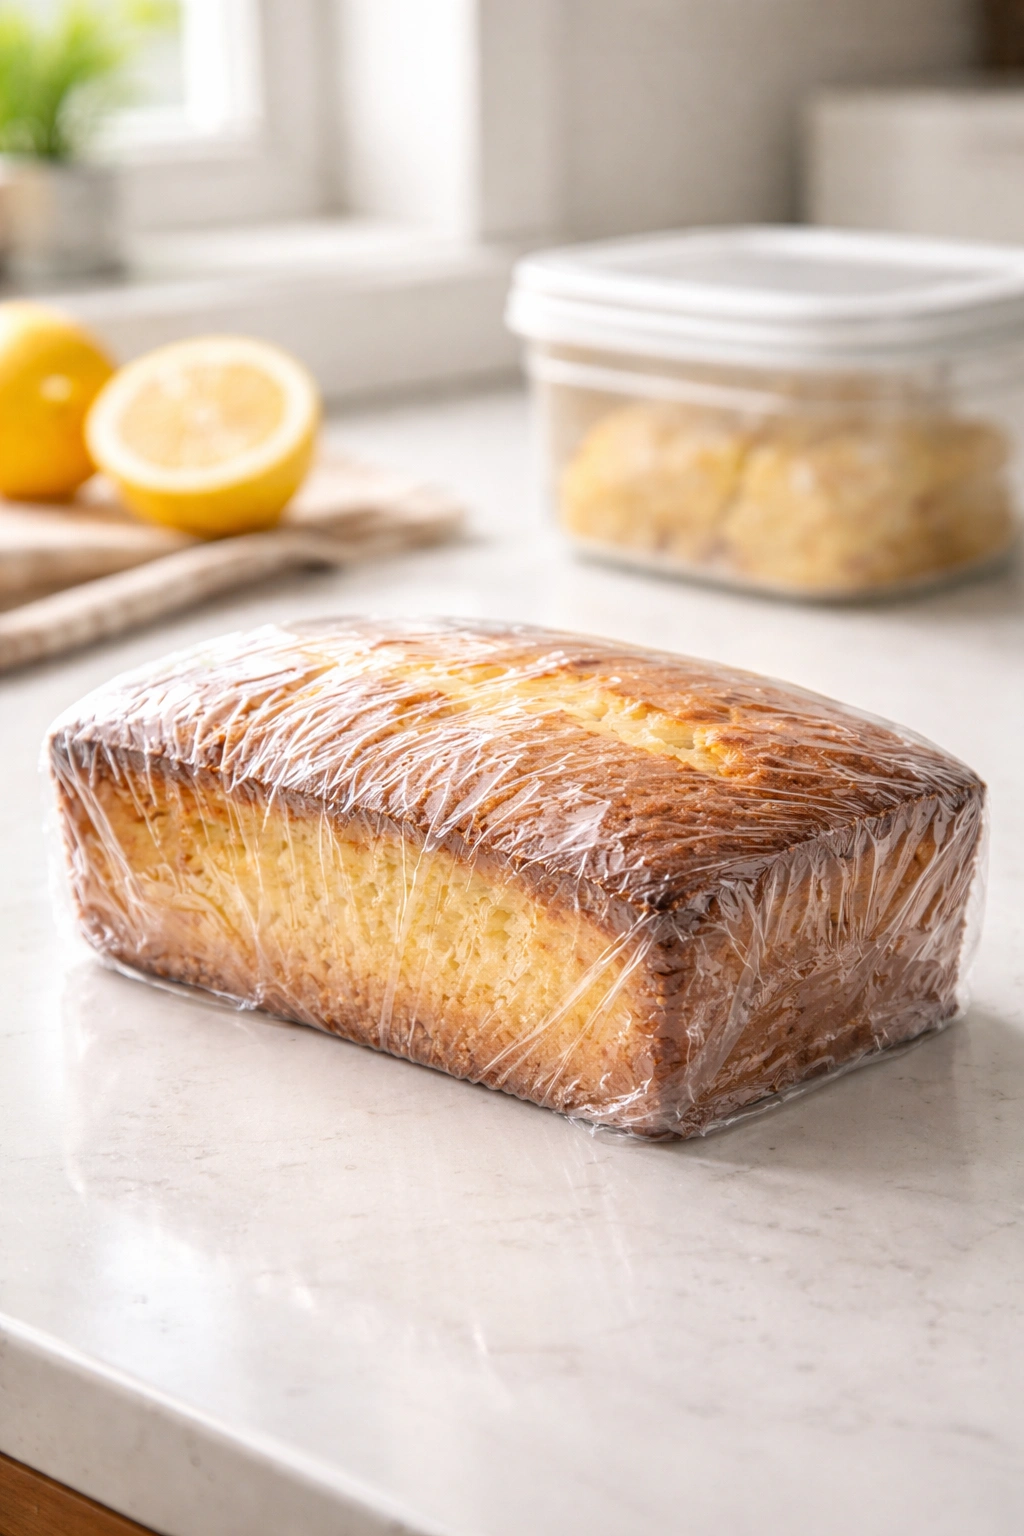
At Room Temperature: Wrap the completely cooled cake tightly in plastic wrap or store it in an airtight container. It will stay moist and delicious at room temperature for 3 to 4 days. Many bakers find that the cake tastes even better on day two or three, as the flavors mellow and integrate, and the crumb becomes slightly more moist.
In the Refrigerator: If your kitchen is very warm or humid, you can refrigerate the cake, tightly wrapped. It will keep for 5 to 7 days in the fridge, and it will actually stay moister in cold storage because the cold slows moisture evaporation. Remove it from the fridge 30 minutes before serving so it comes back to a pleasant room temperature.
In the Freezer: Wrap the completely cooled cake first in plastic wrap, then in aluminum foil. Frozen, this cake will keep for 2 to 3 months without any noticeable loss of quality. Thaw it at room temperature, still wrapped, for 2 to 3 hours. The wrapped thawing process is important because it prevents condensation from forming on the cake surface while it thaws.
Sliced Storage: If you’ve already sliced the cake, wrap individual slices tightly in plastic wrap and store them in an airtight container in the fridge for up to 5 days. These slices are perfect for quick breakfast or snack portions.
Serving Suggestions and Pairings
Lemon pound cake is wonderfully versatile. Serve it plain to appreciate the tender crumb and bright flavor. Serve it with a simple glaze as described above. Or try these pairing ideas:
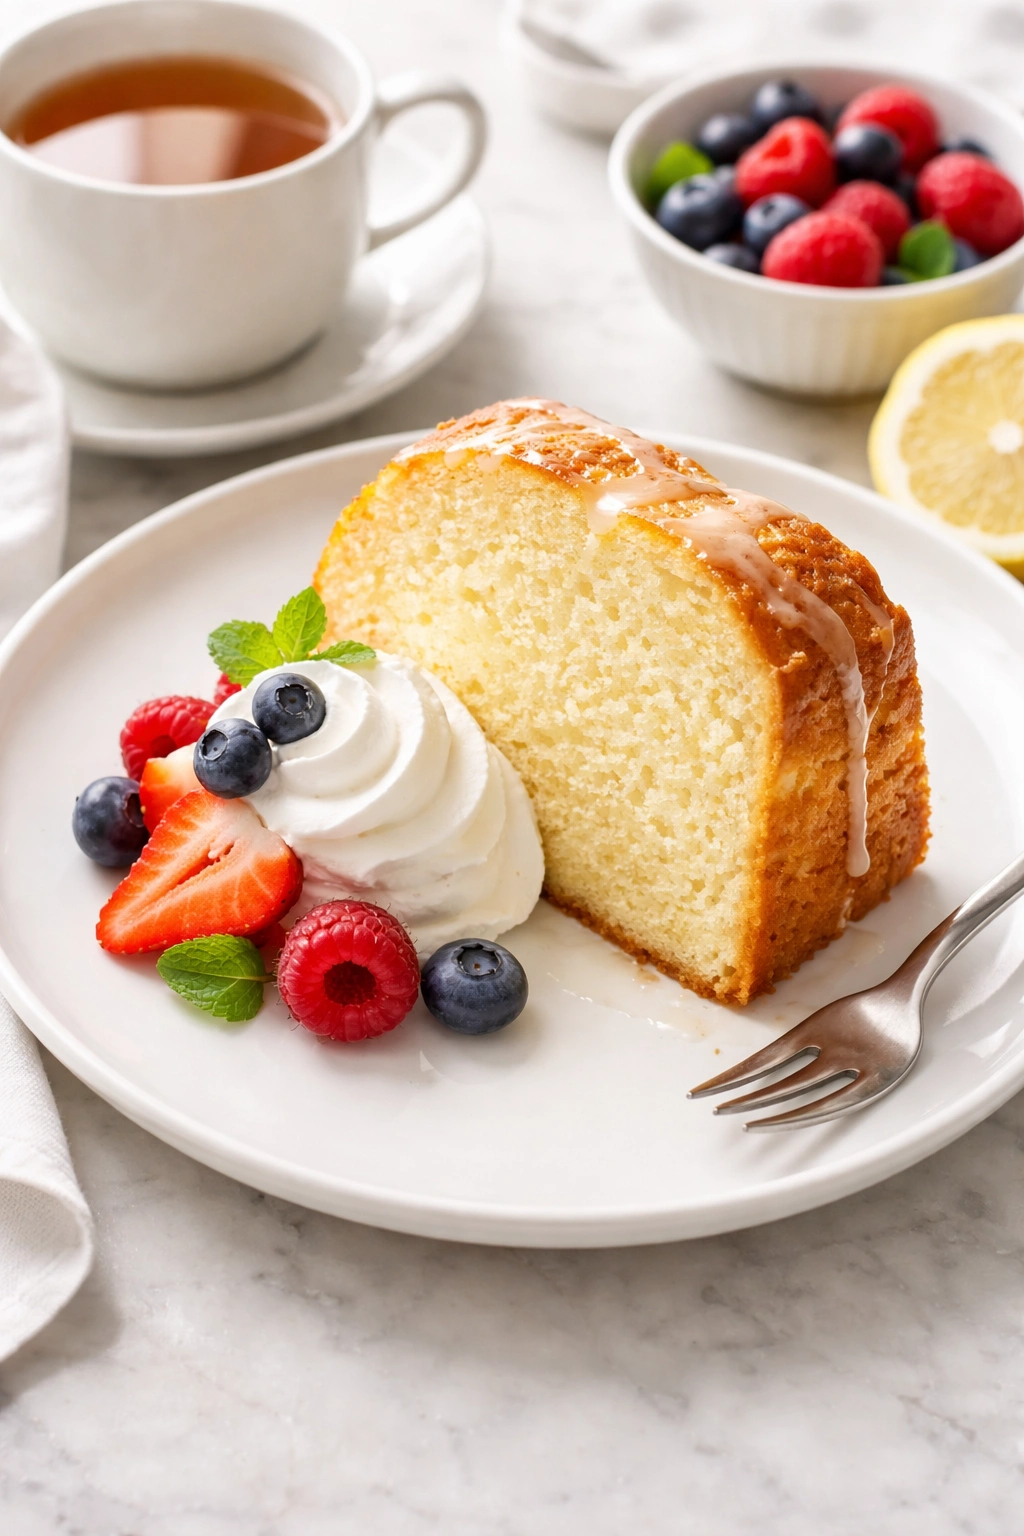
Pair slices with whipped cream and fresh berries — the tartness of raspberries or blackberries complements the lemon beautifully, and the whipped cream adds richness. A thin spread of lemon curd between two slices creates an elegant, bakery-quality experience.
Serve it as part of a brunch spread with fresh fruit, yogurt, and honey. The lemon flavor makes it feel bright and fresh alongside morning foods. Toast day-old slices and spread with softened cream cheese and jam for a sophisticated breakfast.
Pair it with tea or coffee. The tender crumb and bright flavor make this cake ideal for afternoon tea — serve it with Earl Grey, chamomile, or a simple black tea. For coffee, the slight sweetness and lemon acidity cut through rich espresso or cappuccino beautifully.
For dessert, serve it with lemon curd and vanilla ice cream. The cold ice cream against the tender cake, with bright lemon curd as a bridge between them, creates a classic flavor combination that feels elegant without being fussy.
Final Thoughts
Moist pound cake isn’t luck — it’s the result of understanding how each ingredient contributes to moisture retention, how temperature affects mixing and baking, and how patience during cooling preserves all that beautiful moisture you’ve worked to build.
This recipe delivers exactly what it promises: a cake that comes out moist every single time you bake it. The sour cream tenderizes and moisturizes simultaneously. The careful ingredient ratios prevent dryness while maintaining structure. The mixing technique ensures even distribution of moisture. The precise baking temperature and time prevent evaporation.
Most importantly, this cake actually improves after sitting for a day, which means you can bake it ahead of time, wrap it, and have a perfectly moist, deeply flavored lemon cake ready for any occasion. That’s the difference between a good pound cake recipe and one that’s worth making again and again.